Rust Programming

Network Programming and File Handling

Building UDP Clients and Servers

In this lesson, we'll demonstrate how to set up a UDP server and create a corresponding UDP client using Rust. Follow along for a step-by-step guide that includes proper error handling, message processing, and an explanation of the process.


Setting Up the UDP Server

We'll start by implementing a UDP server. UDP is a connectionless protocol, meaning it doesn't establish or maintain a persistent connection with its clients. First, import the UDP socket module from Rust's standard library, which provides the functionality to create and manage UDP sockets.

// UDP server
use std::net::UdpSocket;

fn main() {
    println!("Hello, world!");
}

Next, update the main function to bind the UDP socket to the local IP address on port 7878. This binding instructs the server to listen for incoming UDP packets on "127.0.0.1:7878".

// UDP server
use std::net::UdpSocket;

fn main() {
    // Attempt to bind the UDP socket to localhost at port 7878
    let socket: Result<UdpSocket, std::io::Error> = UdpSocket::bind("127.0.0.1:7878");
    println!("UDP server");
}

Once bound to "127.0.0.1:7878", the server is ready to receive packets. To store data received from clients, create a fixed-size buffer with a capacity of 512 bytes:

// UDP server
use std::net::UdpSocket;

fn main() {
    let socket: Result<UdpSocket, std::io::Error> = UdpSocket::bind("127.0.0.1:7878");
    println!("UDP server listening on 127.0.0.1:7878");
    
    // Buffer for incoming data (512 bytes)
    let mut buffer: [u8; 512] = [0; 512];
}

For better error handling, update the main function signature to return std::io::Result<()> and use pattern matching to handle potential errors when binding the socket:

// UDP server
use std::net::UdpSocket;

fn main() -> std::io::Result<()> {
    let socket_result: Result<UdpSocket, std::io::Error> = UdpSocket::bind("127.0.0.1:7878");
    let mut socket: UdpSocket = match socket_result {
        Ok(s) => s,
        Err(e) => {
            println!("Failed to bind socket: {}", e);
            return Err(e);
        }
    };
    
    println!("UDP server listening on 127.0.0.1:7878");
    
    // Buffer for incoming data (512 bytes)
    let mut buffer: [u8; 512] = [0; 512];

    loop {
        // Receive data from the client
        let (bytes_received, src_addr) = socket.recv_from(&mut buffer)?;
        println!(
            "Received {} bytes from {}: {}",
            bytes_received,
            src_addr,
            String::from_utf8_lossy(&buffer[..bytes_received])
        );

        // Echo the data back to the client
        socket.send_to(&buffer[..bytes_received], src_addr)?;
    }
}

In the loop, the recv_from method waits for incoming UDP packets, writes the data into the buffer, and returns a tuple containing the number of bytes received alongside the client's address. The data is then converted from bytes to a UTF-8 string for readability and echoed back using send_to. The use of the question mark operator (?) streamlines error propagation.


Creating the UDP Client

Now, create a UDP client that communicates with the server. Start by creating a new Cargo project:

cargo new my_udp_client
Creating binary (application) `my_udp_client` package
note: see more `Cargo.toml` keys and their definitions at https://doc.rust-lang.org/cargo/reference/manifest.html

Open the project in your favorite editor (e.g., VS Code) and add the following code. The client binds to any available local IP address and port, as a fixed port is not required for client operations.

use std::net::UdpSocket;

fn main() -> std::io::Result<()> {
    // Bind the client socket to any available address and port
    let socket = UdpSocket::bind("0.0.0.0:0")?;
    println!("UDP client started");

    // Define the server address to which we'll send messages
    let server_addr = "127.0.0.1:7878";

    // Send a message to the server
    let message = "Hello from UDP client!";
    socket.send_to(message.as_bytes(), server_addr)?;
    println!("Sent message to {}: {}", server_addr, message);

    // Buffer to store the echoed message from the server
    let mut buffer: [u8; 512] = [0; 512];
    let (bytes_received, _) = socket.recv_from(&mut buffer)?;
    
    println!(
        "Received from server: {}",
        String::from_utf8_lossy(&buffer[..bytes_received])
    );
    Ok(())
}

In this client implementation, after binding to a local address, the server's address (127.0.0.1:7878) is specified. The client sends a message to the server via send_to and awaits the server's echoed response via recv_from. The received data is then converted from bytes to a readable string before printing.


Console Output

Below is a sample console output that demonstrates the interaction between the server and client.

Client Output

my_udp_client on ✗ master [✔] v0.1.0 via 🦀 v1.82.0
➜ cargo run --quiet
UDP client started
Sent message to 127.0.0.1:7878: Hello from UDP client!
Received from server: Hello from UDP client!

Server Output

UDP server listening on 127.0.0.1:7878
Received 22 bytes from 127.0.0.1:55740: Hello from UDP client!

Note

Keep in mind that UDP does not provide the reliability guarantees of TCP. Its lightweight and connectionless nature make it ideal for scenarios where speed is essential and occasional packet loss is acceptable.
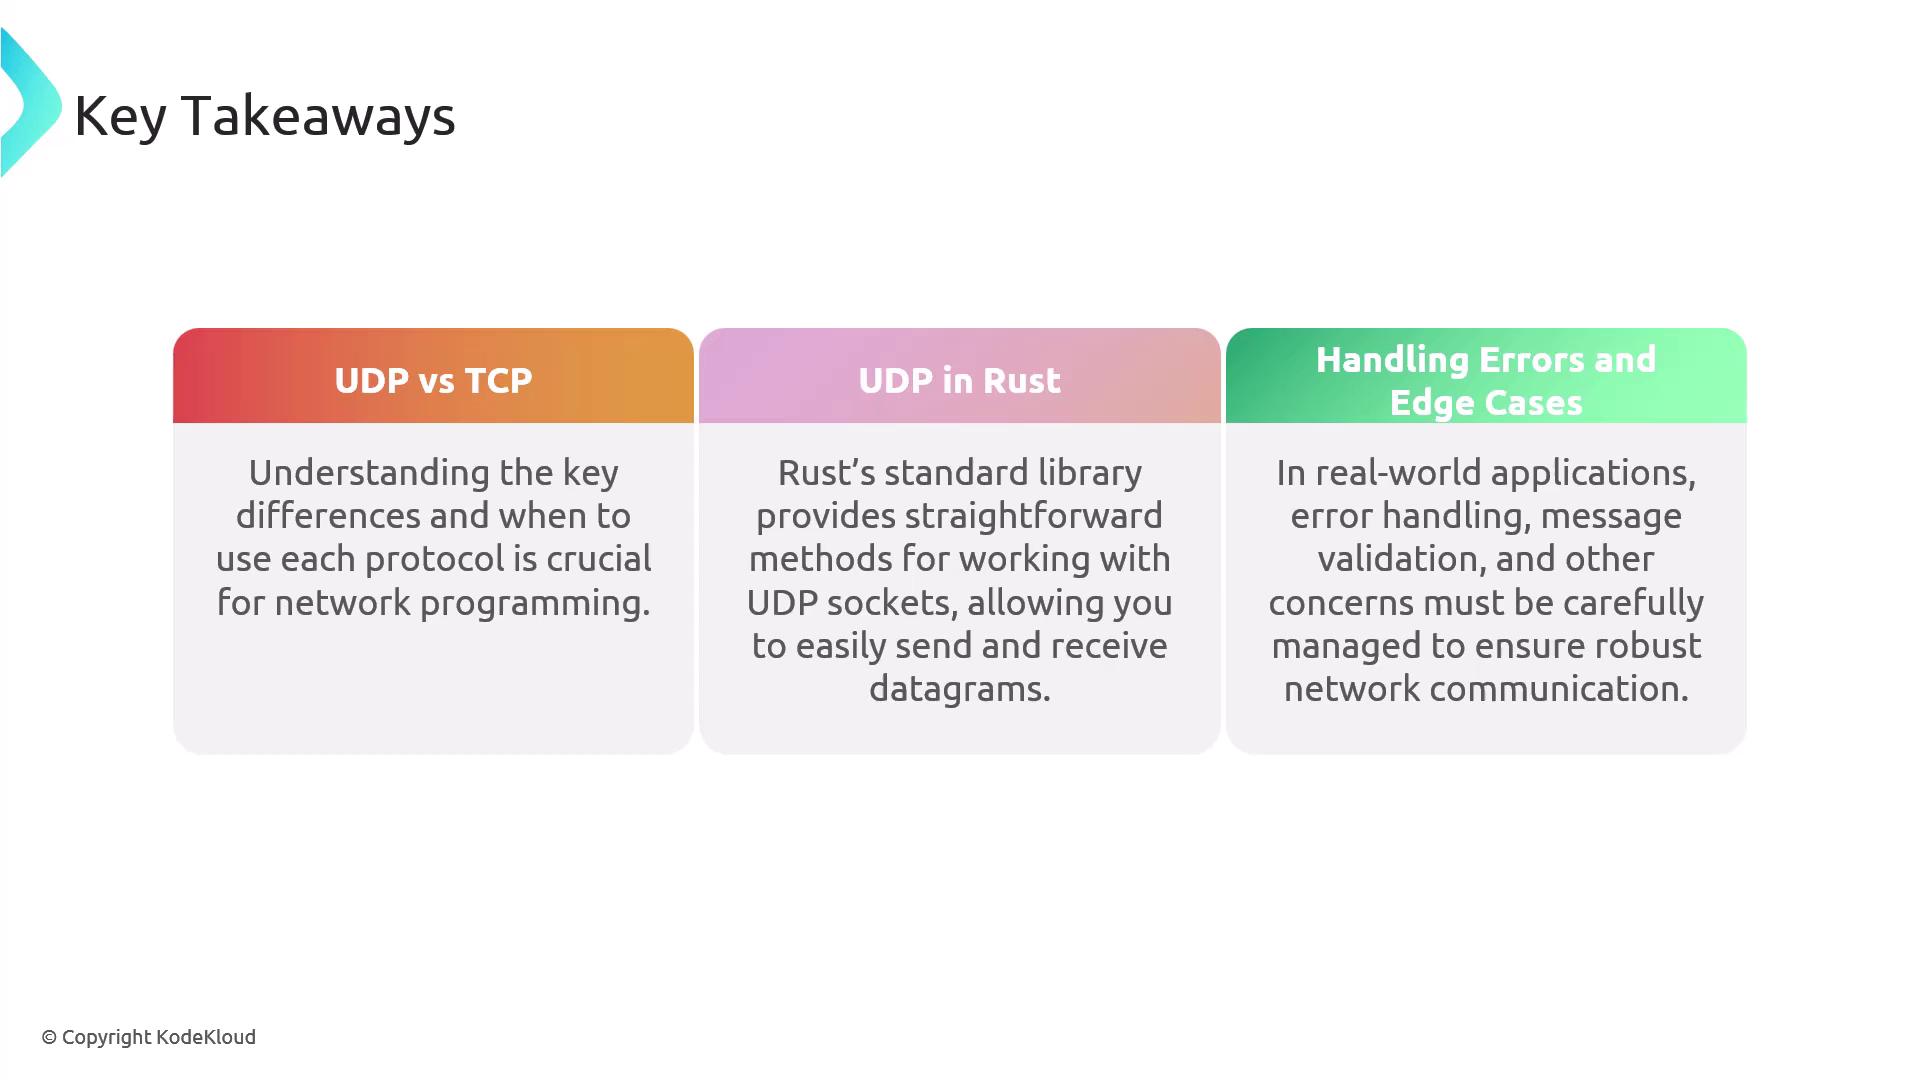

Key Takeaways

  • UDP versus TCP:
    Understand the differences between UDP and TCP to choose the right protocol for your application's requirements.

  • Using UDP in Rust:
    The Rust standard library simplifies working with UDP sockets, enabling efficient sending and receiving of datagrams.

  • Error Handling:
    Effective error handling and message validation improve the robustness of network applications.

The image presents key takeaways about network programming, focusing on the differences between UDP and TCP, using UDP in Rust, and handling errors and edge cases in network communication.

By following this lesson, you now have a working example of a UDP echo server and client in Rust. Continue exploring further enhancements and additional error-handling strategies to build robust network applications.

Watch Video

Watch video content

Practice Lab

Practice lab

Previous
Building TCP Clients and Servers