> ## Documentation Index
> Fetch the complete documentation index at: https://notes.kodekloud.com/llms.txt
> Use this file to discover all available pages before exploring further.
# Introduction to Crates
> This article explores Rust crates, their importance, and guides on creating and managing them effectively in Rust projects.
Welcome to this in-depth article on Rust crates. Here, we will explore the core concept of crates, discuss why they are essential, and guide you through creating and managing them effectively. By the end of this tutorial, you'll understand how crates work in Rust and learn best practices for organizing your Rust projects.
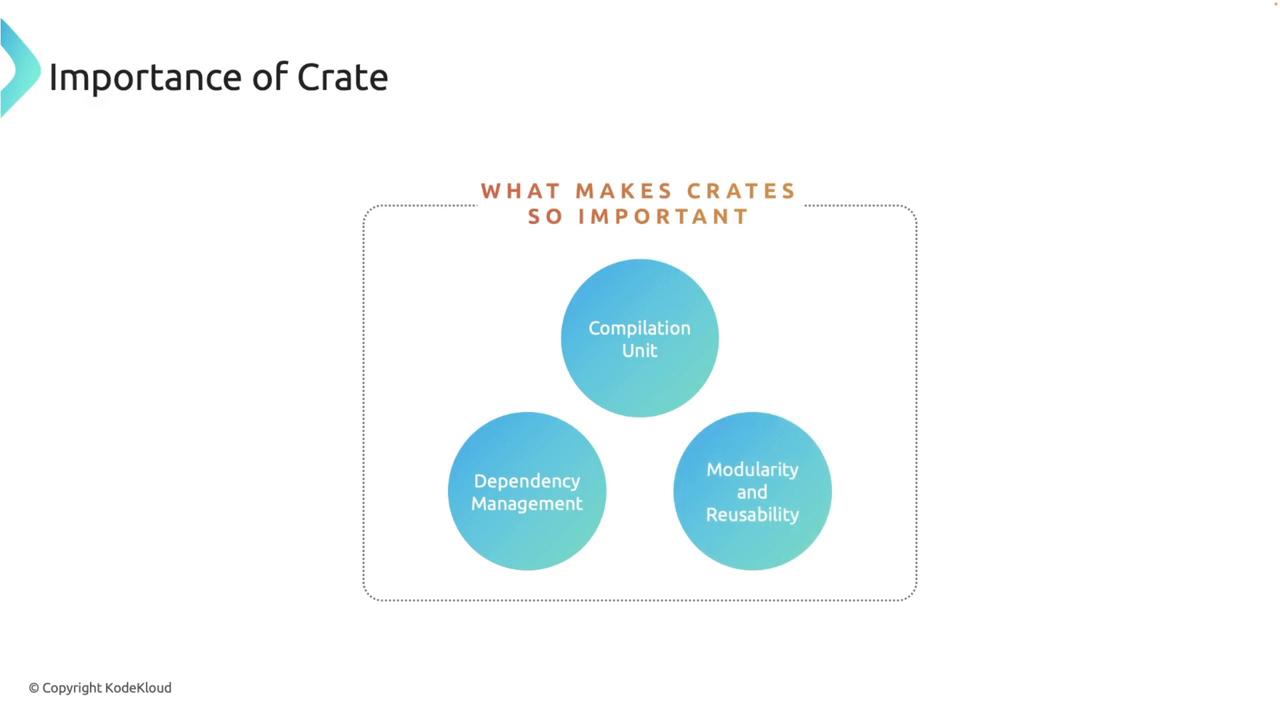
Crates are the fundamental building blocks of Rust programs. Essentially, a crate is a compilation unit—the smallest piece of code that the Rust compiler can compile independently. Crates form the basis for both binary and library projects. Let’s explore the key aspects that make crates so important:
## Key Aspects of Crates
### Crates as Compilation Units
In Rust, every program is composed of at least one crate. Each crate is compiled independently by the Rust compiler, producing either an executable (binary crate) or a library (library crate).
### Dependency Management
Crates also serve as the primary unit for dependency management. Using external libraries in your Rust project means incorporating other crates as dependencies.
### Modularity and Reusability
Organizing code into crates promotes modularity, reusability, and maintainability. Think of a crate as a standalone module or library that can be shared across multiple projects.
There are two main types of crates in Rust:
* **Binary Crates:** Compile into executable programs. In a binary crate, the main source file (typically `main.rs`) contains the `main` function, which serves as the entry point.
* **Library Crates:** Compile into libraries that can be used as dependencies by other projects. These do not have a `main` function; instead, they expose functionalities via a `lib.rs` file.

***
## Creating a Binary Crate
In this section, we will set up a binary crate from scratch. Follow these step-by-step instructions to create a new Rust binary project, write simple code, and run your project.
Use Cargo to simplify project creation and dependency management. It generates a basic project structure automatically.
### Step 1: Generate a New Project
Open your terminal and run the following command:
```bash theme={null}
cargo new my_crate_demo
```
You should see output similar to:
```plaintext theme={null}
Creating binary (application) `my_crate_demo` package
note: see more `Cargo.toml` keys and their definitions at https://doc.rust-lang.org/cargo/reference/manifest.html
```
This command creates a new directory named `my_crate_demo` with a standard project structure.
### Step 2: Navigate to Your Project
Move into the project directory and open it in your preferred editor (e.g., VS Code):
```bash theme={null}
cd my_crate_demo
```
Within the project directory, you'll find two key components:
1. **Cargo.toml:** The manifest file containing project metadata such as name, version, edition, and dependencies.
2. **src/main.rs:** The main source file for the binary crate, which by default prints "Hello, world!".
The contents of `src/main.rs` are as follows:
```rust theme={null}
fn main() {
println!("Hello, world!");
}
```
### Step 3: Build and Run the Crate
Compile and run the project with:
```bash theme={null}
cargo run
```
Expected output:
```plaintext theme={null}
Compiling my_crate_demo v0.1.0 (/Users/your_username/projects/my_crate_demo)
Finished dev [unoptimized + debuginfo] target(s) in 0.51s
Running `target/debug/my_crate_demo`
Hello, world!
```
For a cleaner output with minimal Cargo log messages, run:
```bash theme={null}
cargo run --quiet
```
***
## Exploring the Cargo.toml File
The `Cargo.toml` file is crucial for managing your Rust project's settings and dependencies. A typical `Cargo.toml` for a binary crate looks like this:
```toml theme={null}
[package]
name = "my_crate_demo"
version = "0.1.0"
edition = "2021"
[dependencies]
```
* The **\[package]** section specifies the project's metadata.
* The **\[dependencies]** section is where you declare external crates needed for your project.
For more information on these keys, refer to the [Cargo Reference](https://doc.rust-lang.org/cargo/reference/manifest.html).
***
## Creating a Library Crate
Library crates are ideal for writing reusable code that can be shared between projects. In this section, we will create a library crate called `text_magic` to provide useful string manipulation utilities.
### Step 1: Generate a Library Crate
Run the following command:
```bash theme={null}
cargo new --lib text_magic
```
This creates a new directory named `text_magic` with a structure similar to a binary crate, but with a `lib.rs` file instead of `main.rs`.
### Step 2: Customize Your Library Code
Open the directory in your editor. Modify the `src/lib.rs` file to add functions for reversing a string and checking for palindromes. Replace its contents with:
```rust theme={null}
pub fn reverse(input: &str) -> String {
input.chars().rev().collect()
}
pub fn is_palindrome(input: &str) -> bool {
let cleaned_input: String = input
.chars()
.filter(|c| c.is_alphanumeric())
.collect::()
.to_lowercase();
cleaned_input == reverse(&cleaned_input)
}
#[cfg(test)]
mod tests {
use super::*;
#[test]
fn test_reverse() {
let input = "hello";
assert_eq!(reverse(input), "olleh");
}
#[test]
fn test_is_palindrome() {
let phrase = "a man, a plan, a canal, panama";
assert!(is_palindrome(phrase));
assert!(!is_palindrome("Rustacean"));
}
}
```
### Step 3: Build and Test Your Library
Build the library:
```bash theme={null}
cargo build
```
Run the tests to verify functionality:
```bash theme={null}
cargo test --quiet
```
Note that `cargo run` cannot be used with a library crate since it does not have an entry point.
***
## Managing Dependencies with the Regex Crate
Managing external dependencies in Rust is streamlined using Cargo. Let’s integrate the `regex` crate to perform regular expression pattern matching—one of the common tasks in Rust applications.
### Adding the Regex Crate
You can add the `regex` crate in two ways:
1. Using Cargo's command-line tool:
```bash theme={null}
cargo add regex
```
2. Manually editing your `Cargo.toml` file under `[dependencies]`:
```toml theme={null}
regex = "1.11.0"
```
For example, your updated `Cargo.toml` might look like:
```toml theme={null}
[package]
name = "my_crate_demo"
version = "0.1.0"
edition = "2021"
[dependencies]
regex = "1.11.0"
```
### Using the Regex Crate in a Binary Crate
Replace the contents of your `src/main.rs` with the following code to validate an email address:
```rust theme={null}
use regex::Regex;
fn main() {
let email: &str = "example@example.com";
let email_pattern: &str = r"^[\w.%+-]+@[\w.-]+\.[a-zA-Z]{2,}$";
let re = Regex::new(email_pattern).unwrap();
if re.is_match(email) {
println!("'{}' is a valid email address.", email);
} else {
println!("'{}' is not a valid email address.", email);
}
}
```
Run your project with:
```bash theme={null}
cargo run --quiet
```
Expected output:
```plaintext theme={null}
'example@example.com' is a valid email address.
```
If you change the email to an incorrect format (for example, removing the dot), the output will indicate the email is invalid:
```rust theme={null}
use regex::Regex;
fn main() {
let email: &str = "example@examplecom";
let email_pattern: &str = r"^[\w.%+-]+@[\w.-]+\.[a-zA-Z]{2,}$";
let re = Regex::new(email_pattern).unwrap();
if re.is_match(email) {
println!("'{}' is a valid email address.", email);
} else {
println!("'{}' is not a valid email address.", email);
}
}
```
Running this variant will display:
```plaintext theme={null}
'example@examplecom' is not a valid email address.
```
This example illustrates how the `regex` crate can be used for effective pattern matching and validation in Rust.
***
## Conclusion
Understanding how to use crates is vital to mastering Rust. Crates enable you to structure your code in a modular, reusable, and maintainable way, whether you're developing small utilities or large-scale applications. In this article, we've covered:
* The role of crates as compilation units and dependency management tools.
* How to create both binary and library crates.
* Managing dependencies using Cargo.
* Integrating the external `regex` crate for pattern matching.
In our next article, we will explore Rust packages and learn how to manage multiple crates within a single project to further enhance your development workflow. Happy coding!
***
## Additional Resources
For further reading and exploration, check out these helpful links:
* [Kubernetes Basics](https://kubernetes.io/docs/concepts/overview/what-is-kubernetes/)
* [Rust Programming Language](https://www.rust-lang.org/)
* [Cargo Book](https://doc.rust-lang.org/cargo/)
* [Regex Crate Documentation](https://docs.rs/regex)
Happy coding and enjoy your adventures with Rust!