> ## Documentation Index
> Fetch the complete documentation index at: https://notes.kodekloud.com/llms.txt
> Use this file to discover all available pages before exploring further.
# Introduction to Packages
> This guide explores Rust packages, which bundle one or more crates, and explains how to create, manage, and publish them effectively.
Crates are the fundamental building blocks of Rust projects. In this guide, we explore packages—a higher-level construct that bundles one or more crates and provides the structure needed to manage larger Rust projects effectively.
A package in Rust is a collection of one or more crates managed together. Every package features a Cargo.toml file, which is the manifest that specifies how the package is built, lists its dependencies, includes metadata, and much more. Let’s examine the key characteristics of packages.

A package can include at most one library crate, which contains reusable code that can be linked to from other crates. Additionally, a package may contain multiple binary crates, each responsible for generating a separate executable. These binary crates are typically used to build different command-line tools or applications.
Managed by Cargo, Rust’s official package manager, packages are built, tested, and have their dependencies managed efficiently. In simple terms, if a crate is like a single tool, then a package is like a toolbox that organizes one or more tools for efficient use.
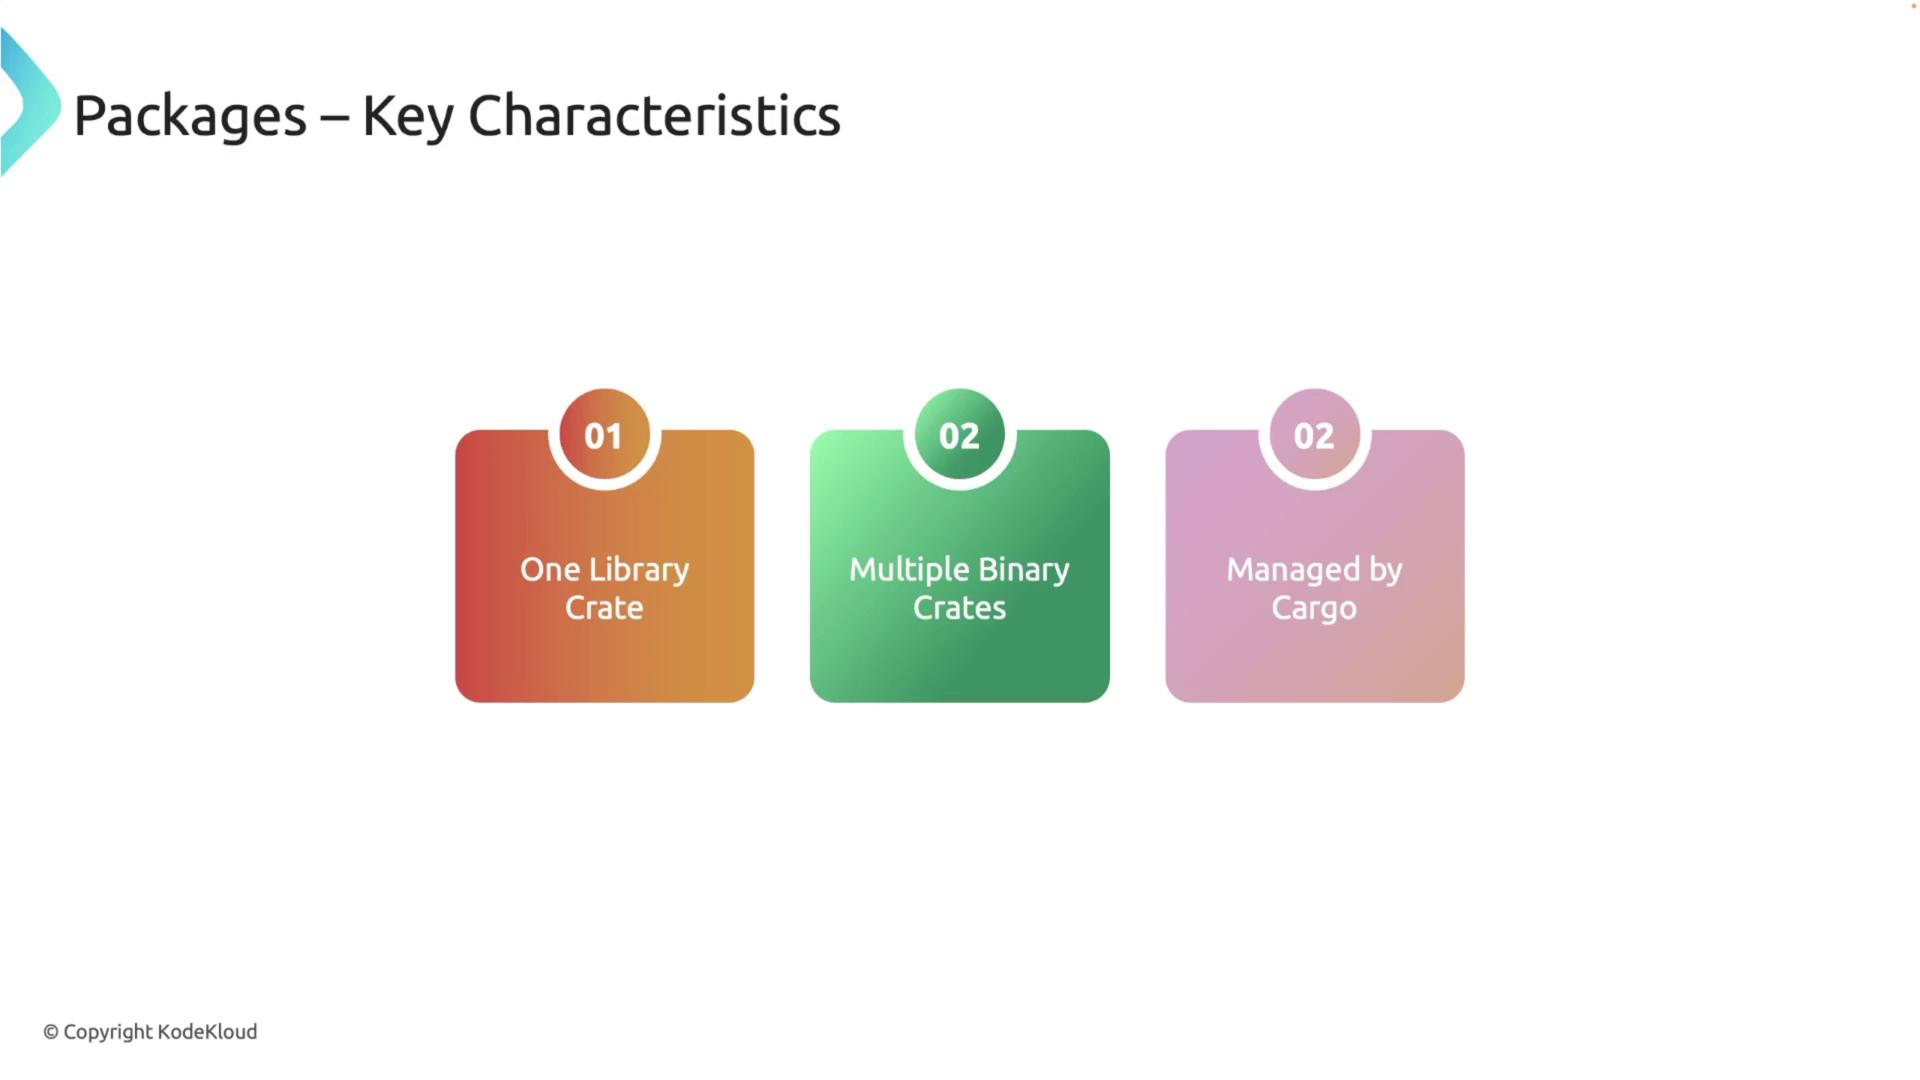
Let’s learn how to create a new Rust package using Cargo.
!!! note "Creating a New Package"
Open your terminal and run the following commands to initialize a new package:
```bash theme={null}
cargo new my_package
cd my_package
tree
code .
```
After running these commands, the directory will include a Cargo.toml file (the package manifest) and a `src` folder containing a main source file with the entry point of your executable. Below is an example of the Cargo.toml file:
```toml theme={null}
[package]
name = "my_package"
version = "0.1.0"
edition = "2021"
[dependencies]
```
And the main source file contains:
```rust theme={null}
fn main() {
println!("Hello, world!");
}
```
## Adding Multiple Crates to a Package
Rust packages can include multiple crates, allowing you to organize complex projects by separating functionality. For example, you can add a library crate to an existing package and link it to the main binary crate so that its functions become available to the executable.
First, navigate to your package directory (`my_package`) and create a new library crate. In this lesson, we add a library called `text_magic`. Execute the following commands:
```bash theme={null}
cargo new text_magic --lib
cd text_magic
tree
code .
```
This will create a new directory named `text_magic` with its own Cargo.toml file and a lib file located in the `src` folder.
Now, add some functions to the `text_magic` library. Let’s start with a function that adds two numbers, along with its test:
```rust theme={null}
// In text_magic/src/lib.rs
pub fn add(left: u64, right: u64) -> u64 {
left + right
}
#[cfg(test)]
mod tests {
use super::*;
#[test]
fn it_works() {
let result = add(2, 2);
assert_eq!(result, 4);
}
}
```
Next, define functions for reversing a string and checking if a string is a palindrome, including unit tests:
```rust theme={null}
// In text_magic/src/lib.rs
pub fn reverse(input: &str) -> String {
input.chars().rev().collect()
}
pub fn is_palindrome(input: &str) -> bool {
let cleaned_input: String = input
.chars()
.filter(|c| c.is_alphanumeric())
.collect::()
.to_lowercase();
cleaned_input == reverse(&cleaned_input)
}
#[cfg(test)]
mod tests {
use super::*;
#[test]
fn test_reverse() {
assert_eq!(reverse("wizard"), "drazwi");
}
#[test]
fn test_is_palindrome() {
assert!(is_palindrome("A man, a plan, a canal, Panama"));
assert!(!is_palindrome("Rustacean"));
}
}
```
You can build the library using Cargo to ensure there are no errors:
```bash theme={null}
cargo build
```
Next, integrate the library crate into your main package. Open the main Cargo.toml file in the package root (`my_package/Cargo.toml`) and add a dependency that points to the local `text_magic` library:
```toml theme={null}
[package]
name = "my_package"
version = "0.1.0"
edition = "2021"
[dependencies]
text_magic = { path = "text_magic" }
```
Return to the package root and run:
```bash theme={null}
cargo build --quiet
```
Now you can invoke the functions from the `text_magic` library in your main file. Update `src/main.rs` as follows:
```rust theme={null}
fn main() {
let reversed: String = text_magic::reverse("Rust");
println!("Reversed: {}", reversed);
}
```
Build the package again:
```bash theme={null}
cargo build --quiet
```
And then run it:
```bash theme={null}
cargo run --quiet
```
The output will confirm that the string "Rust" has been successfully reversed using the `reverse` function from the `text_magic` library.
## Publishing Your Library to crates.io
Once your package is ready and you wish to share it with others, you can publish it to [crates.io](https://crates.io). In this example, we publish the `text_magic` library.
First, make sure the Cargo.toml file in `text_magic` is complete with metadata such as package name, version, authors, description, and license. Open the file in your code editor and update it as follows:
```toml theme={null}
[package]
name = "text_magic"
version = "0.1.0"
authors = [""]
description = "A library for string manipulation including reversing strings and checking for palindromes."
license = "MIT"
edition = "2021"
[dependencies]
```
Before publishing, run your tests to ensure everything is working correctly:
```bash theme={null}
cargo test --quiet
```
The expected output should be similar to:
```plaintext theme={null}
running 2 tests
..
test result: ok. 2 passed; 0 failed; 0 ignored; 0 measured; 0 filtered out; finished in 0.00s
```
Next, log in to crates.io using your API token by running the following command in the `text_magic` directory:
```bash theme={null}
cargo login
```
You will be prompted to paste the token from [https://crates.io/me](https://crates.io/me). After logging in, publish the package. If your Git repository has uncommitted changes, use the `--allow-dirty` flag:
```bash theme={null}
cargo publish --allow-dirty
```
A successful publish will confirm that `text_magic v0.1.0` has been uploaded to crates.io.
## Using the Published Text Magic Crate in a New Project
Let’s create a new binary package that utilizes the published `text_magic` library from crates.io. From your workspace directory, run:
```bash theme={null}
cargo new use_text_magic
cd use_text_magic
code .
```
Next, install the dependency using the Cargo add command:
```bash theme={null}
cargo add text_magic
```
This updates your Cargo.toml with the following dependency line:
```toml theme={null}
[dependencies]
text_magic = "0.1.0"
```
Now, open `src/main.rs` and import the library functions as shown below:
```rust theme={null}
fn main() {
let reversed: String = text_magic::reverse("Rust");
println!("Reversed: {}", reversed);
let is_palindrome: bool = text_magic::is_palindrome("A man, a plan, a canal, Panama");
println!("Is palindrome: {}", is_palindrome);
}
```
Build and run the project:
```bash theme={null}
cargo run --quiet
```
You should see output similar to:
```plaintext theme={null}
Reversed: tsuR
Is palindrome: true
```
This demonstrates that the `text_magic` library is functioning as expected in a new project.
## Organizing Multiple Packages into a Workspace
Workspaces are a powerful feature that enable you to manage large projects composed of multiple interrelated crates. By sharing the same target directory, workspaces simplify dependency management and streamline builds.
To set up a workspace, create a new directory to house all your packages. For example, create a workspace called `my_workspace`:
```bash theme={null}
mkdir my_workspace
cd my_workspace
```
Then, create a Cargo.toml file in the workspace root with the following content:
```toml theme={null}
[workspace]
members = [
"package1",
"package2",
]
```
Now add two packages to the workspace:
```bash theme={null}
cargo new package1
cargo new package2
```
You might see a warning about missing configuration if one of the packages does not exist yet. This warning is expected as long as you plan to add the missing package shortly. Once created, the directory structure should resemble:
```text theme={null}
.
├── Cargo.toml
├── package1
│ ├── Cargo.toml
│ └── src
│ └── main.rs
└── package2
├── Cargo.toml
└── src
└── main.rs
```
To build the entire workspace, run:
```bash theme={null}
cargo build
```
To build a specific package, use the `-p` flag:
```bash theme={null}
cargo build -p package1
```
Similarly, to run a specific package:
```bash theme={null}
cargo run -p package1
```
This prints the default "Hello, world!" output provided by the `cargo new` command.
Happy coding!