Rust Programming
Rust Basics
Control Flow loop and labels
In this lesson, we will explore loops and labels in Rust. Looping allows you to execute a block of code repeatedly, and Rust provides several looping constructs including 
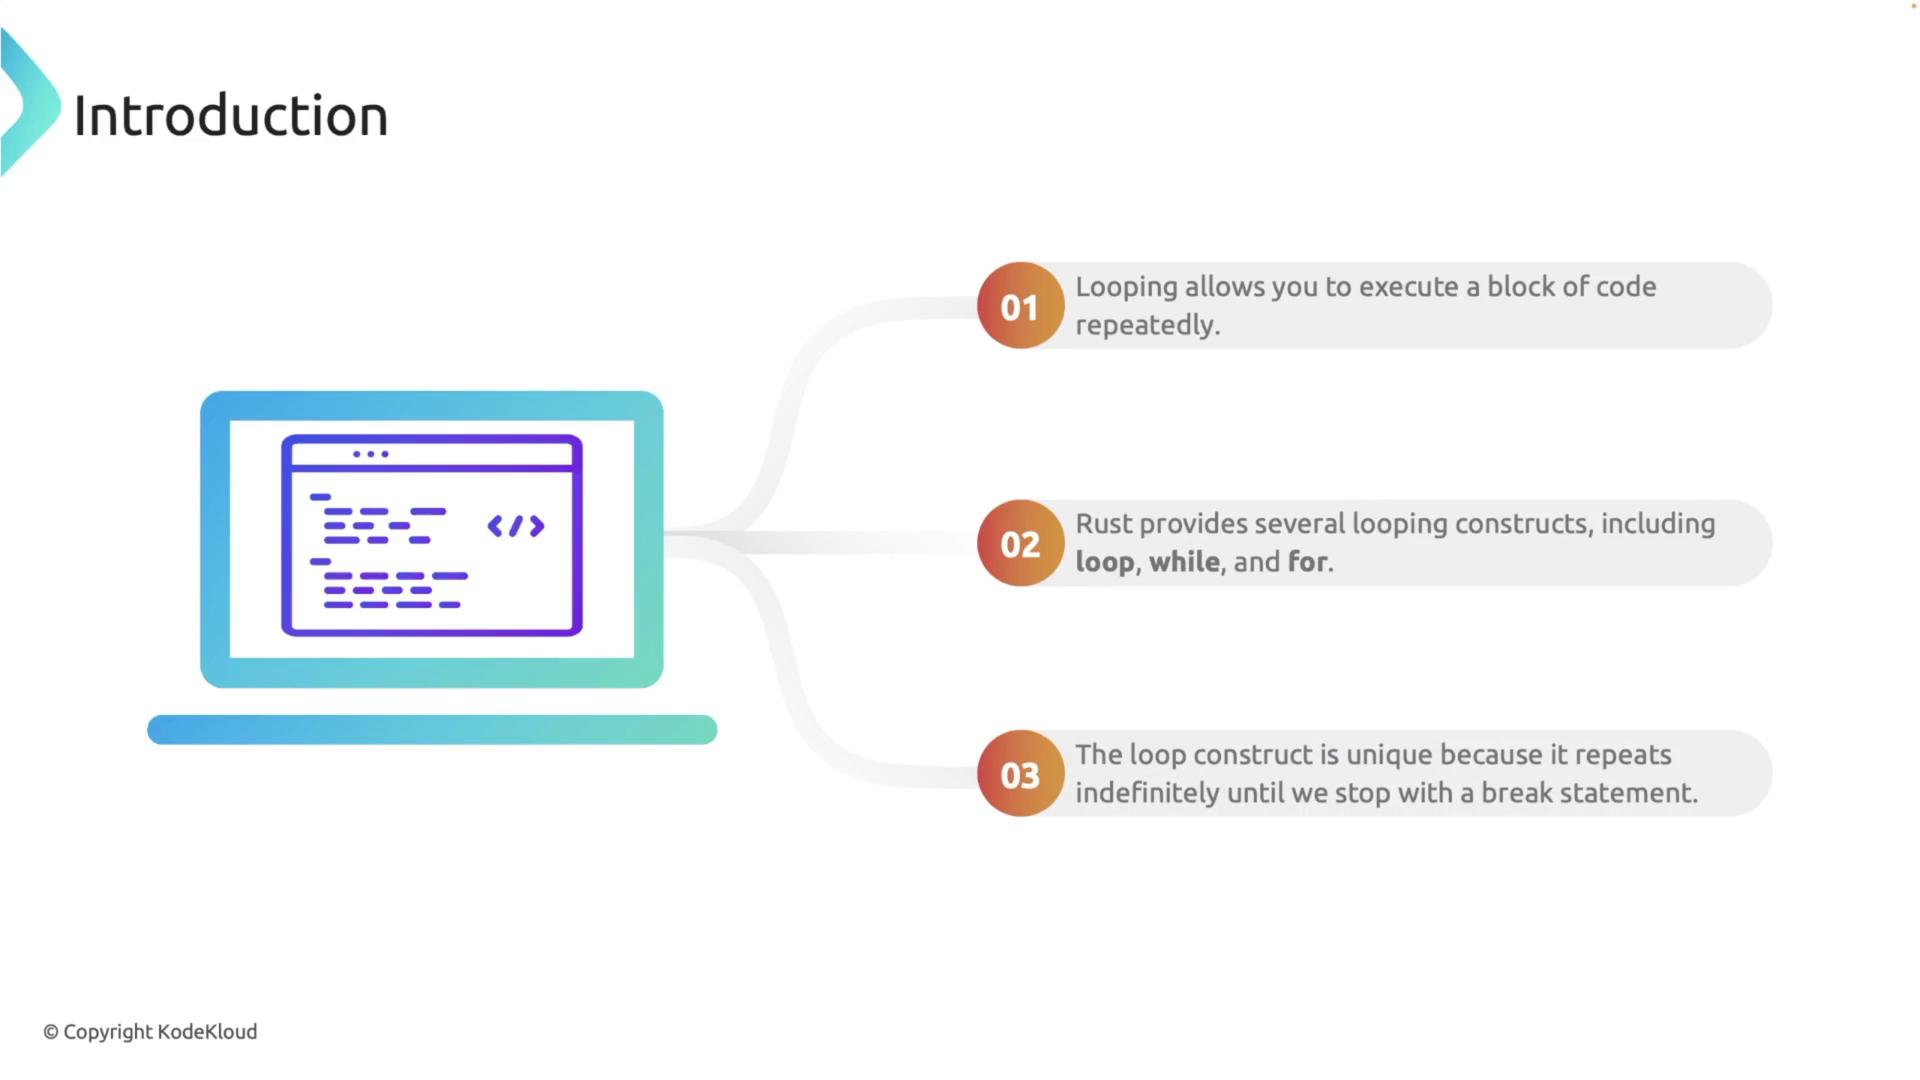
loop, while, and for. Notably, the loop construct repeats indefinitely until it is explicitly stopped with a break statement.

Basic Looping with loop
A basic loop in Rust starts with the loop keyword followed by a block enclosed in curly braces. Inside these braces, you can place the code that you want to repeat indefinitely. For example:
fn main() {
loop {
println!("This will run forever!");
}
}
To exit the loop, use the break statement. In the following example, a counter is incremented until it reaches 5. Once the counter equals 5, the break statement terminates the loop:
fn main() {
let mut count = 0;
loop {
count += 1;
println!("Count: {}", count);
if count == 5 {
break;
}
}
println!("Loop ended at count: {}", count);
}
You can also return a value from a loop by providing a value with the break statement. In this example, the loop increments the counter until it reaches 10, then returns count * 2 which is stored in the result variable:
fn main() {
let mut count = 0;
let result = loop {
count += 1;
if count == 10 {
break count * 2; // Returning a value from the loop
}
};
println!("The result is: {}", result);
}
The output of this program will be:
The result is: 20
Loop Labels for Nested Loops
Rust allows you to label loops to make it easier to control nested loops. Labels are defined by a single quote (') followed by the label name. This feature is especially useful when you need to break out of or continue a specific loop in a nested structure.

Consider the following example where an outer loop is labeled 'outer. An inner loop runs without a label. The inner loop breaks when inner_count reaches 2, but if outer_count reaches 3, the break 'outer statement exits the outer loop entirely:
fn main() {
let mut outer_count = 0;
'outer: loop {
println!("Outer count: {}", outer_count);
let mut inner_count = 0;
loop {
println!("Inner count: {}", inner_count);
inner_count += 1;
if inner_count == 2 {
break; // This breaks the inner loop
}
if outer_count == 3 {
break 'outer; // This breaks the outer loop
}
}
println!("-----------------");
outer_count += 1;
}
println!("Outer loop ended at count: {}", outer_count);
}
The expected output for the nested loop example is:
Outer count: 0
Inner count: 0
Inner count: 1
---------------
Outer count: 1
Inner count: 0
Inner count: 1
---------------
Outer count: 2
Inner count: 0
Inner count: 1
---------------
Outer count: 3
Inner count: 0
Outer loop ended at count: 3
Skipping Iterations with continue
The continue statement in Rust functions similarly to those in languages like C or Python. When encountered, it skips the rest of the current iteration and immediately moves to the next one. In the example below, a for loop iterates over a range from 1 to 5, and skips the iteration when the counter is 3:
fn main() {
for i in 1..=5 {
if i == 3 {
continue; // Skips the iteration when i == 3
}
println!("The number is: {}", i);
}
}
This program will output:
The number is: 1
The number is: 2
The number is: 4
The number is: 5
Summary
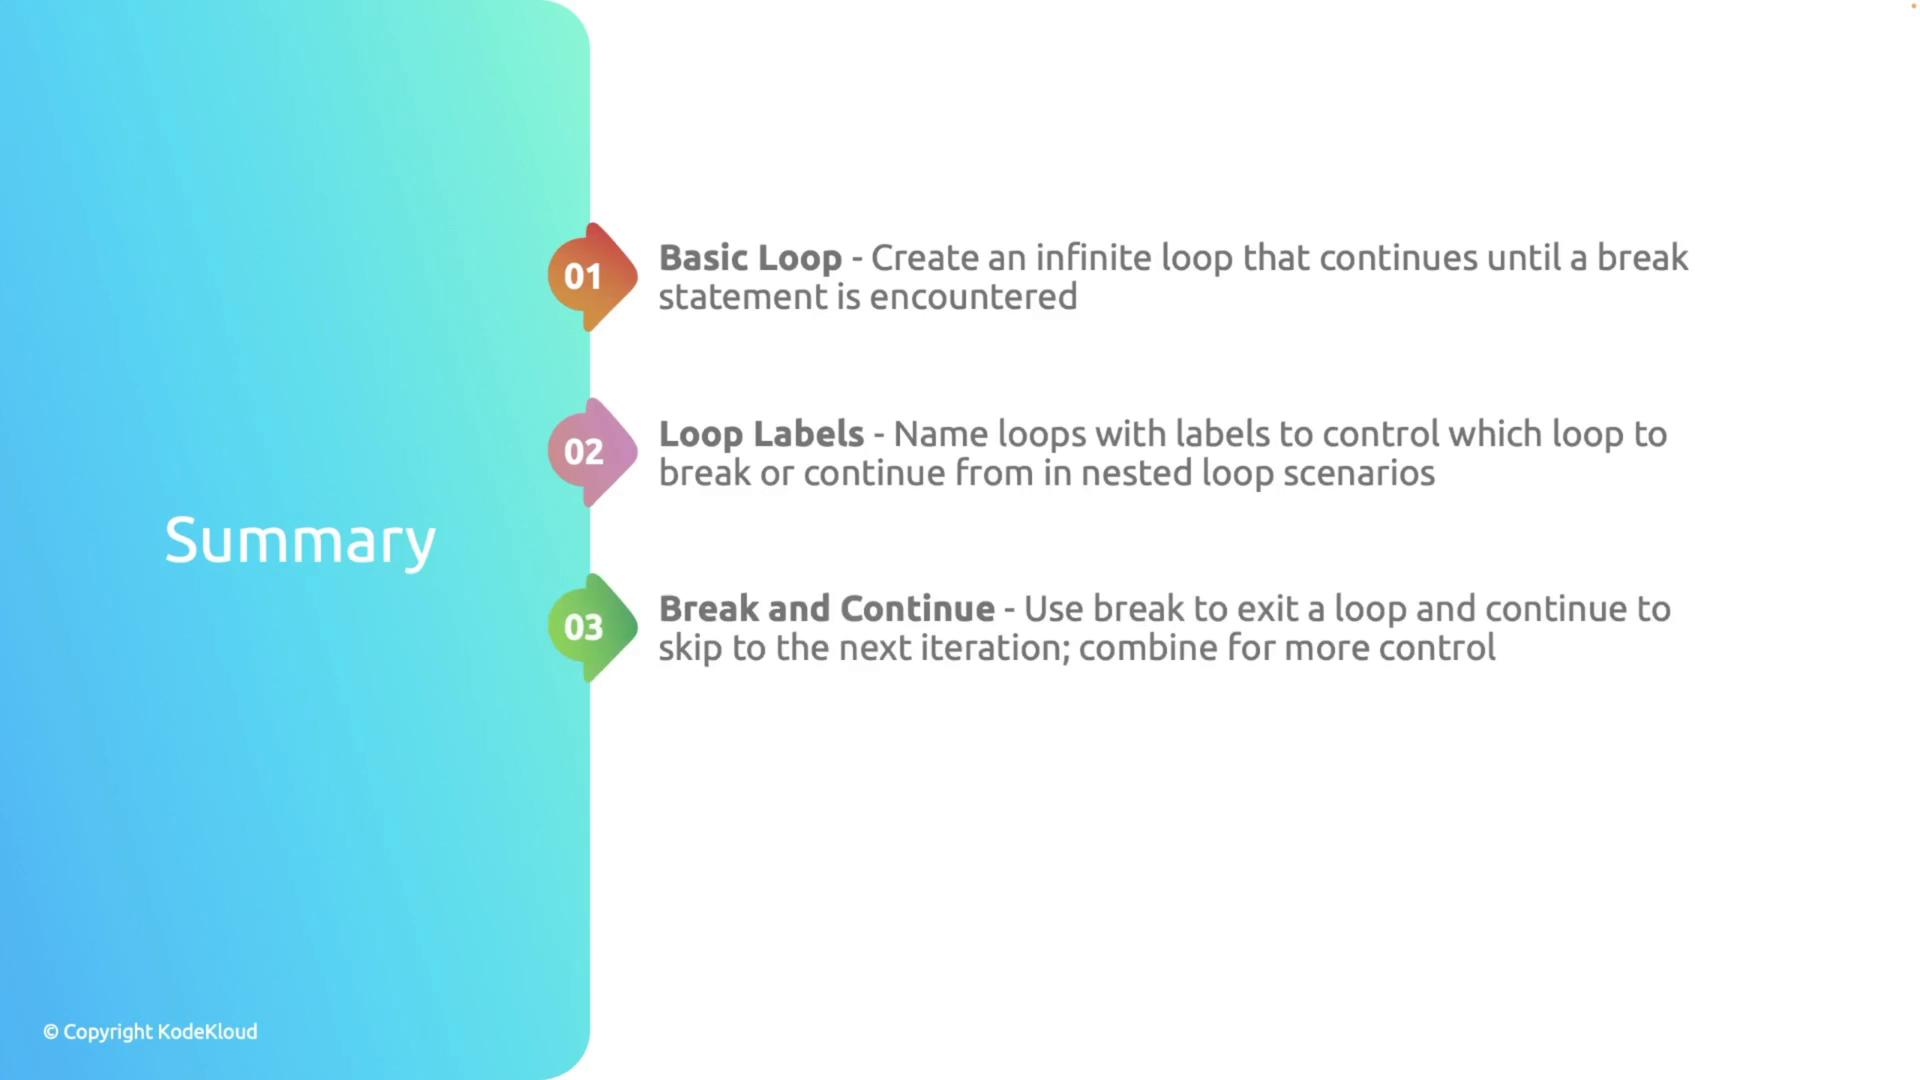
- Basic loops are created using the
loopconstruct and continue indefinitely until abreakstatement is encountered. - Loop labels allow you to manage control flow in nested loop scenarios.
- Use
breakto exit a loop immediately and optionally return a value. - The
continuestatement skips the remainder of the loop's current iteration.

Mastering these control-flow constructs in Rust will help you write more concise, efficient, and readable code when handling various loop-based tasks. For further reading, consider exploring the Rust Programming Language Book.
Watch Video
Watch video content