
- Creating a library and the built-in test template
- Writing and running unit tests with Cargo
- Using assertion macros and interpreting test output
- Handling panics and returning Result in tests
- Best practices for reliable unit tests
Creating a library and the built-in test template
When you create a new Rust library crate, Cargo often includes a small example test module inlib.rs. This template demonstrates the typical structure: a public function and a test module guarded by #[cfg(test)].
Example lib.rs:
Key points:
#[cfg(test)]makes the test module compile only when runningcargo test.mod testsis a conventional place to group unit tests.use super::*;imports parent-module items to make them available to the tests.#[test]marks functions that Cargo will execute as tests.
Running tests with Cargo
Run all tests with:cargo test— compiles the crate in test mode and runs all#[test]functions.cargo test --lib— run only library tests.cargo test <test-name>— run tests matching a substring.
A simple example: multiply
A small function with a unit test demonstrates the workflow:cargo test will compile in test mode and execute test_multiply. The test harness prints a per-test pass/fail line and a summary.
![A four-step flowchart titled "Understanding Test Output" showing Compile Code → Run Tests → Test Results → Compile Code. Each step notes that Rust/Cargo compiles in test mode, runs functions marked #[test], shows pass/fail status for each test, and displays a summary of passed/failed tests.](https://mintcdn.com/kodekloud-c4ac6d9a/qTPiNmqXKGQjbUh5/images/Rust-Programming/Testing-Continuous-Integration/Introduction-to-Testing-in-Rust/rust-cargo-test-flowchart.jpg?fit=max&auto=format&n=qTPiNmqXKGQjbUh5&q=85&s=a89ef8ed302532c031a2546aec4f6787)
Demonstrating a failing test
When an assertion fails, Cargo reports a failure with useful context: the test name, a panic message, and the expected vs actual values when available. Intentional failing example:Common assertion macros
Use these assertion macros inside tests to express expectations clearly.| Macro | Description | Example |
|---|---|---|
assert!(cond) | Asserts a boolean condition is true | assert!(2 + 2 == 4); |
assert_eq!(left, right) | Asserts two expressions are equal (prints values on failure) | assert_eq!(multiply(2, 3), 6); |
assert_ne!(left, right) | Asserts two expressions are not equal | assert_ne!(multiply(2, 3), 7); |
assert!(cond, "msg") | Asserts with a custom failure message | assert!(x > 0, "x must be positive"); |
Testing for panics with #[should_panic]
To test that code panics in error conditions, use#[should_panic]. Optionally provide expected = "text" to match the panic message.
Example: a divide function that panics on division by zero
Use
#[should_panic(expected = "...")] carefully: matching an expected substring can make tests fragile if panic messages change. Prefer asserting error types or Result-based APIs when possible.Writing tests that return Result<T, E>
Instead of using panics, test functions may returnResult<(), E>. This lets you use the ? operator for concise error handling—tests that return Ok(()) pass; returning Err(_) fails.
![A presentation slide titled “Writing Tests With Result<T, E]” with a colored banner that reads “Using Result<T, E> in tests enables concise error handling with the ? operator.” The slide has a © Copyright KodeKloud notice in the bottom-left.](/images/Rust-Programming/Testing-Continuous-Integration/Introduction-to-Testing-in-Rust/writing-tests-result-t-e-slide.jpg)
Cargo.toml exists in the test working directory, this test will pass. Returning Result is especially useful when tests perform I/O or use other fallible APIs.
Interpreting test output
When running tests, Cargo prints:- a per-test line showing name and status (ok/FAILED/ignored)
- detailed failure reports including backtraces (if
RUST_BACKTRACE=1) - a final summary with counts of passed/failed/ignored tests
Best practices
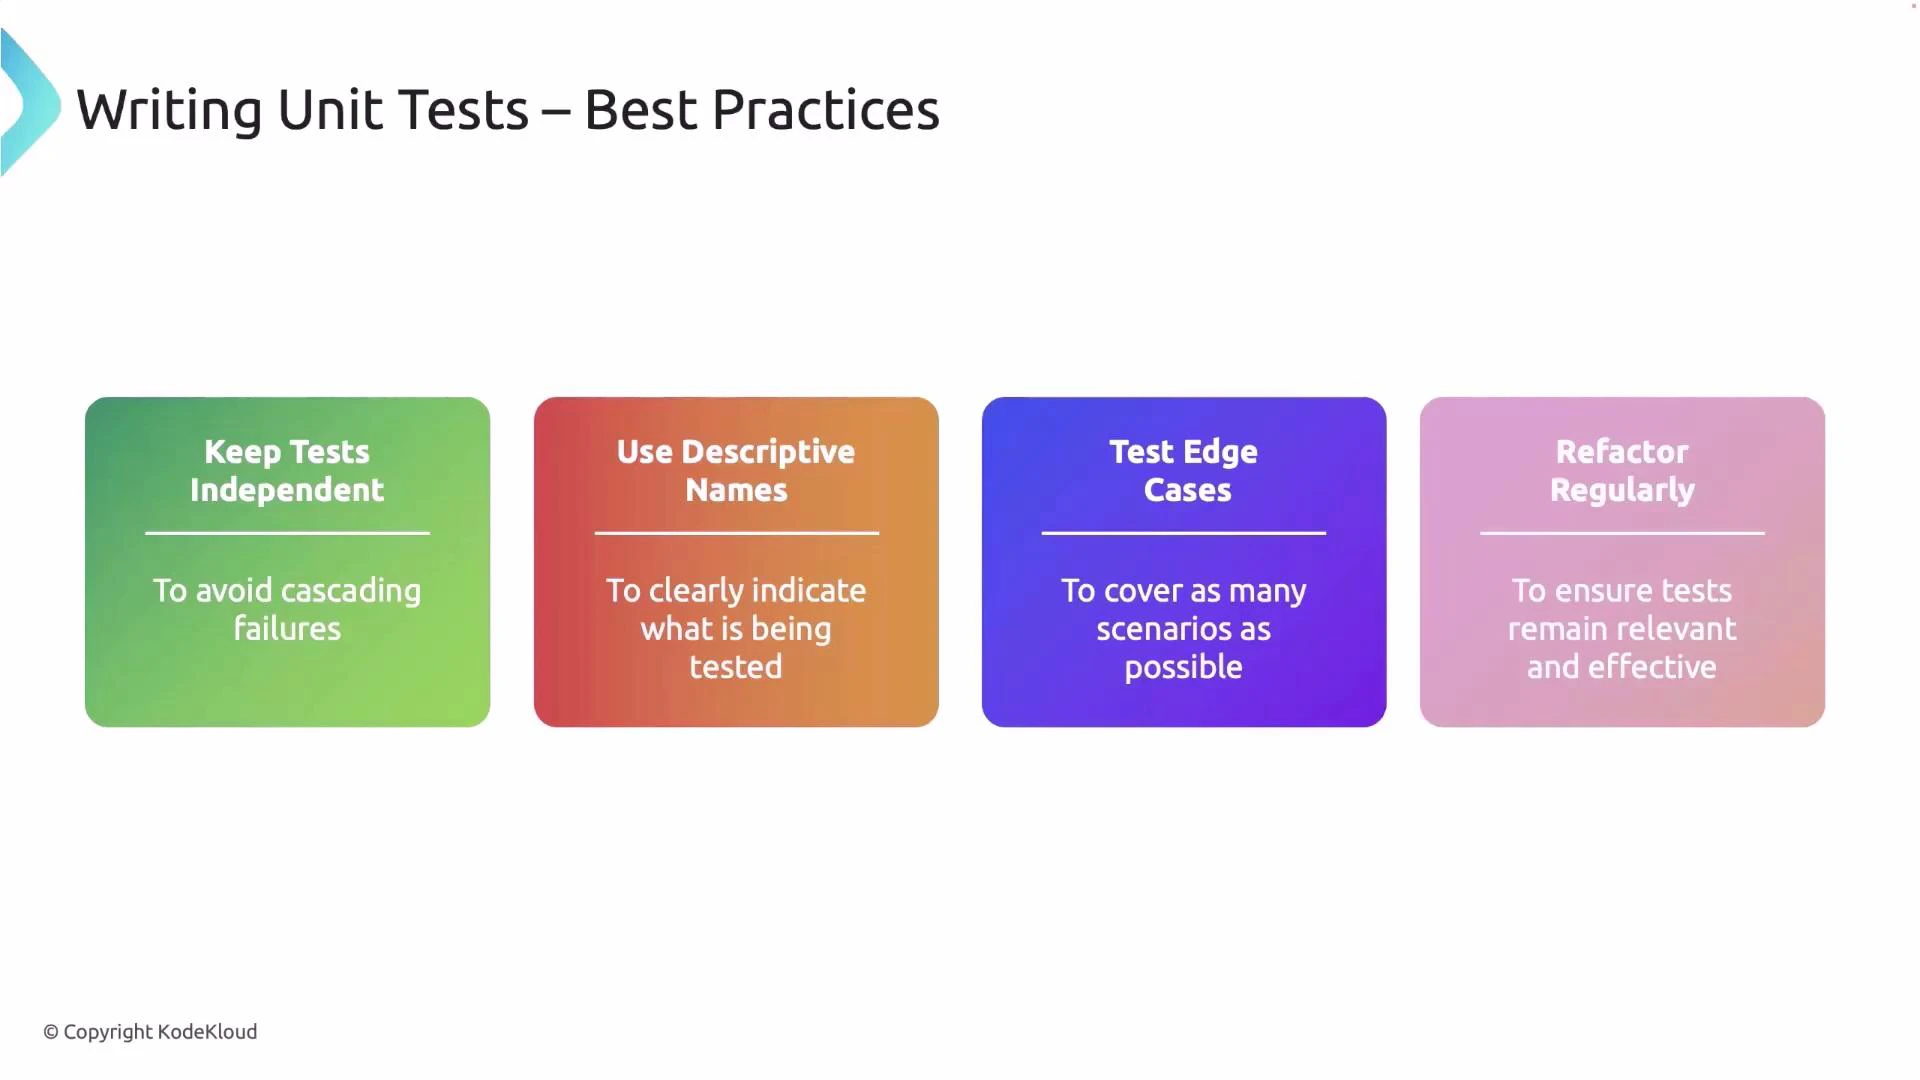
- Keep tests independent: avoid shared mutable state and order-dependent behavior.
- Use descriptive names: a clear test name documents intent and simplifies debugging.
- Test edge cases: include boundary conditions, error paths, and invalid inputs.
- Prefer explicit checks over fragile string matching for panics—use
Result-based APIs or error types when possible. - Refactor tests alongside code: remove duplication and keep tests readable and maintainable.
Quick reference
| Topic | Command / Pattern |
|---|---|
| Run all tests | cargo test |
| Run specific test | cargo test <name> |
| Test module guard | #[cfg(test)] |
| Mark test | #[test] |
| Expect panic | #[should_panic] or #[should_panic(expected = "...")] |
| Result-returning test | fn test() -> Result<(), E> |