> ## Documentation Index
> Fetch the complete documentation index at: https://notes.kodekloud.com/llms.txt
> Use this file to discover all available pages before exploring further.
# Organizing Tests in Rust
> This guide explains how to organize unit and integration tests in Rust projects for effective software development.
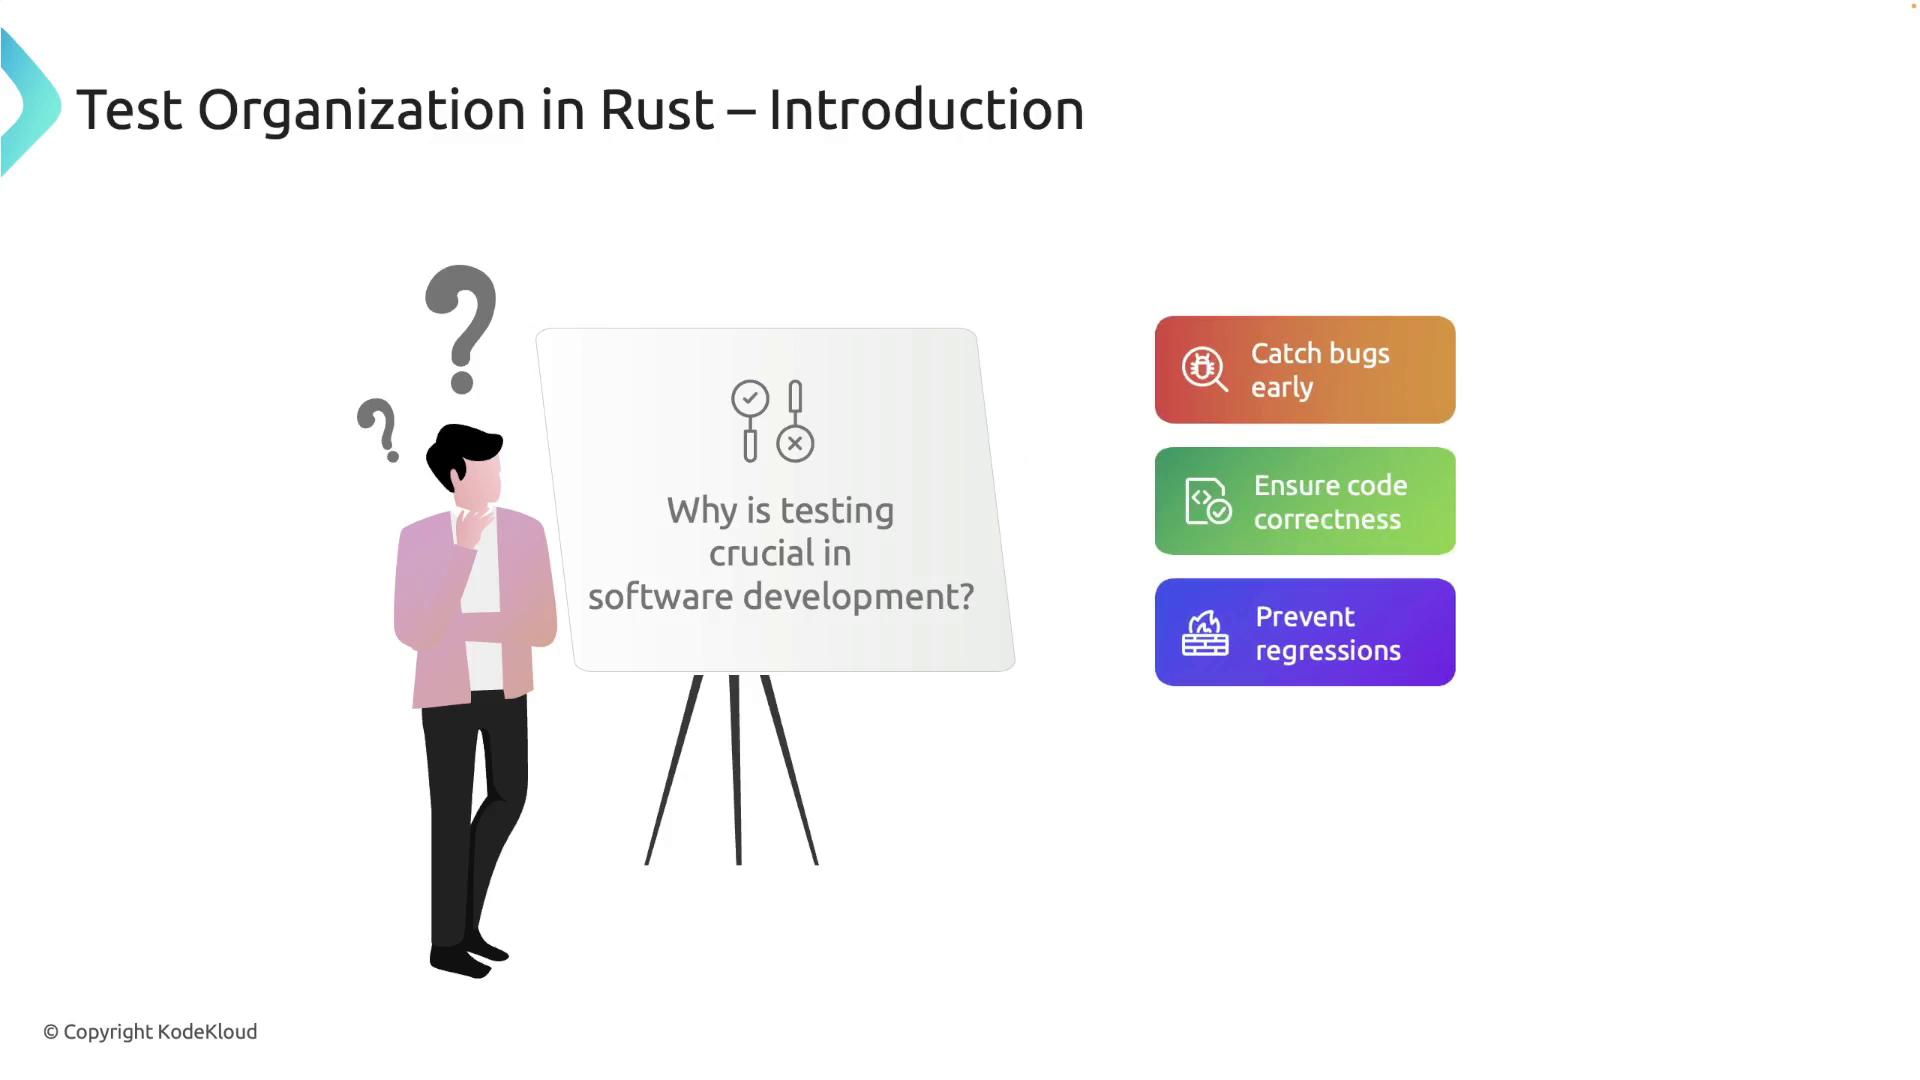
Testing is a critical aspect of software development in Rust. Effective testing not only catches bugs early but also ensures code correctness and prevents regressions. In this guide, we will dive into how to organize tests in a Rust project by exploring both unit tests and integration tests.
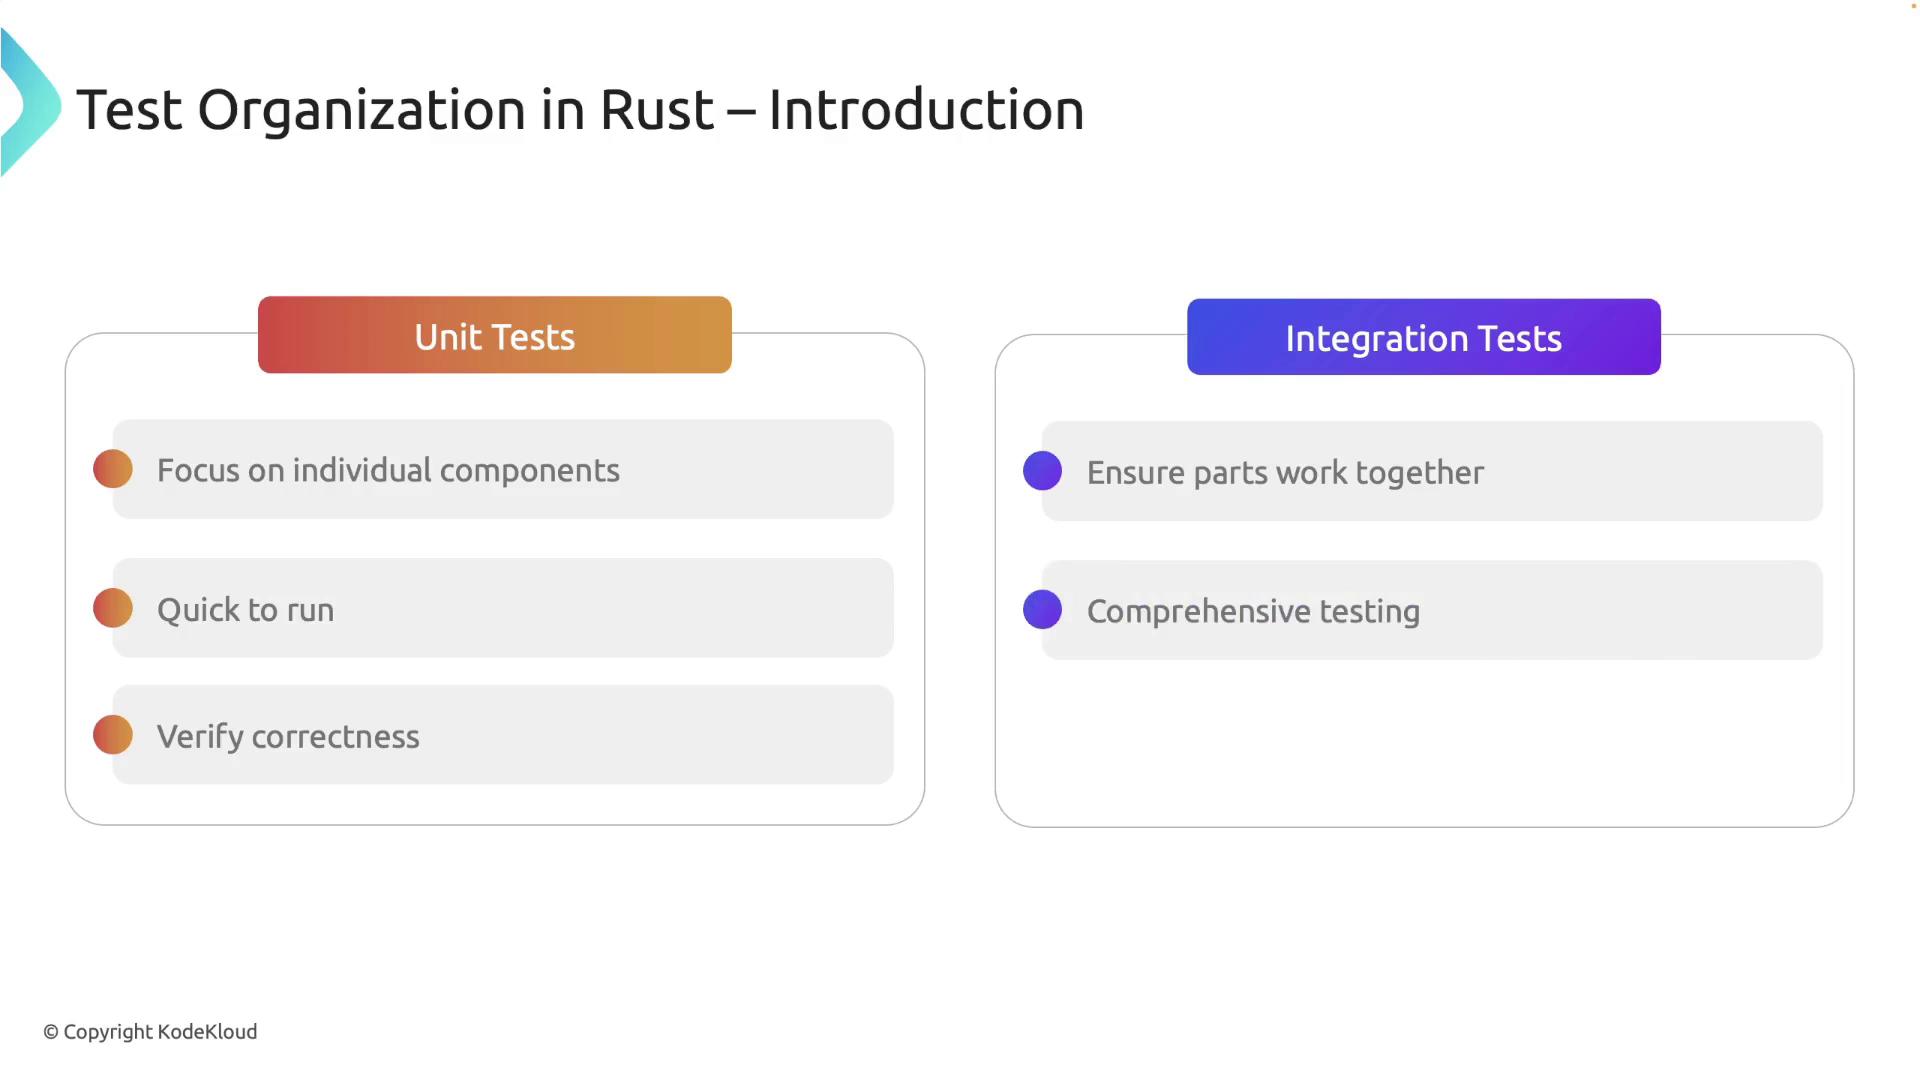
There are two primary types of tests in Rust:
1. **Unit Tests**\
These tests target individual components—such as functions and modules—in isolation. They are designed to run quickly while verifying that every specific part of your code behaves as expected.
2. **Integration Tests**\
Integration tests validate that various components of your application work together. They focus on the public interfaces and test the interactions between different parts of your code to ensure comprehensive functionality.
***
## Unit Tests
Unit tests in Rust are typically placed in the same file as the code they test. This close proximity allows testing of private functions and promotes maintainability. Remember that unit tests should be fast, isolated, and repeatable, without relying on external systems or shared states.
Below is an example of a unit test in Rust:
```rust theme={null}
// Filename: src/lib.rs
pub fn multiply(a: i32, b: i32) -> i32 {
a * b
}
#[cfg(test)]
mod tests {
use super::*;
#[test]
fn test_multiply() {
let result = multiply(3, 4);
assert_eq!(result, 12); // Verifies that multiply works as expected
}
}
```
The `#[cfg(test)]` attribute ensures that the test module is compiled only during test runs (using `cargo test`). The `#[test]` attribute marks the function as a test case, and the `assert_eq!` macro compares the expected value with the actual result.
Rust’s design allows testing of private functions by situating tests in the same module. Consider this example with a private function:
```rust theme={null}
// Filename: src/lib.rs
fn add(a: i32, b: i32) -> i32 {
a + b
}
#[cfg(test)]
mod tests {
use super::*;
#[test]
fn test_add() {
let result = add(1, 2);
assert_eq!(result, 3); // Tests the private function add
}
}
```
Unit tests are best kept fast and deterministic. This approach aids in rapid development feedback during code changes.
***
## Integration Tests
Integration tests in Rust reside outside your crate and are used to verify that various parts of your library work together correctly. These tests are designed around public interfaces and are located in a dedicated `tests` directory at the project root.
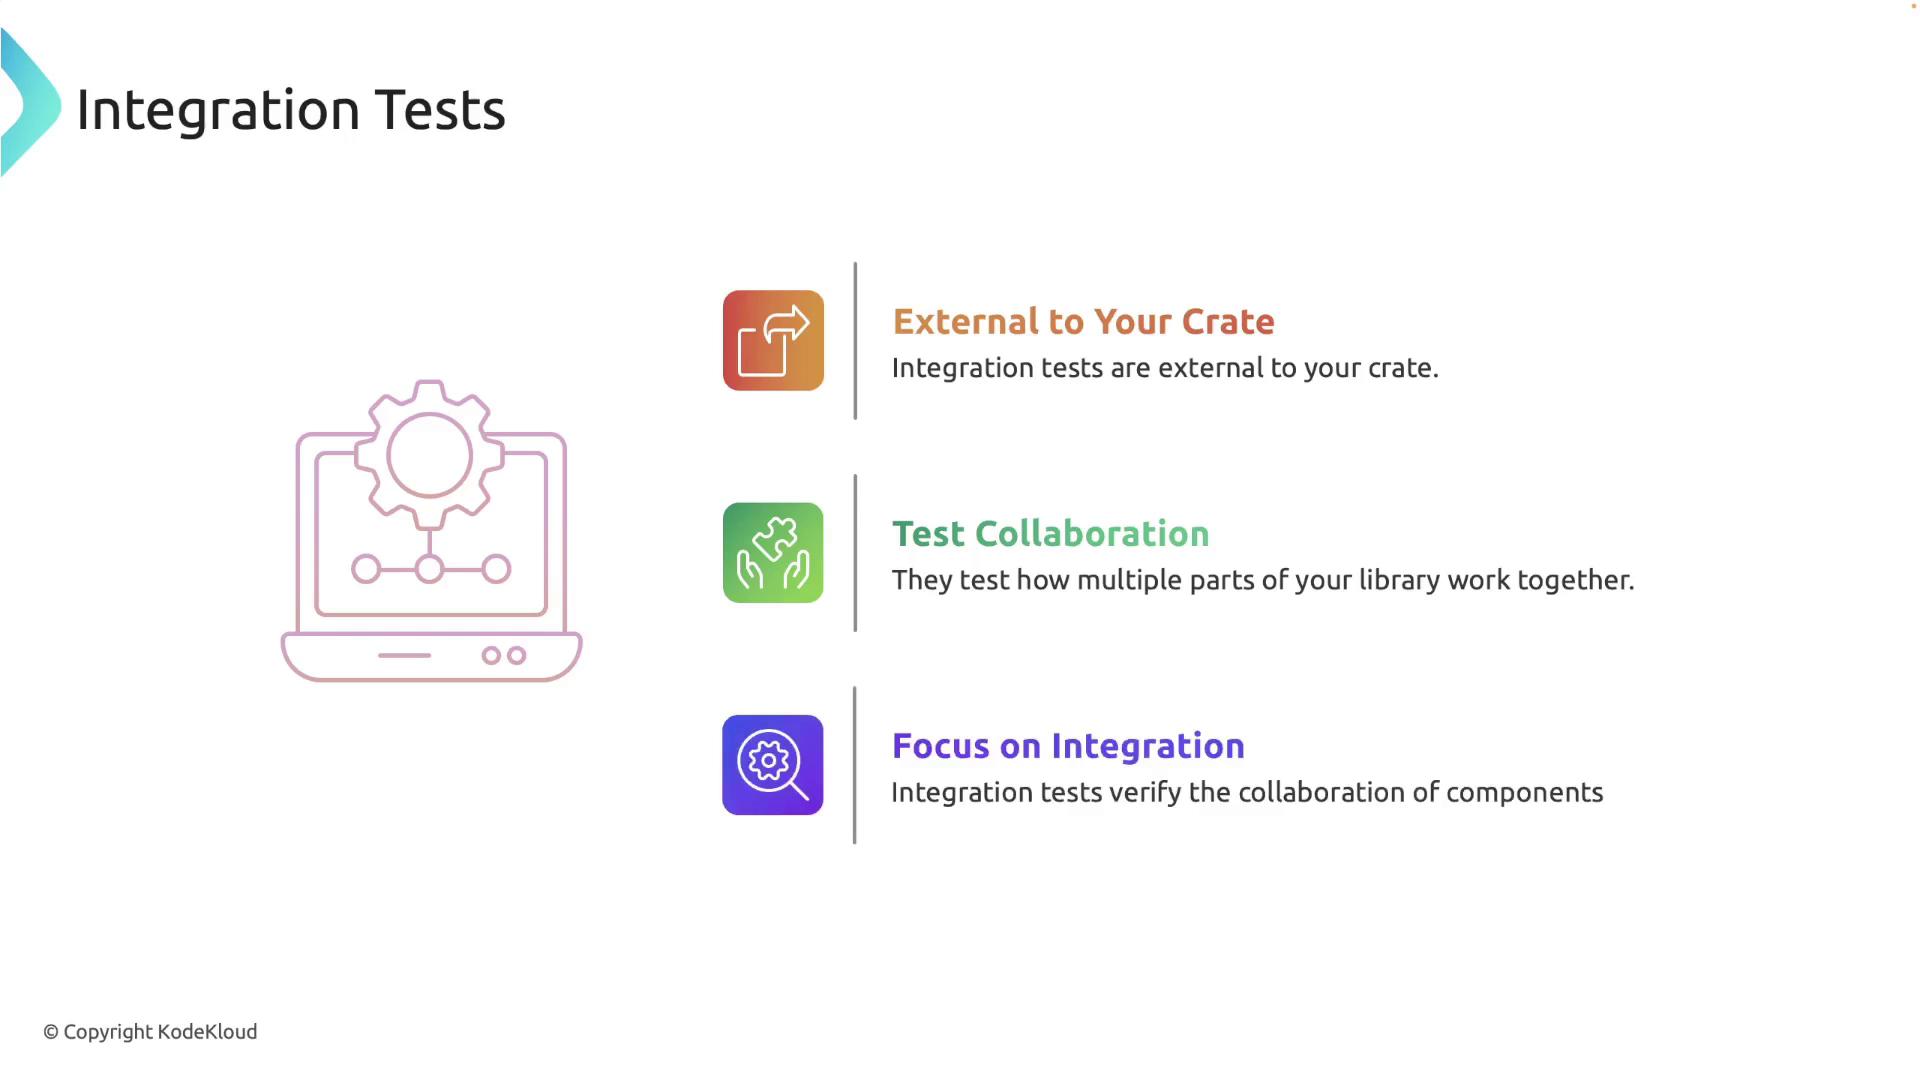
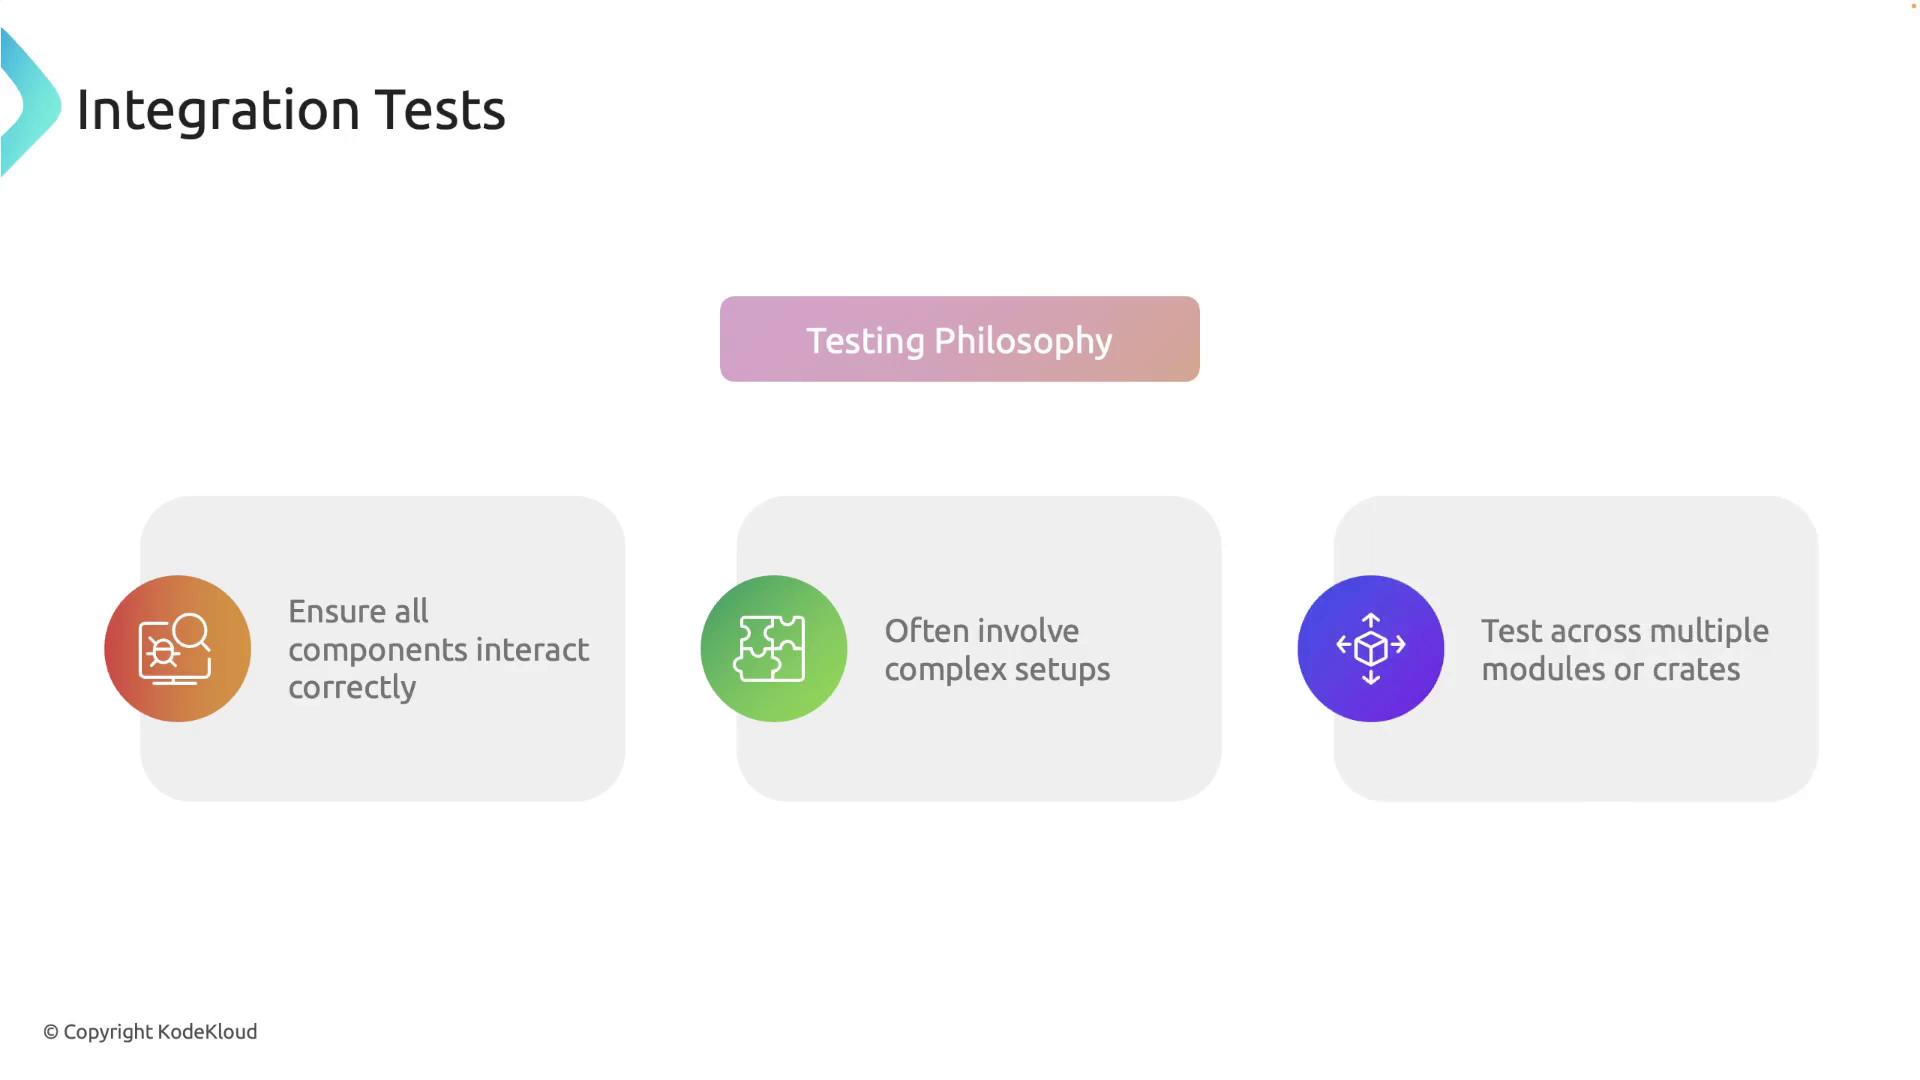
Integration tests often require more complex setups because they involve multiple modules or even multiple crates.
### Setting Up Integration Tests
Create a `tests` directory in the root of your project. Each file within this directory is compiled as an independent crate. A typical project structure might look like this:
```Rust theme={null}
my_crate
├── Cargo.toml
├── src
│ └── lib.rs
└── tests
└── integration_test.rs
```
For instance, if you have a crate named `calculator` with a function `divide`, your integration tests may appear as follows:
```rust theme={null}
// Filename: tests/integration_test.rs
use calculator::divide;
#[test]
fn test_divide_success() {
assert_eq!(divide(10, 2), Ok(5)); // Successful division test case
}
#[test]
fn test_divide_by_zero() {
assert_eq!(divide(10, 0), Err(String::from("Cannot divide by zero"))); // Division by zero test case
}
```
Running `cargo test` executes these tests and you should see confirmation that they passed:
```plaintext theme={null}
running 2 tests
test test_divide_success ... ok
test test_divide_by_zero ... ok
test result: ok. 2 passed; 0 failed; 0 ignored; 0 measured; 0 filtered out; finished in 0.00s
```
Each file within the `tests` directory works as its own crate. Therefore, it is not necessary to decorate these files with the `#[cfg(test)]` attribute.
### Organizing Common Test Utilities
As your project scales, you may need to reuse setup code or utilities across several integration tests. To facilitate this, create a helper module within the `tests` directory rather than inside the `src` directory.
For example, create a file named `tests/common/mod.rs` with shared setup functionality:
```rust theme={null}
// Filename: tests/common/mod.rs
pub fn setup() {
// Code to setup test environment
println!("Setting up common environment...");
}
```
Now, include this helper module in your integration tests:
```rust theme={null}
// Filename: tests/integration_test.rs
use calculator::divide;
mod common;
#[test]
fn test_divide_success() {
common::setup();
assert_eq!(divide(10, 2), Ok(5)); // Validates successful division
}
#[test]
fn test_divide_by_zero() {
common::setup();
assert_eq!(divide(10, 0), Err(String::from("Cannot divide by zero"))); // Validates division by zero
}
```
To view the setup logs during test execution, run the tests with:
```bash theme={null}
cargo test -- --nocapture
```
Using the `--nocapture` flag ensures that all `println!` statements are displayed in the test output, which is useful for debugging and understanding the test setup flow.
***
## Summary
This guide covered key points on organizing tests in Rust:
* Tests help catch bugs early and ensure code correctness.
* There are two main types of tests: unit tests (which focus on individual components) and integration tests (which validate interactions between components).
* Unit tests reside alongside the code and utilize attributes like `#[cfg(test)]` and `#[test]` for easy execution.
* Integration tests are placed in a separate `tests` directory and are compiled as independent crates.
* Common test utilities should be organized within the tests directory to reduce redundancy.
By structuring your tests effectively, you can maintain a robust Rust application that scales gracefully as its complexity increases.
For further information, consider exploring resources such as [Rust's Testing Documentation](https://doc.rust-lang.org/book/ch11-00-testing.html) and other [Rust Programming Guides](https://www.rust-lang.org/learn).