> ## Documentation Index
> Fetch the complete documentation index at: https://notes.kodekloud.com/llms.txt
> Use this file to discover all available pages before exploring further.
# Creating your first stack
> This guide teaches how to use Spacelift with Terraform to launch an AWS EC2 instance and manage it through a GitHub repository.
In this guide, you'll learn how to use Spacelift with a straightforward Terraform configuration. This configuration launches an AWS EC2 instance of type t2.micro tagged as "app-server" and outputs both the instance ID and its public IP. The AMI used is the default Linux AMI for the us-east-1 region, so if you're operating in another region, update the AMI accordingly.
## Terraform Configuration
Below is the Terraform configuration that creates the EC2 instance:
```hcl theme={null}
terraform {
required_providers {
aws = {
source = "hashicorp/aws"
version = "~> 4.16"
}
}
required_version = ">= 1.2.0"
}
provider "aws" {
region = "us-east-1"
}
resource "aws_instance" "app_server" {
ami = "ami-02396cdd13e9a1257"
instance_type = "t2.micro"
tags = {
Name = "app-server"
}
}
```
This configuration deploys a simple EC2 instance. To retrieve essential details about this instance, such as its ID and public IP address, include the following outputs:
```hcl theme={null}
output "instance_id" {
description = "ID of the EC2 instance"
value = aws_instance.app_server.id
}
output "instance_public_ip" {
description = "Public IP address of the EC2 instance"
value = aws_instance.app_server.public_ip
}
```
## Repository Setup
To begin, create a GitHub repository for your project. In this example, we use "spacelift-demo" as the repository name, keeping it public with default settings.
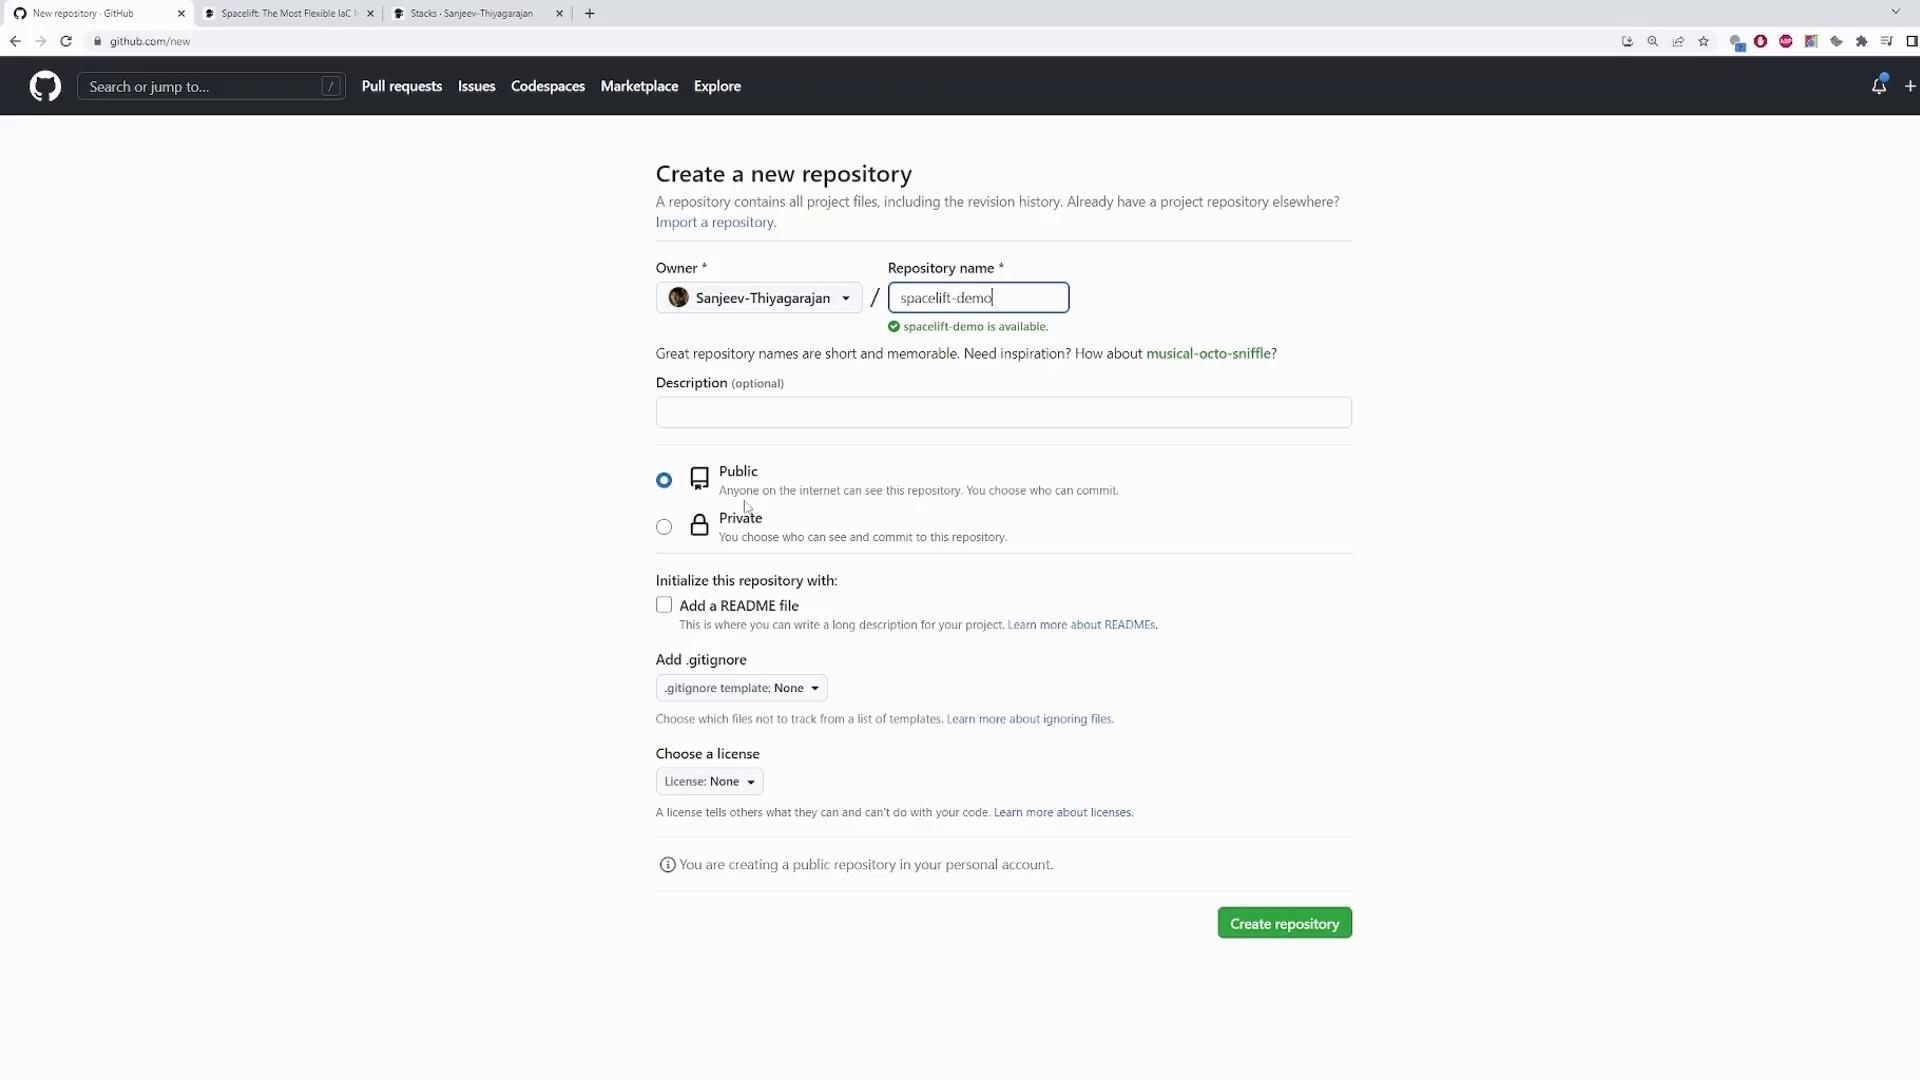
After you name the repository, click **Create repository**. Then, run the following commands to initialize your repository locally, add your files, commit your changes, and push your repository to GitHub:
```bash theme={null}
echo "# spacelift-demo" >> README.md
git init
git add README.md
git commit -m "first commit"
git branch -M main
git remote add origin https://github.com/Sanjeev-Thiyagarajan/spacelift-demo.git
git push -u origin main
```
Once the push is complete, you will see your repository populated with the corresponding files.
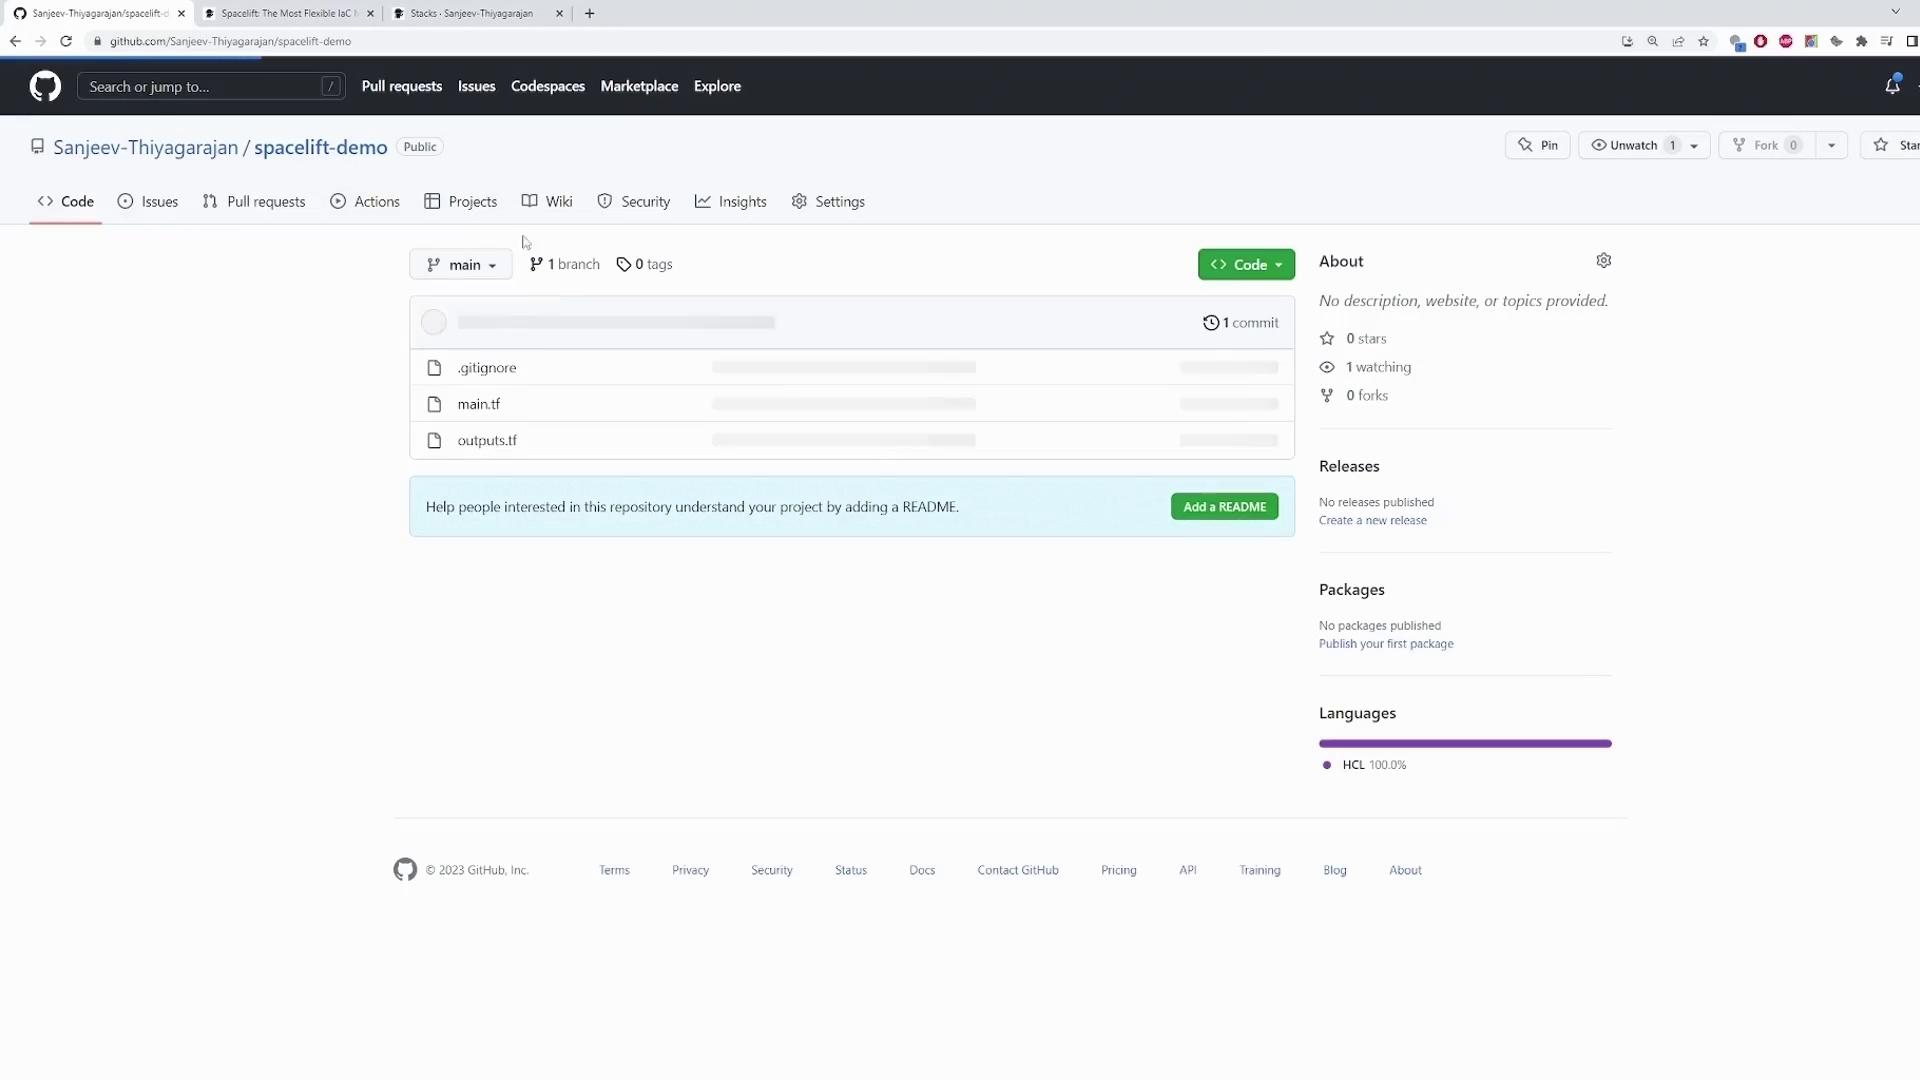
A default `.gitignore` is automatically included to prevent committing unnecessary files.
## Configuring Spacelift
With your repository ready, head over to the [Spacelift website](https://spacelift.io/) and click the **Get Started** button on the homepage.
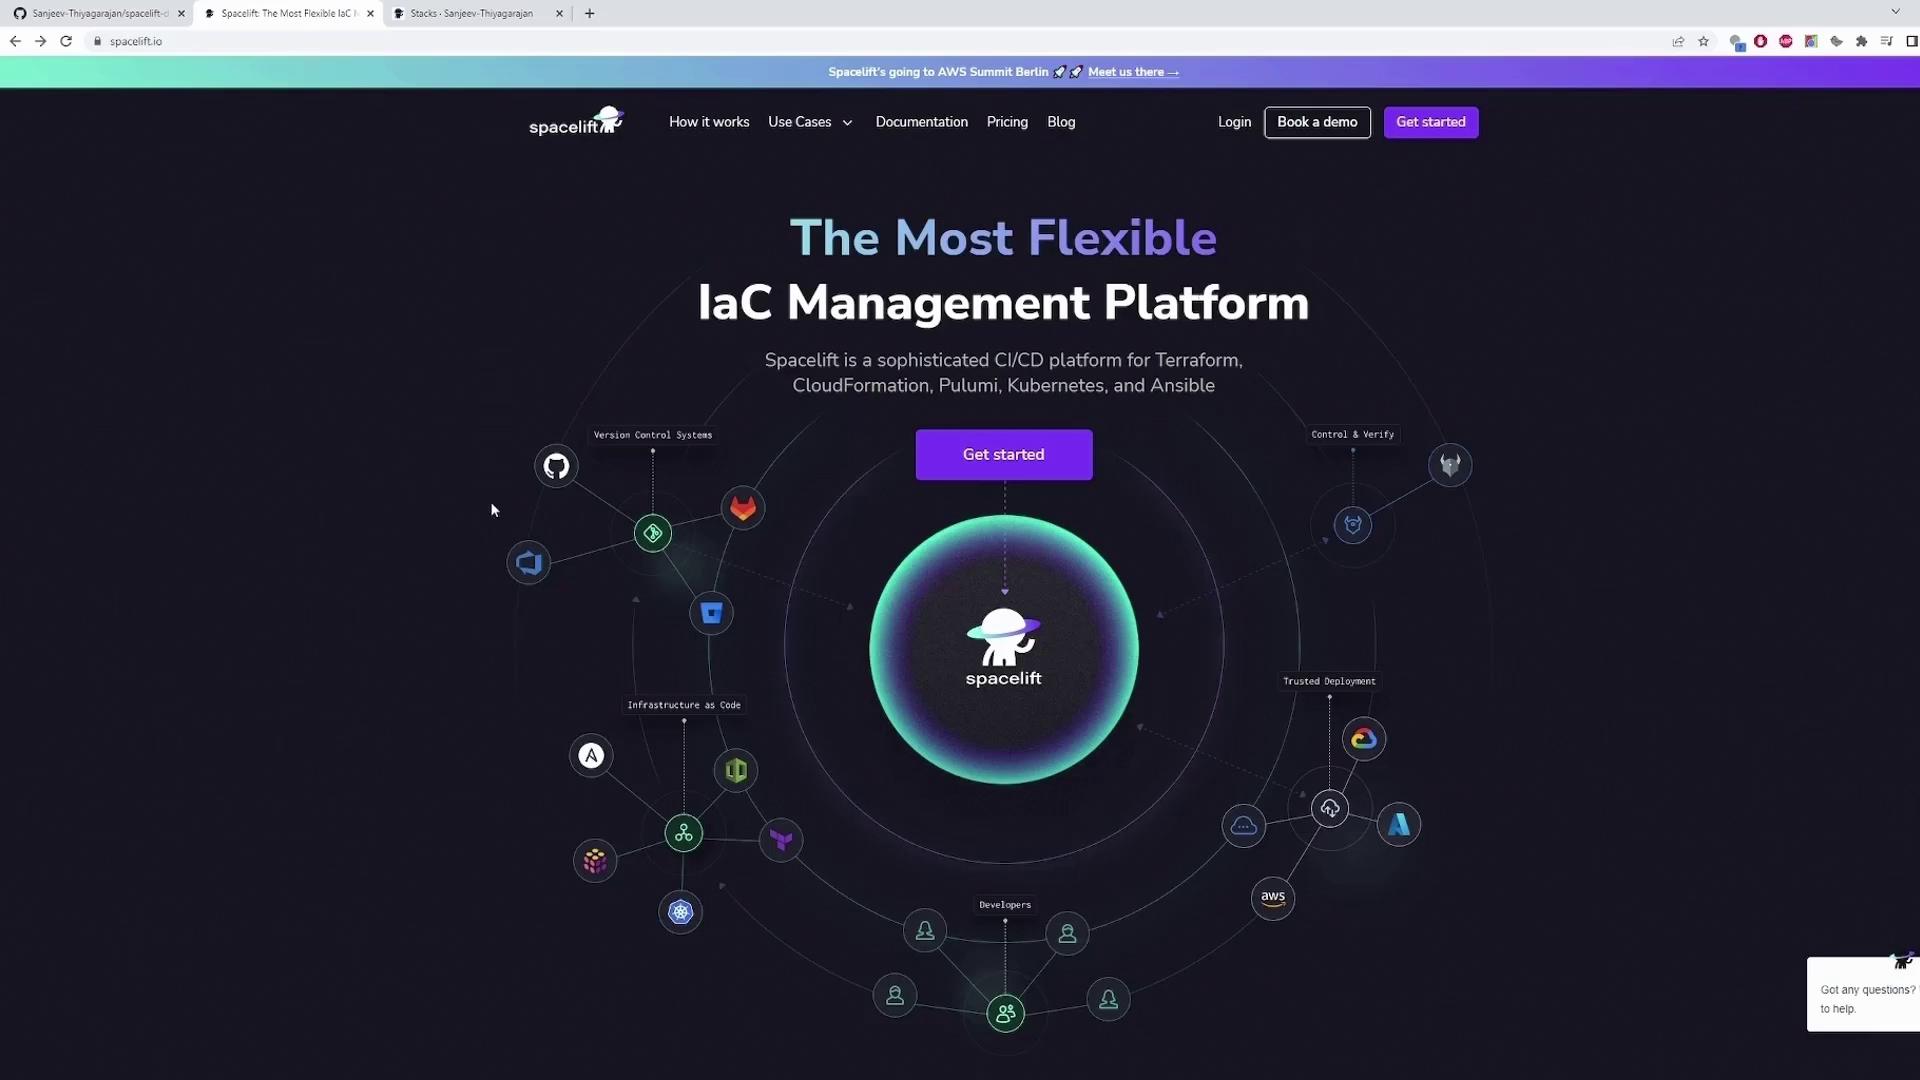
You can sign up using GitHub, GitLab, or Google. Using GitHub simplifies the process, as Spacelift automatically detects your repositories.
After logging in, you'll see a dashboard featuring a **Stacks** section. In Spacelift, stacks are the core building blocks, with each repository linked to its corresponding stack. Follow these steps to create a stack for your demo:
1. Click on **Create new stack**.
2. Name the stack "Spacelift-demo" and optionally add labels and a description for better management.
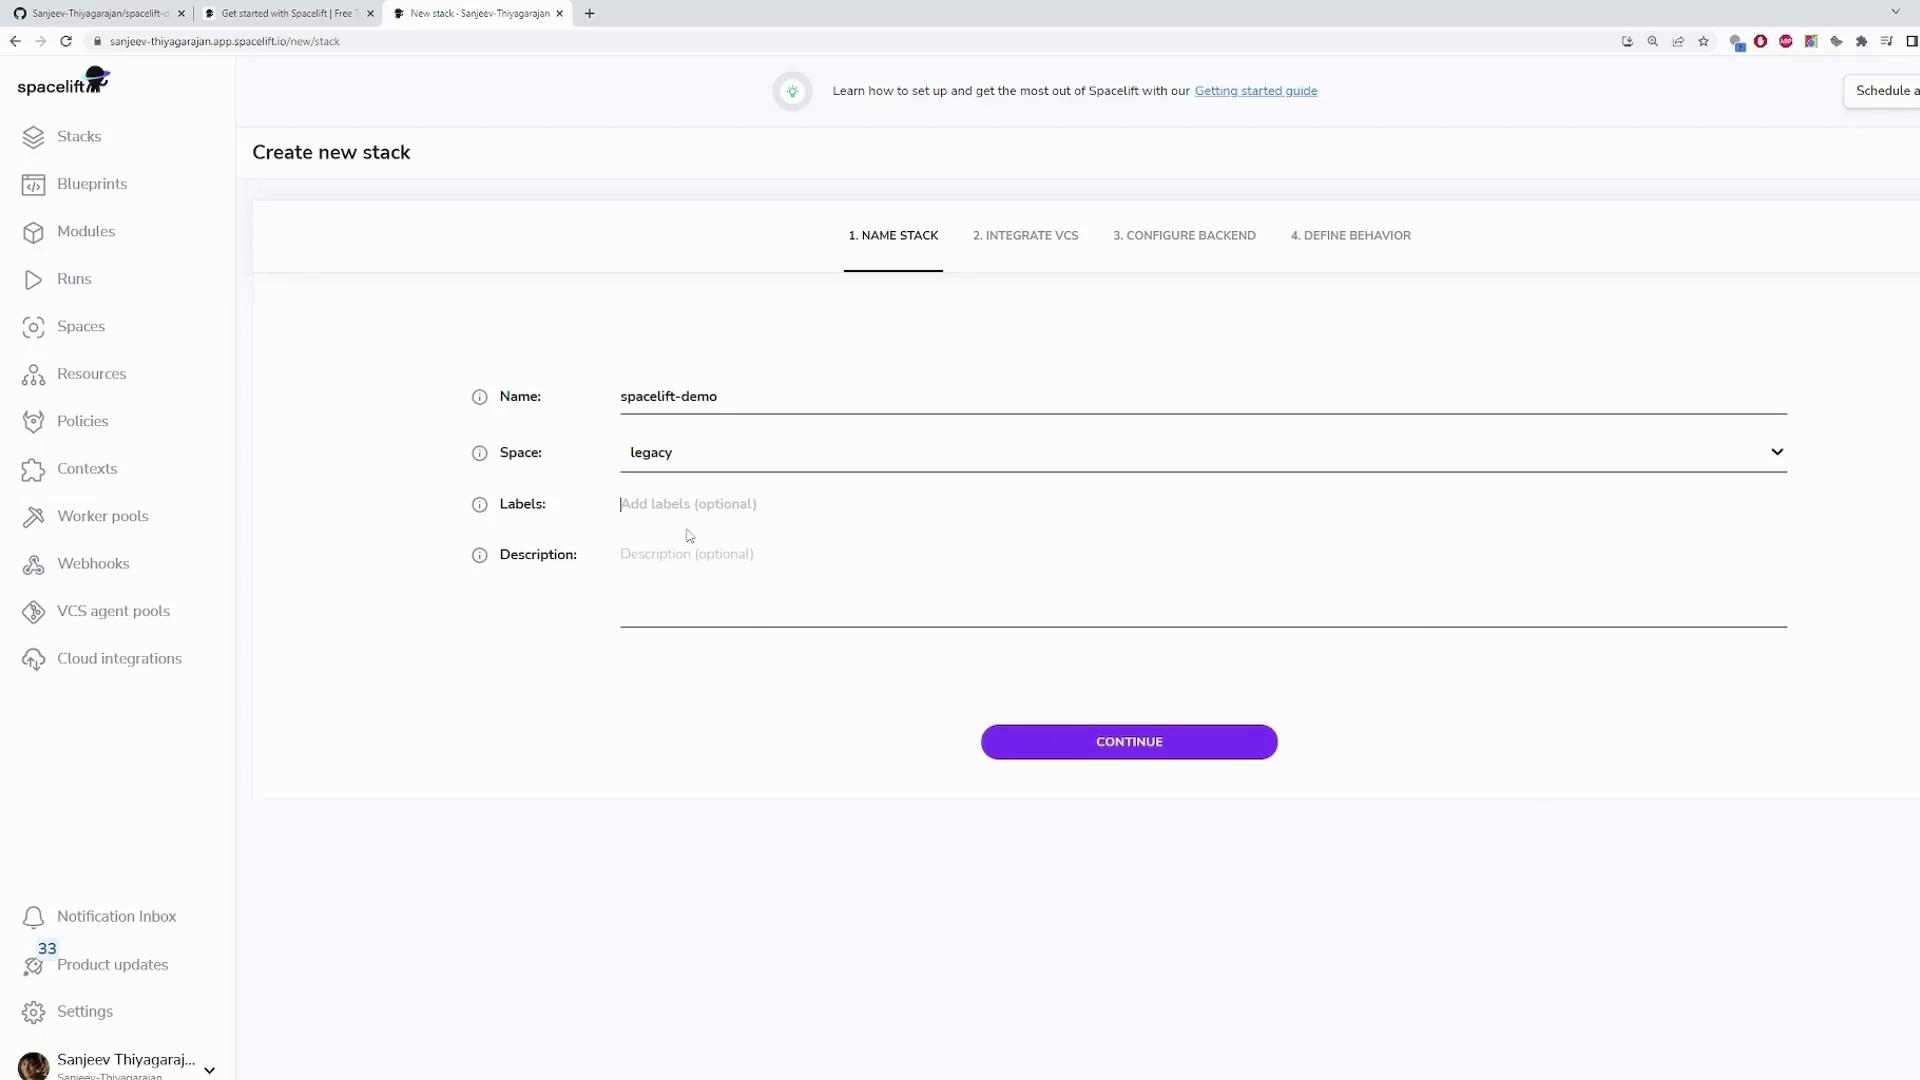
3. Click **Continue** and search for your GitHub repository by typing "spacelift-demo." Select the main branch.
4. If your Terraform code is inside a subdirectory, specify the project root; otherwise, leave the field with its default value.
5. Choose **Terraform** as the backend and keep the advanced configurations unchanged.
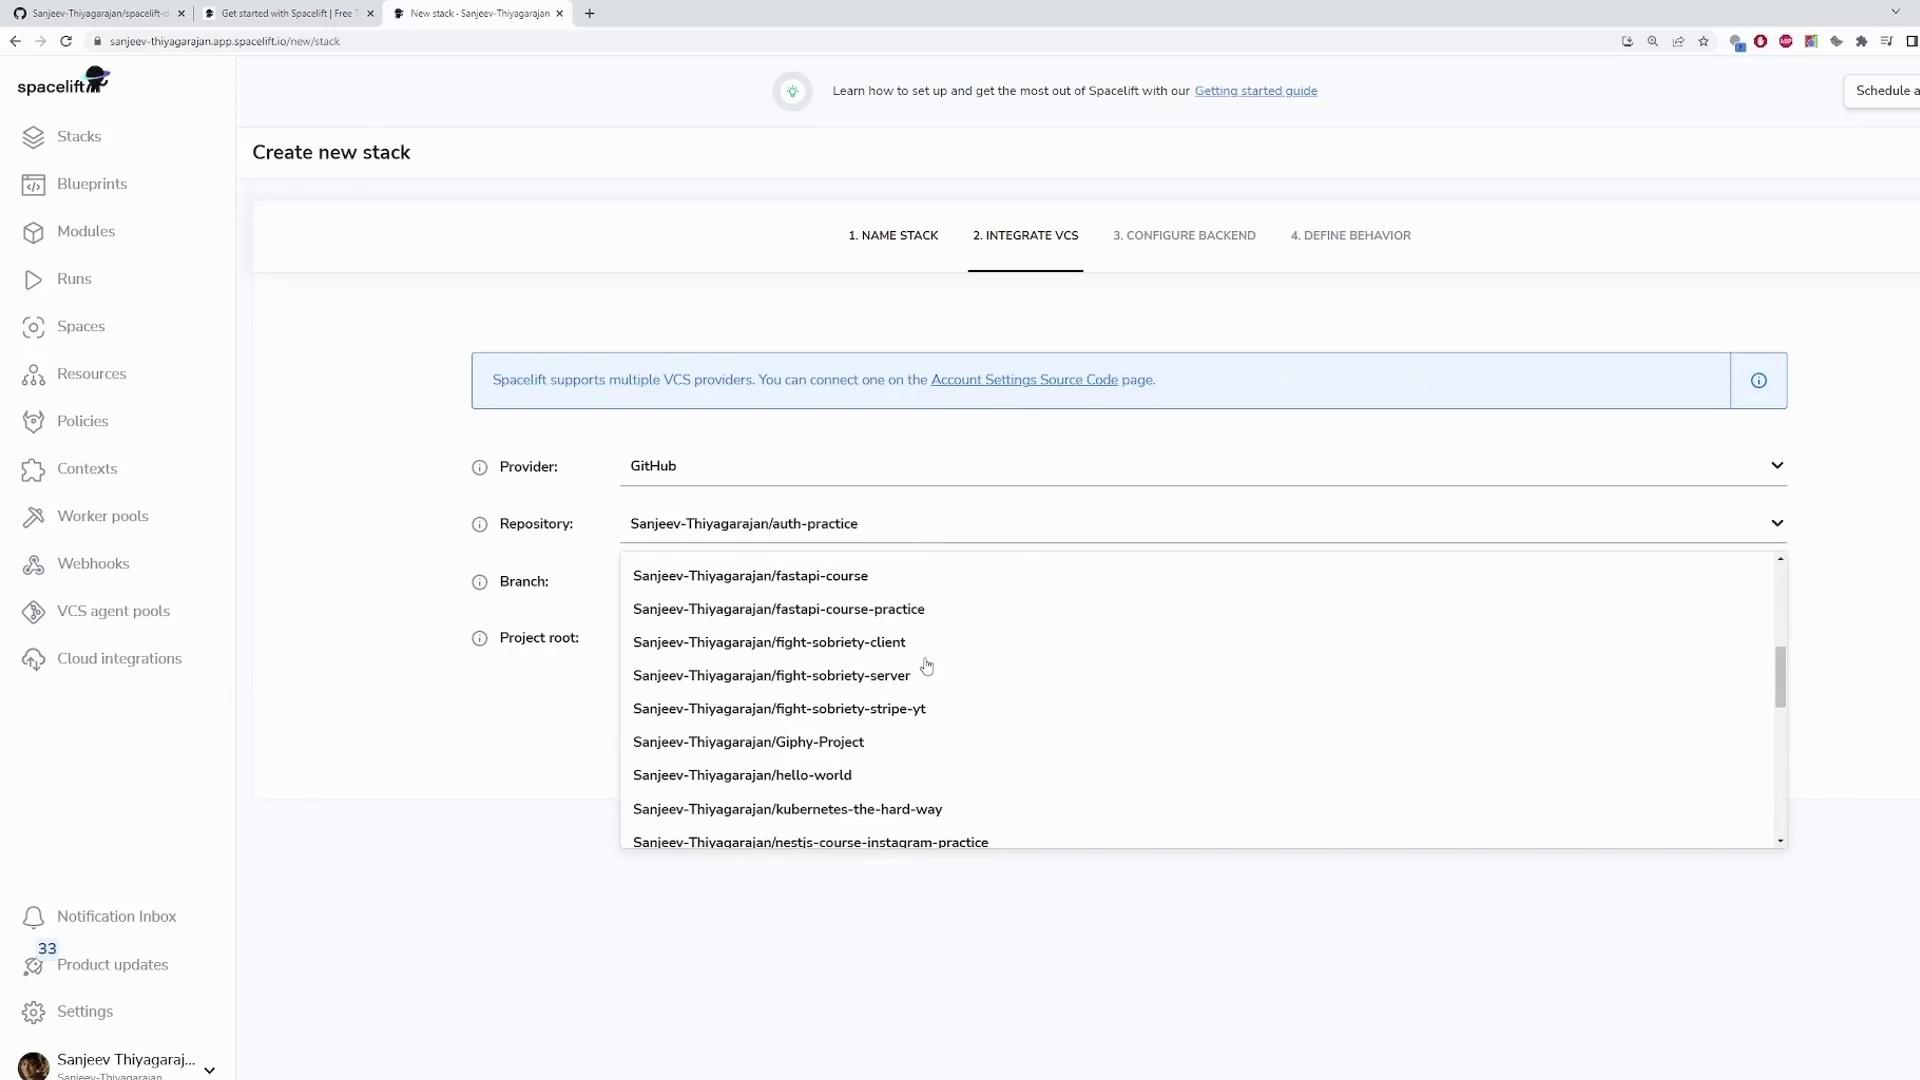
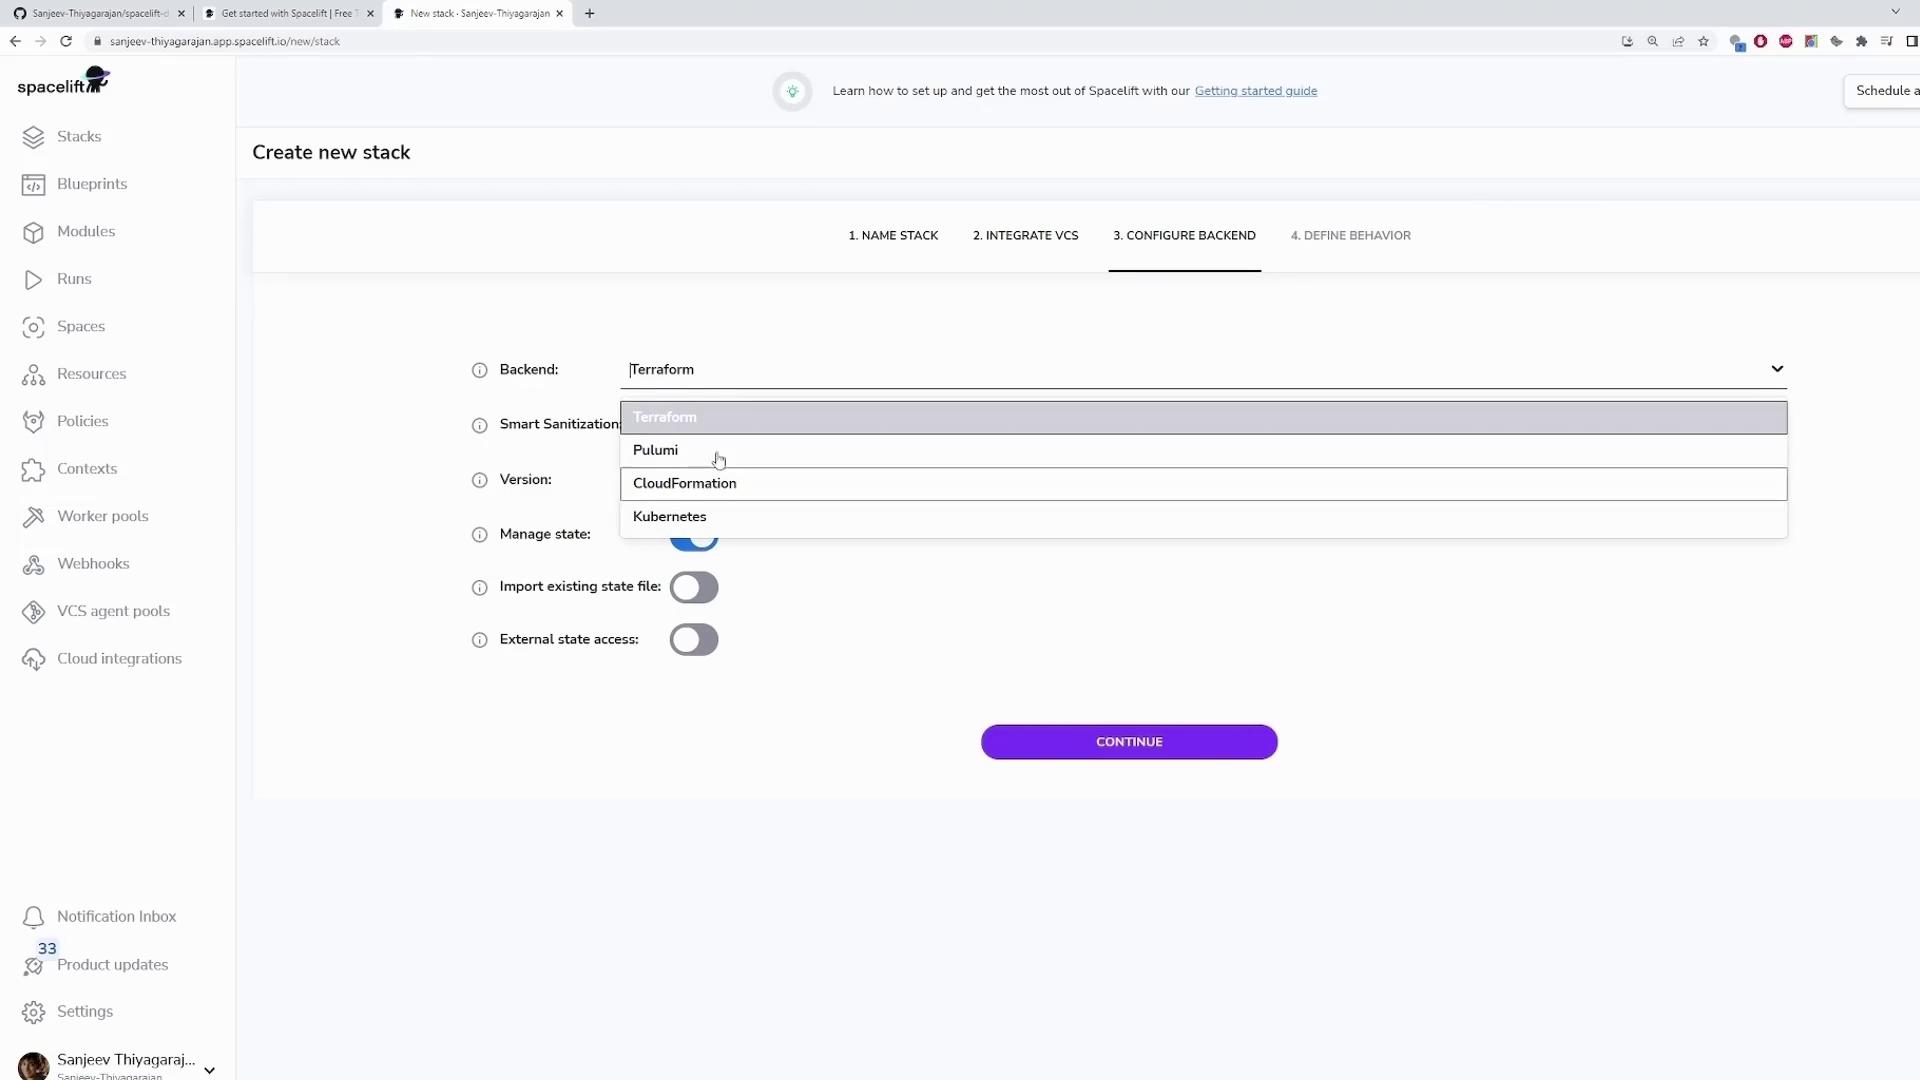
6. Leave additional settings (such as auto deploy or auto retry) at their defaults and click **Save Stack**.
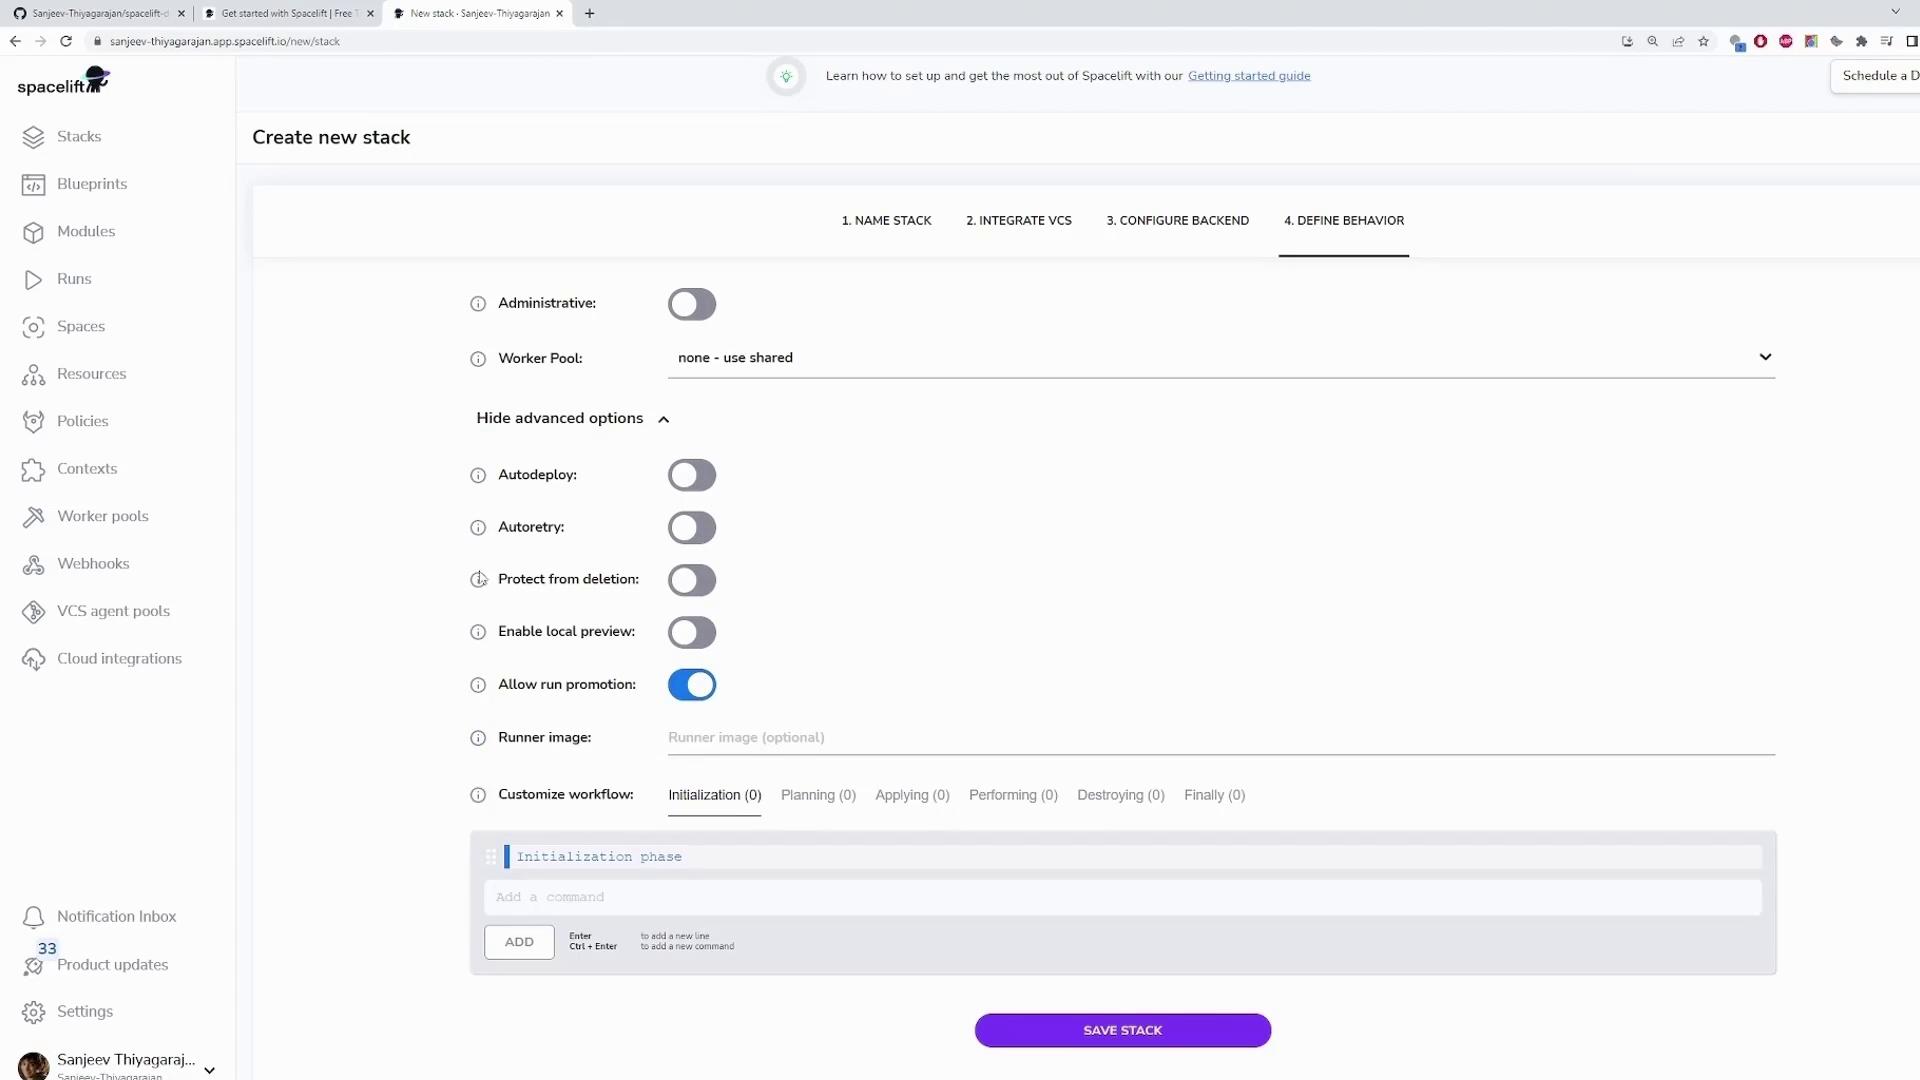
Your "Spacelift-demo" stack is now created and visible on your dashboard. Any changes pushed to your GitHub repository will automatically trigger a run in Spacelift.
## Triggering a New Run
To see Spacelift in action, make a slight modification to your Terraform configuration (such as adding a comment), then commit and push the change:
```bash theme={null}
git add .
git commit -m "second commit"
git push
```
Once pushed, Spacelift detects the update and initiates a new run. The run status on the dashboard will change from "queued" to "preparing" as Spacelift initializes a containerized runner.
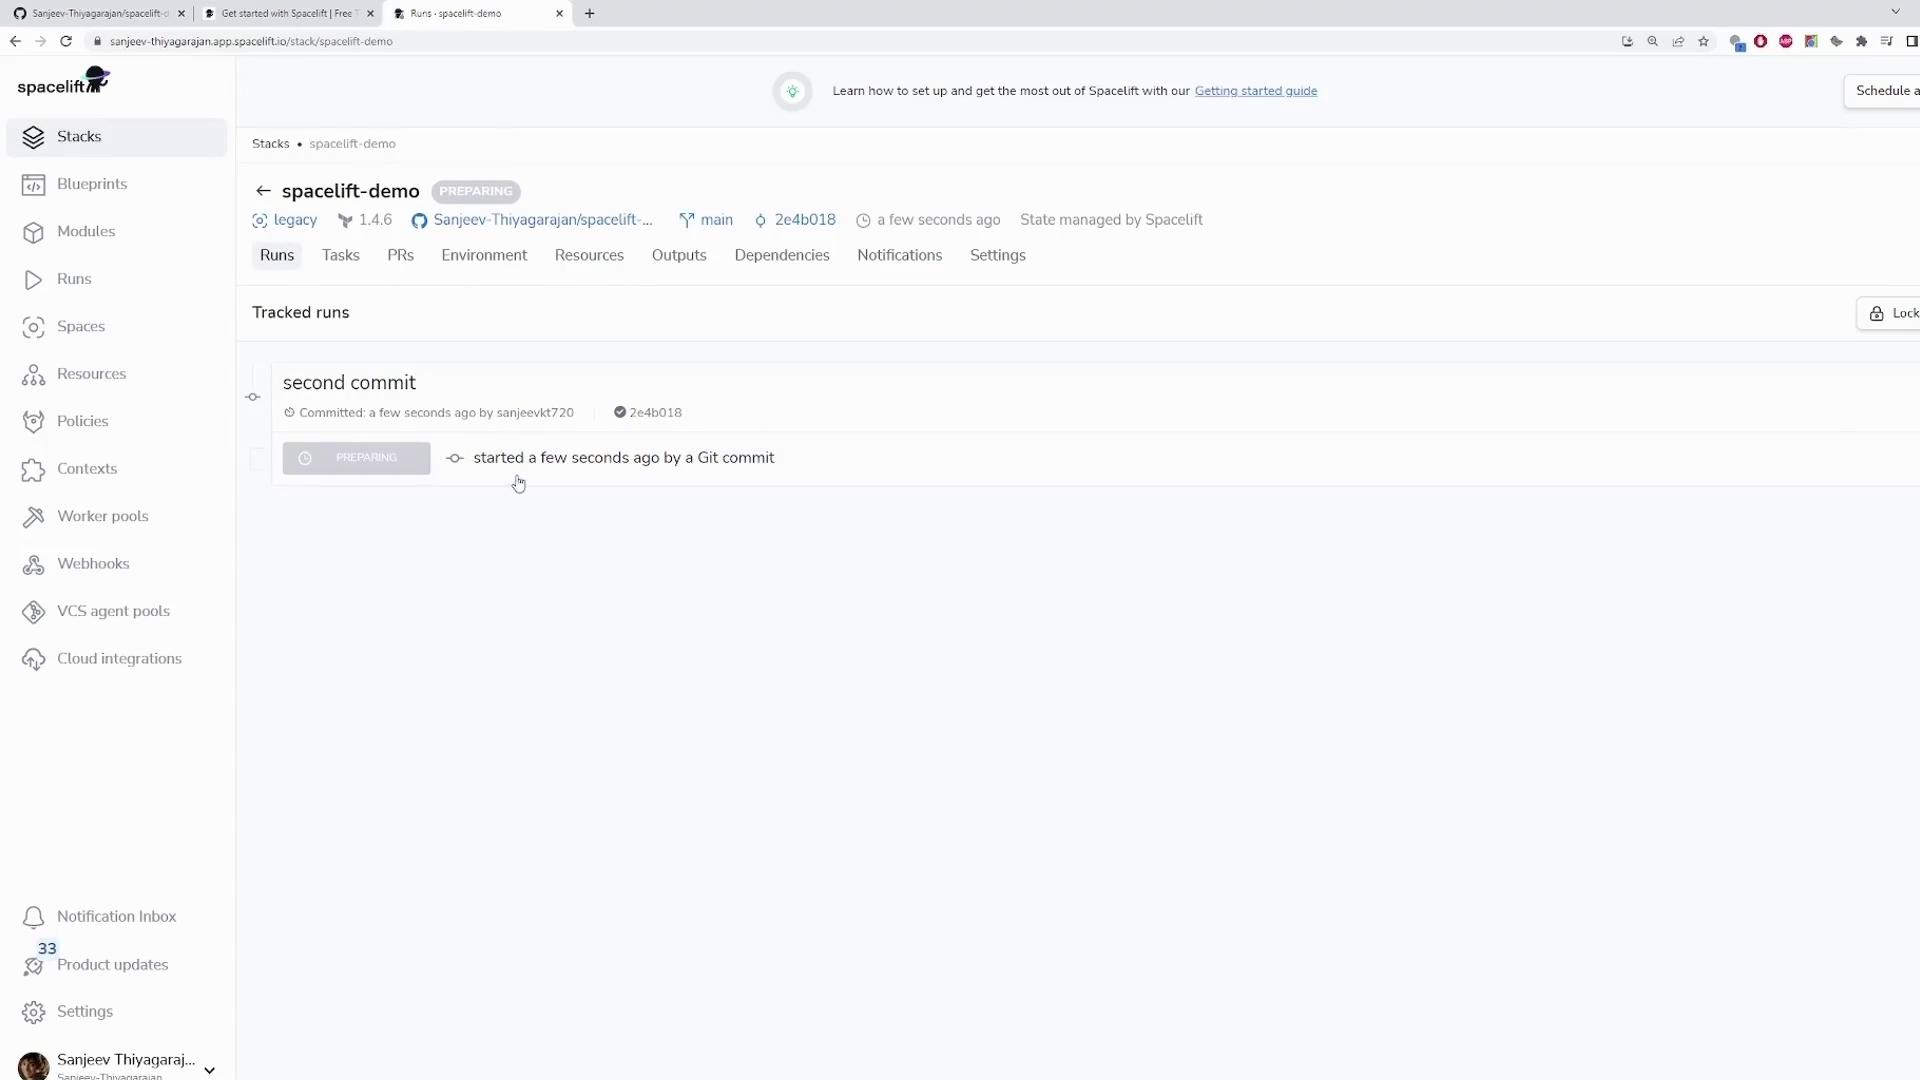
During the run, you may see output logs indicating that Spacelift is initializing the Terraform backend and provider plugins. For example, the planning phase might display an error like this:
```plaintext theme={null}
Error: configuring Terraform AWS Provider: no valid credential sources for Terraform AWS Provider found.
Please see https://registry.terraform.io/providers/hashicorp/aws for more information about providing credentials.
AWS Error: failed to refresh cached credentials, no EC2 IMDS role found, operation error ec2imds: GetMetadata, request canceled, context deadline exceeded
with provider["registry.terraform.io/hashicorp/aws"],
on main.tf line 11, in provider "aws":
11: provider "aws" {
[...]
```
This error occurs because AWS credentials have not been provided. Ensure your AWS credentials are configured correctly before re-running the plan. Despite this error, the primary objective of the demonstration is to showcase the Spacelift workflow.
## Conclusion
This walkthrough has demonstrated how to create your first stack with Spacelift using a simple Terraform configuration. You now understand how to set up your repository, connect it with Spacelift, and trigger runs through Git operations. Happy deploying!