> ## Documentation Index
> Fetch the complete documentation index at: https://notes.kodekloud.com/llms.txt
> Use this file to discover all available pages before exploring further.
# How does Telepresence Work
> Explains Telepresence architecture and workflow enabling local processes to proxy and intercept Kubernetes services using a Traffic Manager, traffic agents, and local daemons for transparent development.
In this lesson we’ll cover the core Telepresence architecture and how the pieces fit together to let you run and debug services locally while remaining connected to a Kubernetes cluster. You’ll learn about the components involved, the connection flow, installation steps, and the networking behavior that makes transparent local development possible.
## Overview
Telepresence provides a two-way proxy so a local process can transparently replace or augment a service running inside a Kubernetes cluster. This enables iterative development and debugging without rebuilding container images or redeploying applications.
Key points:
* You have a Kubernetes cluster and a local development machine.
* Telepresence creates a secure, routed tunnel so traffic for selected cluster services is forwarded to your local process and responses are routed back into the cluster.
* The typical workflow is: CLI -> Traffic Manager (in cluster) -> Traffic Agent (in pod) -> Telepresence daemon (local) -> your local process.
## Components
| Component | Role | Runs on |
| - | - | - |
| Telepresence CLI | Entry point for commands like `telepresence connect` and `telepresence intercept` | Local machine |
| Local daemons | Maintain the connection, configure DNS and routes, and route traffic through the tunnel | Local machine |
| Traffic Manager | Central coordinator: orchestrates traffic-agent injection and mediates connections between cluster and local daemons | Kubernetes cluster |
| Traffic Agent | Injected into the target pod (sidecar or ephemeral container) to proxy traffic between the pod and your local machine | Pod in cluster |
## How the pieces interact (step-by-step)
1. Install the Telepresence CLI on your development machine. Use it to run commands such as `telepresence connect`, `telepresence intercept`, and `telepresence helm install`.
2. Deploy the Traffic Manager into the Kubernetes cluster. The Traffic Manager coordinates injected traffic agents and local Telepresence daemons.
3. Start the Telepresence connection from your machine: the Telepresence daemon establishes a persistent connection to the Traffic Manager, creating the two-way proxy and configuring local routes and DNS.
4. Create an intercept for a target service or pod. The Traffic Manager arranges for a traffic-agent to be injected into the target pod (as a sidecar or ephemeral container). The traffic-agent proxies requests destined for that pod back to your local machine via the Traffic Manager and the Telepresence daemon, allowing your local process to handle production traffic transparently.
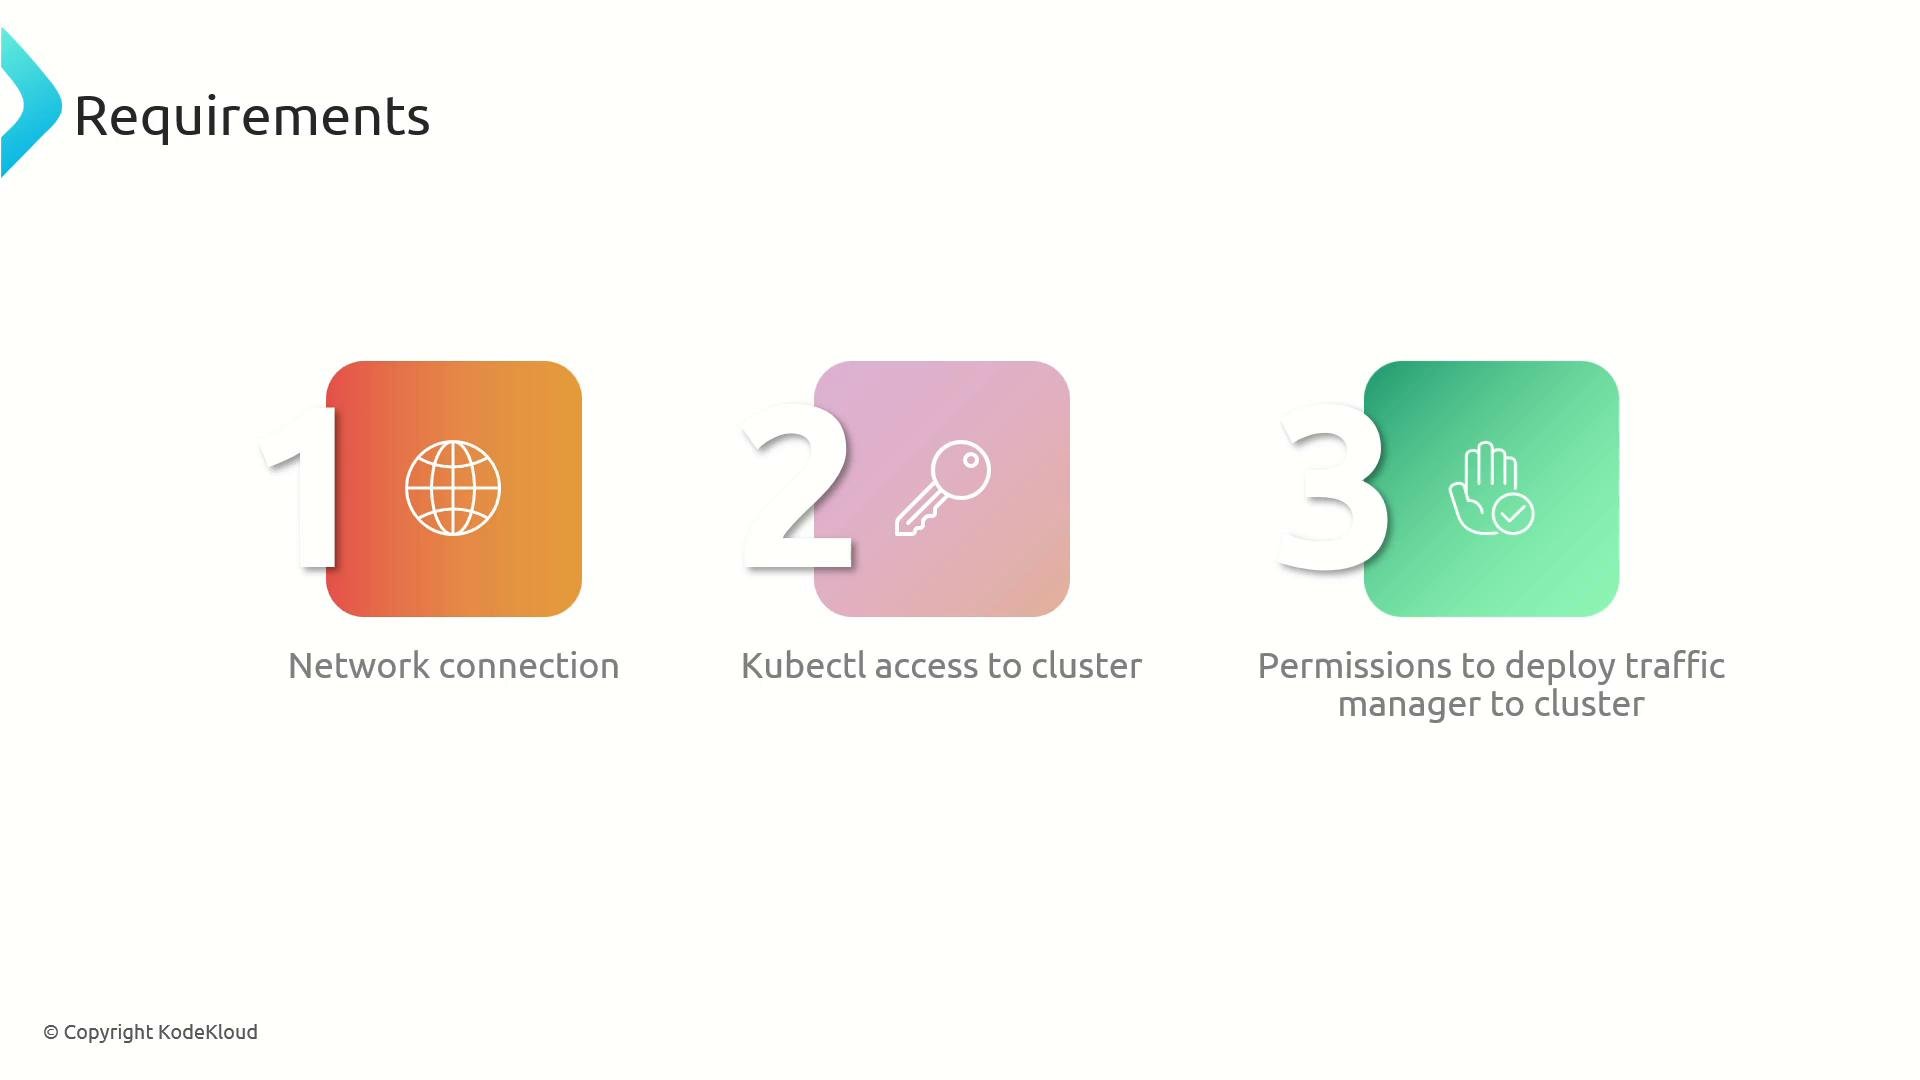
## Requirements
| Requirement | Purpose |
| - | - |
| Network connectivity to the Kubernetes cluster | Allows the Telepresence daemon to reach the cluster API and Traffic Manager |
| `kubectl` access to the cluster | Required to interact with cluster resources and to create intercepts |
| Permission to install the Traffic Manager (one-time) | An administrator can install the Traffic Manager; after that, regular users just need `kubectl` and network connectivity |
 If you do not have permission to install the Traffic Manager, ask a cluster administrator to install it once. After that installation, developers only need `kubectl` access and a network connection to use Telepresence.
## Installing Telepresence and the Traffic Manager
Follow these steps to get Telepresence running:
1. Download the Telepresence CLI binary and make it executable.
2. Use the bundled Helm helper to install the Traffic Manager into your cluster.
3. Connect from your local machine and verify the Telepresence status.
Example commands:
```bash theme={null}
# Download the latest binary (~95 MB)
sudo curl -fL https://app.getambassador.io/download/tel2oss/releases/download/v2.20.0/telepresence-linux-amd64 -o /usr/local/bin/telepresence
# Make the binary executable
sudo chmod a+x /usr/local/bin/telepresence
# Install the Traffic Manager into your cluster (Telepresence bundles Helm)
telepresence helm install
# Connect your local Telepresence daemon to the cluster
telepresence connect
# Verify Telepresence status
telepresence status
```
Notes:
* Replace the binary URL/version with the latest release if needed.
* `telepresence helm install` uses the bundled Helm helper to simplify Traffic Manager installation; you can also use your own Helm chart or operator workflows if required by your organization.
## Verify Telepresence status
After connecting, `telepresence status` should show the local daemons, the Traffic Manager, and an overall `Connected` status. A representative status output:
```text theme={null}
OSS User Daemon: Running
Version : 2.20.0
Executable : /usr/local/bin/telepresence
Install ID : bfbf25c5-bce3-404c-b1a9-62a34a84c437
Status : Connected
Kubernetes server : https://C22C5458C5800FD626C361045762447E.gr7.us-east-1.eks.amazonaws.com
Kubernetes context : arn:aws:eks:us-east-1:195275640053:cluster/telepresence
Namespace : default
Manager namespace : ambassador
Intercepts : 0 total
OSS Root Daemon: Running
Version : v2.20.0
DNS :
Remote IP : 127.0.0.1
Exclude suffixes : [.com .io .net .org .ru]
Include suffixes : []
Timeout : 8s
Subnets : (2 subnets)
- 10.100.0.0/16
- 192.168.0.0/18
Never Proxy : (2 subnets)
- 44.208.4.255/32
- 54.225.208.114/32
OSS Traffic Manager: Connected
Version : v2.20.0
Traffic Agent : ghcr.io/telepresenceio/tel2:2.20.0
```
## Routing and networking details
* Telepresence learns cluster subnets (for example, pod CIDR and service network) and configures routes on your local machine so traffic destined for those subnets is routed through a Telepresence virtual interface (commonly `tel0`, `tel1`, etc.).
* You can inspect route configuration with `ip route`:
```bash theme={null}
ip route
```
Example output (illustrative):
```text theme={null}
default via 147.182.160.1 dev eth0 proto static
10.10.0.0/16 dev eth0 proto kernel scope link src 10.10.0.6
10.100.0.0/16 dev tel1 proto kernel scope link src 10.100.0.0
10.116.0.0/20 dev eth1 proto kernel scope link src 10.116.0.3
147.182.160.0/20 dev eth0 proto kernel scope link src 147.182.170.10
172.17.0.0/16 dev docker0 proto kernel scope link src 172.17.0.1 linkdown
192.168.0.0/18 dev tel1 proto kernel scope link src 192.168.0.0
```
* The entries pointing to `tel*` interfaces indicate subnets that are routed across the Telepresence tunnel back to the cluster.
* Telepresence also configures DNS so cluster services resolve from your local machine (for example, `service.namespace.svc.cluster.local`).
## Testing connectivity
Once connected, you can resolve and reach services in the cluster directly from your local machine.
Examples:
```bash theme={null}
# DNS lookup of a service in the cluster
nslookup service-a.namespace.svc.cluster.local
# HTTP request to a cluster service via its DNS name
curl http://service-a.namespace.svc.cluster.local/
```
You can also create an intercept and verify that requests to the intercepted service are forwarded to your local process. This lets you run a local server (e.g., a backend or feature branch) and handle real cluster traffic without redeploying.
## Summary
The Telepresence workflow combines the local CLI and daemons with a cluster-side Traffic Manager and injected traffic agents to create a seamless two-way proxy. This setup enables fast local development and debugging while preserving production-like connectivity.
## Links and References
* Telepresence project: [https://www.telepresence.io/](https://www.telepresence.io/)
* Kubernetes Documentation: [https://kubernetes.io/docs/](https://kubernetes.io/docs/)
* Helm: [https://helm.sh/](https://helm.sh/)
This documentation is built and hosted on [Mintlify](https://mintlify.com), a developer documentation platform.
If you do not have permission to install the Traffic Manager, ask a cluster administrator to install it once. After that installation, developers only need `kubectl` access and a network connection to use Telepresence.
## Installing Telepresence and the Traffic Manager
Follow these steps to get Telepresence running:
1. Download the Telepresence CLI binary and make it executable.
2. Use the bundled Helm helper to install the Traffic Manager into your cluster.
3. Connect from your local machine and verify the Telepresence status.
Example commands:
```bash theme={null}
# Download the latest binary (~95 MB)
sudo curl -fL https://app.getambassador.io/download/tel2oss/releases/download/v2.20.0/telepresence-linux-amd64 -o /usr/local/bin/telepresence
# Make the binary executable
sudo chmod a+x /usr/local/bin/telepresence
# Install the Traffic Manager into your cluster (Telepresence bundles Helm)
telepresence helm install
# Connect your local Telepresence daemon to the cluster
telepresence connect
# Verify Telepresence status
telepresence status
```
Notes:
* Replace the binary URL/version with the latest release if needed.
* `telepresence helm install` uses the bundled Helm helper to simplify Traffic Manager installation; you can also use your own Helm chart or operator workflows if required by your organization.
## Verify Telepresence status
After connecting, `telepresence status` should show the local daemons, the Traffic Manager, and an overall `Connected` status. A representative status output:
```text theme={null}
OSS User Daemon: Running
Version : 2.20.0
Executable : /usr/local/bin/telepresence
Install ID : bfbf25c5-bce3-404c-b1a9-62a34a84c437
Status : Connected
Kubernetes server : https://C22C5458C5800FD626C361045762447E.gr7.us-east-1.eks.amazonaws.com
Kubernetes context : arn:aws:eks:us-east-1:195275640053:cluster/telepresence
Namespace : default
Manager namespace : ambassador
Intercepts : 0 total
OSS Root Daemon: Running
Version : v2.20.0
DNS :
Remote IP : 127.0.0.1
Exclude suffixes : [.com .io .net .org .ru]
Include suffixes : []
Timeout : 8s
Subnets : (2 subnets)
- 10.100.0.0/16
- 192.168.0.0/18
Never Proxy : (2 subnets)
- 44.208.4.255/32
- 54.225.208.114/32
OSS Traffic Manager: Connected
Version : v2.20.0
Traffic Agent : ghcr.io/telepresenceio/tel2:2.20.0
```
## Routing and networking details
* Telepresence learns cluster subnets (for example, pod CIDR and service network) and configures routes on your local machine so traffic destined for those subnets is routed through a Telepresence virtual interface (commonly `tel0`, `tel1`, etc.).
* You can inspect route configuration with `ip route`:
```bash theme={null}
ip route
```
Example output (illustrative):
```text theme={null}
default via 147.182.160.1 dev eth0 proto static
10.10.0.0/16 dev eth0 proto kernel scope link src 10.10.0.6
10.100.0.0/16 dev tel1 proto kernel scope link src 10.100.0.0
10.116.0.0/20 dev eth1 proto kernel scope link src 10.116.0.3
147.182.160.0/20 dev eth0 proto kernel scope link src 147.182.170.10
172.17.0.0/16 dev docker0 proto kernel scope link src 172.17.0.1 linkdown
192.168.0.0/18 dev tel1 proto kernel scope link src 192.168.0.0
```
* The entries pointing to `tel*` interfaces indicate subnets that are routed across the Telepresence tunnel back to the cluster.
* Telepresence also configures DNS so cluster services resolve from your local machine (for example, `service.namespace.svc.cluster.local`).
## Testing connectivity
Once connected, you can resolve and reach services in the cluster directly from your local machine.
Examples:
```bash theme={null}
# DNS lookup of a service in the cluster
nslookup service-a.namespace.svc.cluster.local
# HTTP request to a cluster service via its DNS name
curl http://service-a.namespace.svc.cluster.local/
```
You can also create an intercept and verify that requests to the intercepted service are forwarded to your local process. This lets you run a local server (e.g., a backend or feature branch) and handle real cluster traffic without redeploying.
## Summary
The Telepresence workflow combines the local CLI and daemons with a cluster-side Traffic Manager and injected traffic agents to create a seamless two-way proxy. This setup enables fast local development and debugging while preserving production-like connectivity.
## Links and References
* Telepresence project: [https://www.telepresence.io/](https://www.telepresence.io/)
* Kubernetes Documentation: [https://kubernetes.io/docs/](https://kubernetes.io/docs/)
* Helm: [https://helm.sh/](https://helm.sh/)
This documentation is built and hosted on [Mintlify](https://mintlify.com), a developer documentation platform.