Terraform Basics Training Course

Terraform with AWS

Demo Dynamodb

This guide demonstrates how to create and manage a DynamoDB table using the AWS Management Console. We'll walk through accessing DynamoDB, creating a table to store employee data, adding items, and filtering results efficiently.

Accessing DynamoDB

  1. Click on the Services tab in the top left corner.
  2. Under Databases, select DynamoDB.
  3. Click the Create Table button.

Creating a Table

To get started, provide a table name to store employee information. In this example, name the table employee_data. Next, specify the primary key (hash key) by using employee_id with the data type set to Number.

Leave the other settings at their default values and click the Create button.
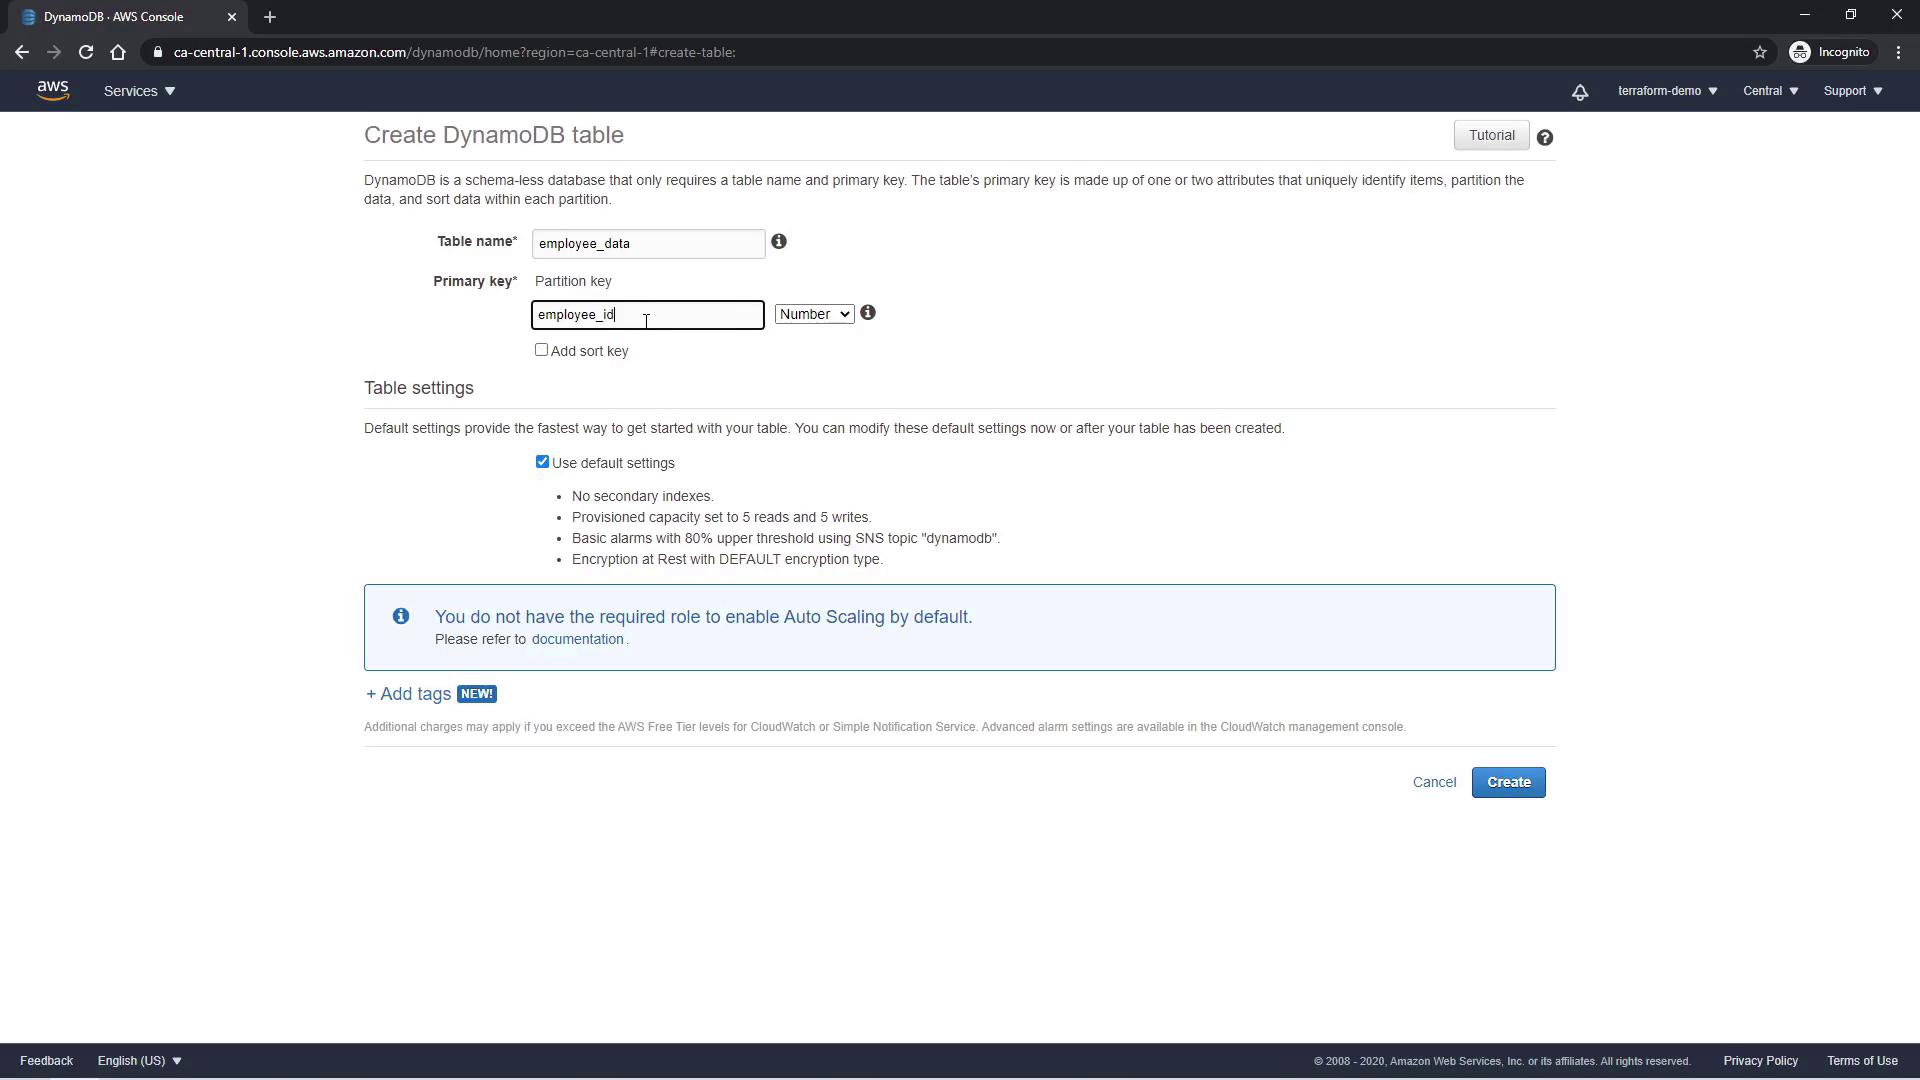
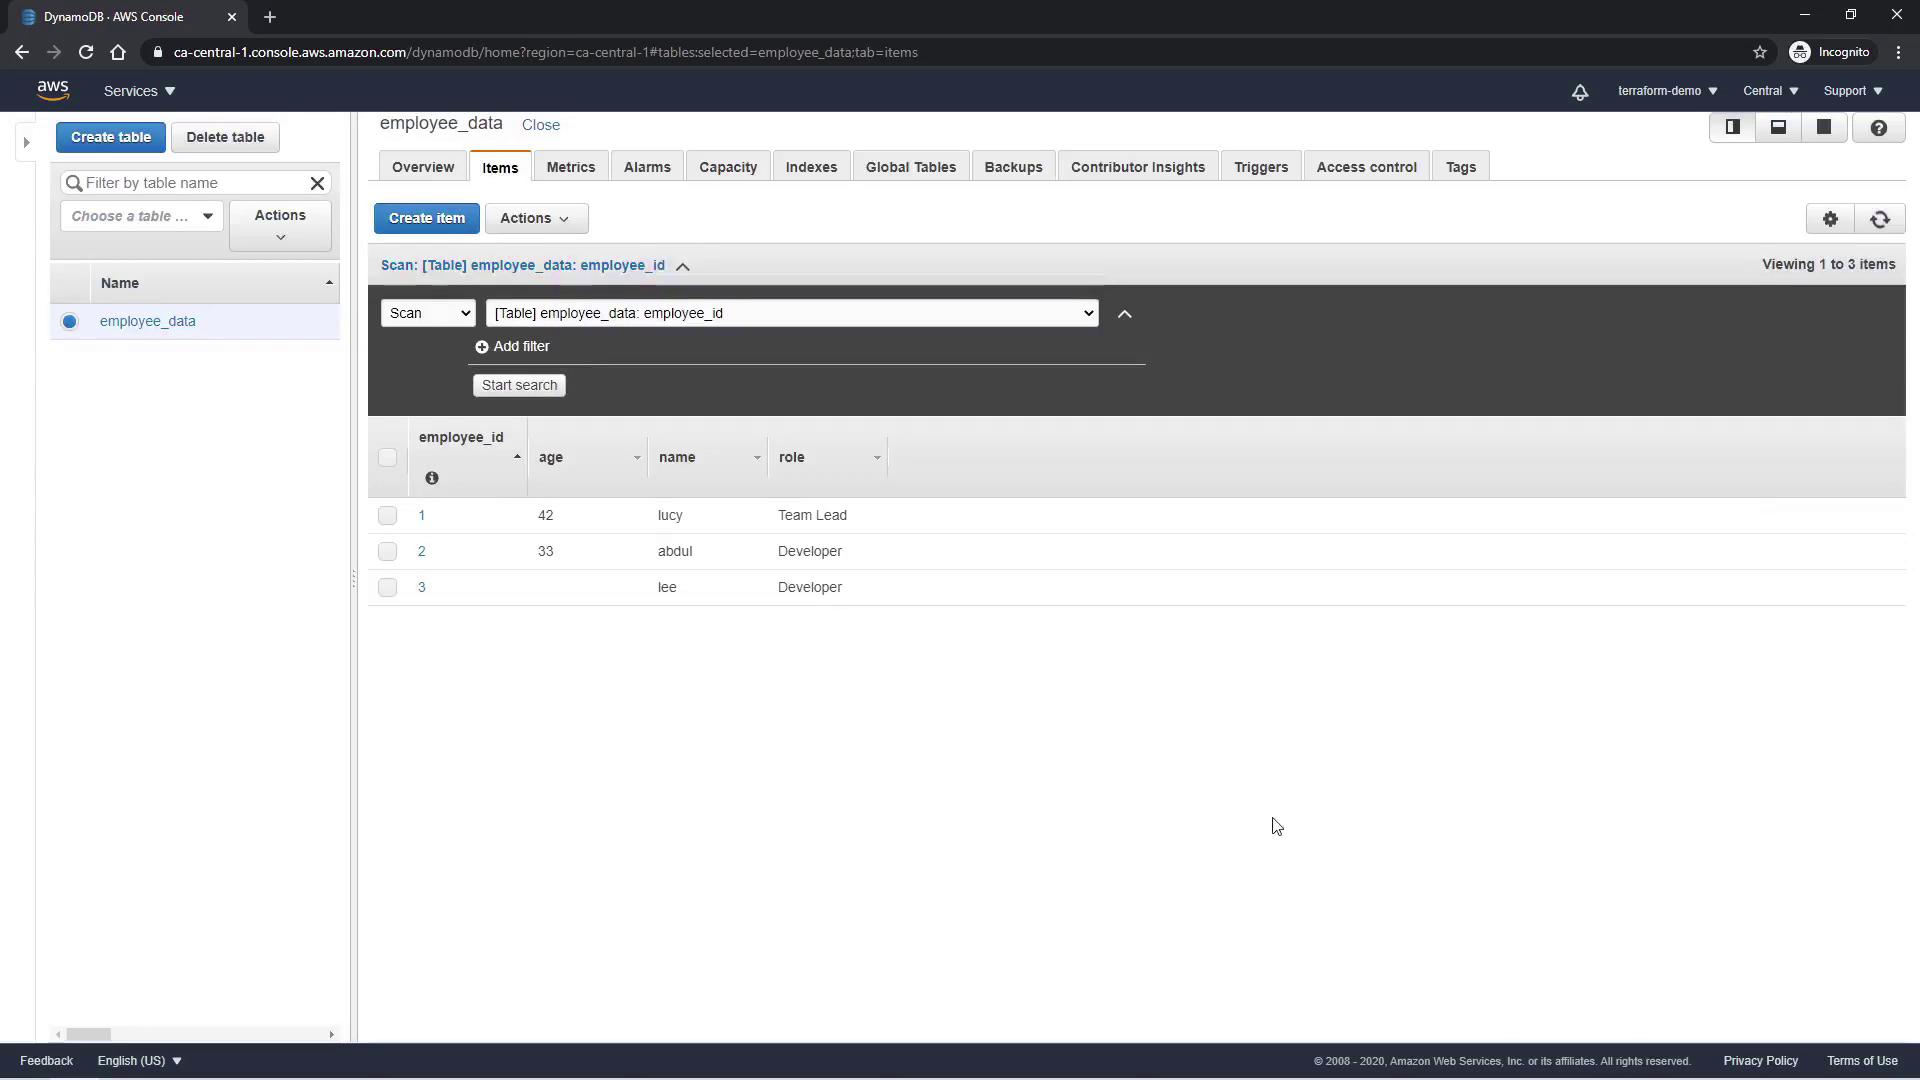
The image shows the AWS Console interface for creating a DynamoDB table named "employee_data" with "employee_id" as the primary key.

After a few seconds, the table is created and its name appears in the left sidebar. Click on the Items tab to view the table contents (initially, there are no items).

Adding Items

Next, add items to the employee_data table:

  1. Click on the Create Item tab. The employee_id field (the primary key) is already populated.
  2. Modify the employee_id to 1.
  3. Click the Append button to add additional attributes:
    • name (String) for the employee's name.
    • age (Number) for the employee's age.
    • role (String) for the employee's role.

After adding the necessary details, click Save. The created item will include an employee_id of 1 along with the corresponding attributes. Below is a sample JSON representation:

{
  "employee_id": 1,
  "name": "lucy",
  "age": 42,
  "role": "team lead"
}

You can similarly insert more items. For instance, to add details for another user named Lee, use the following input:

{
  "employee_id": 2,
  "name": "abdul",
  "age": 33
}

Note

In DynamoDB, only the primary key is required when inserting items; all other attributes are optional. This allows flexibility when modeling your data.
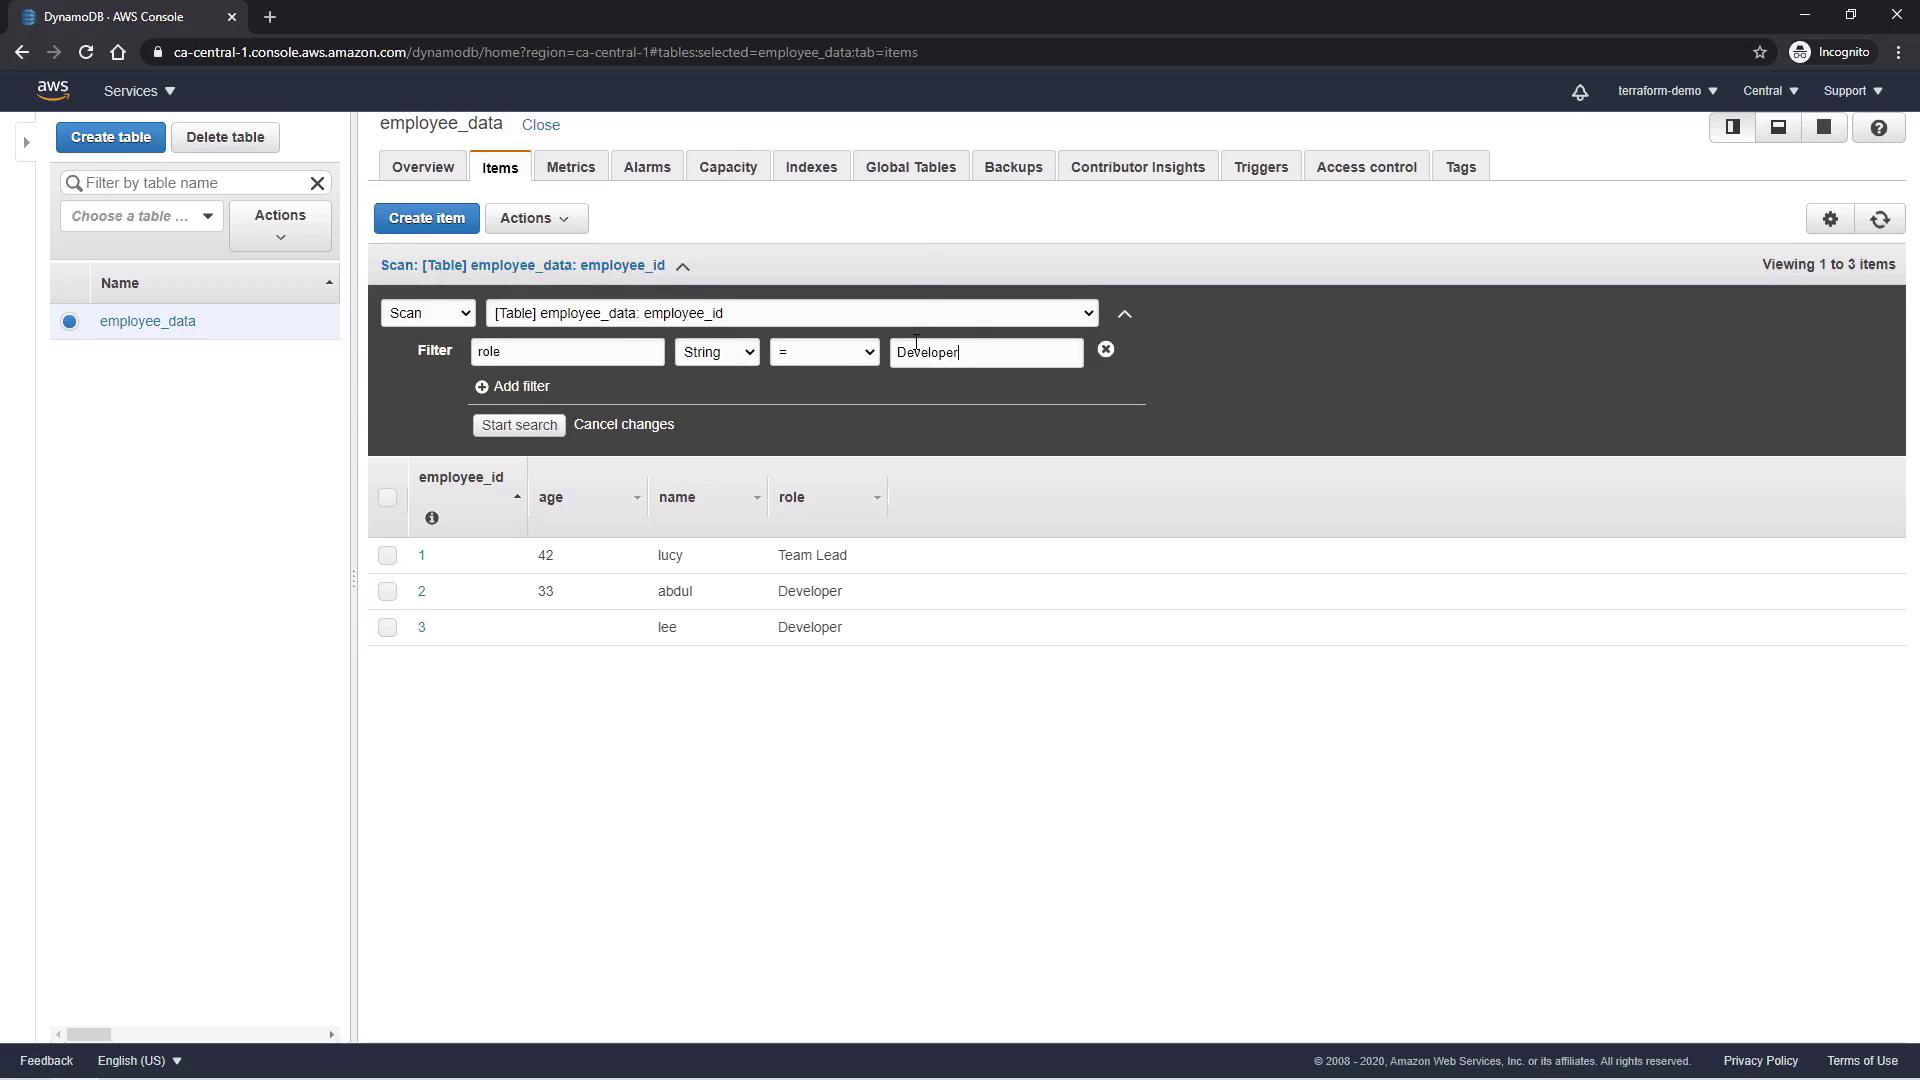
The image shows an AWS DynamoDB console displaying an "employee_data" table with three entries, including employee IDs, ages, names, and roles.

Filtering Items

To easily locate specific items, you can apply filters to the table. For example, to list all employees with the role of "Developer", apply a filter using the role attribute.

The image shows an AWS DynamoDB console displaying an "employee_data" table with entries filtered by the role "Developer."

Next Steps

This concludes the demo on how to create and manage a DynamoDB table using the AWS Management Console. In forthcoming tutorials, we will explore how to create DynamoDB tables using Terraform for automated infrastructure management.

For additional information on AWS and DynamoDB, consider visiting:

Enhance your cloud solutions by exploring these resources and leveraging AWS services in your infrastructure projects.

Watch Video

Watch video content

Previous
Introduction to DynamoDB