
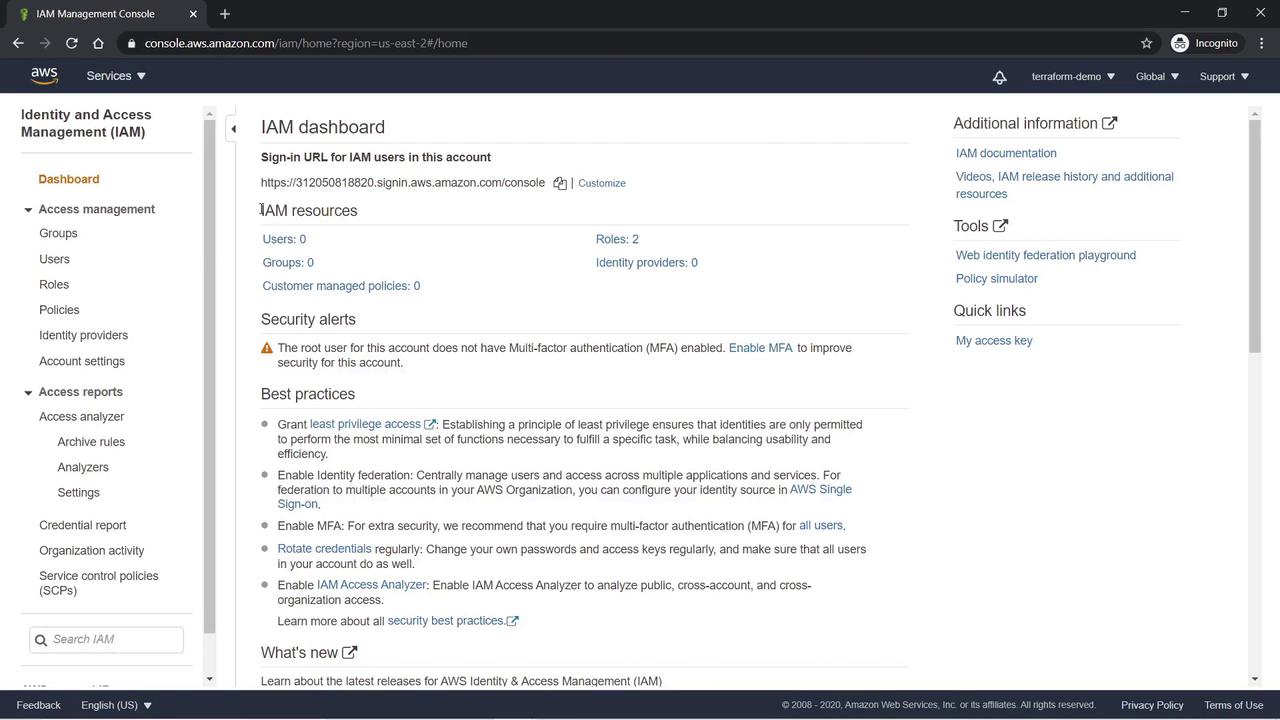
Creating an IAM User
- In the IAM dashboard, select Users under Account Management.
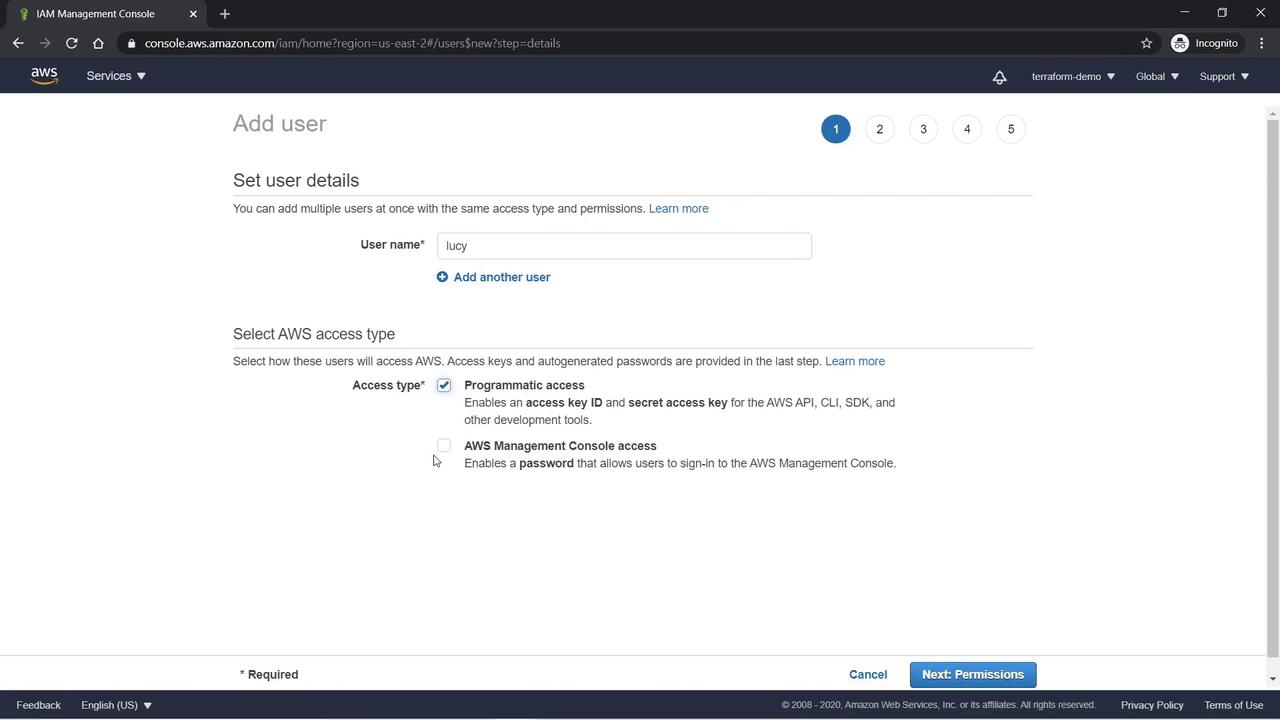
- Enter “Lucy” as the username.
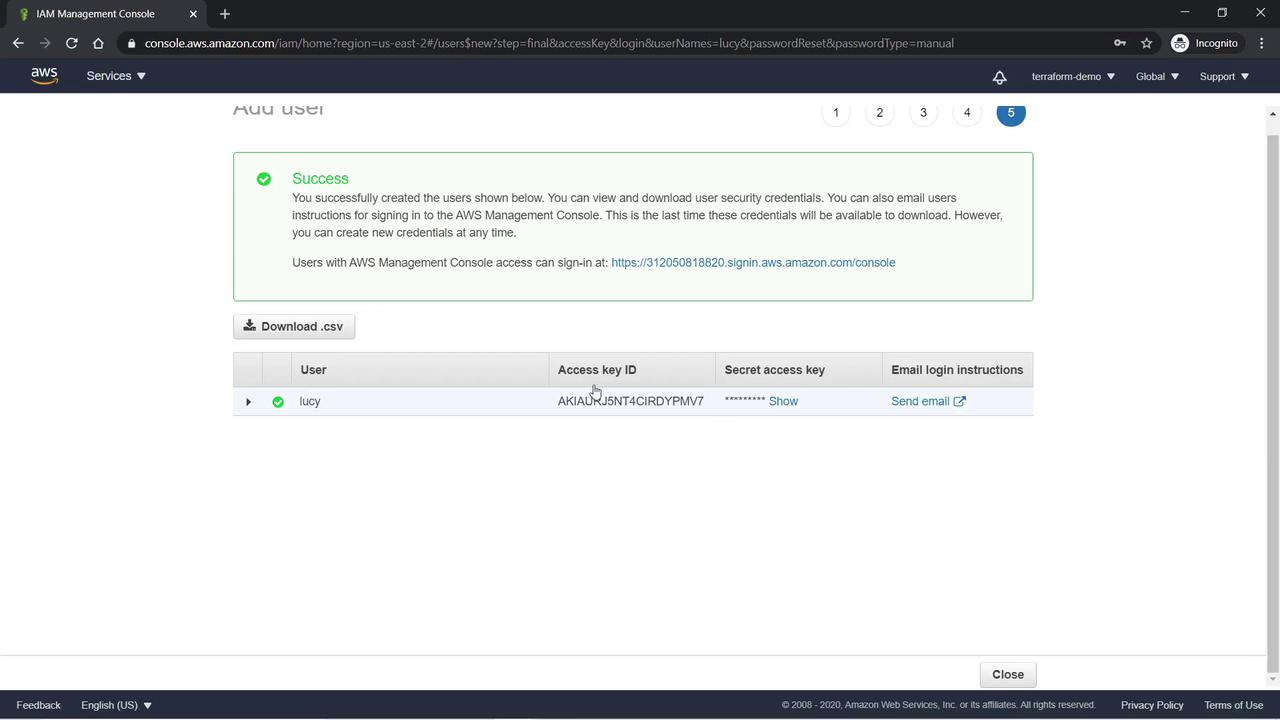
- Choose the type of access to provide:
- Programmatic Access: Generates an access key and secret access key for AWS CLI or SDK usage.
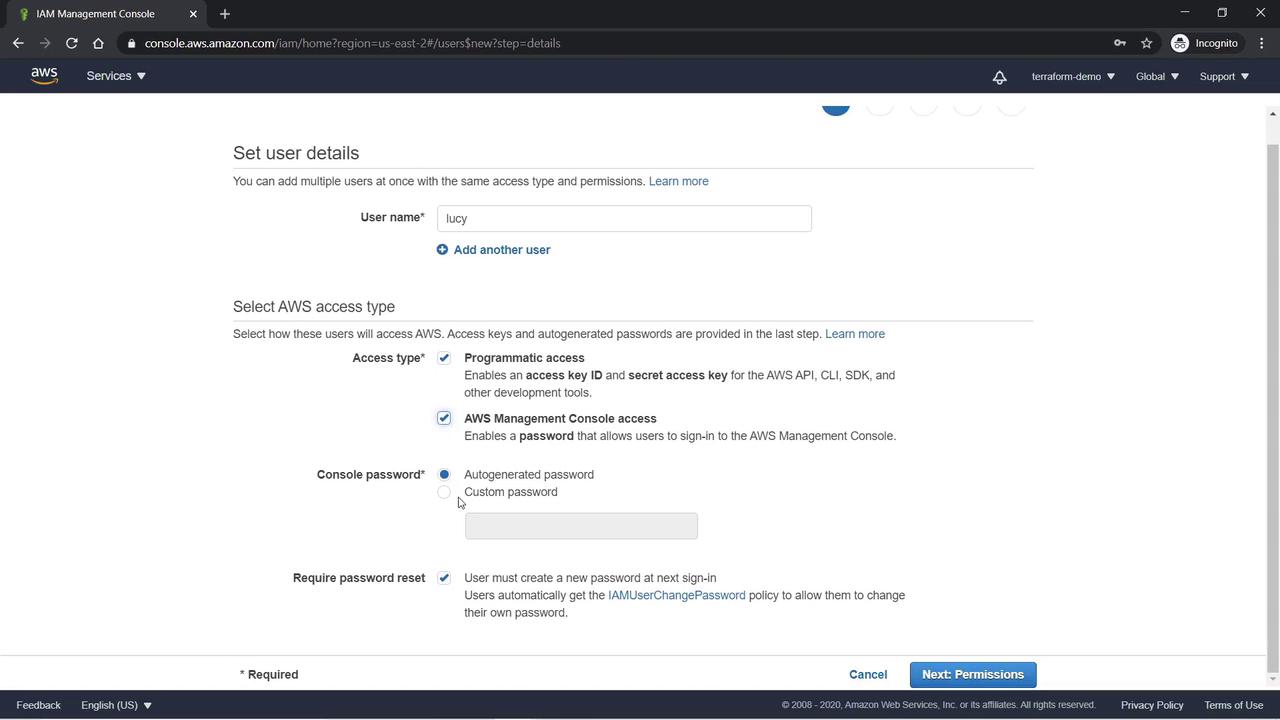
- AWS Management Console Access: Provides a username and password for console login.
These access methods are complementary. The programmatic access key allows API interactions, while console access permits direct usage via the browser.
- For Lucy, set a custom password and enable the option for her to reset the password upon first login. This automatically attaches an IAM policy that permits password changes.
- Click Next: Permissions. For now, do not attach any additional permissions. Then click Next: Tags.
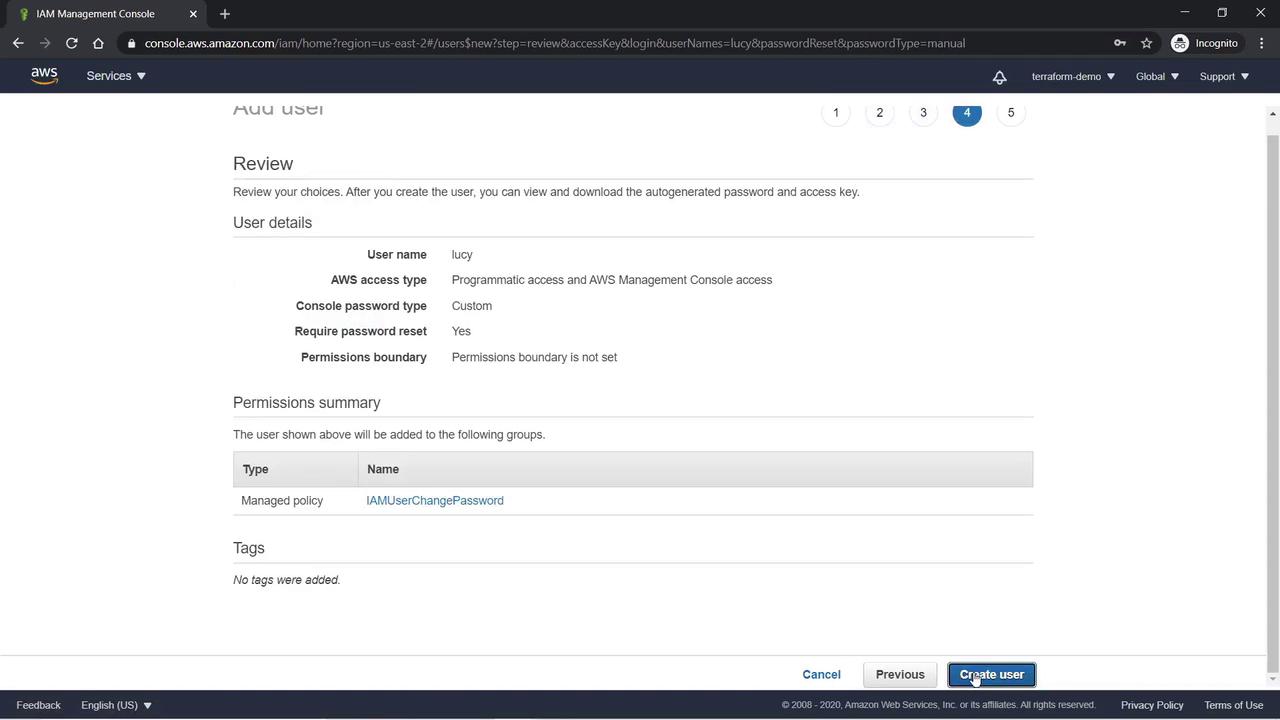
- Skip adding tags by clicking Next: Review. Finally, review the details and click Create User.
Attaching Policies to a User
After Lucy is created, navigate to her user details and select the Permissions tab. You will see that the “IAM User Change Password” policy is attached by default—click on it to review its JSON document. Now, attach an additional policy that grants Lucy full administrative privileges. As the team lead, she needs unrestricted access to all account services. We will attach the AdministratorAccess Policy with the following JSON: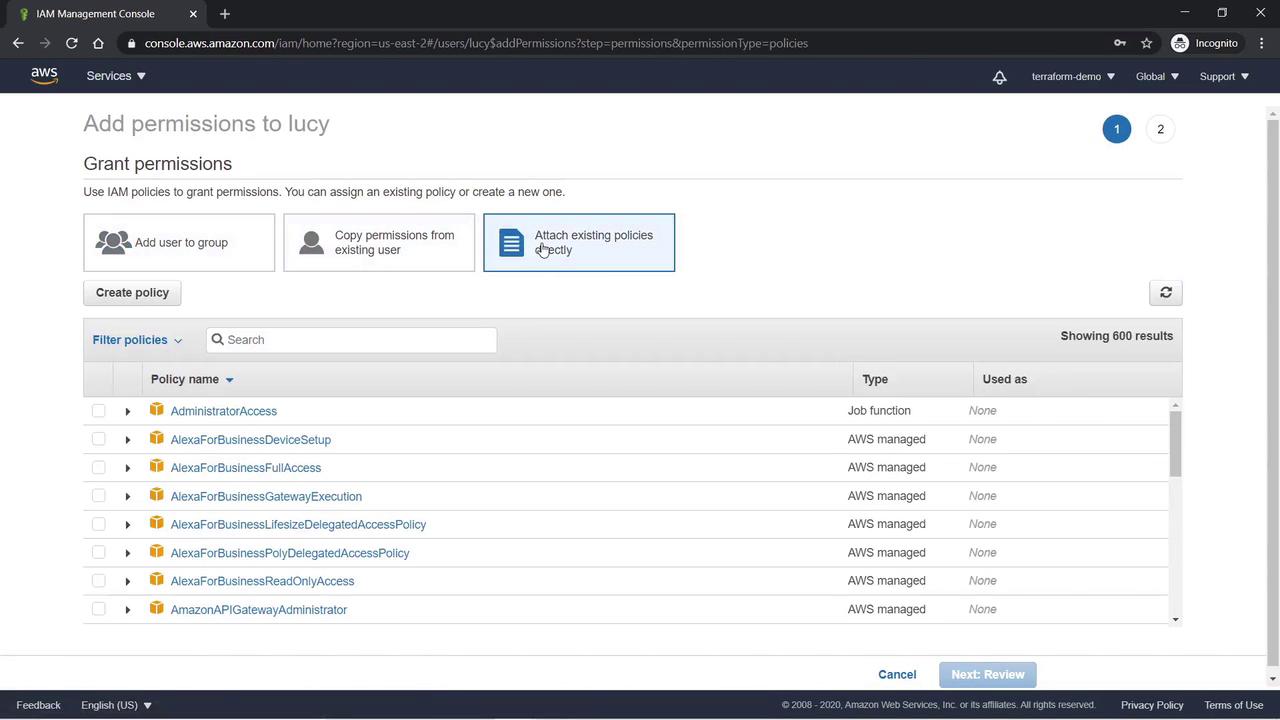
Creating Additional Users and Groups
Next, we will create another user named Abdul and group him with Lee. For Abdul, follow the same steps used earlier to create a user. When prompted, select to create a new group called “Project Sapphire Users” and attach the AmazonEC2FullAccess Policy. Additionally, add a tag with the key “name” and value “Project Sapphire Users” during the group creation process. After creating Abdul, download his access keys (CSV file). Proceed then to create another user named Lee, and add him to the existing “Project Sapphire Users” group. Both Abdul and Lee will now have full EC2 access. To further enhance the group’s capabilities, attach an additional policy that grants full access to the Amazon S3 service.
Reviewing IAM Policies
IAM policies offer fine-grained control over user and service permissions. AWS provides many pre-built managed policies such as Amazon EC2 Full Access and Amazon S3 Full Access, along with specific role policies like Administrator Access and Billing.Creating an EC2 Read-Only Custom Policy
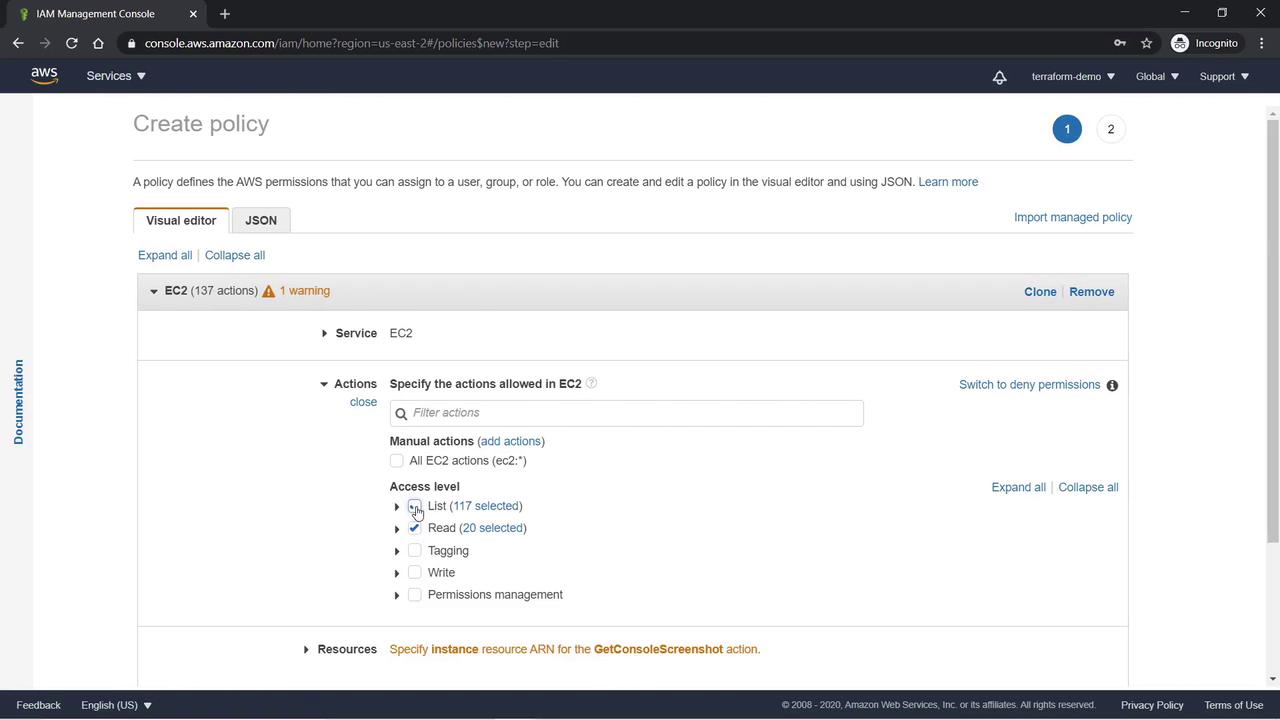
To illustrate policy creation, we will create a custom policy that restricts EC2 actions to read and list operations:- Click Create Policy.
- Choose EC2 as the target service.
- Select actions that permit only read and list operations.
- For this demo, choose All Resources.
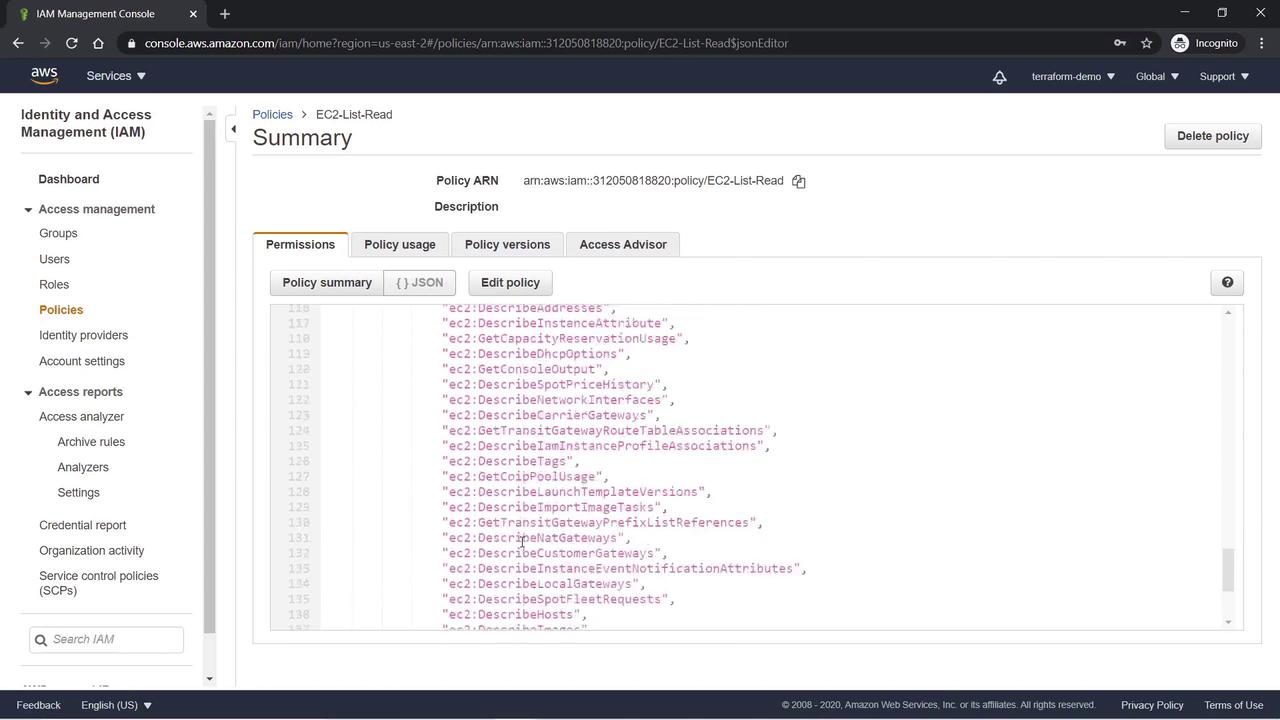
- Click Review and name the policy “EC2-List-Read”. Verify the JSON document to confirm it permits list and read actions on all EC2 resources.
Creating an S3 Read-Only Custom Policy
Similarly, create a custom policy for the S3 service that allows only read and list operations. Name the policy “S3-Read-Only” and review the JSON document to ensure it properly grants read and list permissions on all S3 resources.Creating a Role
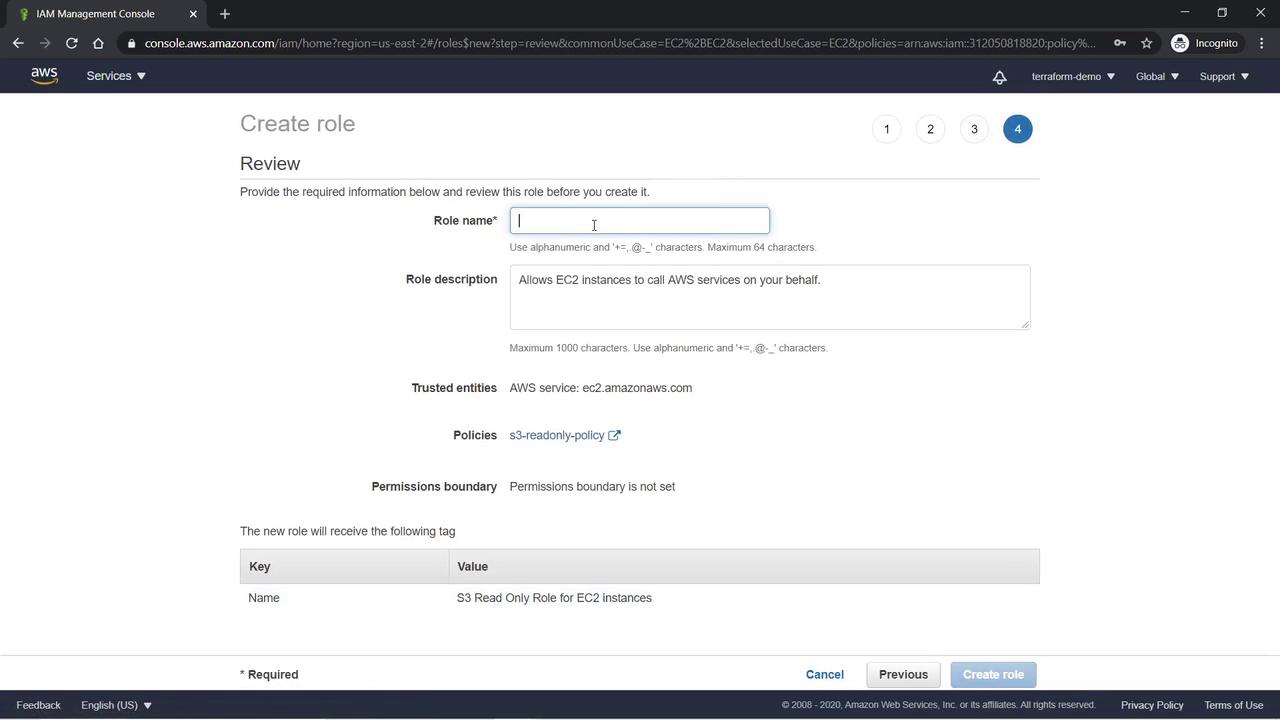
IAM roles enable secure delegation of access across AWS accounts and services. They are commonly used to allow users from different AWS accounts to access resources or to grant AWS services, such as EC2, permission to interact with other services. In this example, we will create a role that permits EC2 instances read-only access to S3:- Navigate to Roles and click Create Role.
- Under Select type of trusted entity, choose AWS Service.
- Select EC2 as the service.
- Click Next: Permissions and attach the custom S3-Read-Only policy you created.
- Optionally, add a tag with the value “S3-Read-Only role for EC2 instances”.
- Click Next: Review, provide a name (e.g., “S3-Read-Only Role”), and update the description if needed.
- Click Create Role.
Conclusion
This lesson demonstrated how to manage IAM using the AWS Management Console by:- Creating users with both programmatic and console access
- Attaching both default and custom policies
- Organizing users into groups for more efficient management
- Crafting custom read-only policies for EC2 and S3
- Creating a role to delegate access to EC2 instances
- AWS Identity and Access Management Documentation
- AWS Management Console
- Terraform AWS Provider
- AWS Security Best Practices