This guide walks you through setting up an AWS account, including creating an account, entering payment information, and verifying your phone number.
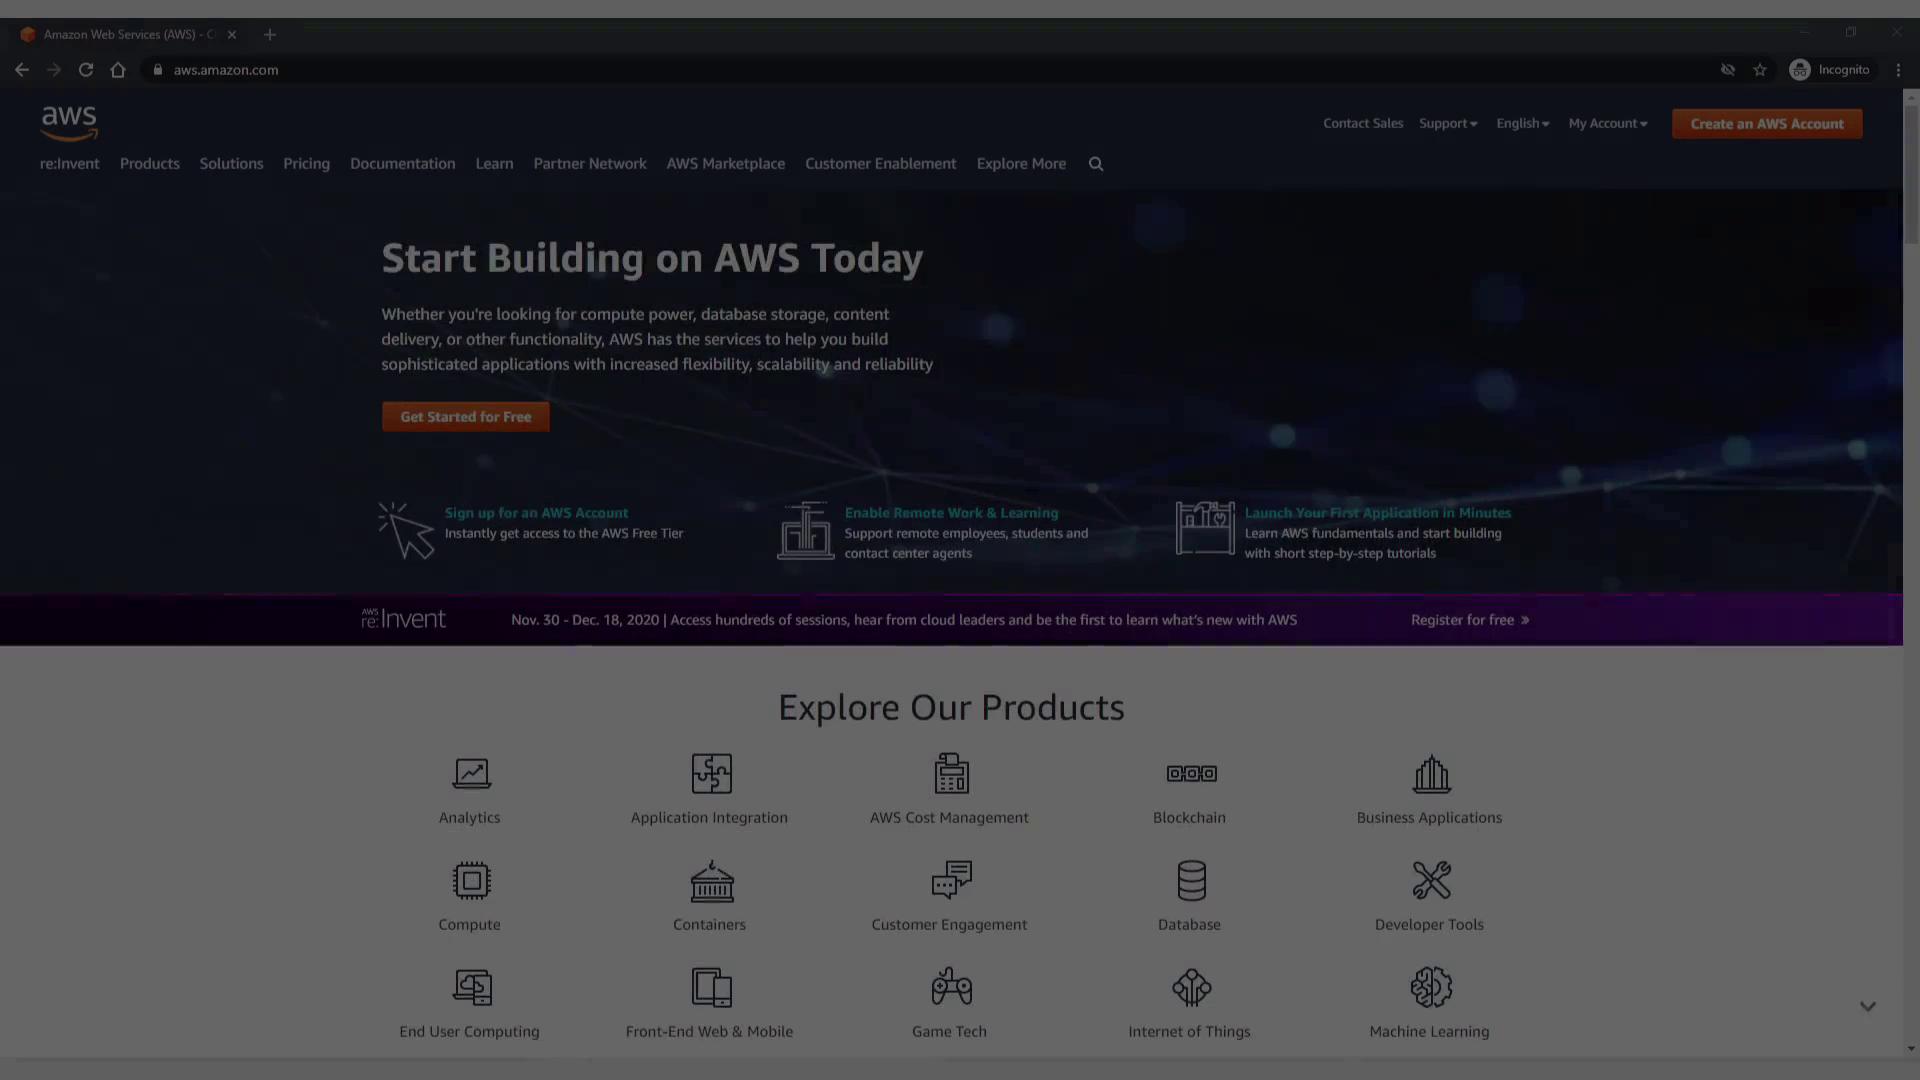
In this guide, we will walk you through setting up an AWS account. If you already have an AWS account or are using browser-based AWS labs, you may choose to skip this section.Begin by opening your preferred web browser and navigating to aws.amazon.com.
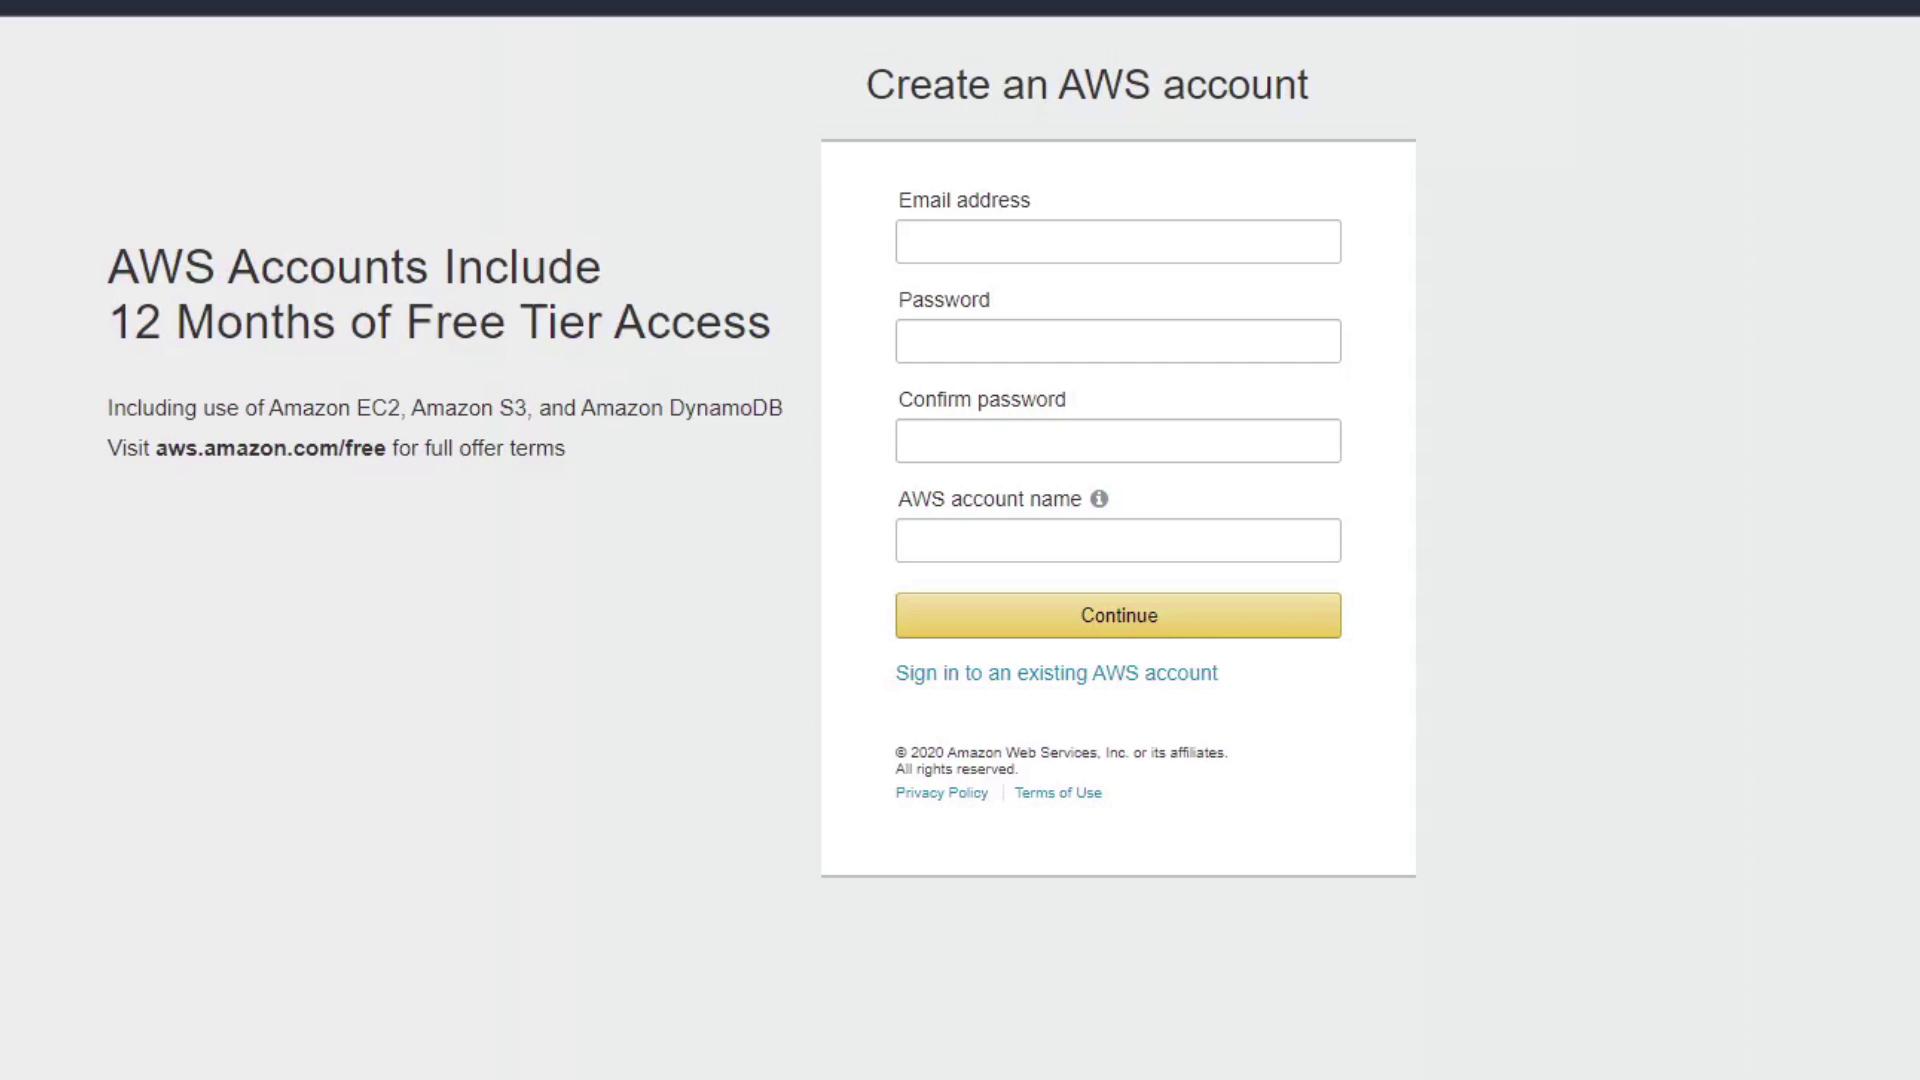
Once the homepage loads, click on the “Create an AWS Account” button located at the top right. You will be prompted to provide an email address and a secure password. Use a valid email address, as it will serve as the root account for signing into the AWS Management Console.
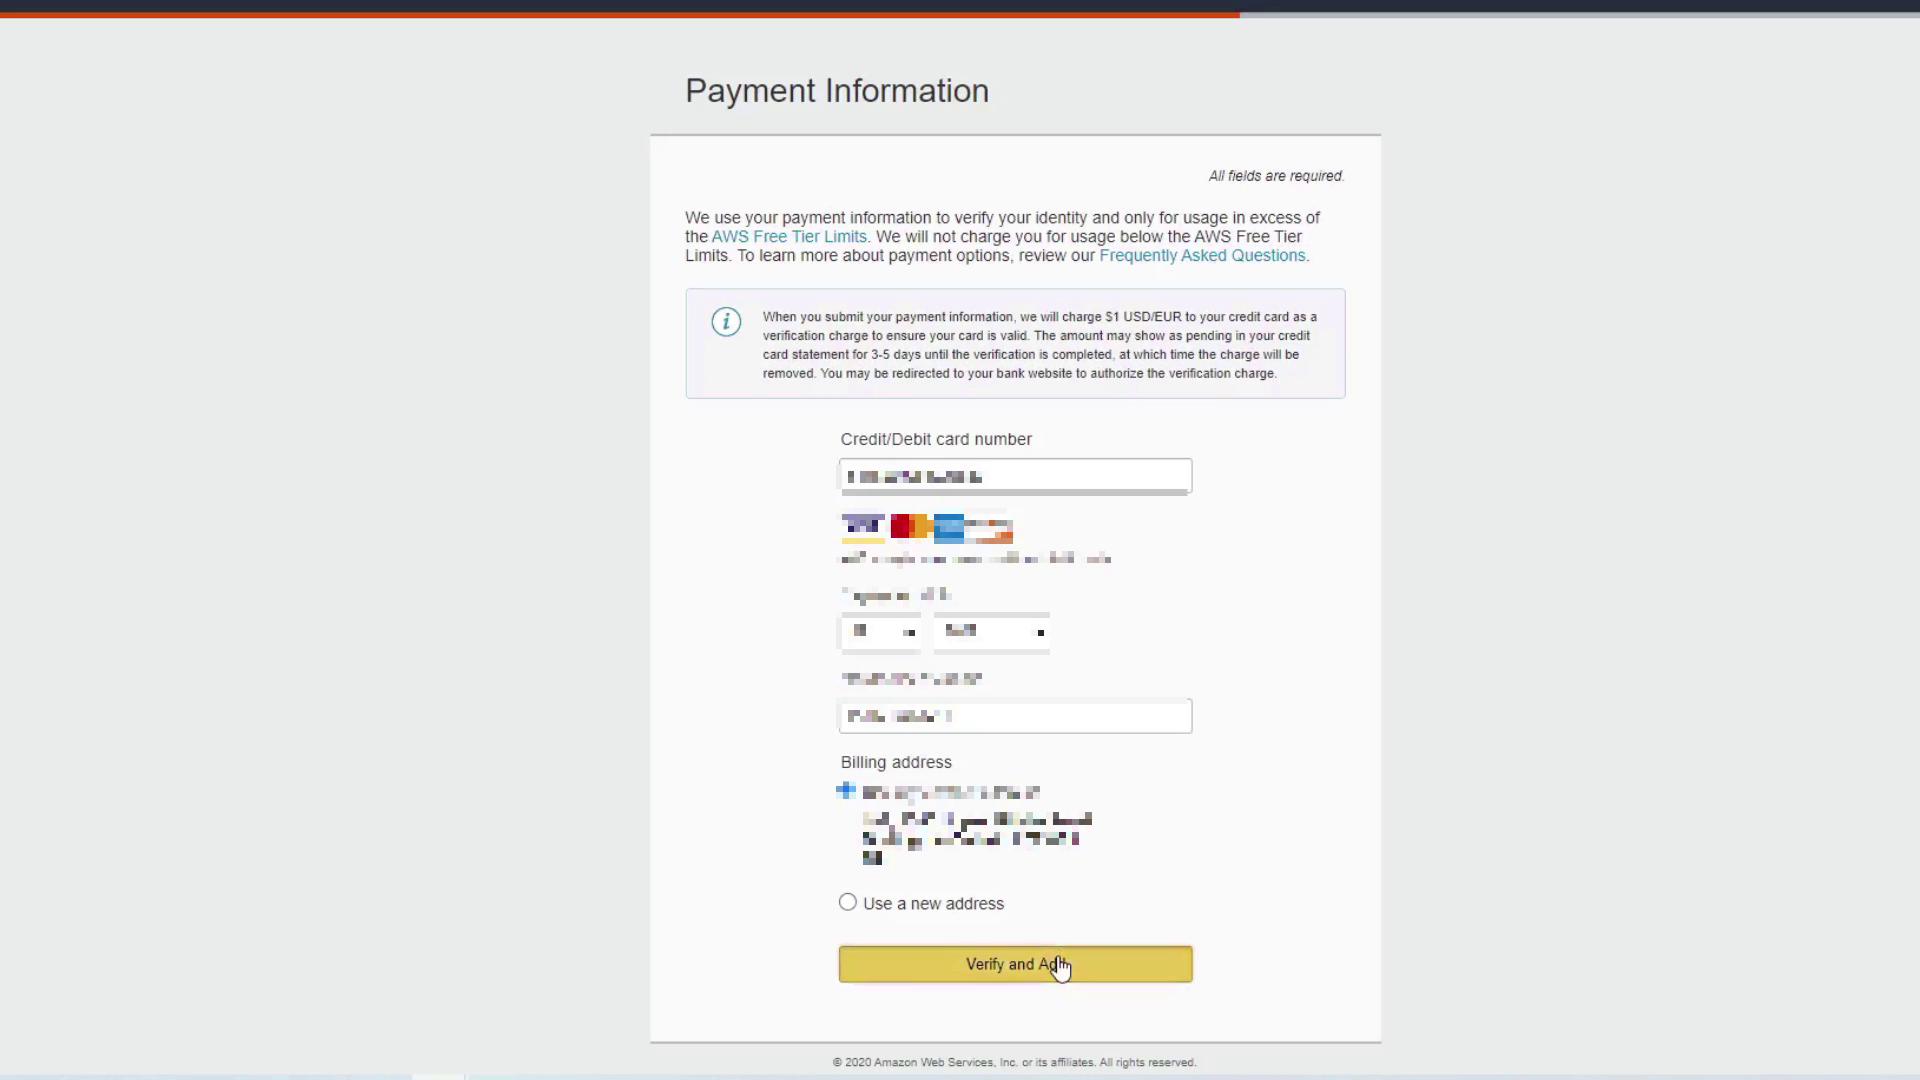
After providing your email and password (make sure to confirm the password correctly), you have the option to assign an AWS account name. For instance, you might name your account “Terraform-demo”. Once all details are entered, click Continue.On the next page, you’ll enter your contact information. Select the “personal” account type if you are signing up for free tier services for individual use. Complete all mandatory fields and click Continue.After reviewing and agreeing to the AWS customer agreement, click Create Account and Continue.The subsequent step involves entering your payment information. Even though you are opting for the free tier, AWS requires valid payment details. Fill in your credit card information and billing address, then click Verify and Add.
Even if you’re only planning to use the free tier, entering accurate payment details is essential to complete your account setup.
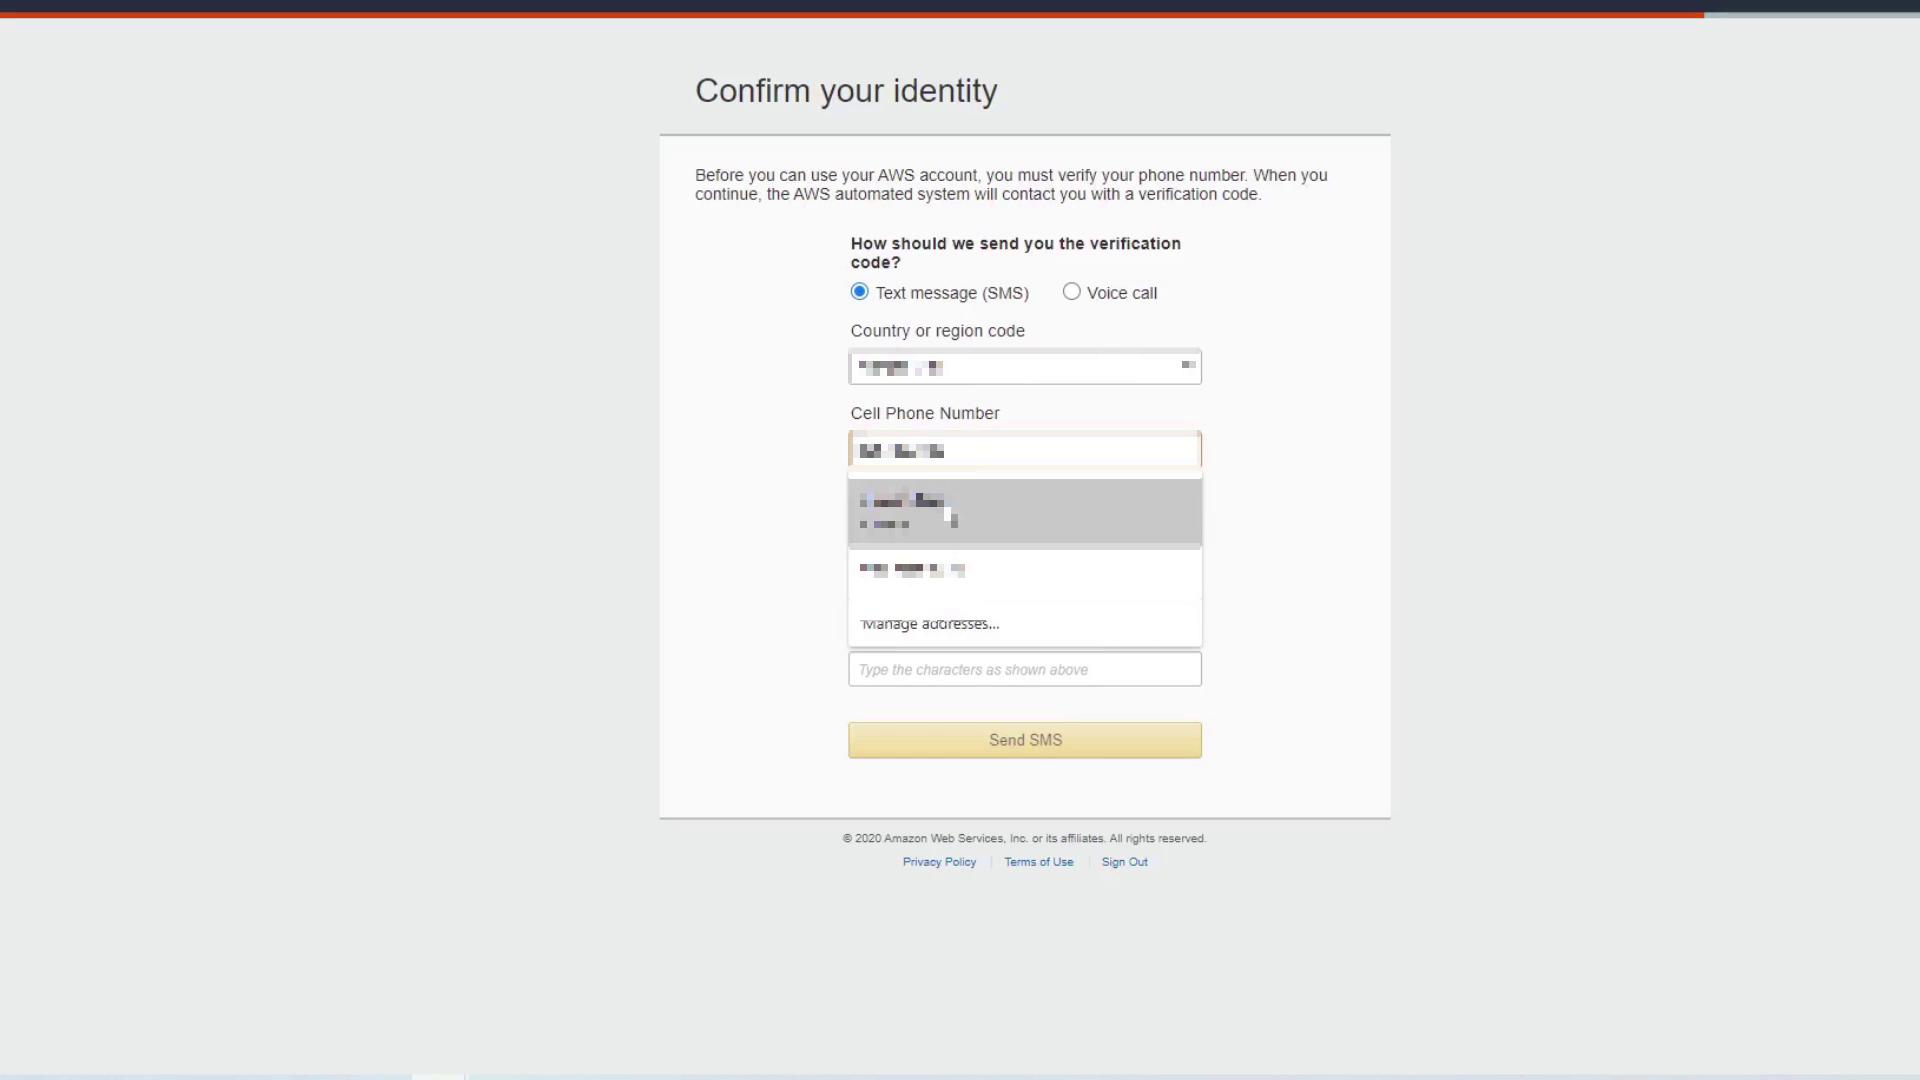
Next, you’ll verify your phone number. Choose the SMS option, then input your phone number and complete the security check.
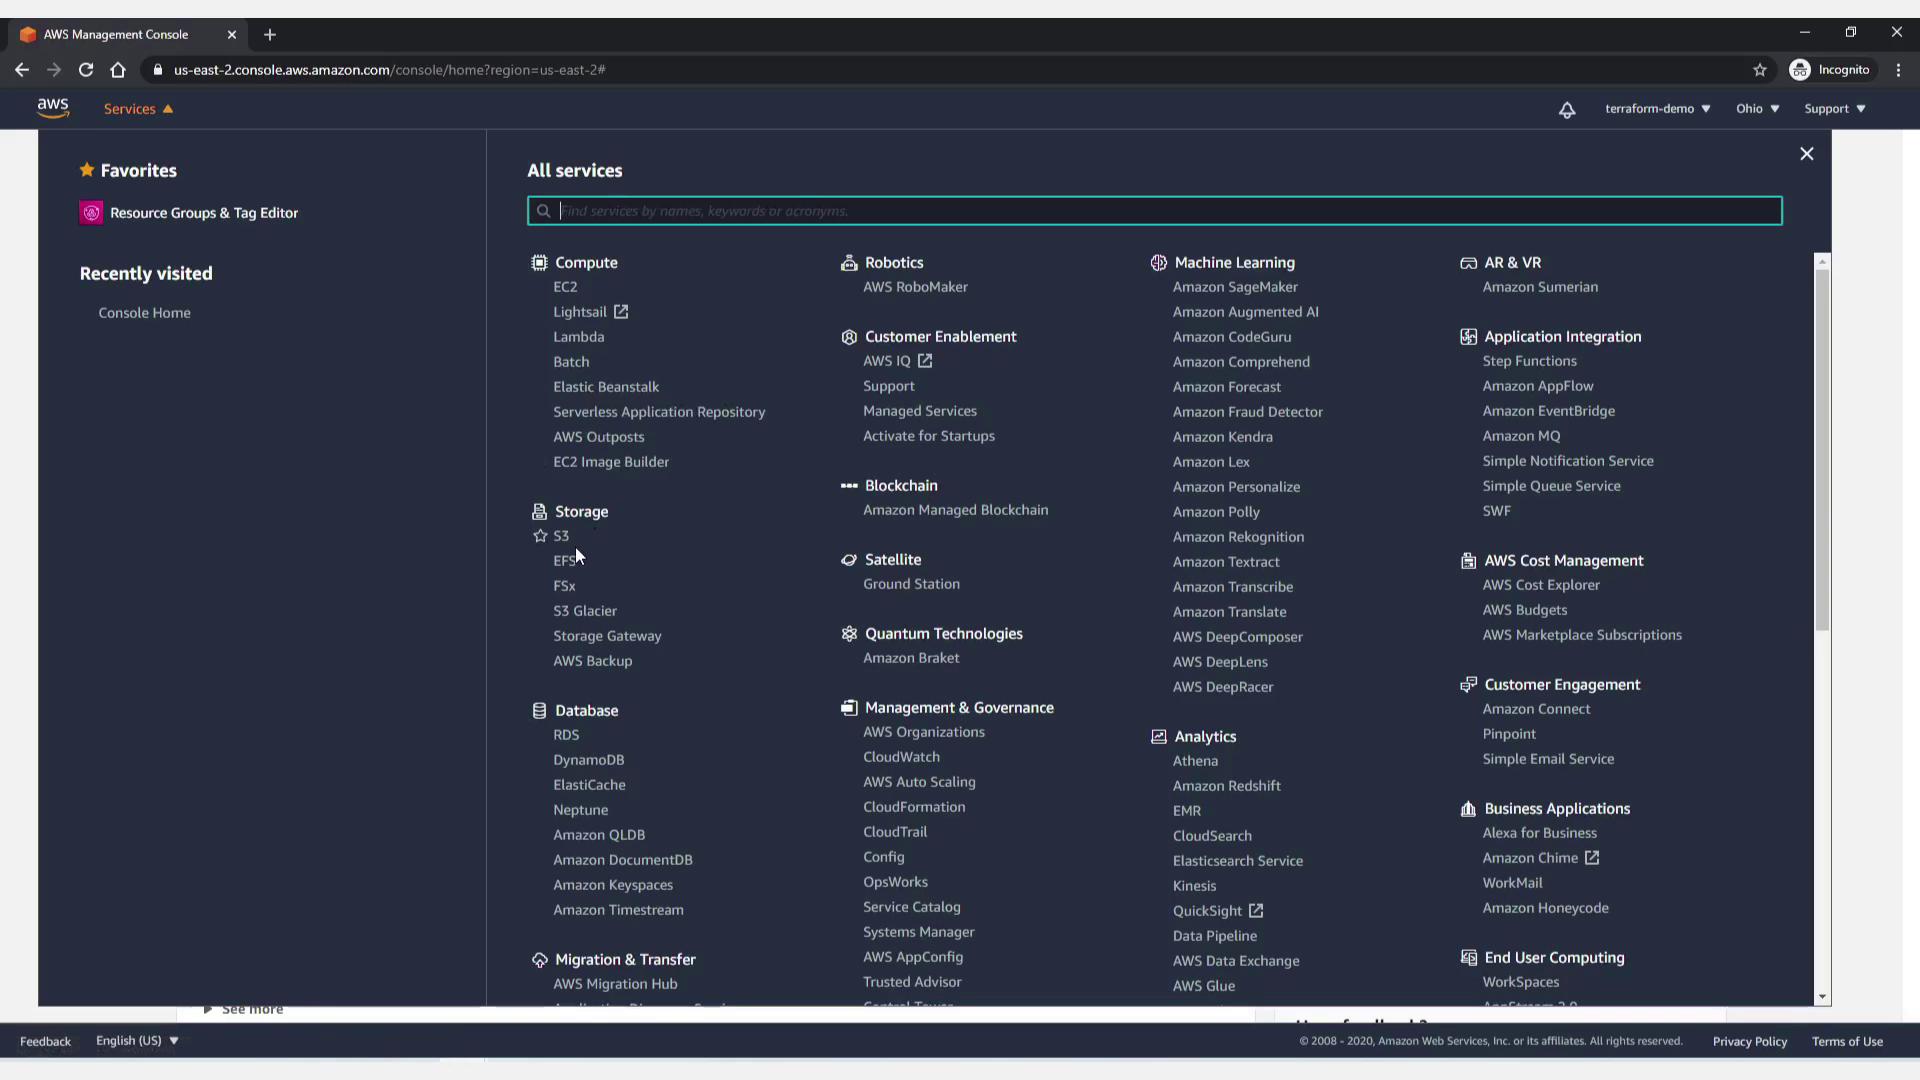
You can also choose a voice call to receive your security code. Once the code is received, enter it on the verification screen, click Verify Code, and then click Continue.In the final step of the signup process, you will be prompted to select a support plan. For most free tier users, the Basic support plan is sufficient. Select it to proceed.Once all steps are completed, click on the Go to the AWS Management Console button. When prompted, choose the root user option and complete any required security checks. Log in using the email and password you registered with.Now that you’re inside the AWS Management Console, explore the wide array of AWS services. Click on the Services tab in the top left corner to view services grouped into categories. For example:
Under the Compute category, you’ll find services like Amazon EC2, AWS Lambda, and Elastic Beanstalk.
Under Storage, services such as Amazon S3, EFS, and Storage Gateway are available.
Under Databases, you can access services like Amazon RDS and DynamoDB.
Additionally, by scrolling down, you will find a section titled Security, Identity, and Compliance, which includes AWS Identity and Access Management (IAM). We will cover IAM and other important services in subsequent guides.
After setting up your account, consider exploring more about AWS services through the AWS Documentation and other related learning resources. This will help you get the most out of your AWS Management Console experience.
This concludes the AWS account setup process. Enjoy exploring the AWS Management Console and take advantage of the plethora of services available!