> ## Documentation Index
> Fetch the complete documentation index at: https://notes.kodekloud.com/llms.txt
> Use this file to discover all available pages before exploring further.
# Demo of Lab 2
> This lesson covers authenticating to AWS, inspecting Terragrunt configuration, and deploying a VPC module using Terragrunt.
In this lesson, we’ll authenticate into a temporary AWS lab account, inspect our Terragrunt configuration, and deploy a VPC module. Follow along to learn how to initialize, plan, apply, and clean up with Terragrunt.
***
## 1. Authenticate to the AWS Lab Account
When the lab starts, you’ll receive a URL and temporary credentials:
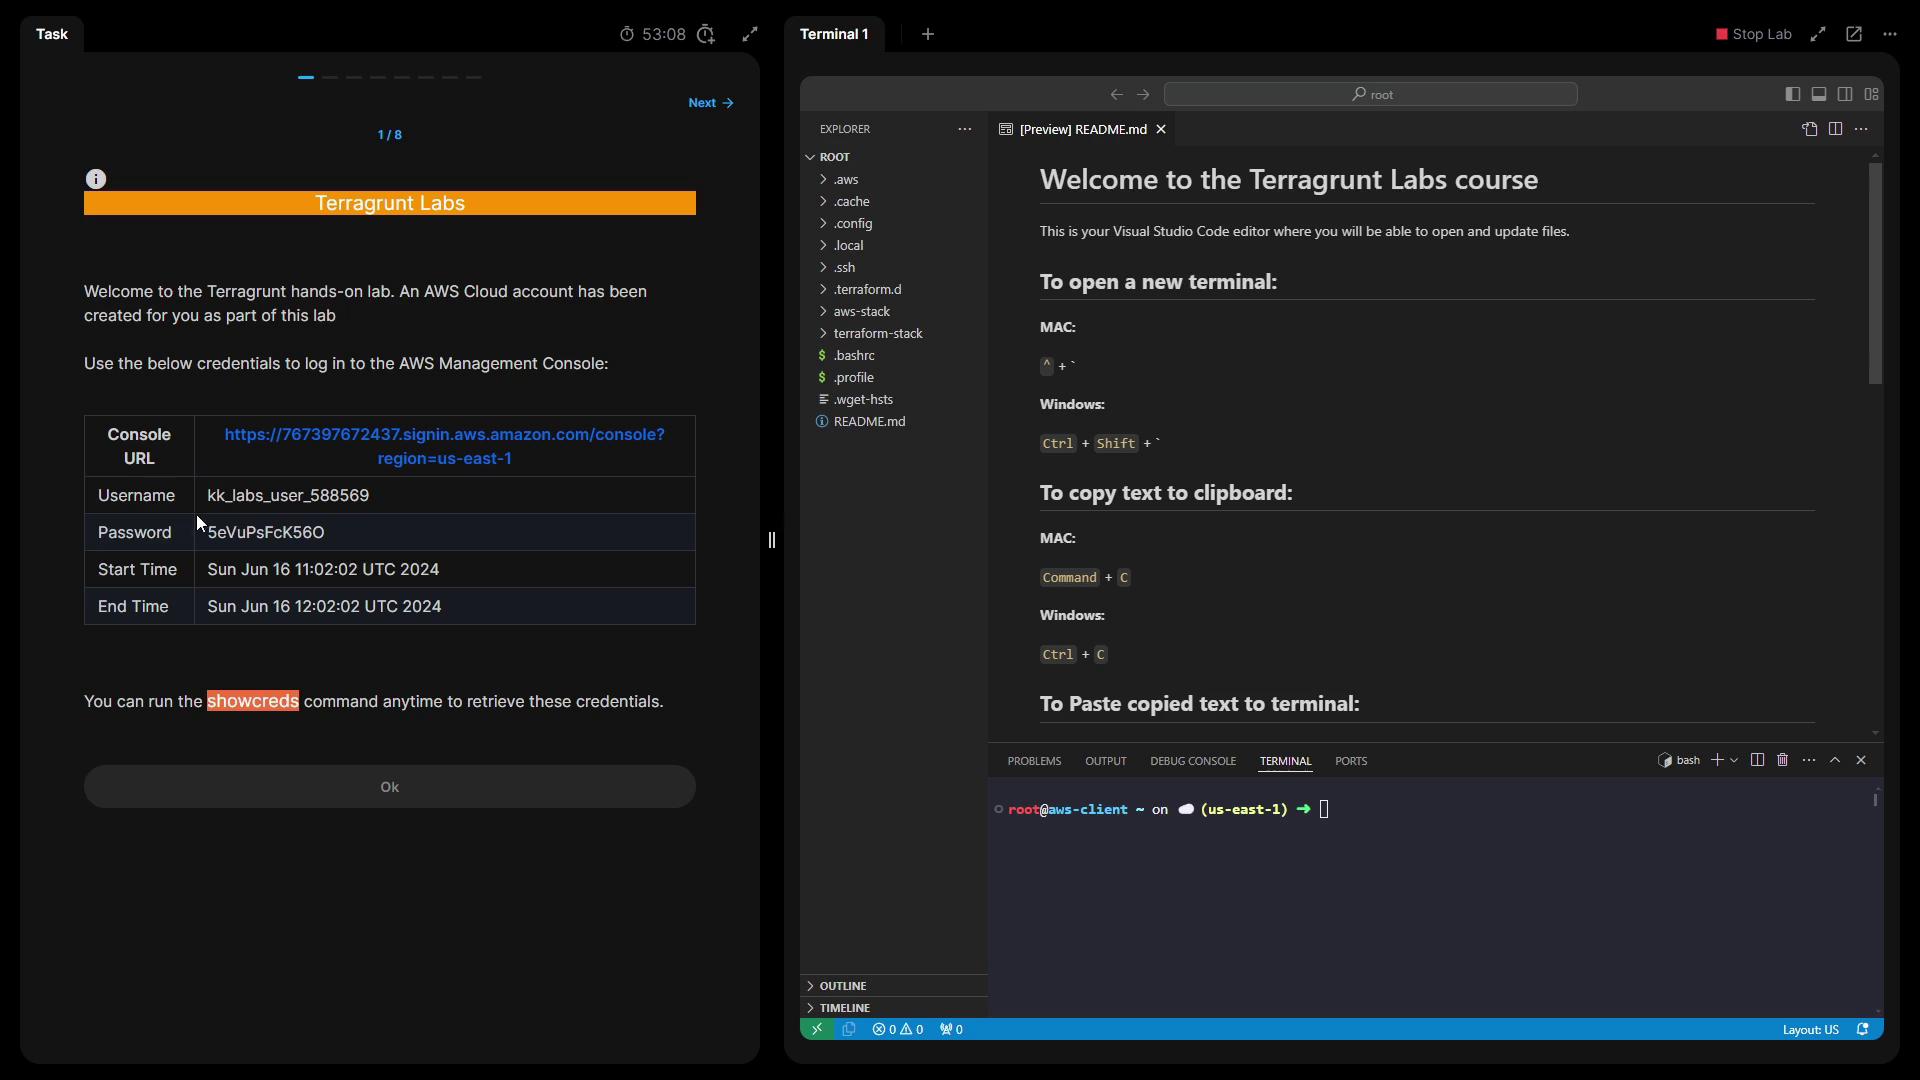
1. Open the provided URL in your browser.
2. Log in with the displayed username and password.
3. If you lose your credentials, run:
```bash theme={null}
show creds
```
This lab account has limited AWS permissions. Only perform the tasks outlined in this lesson to avoid permission errors.
***
## 2. Confirm Terraform & Terragrunt Versions
SSH into the AWS client server and verify your toolchain:
| Tool | Check Version | Sample Output |
| ---------- | ---------------------- | ---------------------------------------------------- |
| Terraform | `terraform version` | Terraform v1.8.3
`Your version is out of date!` |
| Terragrunt | `terragrunt --version` | terragrunt version v0.58.8 |
```bash theme={null}
terraform version
```
```text theme={null}
Terraform v1.8.3
on linux_amd64
Your version of Terraform is out of date! The latest version is 1.8.5.
Download: https://www.terraform.io/downloads.html
```
```bash theme={null}
terragrunt --version
```
```text theme={null}
terragrunt version v0.58.8
```
***
## 3. Inspect the VPC Module
Navigate to the `aws-stack/vpc` directory where the VPC module lives:
```bash theme={null}
cd aws-stack/vpc
```
Open `terragrunt.hcl` to review:
```hcl theme={null}
terraform {
source = "git::https://github.com/terraform-aws-modules/terraform-aws-vpc.git//?ref=v5.8.1"
}
locals {
vpc_cidr = "10.0.0.0/16"
}
include "root" {
path = find_in_parent_folders()
expose = true
}
inputs = {
name = "${include.root.locals.project}-vpc"
cidr = local.vpc_cidr
azs = [
"${include.root.locals.aws_region}a",
"${include.root.locals.aws_region}b",
"${include.root.locals.aws_region}c"
]
public_subnets = [
"10.101.0.0/24",
"10.102.0.0/24",
"10.103.0.0/24"
]
}
```
### Provider Version Override
To ensure compatibility, this module locks the AWS provider to major version 5:
```hcl theme={null}
generate "provider_version" {
path = "provider_version_override.tf"
if_exists = "overwrite"
contents = <
Locking the AWS provider version prevents unexpected breaking changes when Terraform and modules update.
***
## 4. Initialize the Terragrunt Project
Initialize the backend and download provider plugins:
```bash theme={null}
terragrunt init
```
You should see:
```text theme={null}
Initializing the backend...
Initializing provider plugins...
Terraform has been successfully initialized!
```
***
## 5. Plan the VPC Deployment
Generate and review the execution plan:
```bash theme={null}
terragrunt plan
```
Look for the summary at the end:
```text theme={null}
Plan: 13 to add, 0 to change, 0 to destroy.
```
***
## 6. Apply the Configuration
Create the VPC resources:
```bash theme={null}
terragrunt apply
```
Type `yes` when prompted. After completion:
```text theme={null}
Apply complete! Resources: 13 added, 0 changed, 0 destroyed.
```
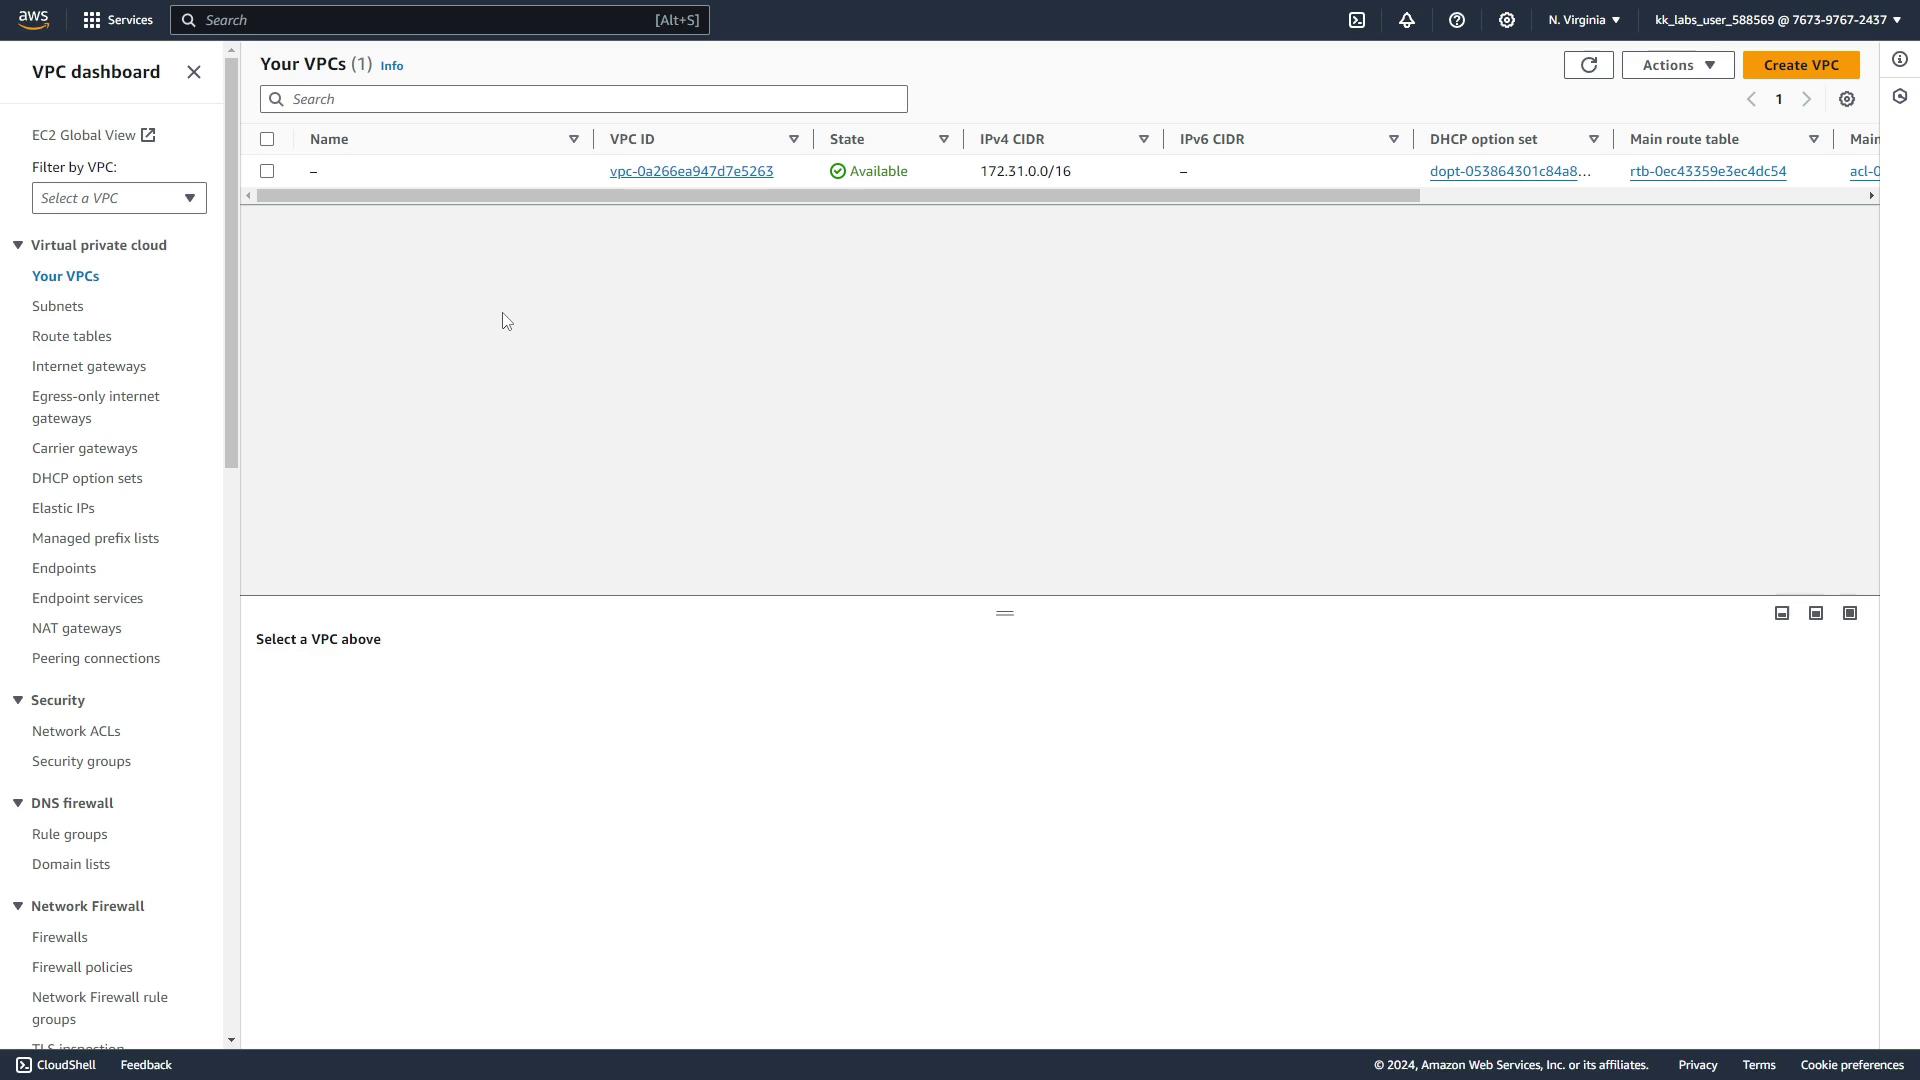
In the AWS console (US East 1), verify your VPC:
***
## 7. Clean Up: Destroy the VPC
Remove all created resources to avoid incurring costs:
```bash theme={null}
terragrunt destroy
```
Confirm with `yes`. You’ll see:
```text theme={null}
Destroy complete! Resources: 13 destroyed.
```
The AWS console will now only list the default VPC.
***
## References
* [Terraform Documentation](https://www.terraform.io/docs/)
* [Terragrunt GitHub](https://github.com/gruntwork-io/terragrunt)
* [Terraform AWS VPC Module](https://registry.terraform.io/modules/terraform-aws-modules/vpc/aws/latest)
* [AWS VPC Guide](https://docs.aws.amazon.com/vpc/latest/userguide/what-is-amazon-vpc.html)