Schema
The schema element specifies the location of the JSON schema that defines the version of the template language. Think of it as the grammar guide for your template—it ensures that your template adheres to the correct format. The schema you choose depends on the deployment scope (tenant, management groups, or subscriptions). Every ARM template requires a schema.The ARM template schema acts as the blueprint for the template structure, ensuring standardized deployments.
Content Version
The content version is used to version the template itself, with the default value being “1.0.0.0”. As you update your template, especially when using source control systems like GitHub, you can adjust this versioning to reflect minor or major changes. For example, a minor change could update the version to “1.0.0.1” while a major update might change it significantly.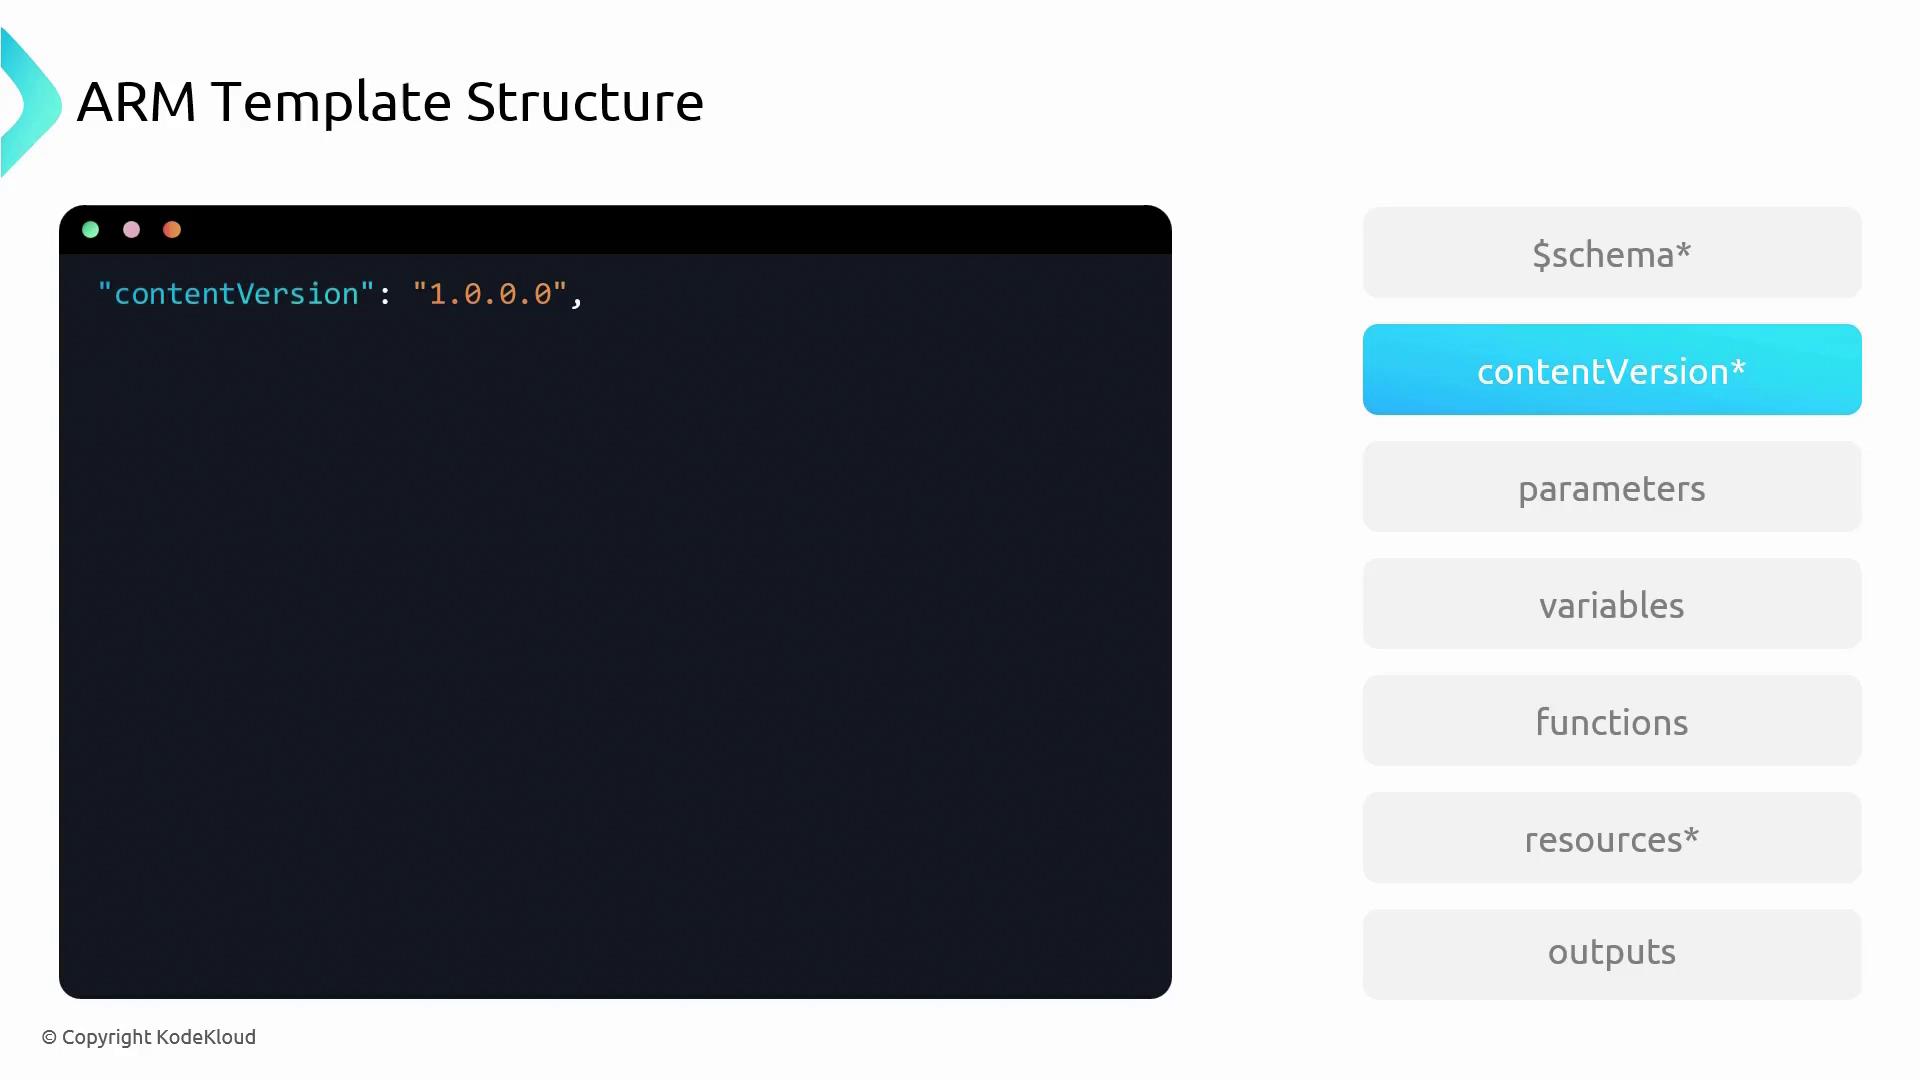
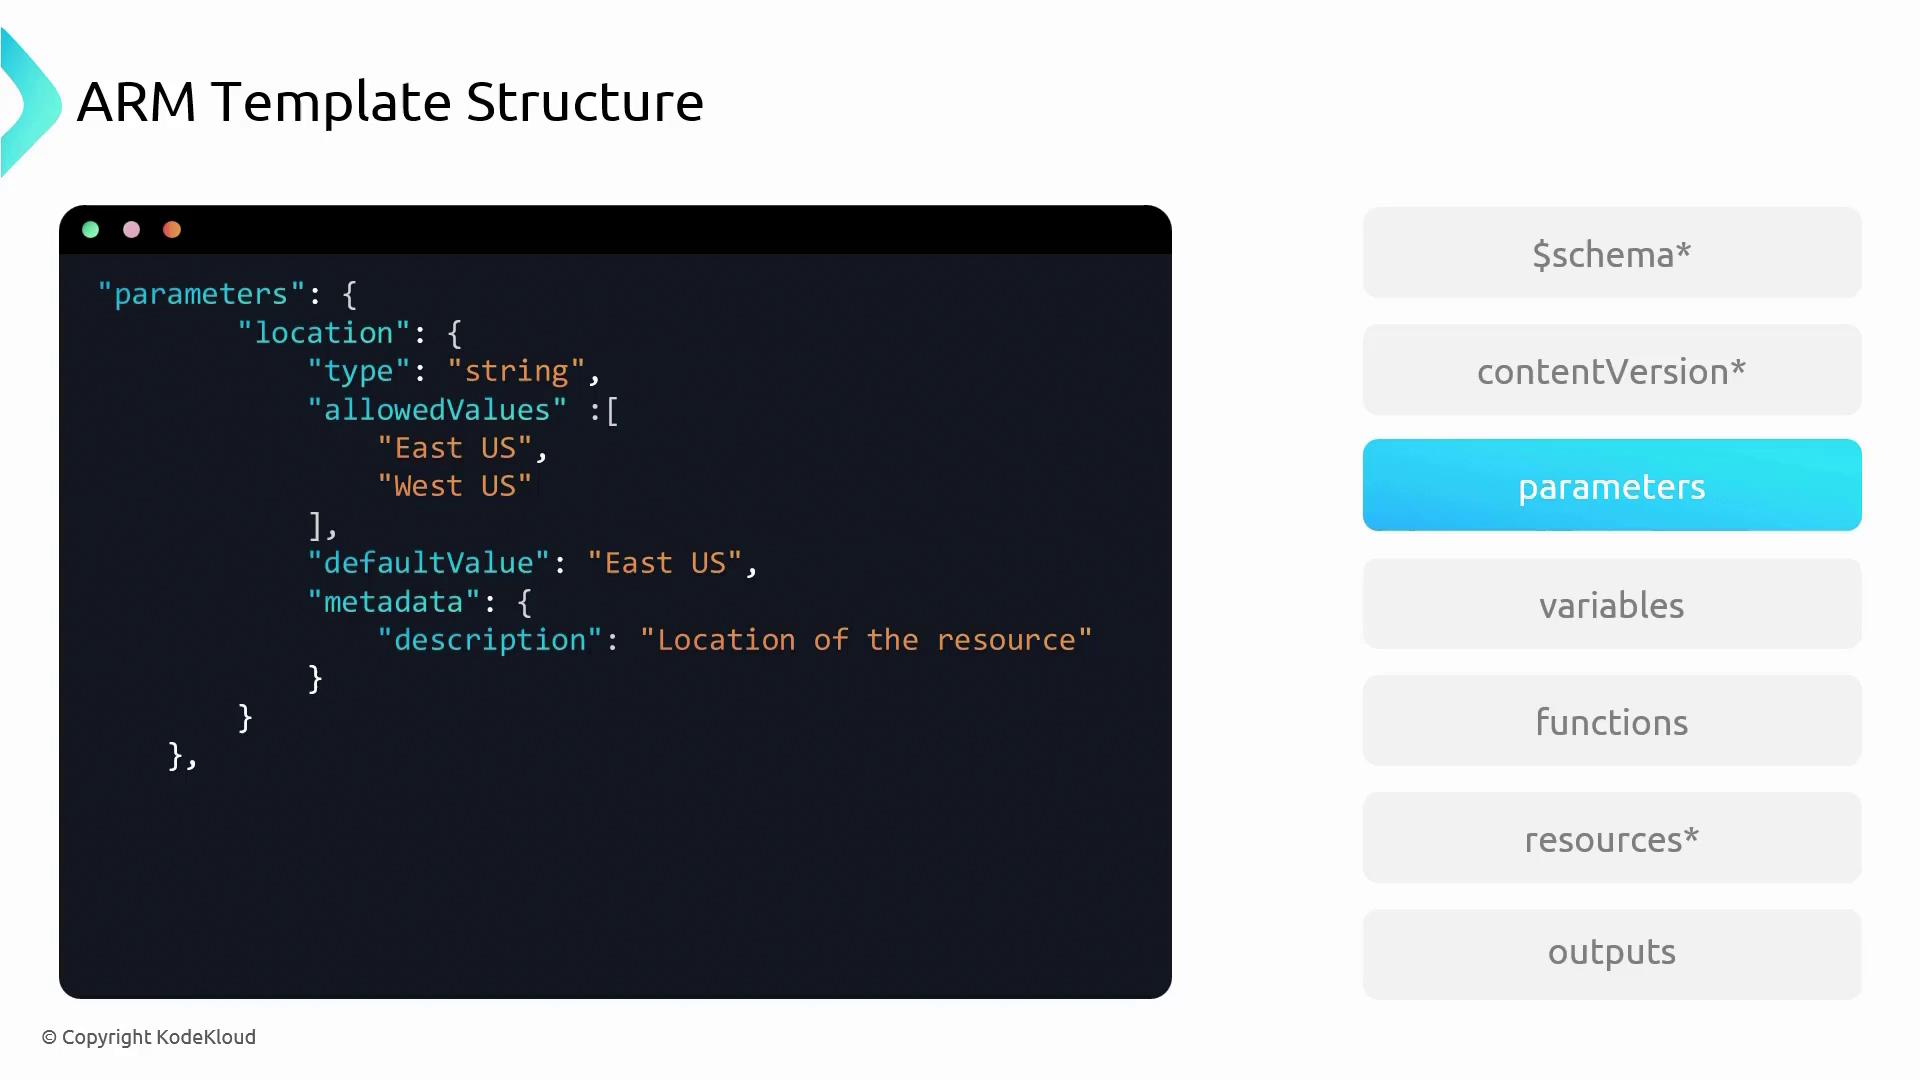
Parameters
Parameters add flexibility to your template by allowing you to supply deployment-time values. They promote reusability and enable users to pass different values without modifying the entire template. Consider a parameter for location that accepts only predefined values like “East US” or “West US”, with a default set to “East US”. Metadata such as a description can also be provided to help clarify the purpose of the parameter.


Variables
Variables store hardcoded values within the template, simplifying maintenance by centralizing value changes. Instead of modifying the value throughout the template, you simply update it at one place. Keep in mind that unlike parameters, variable values are static and cannot be altered at deployment time.Functions
Functions in ARM templates allow you to encapsulate and reuse code blocks, reducing redundancy. For instance, you can create a function that generates a unique virtual machine (VM) name by combining an input keyword with random values. This approach is especially useful when deploying multiple instances of similar resources.Resources
The resources section is the heart of your ARM template, describing the infrastructure to be deployed. For example, when deploying an App Service Plan, you must define the resource name, type (e.g., “Microsoft.Web/serverFarms”), API version, location (which can be dynamic through a parameter), and other properties such as SKU details and tags.This section outlines all the components that Azure will create, making it a critical part of your ARM template.
Outputs
Outputs allow you to return values from the deployment process. As an example, if you deploy a public IP address, you can output its value back to the user. This is particularly useful for chaining deployments or for verifying deployment outcomes.Example: Deploying an ARM Template in Visual Studio Code
Below is a step-by-step workflow for writing and deploying an ARM template using Visual Studio Code.-
Create a New Template File
- Open Visual Studio Code and create a new file named
template.json. - Set the file type to “Azure Resource Manager Template.” (Ensure you have the Azure Resource Manager extension installed; you can search for it in the Extensions view.)
- Open Visual Studio Code and create a new file named
-
Generate the Template Structure
- With the file type set, Visual Studio Code will start the template server.
- For resource deployments within a Resource Group, type
ARM!to trigger IntelliSense. The extension will generate the base template structure. - If you are deploying a Resource Group itself (a subscription-level deployment), the schema automatically adjusts accordingly.
-
Define Parameters and Variables
- Begin by creating a parameter for location. For example:
- Next, define a variable that uses these parameters to generate a unique name:
-
Define a Resource (e.g., Storage Account)
- Use IntelliSense to insert a storage account resource snippet and customize it as needed. For instance, to create a unique storage account name by concatenating a keyword with a variable:
-
Deploy the Template Using PowerShell
- Open the PowerShell terminal in Visual Studio Code and log in to your Azure account using device authentication:
- Set the desired subscription context:
- Create a new Resource Group if necessary:
- Deploy your ARM template:
- If your template uses a separate parameters file, reference that file during the deployment process.
-
Verify the Deployment
- After deployment, open the Azure portal to verify the resource creation. For example, navigate to “Storage accounts” to confirm the storage account’s existence, which should reflect the concatenated name as defined in your template.
- Check the Resource Group’s “Deployments” section for detailed deployment logs and the raw template used.