Kubernetes for the Absolute Beginners - Hands-on Tutorial
Appendix
Demo Kubeadm Part 2 Configure Cluster with kubeadm
In this lesson, we will configure a Kubernetes cluster using kubeadm. The setup involves three virtual machines (VMs): one master node (kube-master) and two worker nodes (kube-node one and kube-node two). We will cover verifying environment prerequisites, installing the container runtime, configuring the cgroup driver, installing kubeadm (along with kubelet and kubectl), initializing the control plane, and finally joining the worker nodes.
Verifying the Environment
Before proceeding, ensure that systemd is in use as the init system on your master node. Run the following command:
ps -p 1
    PID TTY      TIME CMD
      1 ?        00:00:01 systemd
Make sure you have three terminal sessions open: one for the master (kube-master) and one for each worker node (kube-node one and kube-node two).
Reviewing Prerequisites
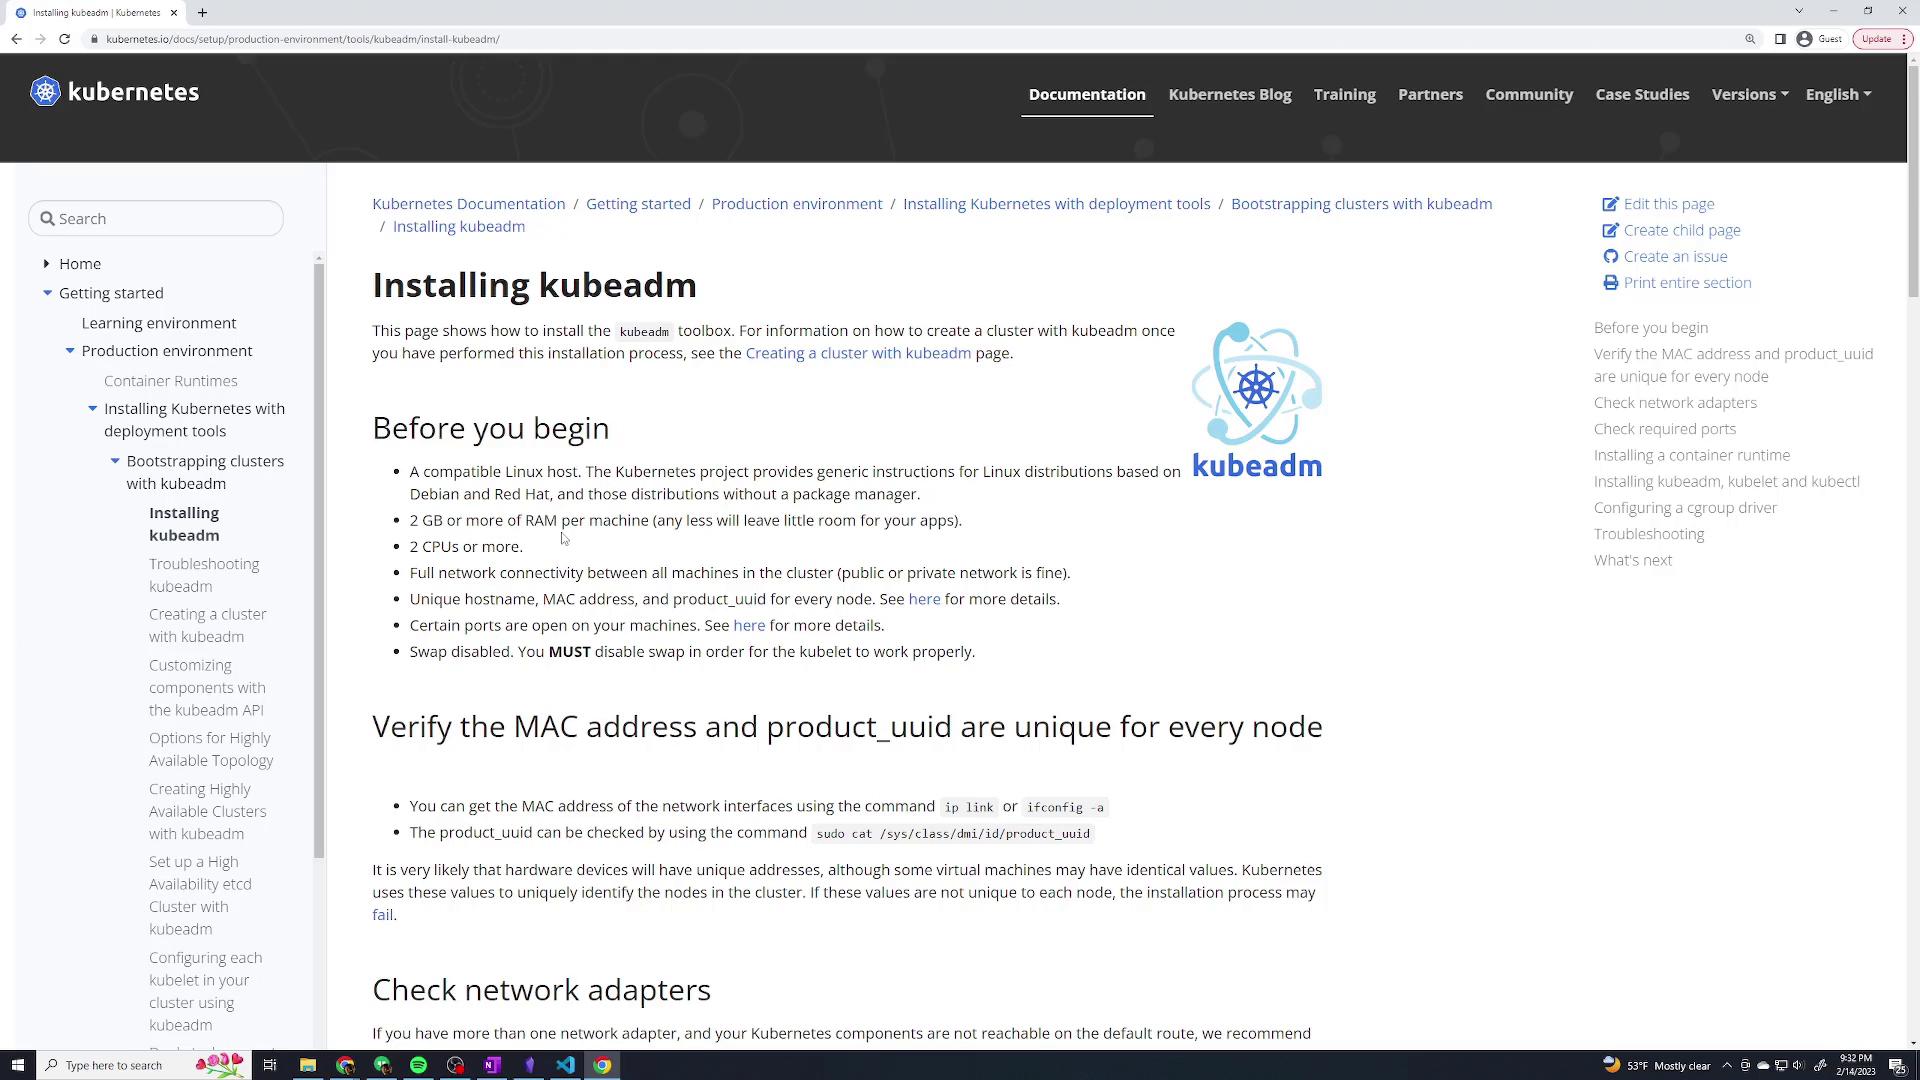
Prior to installation, verify that your system meets the necessary prerequisites outlined in the official kubeadm documentation. The requirements include a compatible Linux distribution (Ubuntu in this demo), at least 2 GB of memory, and 2 CPUs. Additionally, verify your network interface and system UUID with these commands:
ip link
# or
ifconfig -a

sudo cat /sys/class/dmi/id/product_uuid
The official documentation provides further details on prerequisites.

Installing the Container Runtime
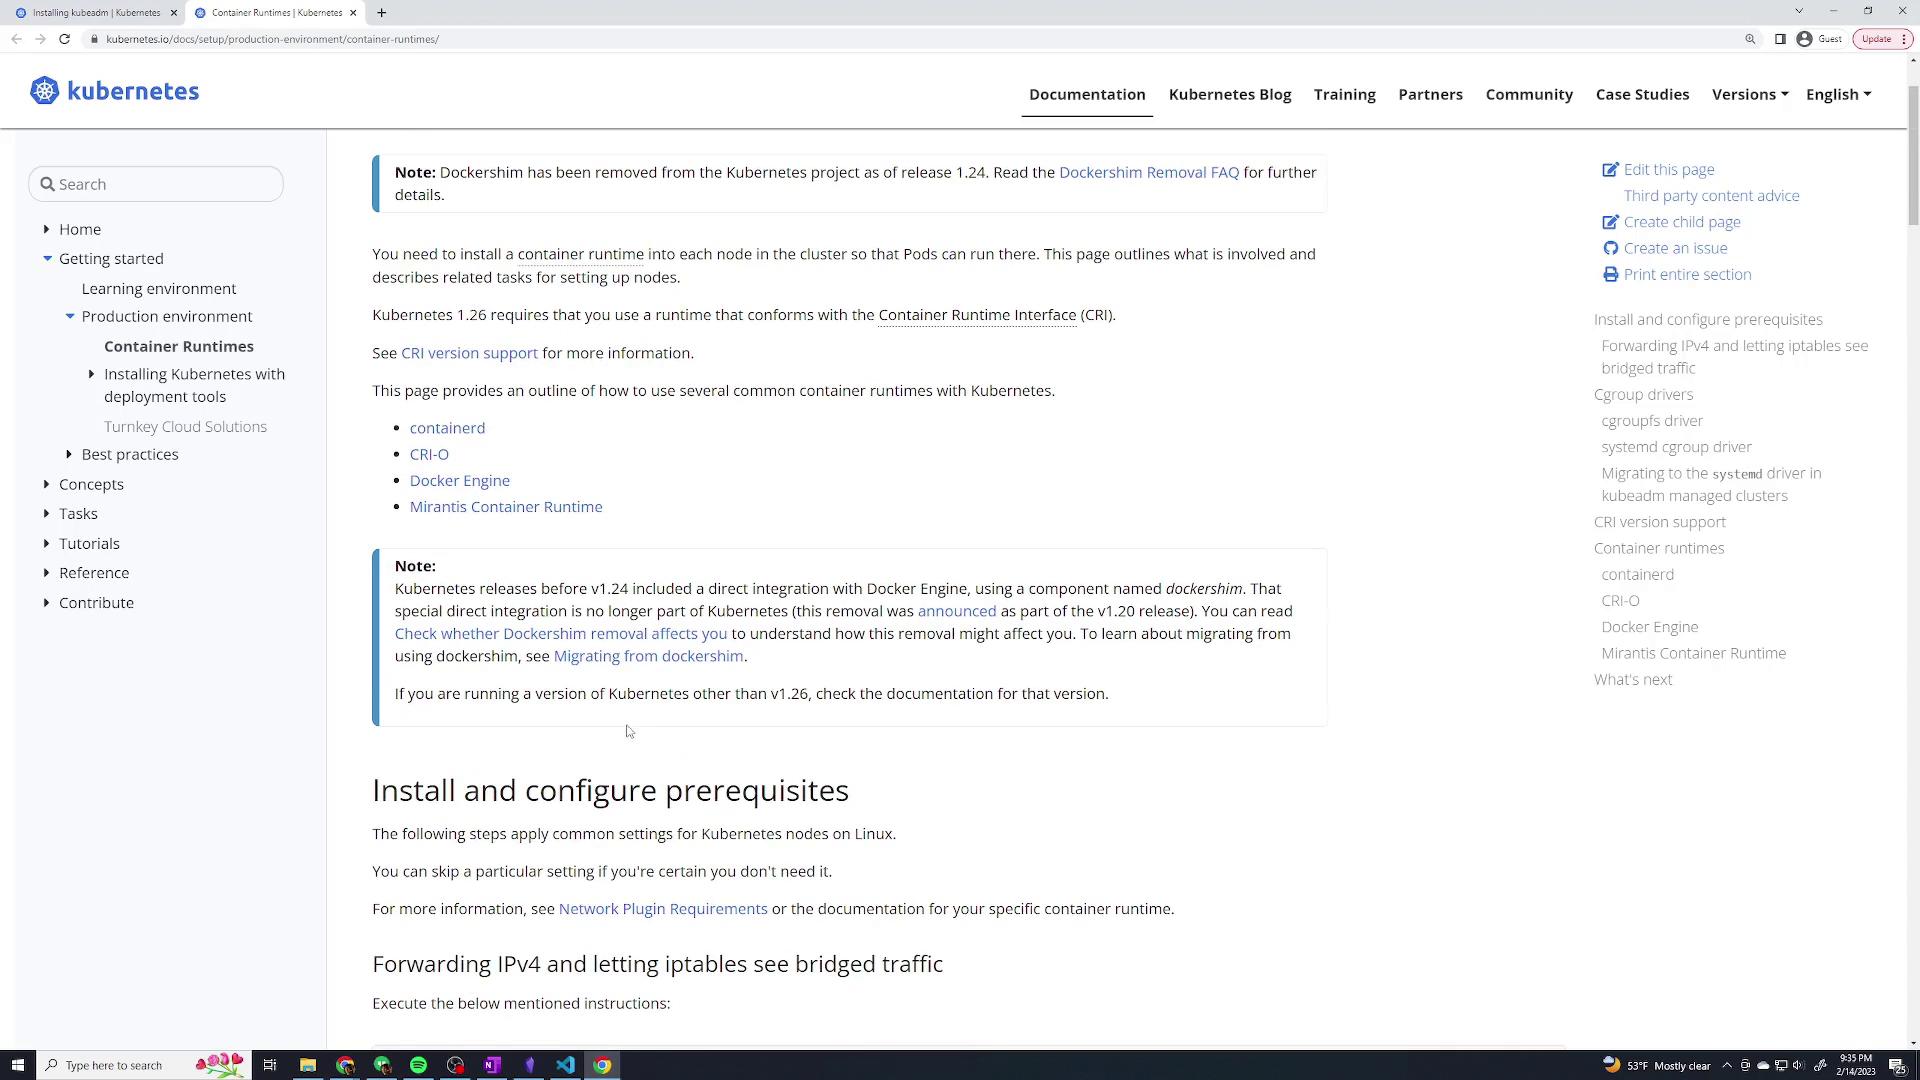
We will use ContainerD as our container runtime in this demo. For more details on different container runtimes, refer to the Container Runtimes page.
Open the container runtime documentation:

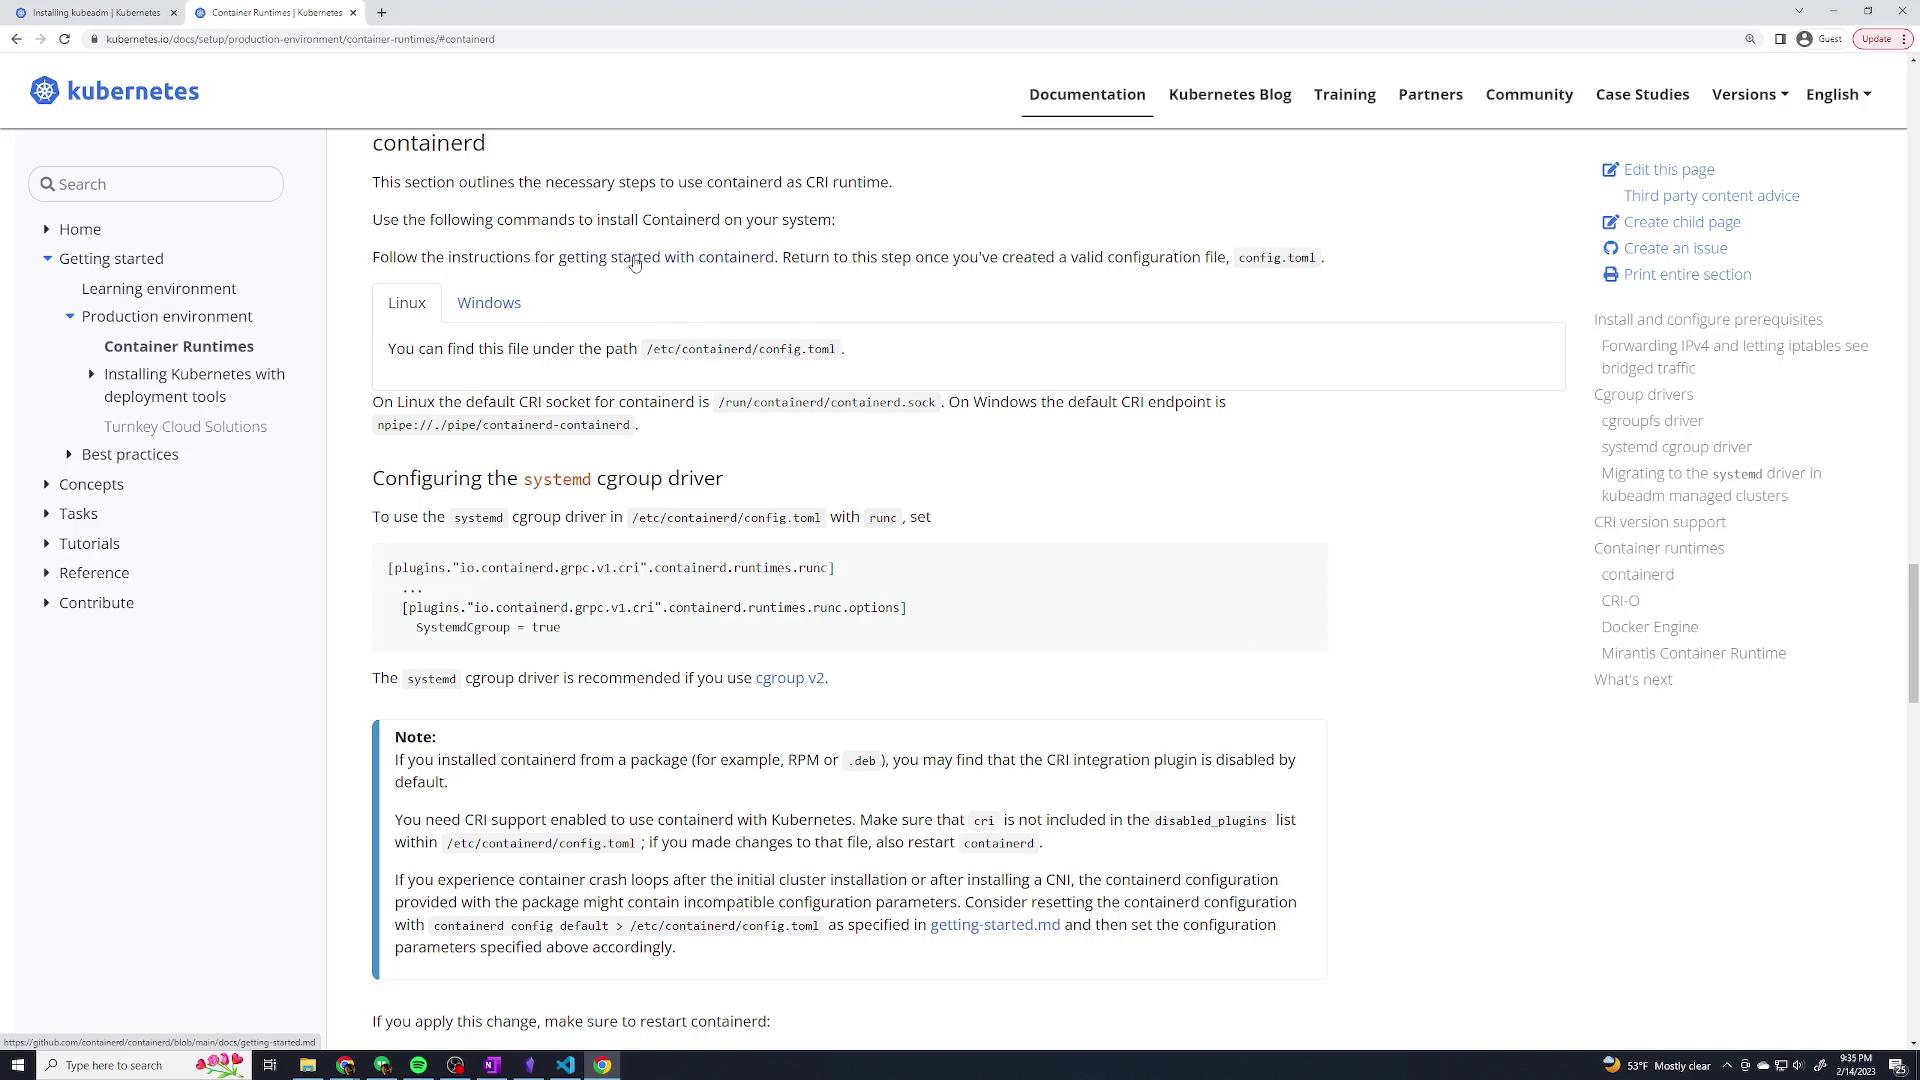
Then click on “Getting Started with ContainerD”:

Loading Necessary Kernel Modules
Before installing ContainerD, load the required kernel modules on all nodes. Create the configuration file with the necessary modules:
cat <<EOF | sudo tee /etc/modules-load.d/k8s.conf
overlay
br_netfilter
EOF

sudo modprobe overlay
sudo modprobe br_netfilter
Next, configure the system to allow IPv4 forwarding and enable iptables to see bridged traffic:
cat <<EOF | sudo tee /etc/sysctl.d/k8s.conf
net.bridge.bridge-nf-call-iptables = 1
net.bridge.bridge-nf-call-ip6tables = 1
net.ipv4.ip_forward = 1
EOF

sudo sysctl --system
Verify that br_netfilter and overlay modules are loaded:
lsmod | grep br_netfilter
lsmod | grep overlay

sysctl net.bridge.bridge-nf-call-iptables net.bridge.bridge-nf-call-ip6tables net.ipv4.ip_forward
You should see outputs confirming that these modules are active and that the sysctl parameters are set to 1 on each node.
Configuring and Installing ContainerD
Follow these steps to install ContainerD on Ubuntu:
Clean Up Previous Installations
Remove any Docker-related installations:
sudo apt-get remove docker docker.io docker-engine docker-ce containerd runcSet Up the Docker Repository
Install necessary packages, add Docker’s GPG key, and configure the repository:
sudo apt-get update
sudo apt-get install -y ca-certificates curl gnupg lsb-release
sudo mkdir -m 0755 -p /etc/apt/keyrings

curl -fsSL https://download.docker.com/linux/ubuntu/gpg | sudo gpg --dearmor -o /etc/apt/keyrings/docker.gpg

echo "deb [arch=$(dpkg --print-architecture) signed-by=/etc/apt/keyrings/docker.gpg] https://download.docker.com/linux/ubuntu/ $(lsb_release -cs) stable" | sudo tee /etc/apt/sources.list.d/docker.list > /dev/null

sudo apt-get update
Install ContainerD
Install ContainerD using apt:
sudo apt install containerd.ioVerify ContainerD is Active
Check the status of the ContainerD service:
systemctl status containerd
You should see an active ContainerD service running on your system.
Configuring the Cgroup Driver for ContainerD
For proper operation, both the kubelet and ContainerD must use the same cgroup driver. As our system uses systemd, configure ContainerD accordingly:
Edit the ContainerD Configuration File
Open the configuration file:
sudo vi /etc/containerd/config.tomlConfigure the Systemd Cgroup
Replace the existing content with the snippet below (be sure there are no additional stray lines):
[plugins."io.containerd.grpc.v1.cri".containerd.runtimes.runc]
  [plugins."io.containerd.grpc.v1.cri".containerd.runtimes.runc.options]
    SystemdCgroup = true
Restart ContainerD
Restart the service on all nodes:
sudo systemctl restart containerd
Repeat these steps on the master node as well as on both worker nodes.
Installing kubeadm, kubelet, and kubectl
Kubeadm is used to bootstrap the cluster, kubelet manages Pods on each node, and kubectl allows you to interact with the cluster.
Update the Package Index and Install Prerequisites
sudo apt-get update
sudo apt-get install -y apt-transport-https ca-certificates curl
Add the Kubernetes APT Repository
Add the Kubernetes repository and its GPG key:
sudo curl -fsSL https://packages.cloud.google.com/apt/doc/apt-key.gpg | sudo tee /etc/apt/keyrings/kubernetes-archive-keyring.gpg > /dev/null

echo "deb [signed-by=/etc/apt/keyrings/kubernetes-archive-keyring.gpg] https://apt.kubernetes.io/ kubernetes-xenial main" | sudo tee /etc/apt/sources.list.d/kubernetes.list
Install Kubernetes Components
Update and install kubelet, kubeadm, and kubectl:
sudo apt-get update
sudo apt-get install -y kubelet kubeadm kubectl
sudo apt-mark hold kubelet kubeadm kubectl
Repeat these steps on all three nodes.
Initializing the Control Plane
On your master node, initialize the Kubernetes control plane. Be sure to specify the pod network CIDR (10.244.0.0/16 for this demo) and the API server advertise address (the static IP of the master node).
Determine the Master Node’s IP Address
Use the following command:
ip addrFor example, if your master node's IP is 192.168.56.2 on interface enp0s8, proceed to the next step.
Initialize kubeadm
Run the following command on the master:
sudo kubeadm init --pod-network-cidr=10.244.0.0/16 --apiserver-advertise-address=192.168.56.2During initialization, kubeadm will output important details including the admin kubeconfig setup and the join command for worker nodes. Save these details for later use.
Set Up kubeconfig
Configure your kubeconfig file to use kubectl on the master node:
mkdir -p $HOME/.kube
sudo cp -i /etc/kubernetes/admin.conf $HOME/.kube/config
sudo chown $(id -u):$(id -g) $HOME/.kube/config
Optionally, set the environment variable temporarily:
export KUBECONFIG=/etc/kubernetes/admin.conf
Deploying the Pod Network Add-on
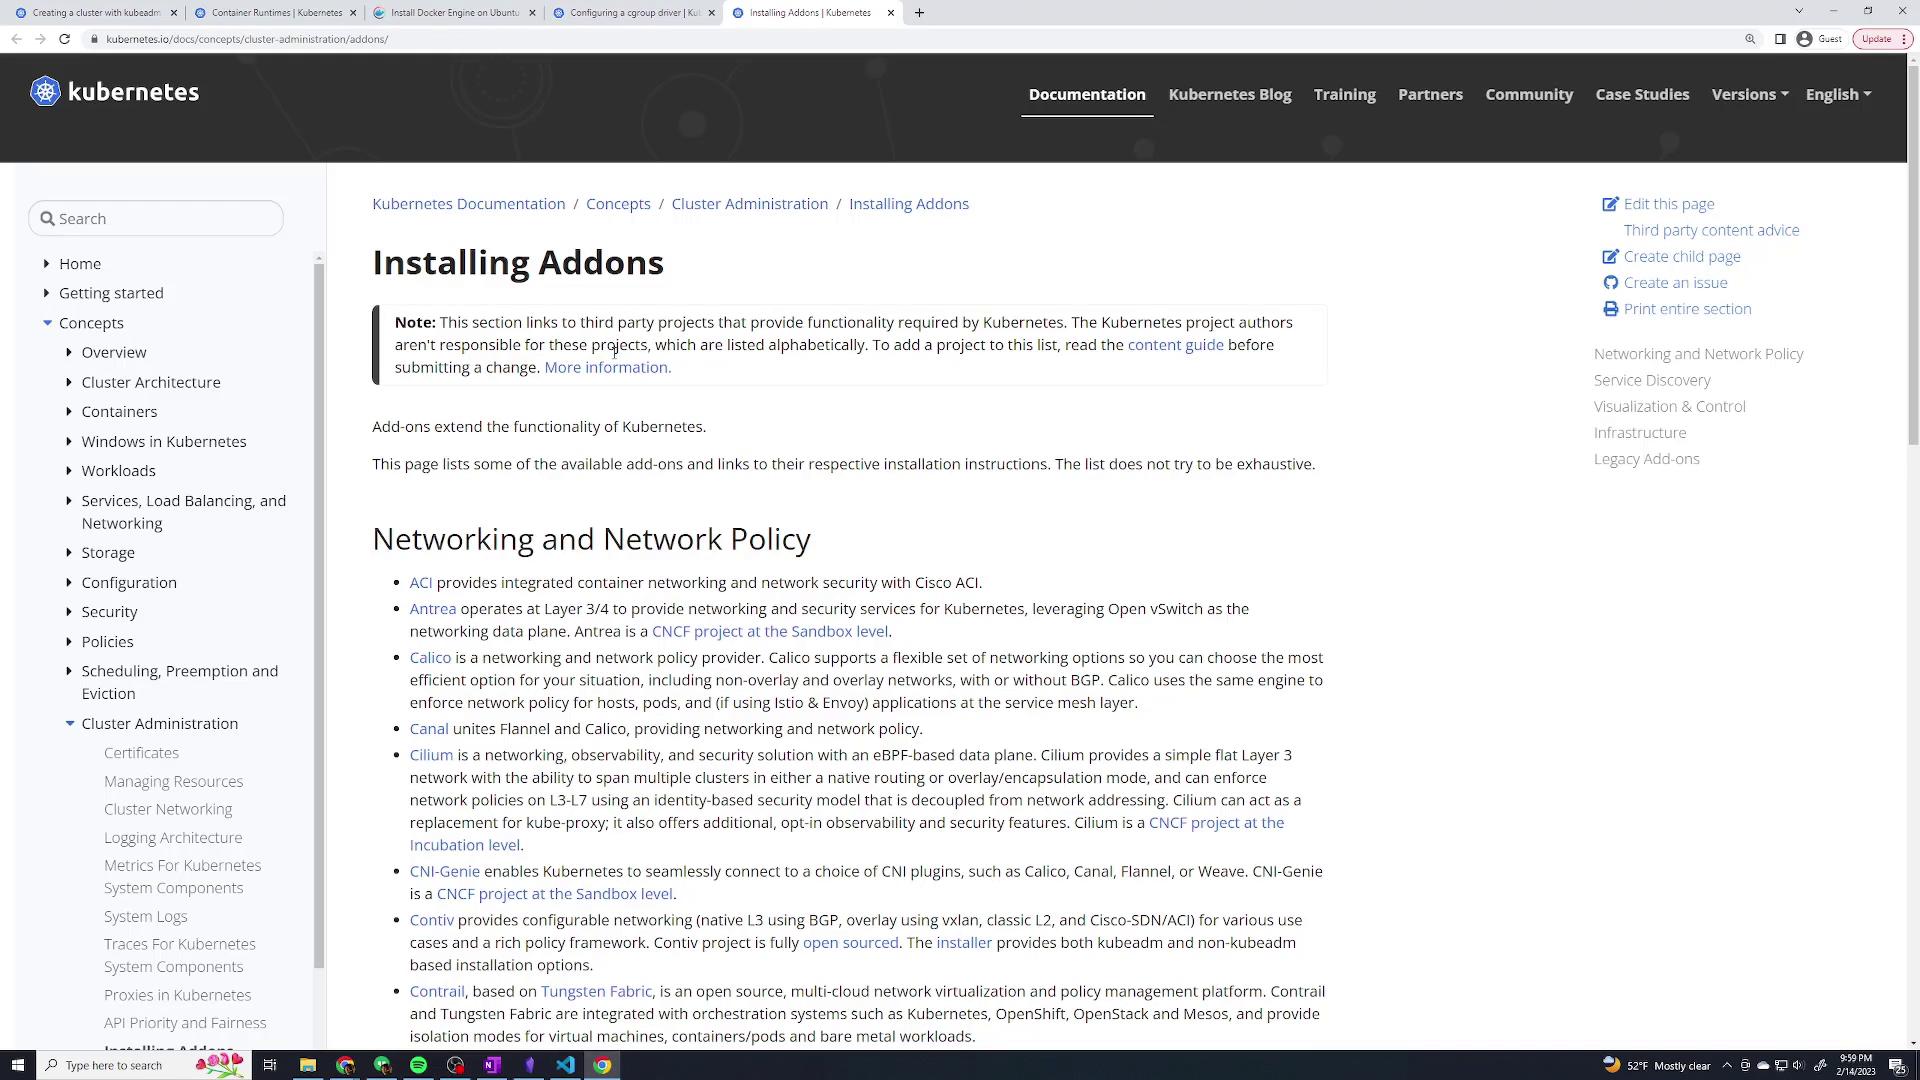
With the control plane initialized, deploy a pod network to enable communication between Pods across different nodes. In this demo, we use Weave Net.
Apply the Weave Net DaemonSet
Run the following command on the master node:
kubectl apply -f https://github.com/weaveworks/weave/releases/download/v2.8.1/weave-daemonset.yamlVerify the Deployment
Verify that the Weave Net pods are running:
kubectl get pods -AYou should see Weave Net pods running under the kube-system namespace.
For additional information, refer to the documentation on alternative installation commands and troubleshooting network issues.

Joining the Worker Nodes
On each worker node, use the join command (output during the master initialization) to connect them to your cluster. For example, on a worker node run:
sudo kubeadm join 192.168.56.2:6443 --token <your-token> --discovery-token-ca-cert-hash sha256:<your-ca-hash>
Note
If you encounter an error indicating that the command must be run as root, ensure you are prepending sudo as shown in the command above.
Once you have successfully joined the worker nodes, return to the master node to verify the status:
kubectl get nodes
You should see an output similar to this example:
NAME           STATUS   ROLES           AGE     VERSION
kubemaster     Ready    control-plane   10m     v1.26.1
kubenode01     Ready    <none>         30s     v1.26.1
kubenode02     Ready    <none>         23s     v1.26.1
Testing the Cluster
To test your new Kubernetes cluster, deploy a simple nginx pod on the master node:
Deploy an Nginx Pod
kubectl run nginx --image=nginxCheck the Pod Status
Wait a few seconds and then verify its status:
kubectl get podClean Up
After confirming that the pod is running, remove it:
kubectl delete pod nginx
Conclusion
Congratulations! You have successfully bootstrapped a Kubernetes cluster from scratch using kubeadm. In this demo, you configured ContainerD with the systemd cgroup driver, installed the essential Kubernetes components, deployed a pod network add-on with Weave Net, and joined the worker nodes to the cluster.
Thank you for following along with this lesson. For further reading on Kubernetes cluster setups and best practices, please refer to the Kubernetes Documentation.
Watch Video
Watch video content