This article provides a comprehensive guide on Kubernetes Deployments, focusing on simplifying application rollouts and ensuring seamless updates with zero downtime.
Welcome to this comprehensive guide on Kubernetes Deployments. In this article, we explore how Deployments simplify the rollout of production applications and ensure seamless updates with zero downtime.Imagine having a web server that needs to run reliably in production. You require multiple instances of this web server to handle load distribution and high availability. Moreover, when a new version of the application is available on the Docker registry, you want to upgrade your instances one by one—a process known as a rolling update—to minimize user disruption. In case an update introduces an error, a quick rollback mechanism is essential. Additionally, you might need to modify various aspects of your environment, such as the web server version, deployment scaling, or resource allocations, and apply these changes simultaneously after a planned pause.While individual Pods run your application instances, ReplicaSets (or Replication Controllers) manage these Pods, ensuring the correct number are always running. A Deployment builds on these components by offering a higher-level abstraction. It not only handles rolling updates and rollbacks but also lets you pause and resume deployments as needed.
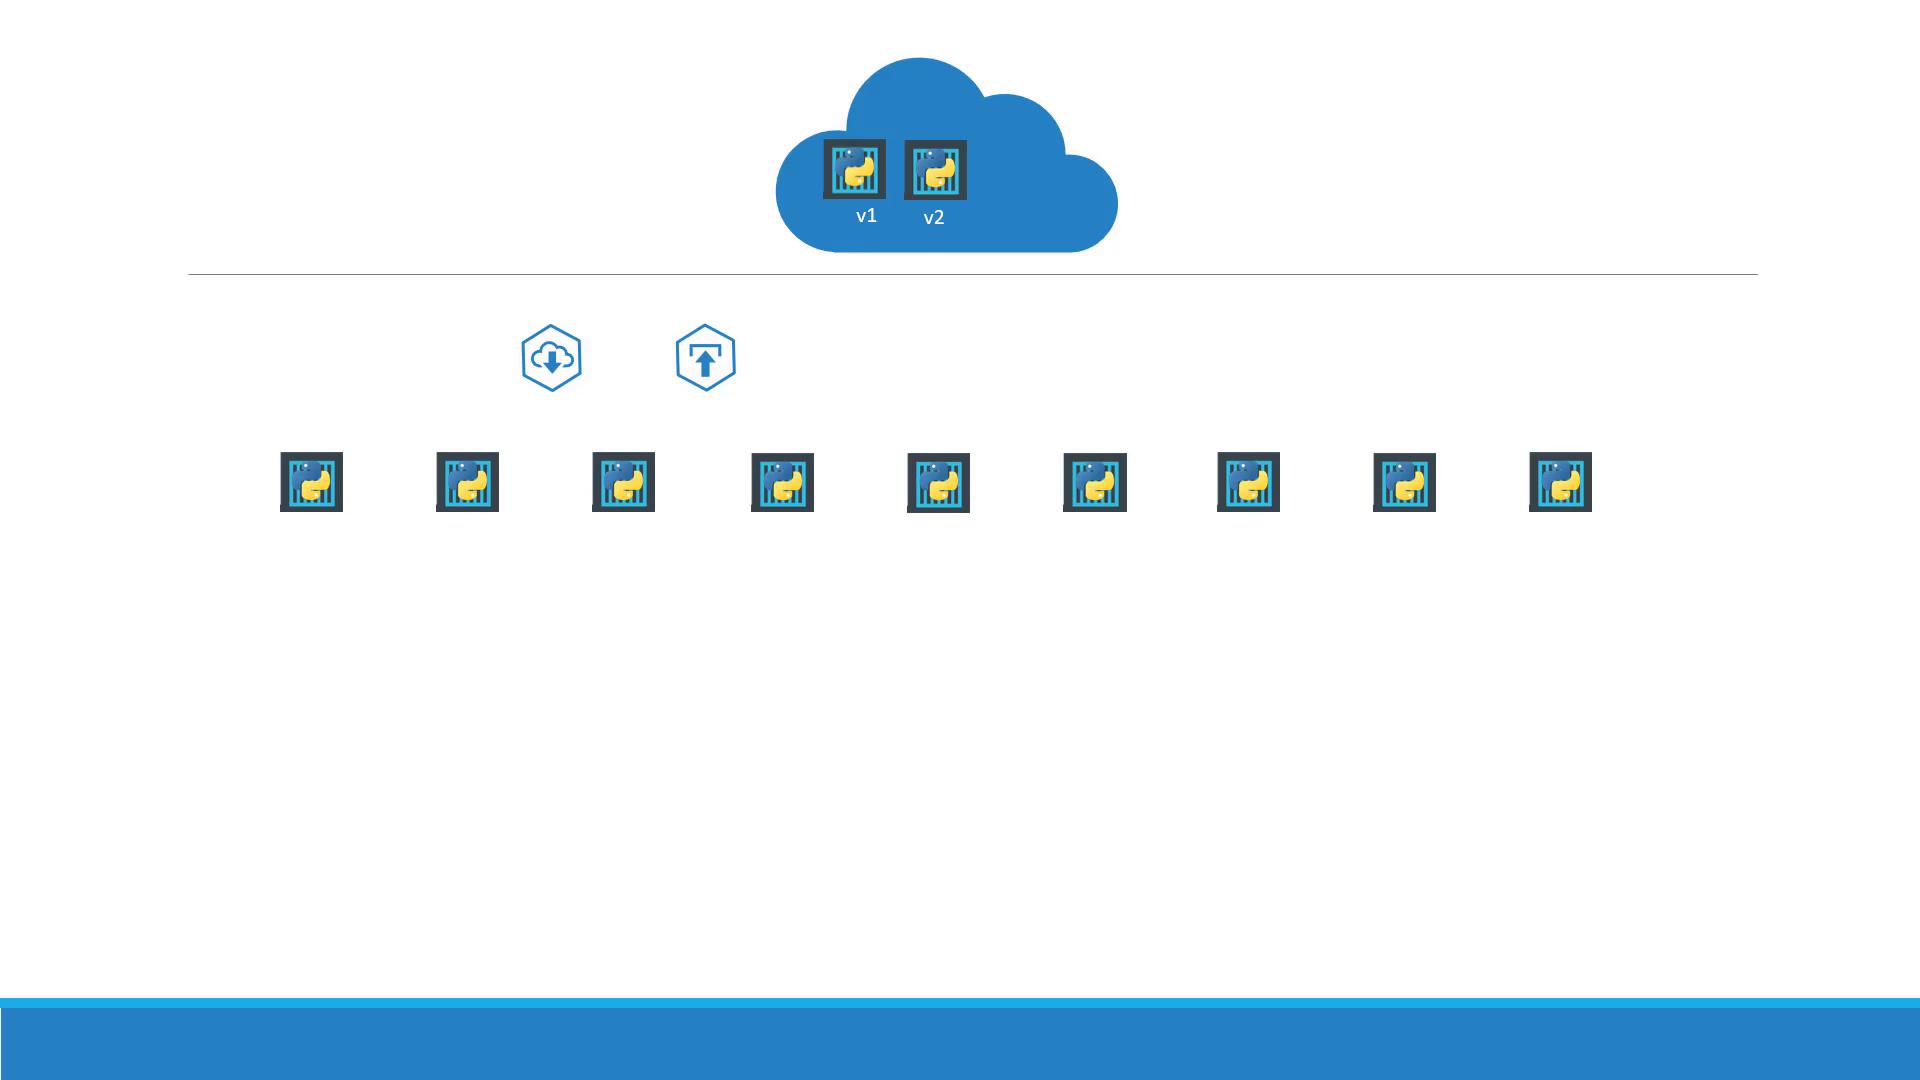
The diagram above demonstrates a scenario where you deploy and upgrade versions of your web application incrementally, ensuring continuous availability.
This second diagram details how a Deployment coordinates with a ReplicaSet, which in turn creates and maintains multiple application Pods. The Deployment sits at the top of this hierarchy, enabling advanced management features such as rolling updates, rollbacks, and dynamic pausing/resuming of deployments.
To create a Deployment, you first define a deployment configuration file. This file’s structure is similar to that of a ReplicaSet, with the key difference being that the kind is set to “Deployment”. Below is an example of a Deployment manifest:
The metadata section provides the name and relevant labels.
The spec section defines the desired state, including the number of replicas, the pod selector, and the pod template which details metadata and container specifications.
Once you have your deployment definition file (e.g., deployment-definition.yml), create the Deployment with the following command:
After creation, verify the Deployment, ReplicaSet, and Pods using these commands:
Check Deployments:
Copy
kubectl get deployments
Example output:
Copy
NAME DESIRED CURRENT UP-TO-DATE AVAILABLE AGEmyapp-deployment 3 3 3 3 21s
View the ReplicaSet:
Copy
kubectl get replicaset
Example output:
Copy
NAME DESIRED CURRENT READY AGEmyapp-deployment-6795844b58 3 3 3 2m
Examine the Pods:
Copy
kubectl get pods
Example output:
Copy
NAME READY STATUS RESTARTS AGEmyapp-deployment-6795844b58-5rbj1 1/1 Running 0 2mmyapp-deployment-6795844b58-h4w5t 1/1 Running 0 2mmyapp-deployment-6795844b58-1fjhv 1/1 Running 0 2m
The Deployment automates the creation of a ReplicaSet, which manages your Pods. This layering ensures that updates are rolled out in a controlled and managed manner.
To see all Kubernetes objects associated with your Deployment at once, run:
Copy
kubectl get all
Example output:
Copy
NAME DESIRED CURRENT UP-TO-DATE AVAILABLE AGEdeploy/myapp-deployment 3 3 3 3 9hNAME DESIRED CURRENT READY AGErs/myapp-deployment-6795844b58 3 3 3 9hNAME READY STATUS RESTARTS AGEpo/myapp-deployment-6795844b58-5rbjl 1/1 Running 0 9hpo/myapp-deployment-6795844b58-h4w55 1/1 Running 0 9hpo/myapp-deployment-6795844b58-1fjhv 1/1 Running 0 9h
This comprehensive view confirms that your Deployment has successfully created all associated resources—Deployment, ReplicaSet, and Pods.
In the upcoming sections, we will dive deeper into advanced features like rolling updates, rollbacks, and pausing/resuming deployments. Stay tuned to master these powerful deployment mechanisms.
That concludes our guide on Kubernetes Deployments. Happy deploying!For more insights and in-depth tutorials, explore the following resources: