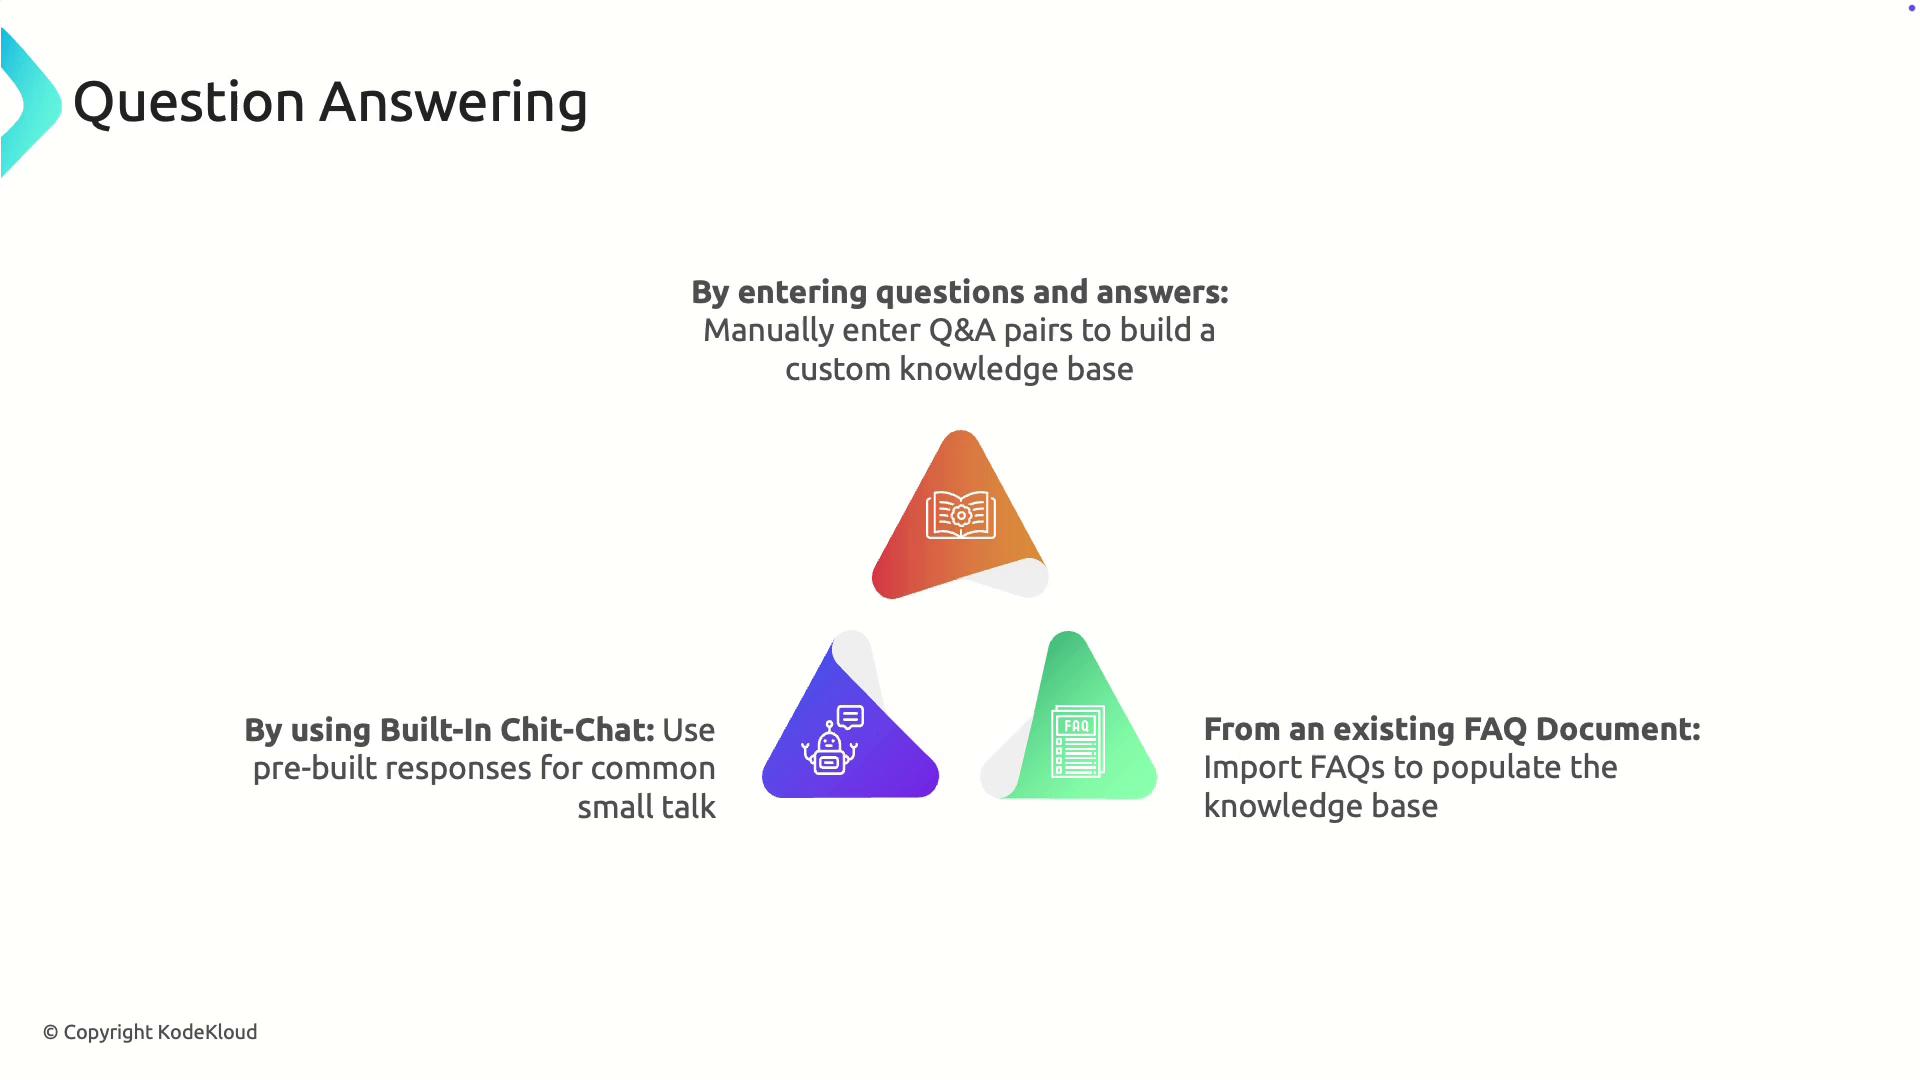
Building the Knowledge Base
There are several effective methods to construct your knowledge base:-
Manually Entering Questions and Answers
Create a highly customized knowledge base by manually entering questions along with their corresponding answers. For example, a company may develop a list of frequently asked questions about its products or services to enhance customer support through chatbots. -
Importing an Existing FAQ Document
If you already have a FAQ document (such as a PDF or a web page containing common support questions), you can import it directly. This method saves time and ensures your new knowledge base aligns with your existing content. -
Using Built-In Chitchat
Leverage Azure’s pre-built conversational responses designed to handle casual interactions and small talk. This built-in chitchat feature enhances the natural feel of your chatbot.
Creating a Custom Knowledge Base in Azure
Follow these steps to upload your knowledge base to the Azure Question Answering service via the Language Studio.1. Accessing Language Studio
Start by navigating to Language Studio in the Azure portal. Click on “Create new custom question answering” and choose a language for your project.
2. Project Setup
Enter the basic information needed for your project:- Project Name: AI900
- Description: (optional)
- Default Answer: “I’m sorry, I don’t know.” (Displayed when no matching answer is found.)
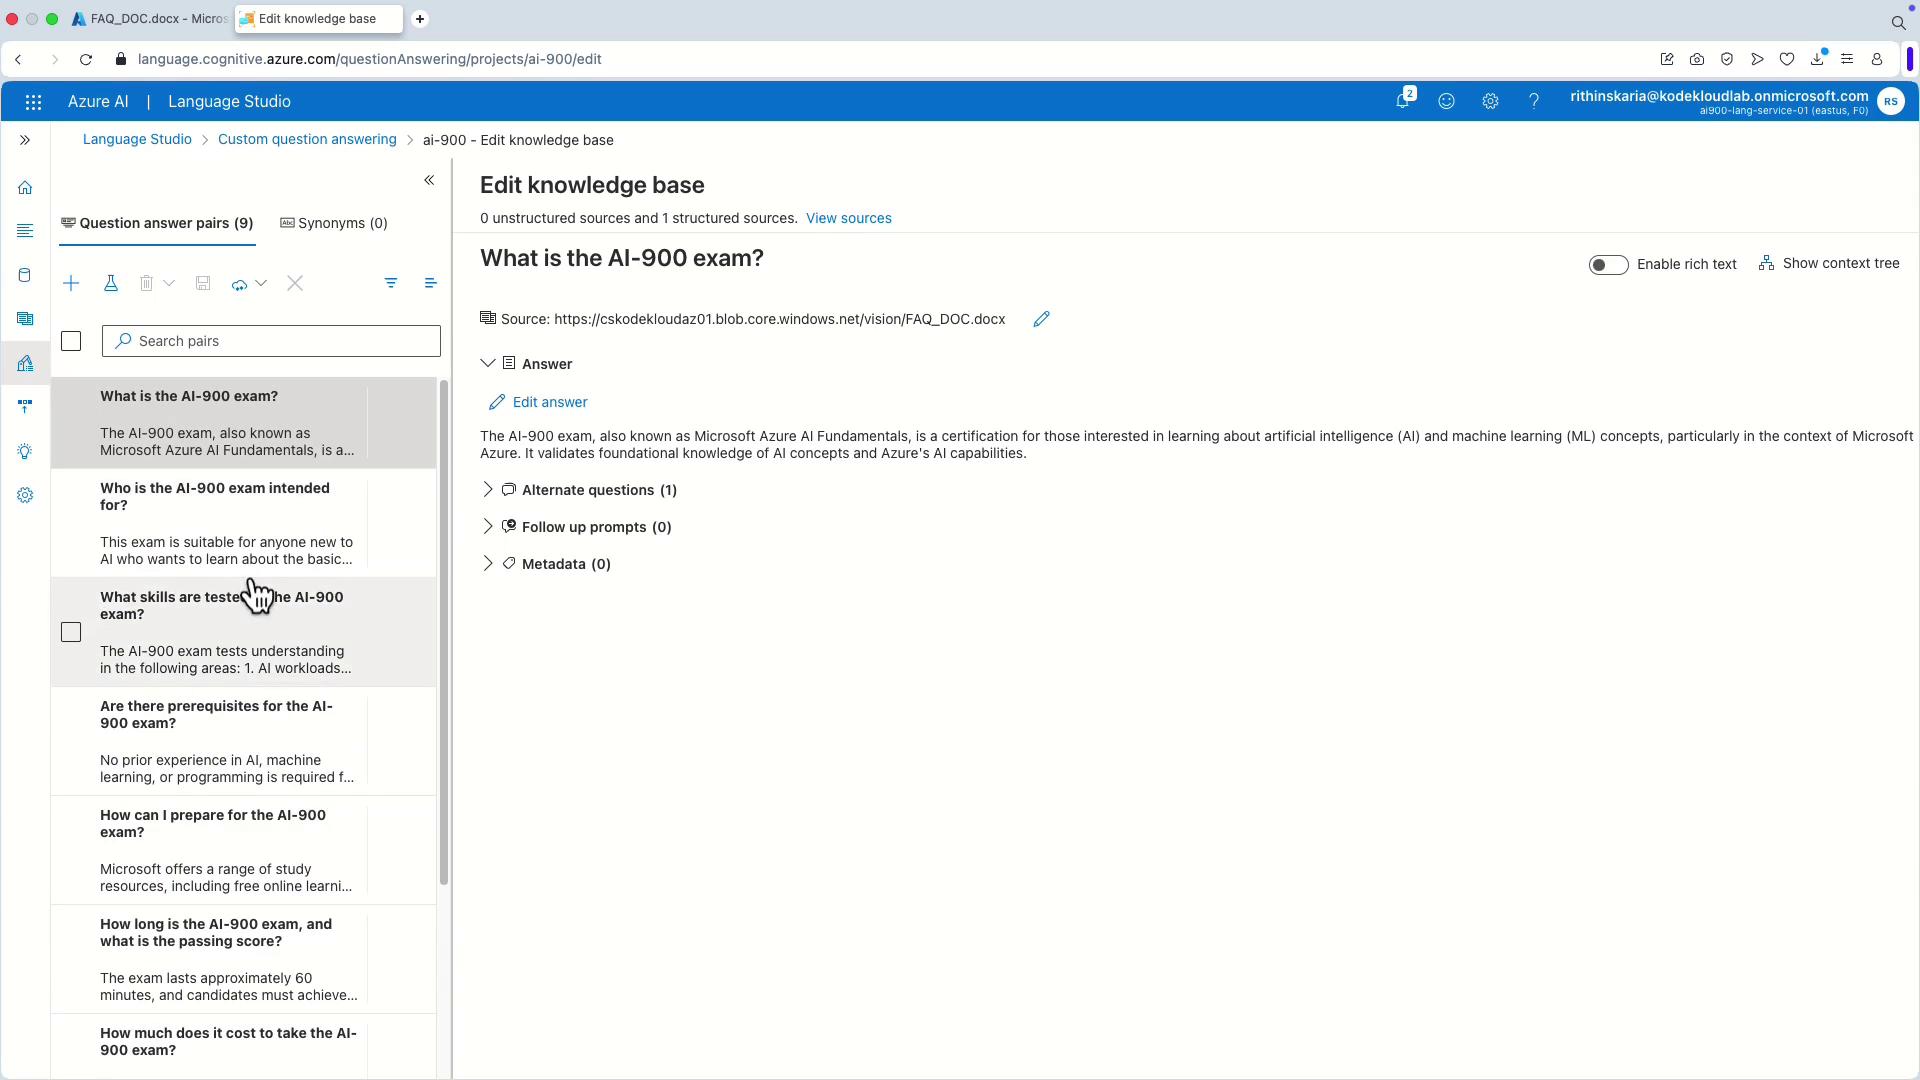
3. Adding a Source
To add source content, click on “Add source.” You can either supply a URL (for example, from a storage account) or upload your file directly. Here, the file URL is obtained from a storage account container. After entering the source name (e.g., AI900) and the URL, the file is integrated as a new source. The platform also supports direct file uploads.4. Editing the Knowledge Base
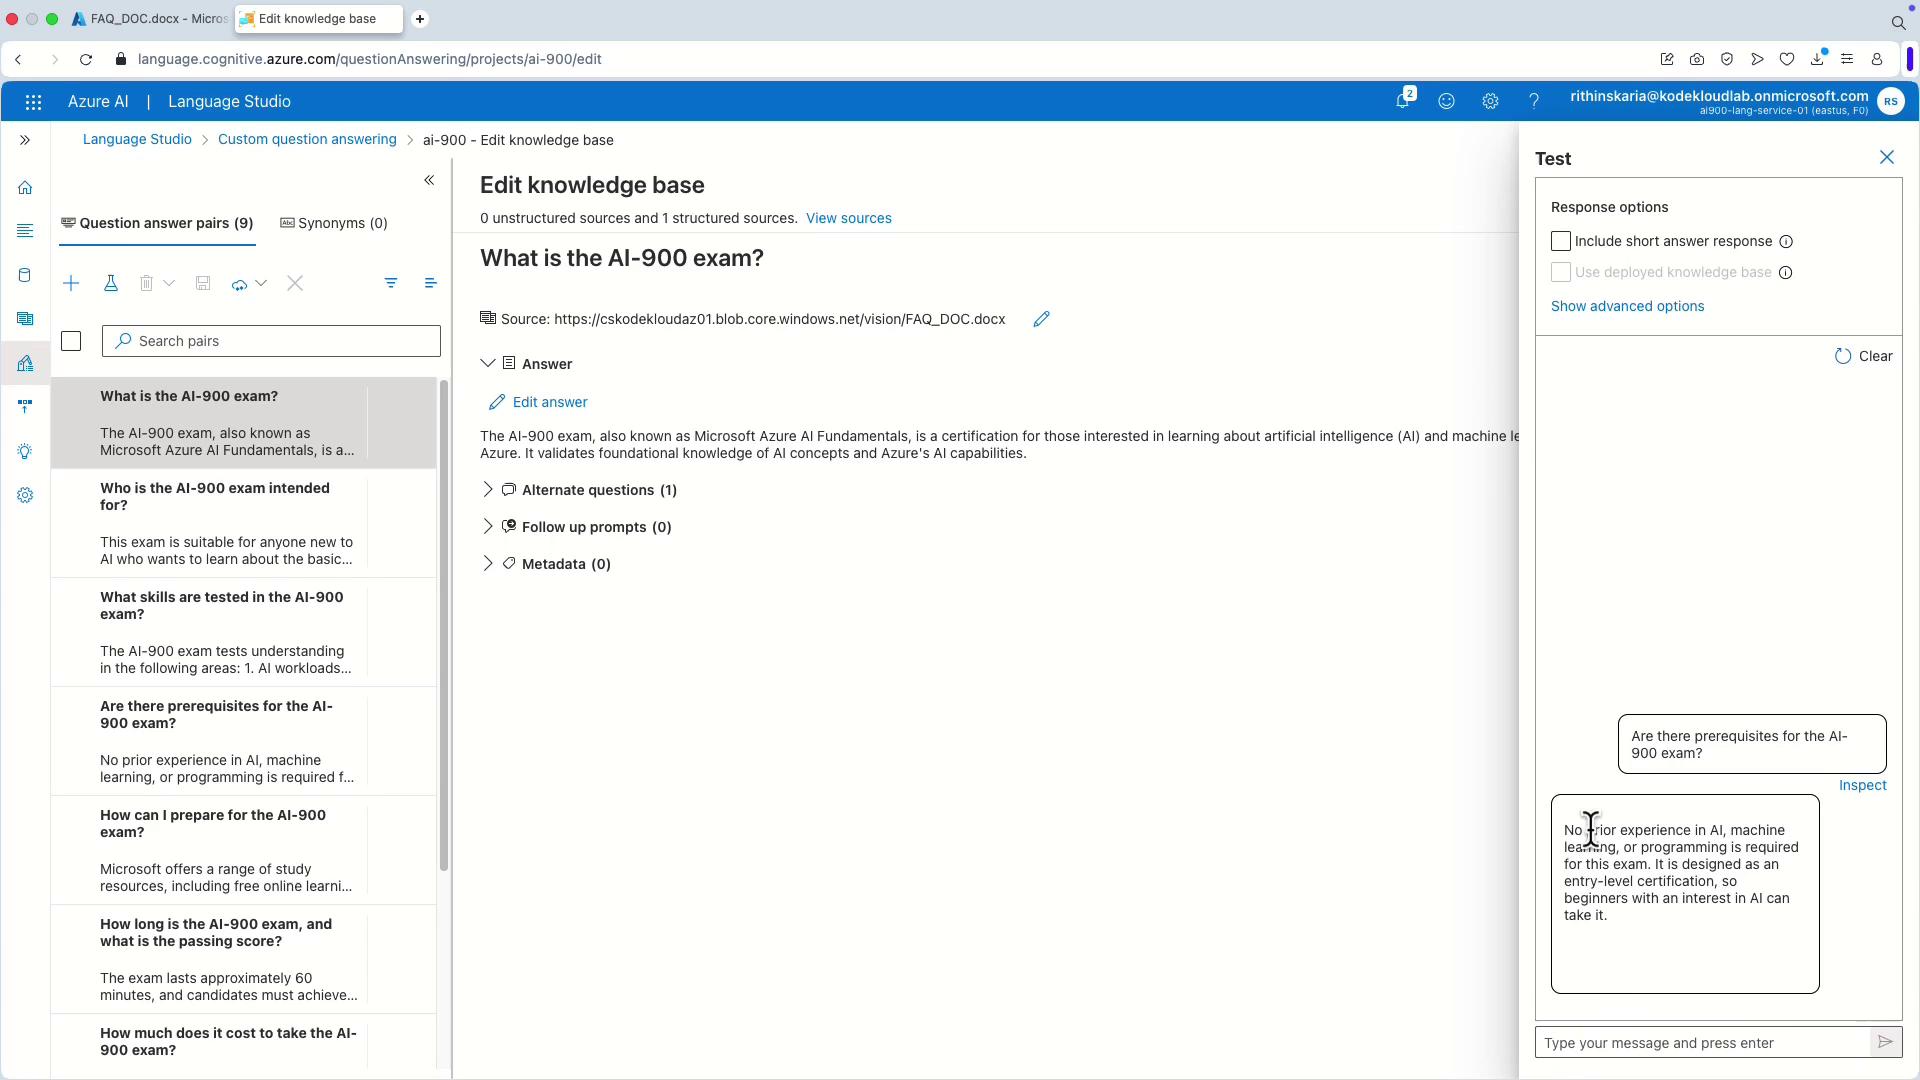
Navigate to the “Edit knowledge base” section to review and manage the imported questions. Typical questions might include:- What is the AI-900 exam?
- Who is the AI-900 exam intended for?
- What skills are tested in the AI-900 exam?
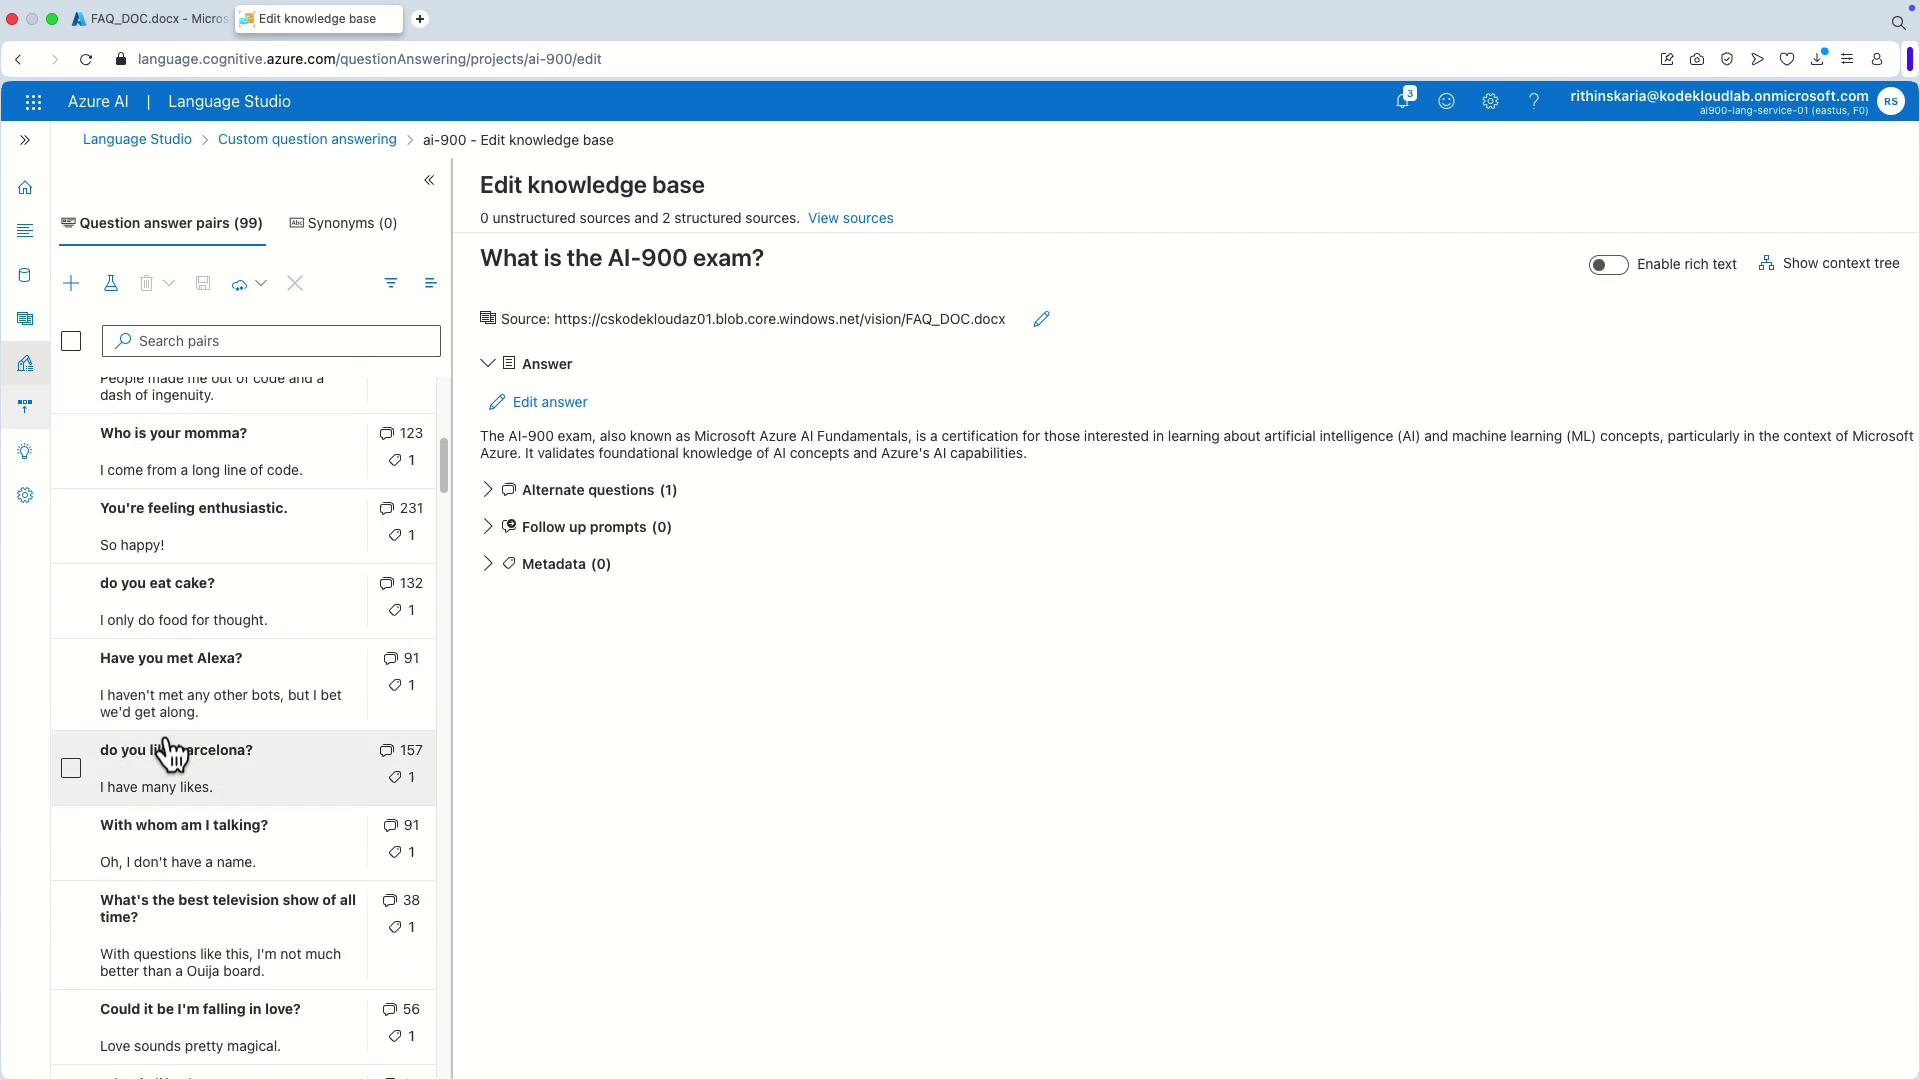
5. Enabling Chitchat for Small Talk
To add casual conversational responses:- Return to the “Sources” tab and add a new source for chitchat.
- Choose the tone for these responses (options include friendly, professional, caring, or enthusiastic).
6. Further Customization
Returning to the “Edit knowledge base” section, additional custom question-and-answer pairs become visible. Examples might include:- Have you met Alexa?
- Do you eat cake?
7. Deploying the Knowledge Base
After finalizing edits, click on “Deploy” to publish your knowledge base. This published version can then be consumed by a chatbot. Although integration with Azure Bot Service is not covered in detail here, you can create an Azure Bot Service directly from Language Studio after deployment.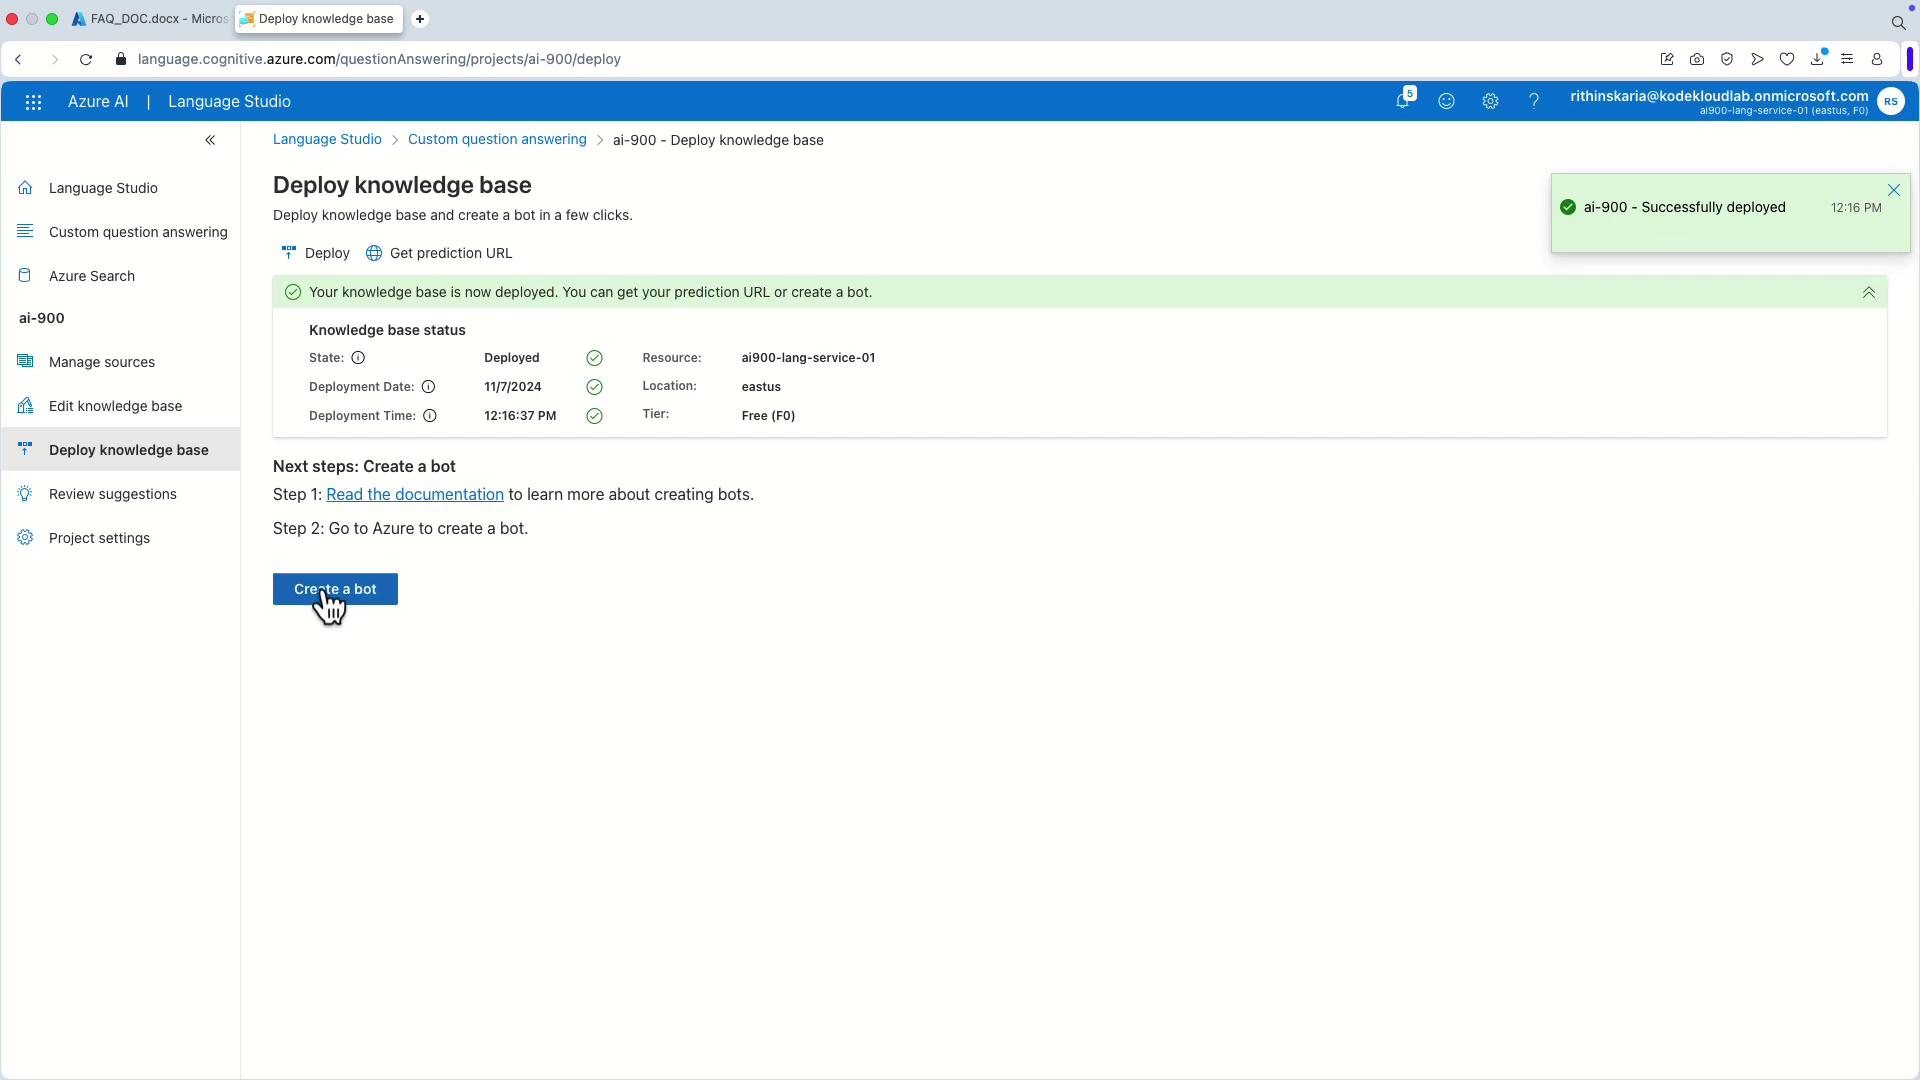
Once deployed, your knowledge base is ready for integration with other Azure services, enriching your application with sophisticated question answering capabilities.
Congratulations on deploying your knowledge base with Azure Question Answering! In the next article, we will cover how to integrate this service with Azure Bot Service to create an engaging and interactive customer support experience. Happy learning, and see you in the next session!