This article provides a comprehensive guide on Azure Machine Learning, covering its features, tools, and processes for building and deploying machine learning models.
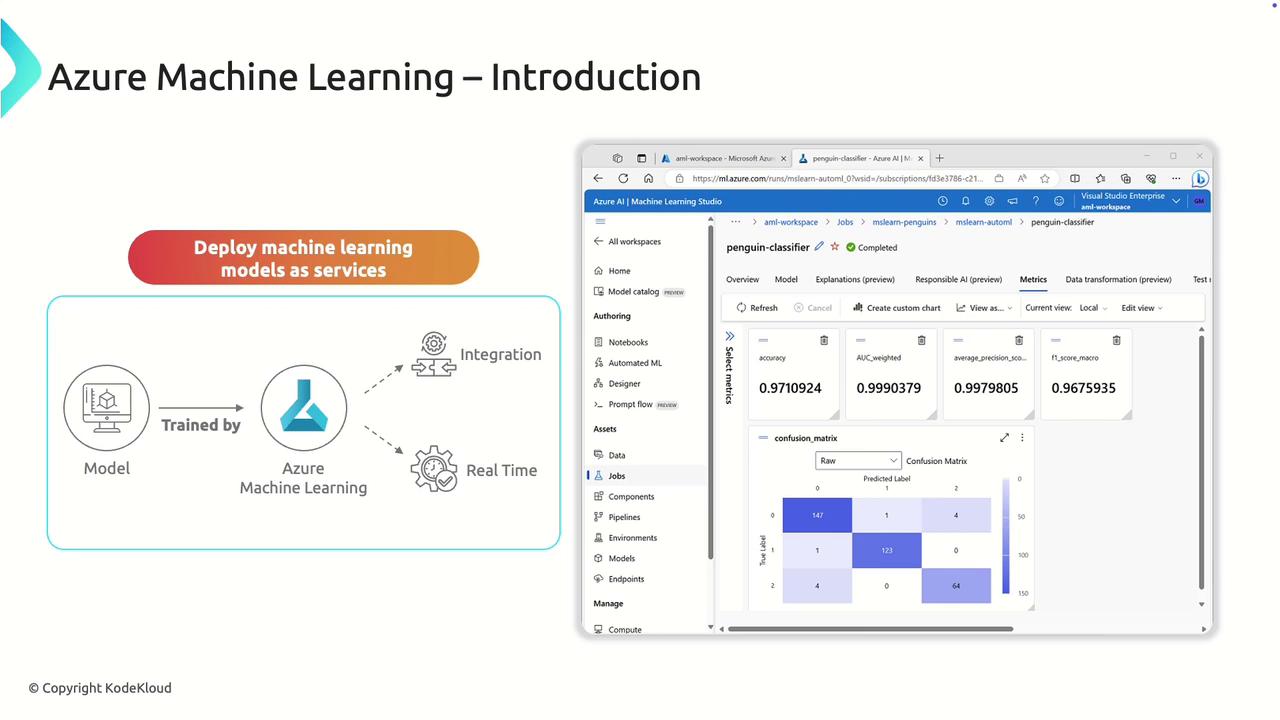
Welcome to this comprehensive guide on Azure Machine Learning—a powerful, cloud-based platform tailored for building, training, and deploying machine learning models around the clock. In this lesson, you will explore how Azure Machine Learning simplifies the end-to-end process, making it accessible for both beginners and experts.Azure Machine Learning offers a full suite of tools that support every stage of the machine learning lifecycle, from data preparation to deployment. One of its key features is the intuitive Azure Machine Learning Studio, a virtual workspace that allows you to drag and drop components to build models without extensive coding experience.
Azure Machine Learning Studio is designed for simplicity. Its visual tools help you quickly build and modify your machine learning models, which you can then deploy as web services.
This user-friendly interface makes the platform ideal for those new to machine learning. After developing a model, you can deploy it as a web service and integrate it into your applications to provide real-time predictions.
The streamlined deployment process ensures that your model delivers insights quickly and efficiently by combining robust cloud capabilities with an easy-to-use interface.
Let’s dive into the Azure portal to explore the Machine Learning Studio interface. After logging into the Azure portal and navigating to Azure Machine Learning, you’ll find your Machine Learning workspace, which is the primary area for managing your projects.When you click on “Launch Studio,” you are presented with a user-friendly interface that allows you to:
Upload datasets
Run jobs and pipelines
Develop machine learning models
Create endpoints for deployment
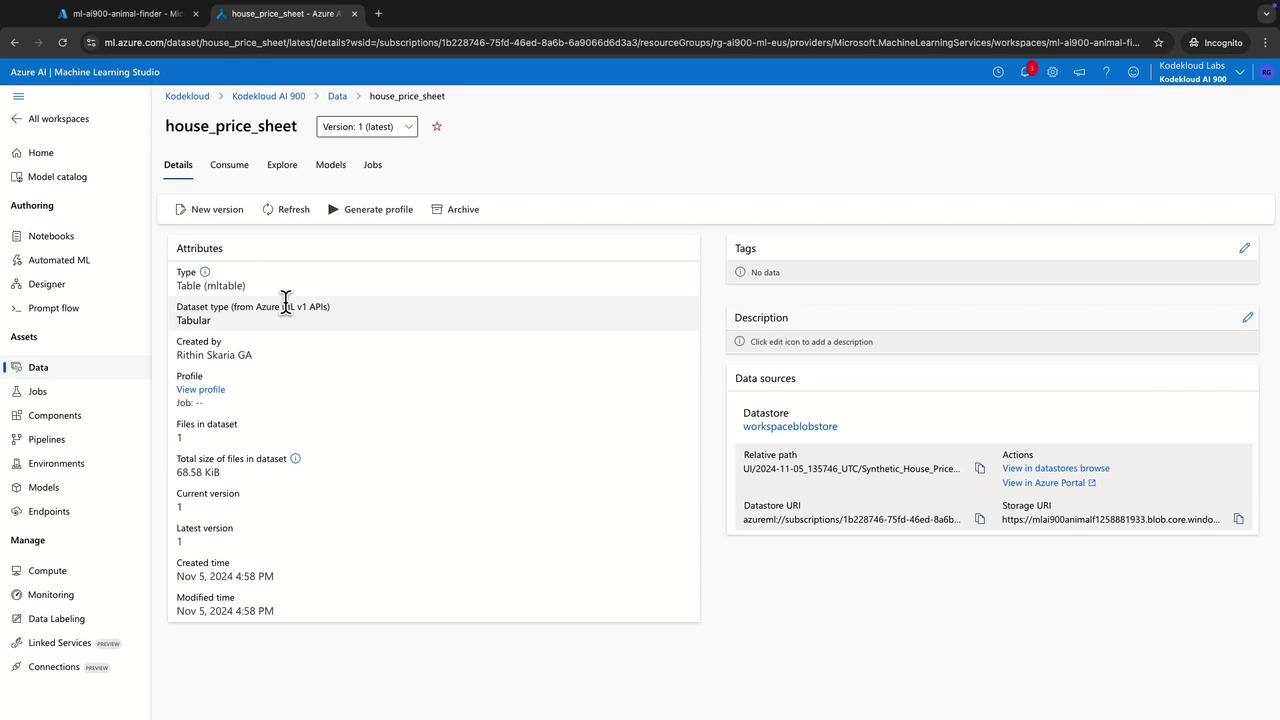
For example, you might work with a dataset like the “house price sheet”—a CSV file containing various parameters related to house pricing.
After uploading your dataset, you can initiate a job that builds and trains a model using AutoML.
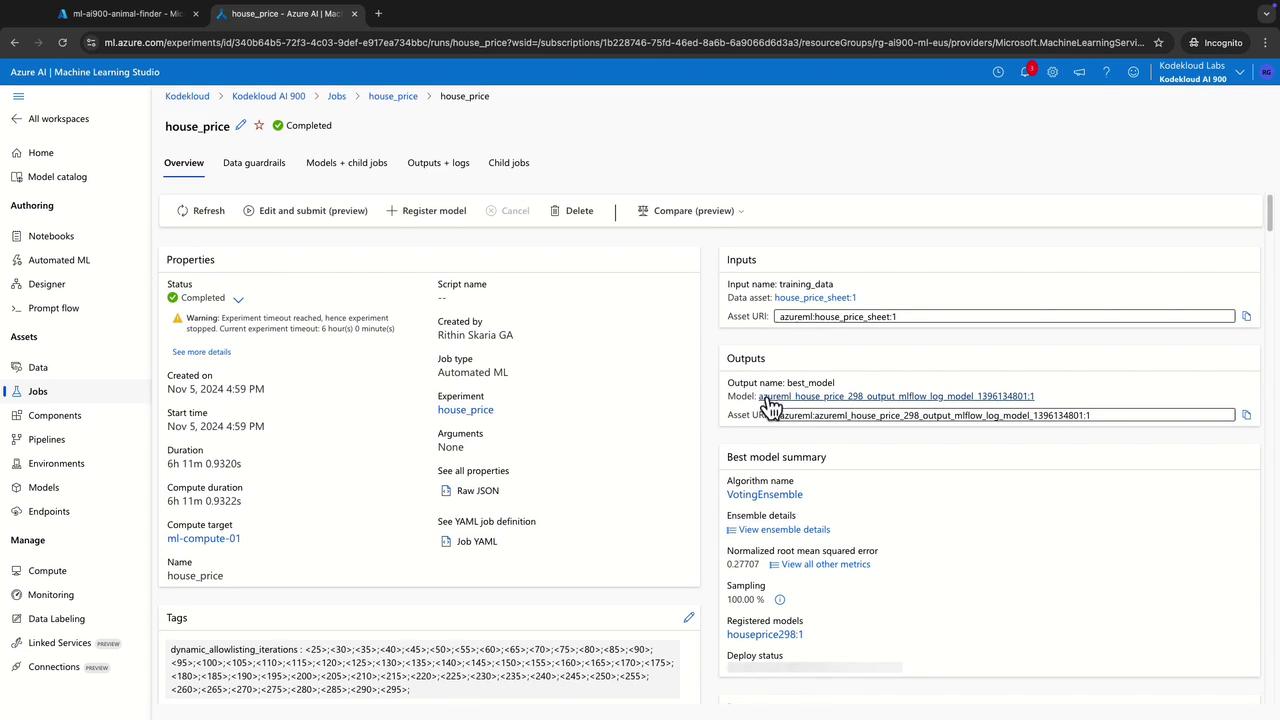
Once the training is complete, Azure Machine Learning Studio displays the best model generated from the AutoML job.
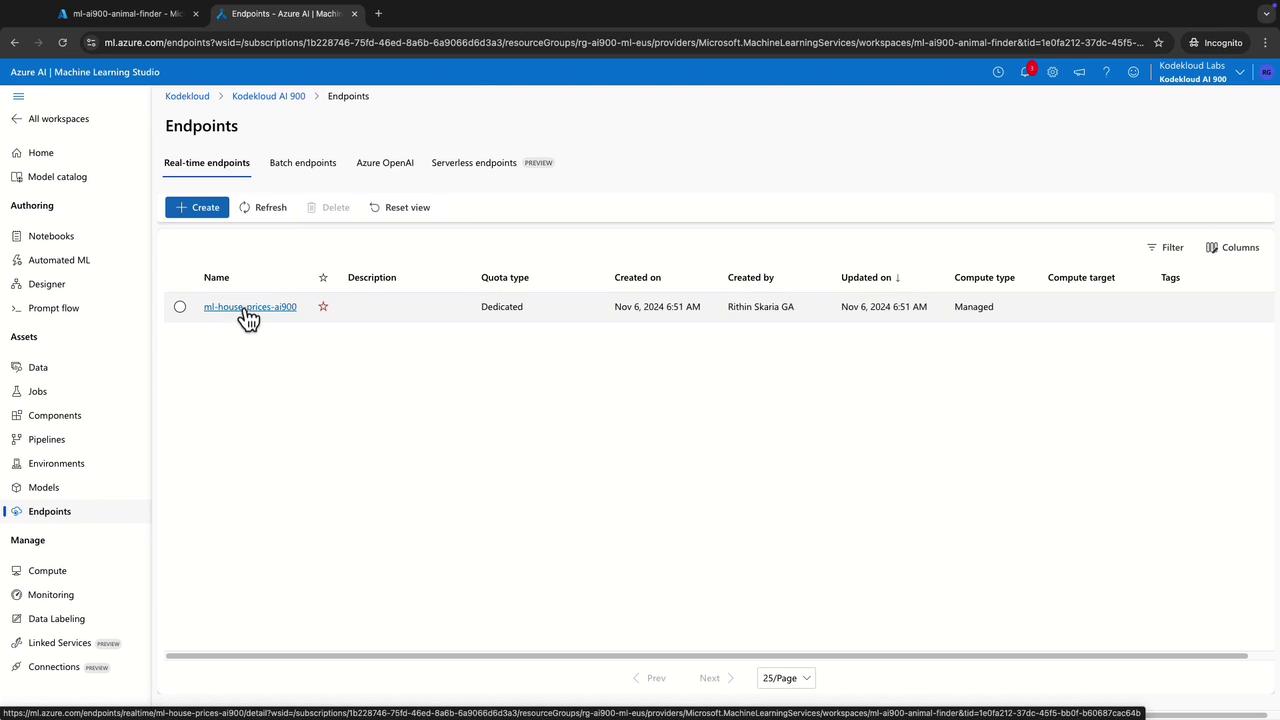
The developed algorithm can then be deployed as an endpoint for real-time predictions.
Once deployed, you can access and test the endpoint directly from the Studio interface. For instance, selecting the endpoint offers options to test the service with sample data, ensuring that your model integrates smoothly into your applications.
When testing the deployed endpoint, you typically provide sample data in the form of JSON. Below is an example of a JSON payload that includes fields such as year, month, neighborhood, number of bedrooms, bathrooms, square footage of living area, lot size, number of floors, and waterfront information:
Based on this sample input, the model might predict a house price. For example, clicking the “Test” button could return a prediction of 628,616.A similar lab exercise uses another dataset—bike rentals—to further strengthen your understanding. In this case, you will work with different inputs and review corresponding JSON output. For example:Input:
Copy
[ 3000, 1, 2, 2005, 0.5, 3.75, 1]
Output:
Copy
{ "628616.4862228915"}
Experimenting with different datasets like house prices and bike rentals helps solidify your understanding of how Azure Machine Learning Studio handles various prediction scenarios.
Azure Machine Learning streamlines the process of creating and deploying machine learning models by combining powerful cloud capabilities with an intuitive user interface. This guide has walked you through the interface components and key steps—from dataset upload and job creation to model training and endpoint testing—with visual examples at every stage.With this foundation, you are now ready to explore more advanced topics in Azure Machine Learning. Happy learning!