Use this file to discover all available pages before exploring further.
If you’ve ever spent hours debugging code only to later find a much simpler solution, you know how valuable a coding companion can be. ChatGPT serves as an excellent pair-programming buddy by allowing you to input error messages or ask questions like “How do I do X?” and receive immediate assistance. Whether it’s generating documentation, scaffolding applications, or debugging code, ChatGPT is a versatile tool for addressing various programming challenges.While there are specialized tools such as GitHub Copilot, Tabnine, and BlackboxAI explicitly designed for software development, ChatGPT remains an outstanding starting point for many programming tasks.
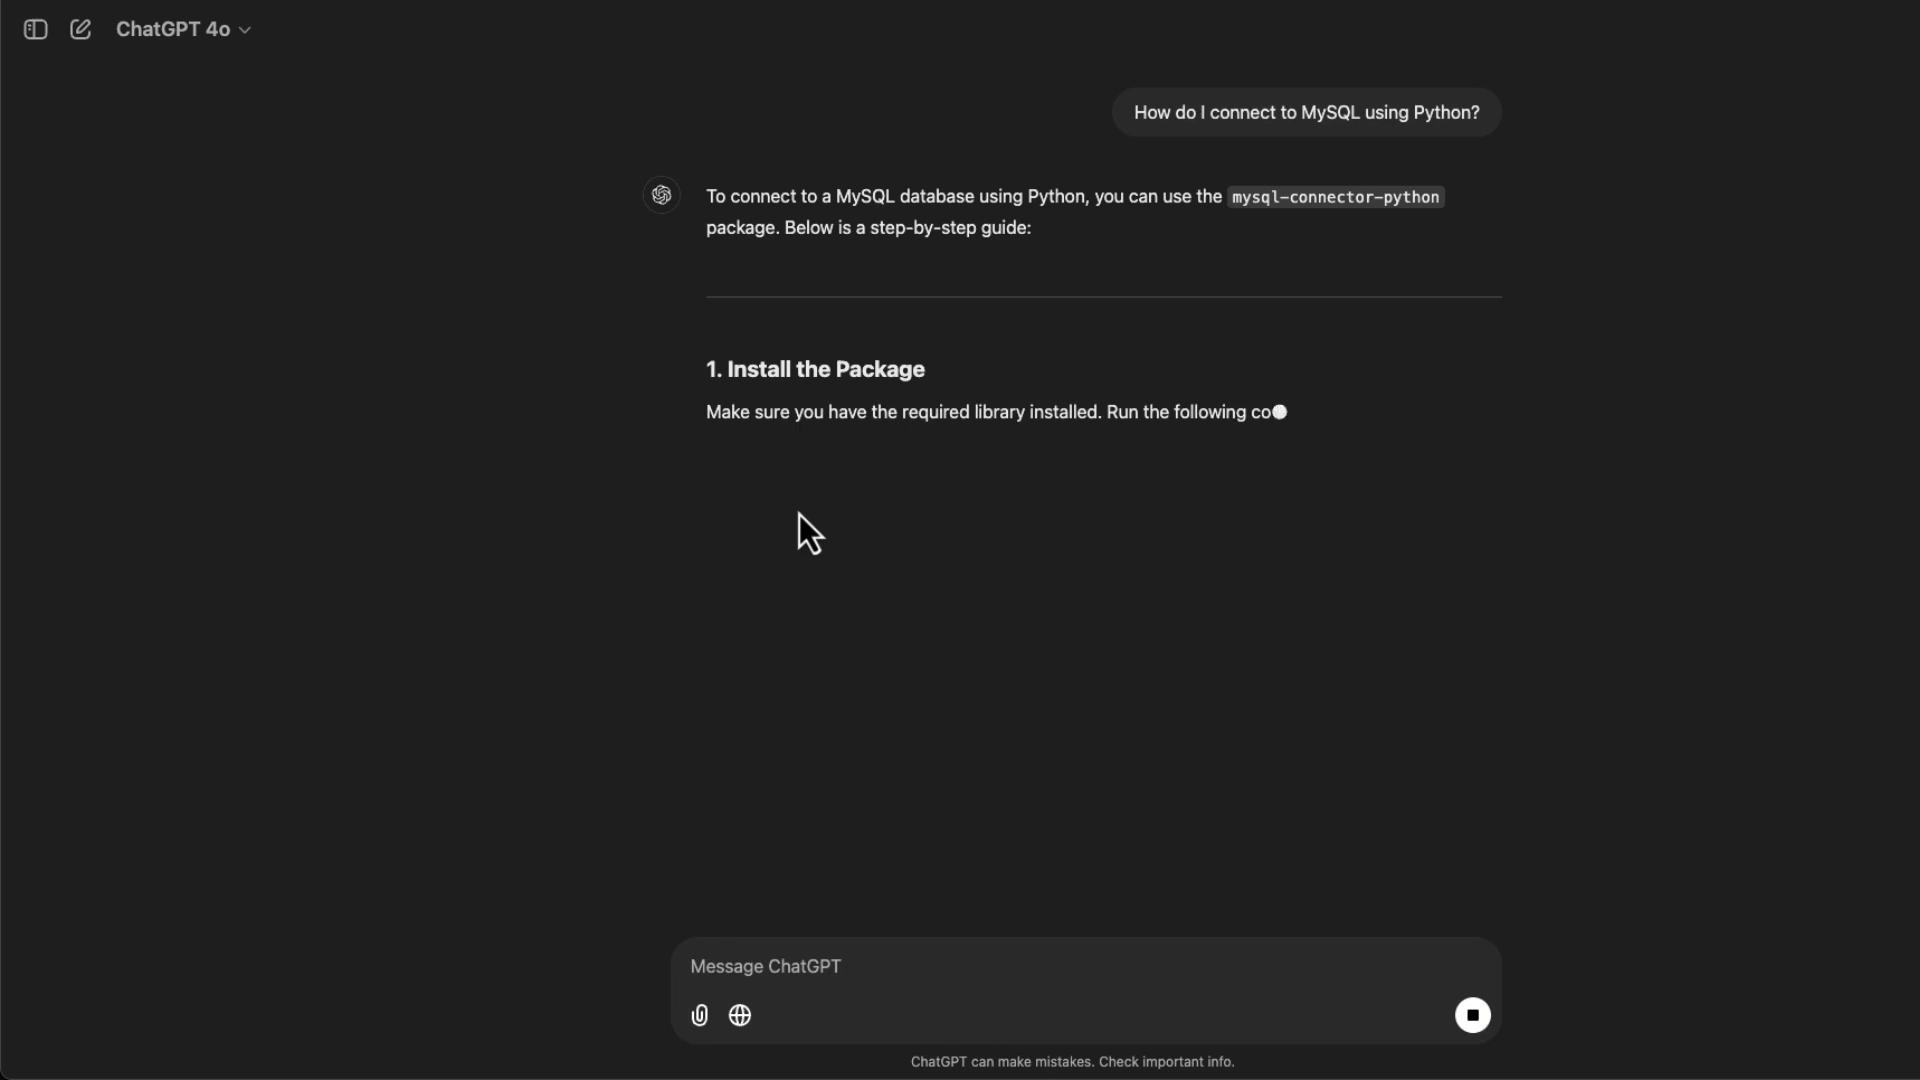
The ChatGPT interface is designed to be both intuitive and minimalistic. Your ongoing conversation history is visible on the left side, allowing you to pick up where you left off or revisit earlier sessions. For example, if you need to connect to a MySQL database using Python, you might ask:“How do I connect to MySQL using Python?”In response, ChatGPT produces a detailed, step-by-step guide that includes installing the necessary mysql-connector-python package and providing sample code. Below is an image that illustrates this interaction:
Here’s a Python snippet demonstrating basic database query operations:
def query_database(connection): try: cursor = connection.cursor() query = "SELECT * FROM your_table_name;" # Replace with your query cursor.execute(query) rows = cursor.fetchall() for row in rows: print(row) except Error as e: print(f"Error querying the database: {e}") finally: if 'cursor' in locals(): cursor.close()# Example Usageif connection and connection.is_connected(): query_database(connection)
ChatGPT not only generates useful code but also adapts its output based on the model you’re using—for example, free-tier GPT-3.5 versus the more capable GPT-4.0 and its specialized variants.
ChatGPT with Canvas offers a dynamic editing environment where you can generate and refine boilerplate code interactively. Suppose you ask it to create a boilerplate HTML page complete with CSS styles and some JavaScript functionality. ChatGPT responds by opening a real-time canvas, generating the corresponding code. An initial output might resemble the following:
<!DOCTYPE html><html><head> <style> body { font-size: 16px; } button:hover { background-color: #45a049; } </style></head><body> <header> <h1>Welcome to the Boilerplate Page</h1> </header> <main> <p>This is a simple HTML boilerplate including CSS styles and some JavaScript functionality.</p> <button id="actionButton">Click Me!</button> <p id="message"></p> </main> <script> document.getElementById("actionButton").addEventListener("click", function() { const messageElement = document.getElementById("message"); messageElement.textContent = "Button Clicked! Hello, World!"; }); </script></body></html>
During your session, you can request modifications—such as adding an alert dialog or converting the JavaScript code to TypeScript. The canvas interface updates in real time, and a refined version might look like this:
<!DOCTYPE html><html lang="en"><head> <meta charset="UTF-8"> <meta name="viewport" content="width=device-width, initial-scale=1.0"> <title>HTML Boilerplate</title> <style> body { padding: 15px; text-align: center; } main { padding: 20px; } button { background-color: #4CAF50; color: white; border: none; padding: 10px 20px; cursor: pointer; font-size: 16px; } button:hover { background-color: #45a049; } /* Mobile friendly styles */ @media (max-width: 600px) { header { font-size: 1.5em; padding: 10px; } main { padding: 10px; } button { padding: 8px 16px; font-size: 14px; } } </style></head><body> <header> <h1>Welcome to the Boilerplate Page</h1> </header> <main> <p>This is a simple HTML boilerplate including CSS styles and some JavaScript functionality.</p> <button id="actionButton">Click Me!</button> <p id="message"></p> </main> <script type="module"> const actionButton = document.getElementById("actionButton") as HTMLButtonElement; const messageElement = document.getElementById("message") as HTMLParagraphElement; actionButton.addEventListener("click", () => { alert("hello!"); messageElement.textContent = "Button clicked! Hello, World!"; }); </script></body></html>
ChatGPT’s canvas provides a flexible, interactive environment perfect for experimenting with and refining your code—from converting JavaScript to TypeScript to adapting CSS for mobile responsiveness.
The traditional ChatGPT interface operates purely on the code provided without the broader context of your project. In contrast, IDE-integrated tools like GitHub Copilot analyze your entire codebase and offer tailored suggestions. For example, if you show ChatGPT a boilerplate HTML snippet, it assumes the snippet stands alone:
<h1>Welcome to the Boilerplate Page</h1><p>This is a simple HTML boilerplate including CSS styles and some JavaScript functionality.</p><button id="actionButton">Click Me!</button><p id="message"></p>
Switching to an IDE tool that understands your entire project context might lead to suggestions tailored specifically for your framework or environment.
One of ChatGPT’s strong suits is its ability to analyze and explain code. However, beginners should avoid copying and pasting generated code blindly. Instead, review the output to fully understand each component and ensure it fits within your project’s ecosystem.Consider this Python snippet that sends an HTTP request:
pip install requests
import requests# Define the URLurl = "https://api.example.com/data"# Send a GET requestresponse = requests.get(url)# Check the response statusif response.status_code == 200: print("Success:", response.json()) # Assuming the response is in JSONelse: print("Failed with status code:", response.status_code)
When you ask ChatGPT to explain the code, it breaks down each step:
It imports the requests library.
Defines the URL to access.
Sends a GET request.
Processes the response based on the HTTP status code.
For more advanced HTTP operations, ChatGPT can even generate examples that include query parameters, file uploads, and timeout management:
When testing code generated by ChatGPT, always validate its error handling and logging as needed. For example, a more robust version of a POST request might look like this:
import requestsimport loggingdef send_post_request(url, payload): try: response = requests.post(url, json=payload, timeout=10) response.raise_for_status() # Raises HTTPError for bad responses (4xx, 5xx) if response.status_code == 201: # 201 Created logging.info("Data successfully created.") return response.json() else: logging.warning(f"Unexpected status code: {response.status_code}") return None except requests.exceptions.RequestException as e: logging.error(f"An error occurred: {e}") return None# Example usageif __name__ == "__main__": url = "https://api.example.com/data" payload = { "key1": "value1", "key2": "value2" } response_data = send_post_request(url, payload) if response_data: logging.info(f"Response data: {response_data}") else: logging.error("Failed to create data.")
Always review auto-generated code, ensuring proper understanding and integration into your project. This practice is crucial in maintaining code quality and reliability.
This article explored how ChatGPT functions as an effective programming assistant. Whether generating simple code snippets, converting JavaScript to TypeScript, or integrating with larger frameworks, ChatGPT offers a flexible, interactive environment to enhance your productivity. Remember to review and understand the output, ensuring that any auto-generated code is suitably adapted to meet your project’s specific needs.Happy coding!