AI-Assisted Development
Introduction to AI Assisted Development
A Quick Look Cursor
In this article, we explore Cursor—a standalone application built as a fork of Visual Studio Code. Unlike extensions for Visual Studio Code or JetBrains products, Cursor offers an immersive environment where both chat and code reside within a single window.
When you launch Cursor and press Ctrl+I, you'll see options such as Add Files, Edit Refactor, and Add Code. The tool also allows you to switch between models like Cloud 3.5 Sonnet, GPT-4, 40 Mini, 01 Mini, 01 Preview, and Cursor Small. For illustration, we scaffold a typical Python application, with Cursor automatically generating the necessary files—much like what GitHub Copilot might do.

After accepting the generated files, you can inspect the project structure. The folder includes a source directory (src) with your project files, such as main.py.
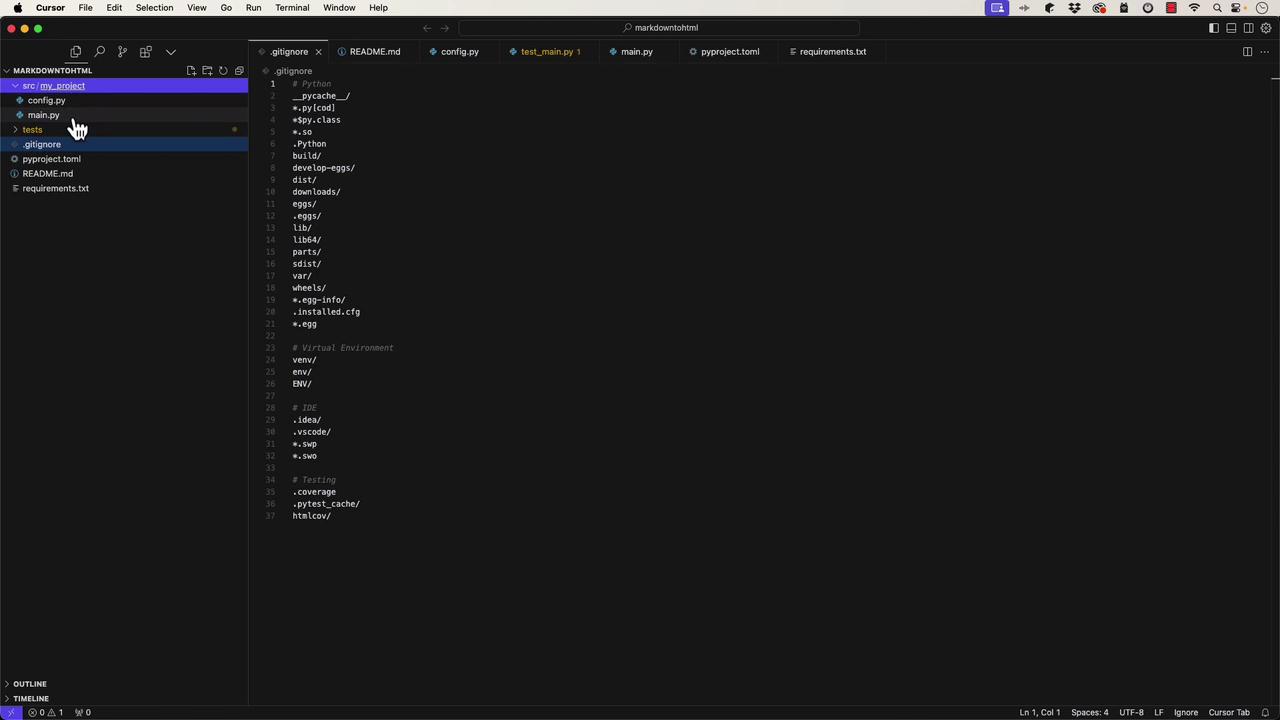
The Generated Python Application
The generated main.py file contains a standard Python entry point, featuring a def main function along with an if __name__ == '__main__': check. It also sets up logging automatically:
import logging

# Main application module.
logging.basicConfig(
    level=logging.INFO,
    format='%(asctime)s - %(name)s - %(message)s'
)
logger = logging.getLogger(__name__)

def main():
    """Main application entry point."""
    logger.info('Application starting...')
    # Your application logic here
    logger.info('Application finished.')

if __name__ == '__main__':
    main()
A configuration file, config.py, is also generated. It uses a dataclass to manage configuration variables such as the API key and debug mode:
import os
from dataclasses import dataclass
from typing import Optional

@dataclass
class Config:
    """Application configuration."""
    app_name: str = "my_project"
    debug: bool = False
    api_key: Optional[str] = os.getenv("API_KEY")

    @classmethod
    def load(cls) -> "Config":
        """Load configuration from environment."""
        return cls(
            debug=os.getenv("DEBUG", "false").lower() == "true",
            api_key=os.getenv("API_KEY")
        )

config = Config.load()
A simple test file is generated to serve as a placeholder for your test cases:
import pytest
from my_project.main import main

def test_main():
    """Test main function execution."""
    # Add your test cases here
    assert True
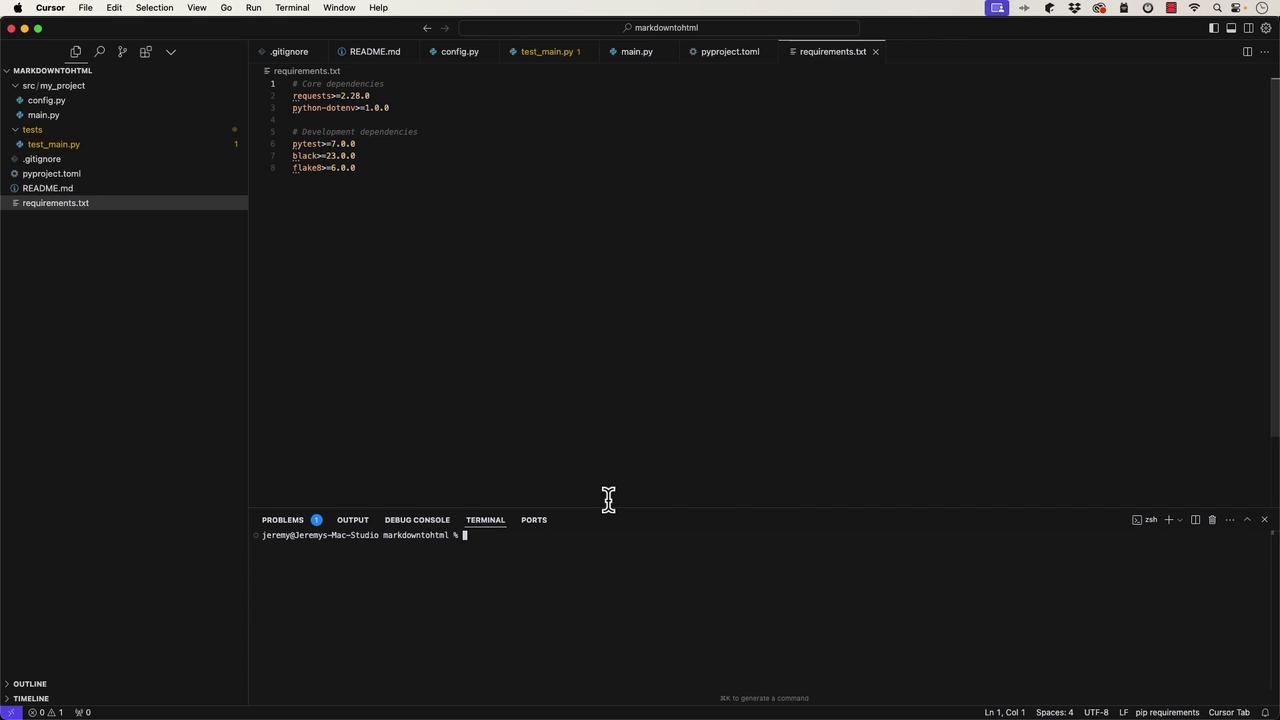
Additionally, the project includes a .gitignore file for ignoring file patterns (like virtual environments), a pyproject.toml with metadata and dependency details, and a basic requirements.txt listing both core and development dependencies.
The pyproject.toml file looks like this:
[build-system]
requires = ["hatchling"]
build-backend = "hatchling.build"

[project]
name = "my_project"
authors = [
    { name = "Your Name", email = "[email protected]" }
]
description = "A short description of your project"
readme = "README.md"
requires-python = ">=3.8"
dependencies = []

[project.optional-dependencies]
dev = [
    "pytest>=7.0",
    "pytest-cov>=4.0",
    "black>=23.0",
    "isort>=5.0",
    "flake8>=6.0",
]

[tool.pytest.ini_options]
testpaths = ["tests"]
python_files = ["test_*.py"]
Setting Up and Running the Application
To set up your Python environment, open the terminal and create a virtual environment:
python -m venv venv
# If "python" is not recognized, try:
python3 -m venv venv

source venv/bin/activate
Once the virtual environment is activated, install the dependencies:
pip install -r requirements.txt
You can then run your application:
python src/main.py
If you encounter an error like "can't open file 'src/main.py'", verify your directory structure. For instance, if your main file resides at src/my_project/main.py, run:
python src/my_project/main.py
Upon execution, you should see log output indicating the application has started and finished, similar to:
2022-11-19 14:59:16,537 __main__ INFO - Application starting...
Hello, World!
2022-11-19 14:59:16,537 __main__ INFO - Application finished.
Modifying the Application
Cursor supports interactive code generation. For example, you can modify your code so that it reads from a text file (demo.txt) and prints its contents line by line. An updated version of main.py might look like this:
import logging

logging.basicConfig(
    level=logging.INFO,
    format='%(asctime)s - %(name)s - %(levelname)s - %(message)s'
)
logger = logging.getLogger(__name__)

def main():
    """Main application entry point."""
    logger.info('Application starting...')

    print("Hello, World!")
    try:
        with open("demo.txt") as file:
            for line in file:
                print(line.rstrip())
    except FileNotFoundError:
        logger.error("demo.txt file not found")
    except Exception as e:
        logger.error(f"Error reading demo.txt: {e}")
    logger.info('Application finished.')

if __name__ == "__main__":
    main()
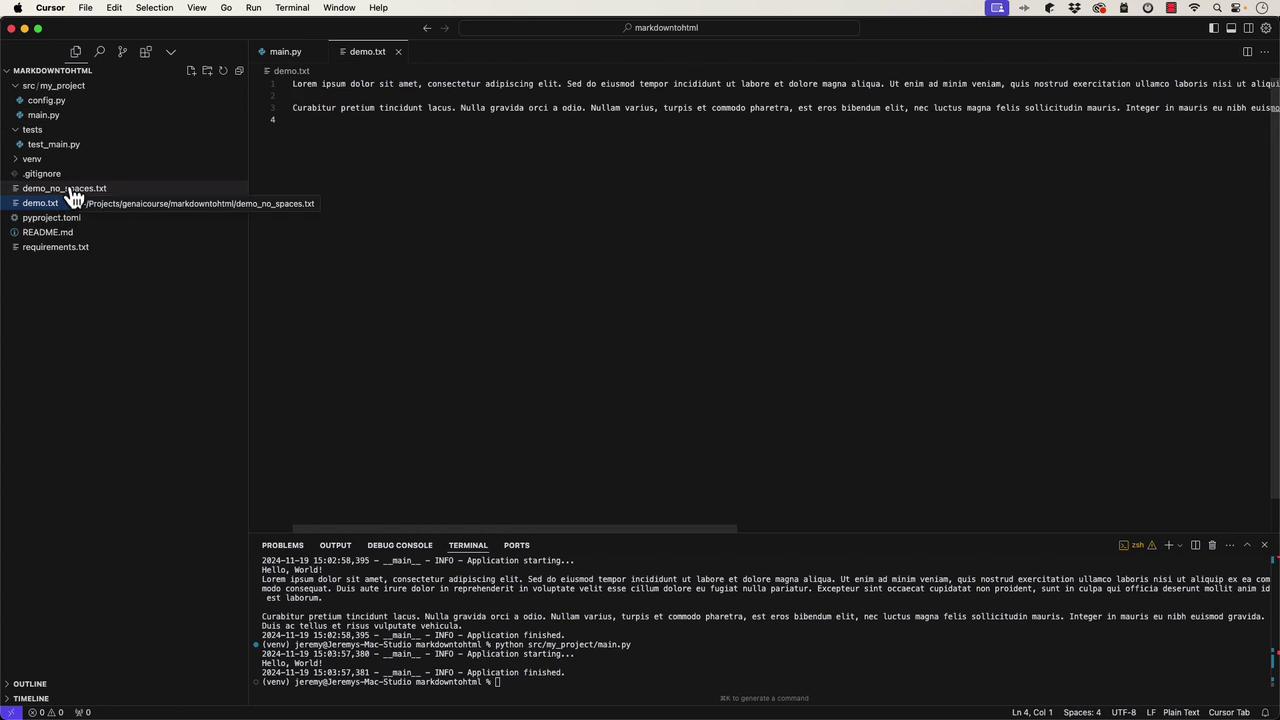
Later, you might further modify the code to process the file by removing all spaces and writing the cleaned output to demo_no_spaces.txt:
import logging

logging.basicConfig(
    level=logging.INFO,
    format='%(asctime)s - %(name)s - %(levelname)s - %(message)s'
)
logger = logging.getLogger(__name__)

def main():
    """Main application entry point."""
    logger.info("Application starting...")
    print("Hello, World!")
    # Your application logic here

    try:
        with open('demo.txt') as file:
            for line in file:
                with open('demo_no_spaces.txt', 'w') as outfile:
                    outfile.write(line.rstrip().replace(" ", ""))
    except FileNotFoundError:
        logger.error('demo.txt file not found')
    except IOError as e:
        logger.error('Error reading demo.txt: {0}'.format(e))
    logger.info("Application finished.")

if __name__ == "__main__":
    main()
After running the application, confirm that demo.txt has been processed and that demo_no_spaces.txt is created as expected.
Refactoring into Functions and Writing Tests
For better code organization, it's a good practice to refactor logic into separate functions. In this case, the file processing logic is moved into its own function:
def process_file():
    """Process demo.txt file and write output without spaces."""
    try:
        with open("demo.txt", "r") as infile, open("demo_no_spaces.txt", "w") as outfile:
            for line in infile:
                outfile.write(line.rstrip().replace(" ", "") + "\n")
    except FileNotFoundError:
        logger.error('demo.txt file not found')
    except IOError as e:
        logger.error(f"Error reading demo.txt: {e}")
    logger.info("Application finished")

def main():
    """Main application entry point."""
    logger.info("Application starting...")
    print("Hello, World!")
    # Your application logic here

process_file()

if __name__ == "__main__":
    main()
Next, it's important to write tests for your functions. In the file tests/test_main.py, you might add tests as follows:
import os
import pytest
from my_project.main import main, process_file

def test_main():
    """Test main function execution."""
    # Add your test cases here.
    assert True

def test_process_file(tmp_path):
    """Test process_file function with sample input."""
    # Prepare test input.
    test_input = "sample text\nwith multiple\nlines"
    demo_file = tmp_path / "demo.txt"
    demo_file.write_text(test_input)

    # Change the working directory to the temporary path.
    original_cwd = os.getcwd()
    os.chdir(tmp_path)

    # Call process_file which will read demo.txt and write demo_no_spaces.txt.
    process_file()

    # Read the output from demo_no_spaces.txt.
    output_file = tmp_path / "demo_no_spaces.txt"
    result = output_file.read_text().splitlines()

    # Expected output: each line with spaces removed.
    expected_output = [line.replace(" ", "") for line in test_input.splitlines()]

    # Restore the original working directory.
    os.chdir(original_cwd)

    # Assert the results.
    assert result == expected_output
    assert len(result) == 3
    assert isinstance(result, list)
Note
If you encounter issues running tests, ensure your project is structured as a proper Python package (e.g., add empty __init__.py files) and adjust import statements accordingly. For example:
touch my_project/__init__.py
touch tests/__init__.py
When running tests with pytest, common troubleshooting steps include verifying module import paths and installing your package in development mode with:
pip install -e .
Final Thoughts
Cursor significantly speeds up code generation and prototyping. However, as demonstrated through iterative testing and debugging, a solid foundation in Python and best development practices remains essential. In our next article, we will explore building a larger application combining multiple AI-assisted development tools like ChatGPT, Tabnine, BlackboxAI, GitHub Copilot, and Cursor.
Stay tuned for our next lesson as we delve deeper into advanced application development methodologies.
Watch Video
Watch video content