AI-Assisted Development
Introduction to AI Assisted Development
What We Will build
In this article, you'll learn how to create the "Super Image Optimizer"—an application that allows users to upload an image, adjust its compression levels, and compare file sizes before and after compression. The key features include image compression, single image optimization, and a RESTful API for efficient image processing.
To get started, clone the repository and navigate to the application directory:
git clone https://github.com/JeremyMorgan/Super-Image-Optimizer.git
cd Super-Image-Optimizer/imageoptimizer.app
Next, set up your virtual environment using the following commands:
# On macOS/Linux
python3 -m venv venv
source venv/bin/activate

# On Windows
python -m venv venv
venv\Scripts\activate
Pretty cool, right? Let's explore the technical components that make this project work.
The Flask Backend: imageoptimizer.app
The backend is built with Python Flask and is responsible for handling image uploads, processing them with OpenCV, and returning the optimized image along with file size details. This ensures a smooth server-side experience when users upload images for compression.
Below is a code snippet that shows how the Flask blueprint is configured to handle the image upload route:
import logging
from flask import Blueprint, request, jsonify, send_file
import cv2
import numpy as np
import io
import imghdr
from werkzeug.utils import secure_filename
from PIL import Image

# Set up logging
logging.basicConfig(level=logging.INFO)
logger = logging.getLogger(__name__)

bp = Blueprint('main', __name__)

@bp.route('/upload', methods=['POST'])
def upload():
    """
    Handles the image upload request by validating the file, extracting the quality parameter,
    processing the image with OpenCV, and returning the compressed image as binary data.

    Returns:
        A Flask response with the processed image if successful.
    """
    # The image processing code follows...
The image processing function utilizes OpenCV to compress the image. The following snippet demonstrates how the compression and error handling are implemented:
def upload():
    if img is None:
        logger.error('Failed to decode image: %s', filename)
        return jsonify({'error': 'Failed to decode image'}), 400

    # Process the image with OpenCV
    _, buffer = cv2.imencode('.jpg', img, [int(cv2.IMWRITE_JPEG_QUALITY), quality])
    img_io = io.BytesIO(buffer)

    # Validate the processed image
    try:
        processed_img = Image.open(img_io)
        processed_img.verify()
    except (IOError, SyntaxError) as e:
        logger.error('Failed to process image: %s', e)
        return jsonify({'error': 'Failed to process image'}), 400

    # Reset the BytesIO object pointer to the beginning
    img_io.seek(0)

    # Return the processed image as binary data
    return send_file(img_io, mimetype='image/jpeg')

except Exception as e:
    logger.exception('An unexpected error occurred: %s', e)
Note
The above code snippets are simplified to illustrate key functionalities. Make sure you add proper validations and error handling as needed for your production environment.
The React Frontend: imageoptimizer.web
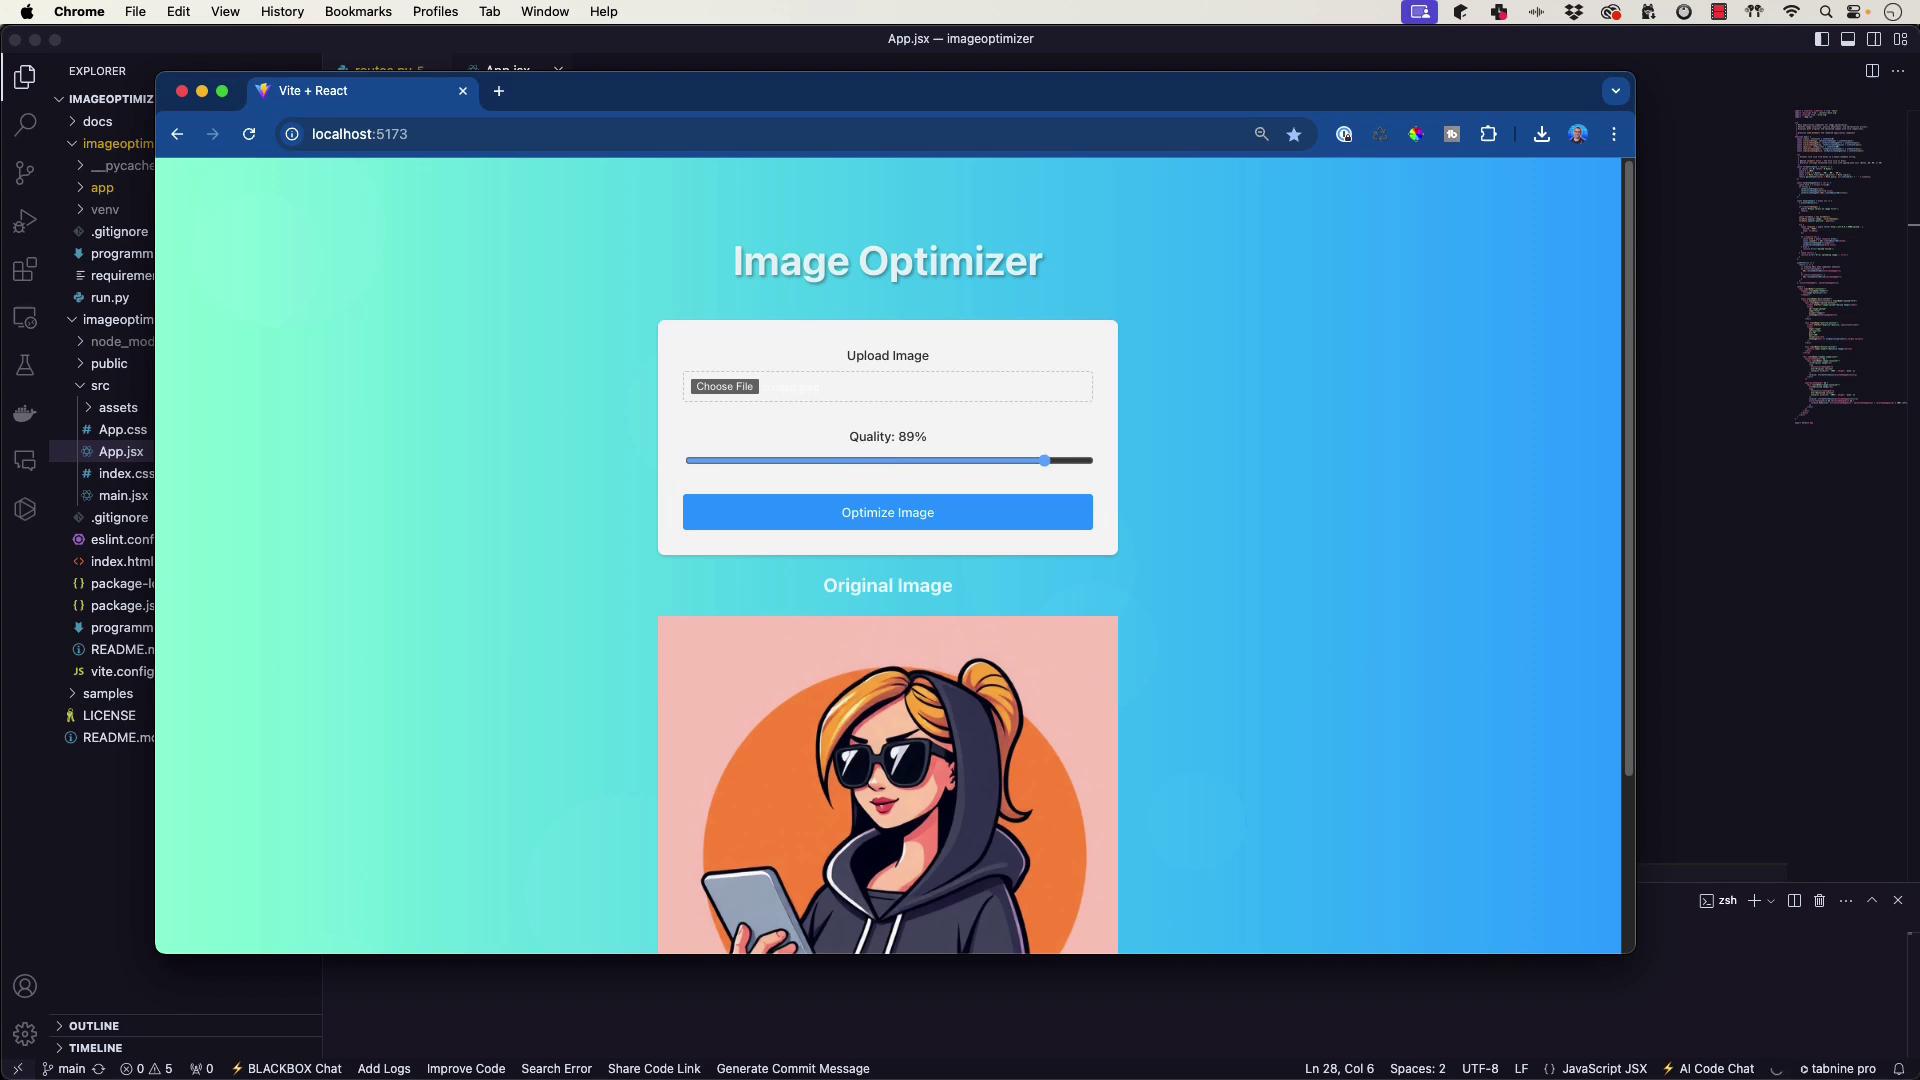
The React application provides an interactive user interface to work with the Super Image Optimizer. Through the frontend, users can select images, adjust the compression quality, and view optimized results in real time.
After selecting an image and setting the desired compression level (e.g., 87%), the backend processes the image and returns the optimized version. Below is an illustration of the web interface:
Once the image is processed, the user interface displays the new file size. For example, an image originally sized at 85 kilobytes might be reduced to 48 kilobytes. Take a look at this screenshot:
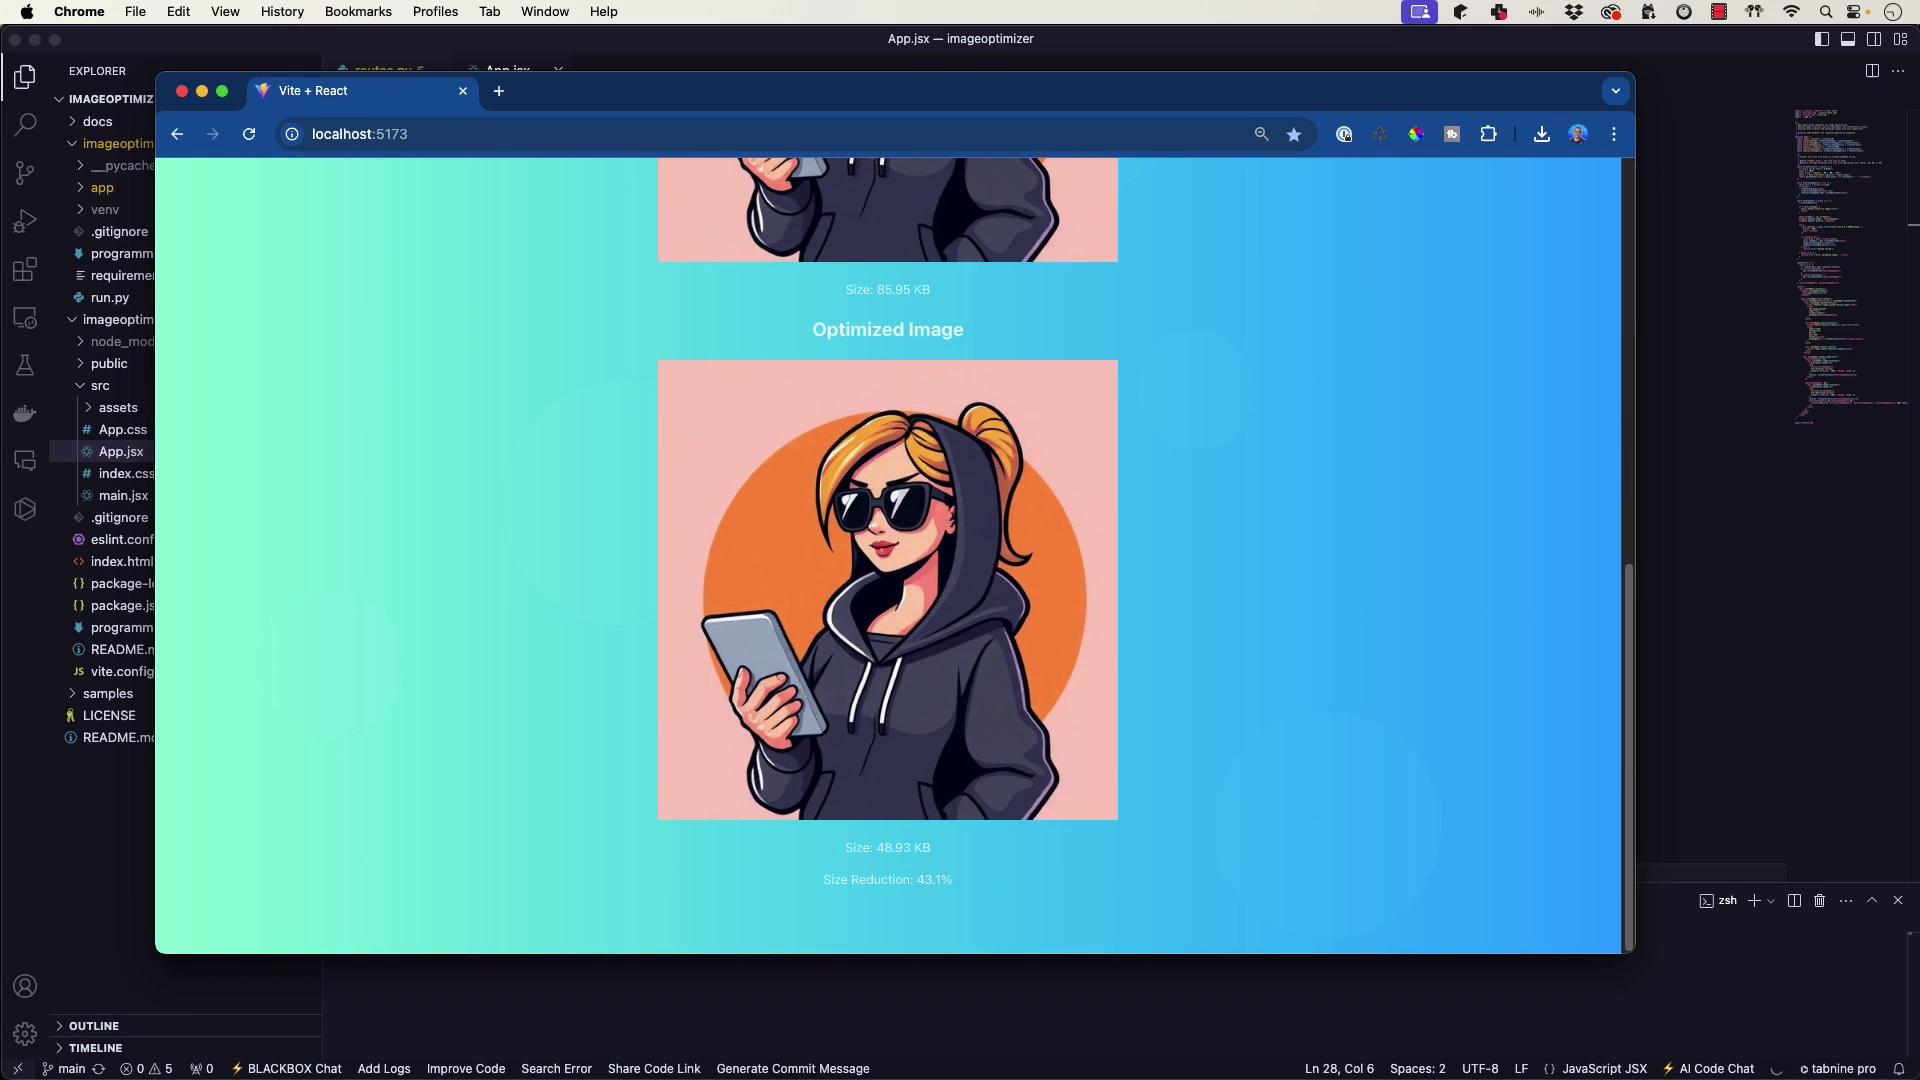
The interactive UI allows you to experiment with various compression levels—whether you choose a high reduction at 89% or a moderate compression at 77%, the React frontend seamlessly communicates with the Flask backend.
Wrapping Up
Throughout this guide, we've detailed both the backend and frontend components of the Super Image Optimizer. You can access all the code on GitHub:
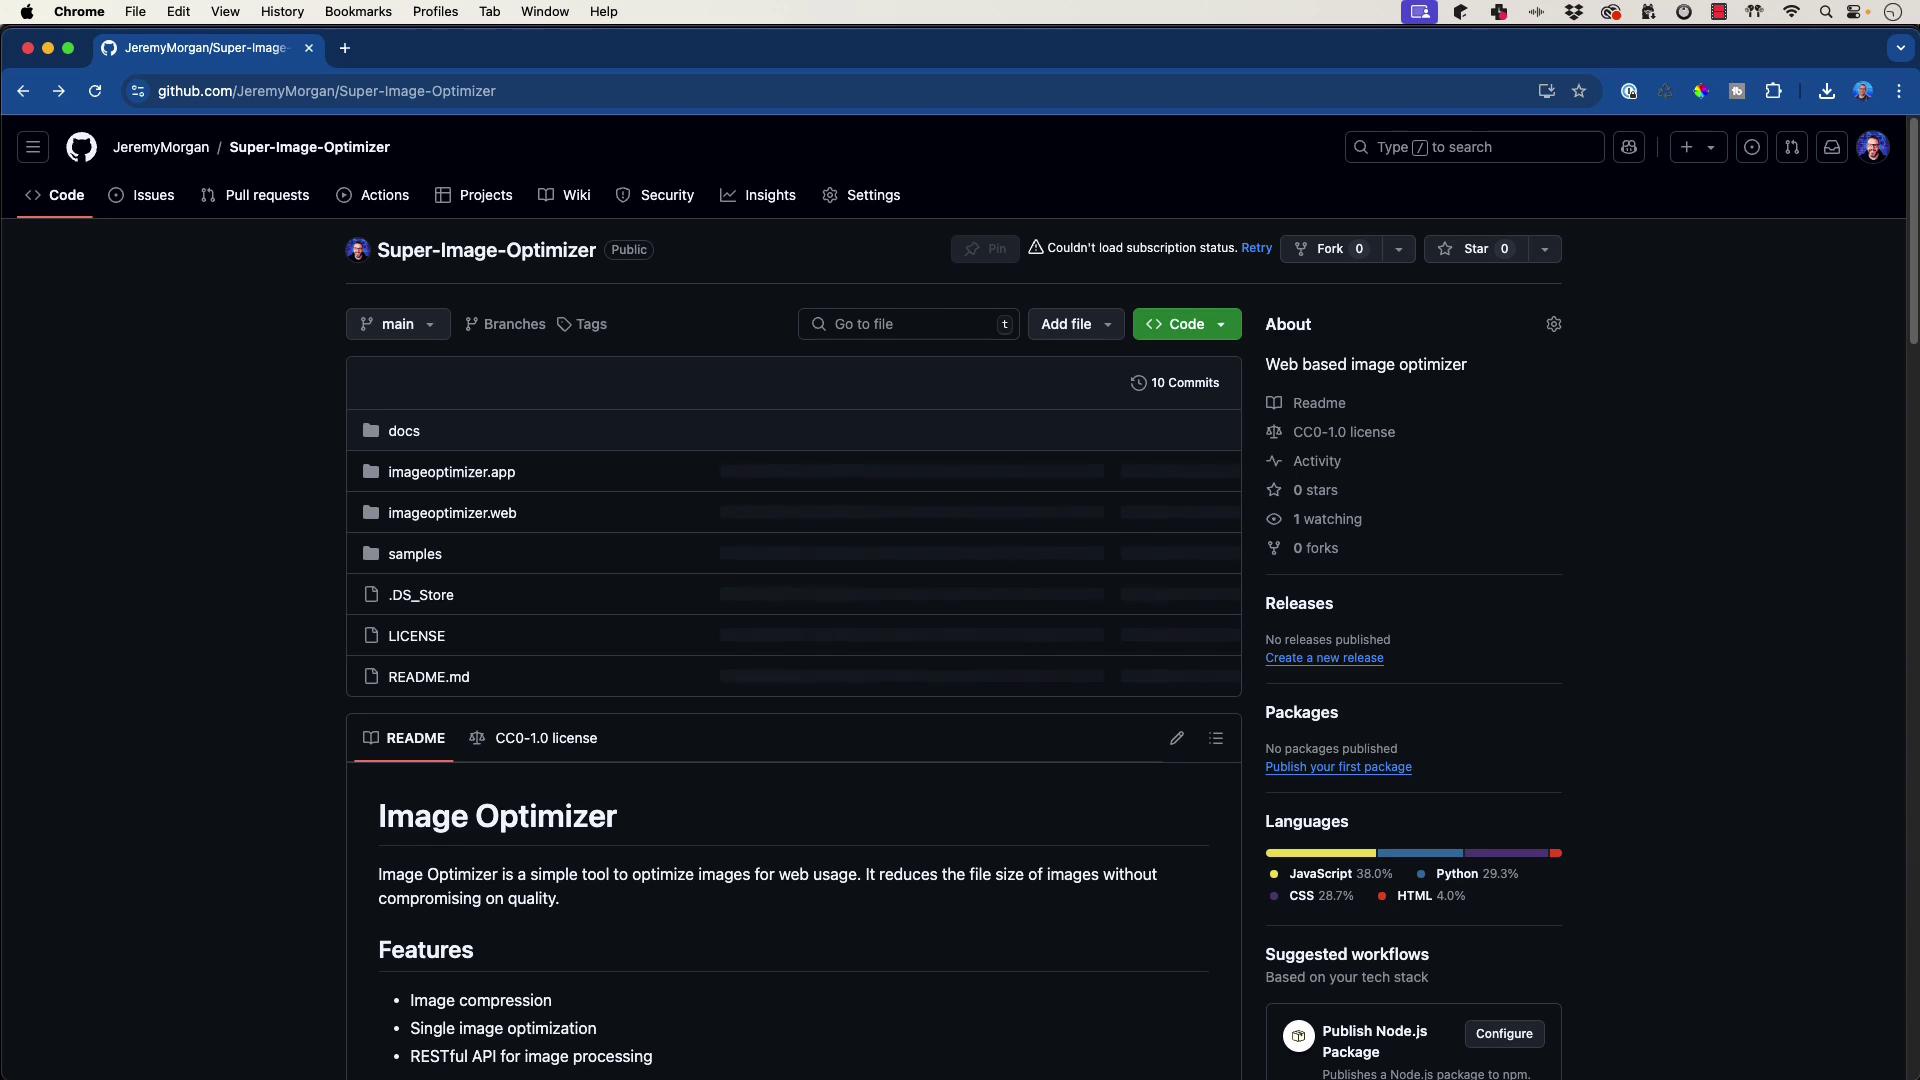
This GitHub repository contains the entire codebase that you'll build and further expand upon.
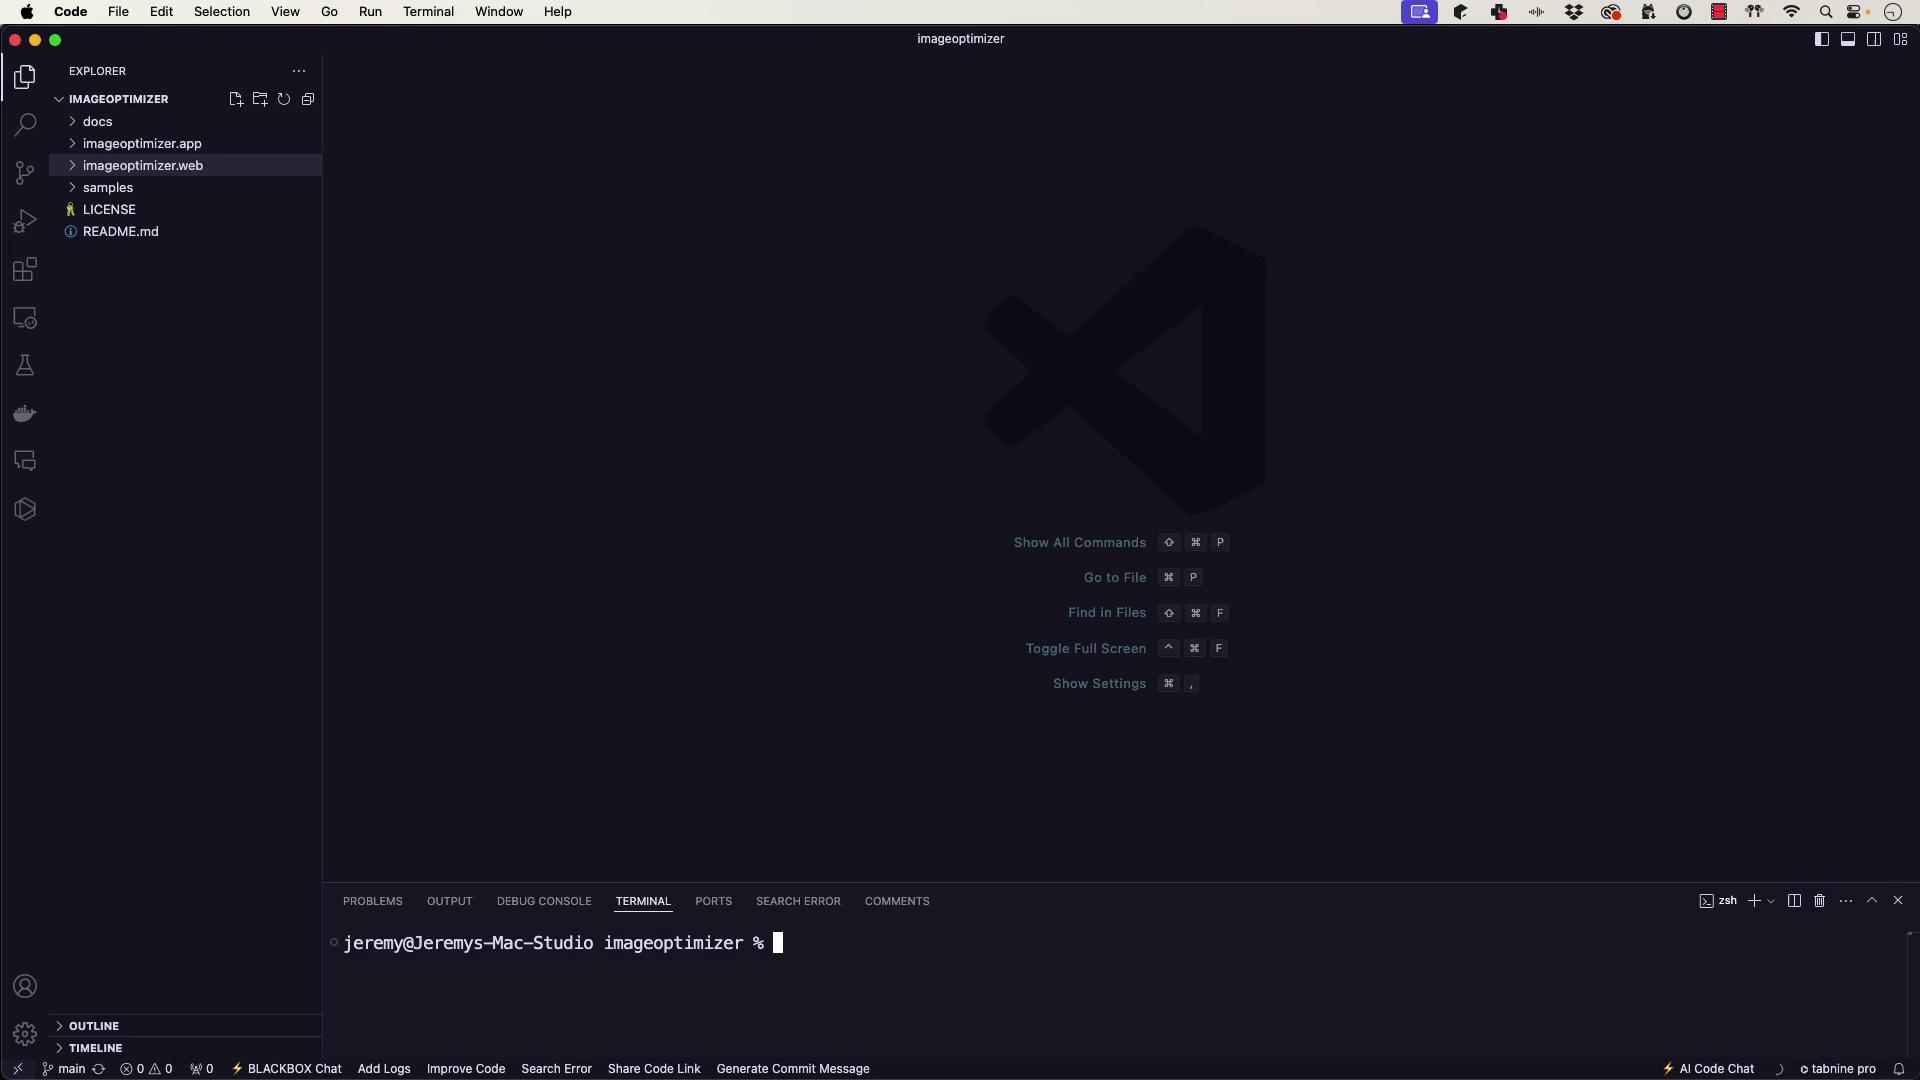
Getting Started
Open Visual Studio Code, install the necessary plugins, and follow along to build your Super Image Optimizer!
Watch Video
Watch video content