AWS Certified Developer - Associate

AWS CICD Developer Tools

CodeDeploy Demo

In this lesson, you'll learn how to deploy an application on EC2 instances using AWS CodeDeploy. While CodeDeploy supports deployments to other compute services like Lambda, this guide focuses on deploying to EC2. Remember to install the CodeDeploy agent on your EC2 instances for successful communication during deployments.

The image shows the AWS Management Console home screen, displaying recently visited services, application management, AWS health, and cost and usage information.

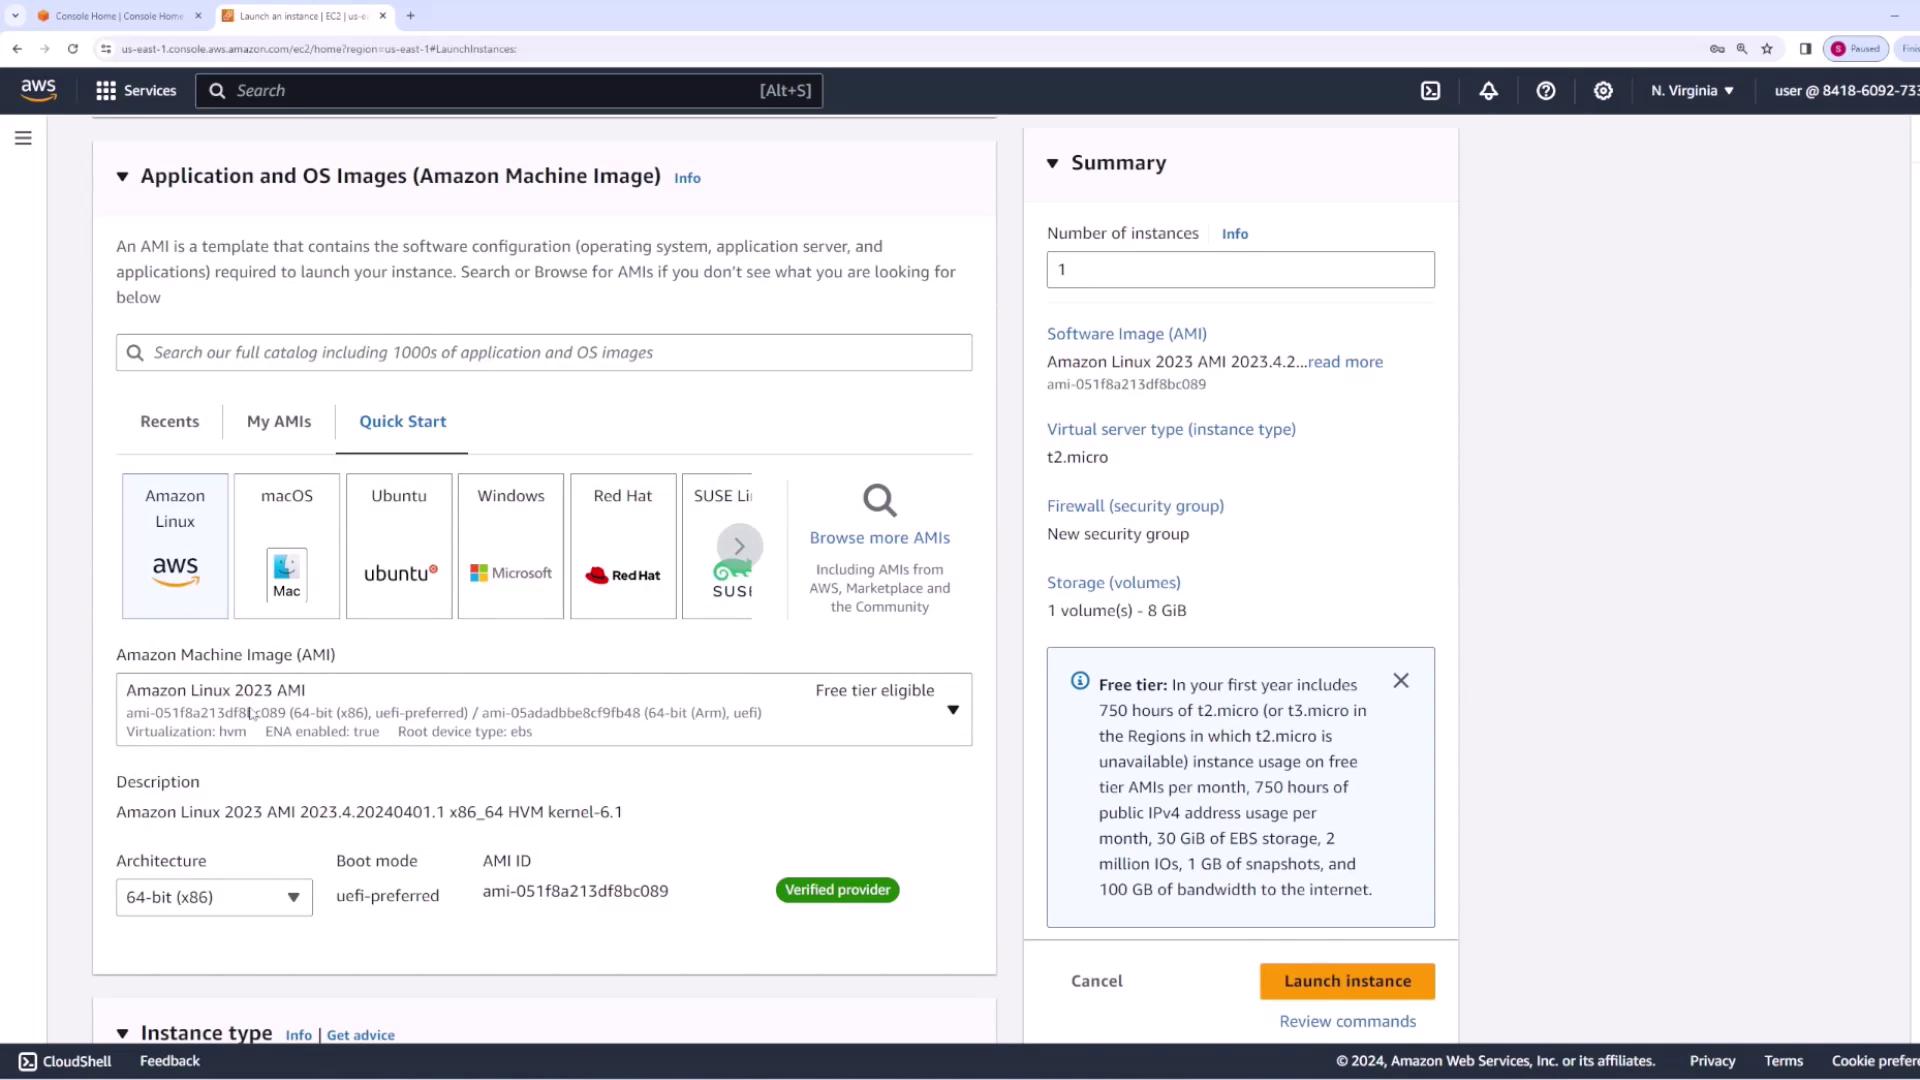
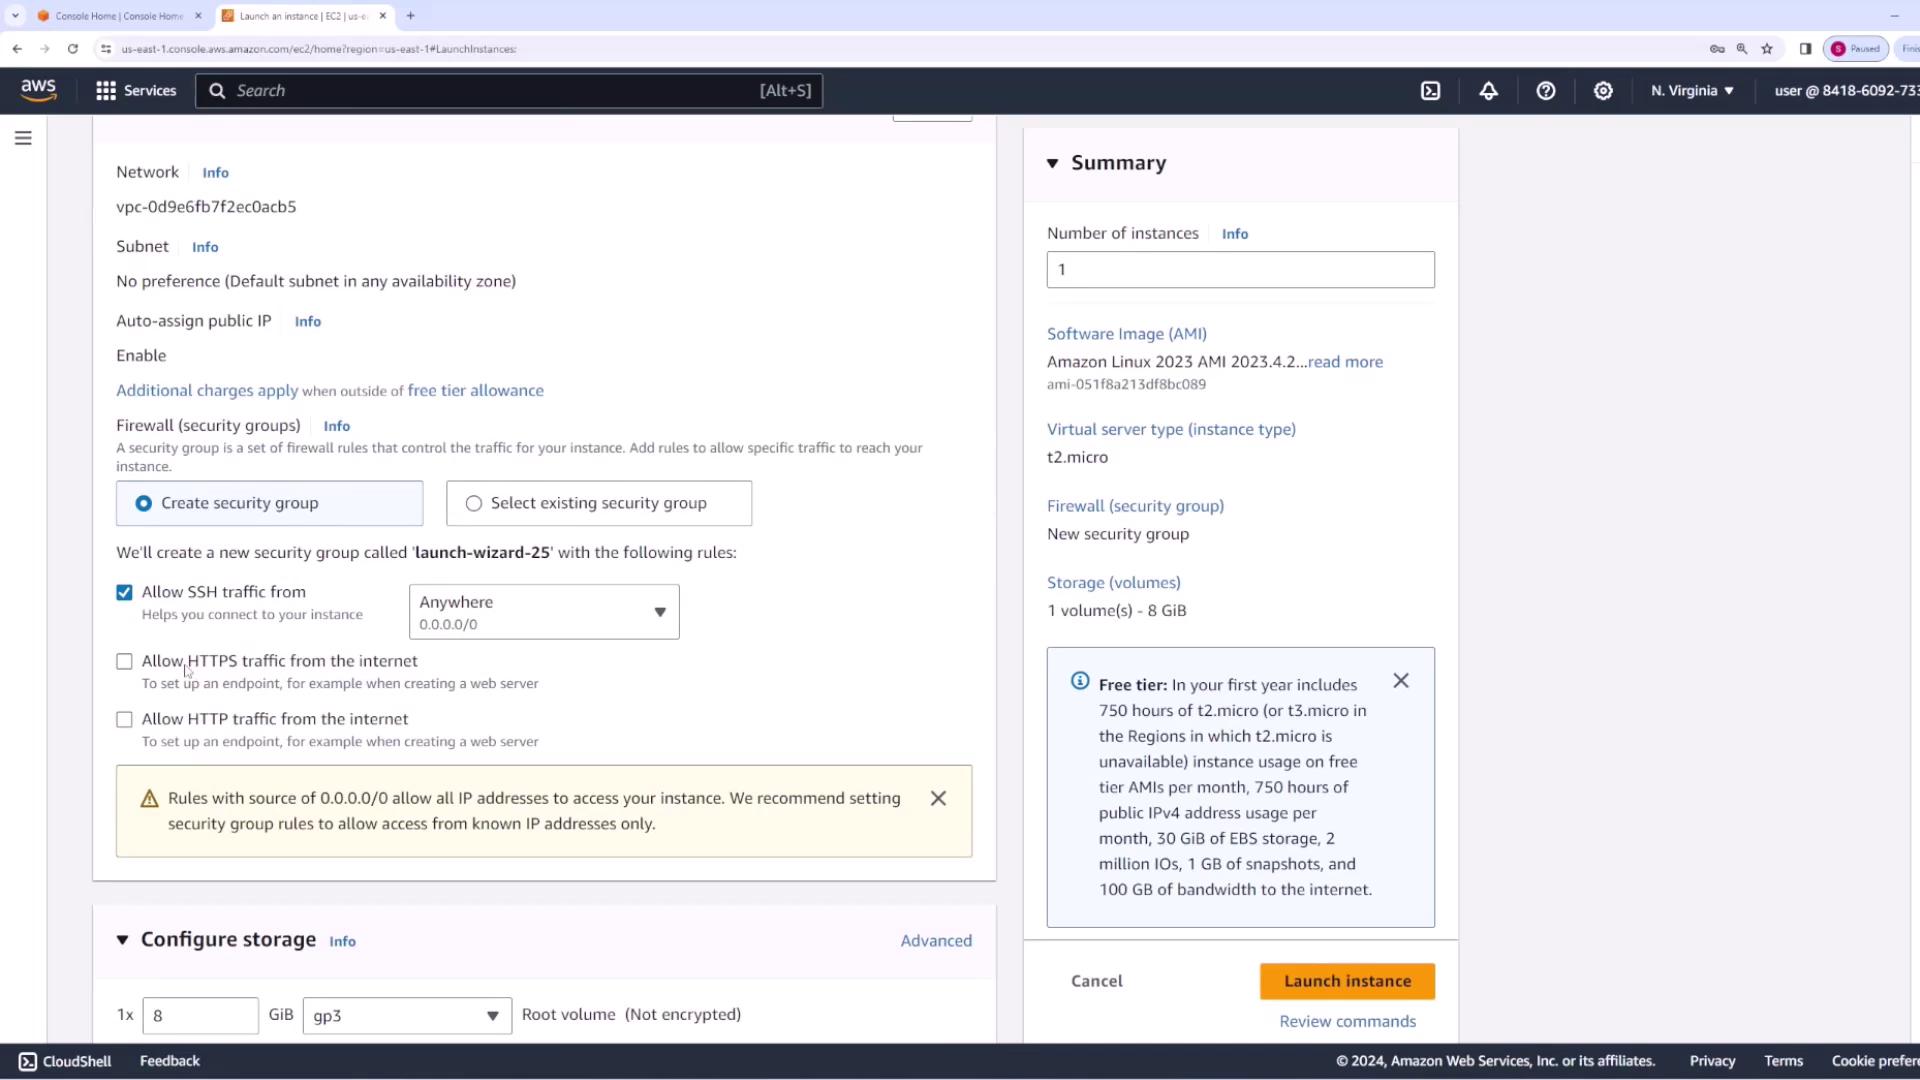
Step 1: Deploying an EC2 Instance

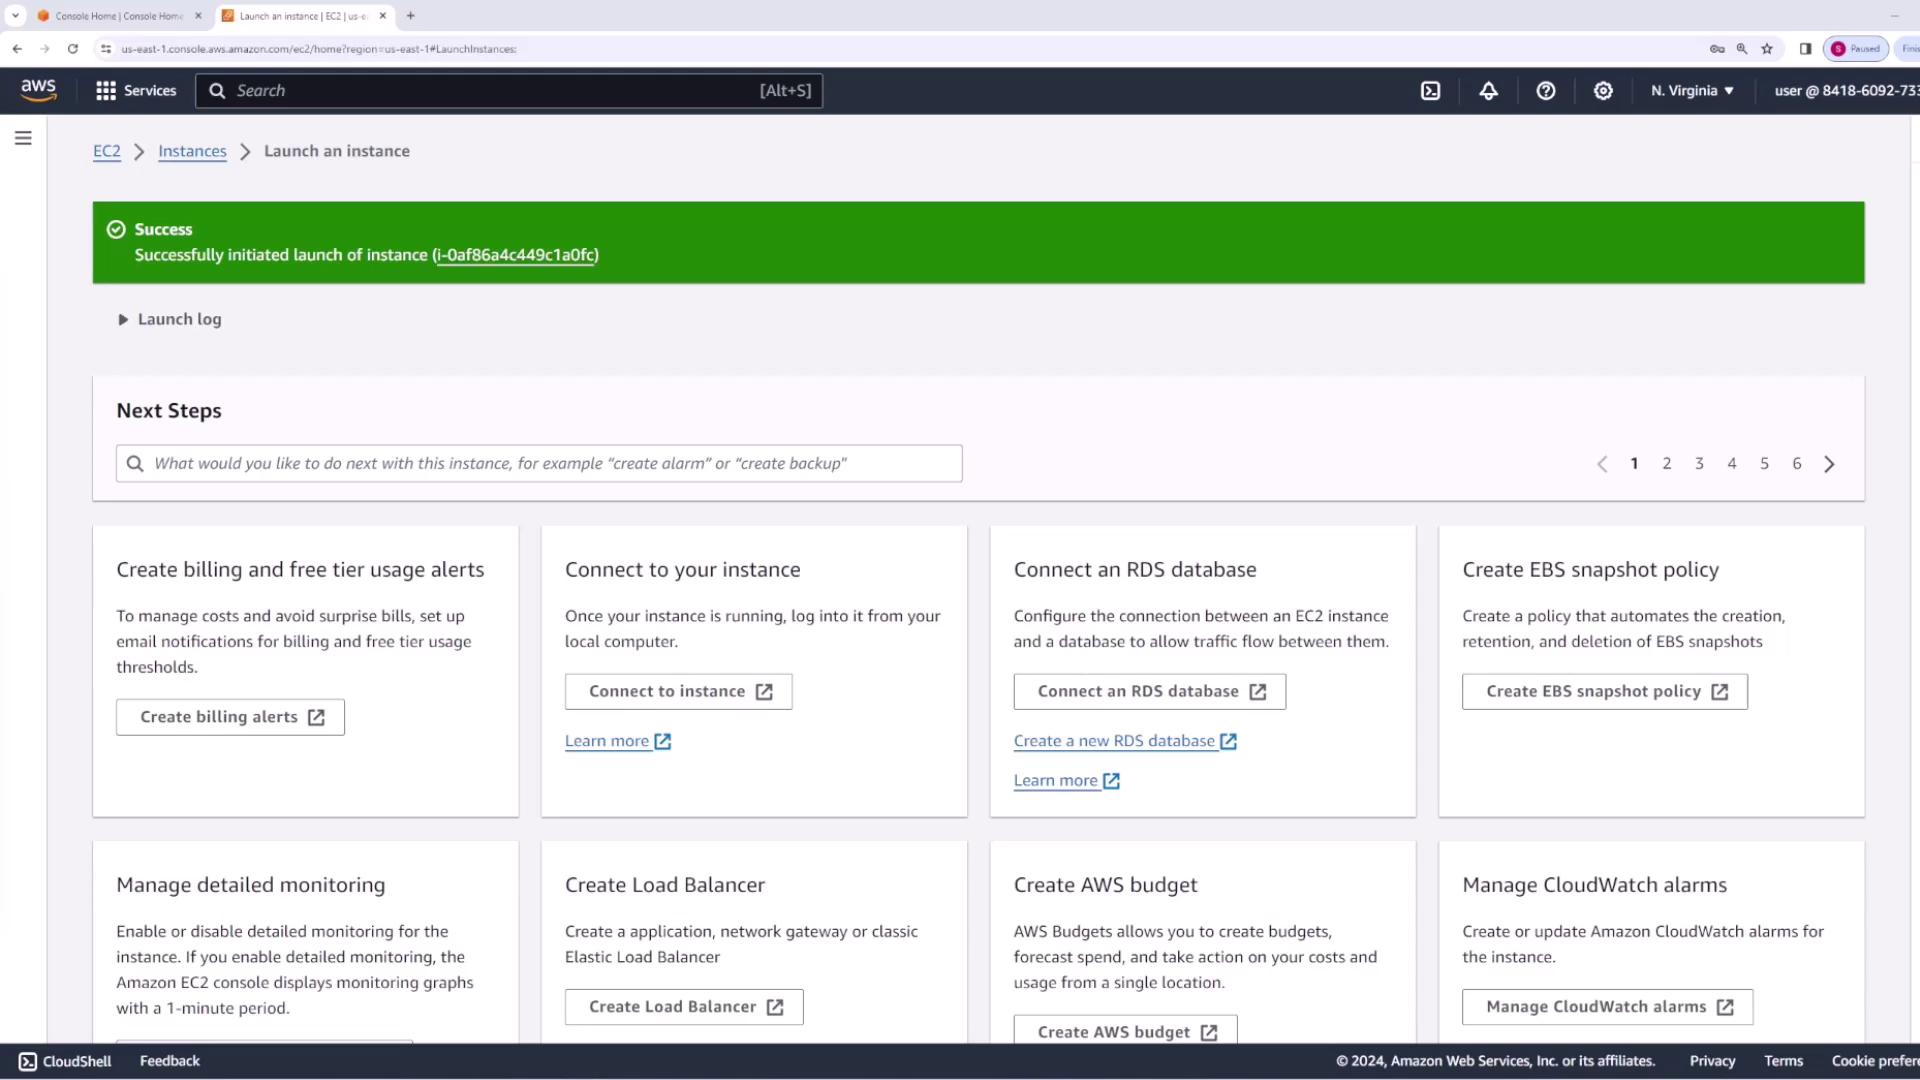
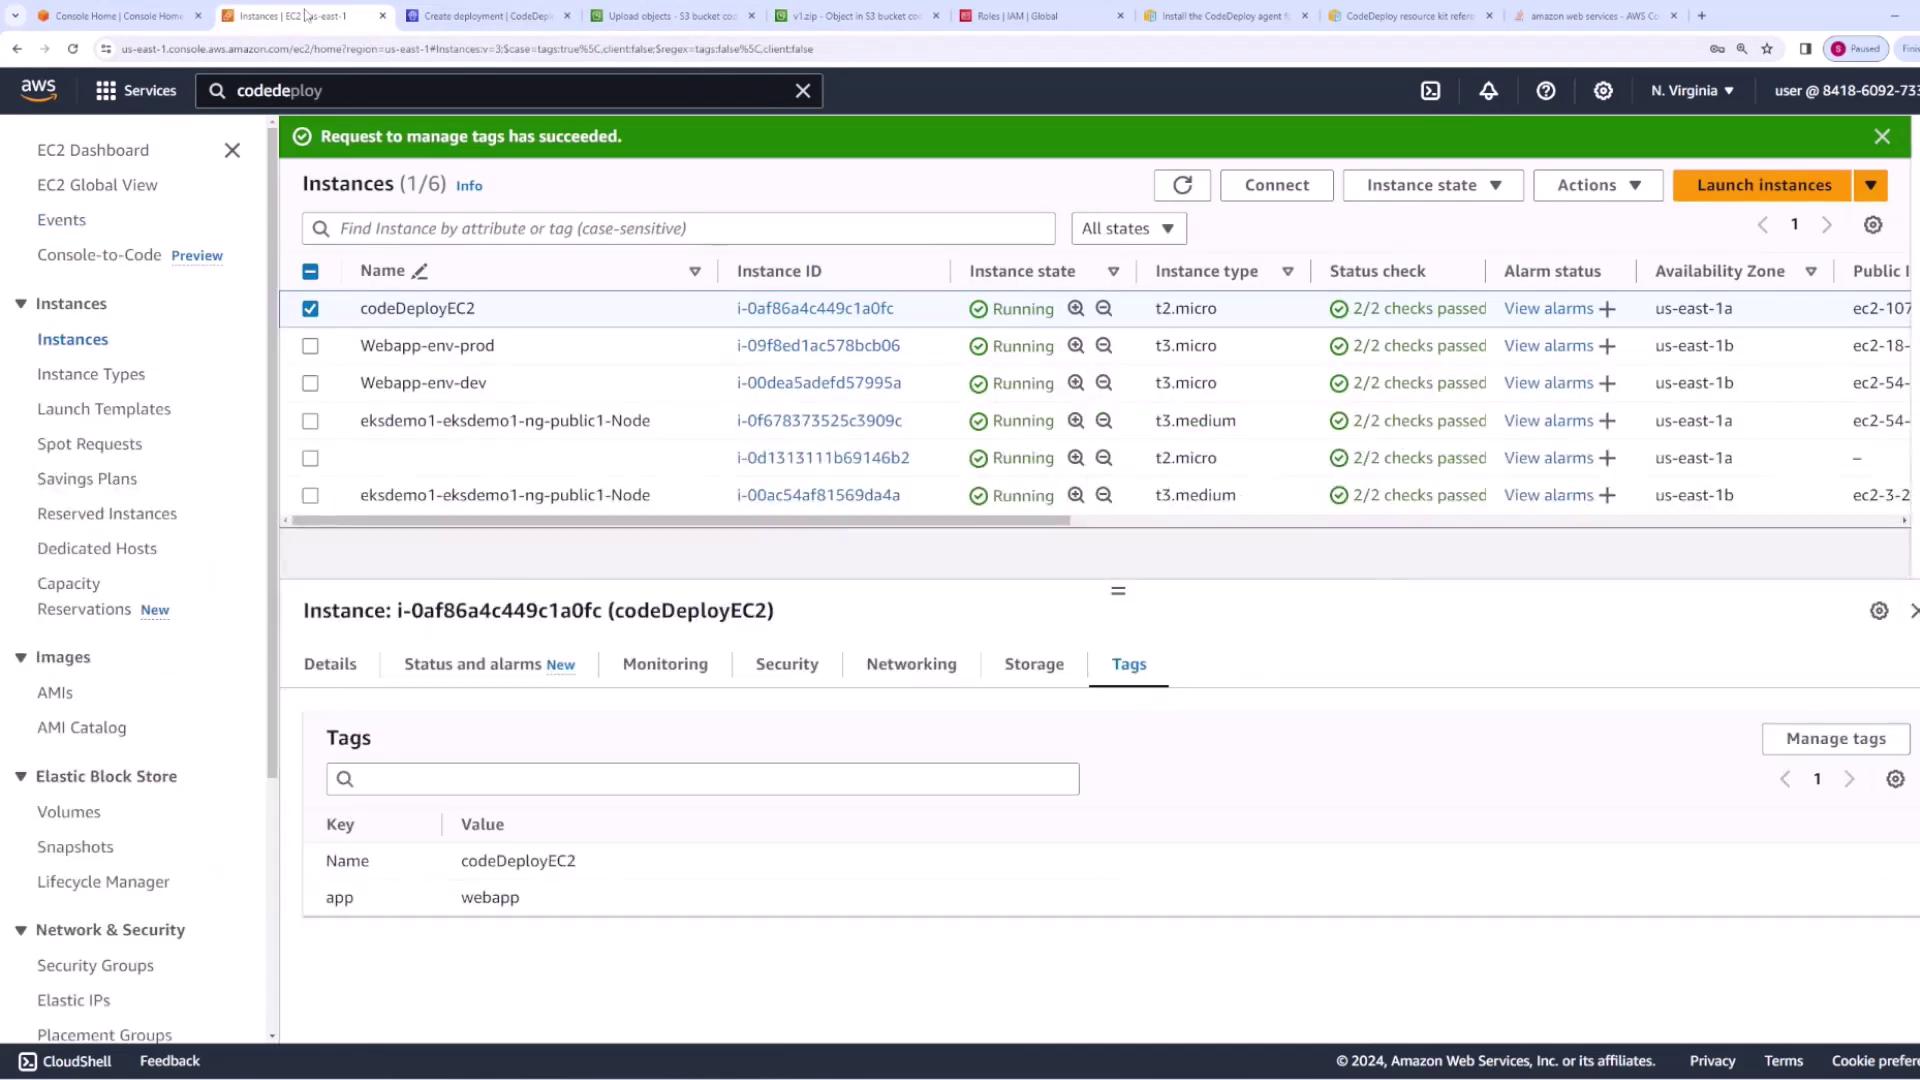
Start by launching an EC2 instance that will host your application. For this demo, we use the Amazon Linux 2023 AMI and deploy the instance in the default VPC. Name the instance "CodeDeploy EC2." When configuring the instance, ensure you select a valid key pair and configure a security group that permits HTTP and HTTPS traffic, as these protocols are required to serve your web application.

The image shows an AWS EC2 management console with a list of running instances, displaying details like instance ID, state, type, and availability zone.

The image shows an AWS EC2 console screen for launching an instance, displaying options for selecting an Amazon Machine Image (AMI) and instance details like type and security group.

The image shows an AWS EC2 instance launch configuration screen, where a user is setting up network and security group settings for a new instance. The summary on the right provides details about the instance type, software image, and storage.

After completing the configuration, launch your instance.

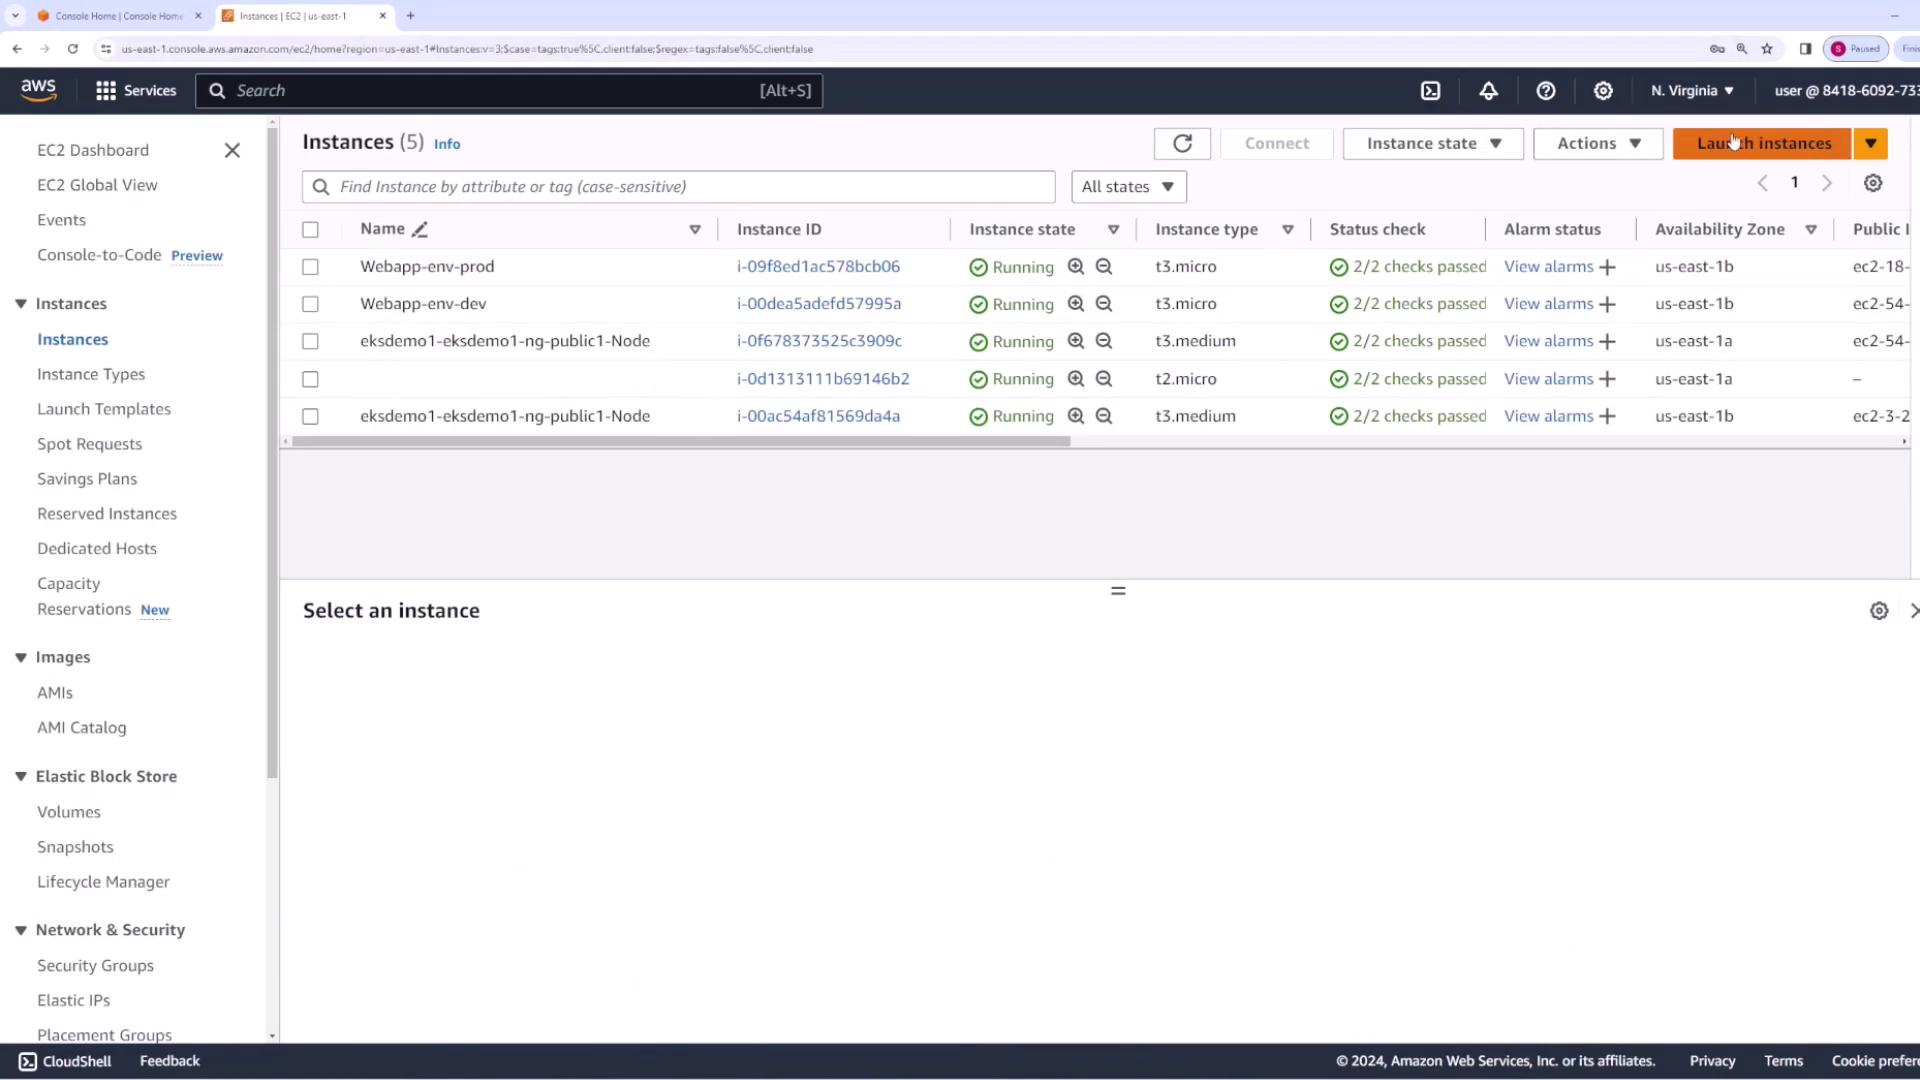
Step 2: Installing the CodeDeploy Agent on EC2

For CodeDeploy to manage EC2 instances, the CodeDeploy agent must be installed. Although you can install it manually or via Systems Manager, this demo uses the manual installation method. Before proceeding, ensure your EC2 instance is assigned an IAM role with permission to access S3, so the agent can download your application’s source bundle.

Creating an IAM Role for EC2

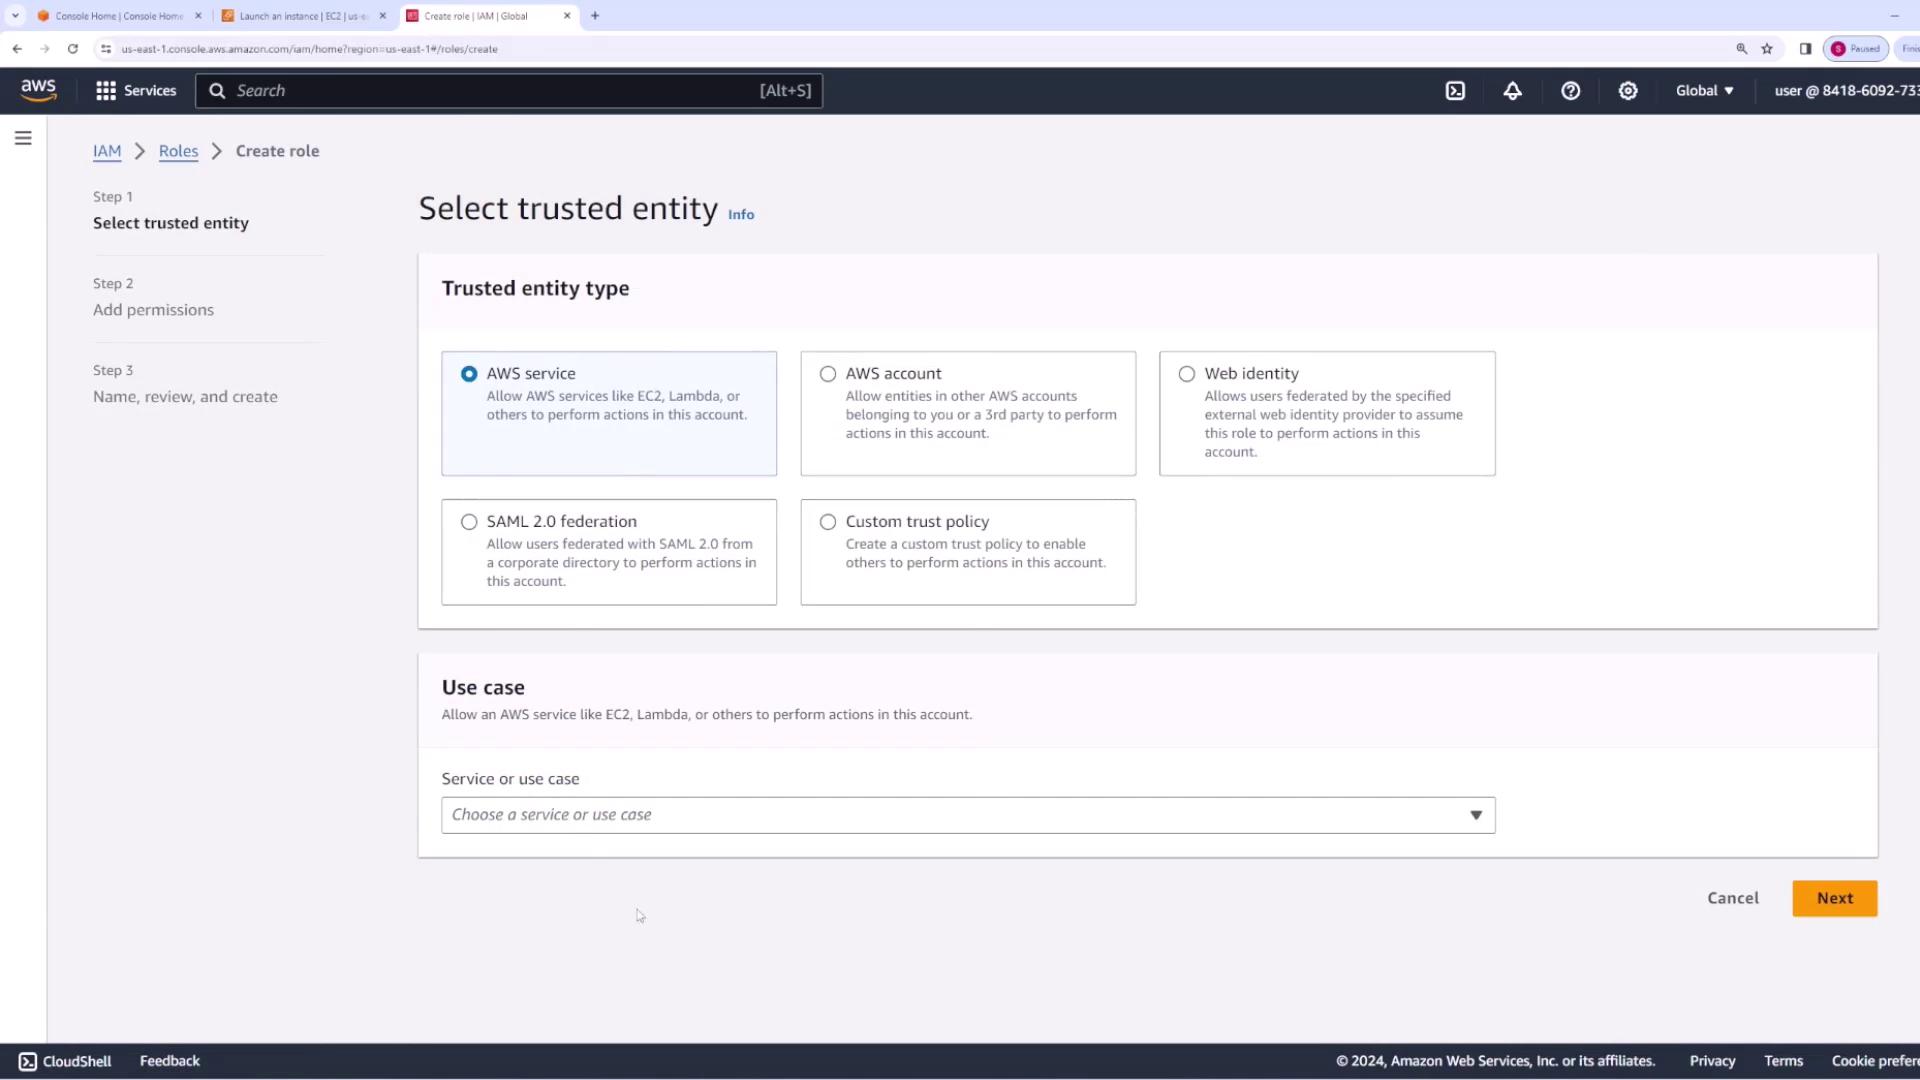
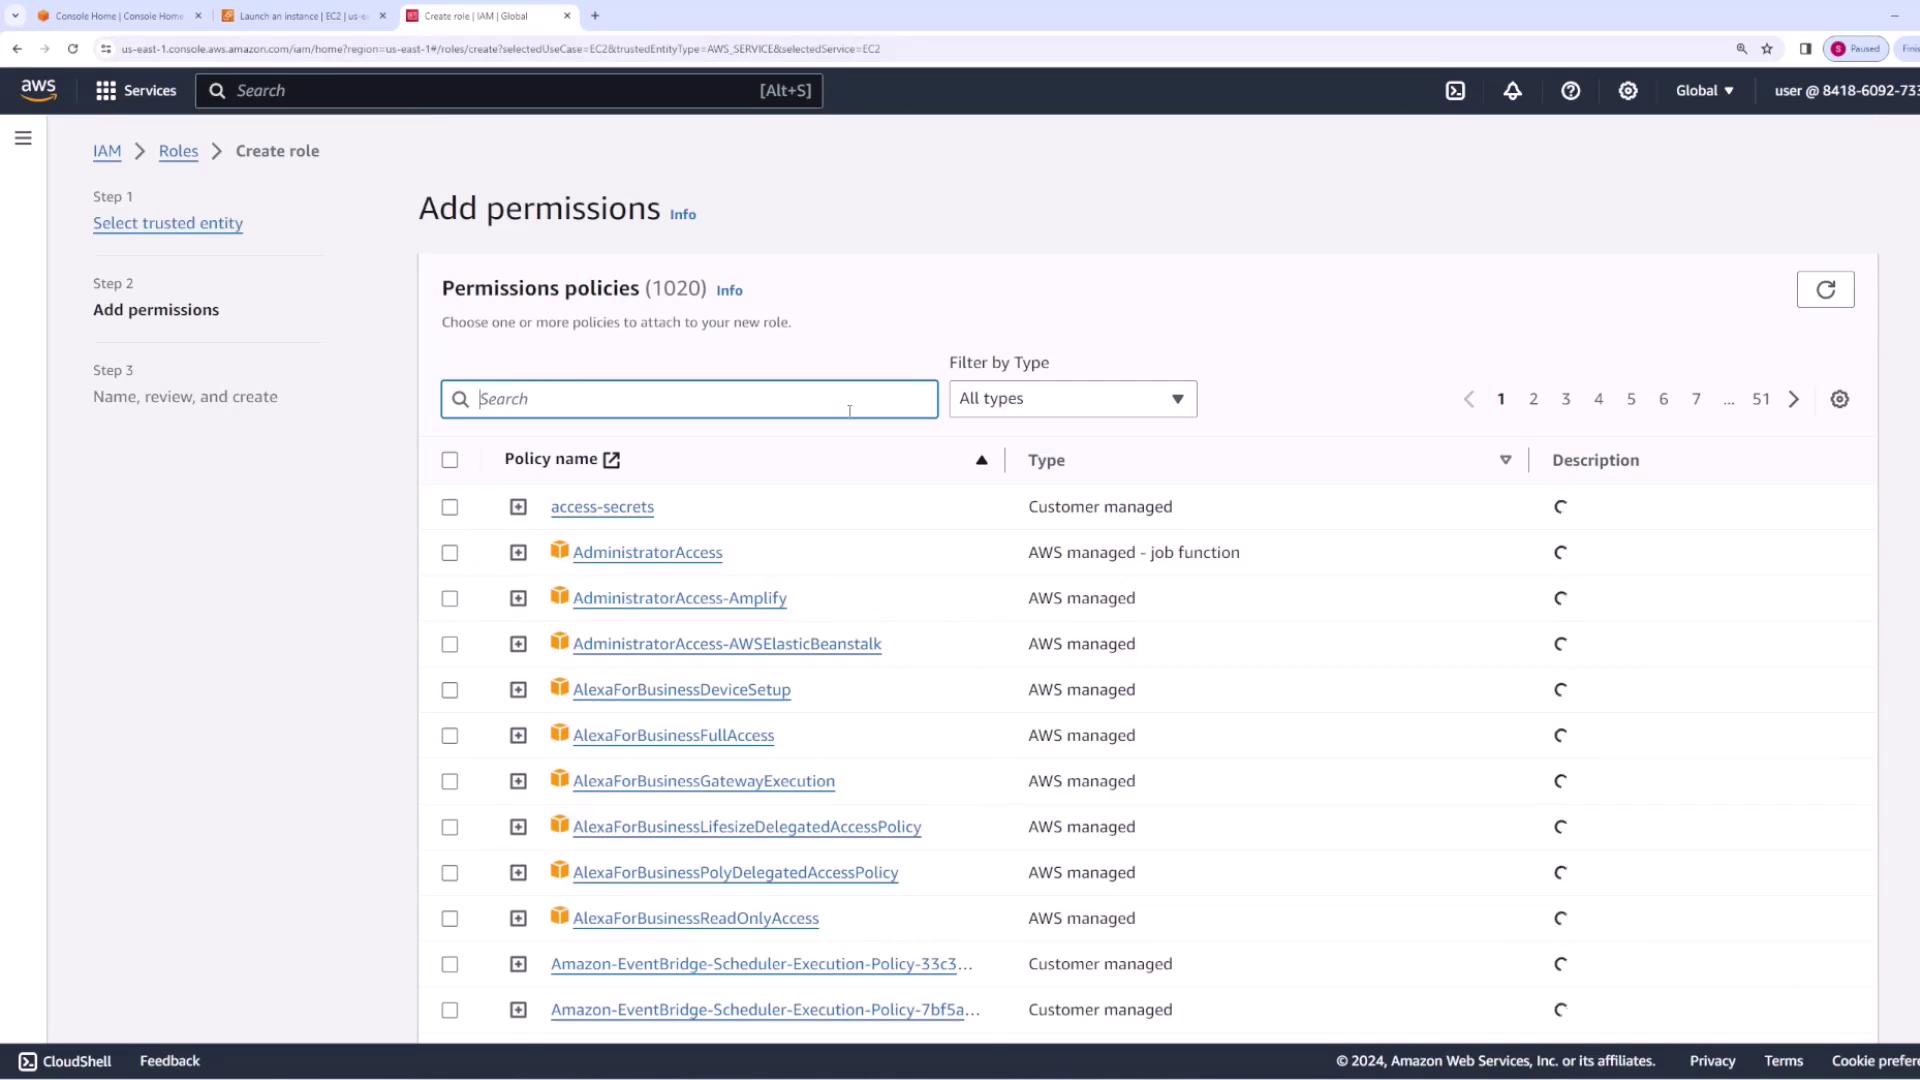
  1. Open the IAM console and create a new role for the AWS service EC2.
  2. Attach the AmazonS3ReadOnlyAccess policy to allow the instance to read objects from S3.
  3. Name the role "EC2 CodeDeploy instance role."

The image shows an AWS IAM console screen for creating a role, where the user is selecting a trusted entity type. Options include AWS service, AWS account, Web identity, SAML 2.0 federation, and Custom trust policy.

After creating the role, assign it to your EC2 instance:

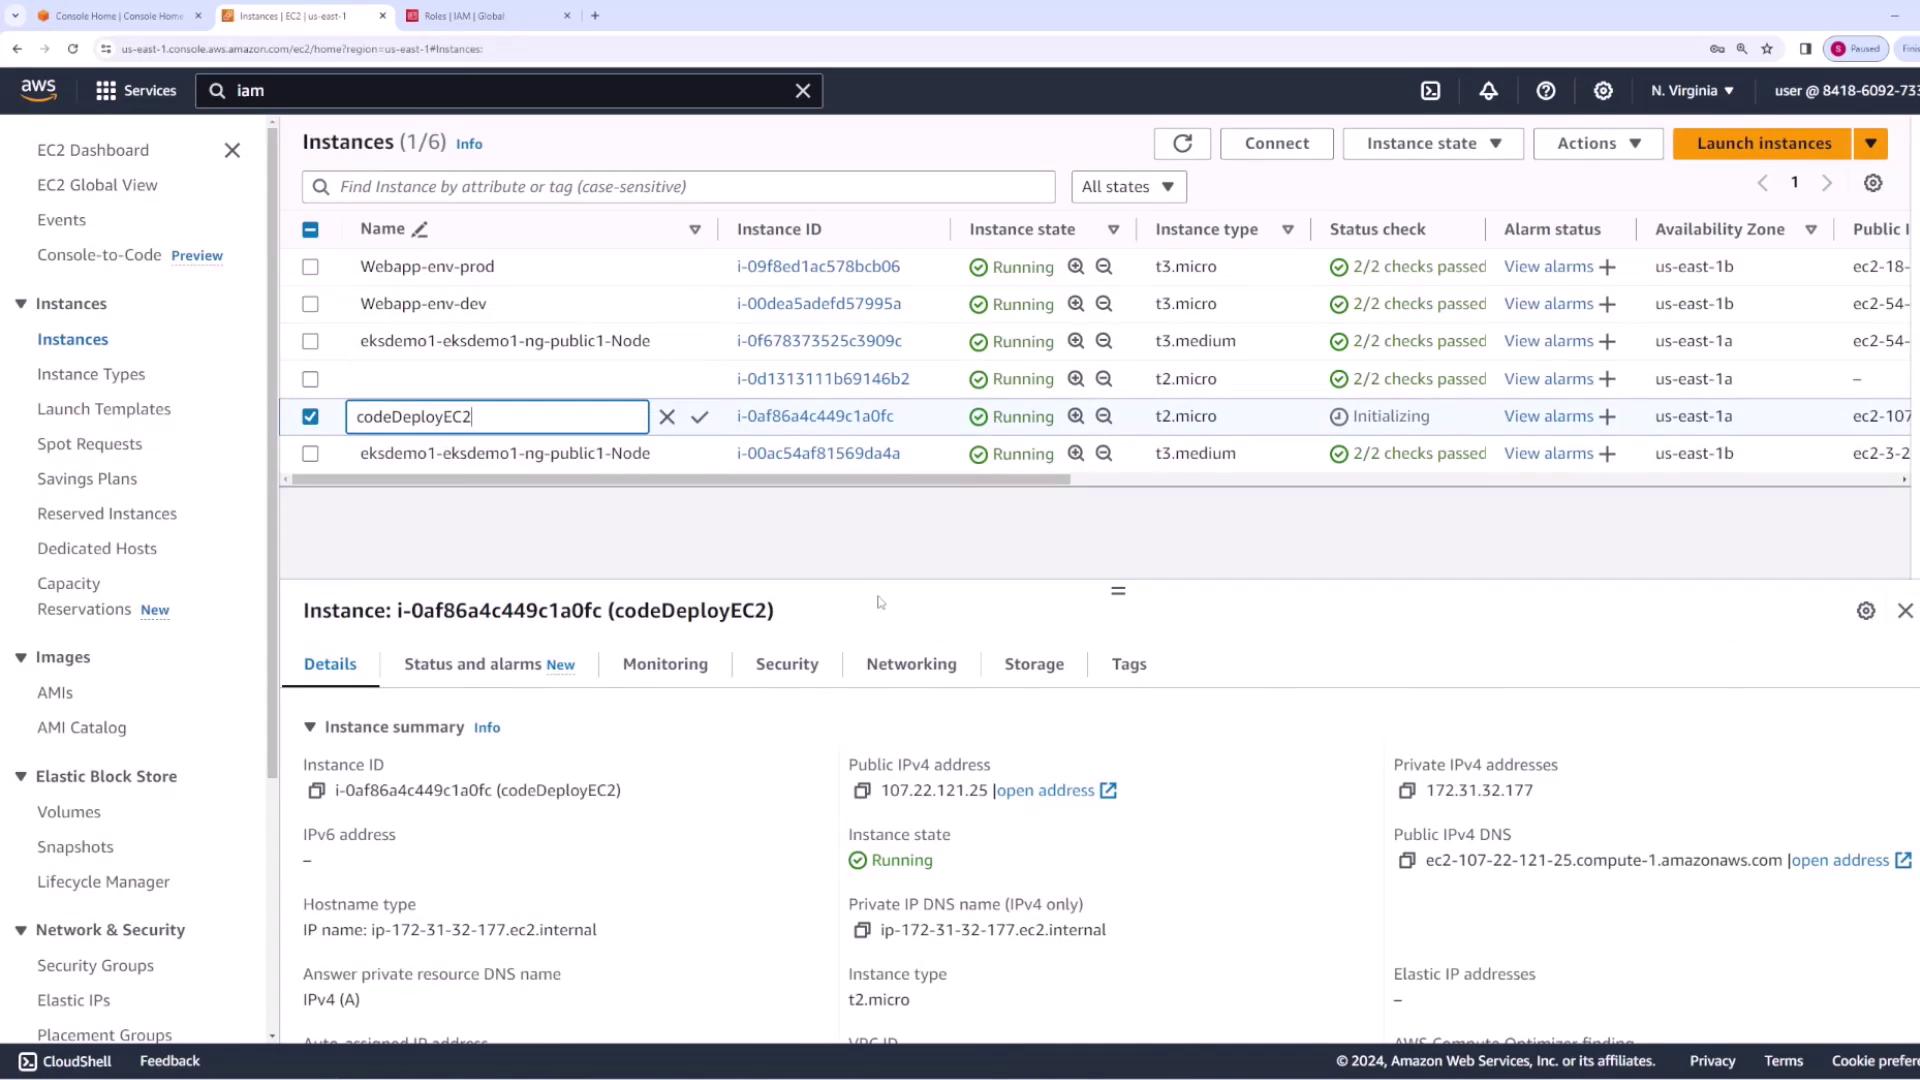
  • In the EC2 console, select your instance (e.g., CodeDeploy EC2), navigate to Actions → Security → Modify IAM Role, and assign the newly created role.

The image shows an AWS EC2 management console with a list of instances, their statuses, and details of a selected instance named "codeDeployEC2."

Step 3: Manually Installing the CodeDeploy Agent

  1. SSH into your EC2 instance.
  2. Execute the following commands to update packages, install dependencies (Ruby and wget), download the CodeDeploy agent installer, and run it. (Note: The installer URL is for the us-east-1 region; update it if you are using another region.)
sudo yum update -y
sudo yum install ruby -y
sudo yum install wget -y
wget https://aws-codedeploy-us-east-1.s3.us-east-1.amazonaws.com/latest/install
chmod +x ./install
sudo ./install auto

You should see output indicating that the CodeDeploy agent was successfully installed:

Verifying :  codeDeploy-agent-1.7.0-92.noarch

Installed:
  codeDeploy-agent-1.7.0-92.noarch

Complete!
I, [2024-04-08T01:53:17.402671 #4228]  INFO -- : Update check complete.
I, [2024-04-08T01:53:17.403559 #4228]  INFO -- : Stopping updater.

The image shows an AWS EC2 console screen indicating a successful instance launch, with options for next steps like creating billing alerts and connecting to the instance.

Step 4: Setting Up CodeDeploy in AWS

Creating an Application and Deployment Group

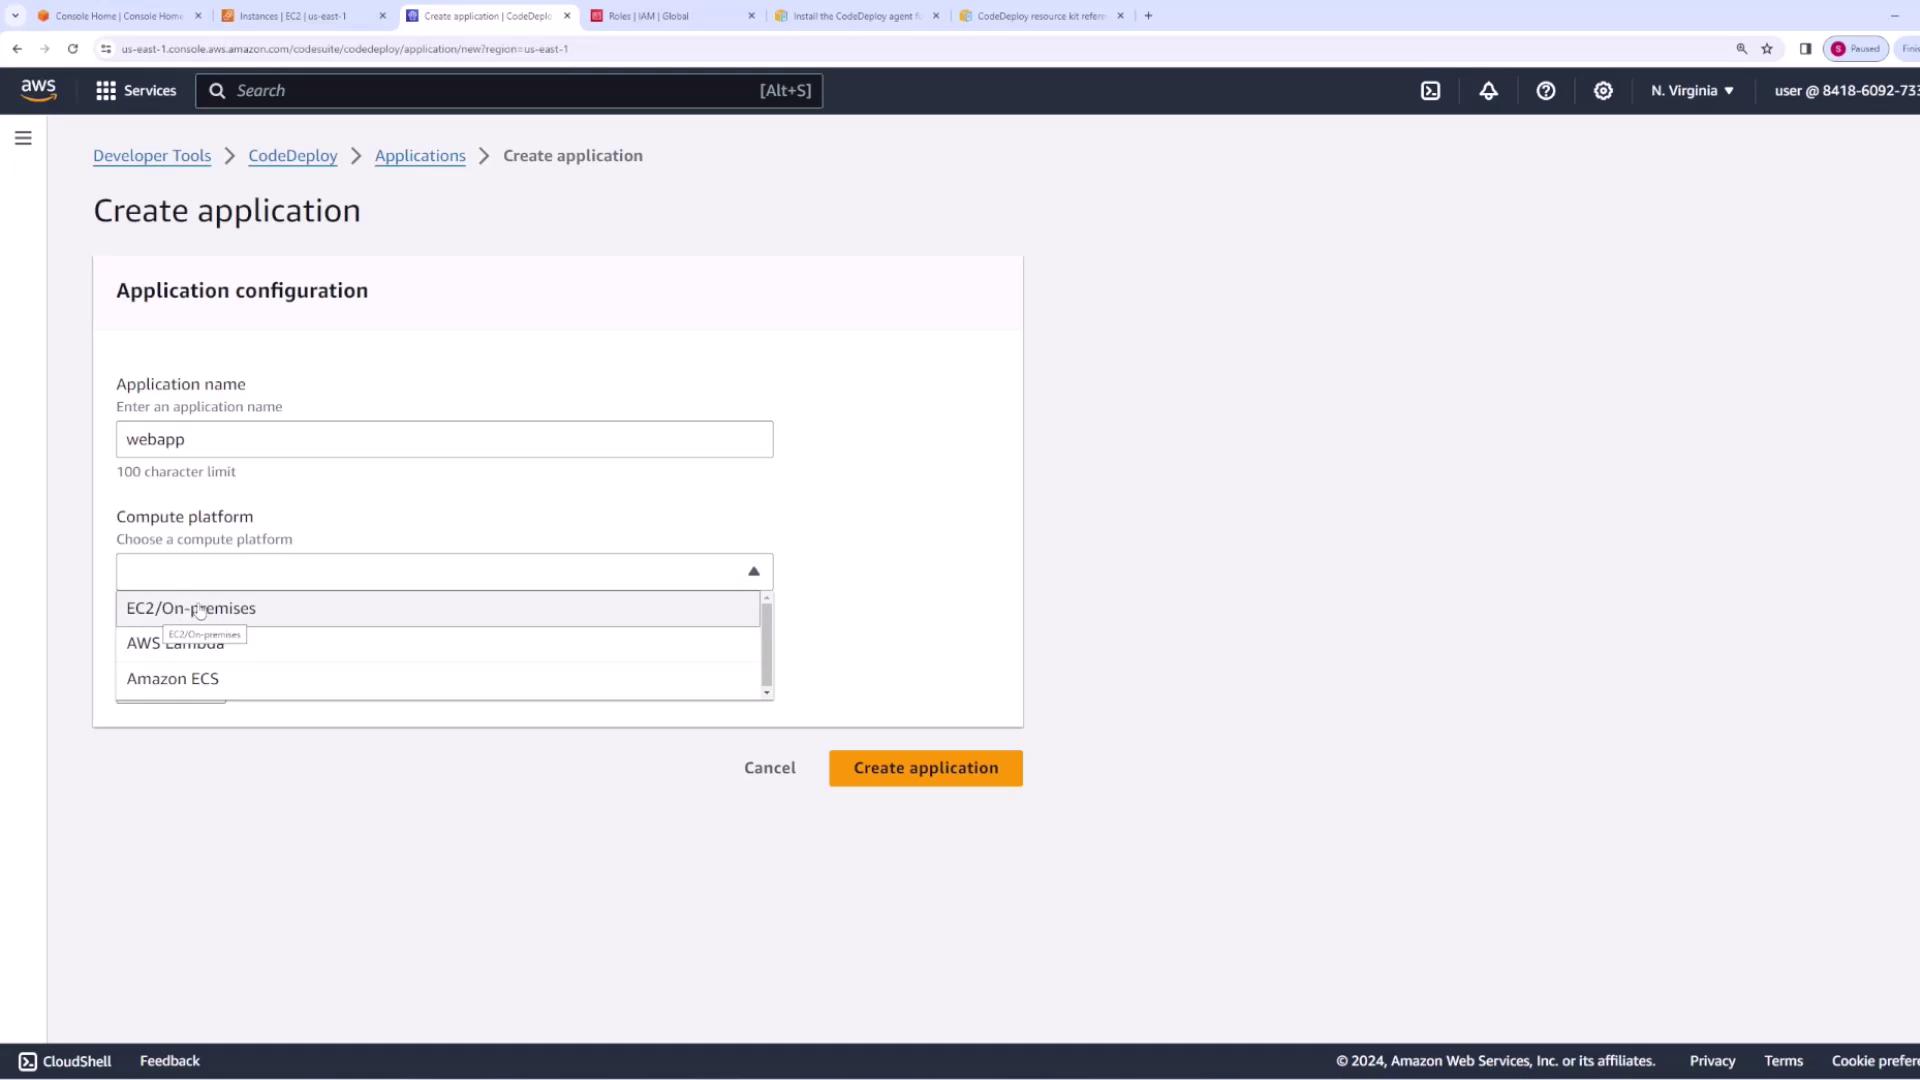
  1. Open the CodeDeploy console and navigate to Applications.
  2. Create a new application (e.g., "web app") and choose the EC2/On-premise compute platform.

The image shows an AWS CodeDeploy interface for creating an application, with fields for entering an application name and selecting a compute platform.

  1. Create a deployment group named "web app deployment group." The deployment group requires a service role with permissions for Auto Scaling, EC2, CloudWatch, and load balancing. To create this role:
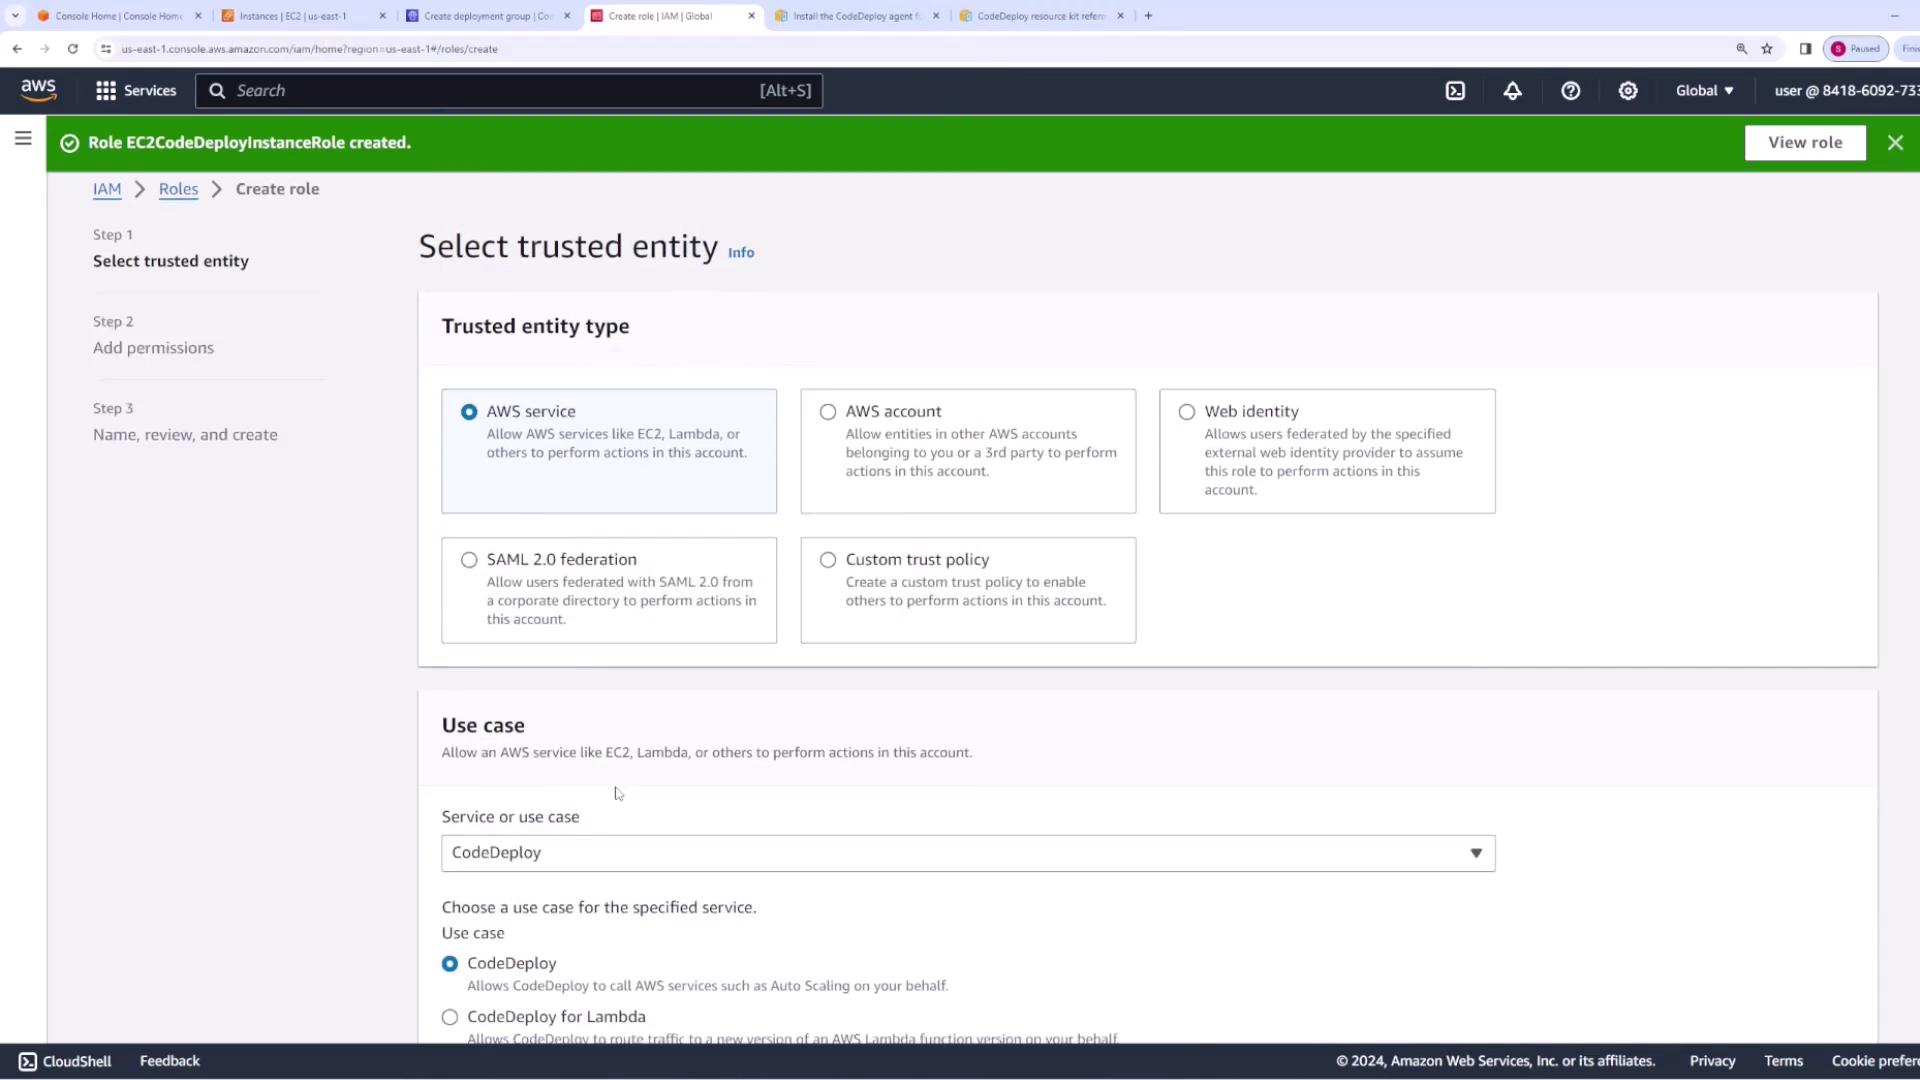
    • Go to the IAM console and create a new role for the AWS service CodeDeploy.
    • Attach the necessary policies.
    • Name it "CodeDeploy service role."

Below is an example IAM policy:

{
  "Version": "2012-10-17",
  "Statement": [
    {
      "Effect": "Allow",
      "Action": [
        "ec2:TerminateInstances",
        "tag:GetResources",
        "sns:Publish",
        "cloudwatch:DescribeAlarms",
        "cloudwatch:PutMetricAlarm",
        "elasticloadbalancing:DescribeLoadBalancerAttributes",
        "elasticloadbalancing:DescribeTargetGroupAttributes",
        "elasticloadbalancing:DescribeLoadBalancers",
        "elasticloadbalancing:DescribeInstanceHealth",
        "elasticloadbalancing:RegisterInstancesWithLoadBalancer",
        "elasticloadbalancing:DeregisterInstancesFromLoadBalancer",
        "elasticloadbalancing:DescribeTargetGroups",
        "elasticloadbalancing:RegisterTargets",
        "elasticloadbalancing:DeregisterTargets"
      ],
      "Resource": "*"
    }
  ]
}

The image shows an AWS IAM console screen where permissions policies are being added to a role. It lists various policies with their types, such as "AWS managed" and "Customer managed."

Enable your deployment group to use this role. When prompted, select the "In-place" deployment type if you want to update existing instances without replacing them. To target EC2 instances, tag them appropriately—for example, with key "app" and value "webapp"—and configure your deployment group to use that tag.

The image shows an AWS EC2 management console where tags are being managed for an instance. Two tags are listed: "Name" with the value "codeDeployEC2" and "app" with the value "webapp".

The image shows an AWS CodeDeploy interface for a web application named "webapp," with options to create a deployment group. The interface indicates no deployment groups have been created yet.

Tip

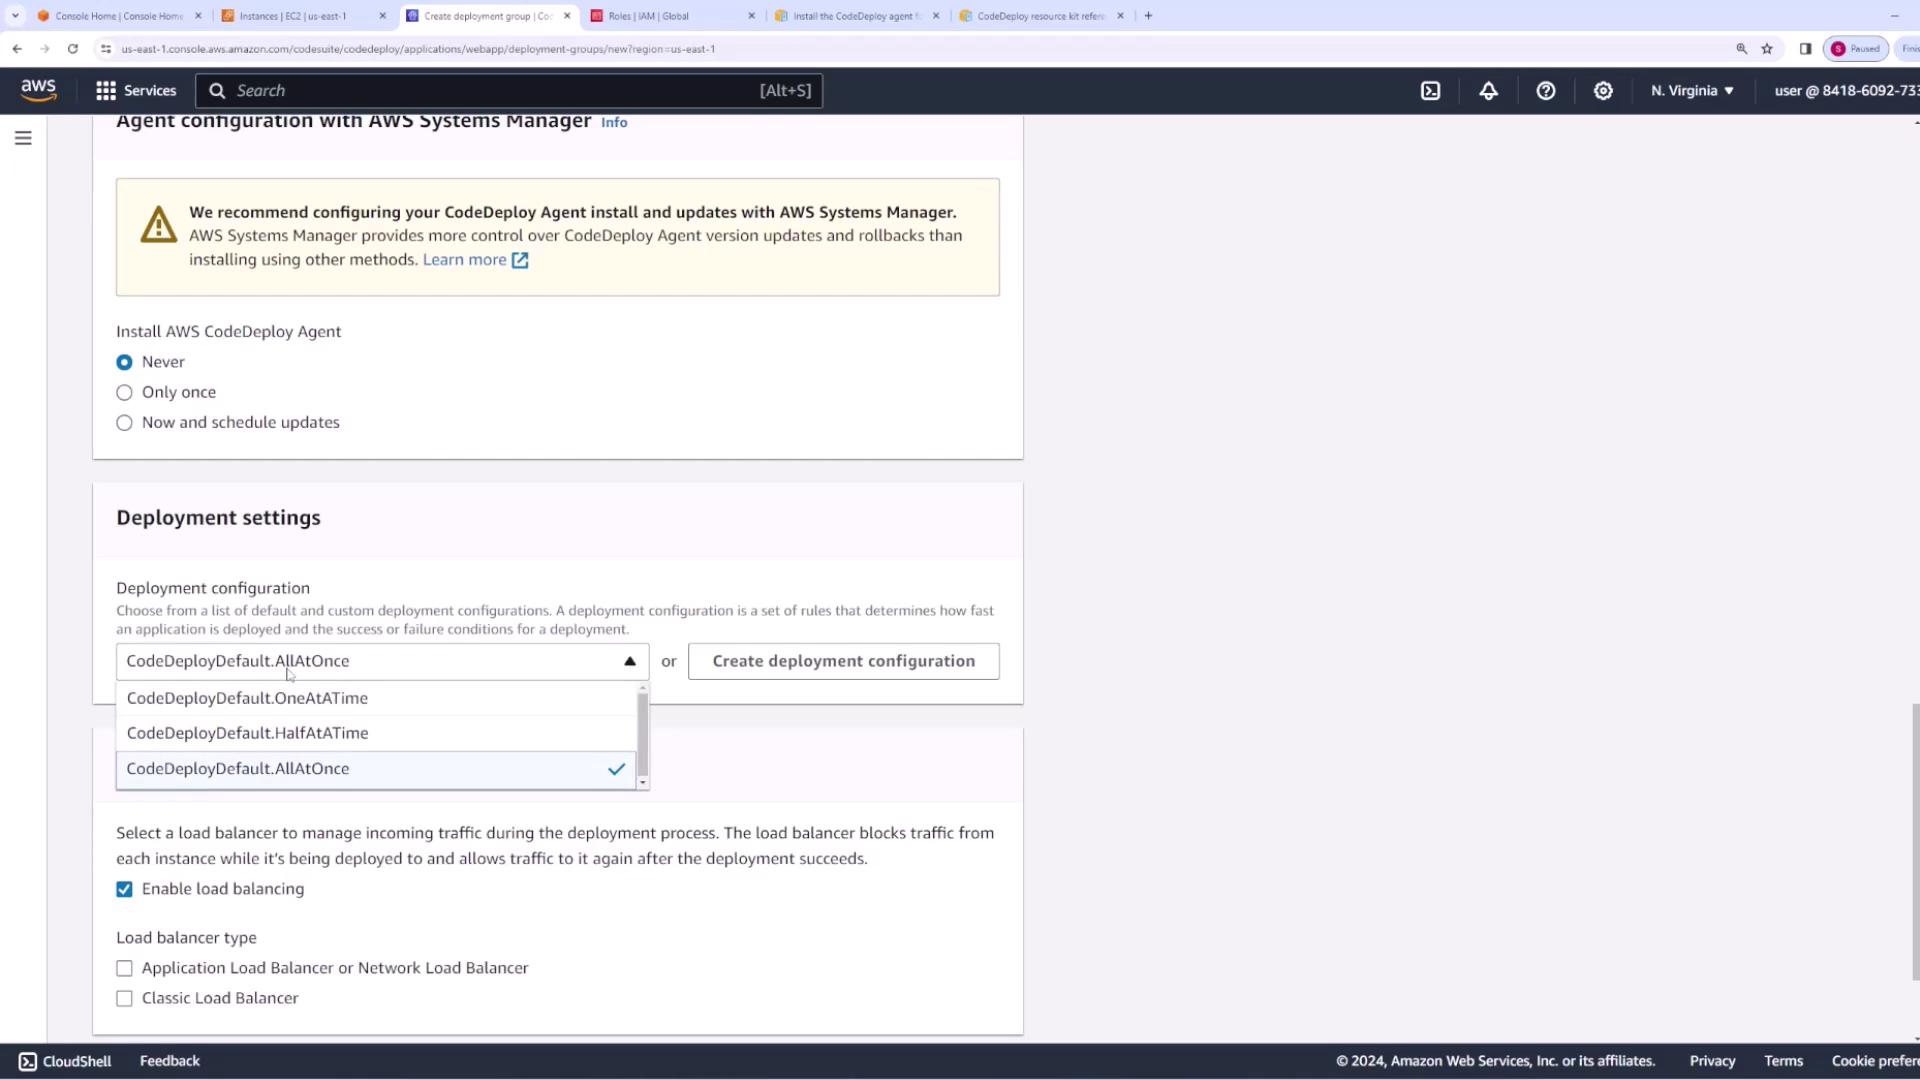
If you are not using AWS Systems Manager, set the CodeDeploy agent management option to "Never."

Creating the CodeDeploy Service Role

If your deployment group does not automatically detect your previously created CodeDeploy service role, refresh the console after role creation. An example trust relationship for the CodeDeploy role is shown below:

{
  "Version": "2012-10-17",
  "Statement": [
    {
      "Sid": "",
      "Effect": "Allow",
      "Principal": {
        "Service": [
          "codedeploy.amazonaws.com"
        ]
      },
      "Action": [
        "sts:AssumeRole"
      ]
    }
  ]
}

The image shows the AWS Identity and Access Management (IAM) console, specifically the "Roles" section, with a search for roles related to "ec2" and a notification indicating that a role named "EC2CodeDeployInstanceRole" has been created.

The image shows an AWS IAM console screen where a user is creating a role by selecting a trusted entity type, with options like AWS service, AWS account, and Web identity. The use case selected is "CodeDeploy."

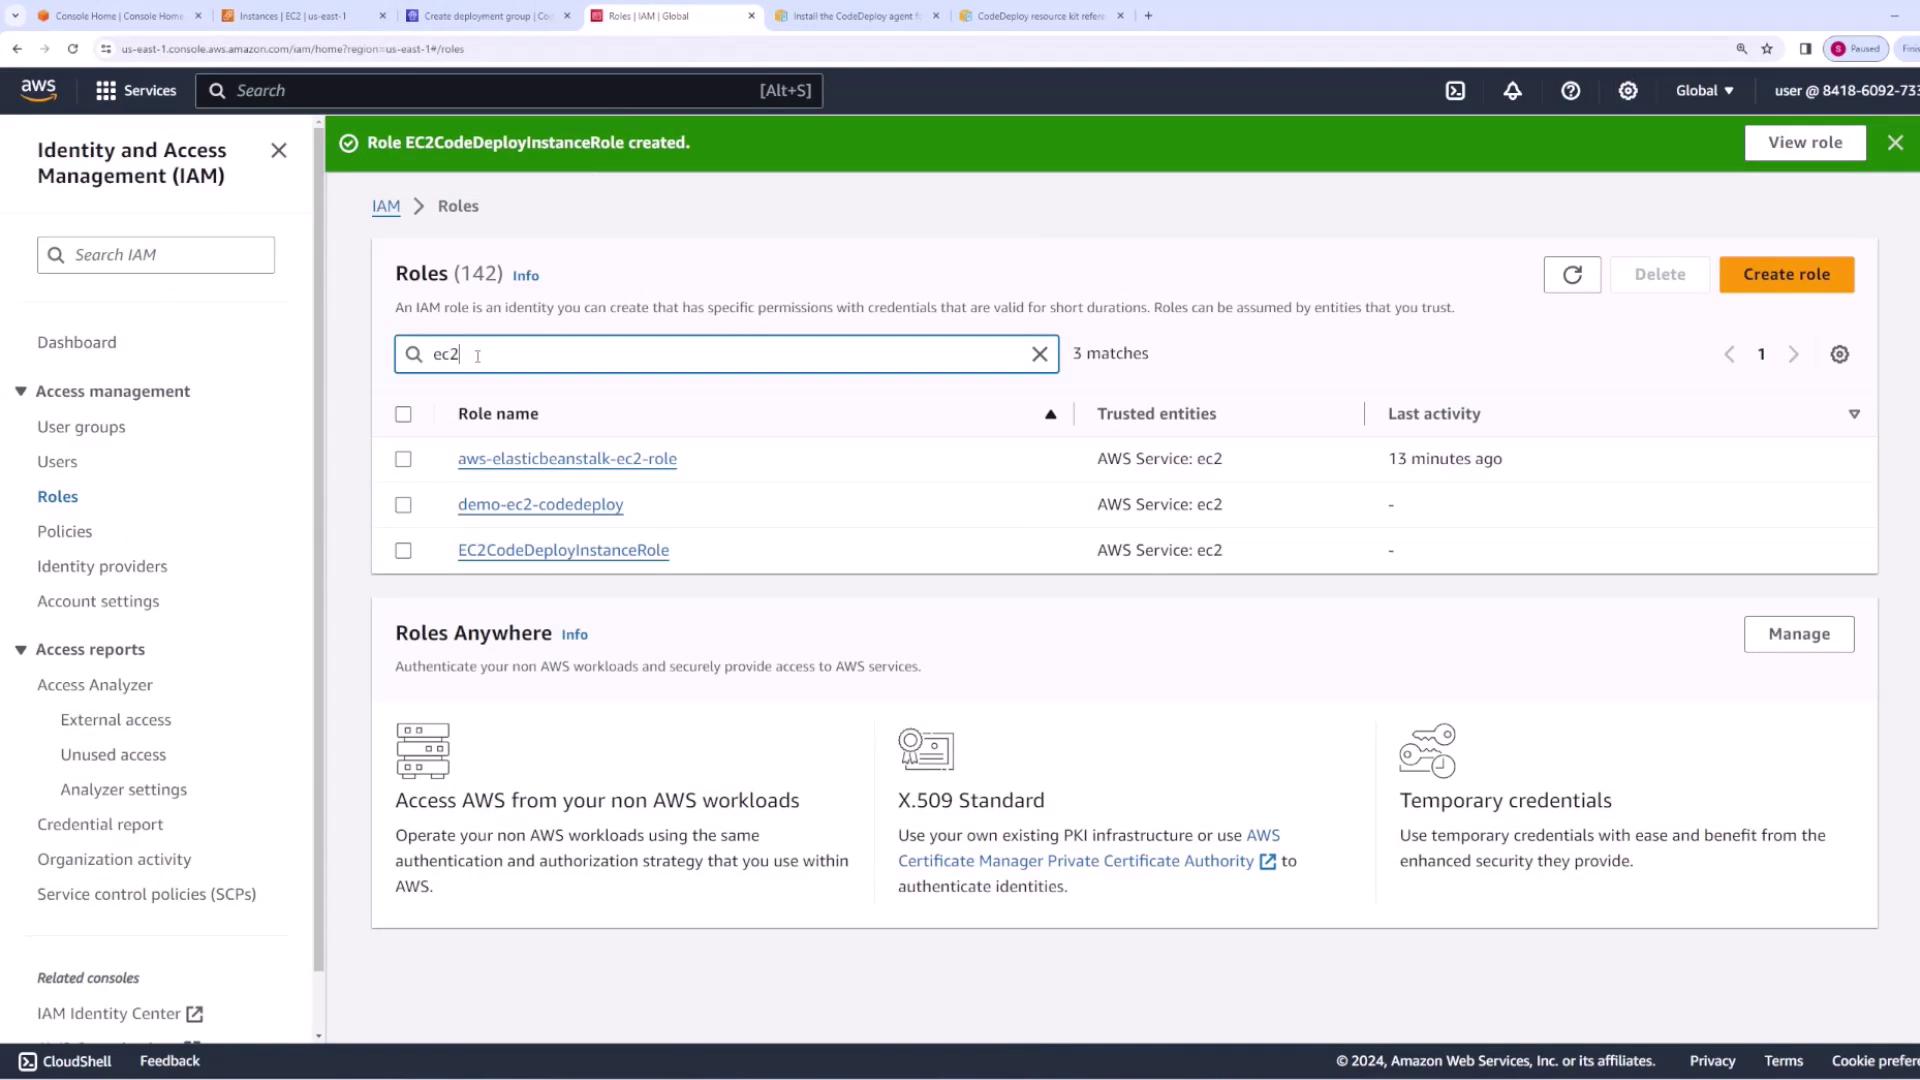
Step 5: Preparing Your Application Revision

Our web application is a simple HTML page served by Nginx. Initially, the application consists of an index.html file displaying version one of the application. Nginx is used as the web server to serve this content.

Below is the content of the index.html file (version one):

<!DOCTYPE html>
<html lang="en">
<head>
  <meta charset="UTF-8" />
  <meta name="viewport" content="width=device-width, initial-scale=1.0" />
  <title>Document</title>
</head>
<body>
  <h1>This is v1 of my app</h1>
</body>
</html>

The deployment is configured using an appspec.yaml file. This file instructs CodeDeploy where to place files and defines lifecycle event hooks to execute at different stages of the deployment. Below is our sample appspec.yaml:

version: 0.0
os: linux
files:
  - source: /index.html
    destination: /usr/share/nginx/html
hooks:
  BeforeInstall:
    - location: scripts/install.sh
      timeout: 300
      runas: root
  ApplicationStart:
    - location: scripts/start.sh
      timeout: 300
      runas: root
  ApplicationStop:
    - location: scripts/stop.sh
      timeout: 300
      runas: root

Hook Scripts

  • BeforeInstall (scripts/install.sh): Installs Nginx.

    #!/bin/bash
    sudo yum install -y nginx
    
  • ApplicationStart (scripts/start.sh): Starts the Nginx service.

    #!/bin/bash
    sudo systemctl start nginx
    
  • ApplicationStop (scripts/stop.sh): Stops Nginx if it is running.

    #!/bin/bash
    isExistApp=$(pgrep nginx)
    if [[ -n $isExistApp ]]; then
        sudo systemctl stop nginx
    fi
    

The appspec.yaml file directs CodeDeploy to copy index.html into Nginx's default directory (/usr/share/nginx/html) and execute the defined hook scripts during deployment.

The image shows an AWS CodeDeploy configuration screen where deployment settings are being adjusted, including options for deployment configuration and load balancing.

Step 6: Creating and Deploying the Application Revision

To deploy a new revision of your application, follow these steps:

  1. Package your application files (including
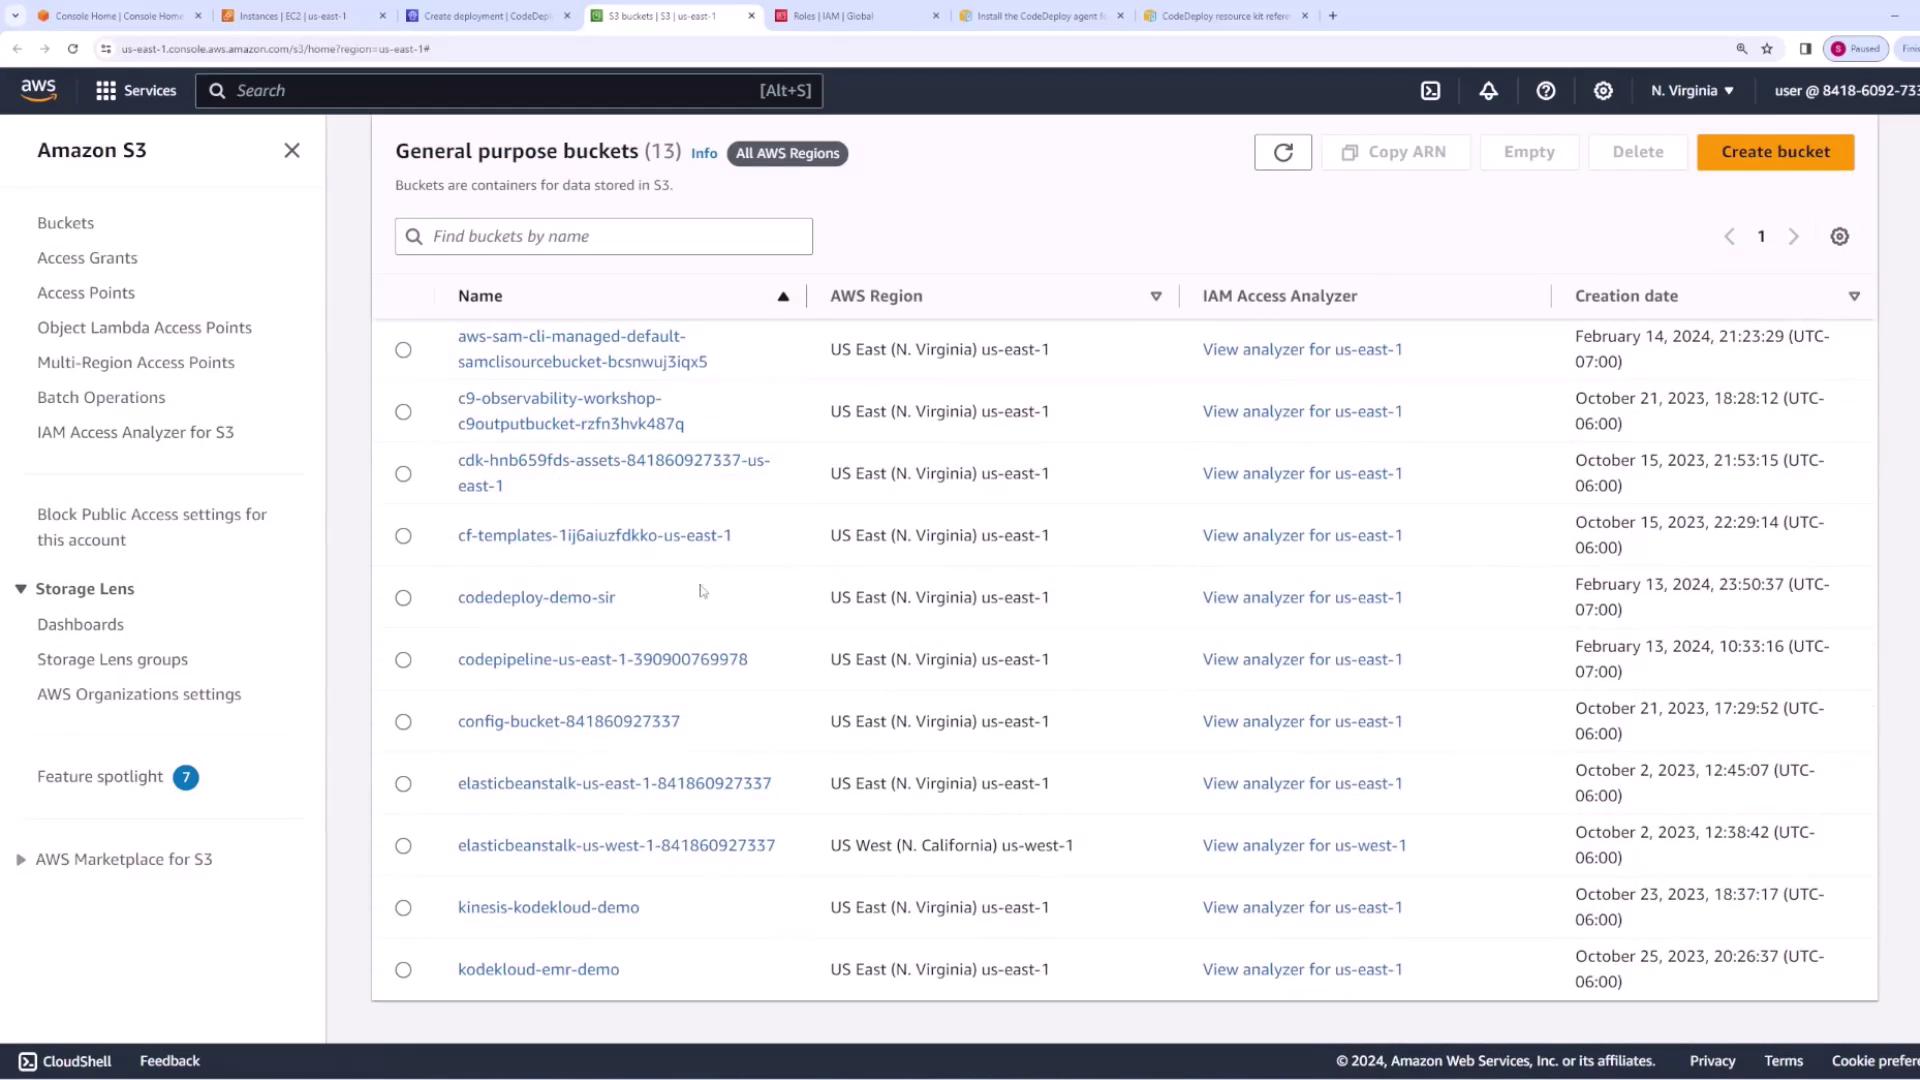
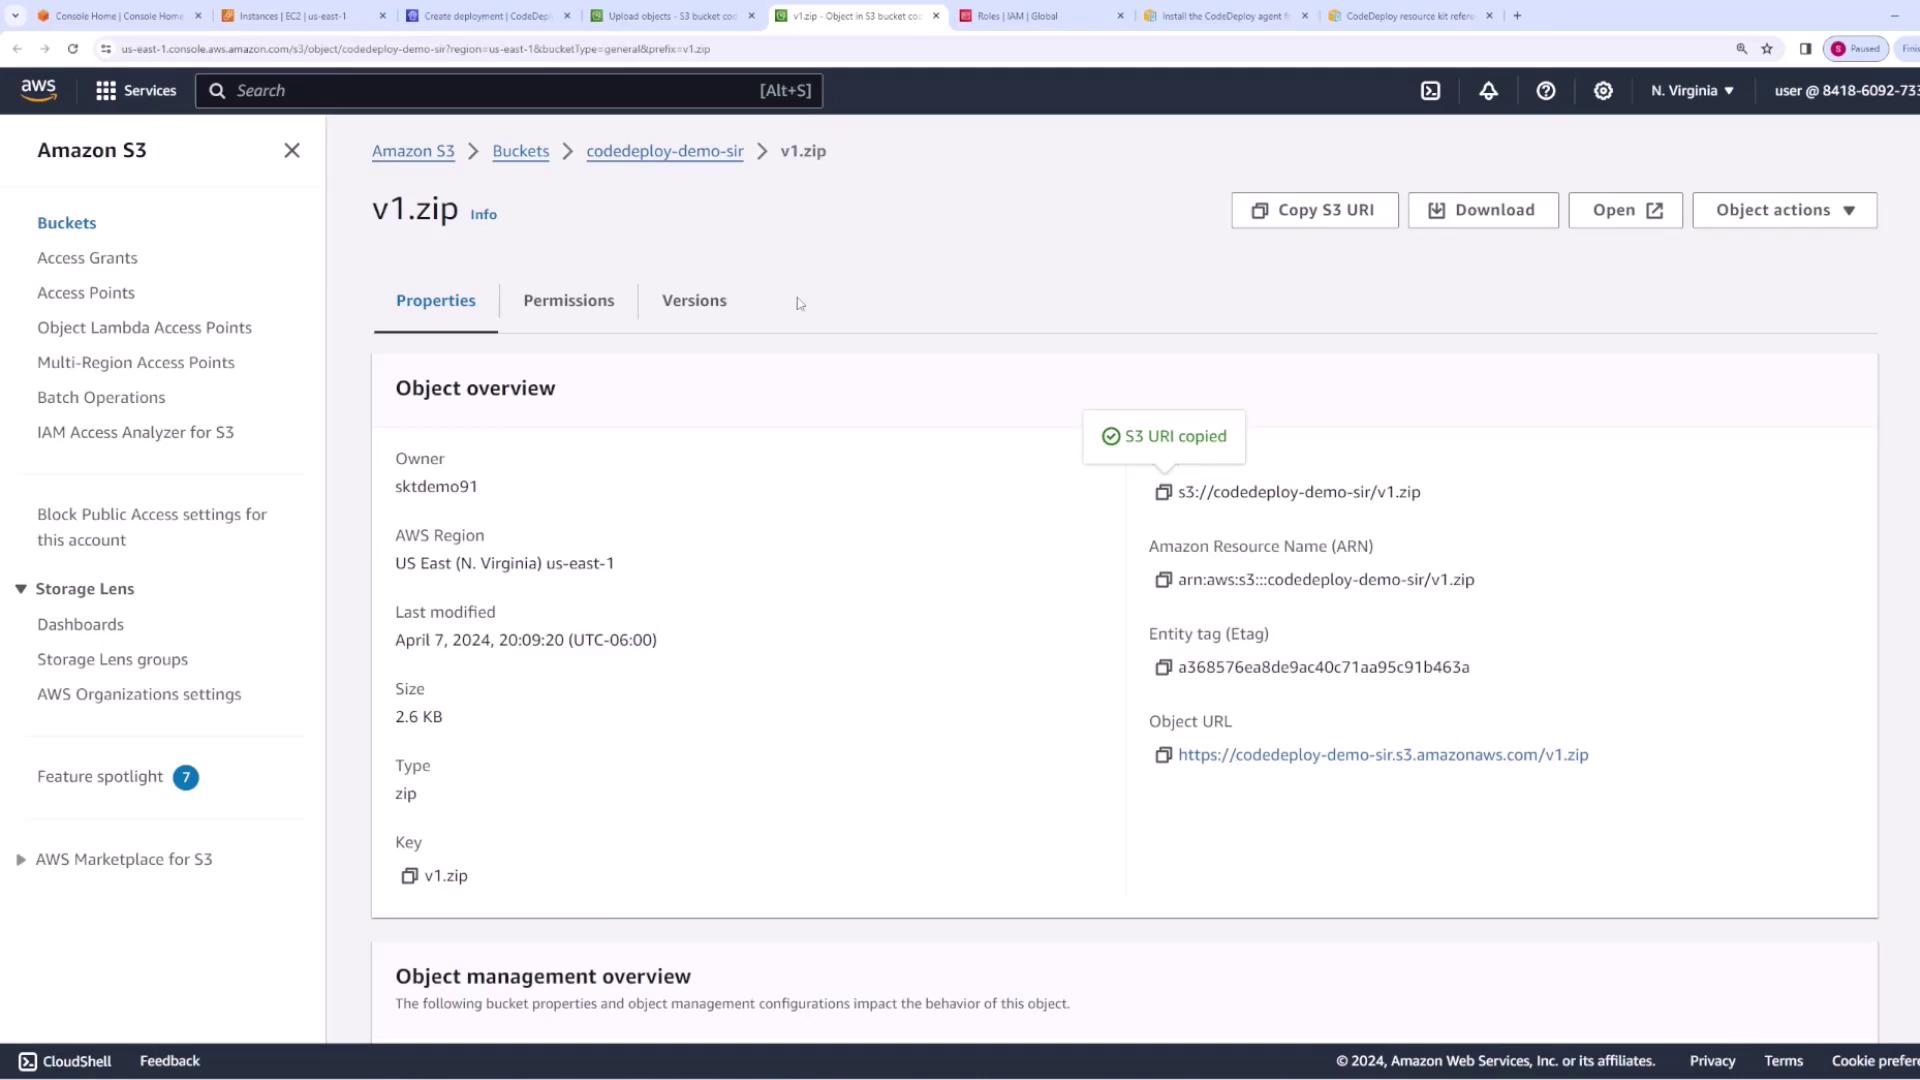
 index.html, the appspec.yaml, and the scripts folder) into a ZIP file (e.g., v1.zip).
  2. Upload the ZIP file to an S3 bucket configured for CodeDeploy.

The image shows an Amazon S3 console with a list of general-purpose buckets, their names, AWS regions, IAM access analyzers, and creation dates. The interface includes options for managing buckets, such as creating, copying, and deleting.

After uploading, copy the S3 URI of the ZIP file. Then, in the CodeDeploy console:

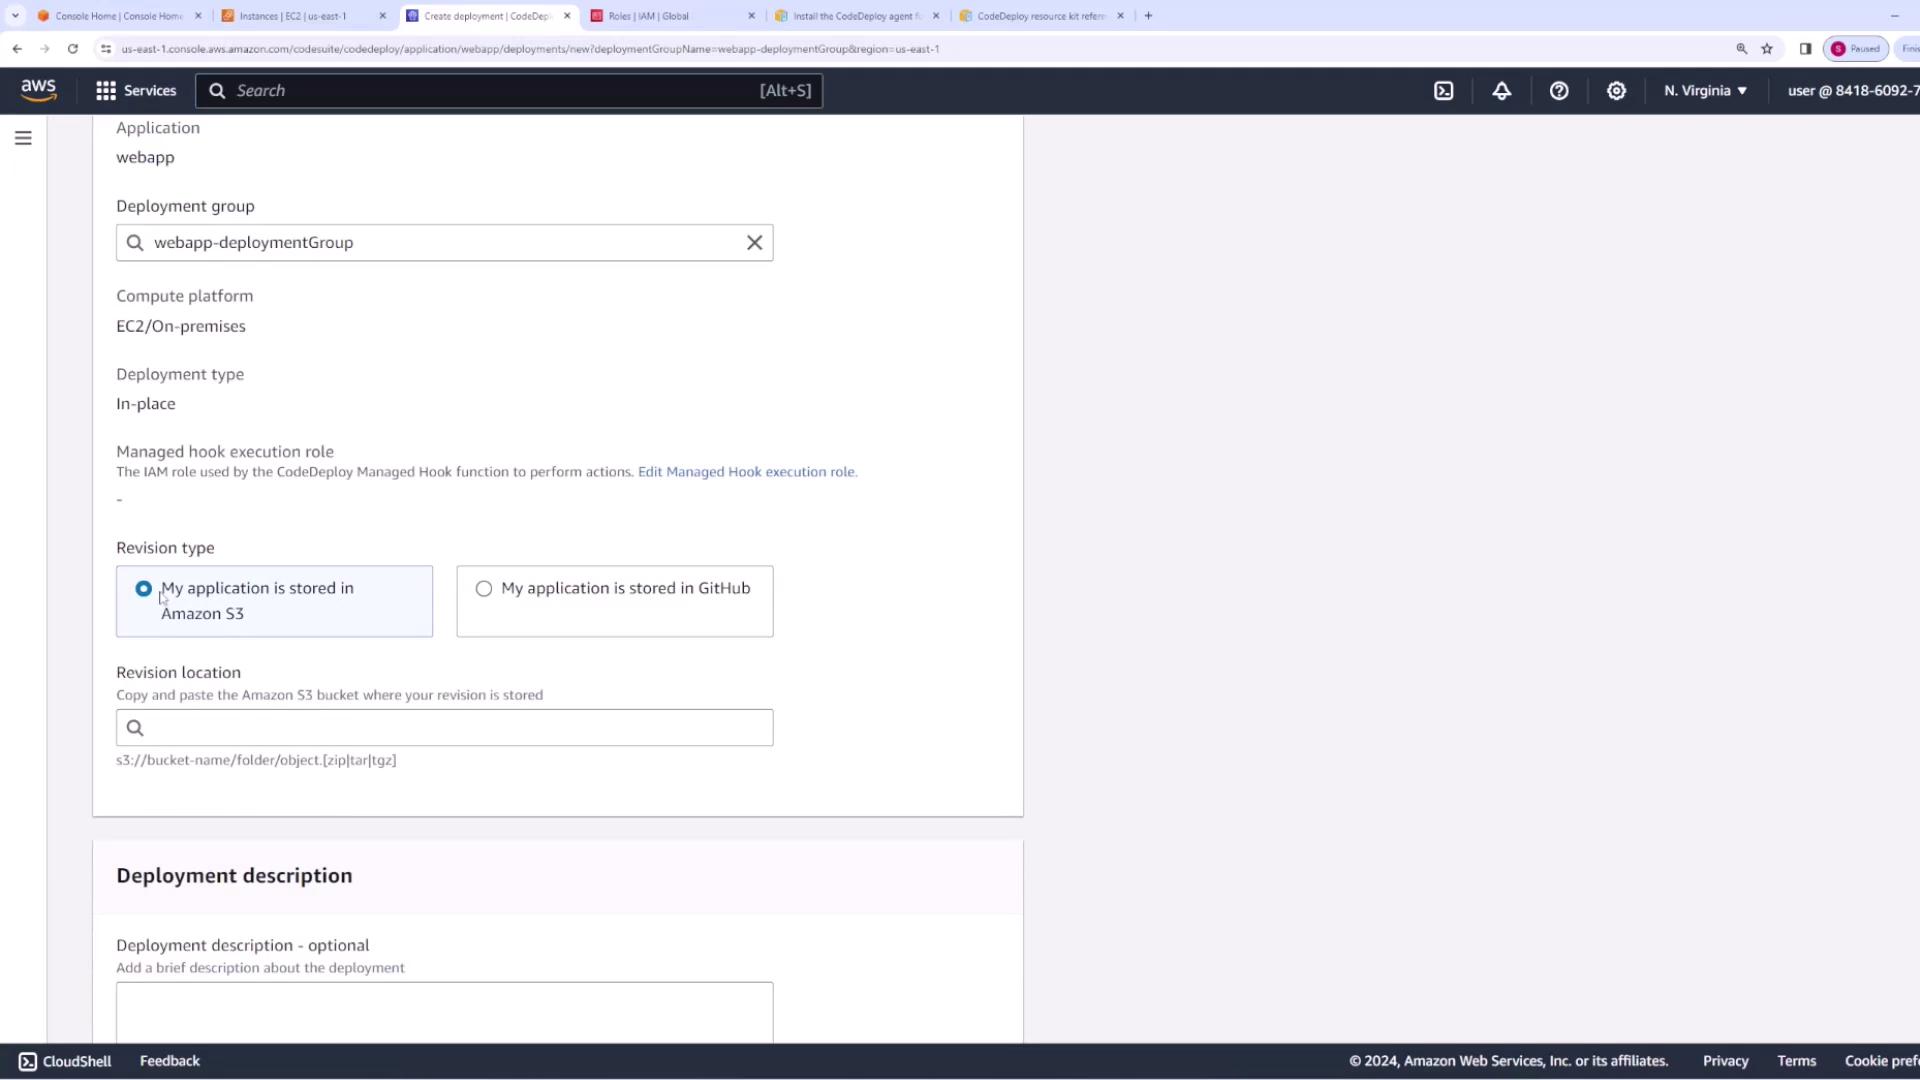
  • Open your application and select the deployment group.
  • Create a new deployment.
  • Under Revision Location, paste the S3 URI and make sure the file type is set to ZIP.
  • Select the option to overwrite existing file content so the new revision replaces the old one.
  • Provide a clear deployment description, such as "Deployment of version 1," and create the deployment.

The image shows an AWS S3 console interface displaying details of a file named "v1.zip" in a bucket, including its size, type, and last modified date.

The image shows an AWS CodeDeploy setup screen where a deployment group is being configured. The application is set to be stored in Amazon S3, with options for deployment type and revision location visible.

After a short while, the deployment should complete successfully. Review the event logs to ensure that all lifecycle hooks executed as expected.

The image shows an AWS CodeDeploy console with deployment details for an application named "webapp," indicating a successful deployment. It includes information about the deployment configuration, group, and revision details, along with a list of deployment events and their statuses.

To verify the deployment, enter the public IP address of your EC2 instance in a web browser. You should see a page with the message "This is v1 of my app."

The image shows an AWS EC2 management console with a list of running instances, including details like instance ID, state, type, and tags. The selected instance is named "codeDeployEC2" with tags indicating it is part of a web app.

Step 7: Updating the Application

To update your application (for example, to version two), modify the index.html file as needed. Below is an updated version of index.html for version two:

<!DOCTYPE html>
<html lang="en">
<head>
  <meta charset="UTF-8" />
  <title>Document</title>
</head>
<body>
  <h1>This is v2 of my app</h1>
</body>
</html>

After making the update:

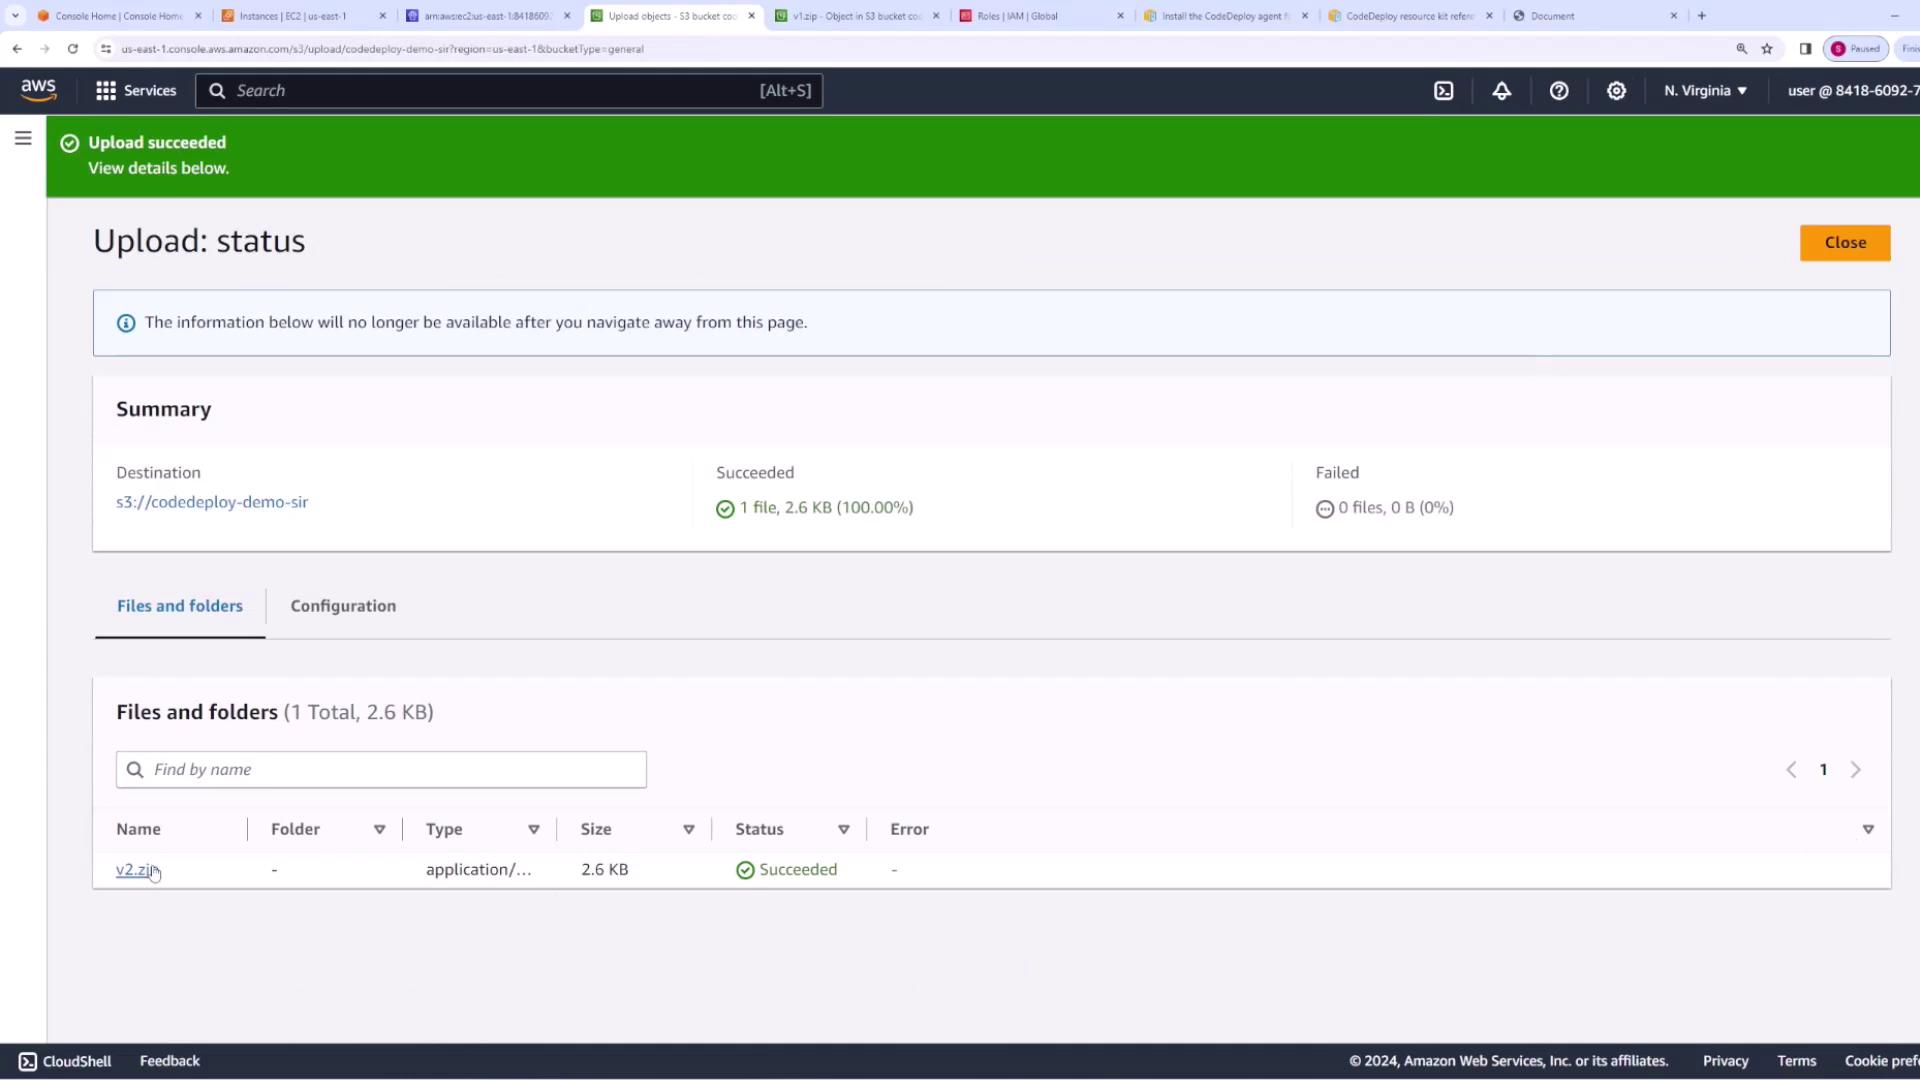
  1. Repackage the revised application files into a new ZIP file (e.g., v2.zip).
  2. Upload the new ZIP file to your S3 bucket.
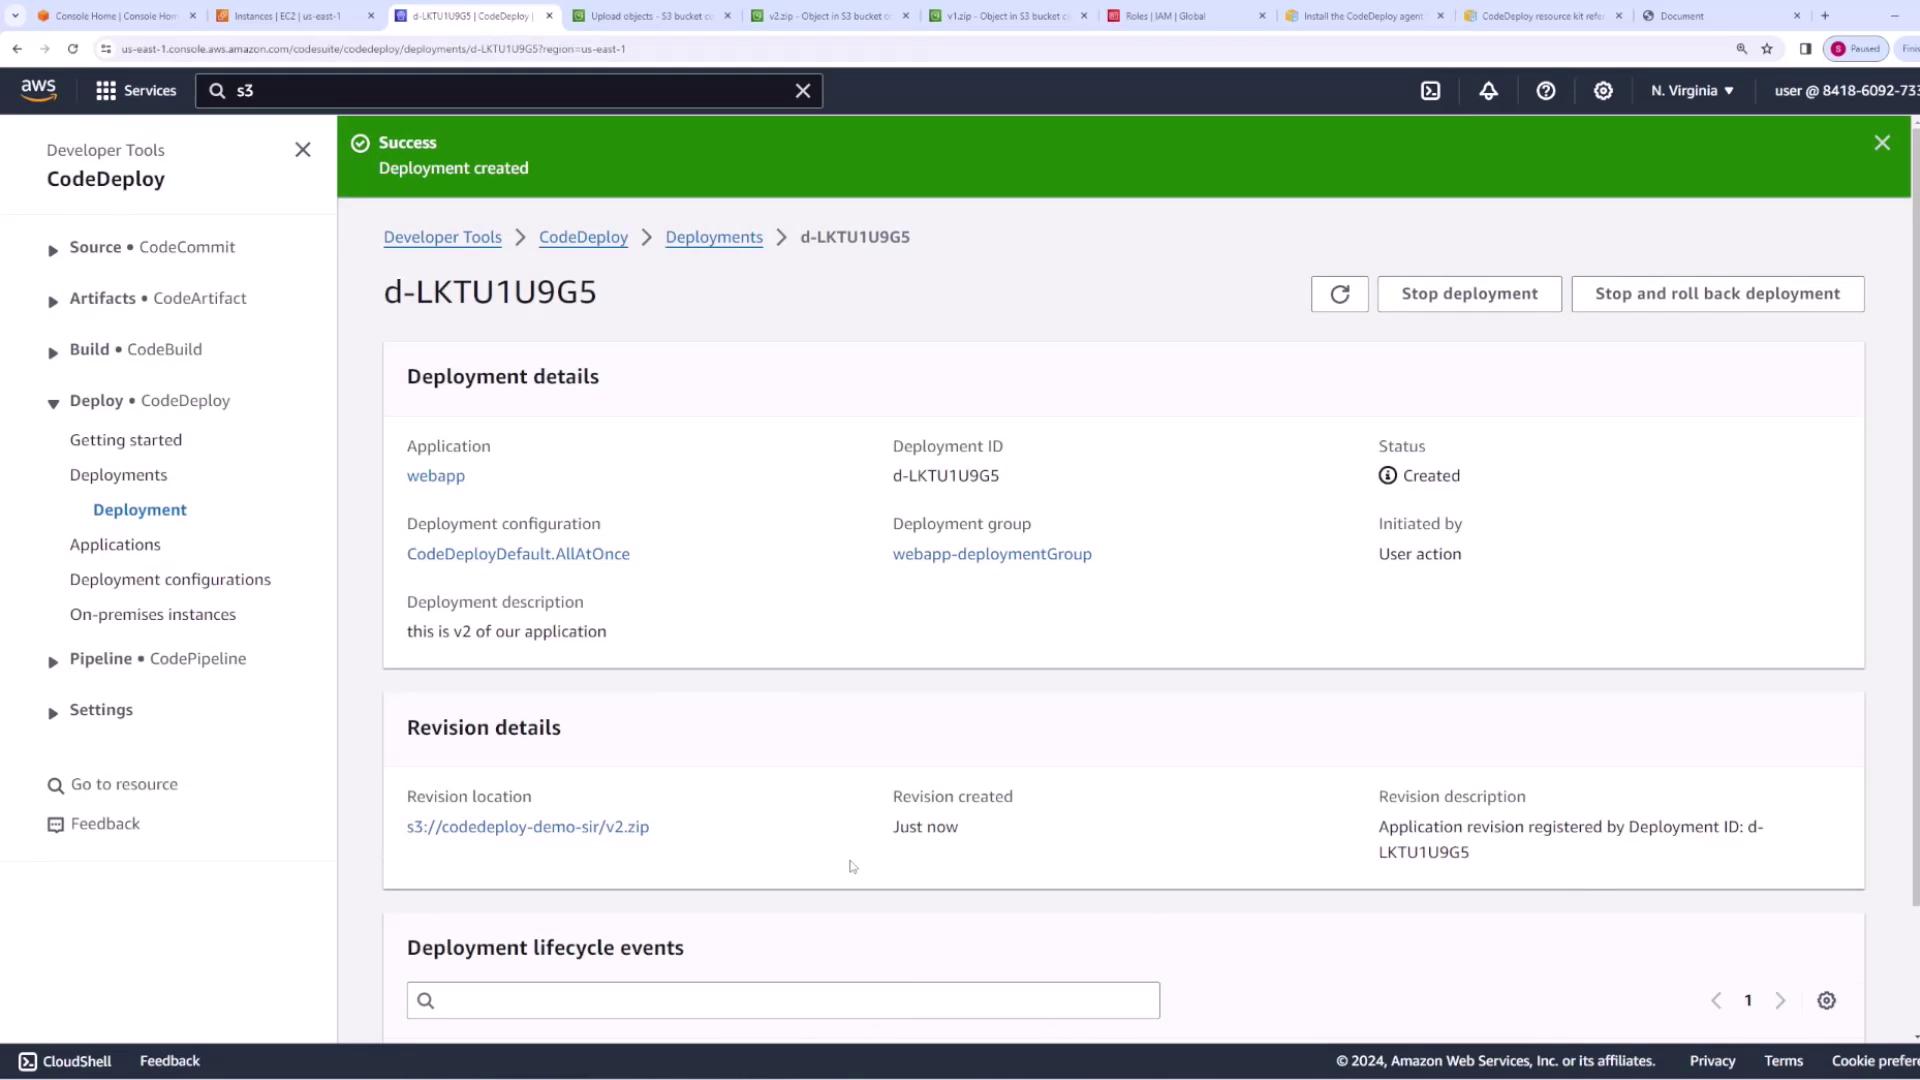
  3. Copy the updated S3 URI and create a new deployment in the CodeDeploy console, ensuring you select the option to overwrite the existing files.

The image shows an AWS S3 upload status page indicating a successful upload of a file named "v2.zip" with a size of 2.6 KB. The summary confirms that 1 file was successfully uploaded with no failures.

Once the deployment completes, refresh the public IP address of your EC2 instance in your web browser to see "This is v2 of my app."

The image shows an AWS CodeDeploy console screen with deployment details for an application named "webapp," indicating a successful deployment creation. It includes information about the deployment ID, configuration, and revision details.

Conclusion

This lesson covered the basics of AWS CodeDeploy, including:

  • Deploying an EC2 instance with the appropriate IAM role.
  • Manually installing the CodeDeploy agent.
  • Creating and configuring the necessary IAM roles and deployment groups.
  • Configuring the deployment using an appspec.yaml file and lifecycle hook scripts.
  • Creating and updating application revisions with CodeDeploy.

In the next lesson, we will discuss integrating CodeDeploy with CodePipeline to achieve fully automated deployments.

Happy Deploying!

Watch Video

Watch video content

Previous
CodeDeploy