This lesson demonstrates integrating CodeDeploy with CodePipeline for automatic application deployment from CodeCommit to EC2 instances.
In this lesson, we demonstrate how to integrate CodeDeploy with CodePipeline to automatically deploy your application from CodeCommit to EC2 instances. Every code change pushed to your CodeCommit repository triggers a seamless deployment via CodeDeploy, all orchestrated by CodePipeline.
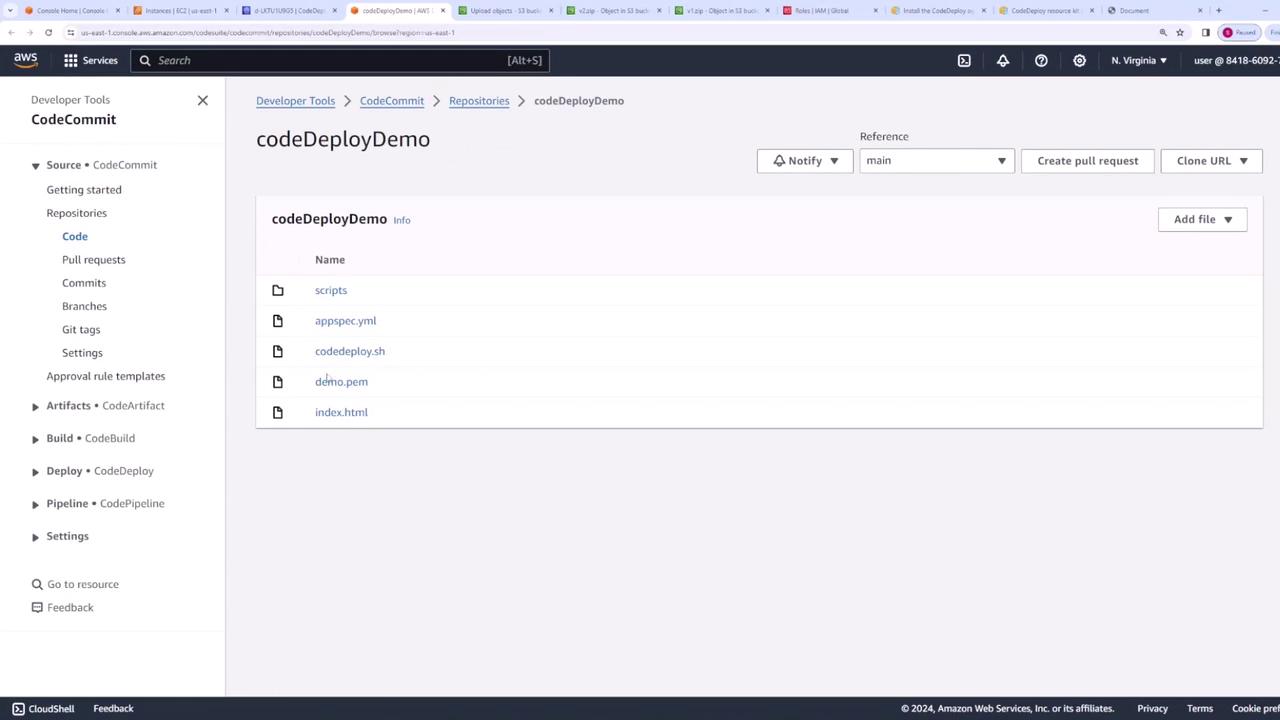
Begin by creating a CodeCommit repository to store your application files. In our example, the repository includes the following files:
7 files changed, 73 insertions(+)create mode 100644 appspec.ymlcreate mode 100644 codedeploy.shcreate mode 100644 demo.pemcreate mode 100644 index.htmlcreate mode 100644 scripts/install.shcreate mode 100644 scripts/start.shcreate mode 100644 scripts/stop.shcodeDeploy-1 on main on (us-east-1)
Any commit to CodeCommit will automatically trigger a deployment to your EC2 instances by firing up CodeDeploy in a continuous delivery pipeline managed by CodePipeline.Below is a sample HTML file representing version 2 of our application:
<html lang="en"><head> <title>Document</title></head><body> <h1>This is v2 of my app</h1></body></html>
After preparing your files, push them to the CodeCommit repository using:
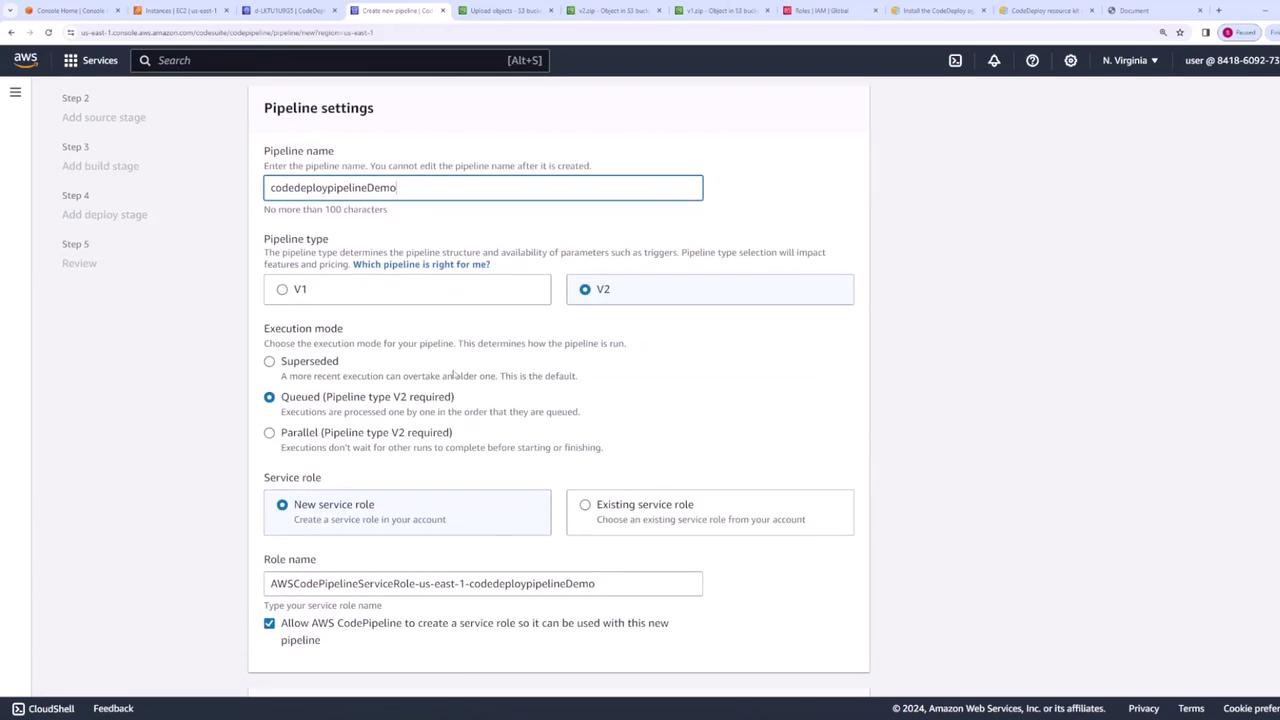
Next, create a new pipeline in CodePipeline. For our demo, we name the pipeline “CodeDeploy Pipeline Demo” and retain the default settings.
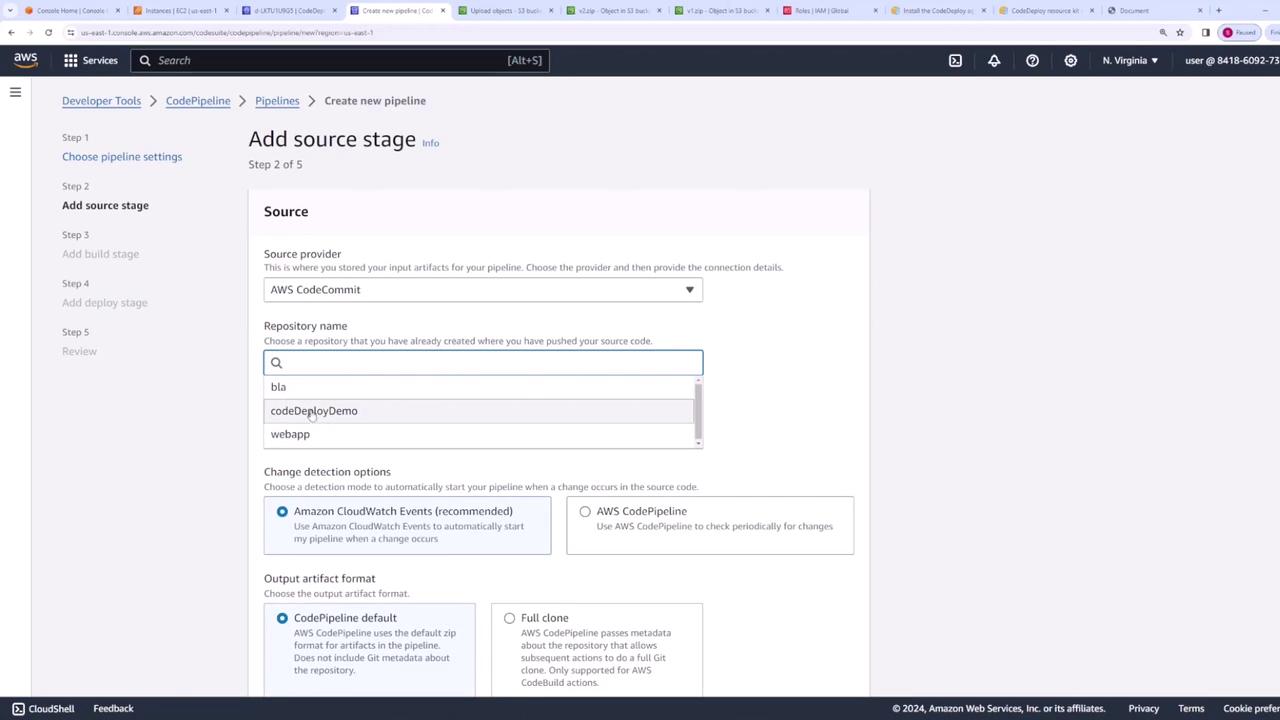
On the following page, select AWS CodeCommit as the source provider. Choose the “CodeDeploy Demo” repository and select the main branch.
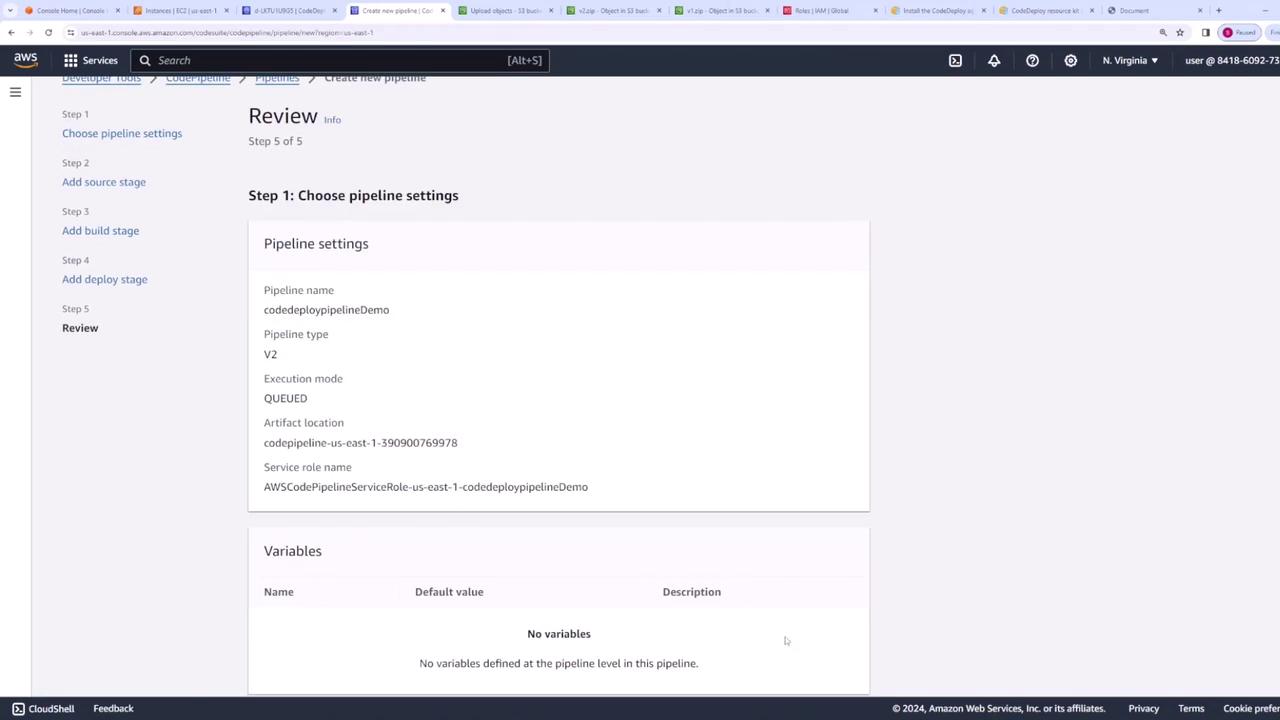
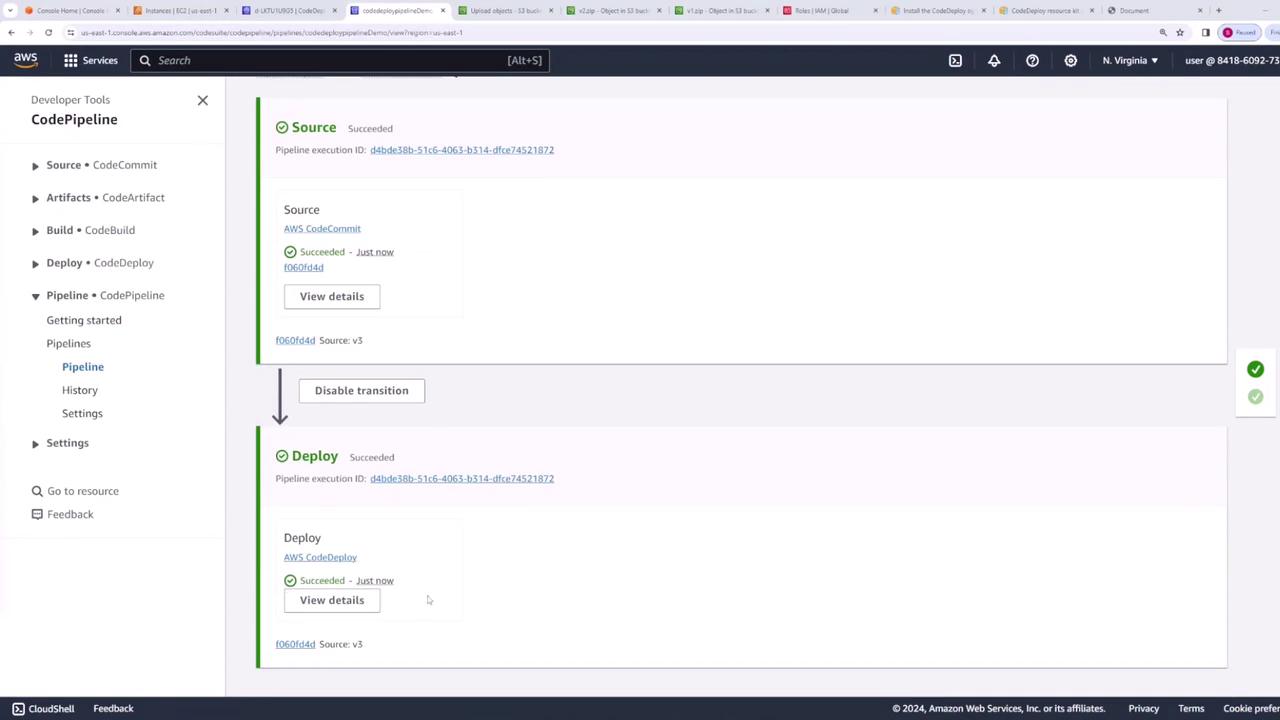
Skip the optional build stage (which can be used for linting, testing, or packaging) and proceed directly to the deployment stage. For deployment, select AWS CodeDeploy, specify your application name as “web app” and choose the appropriate deployment group. Continue to the next step.After reviewing your pipeline settings, create the pipeline. It will run immediately, with both the source and deployment stages completing successfully.
At this stage, the pipeline processes the first version of your deployment. Since the current code is version two and no new changes are present, the deployment reflects version two.
This lesson illustrated how seamlessly CodeDeploy integrates with CodePipeline to automate application deployments whenever new code is pushed to CodeCommit. The complete process—from setting up the repository to automated deployment on EC2—results in a robust continuous delivery workflow.Happy deploying, and see you in the next lesson!