Deploying Your Application to Elastic Beanstalk
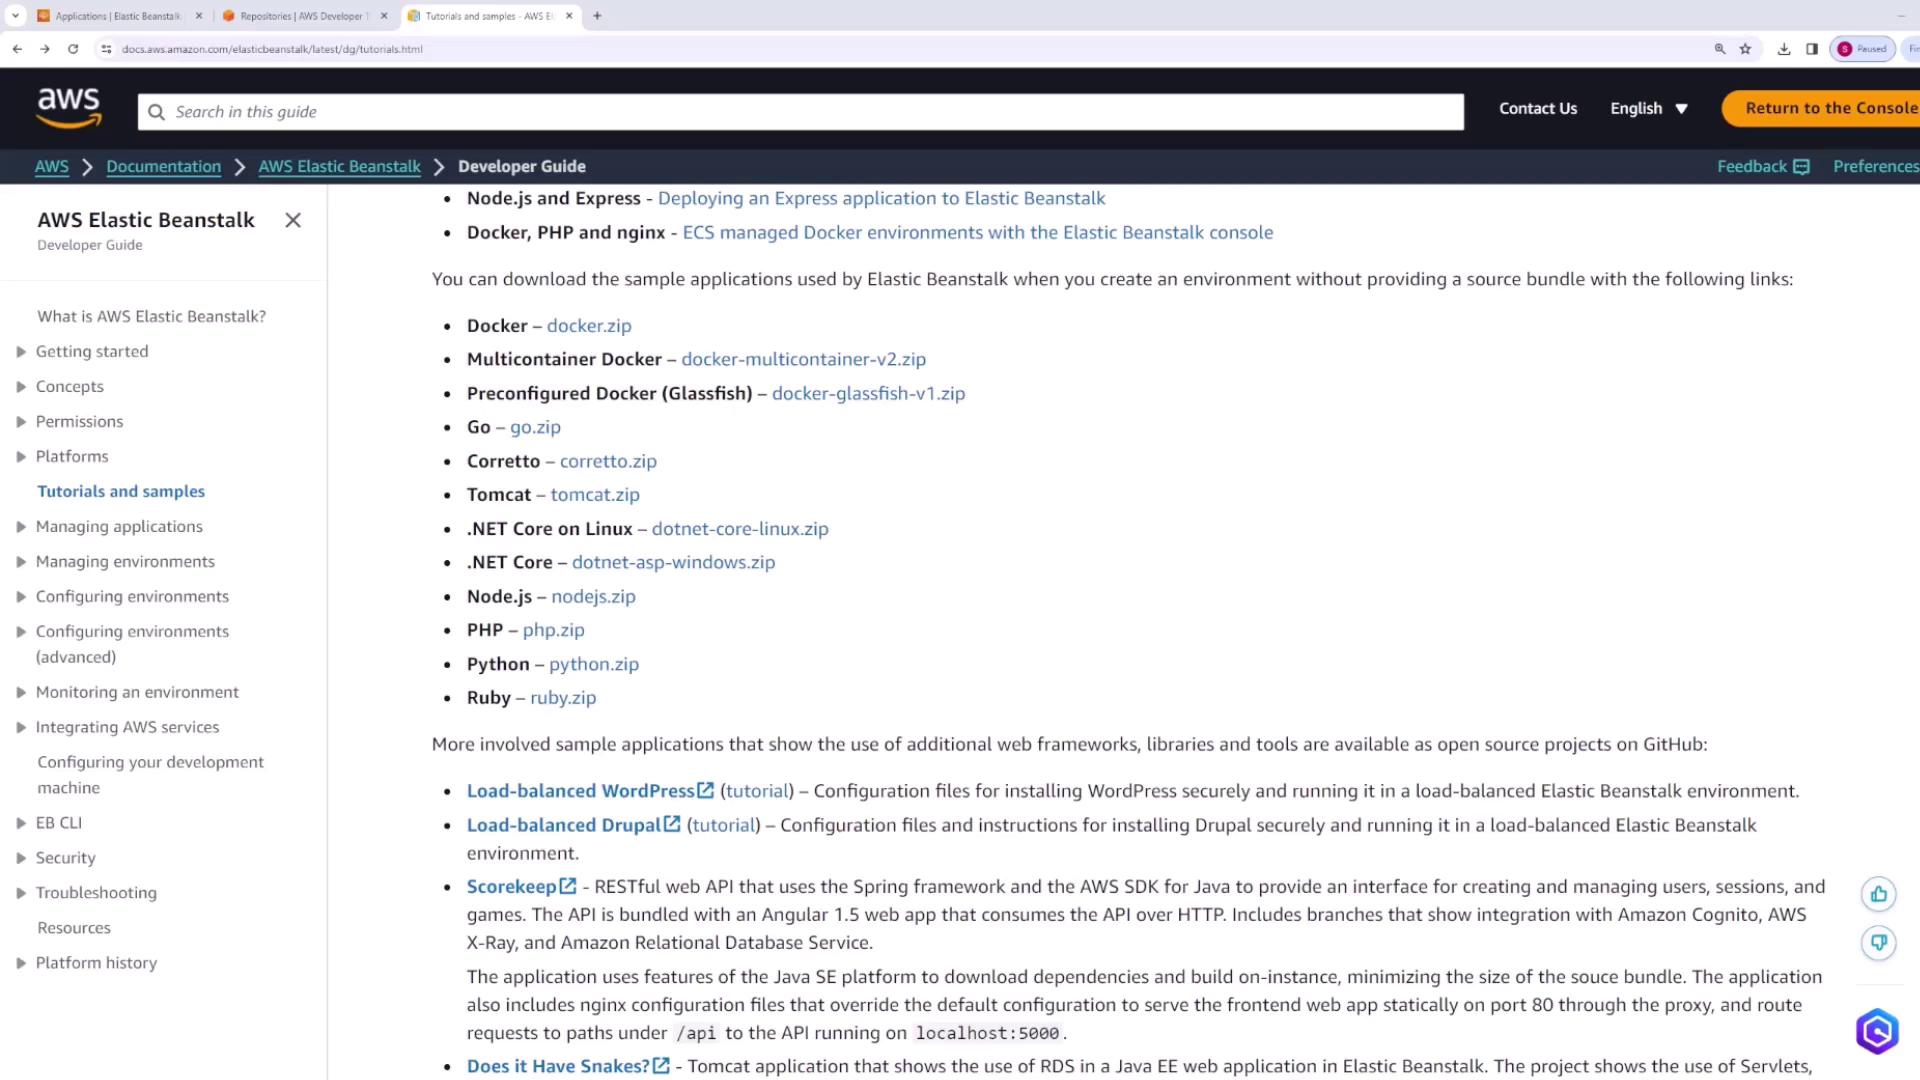
Begin by downloading a simple demo application (e.g., the nodejs.zip file) from the AWS Elastic Beanstalk documentation page under tutorials and samples. Follow these steps once you have the demo application:-
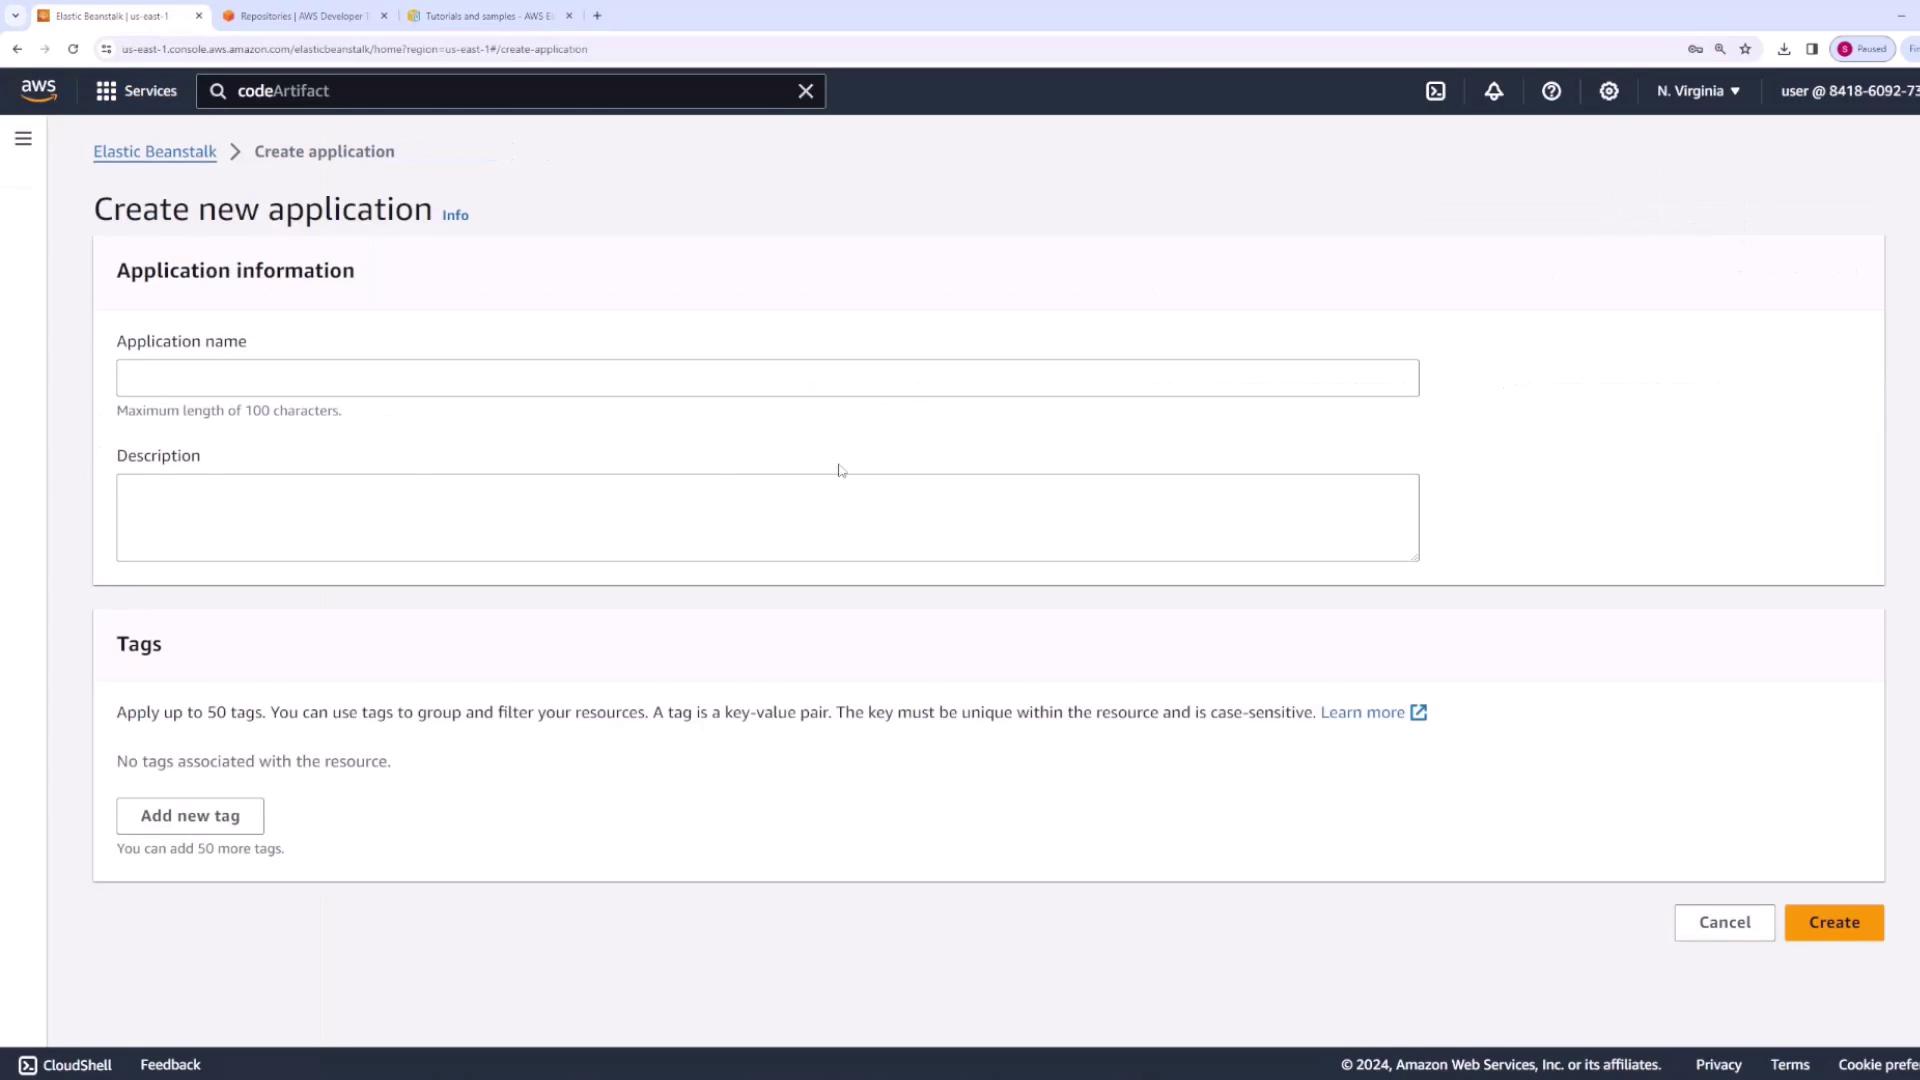
Create an Application
Log in to the AWS Elastic Beanstalk console and create a new application, naming it web app. -
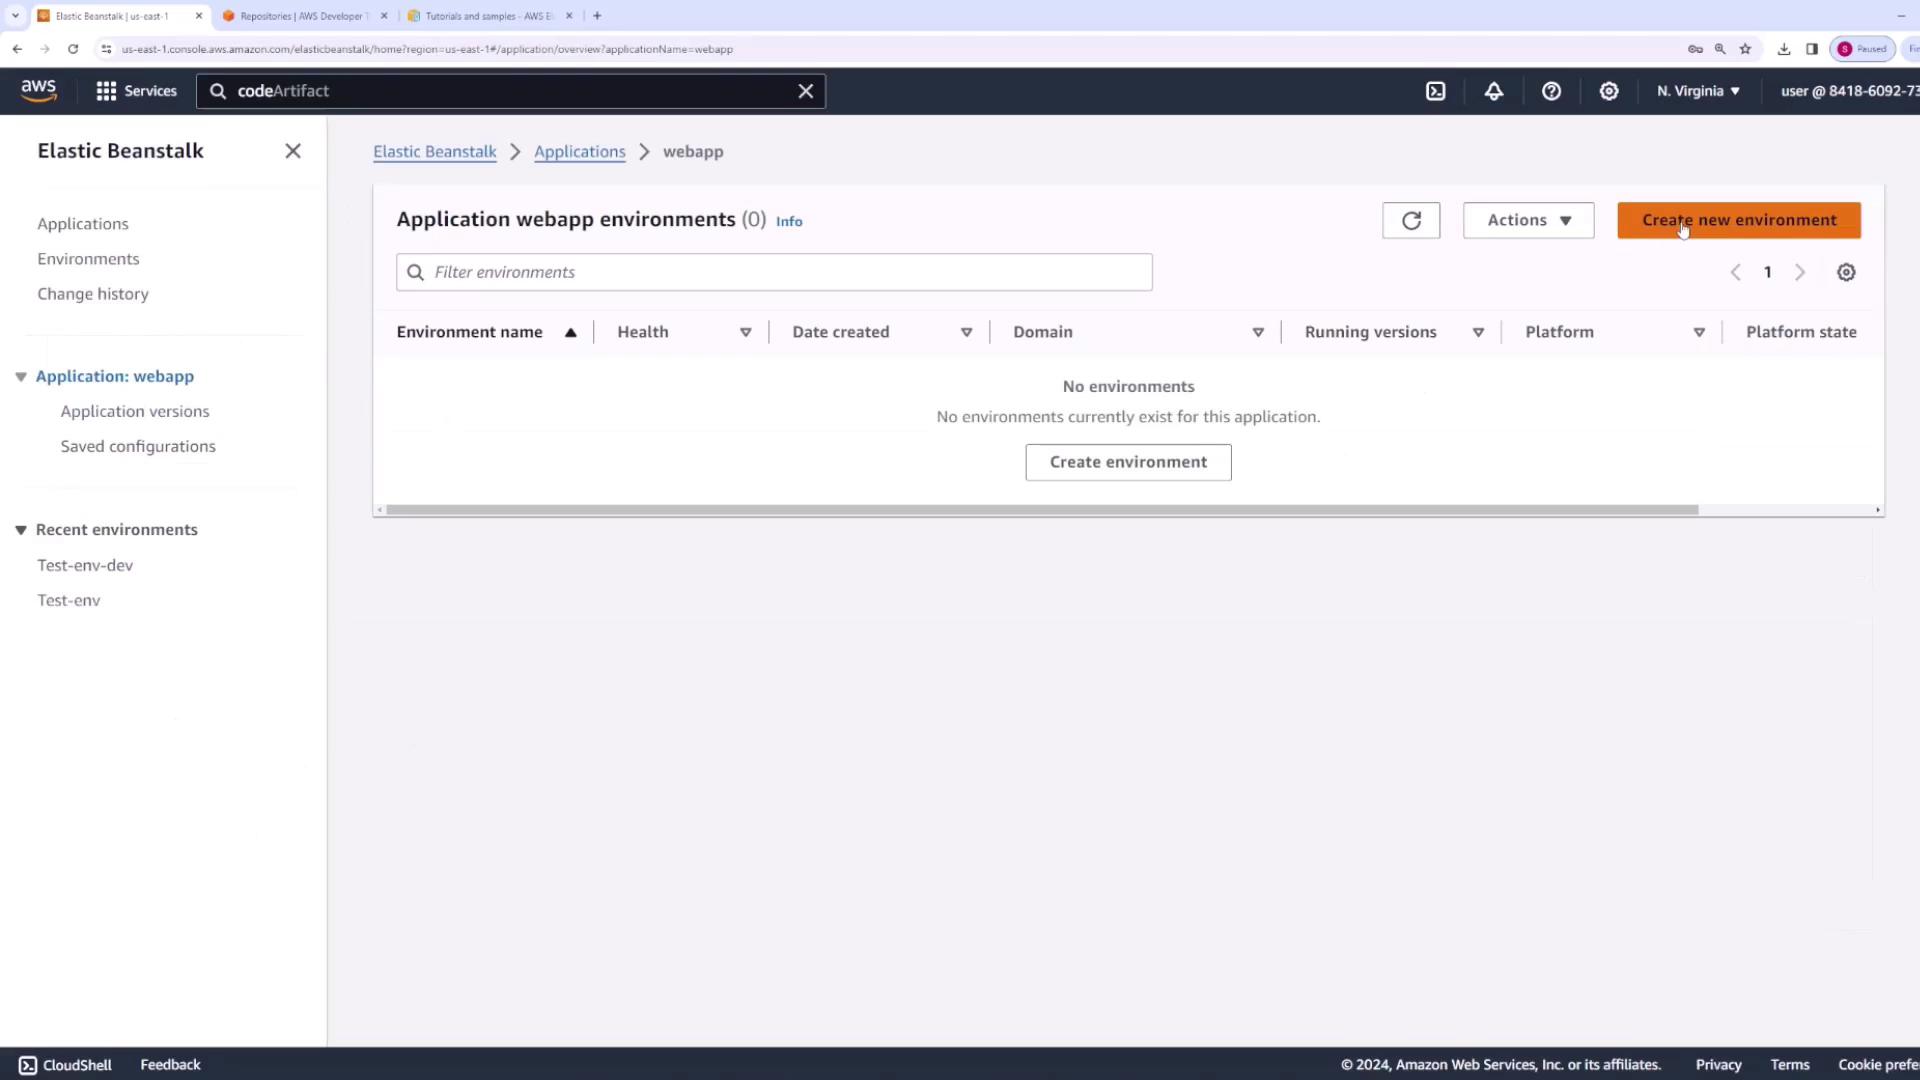
Create Environments
Set up two environments: one for development and one for production.- Development Environment
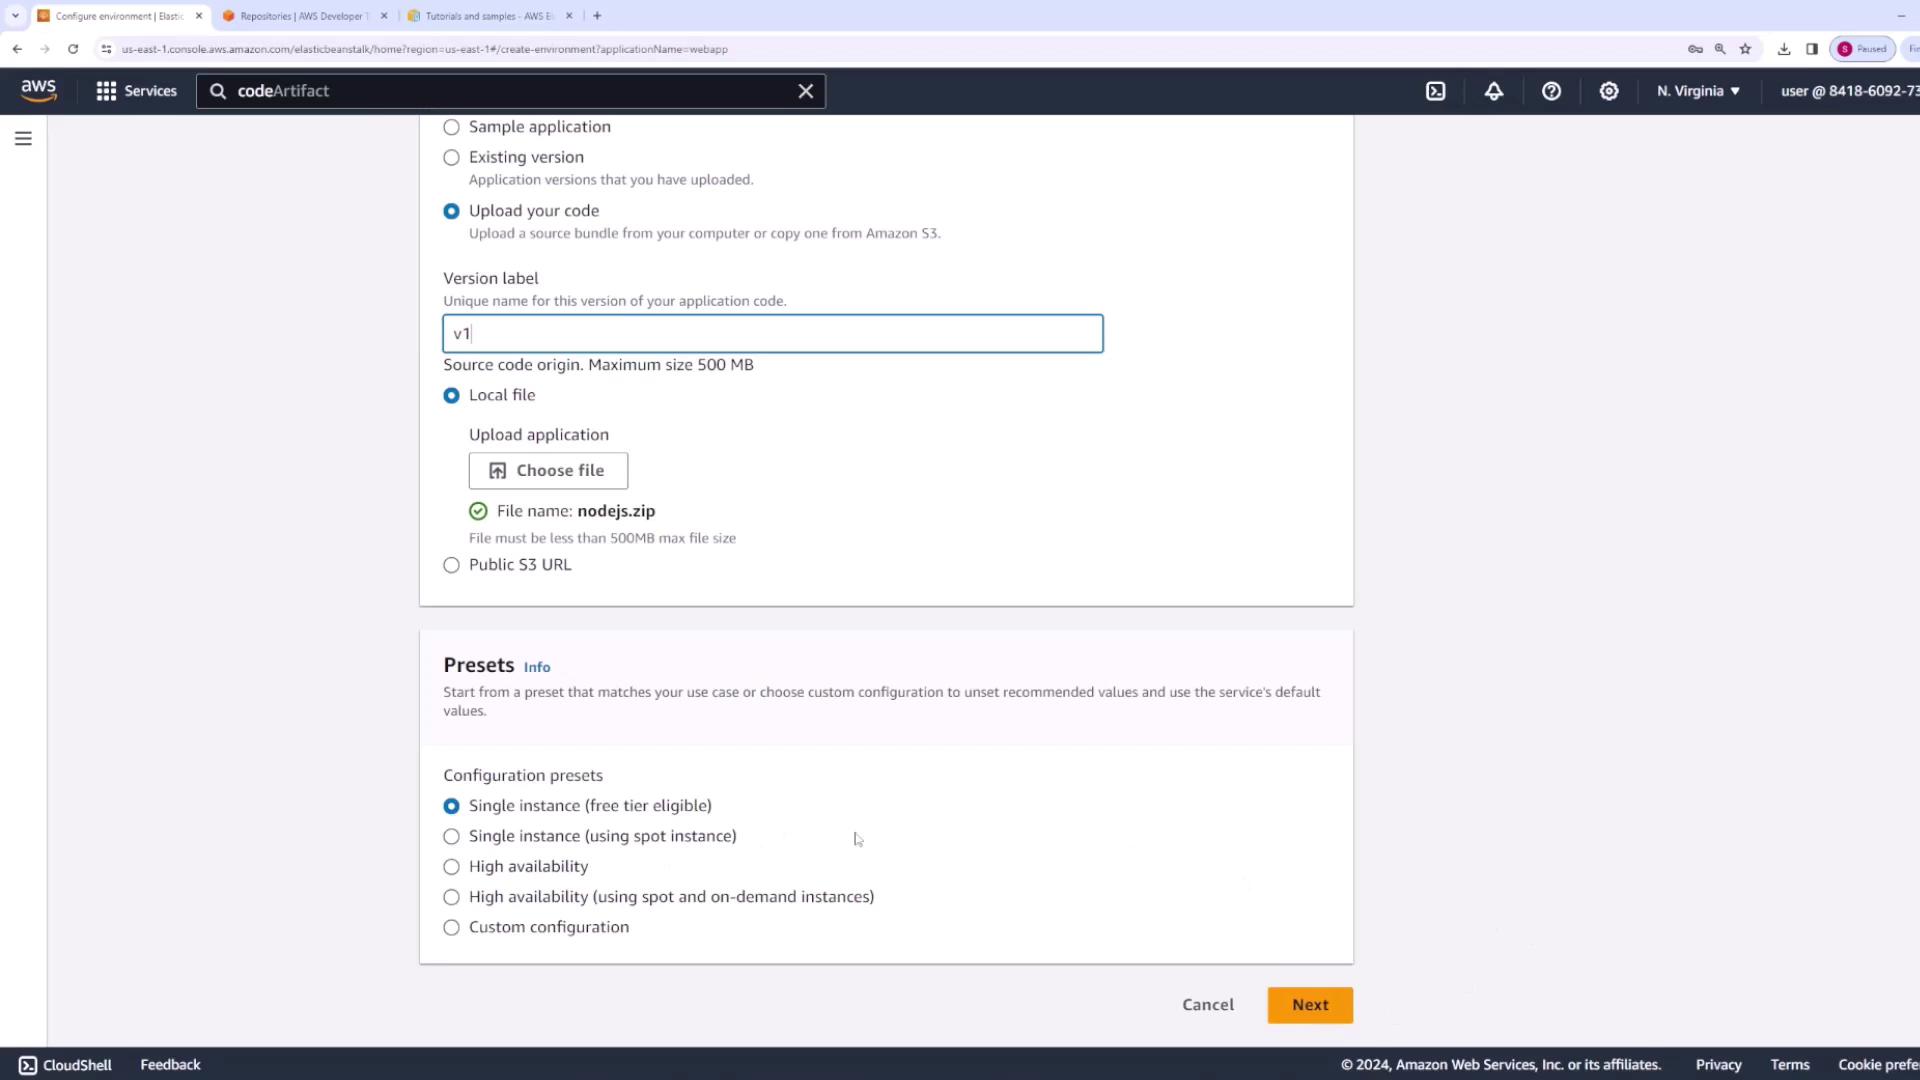
Click on “Create environment” and select the web server environment type. Name this environmentwebapp-dev. Upload your application code by selecting the nodejs.zip file, then choose Node.js as the platform. For cost efficiency, configure the environment with a single instance.
- Development Environment
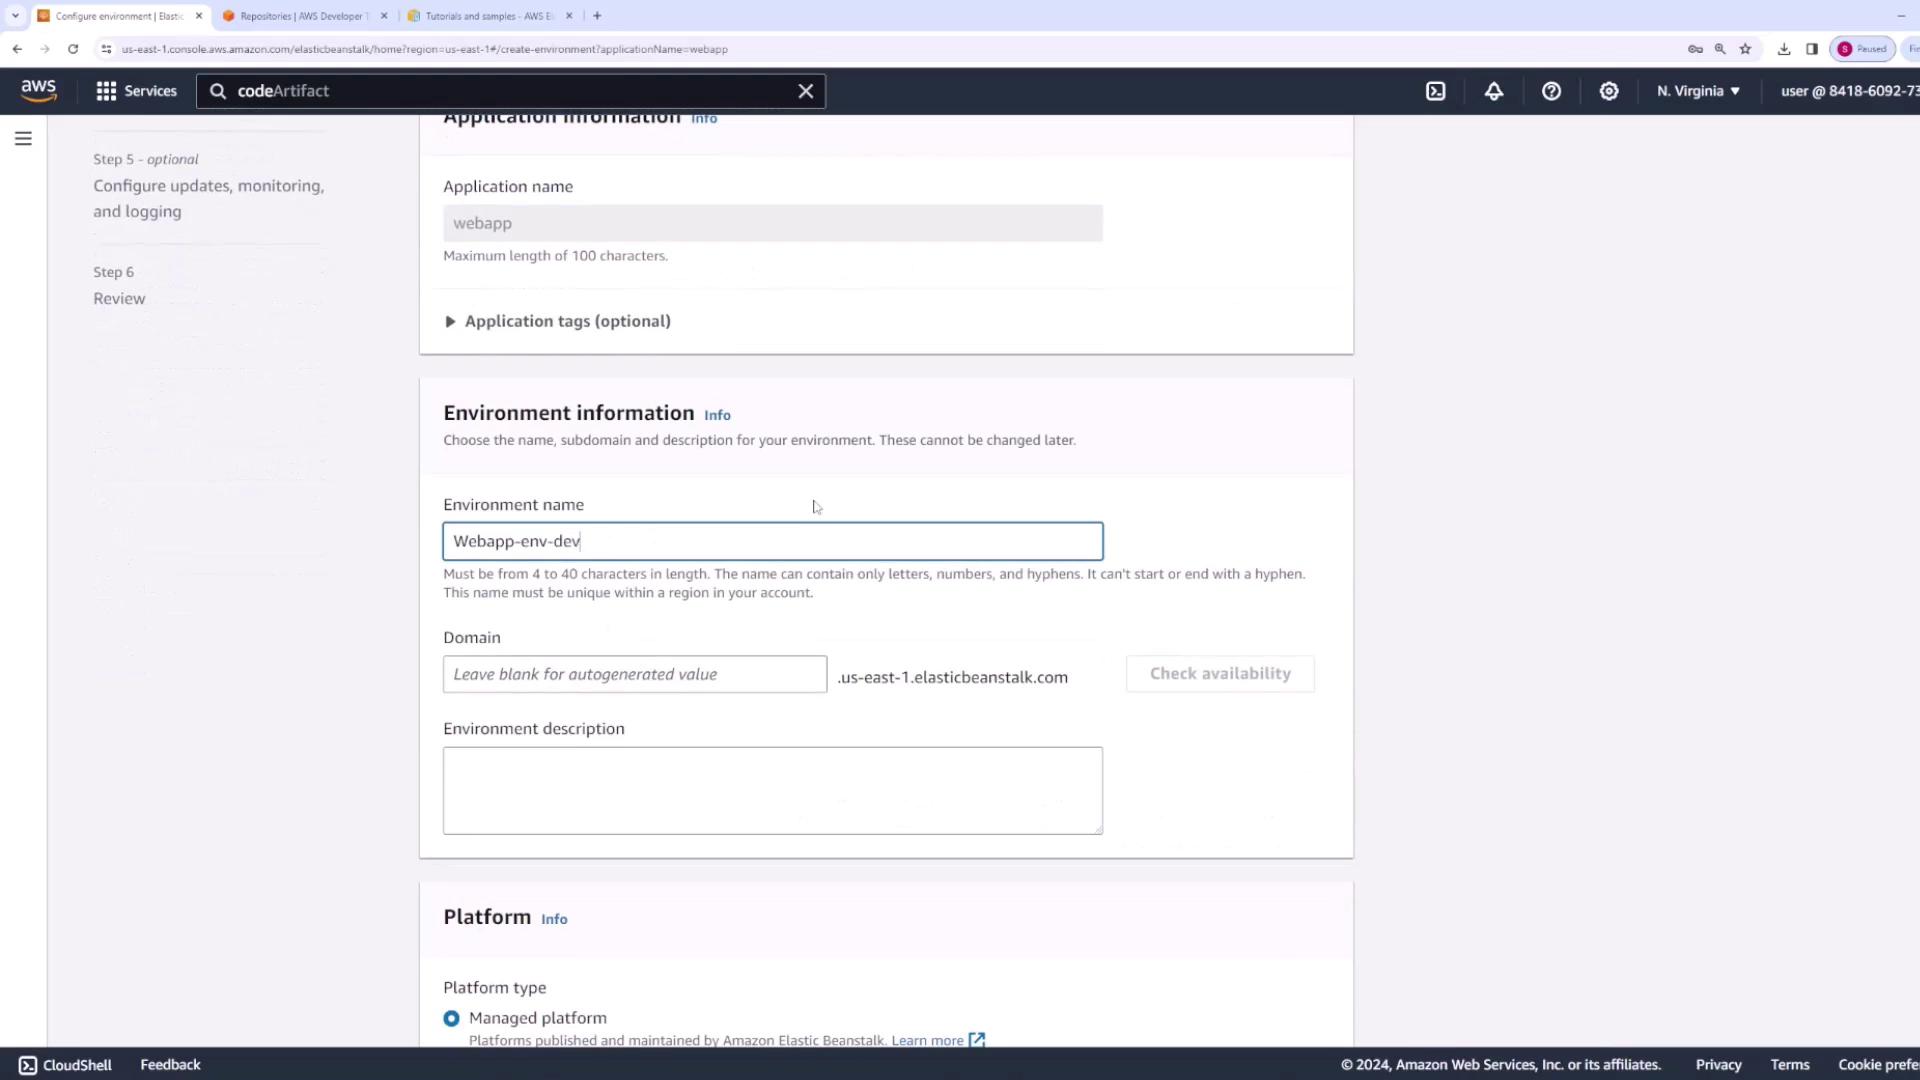
- Production Environment
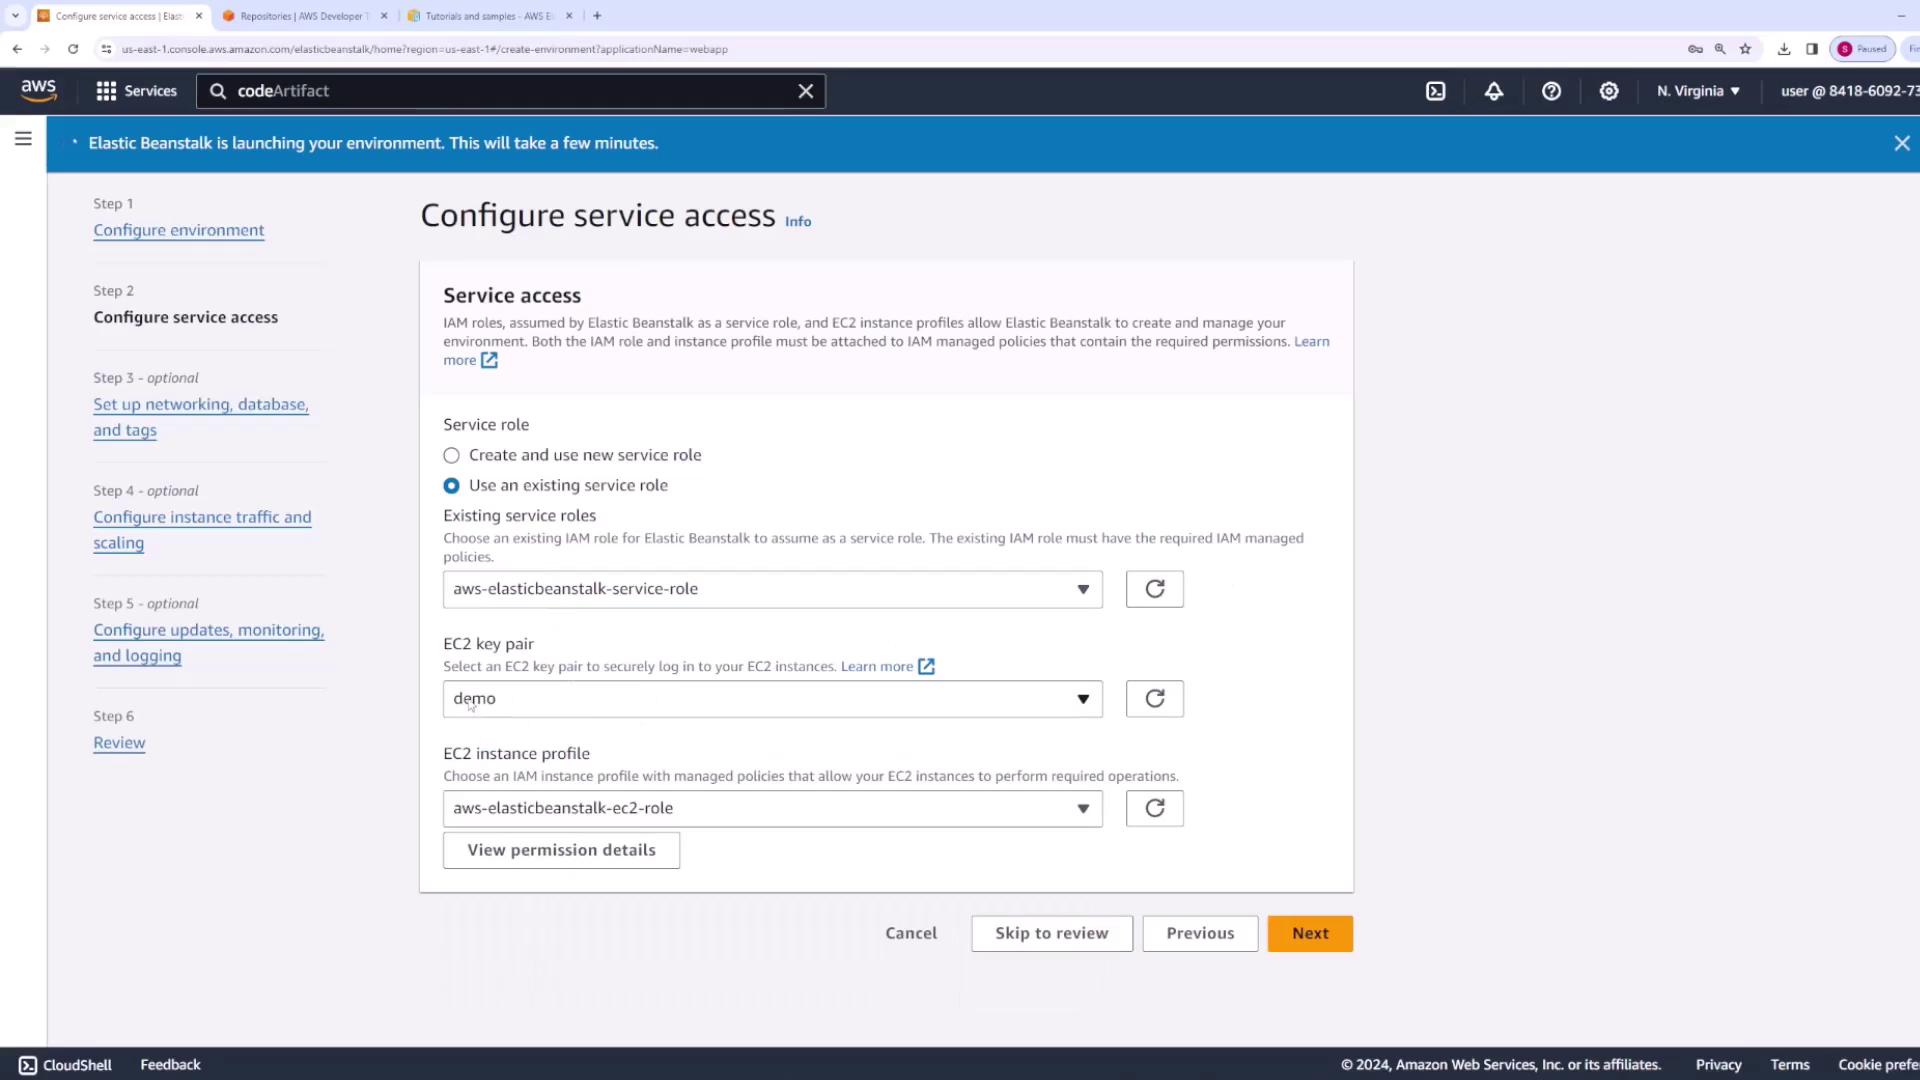
Create another environment calledwebapp-env-prod. Choose Node.js as the platform and specify the existing application version (v1) instead of uploading a new file. Ensure the correct EC2 role and key pair are selected.

-
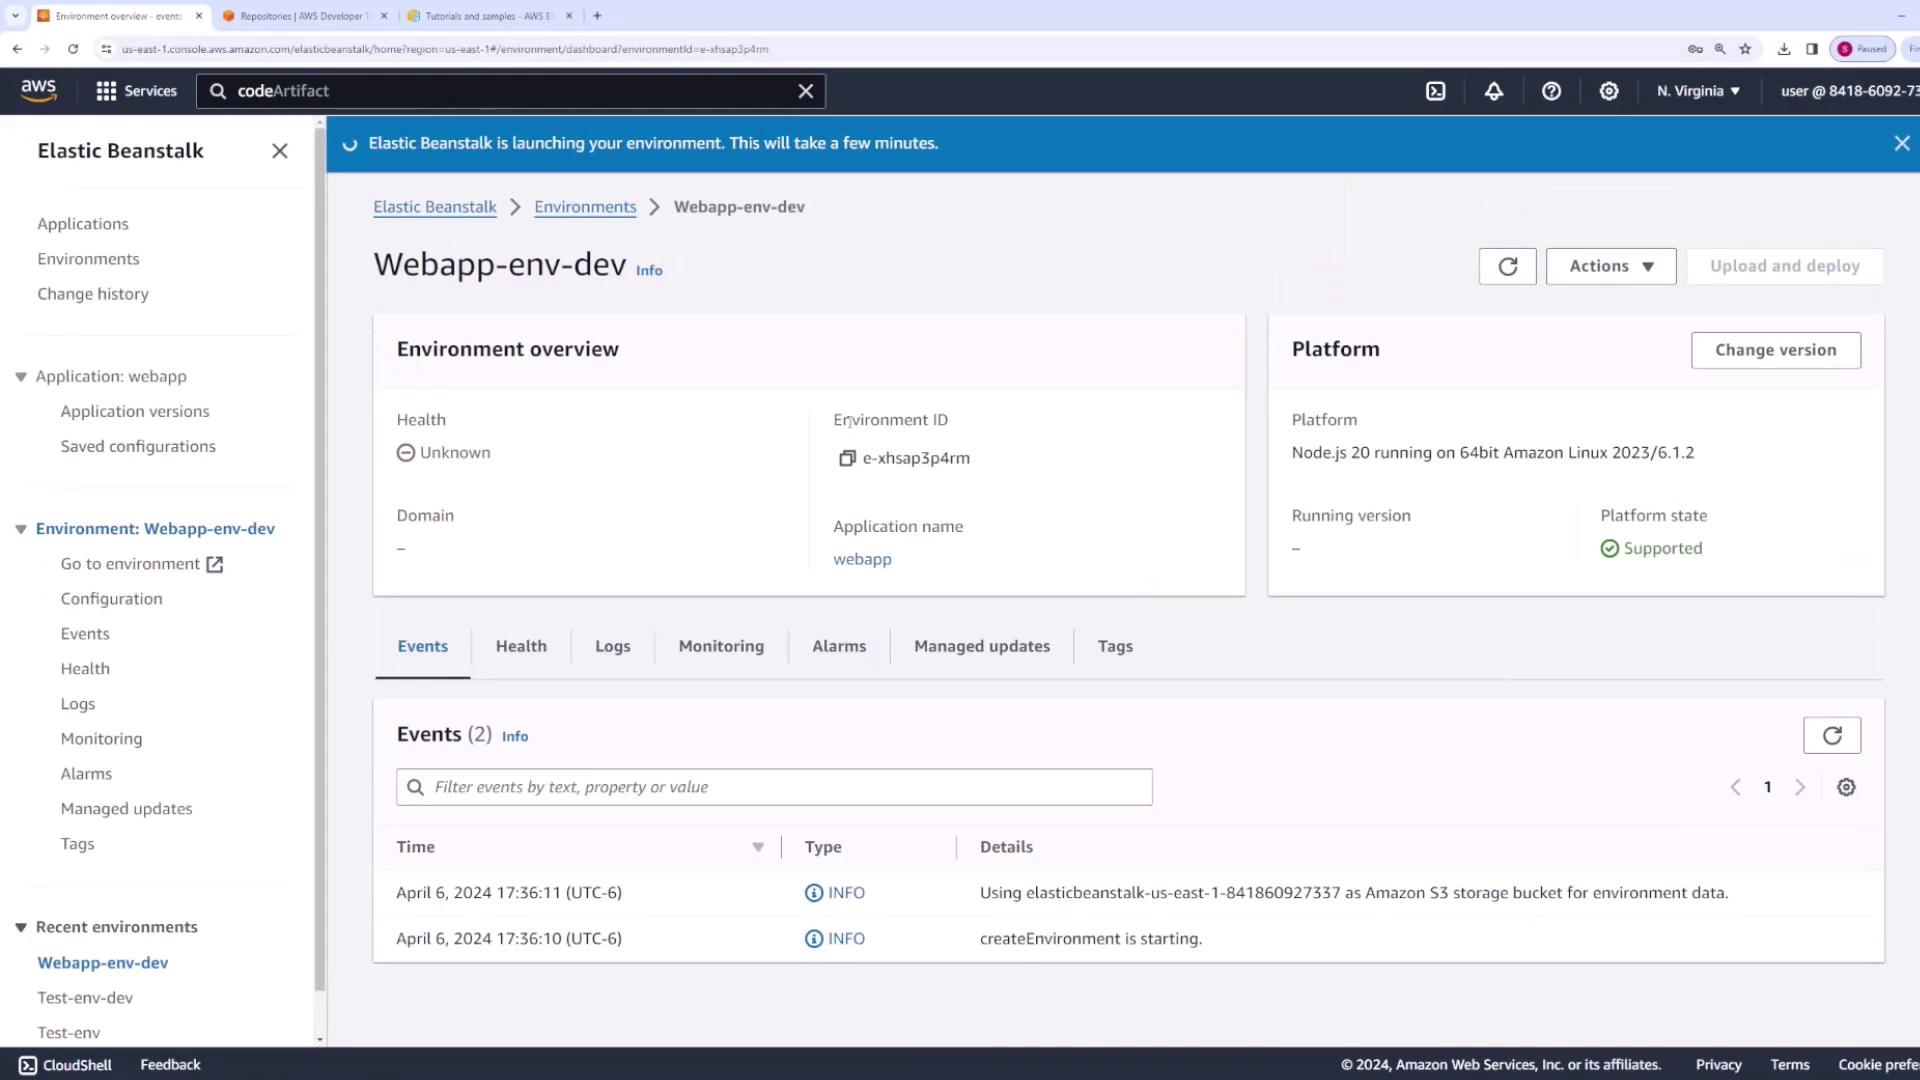
Verify Deployment
After a few minutes, confirm that both environments are successfully deployed by checking the URLs provided in the Elastic Beanstalk dashboards.- Production Environment Dashboard
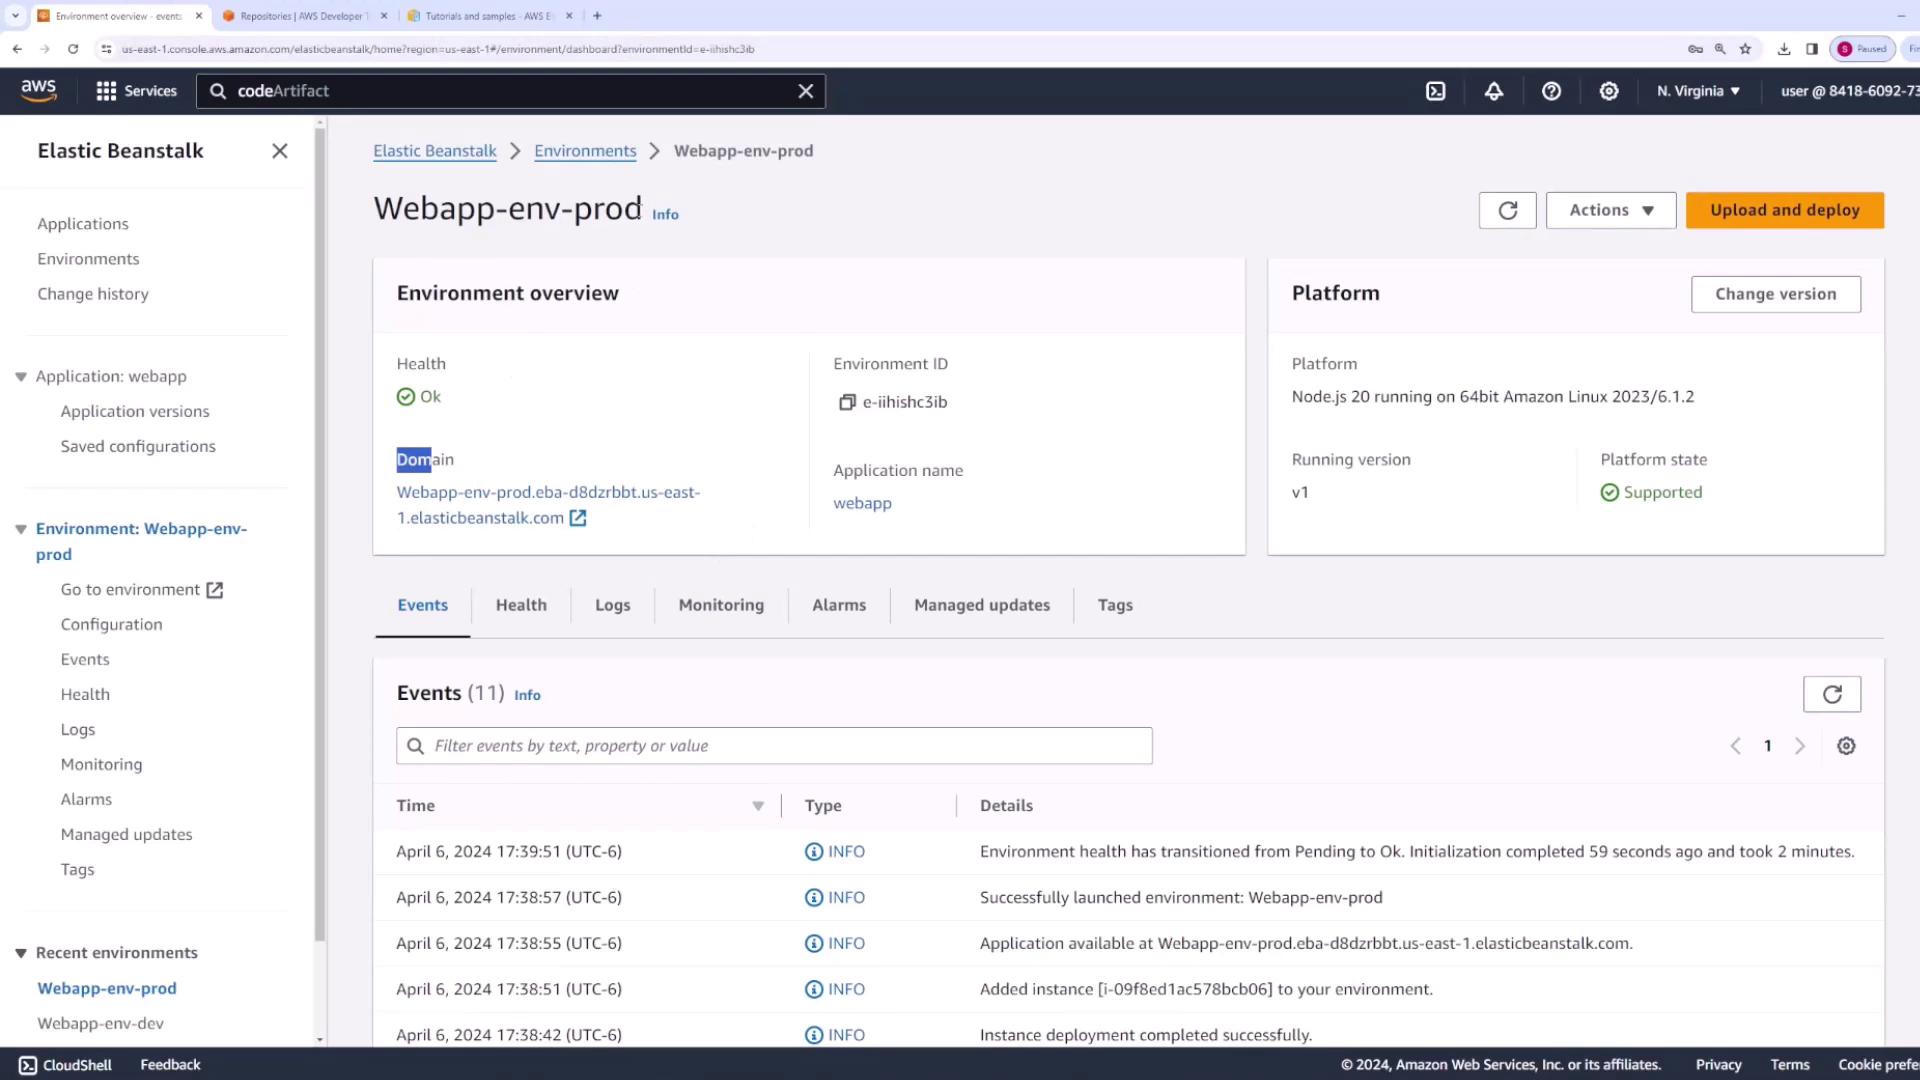
- Development Environment Dashboard
Setting Up the CodeCommit Repository
Next, set up a CodeCommit repository to store your application code, which will be tied into CodePipeline.-
Create the Repository
Navigate to the CodeCommit service and create a repository named webapp. -
Push the Code
Initialize your local Git repository, add your source files, commit your changes, and push to the remote repository. Replace the remote URL as needed.
You might see warnings about line endings (LF vs. CRLF); these warnings can be safely ignored.
Configuring CodePipeline
Now that your application and repository are set up, configure CodePipeline to automate your deployment process.-
Create a New Pipeline
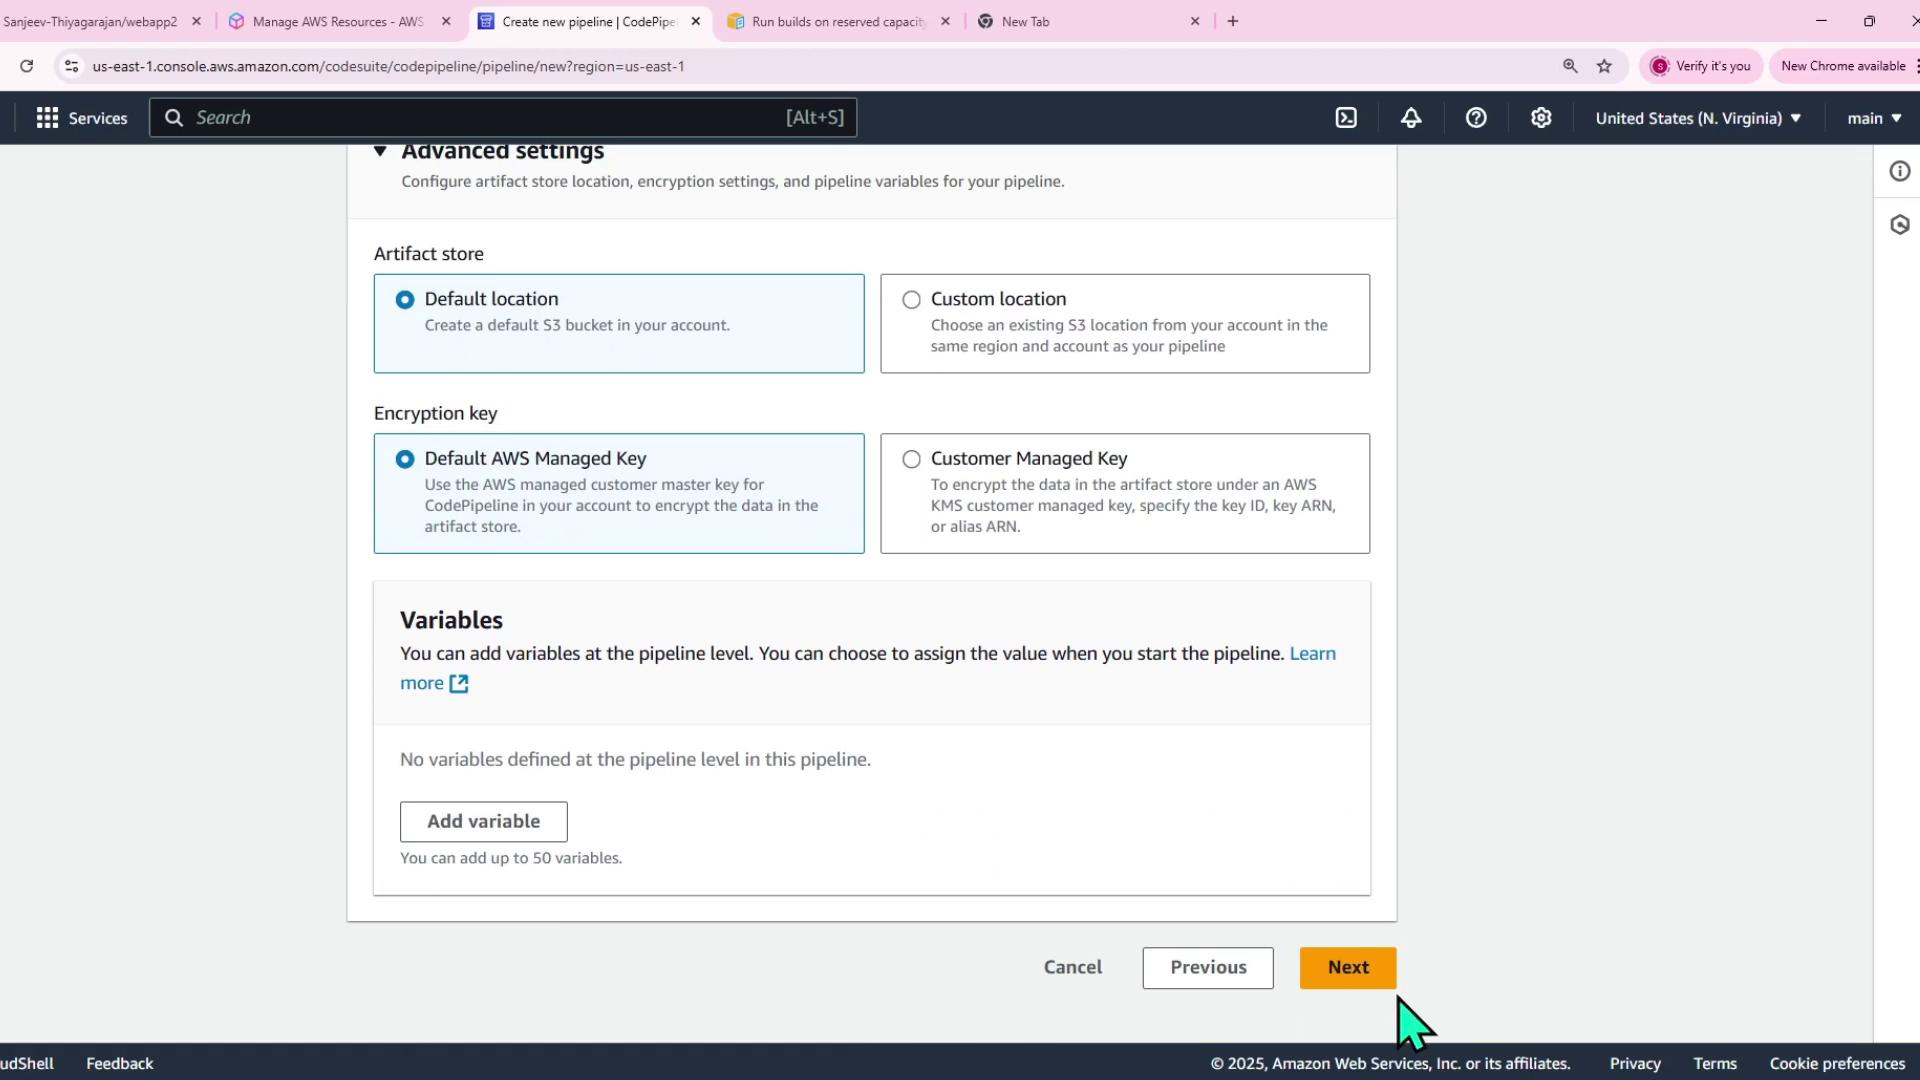
Open the CodePipeline service page and create a new pipeline named web app pipeline. Select the latest pipeline version to take advantage of advanced execution features, including supersede and queued modes.- Service Role & Artifact Store
Create a new service role for the pipeline and use the default S3 artifact store settings unless you need custom configurations.
- Service Role & Artifact Store
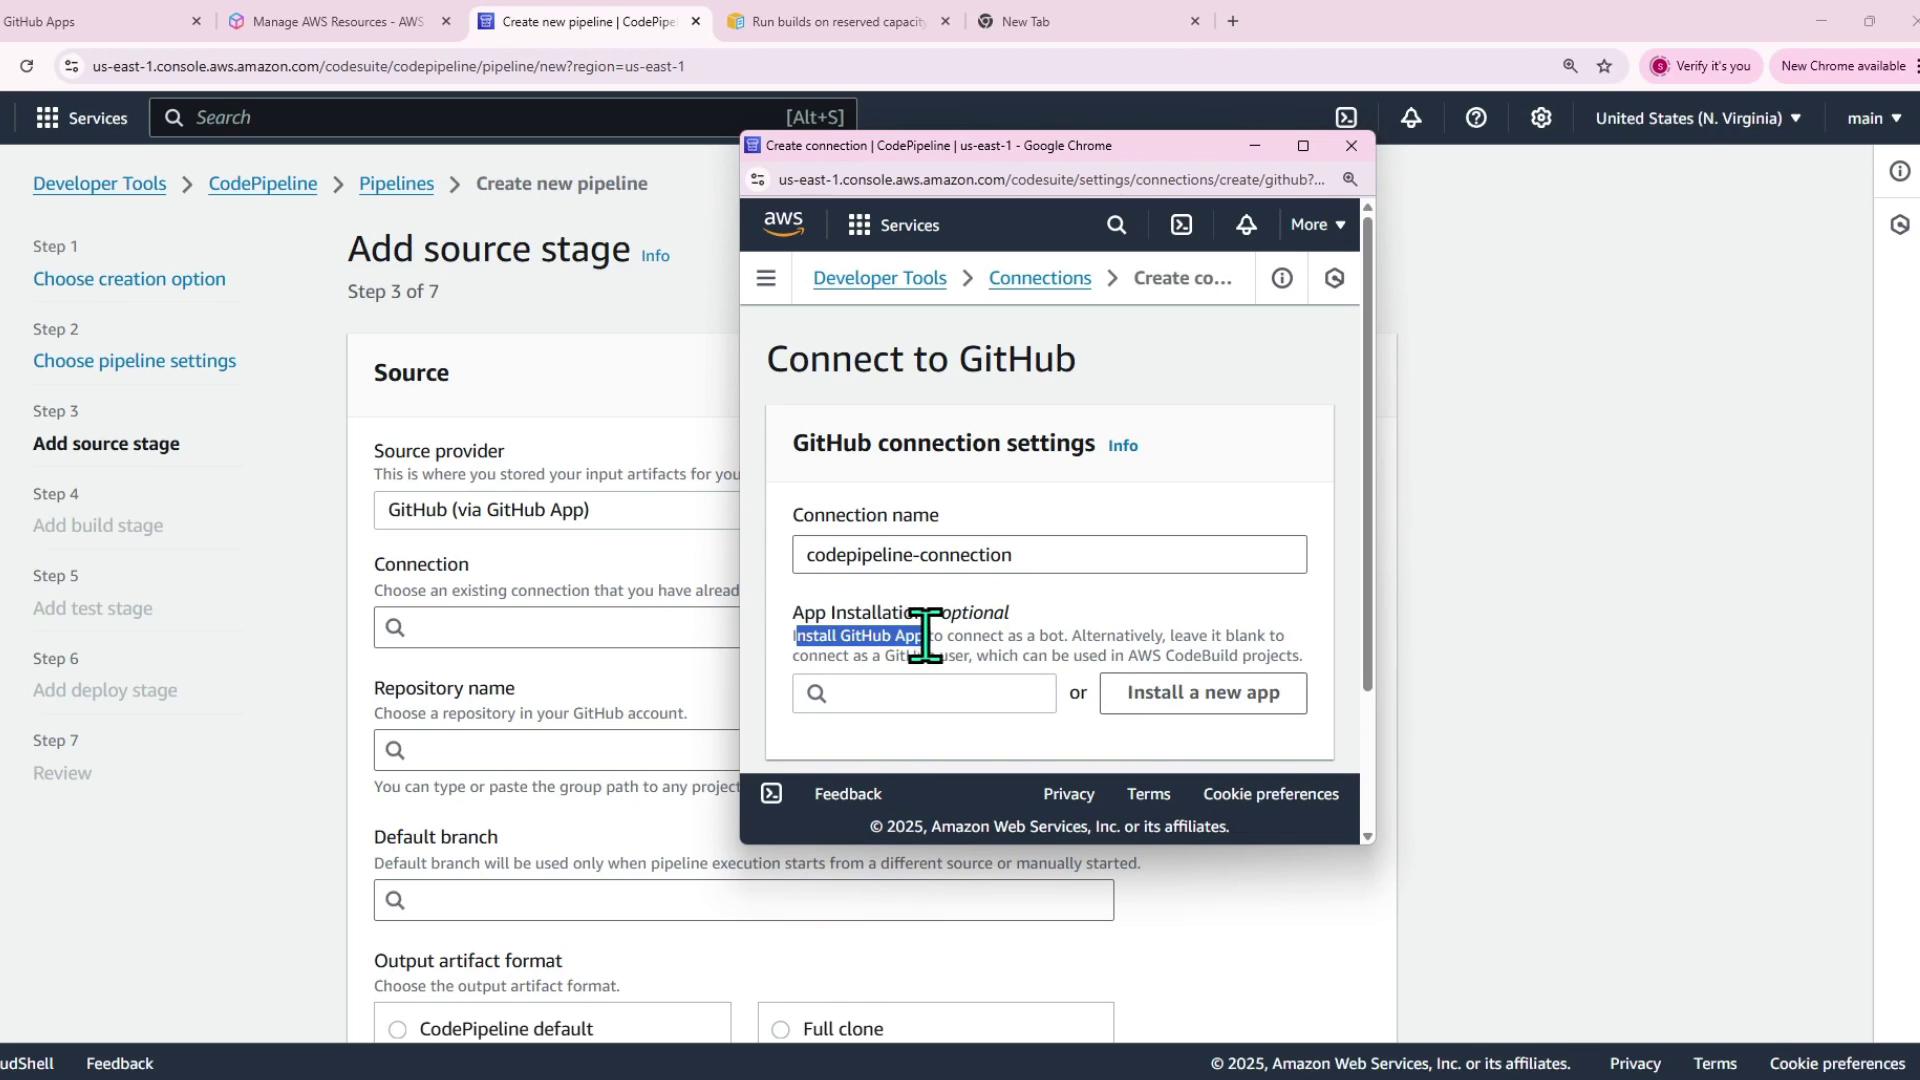
- Configure the Source Stage
Select CodeCommit as the source provider, choose the webapp repository, and select themainbranch. For change detection, use CloudWatch events or periodic checks as recommended.
- Skip the Build Stage
Since this demo focuses on deploying to Elastic Beanstalk using CodeDeploy, skip the build stage. (Future demos may include integration with CodeBuild or Jenkins.)

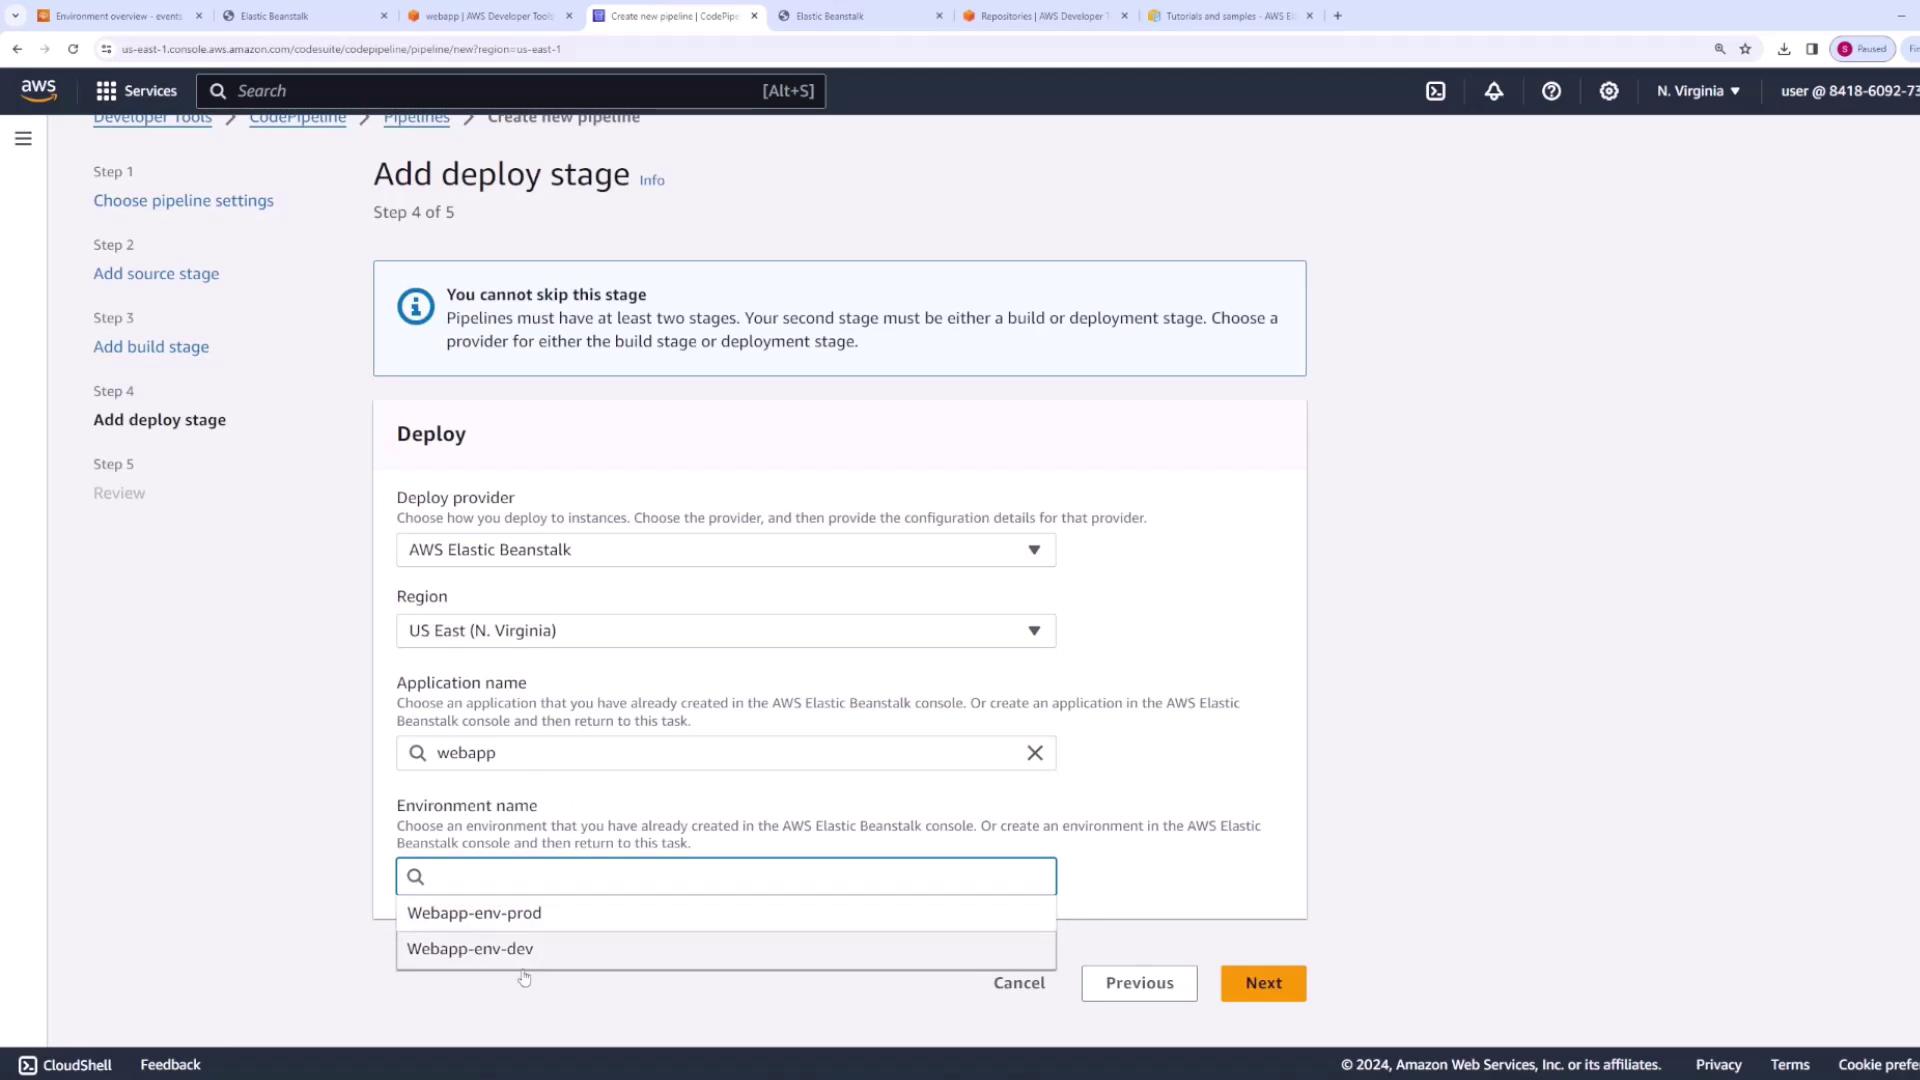
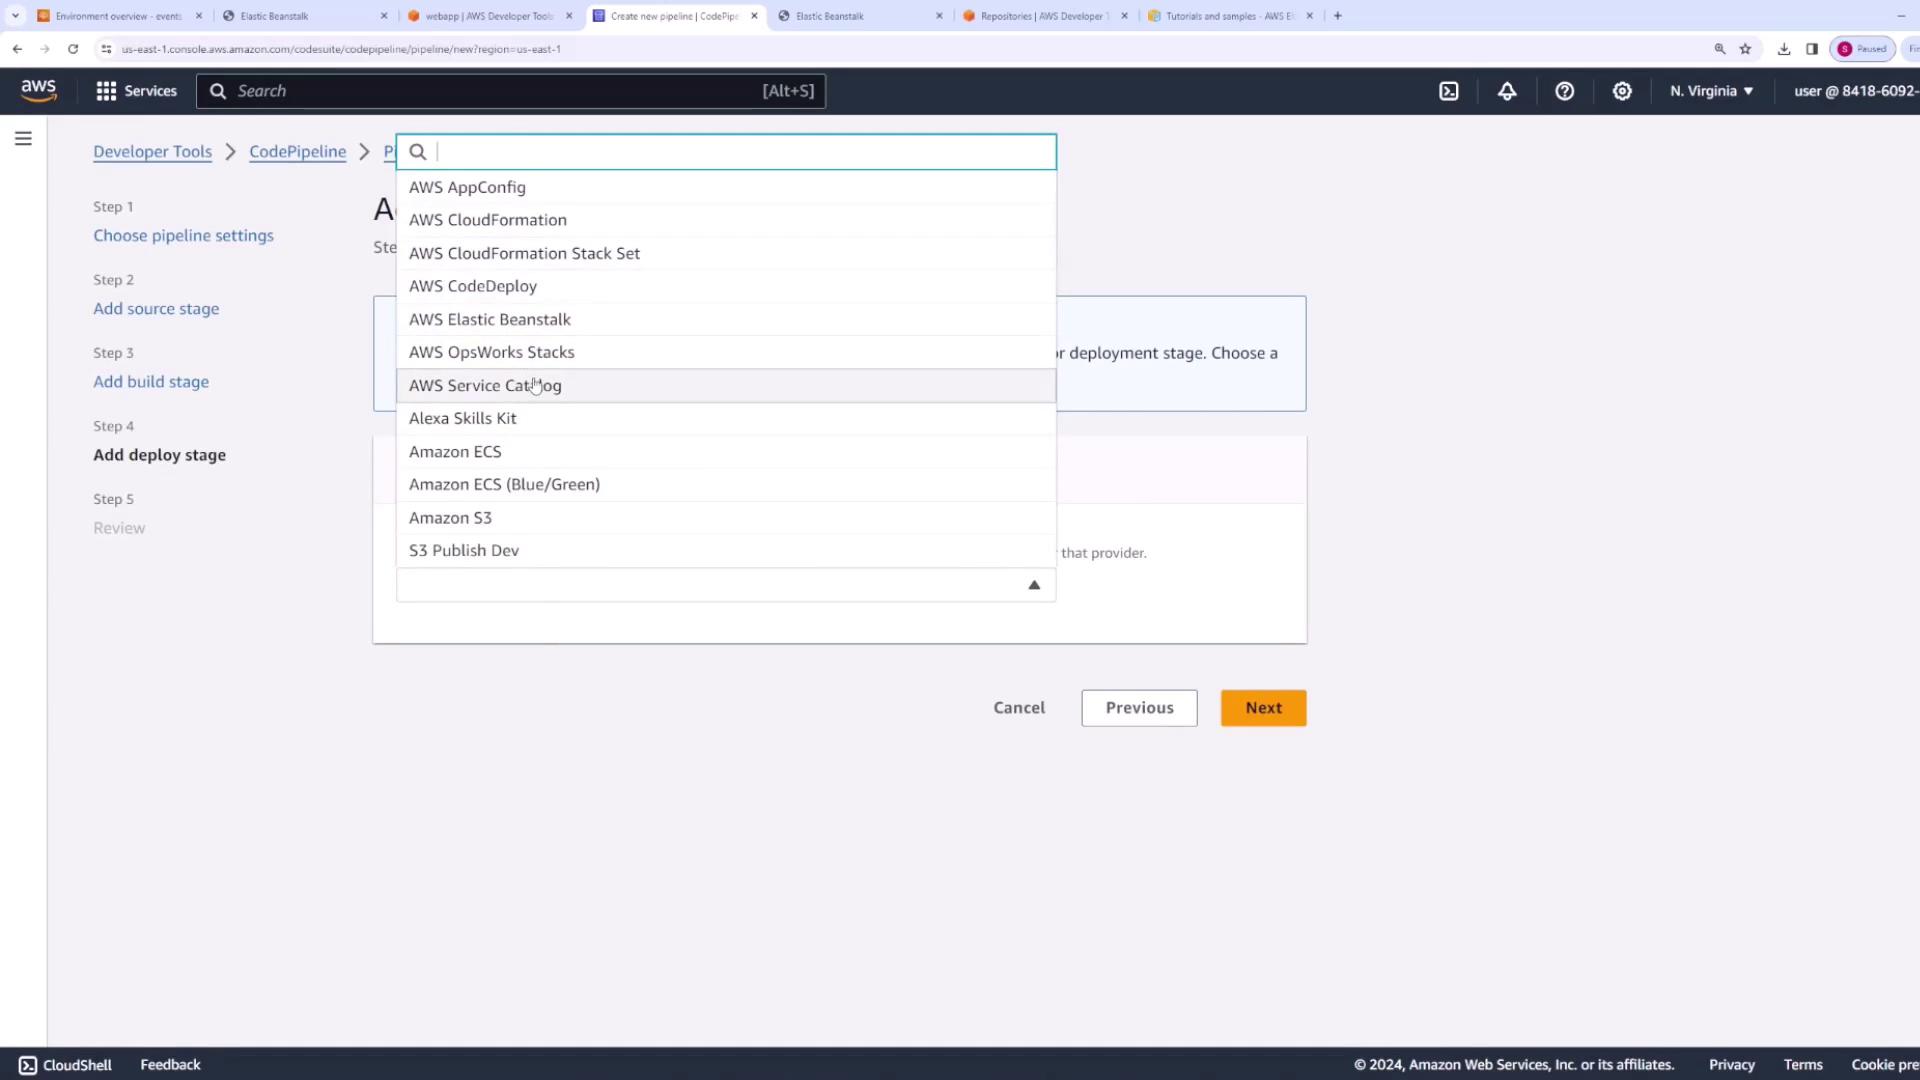
- Configure the Deploy Stage
Set up the deployment action to deploy your application to Elastic Beanstalk:- Choose Elastic Beanstalk as the deployment provider.
- Select the application web app and the development environment
webapp-dev.
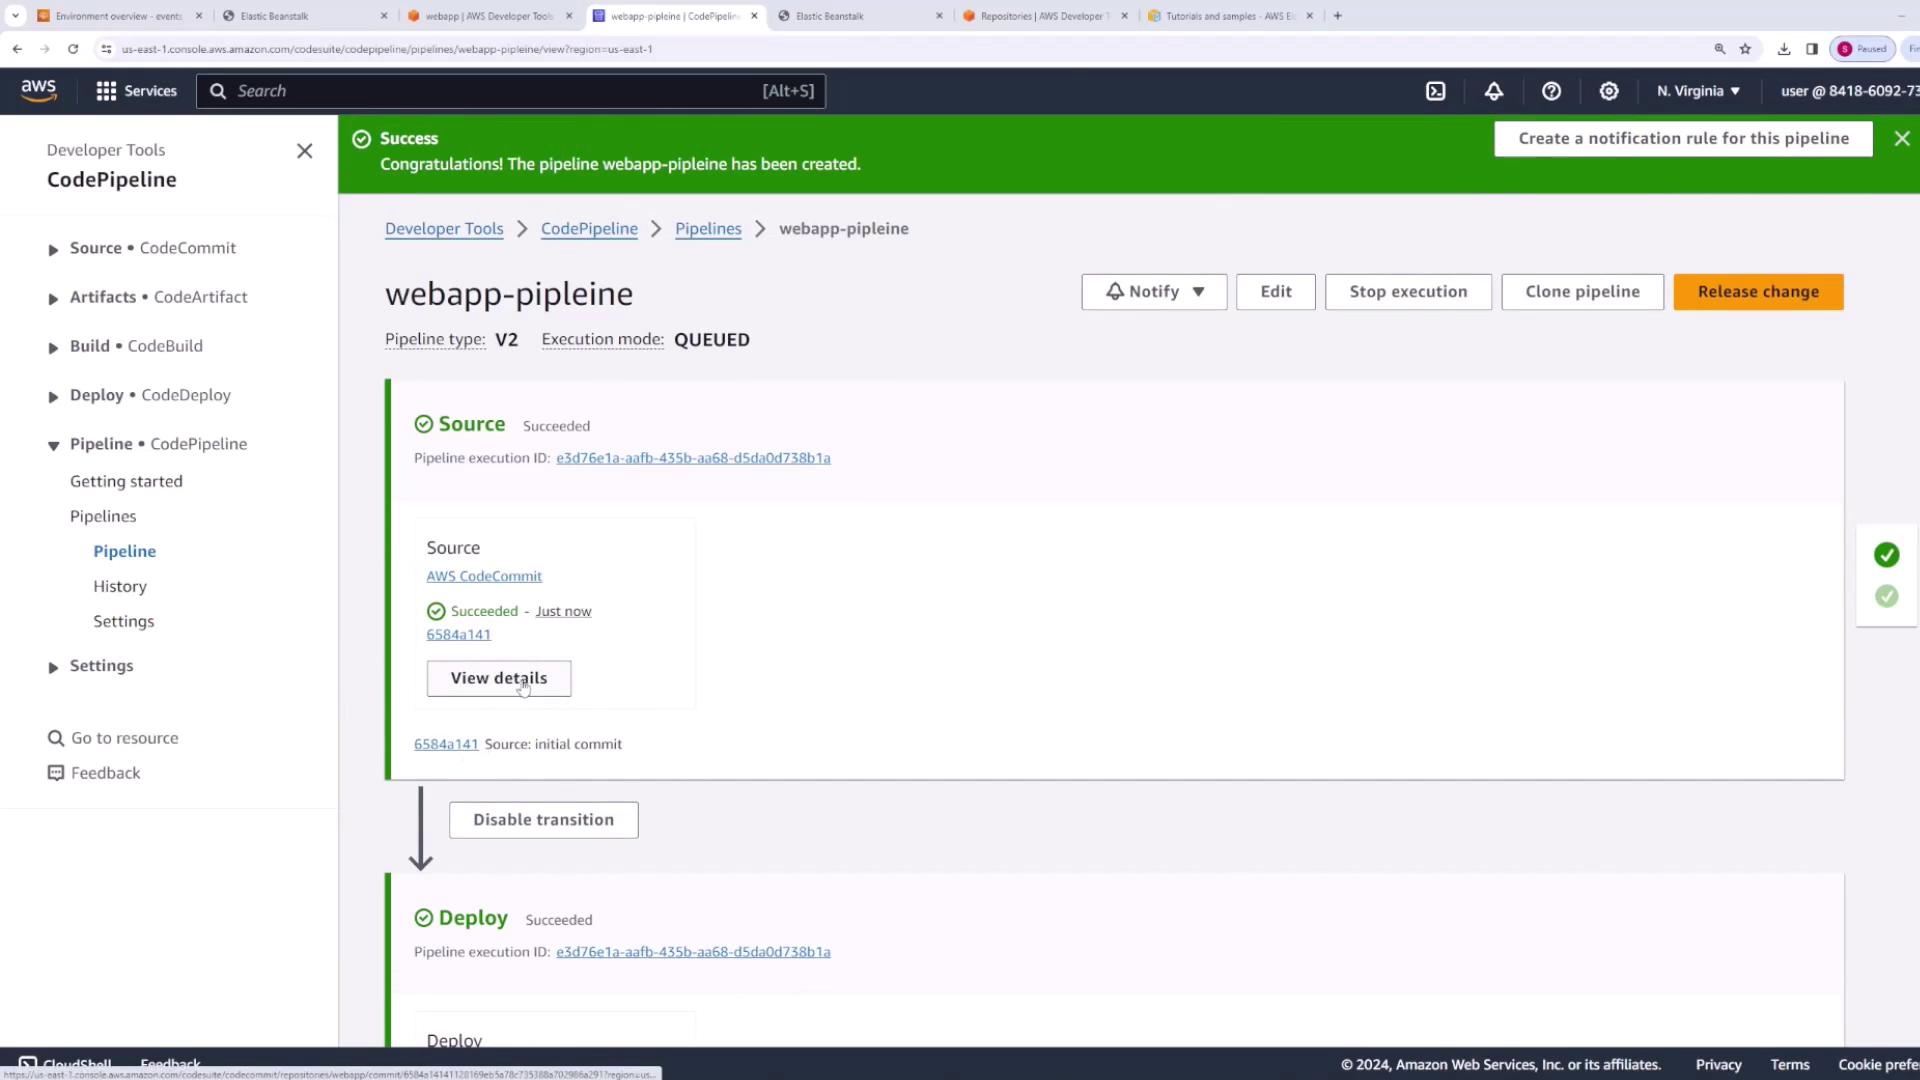
- Review and Create the Pipeline
Review your configuration settings and create the pipeline. It will automatically:- Pull code from CodeCommit in the source stage.
- Deploy the code to Elastic Beanstalk in the deploy stage.
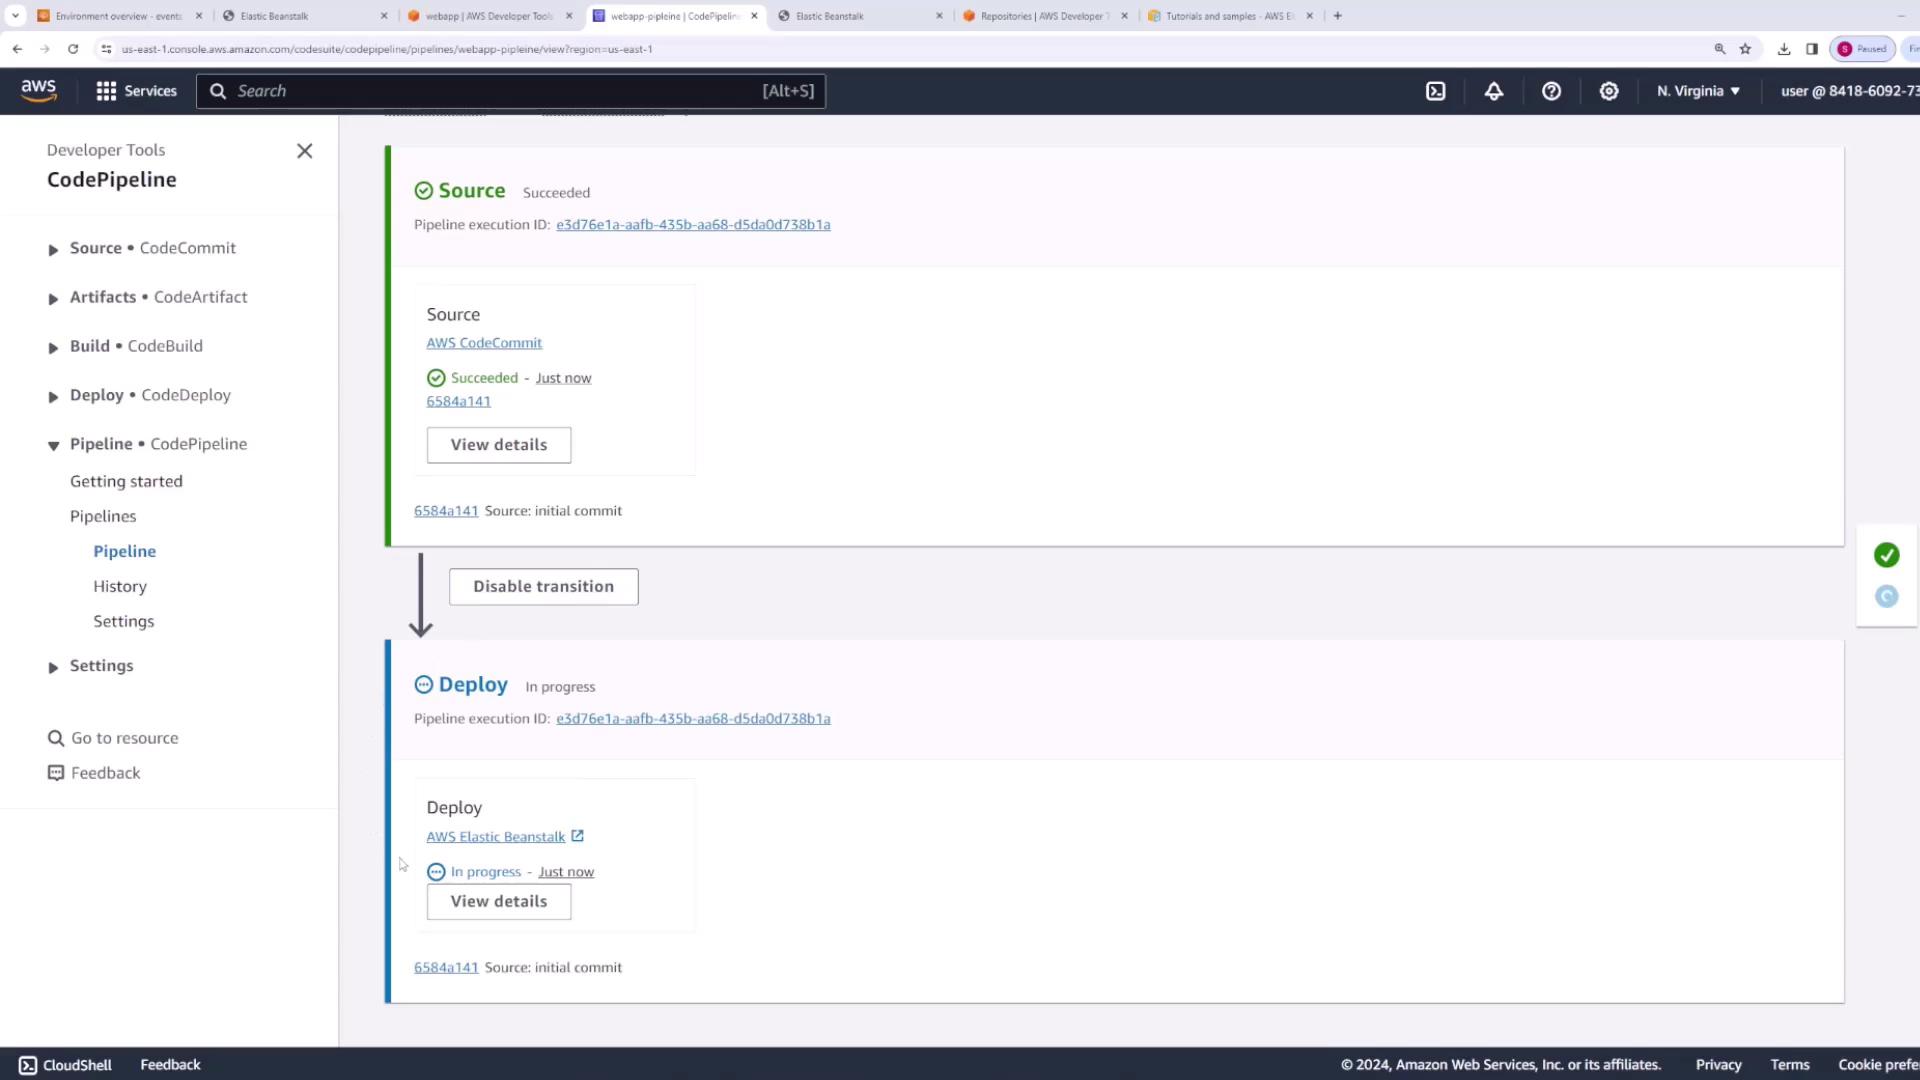
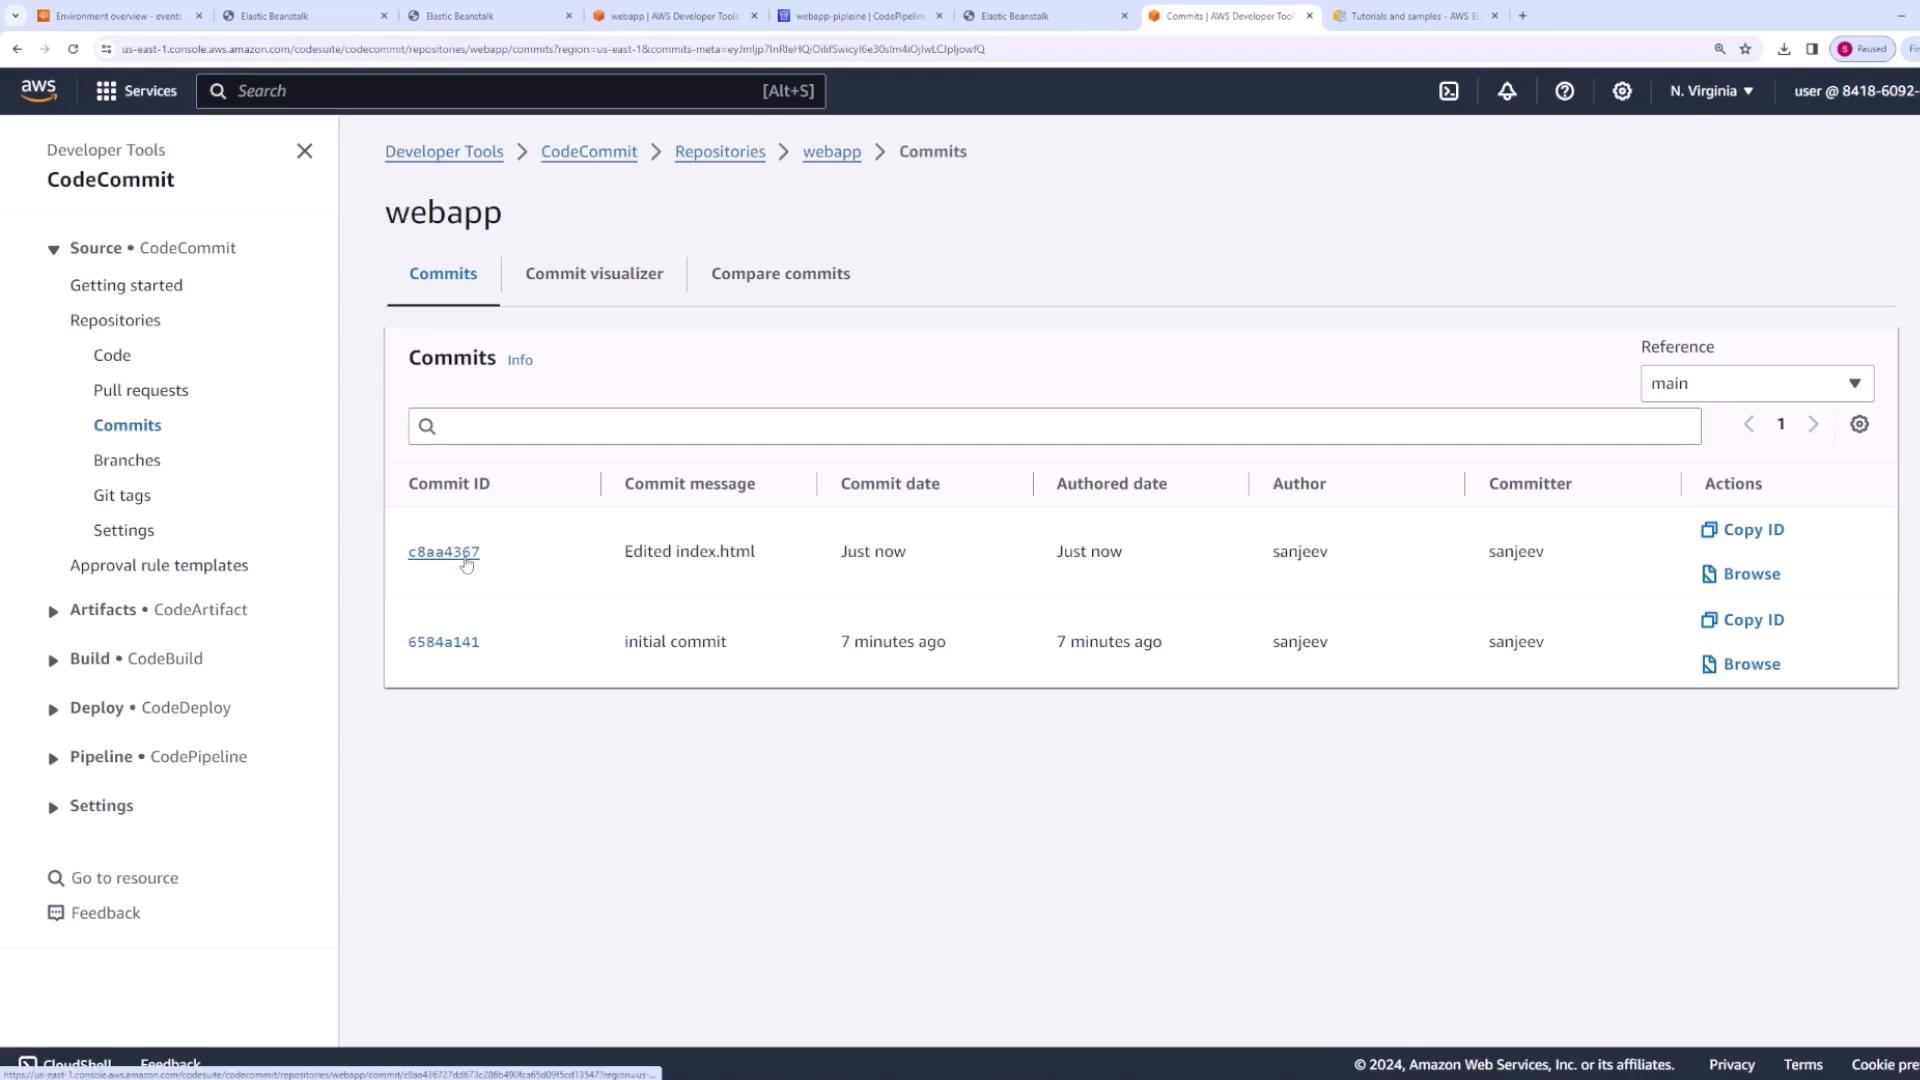
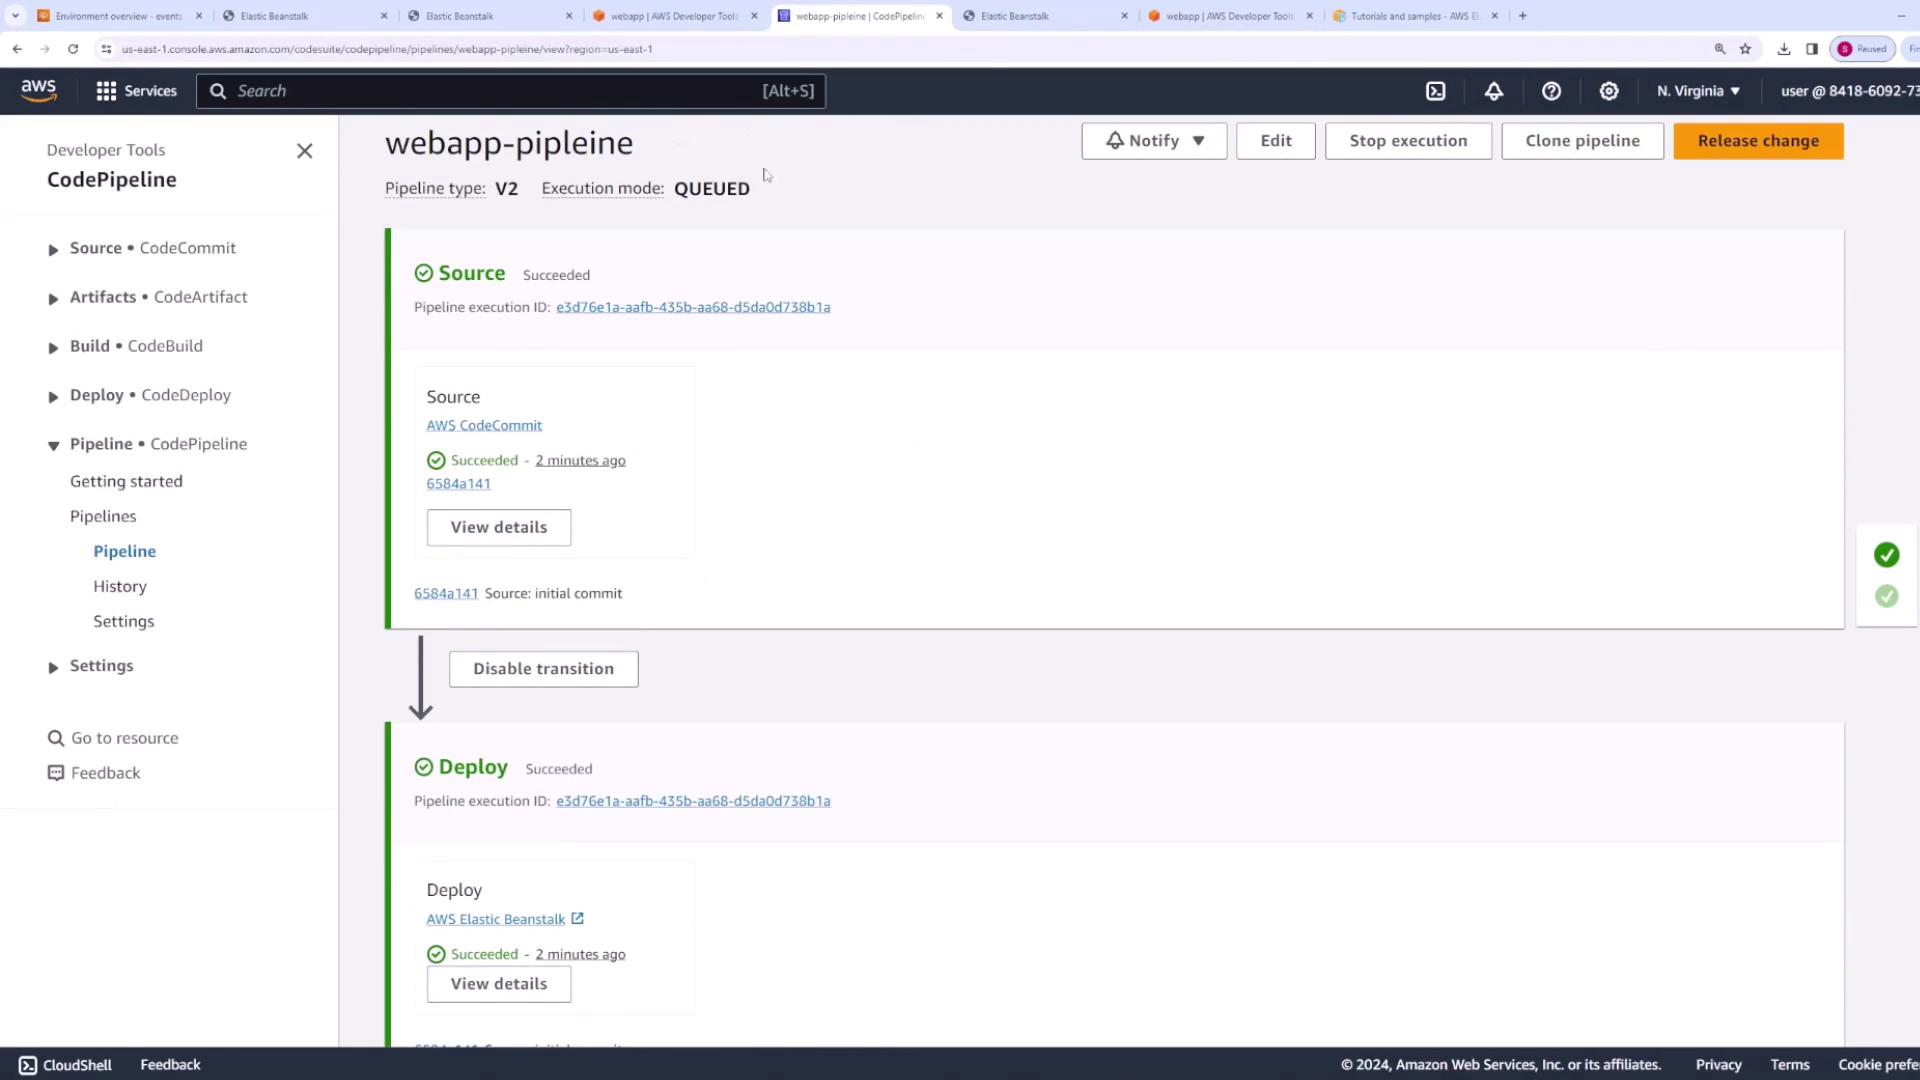
- Examine Pipeline Details
In the CodePipeline interface, you can view:- Source commit IDs
- Input and output artifacts
- Deployment details Your S3 artifact store contains the zipped artifacts.
Triggering Pipeline Executions with Code Changes
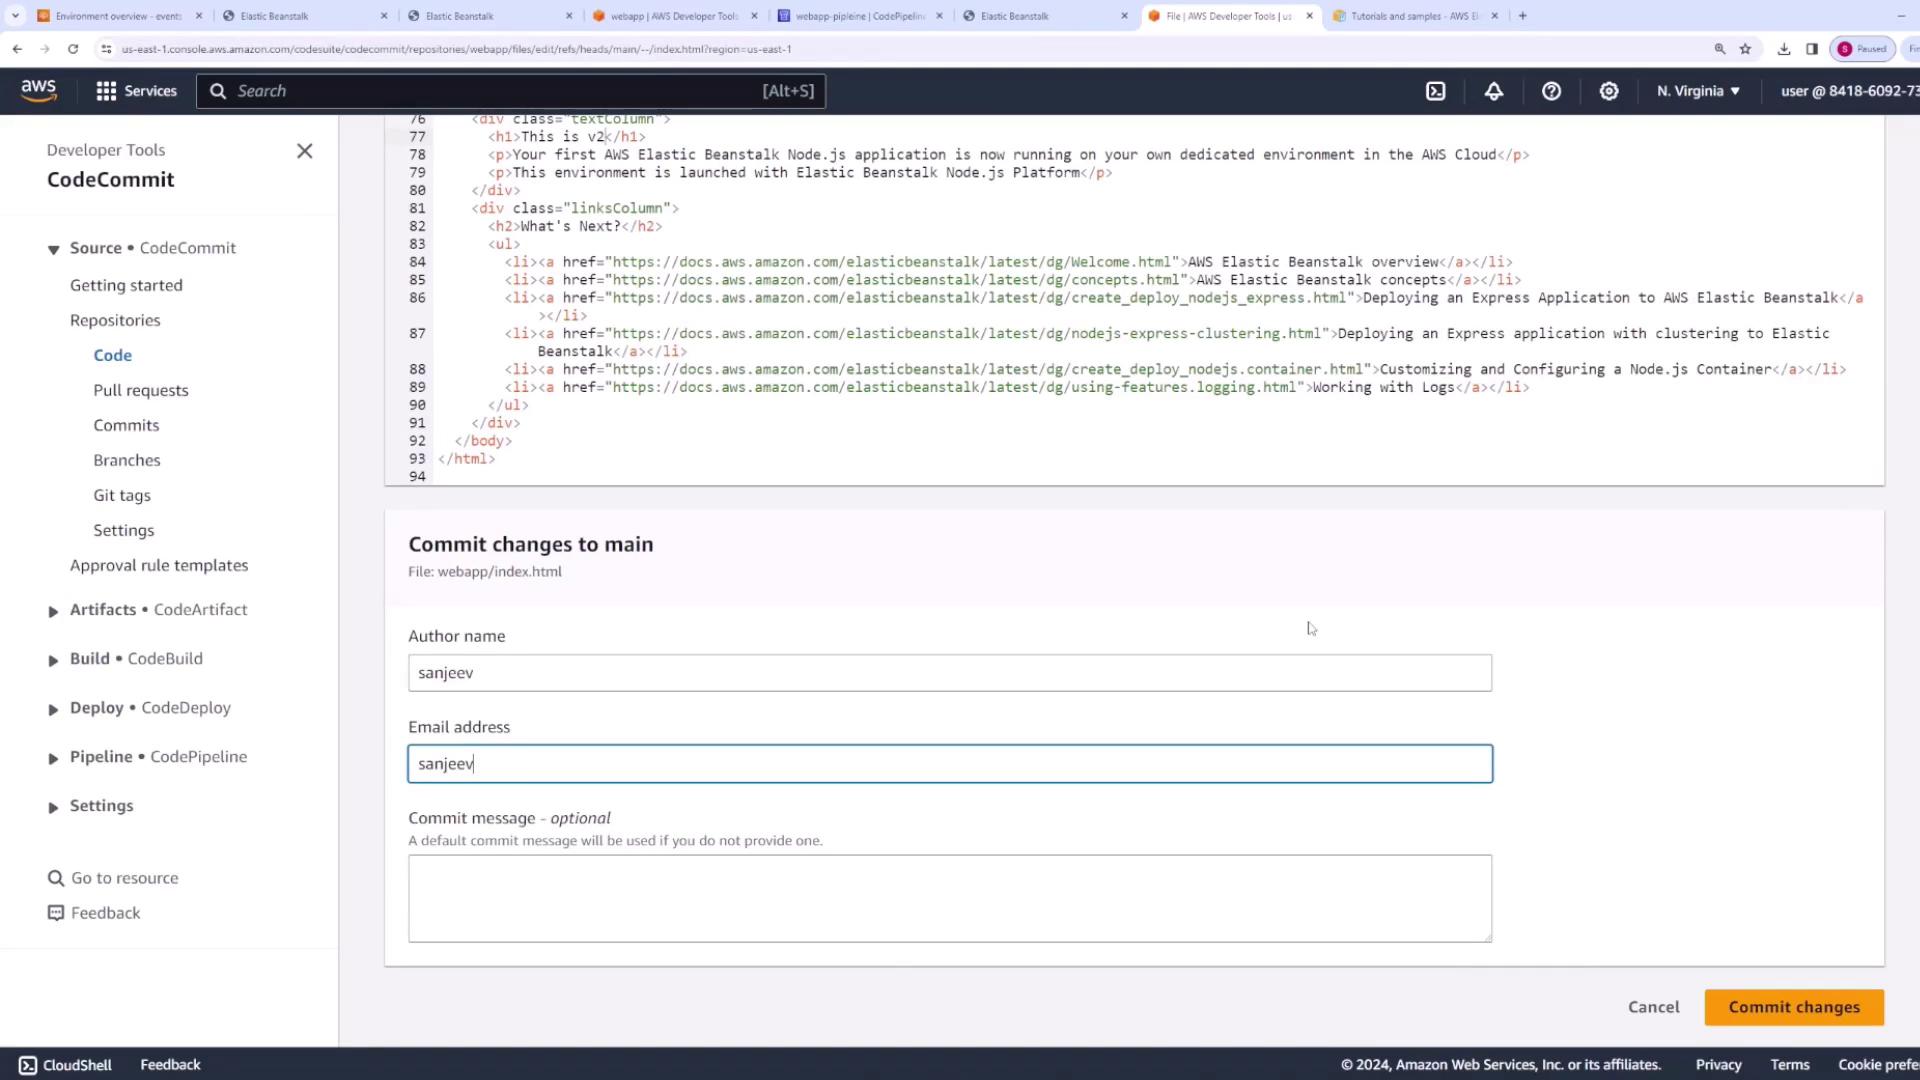
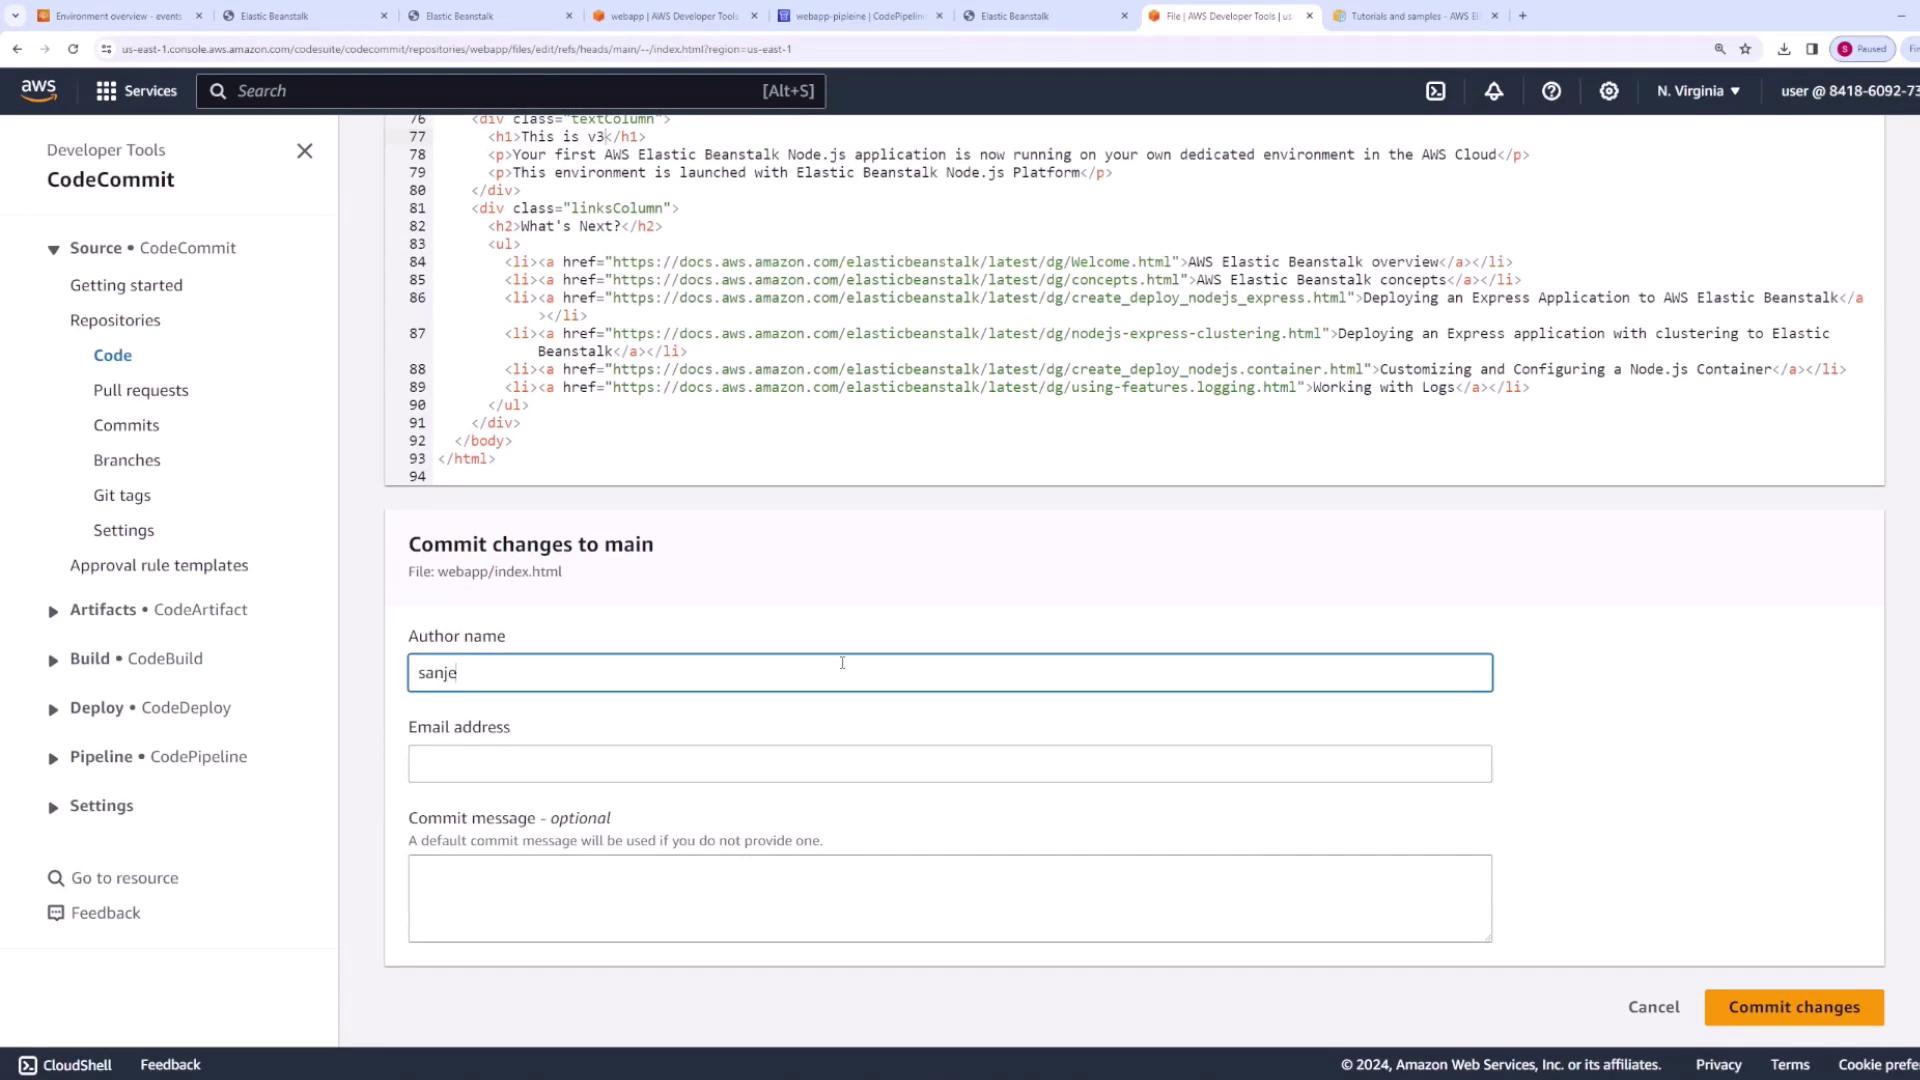
Demonstrate how pipeline automation works by modifying your application code in CodeCommit and reviewing the updated deployment process.- Make a Code Change
Edit theindex.htmlfile in CodeCommit (for example, change the text from “congratulations” to “this is version two”) and commit your changes.
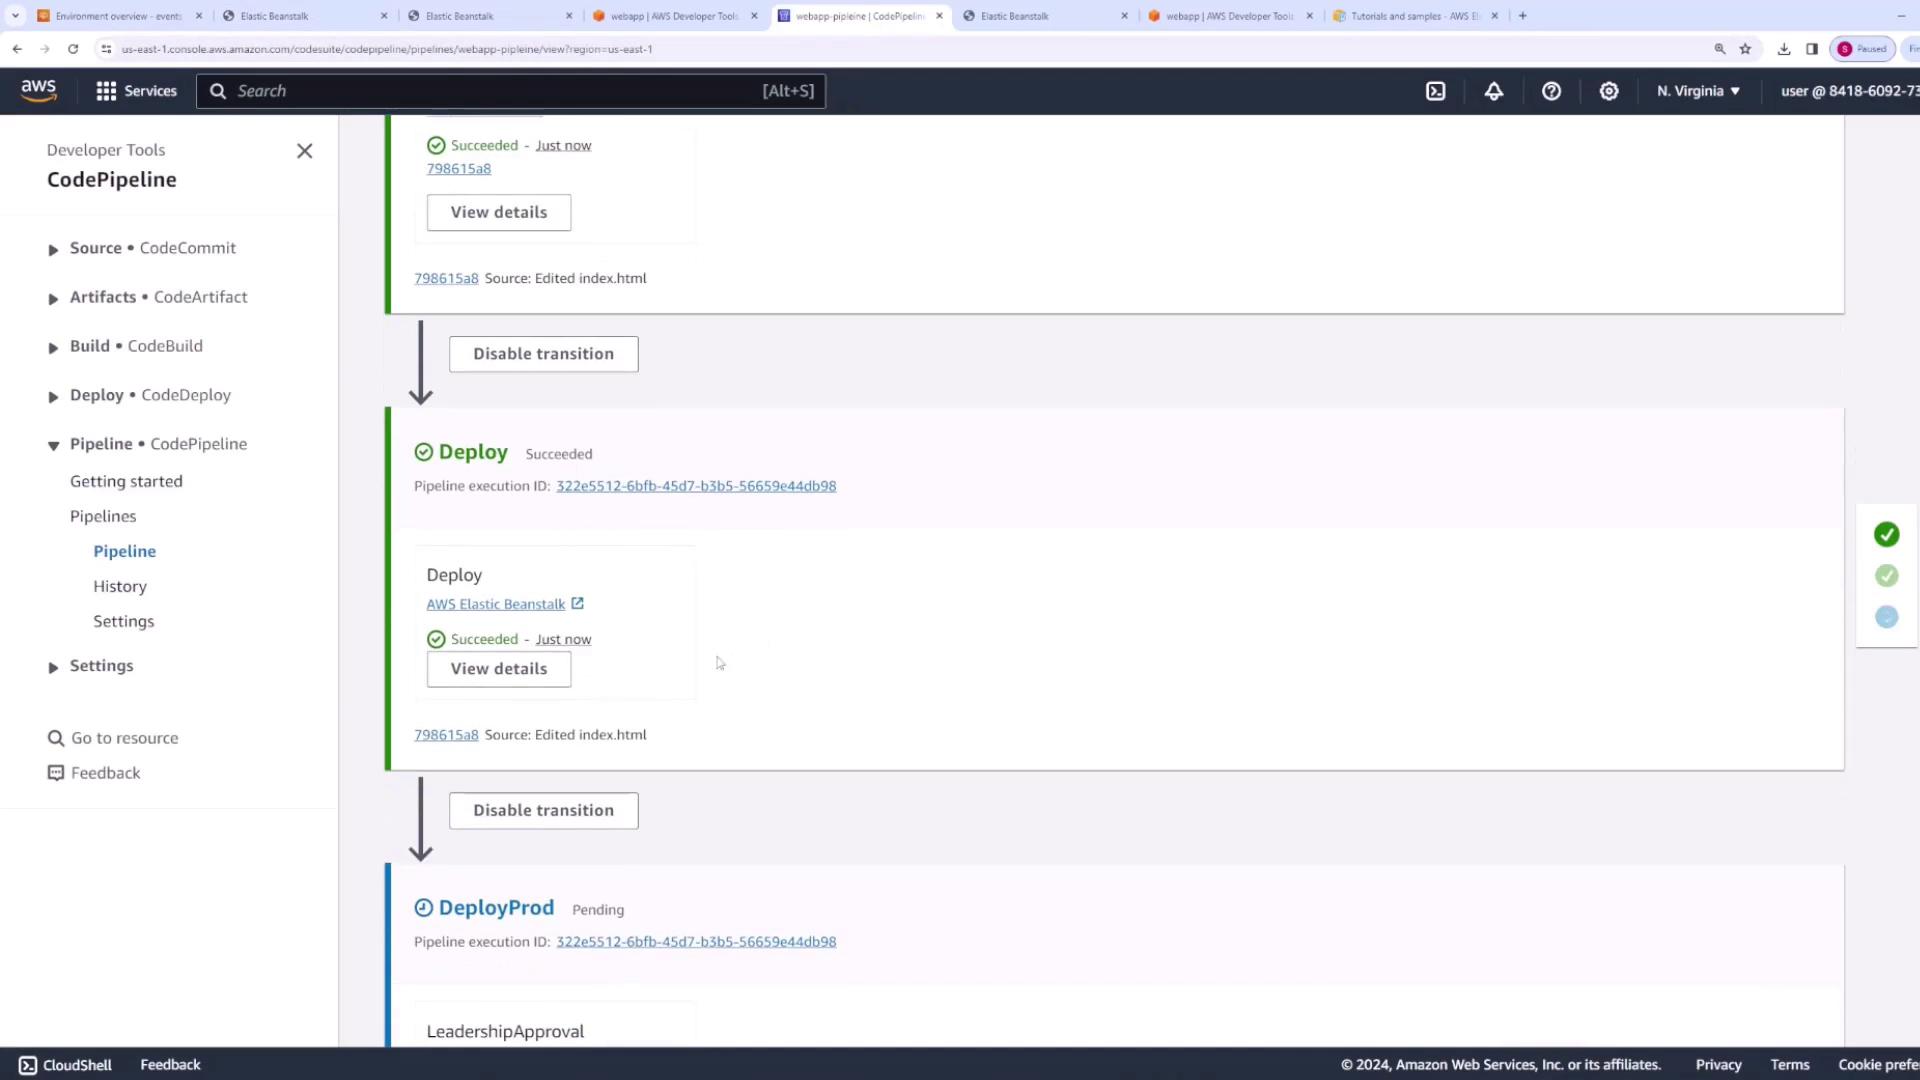
- Observe the Pipeline Execution
After committing, open the CodePipeline console to see the new execution:- The source stage will detect the new commit.
- The deploy stage will update the development environment with the modified application.
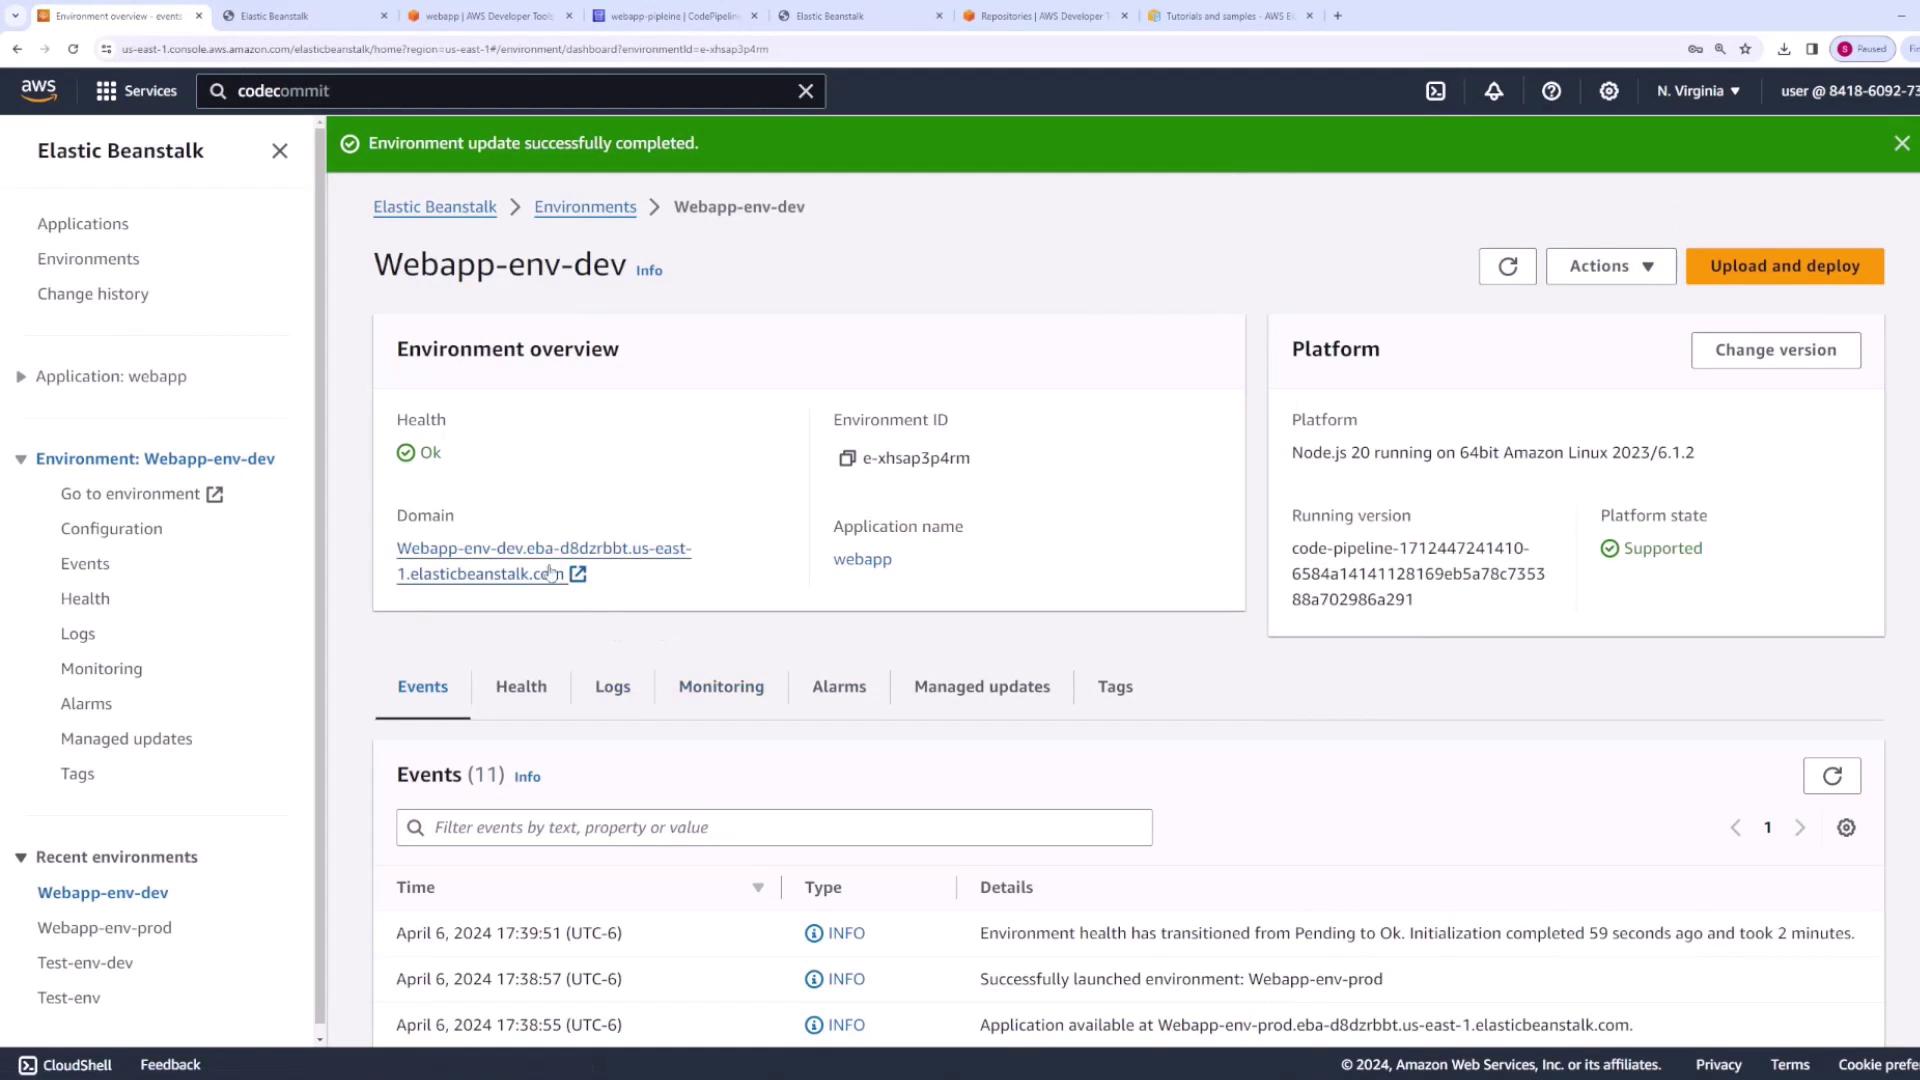

- Verify the Change on Elastic Beanstalk
Refresh the development environment URL to ensure that the application now displays version two.
Enhancing the Pipeline with a Production Deployment Stage
Improve your deployment process by adding a production stage that includes a manual approval step for enhanced security.-
Modify the Pipeline
In the CodePipeline console, add a new stage calleddeploy prod. -
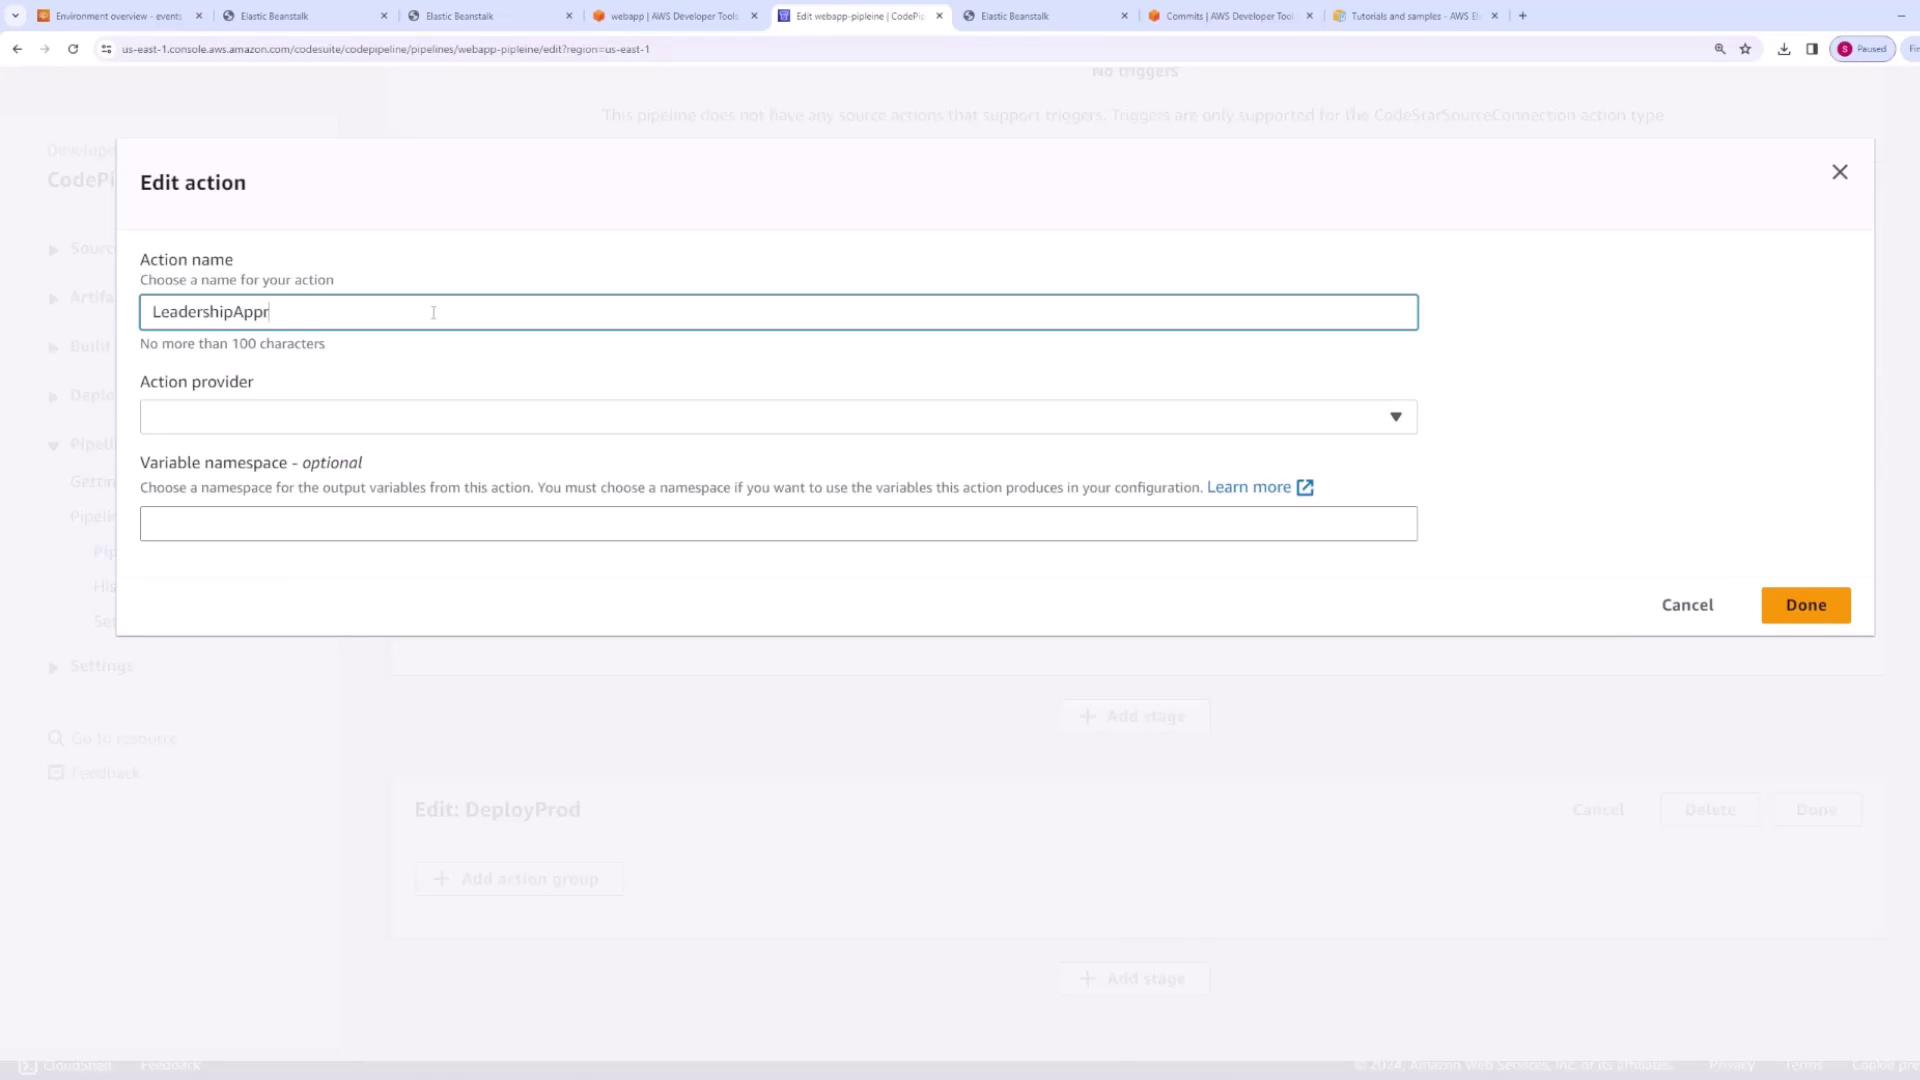
Add a Manual Approval Action
Within thedeploy prodstage, insert an action group for manual approval. For example, label this action leadership approval. This step requires team lead or management approval before proceeding with production deployment.
-
Deploy to Production
Following the manual approval, add an action to deploy the code to the production environment using Elastic Beanstalk. Configure the action with:- Input artifact: the same artifact from the previous stage.
- Environment: production (
prod).
-
Test the Pipeline Flow
To test, modify theindex.htmlfile in CodeCommit (for example, update the text to “this is version three”) and commit the changes. The pipeline will then:- Update the development environment automatically.
- Pause at the production stage for manual approval.
- Final Verification
After manual approval and deployment, verify in Elastic Beanstalk that the production environment is running version three of the application.