This guide demonstrates using Amazon SNS to publish messages and integrate with AWS services for scalable architectures.
In this guide, we demonstrate how to use Amazon Simple Notification Service (SNS) to publish messages and integrate with other AWS services, such as Amazon SQS. This tutorial is ideal for developers looking to build scalable, loosely coupled architectures where multiple backend services communicate through pub/sub messaging.
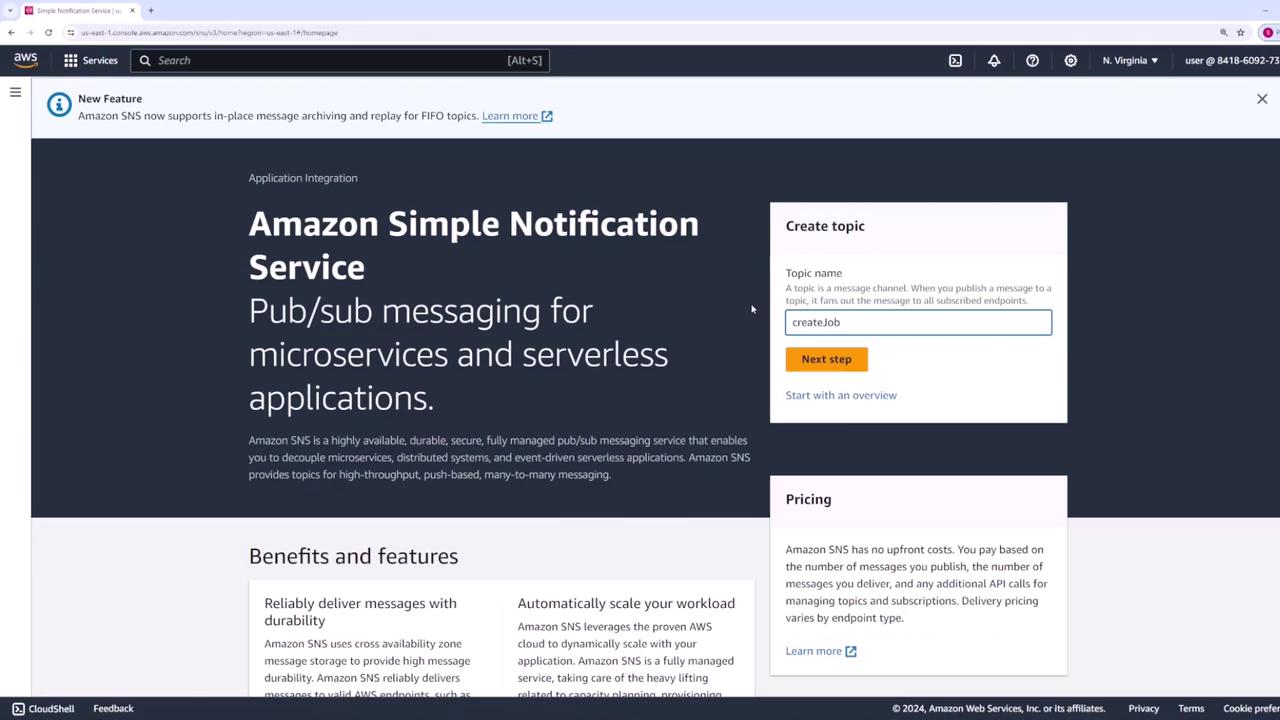
Navigate to the SNS page and click “Create Topic” to start. For this demonstration, name your topic createJob. Imagine a backend system where every new job results in a message published to an SNS topic. Other backend services can subscribe to this topic to pick up messages and process them as needed.
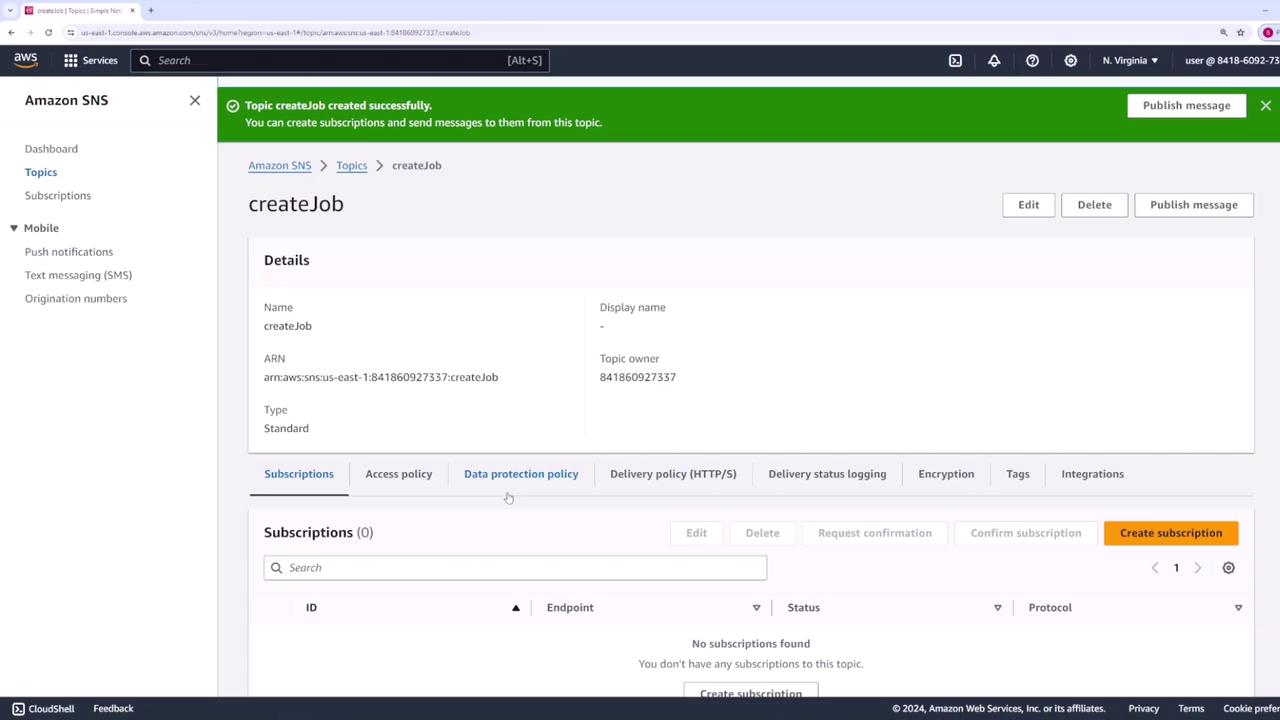
After entering the topic name, click Next to choose between a Standard or FIFO topic. This decision depends on your specific use case. You also have the option to enable encryption and configure various access policies. While additional settings such as data protection and delivery policy exist, we focus only on the essentials here. Finally, click Create to finalize the topic creation.
With your topic created, it’s time to set up the endpoints that will subscribe to it. Each time a message is published, all subscribed endpoints will receive a notification.
Choose one of the available protocols (email, SMS, SQS, Lambda, or Kinesis Data Firehose) for your subscription.For this demo, we’ll subscribe an SQS queue named processJob.
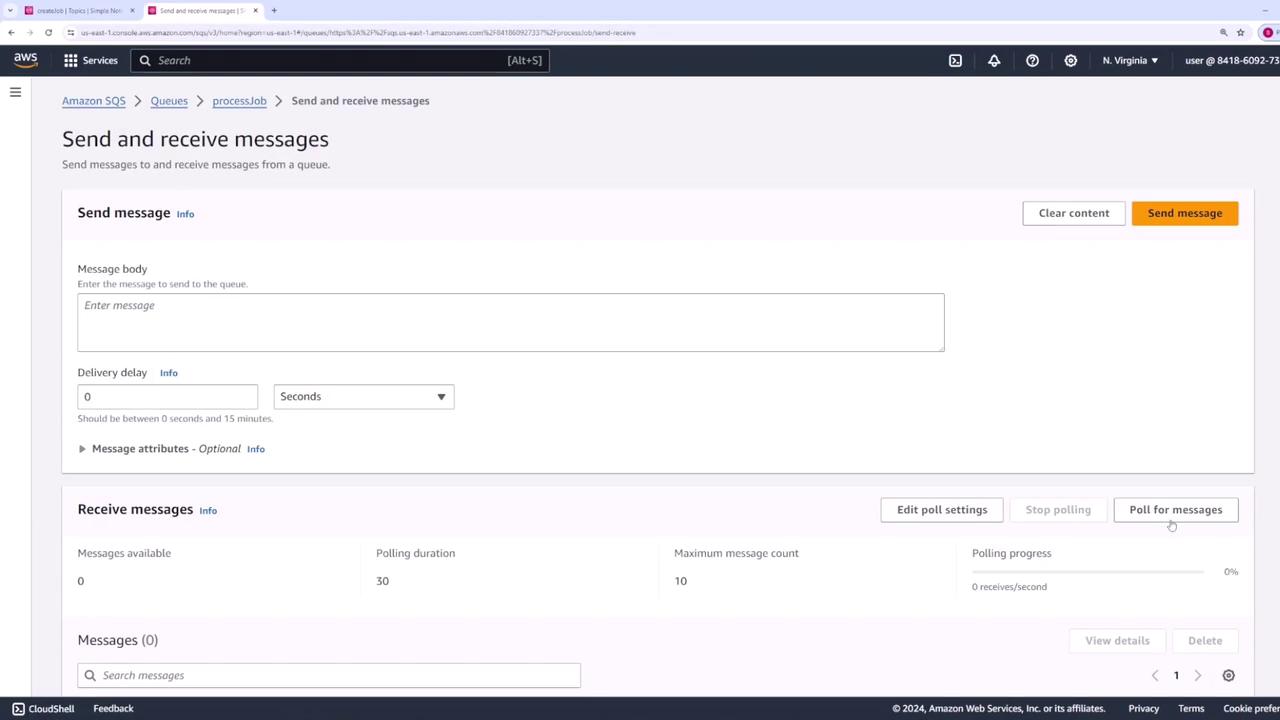
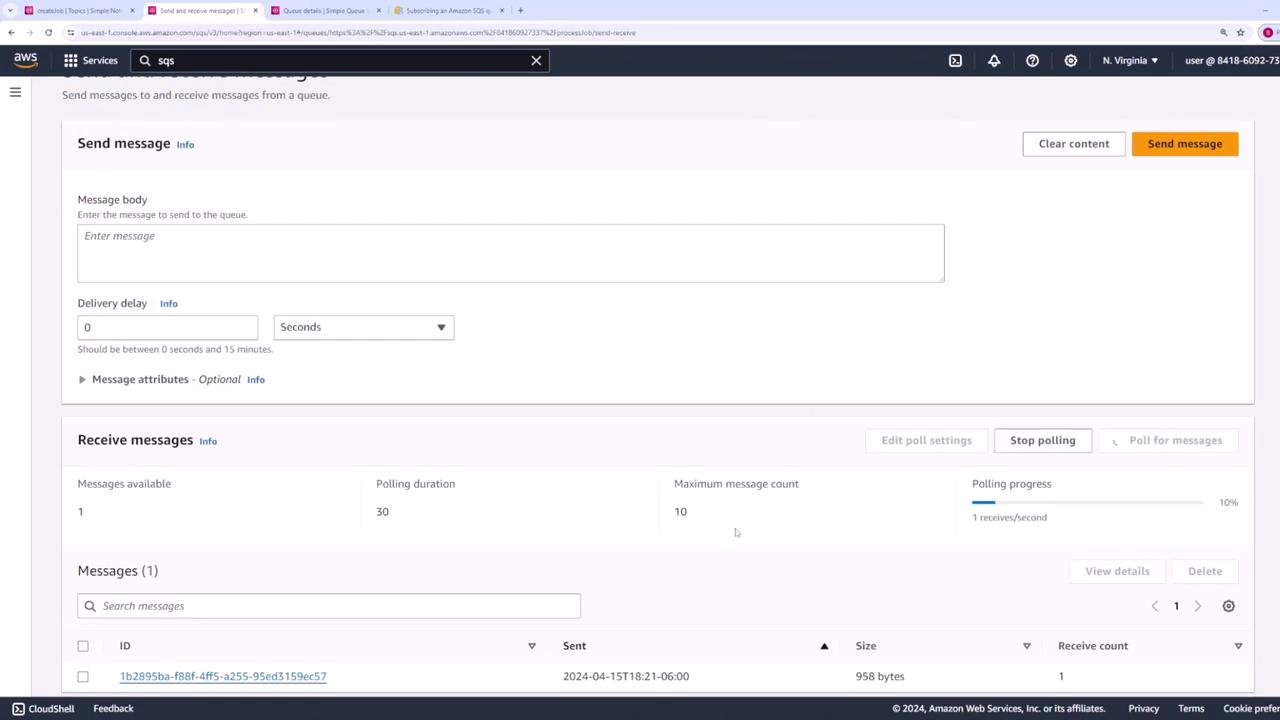
To confirm that messages flow correctly, check the processJob SQS queue by navigating to the “Send and receive messages” section and polling for messages.
If no messages are visible in your SQS queue, it may be due to insufficient permissions allowing SNS to send messages to SQS.
SNS might be publishing messages correctly, but the SQS queue requires the proper permissions to accept these messages. To resolve this, update your SQS access policy. Below is an example of an SQS policy that grants SNS permission to send messages. Make sure to adjust the ARNs for both the SQS queue and SNS topic to suit your environment.
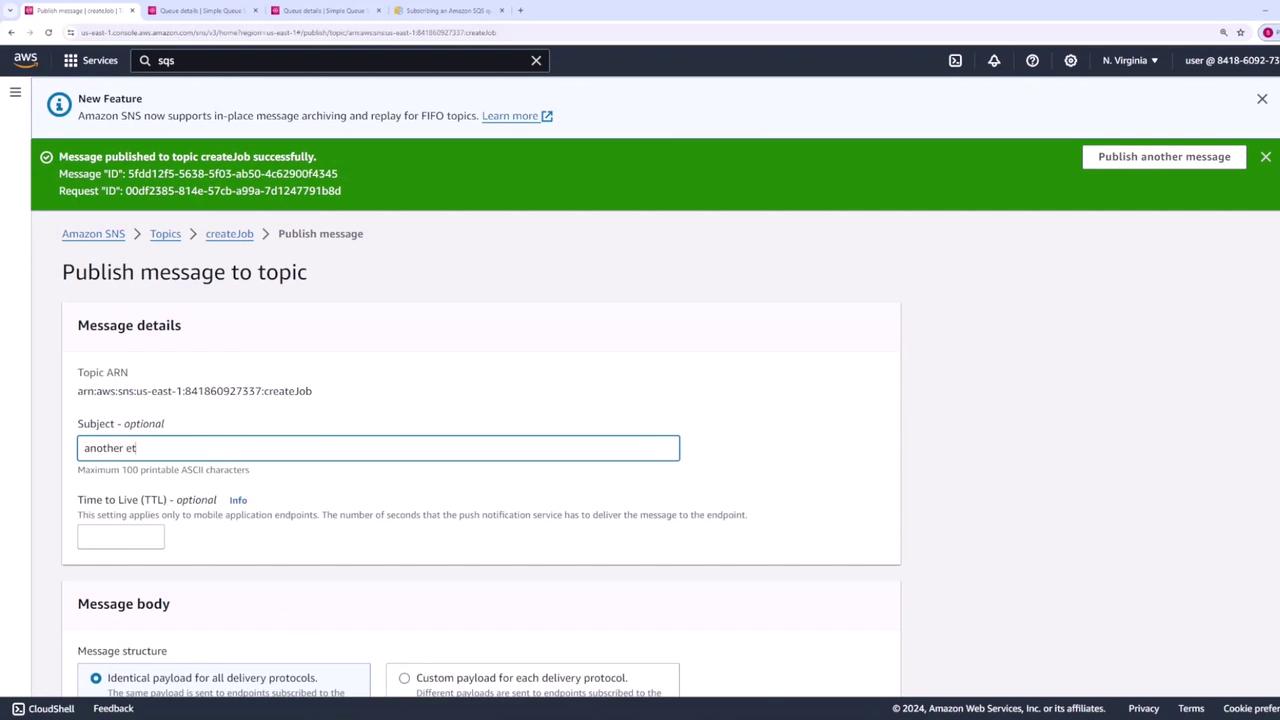
After updating the policy, publish another message to your SNS topic using more detailed content (for example, “job details: …”). Then, return to the SQS console and use the Send and receive messages function to poll for messages. You should now see the message delivered to the queue.
This demonstration shows how to set up Amazon SNS and integrate it with SQS to achieve efficient message-based communication between services. By configuring the correct permissions and subscriptions, you enable scalable and robust architectures where multiple endpoints—whether email, Lambda functions, SQS queues, or others—can consume messages published to an SNS topic.For more information, visit the AWS SNS Documentation and explore further integrations to match your application needs.Happy coding!