AWS Certified Developer - Associate

Application Integrations

SQS Basics Demo

This guide demonstrates how to work with Amazon Simple Queue Service (SQS) by creating your first queue and exploring its configuration options. Using SQS, you can decouple application components, enabling a flexible and scalable architecture.

Getting Started

Begin by searching for SQS in the AWS Console. Once located, create a new queue and choose between a Standard queue and a FIFO queue. For this demo, we will use a Standard queue.

Name your queue "newUser". This queue simulates an application process where each new user registration triggers the sending of a message. The message, containing user details, can then be processed by other parts of your application.

The image shows the Amazon SQS (Simple Queue Service) interface for creating a new queue, with options for selecting the queue type, naming it, and configuring settings like visibility timeout and message retention period.

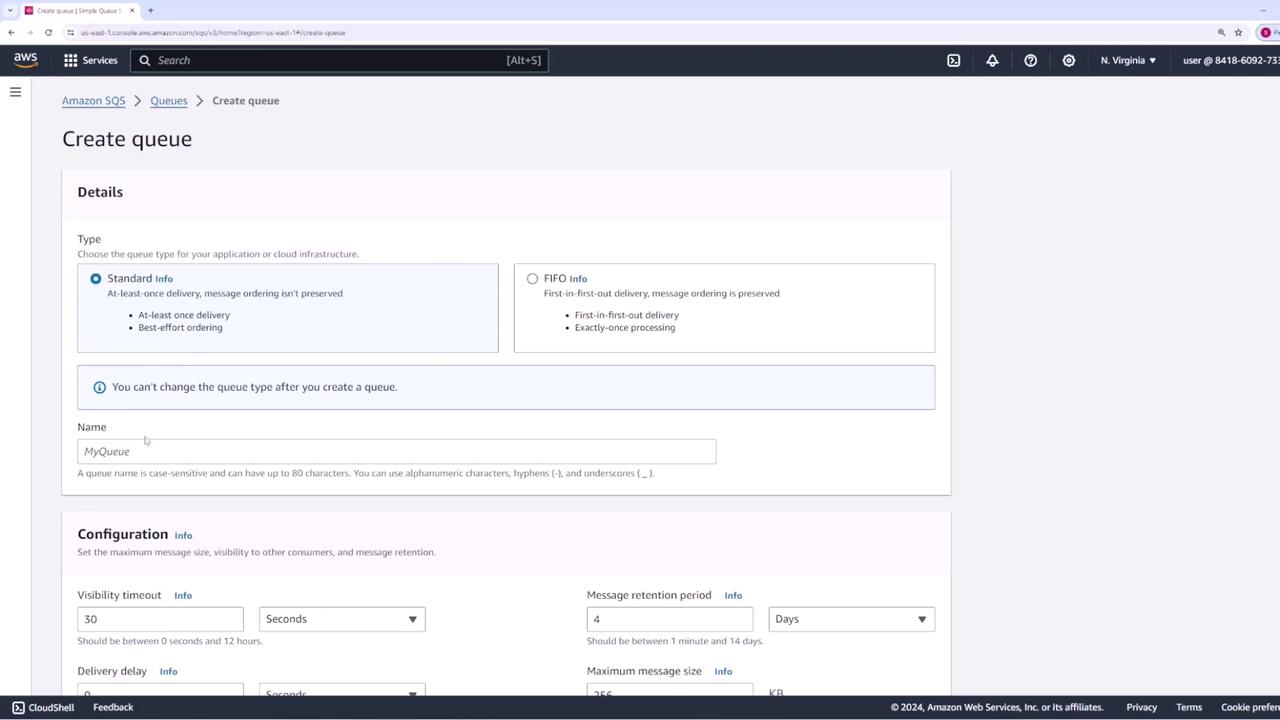
Queue Configuration Options

Below the queue name, several configuration settings are available:

  • Visibility Timeout: The period during which a message remains invisible to other consumers.
  • Message Retention Period: The duration, from one minute to 14 days, that a message is retained in the queue.
  • Maximum Message Size: Currently set at 256 kilobytes.

Other options include encryption settings. You can let SQS manage the encryption key or use AWS Key Management Service (KMS) for more control. In this demonstration, encryption is left disabled.

The default access policy permits only the queue owner to send and receive messages. You can adjust this policy to allow additional AWS services or accounts. Below are two examples of access policies:

{
  "Version": "2012-10-17",
  "Id": "__default_policy_ID",
  "Statement": [
    {
      "Sid": "__owner_statement__",
      "Effect": "Allow",
      "Principal": {
        "AWS": "841868927337"
      },
      "Action": "SQS:*",
      "Resource": "arn:aws:sqs:us-east-1:841868927337:newUser"
    }
  ]
}
{
  "Version": "2012-10-17",
  "Id": "__default_policy_ID",
  "Statement": [
    {
      "Sid": "__owner_statement",
      "Effect": "Allow",
      "Principal": {
        "AWS": "841868927337"
      },
      "Action": "SQS:*",
      "Resource": "arn:aws:sqs:us-east-1:841868927337:newUser"
    }
  ]
}

Note

For this demonstration, all settings remain at their default values before creating the queue.

Interacting with Your Queue

After successfully creating your queue, there are multiple methods to interact with it. While most applications use the AWS SDK to publish and retrieve messages programmatically, the AWS Console also provides options for manual testing. The console allows you to simulate both message production and consumption.
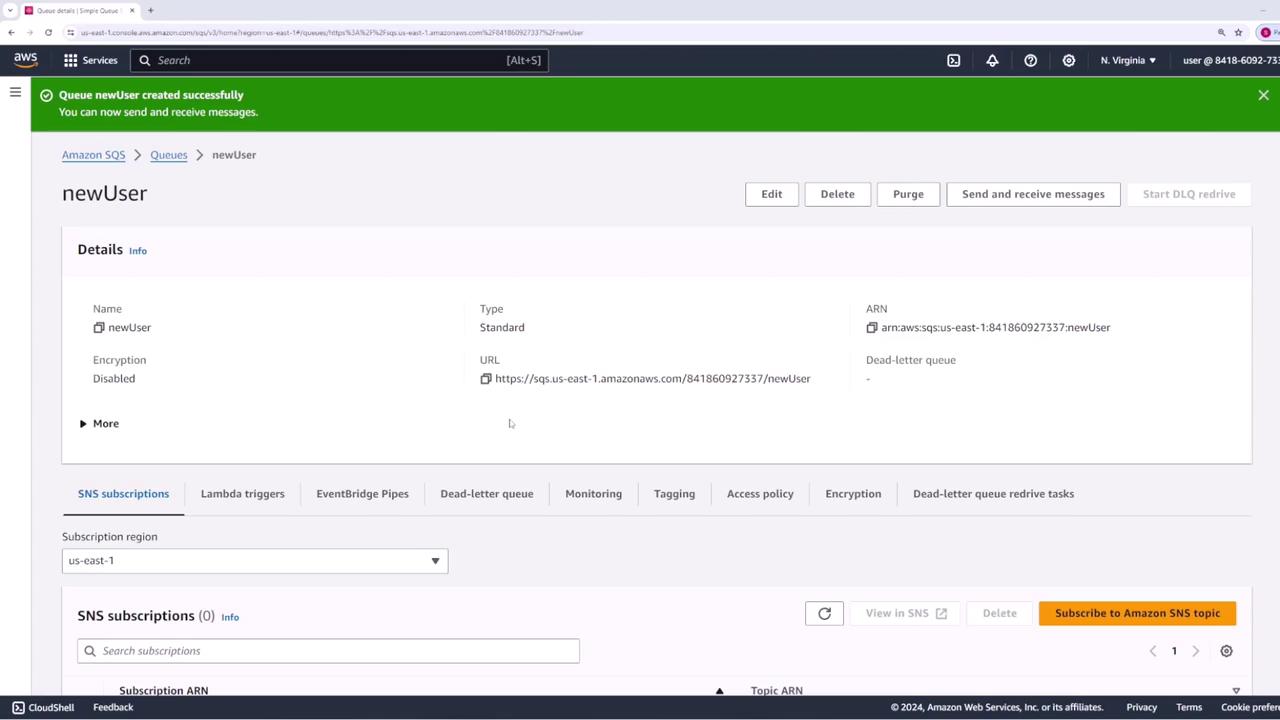
The image shows an AWS management console screen for an Amazon SQS queue named "newUser," with details such as type, ARN, and URL displayed. A green notification bar indicates the queue was created successfully.

Sending a Message

To test the queue functionality, start by sending a message. For example, if the "newUser" queue is meant to capture registration details, you might send the following JSON message with an email address:

{
  "email": "[email protected]"
}

After sending, the console confirms that the message has been successfully sent.

The image shows an AWS console interface for sending and receiving messages in a queue. A message has been sent with details like email and username, and options for delivery delay and message attributes are visible.

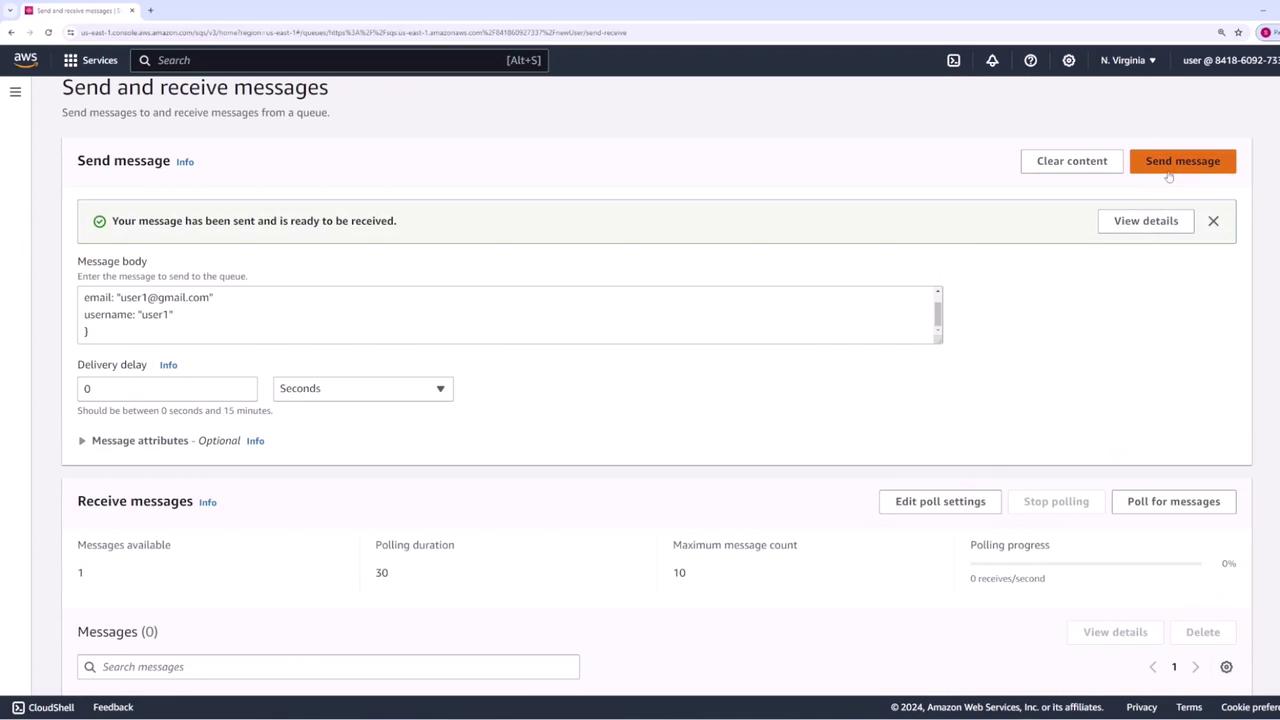
Retrieving and Processing Messages
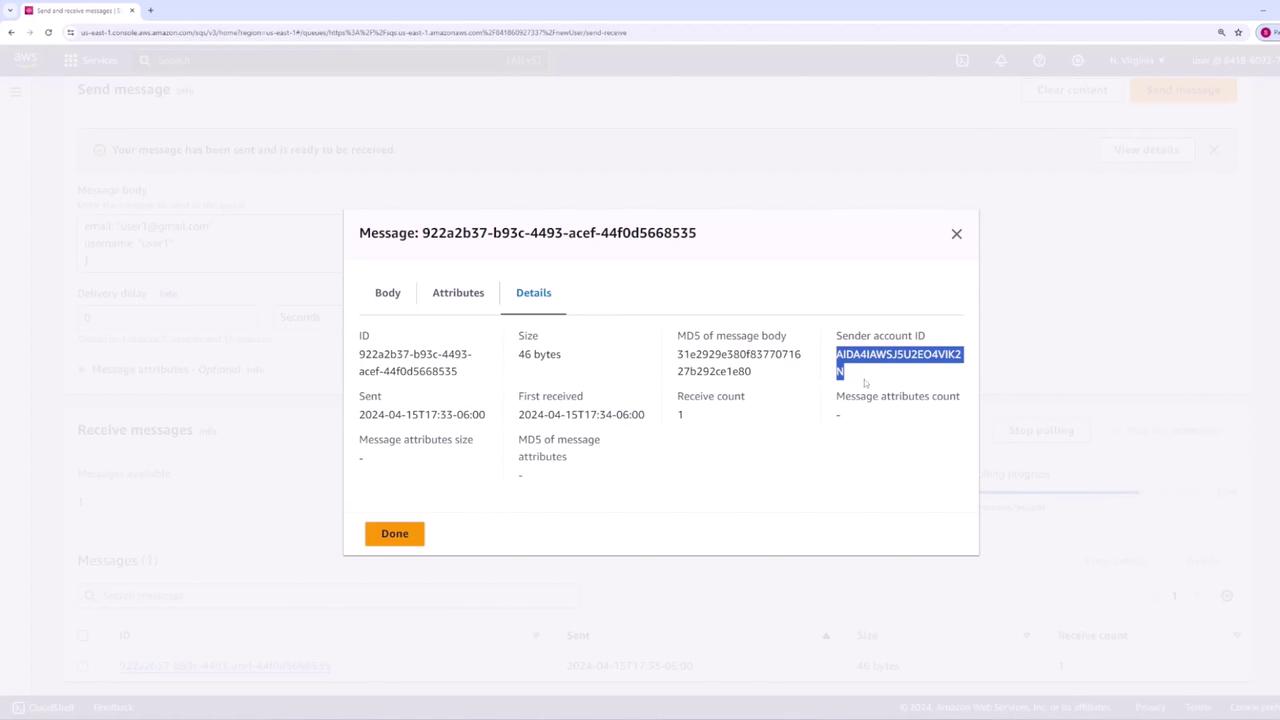
To retrieve messages, click the "Pull for messages" button in the consumer view of the AWS Console. The detailed view of a selected message includes:

  • Message ID
  • Message body (the data transmitted)
  • Attributes such as visibility timeout and timestamps
  • MD5 checksum of the message body
  • Sender account ID

After your application processes a message, it is important to delete it to ensure it is not reprocessed.

The image shows a message details window from an AWS interface, displaying information such as message ID, size, sender account ID, and timestamps.

Once the message is deleted, the console will display a notification confirming its removal.

The image shows an AWS management console interface for sending and receiving messages, with a notification indicating that one message was deleted successfully. It includes options for message polling and details about message availability.

Note

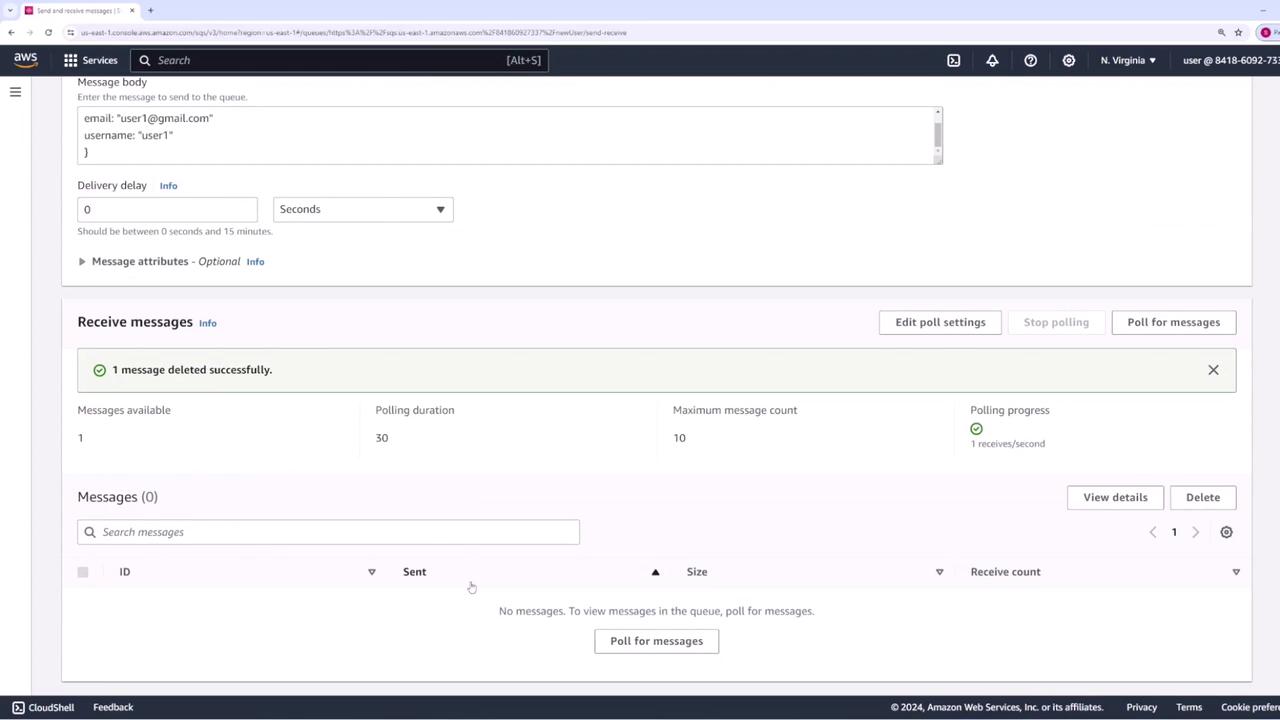
Remember to delete processed messages to avoid duplicate processing and to maintain the efficiency of your queue.

Summary

The SQS workflow consists of your client sending messages to the queue, while a consumer application pulls and processes these messages. This decoupled architecture not only enhances scalability but also ensures that each component of your application can evolve independently.

For additional details on integrating SQS with your applications, consider exploring the AWS SQS Documentation.

Happy queueing!

Watch Video

Watch video content

Previous
AWS SQS Overview