Creating the Dead-Letter Queue
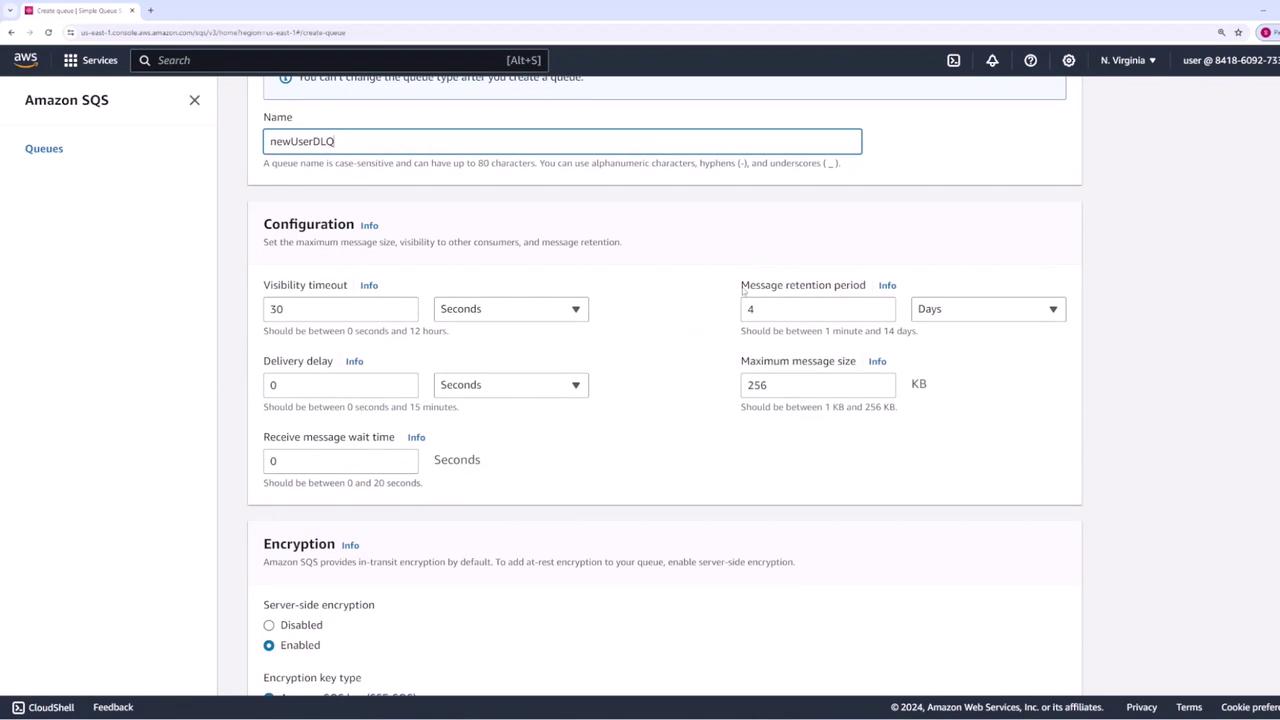
Begin by creating a new queue that will serve as the DLQ. It’s important that the DLQ type matches the type of the primary queue that sends messages to it. For example, if your primary queue is standard, the DLQ must also be standard. In our demo, we name the DLQ “new user dead letter queue.”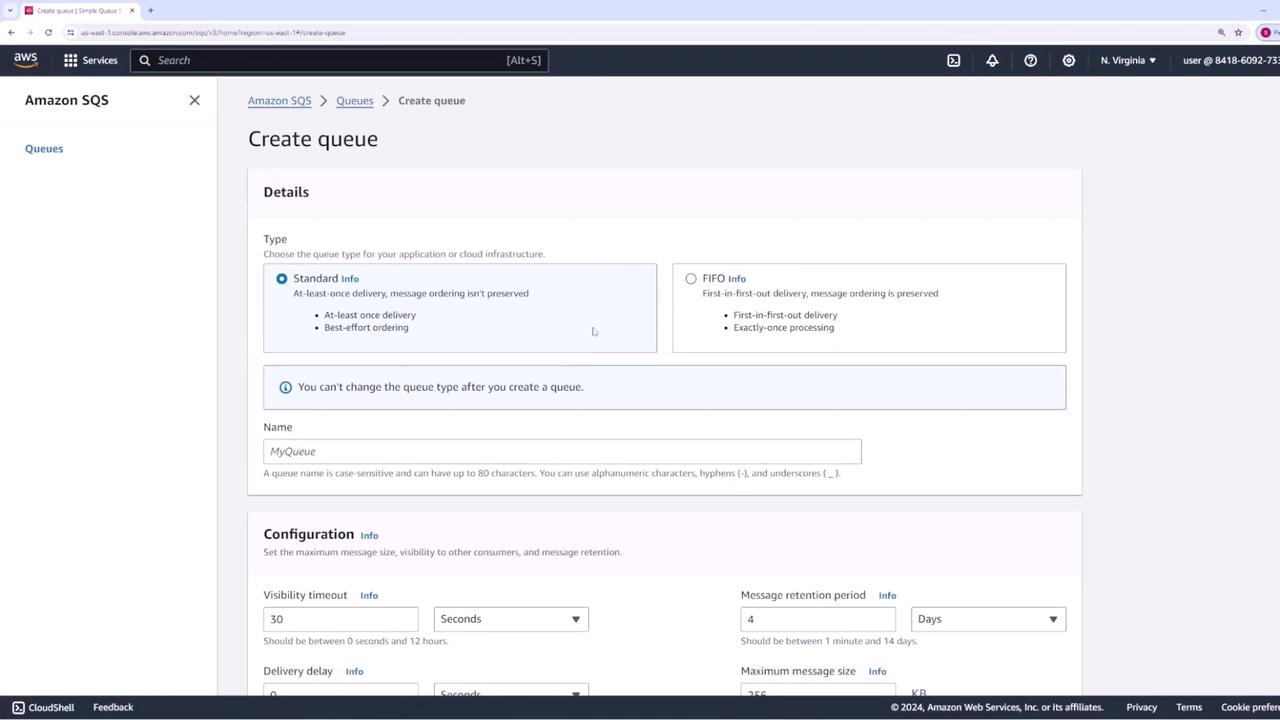
- Message Retention: Configure your DLQ with an extended retention period. This ensures that messages remain available for troubleshooting if errors occur.
- Visibility Timeout: This is the duration for which a message remains invisible to other consumers after being retrieved. In our example, the DLQ’s visibility timeout is set to three seconds. Each visibility timeout cycle counts as one processing attempt. With a maximum receive count of three, a message will be moved to the DLQ after approximately nine seconds (3 seconds × 3 attempts). Adjusting these values will affect the delay before a problematic message is transferred.
For production environments, consider configuring longer message retention and visibility timeout settings based on your processing needs to allow ample time for error analysis.
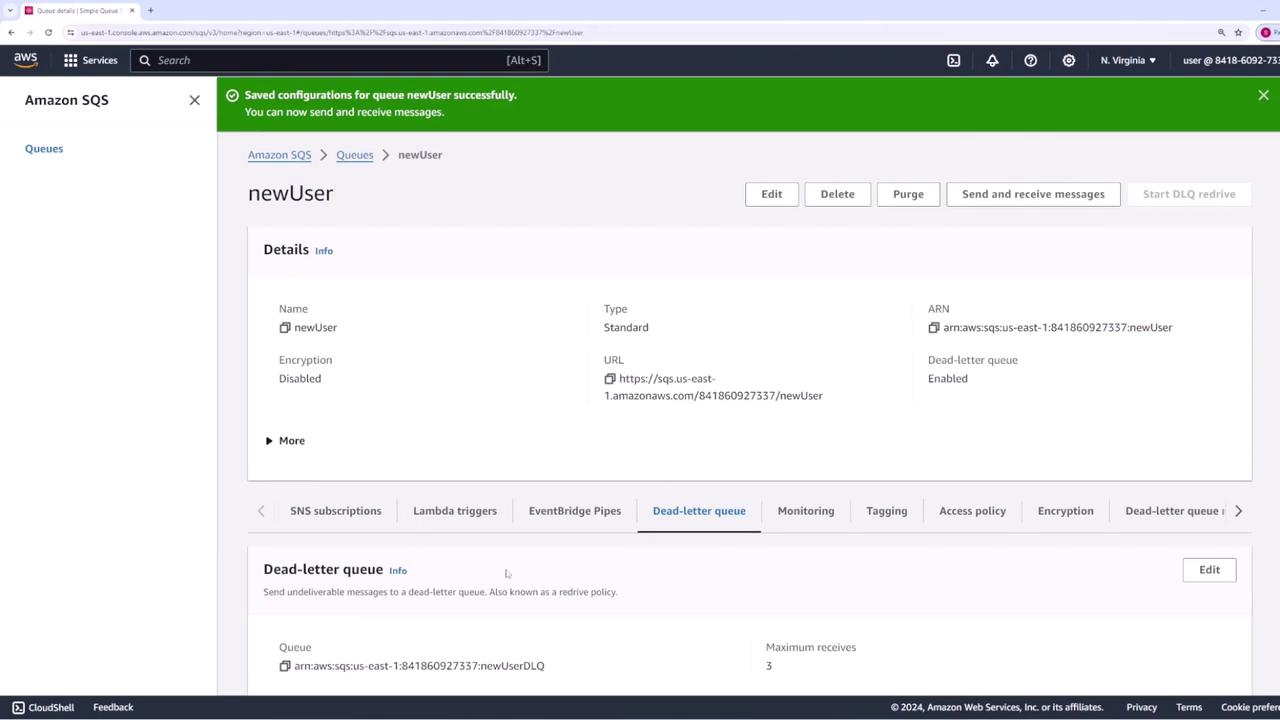
Linking the DLQ to Your Source Queue
Once the DLQ is created, return to your original source queue and edit its configuration to enable the dead-letter queue feature. Scroll down to the “Dead letter queue” section, select “Enabled,” and then choose the ARN of the DLQ you have created. The critical parameter here is the Maximum Receives value—the number of times a message can be retrieved and fail processing before being rerouted to the DLQ. In this example, the maximum receives is set to three.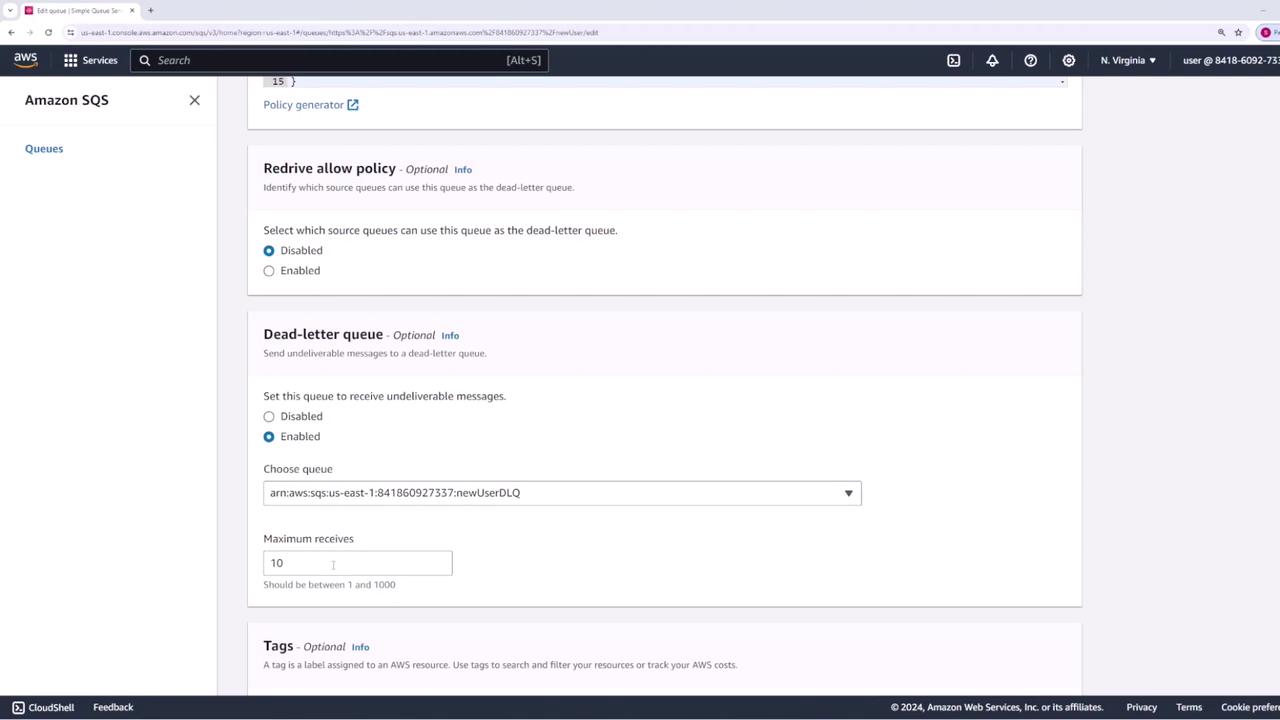
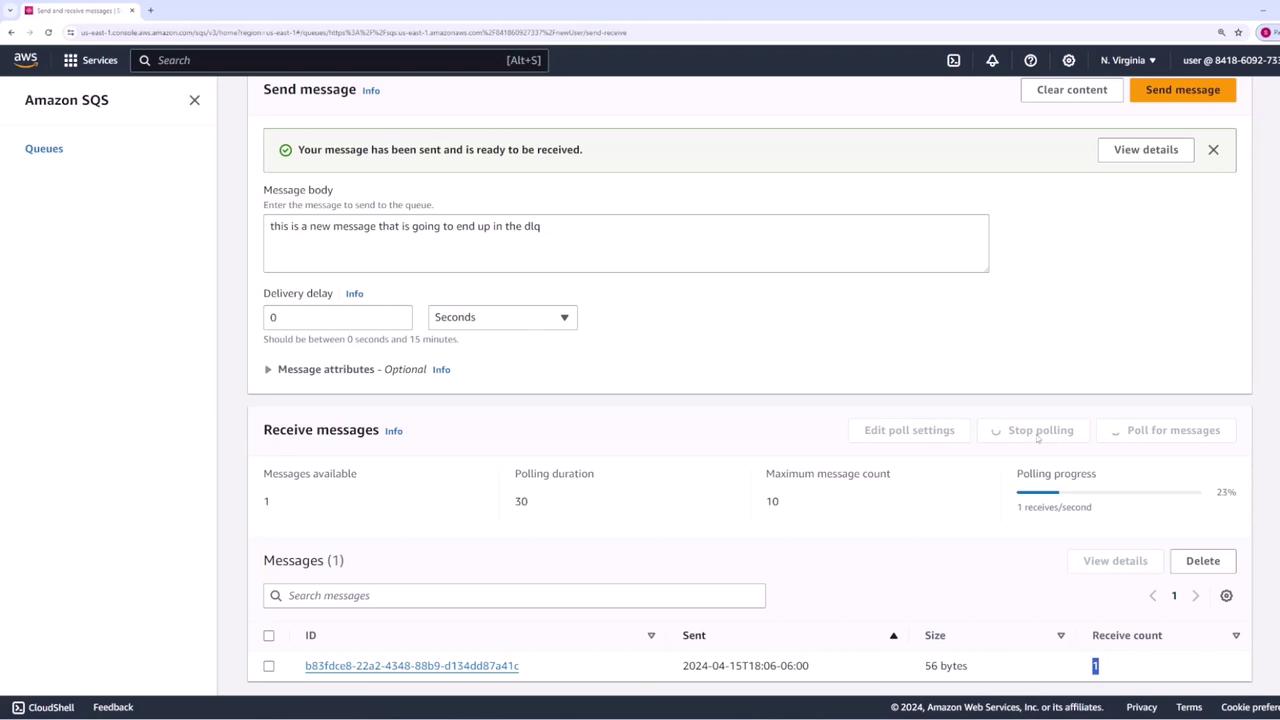
Testing the DLQ Configuration
After saving your settings, it’s time to test the configuration. Follow these steps:- Navigate to the “Send and receive messages” section for the original queue.
- Send a test message. This message will be moved to the DLQ after reaching the maximum receive count.
- Poll the queue to retrieve the message. With each poll, observe the “Receive Count”:
- After the first poll, the count will be one.
- Following the first visibility timeout cycle, it increments to two.
- Upon the third cycle (receive count of three), the message is removed from the primary queue and moved to the DLQ.