AWS Certified Developer - Associate

Identity and Access Management IAM

IAM Demo

In this guide, we'll demonstrate AWS Identity and Access Management (IAM) by working with users, groups, roles, and customizable permissions and policies. These features enable you to control which resources users can access in your AWS account.

If you haven't already, visit aws.amazon.com and click the "Sign into the Console" button in the top-right corner to log into your AWS Console.

The image shows the AWS Management Console webpage with options for logging in and accessing various AWS training and certification resources. It features sections on AWS training, certification, and cloud services.

There are two primary login methods: as the root user or as an IAM user. When you create an AWS account, a root user is automatically generated with full access, using the registration email as the login. However, for everyday tasks, it is highly recommended to create a separate IAM user with restricted permissions.

The image shows the AWS sign-in page with options for root and IAM user login, alongside an advertisement for AWS Training and Certification.

Enter your email and password. If you have multi-factor authentication (MFA) enabled, provide the MFA code. Note that using the root account for daily operations is not secure. Instead, create an IAM user with limited permissions to enhance security.

To get started, navigate to the IAM service. If IAM isn’t visible under "Recently Visited," type "IAM" in the search bar and select it. The IAM dashboard provides you with options to manage users, groups, roles, and policies.

The image shows an AWS IAM dashboard with security recommendations and IAM resources statistics, including user groups, users, roles, policies, and identity providers. It also includes account details and quick links for managing security credentials.


Creating an IAM User

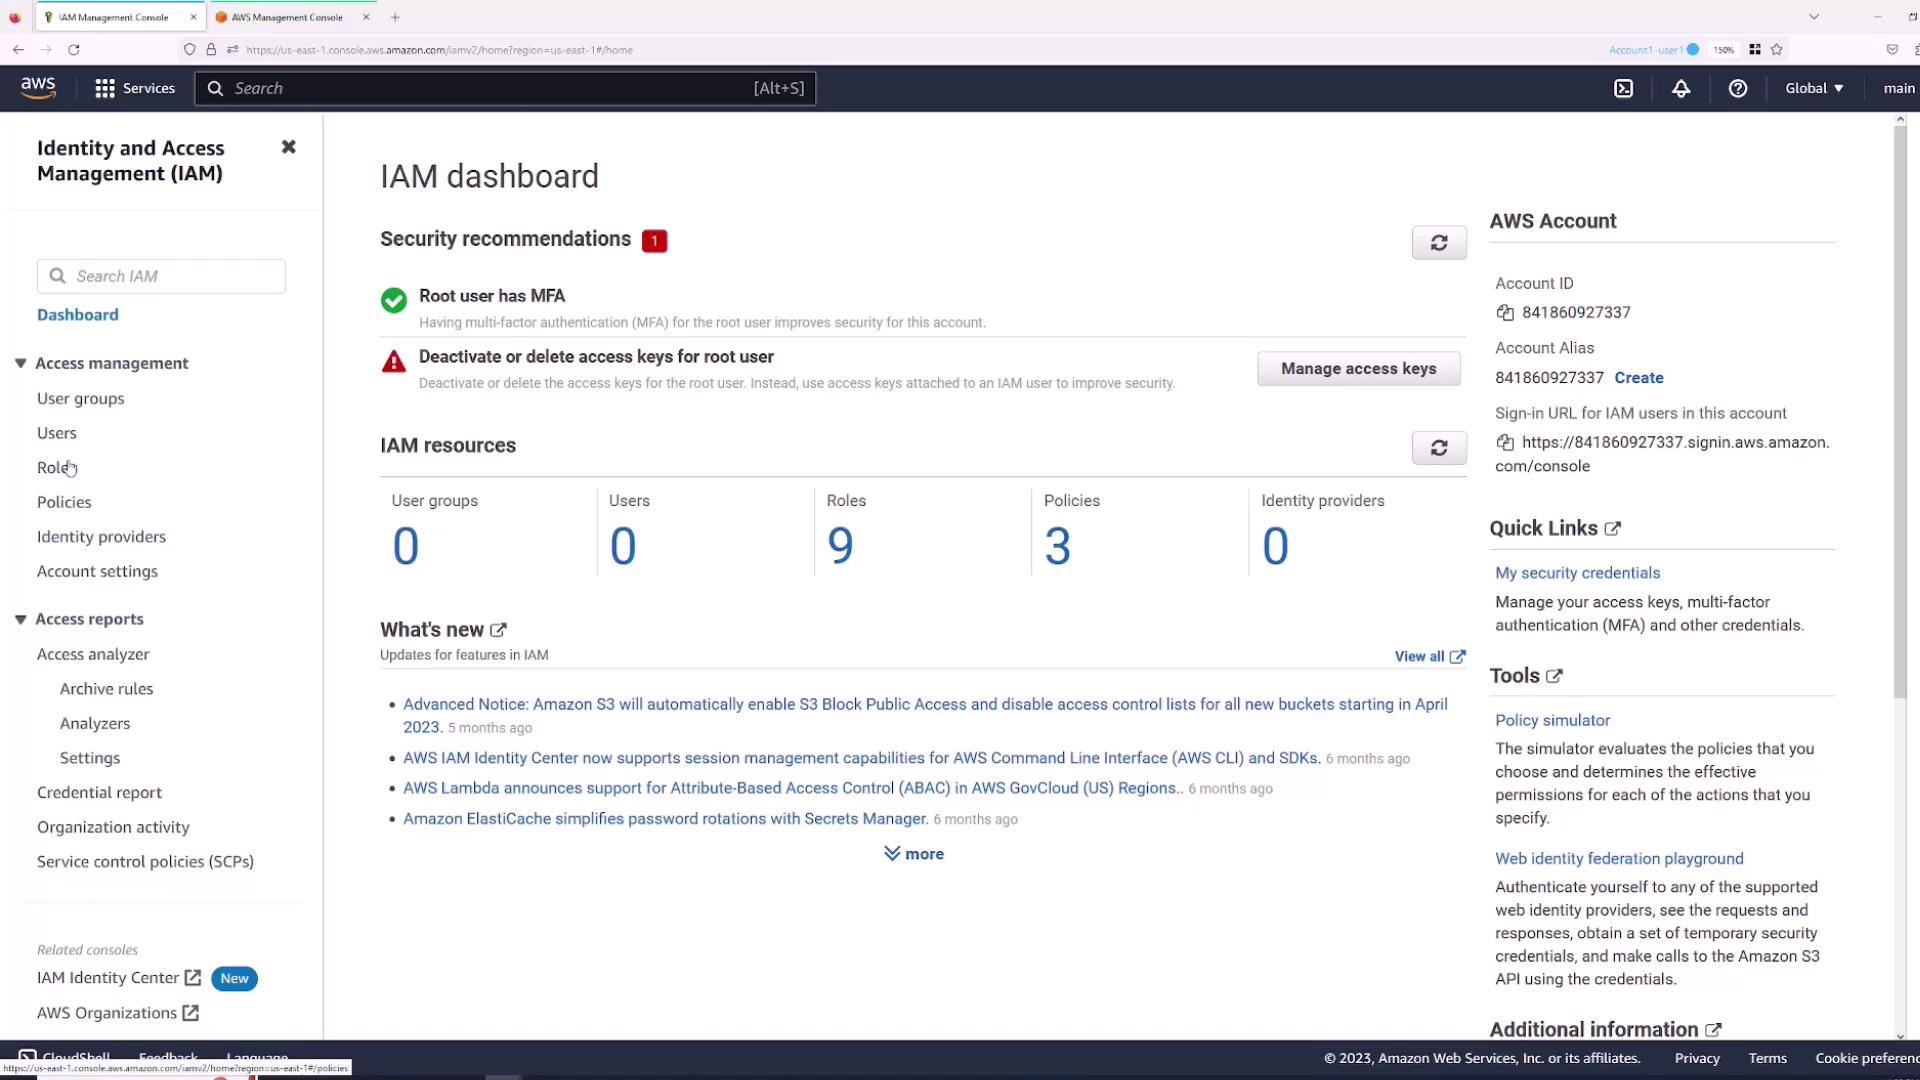
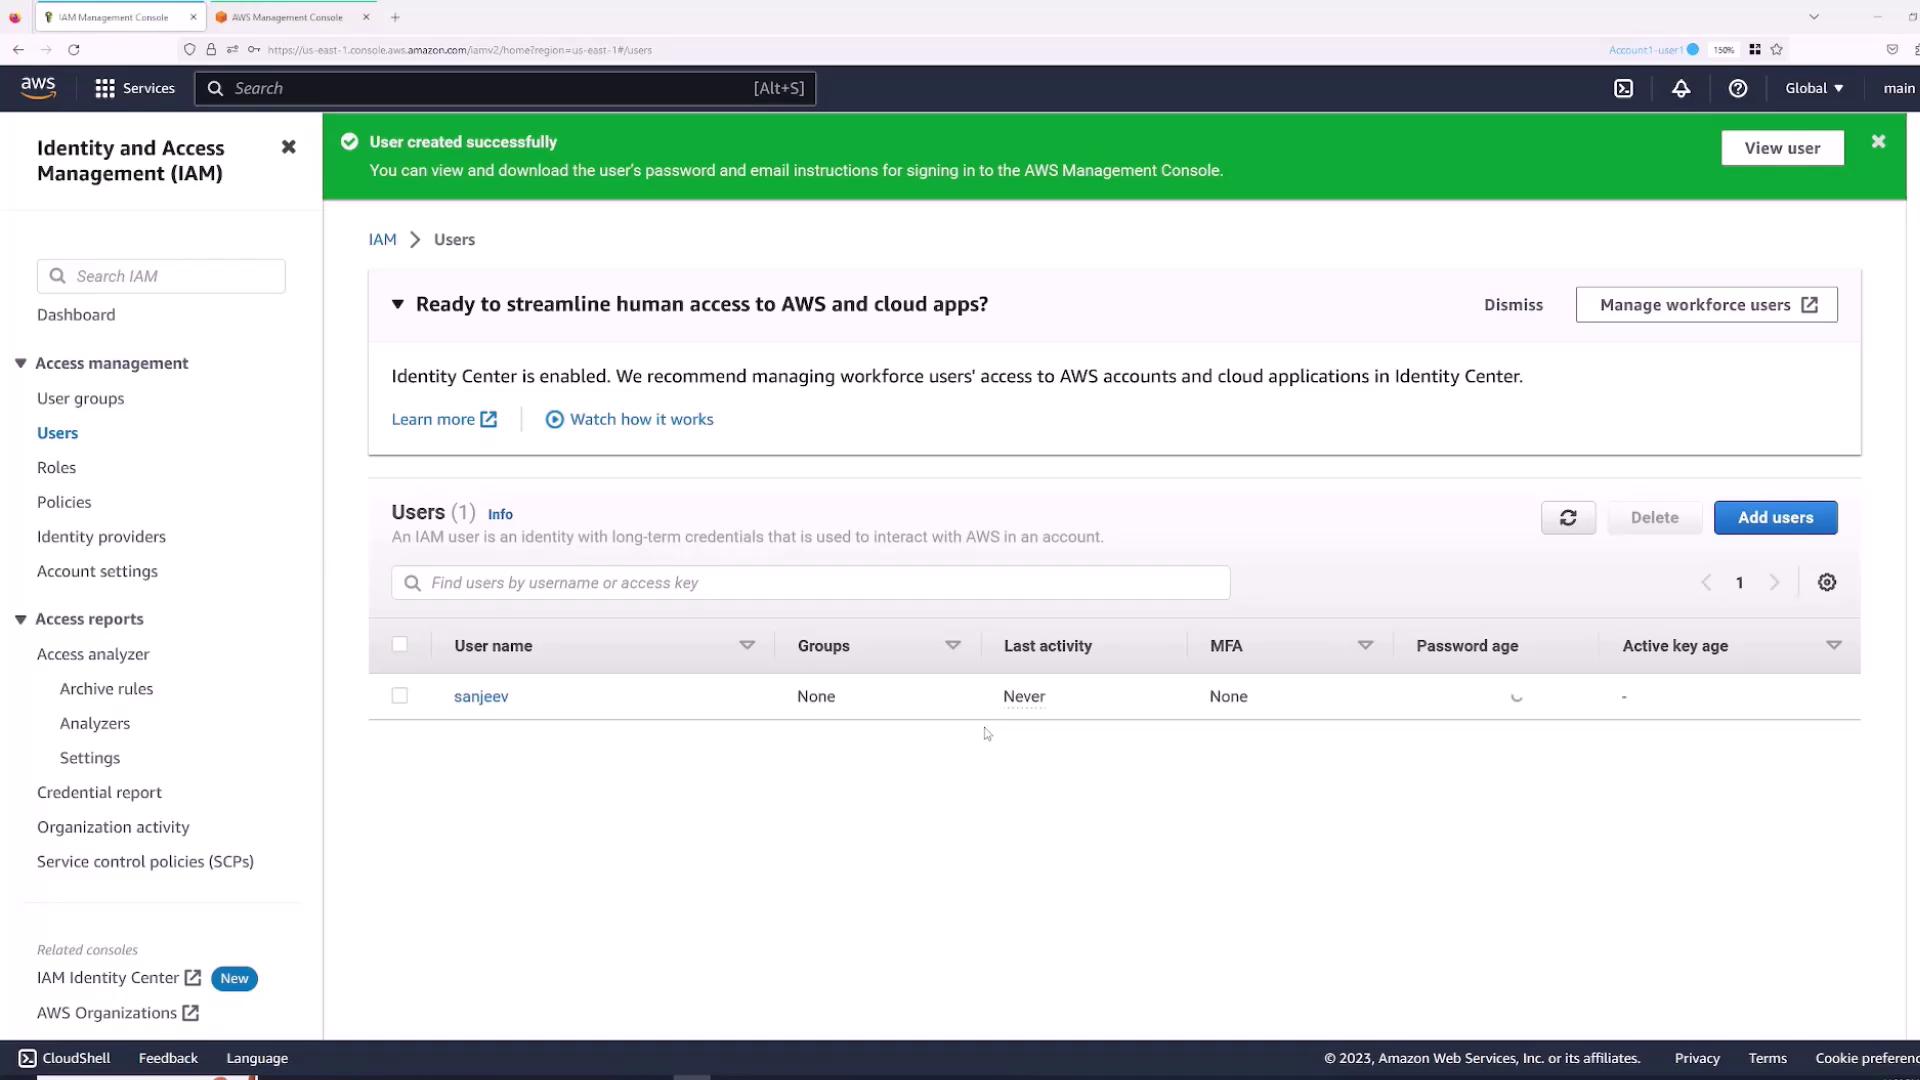
Follow these steps to create an IAM user:

  1. Navigate to the Users section.
  2. Click Add Users.
  3. Enter a username (for example, "Sanjeev") and select the checkbox for "Provide user access to AWS Management Console".

The image shows a screenshot of the AWS Management Console, specifically the "Specify user details" page for creating a new IAM user. It includes fields for entering a username and options for providing console access.

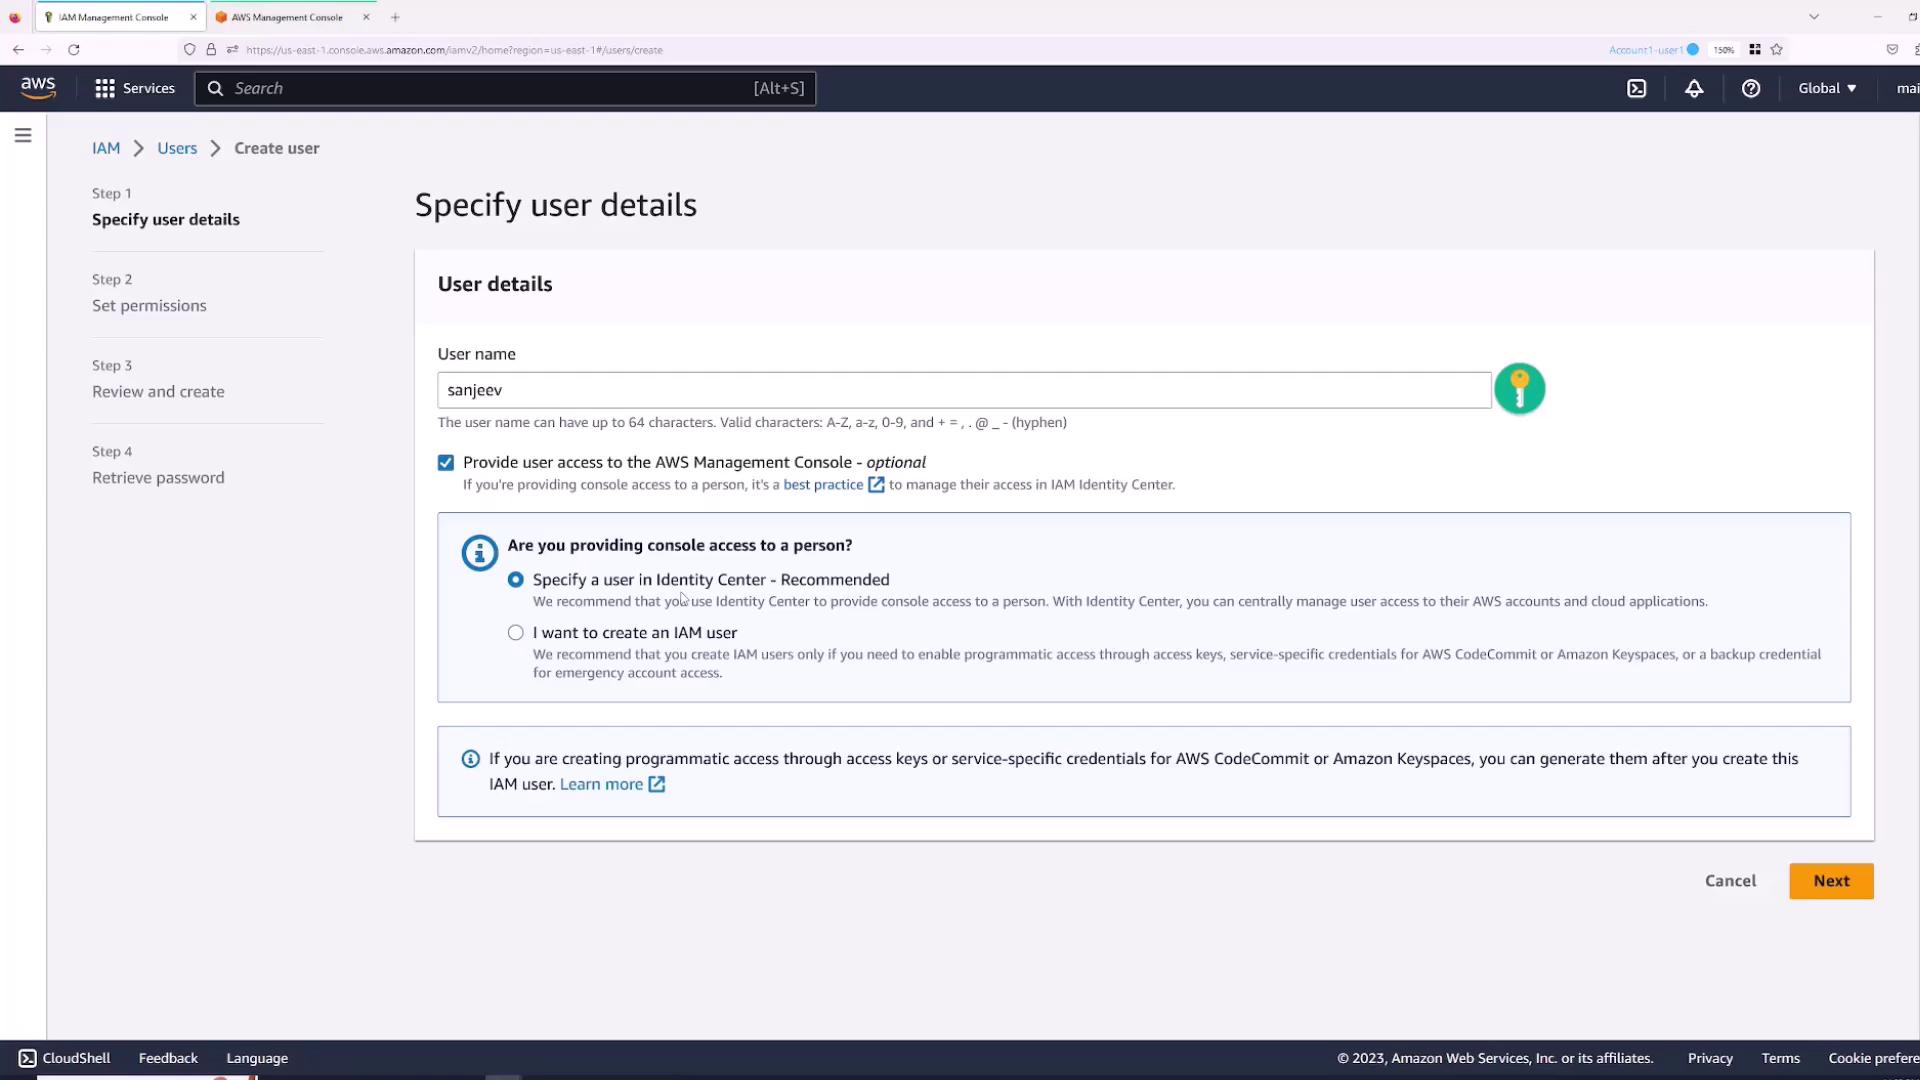
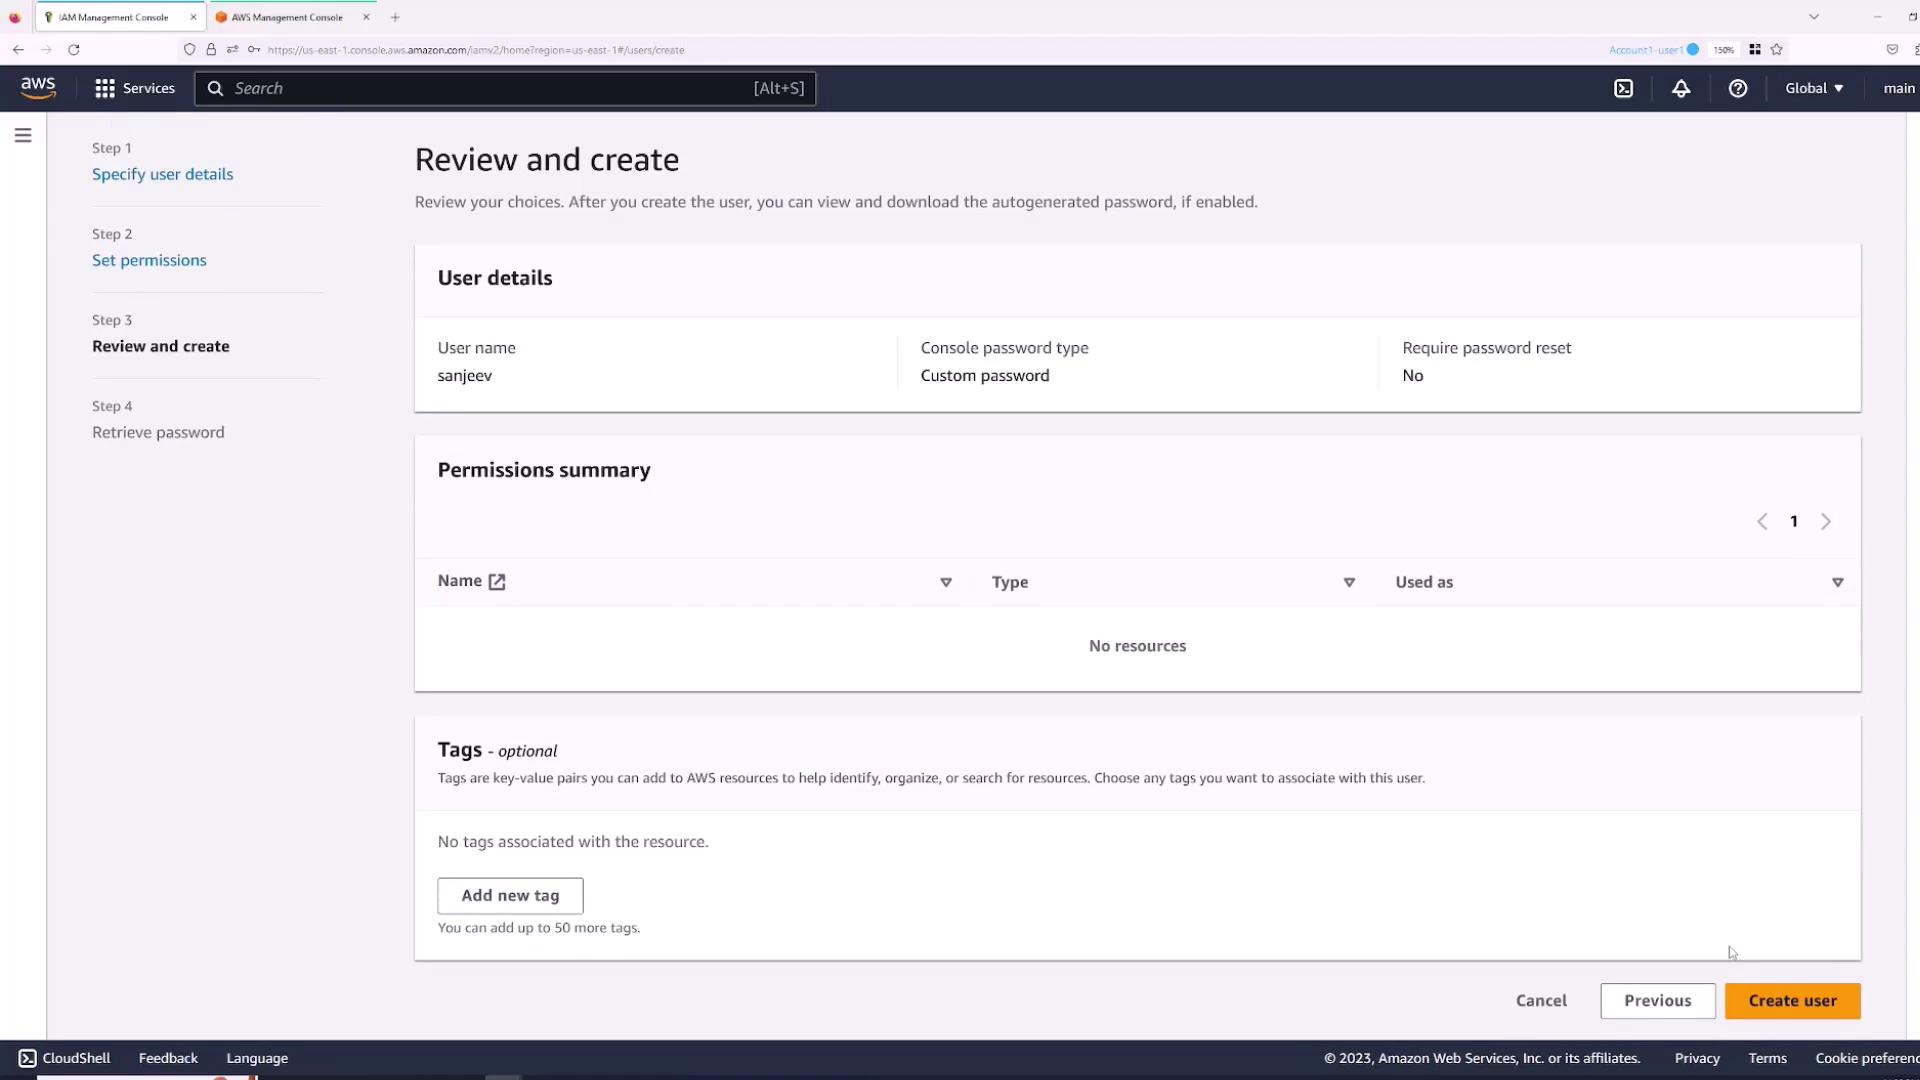
  1. Choose whether to auto-generate a password or set one manually. For this demonstration, specify the password and disable the "users must create a new password at next sign-in" option.
  2. Click Next.

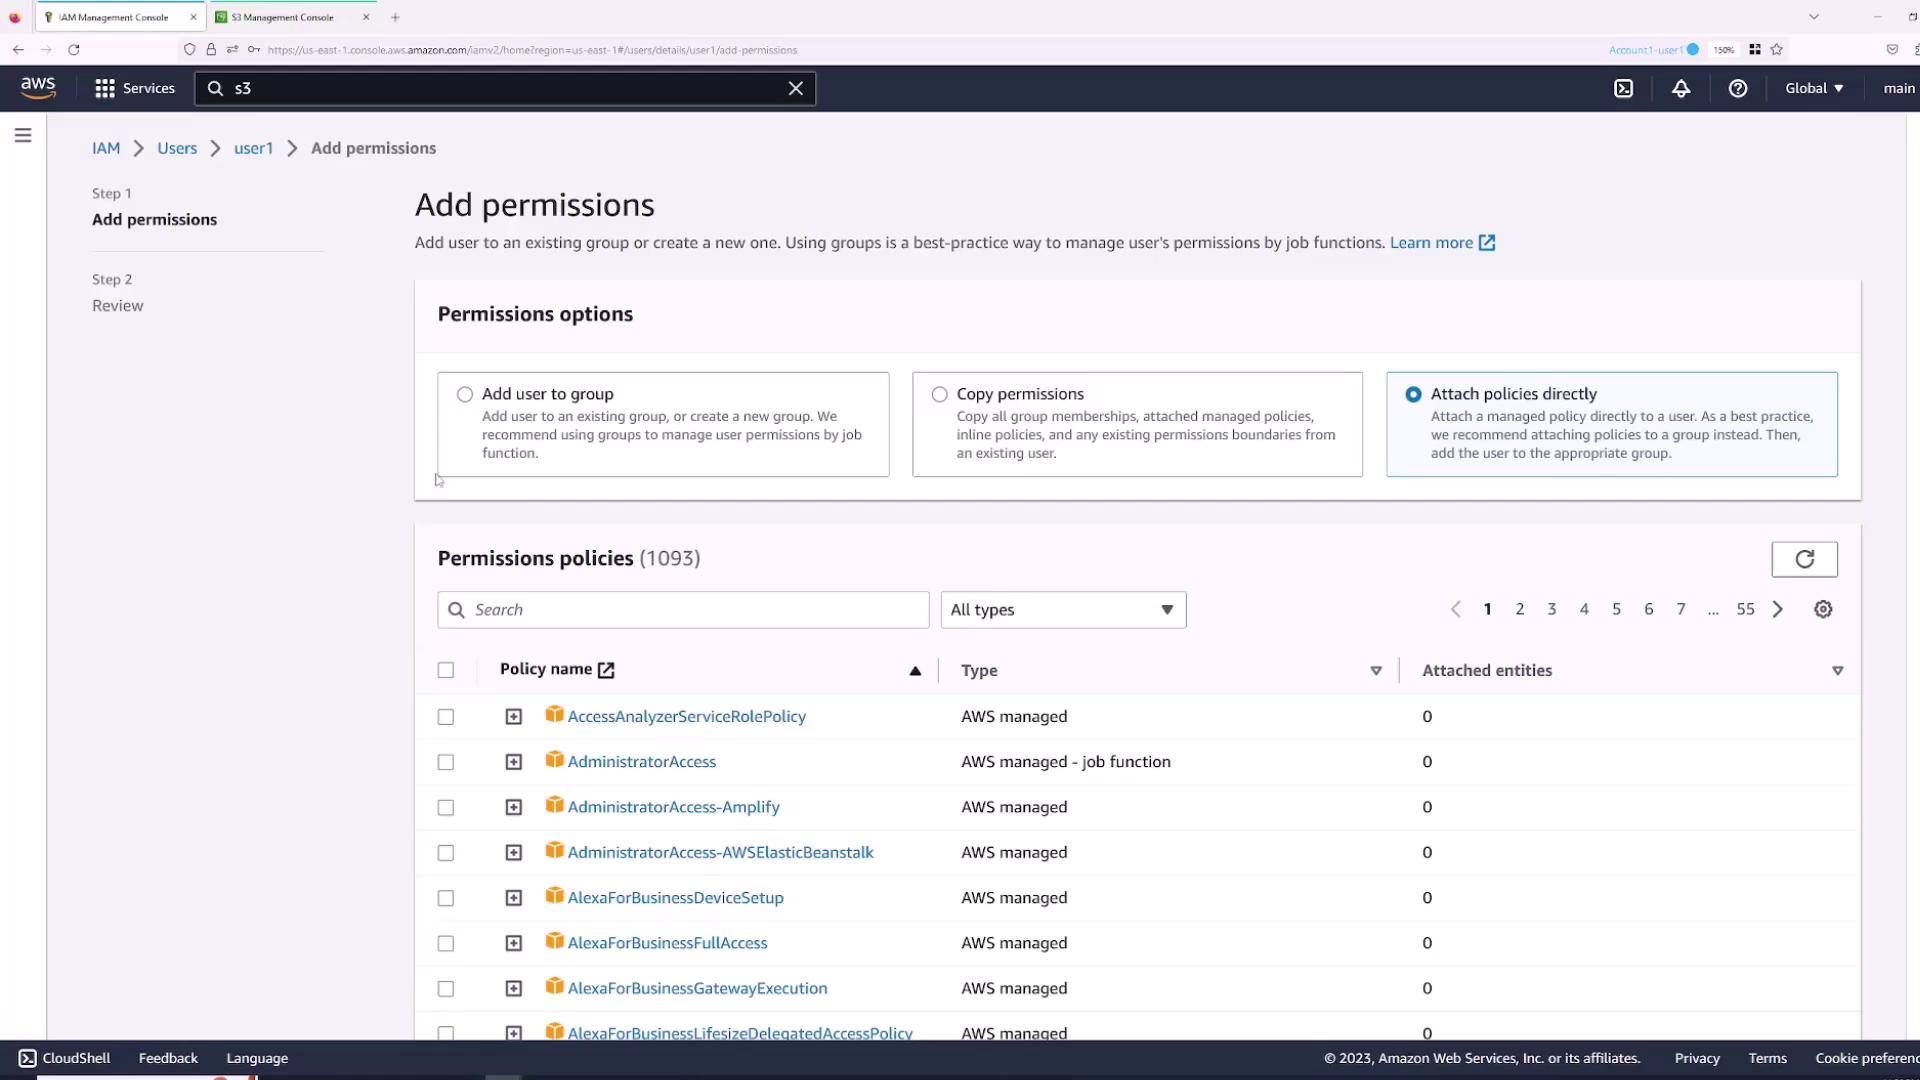
Setting User Permissions

By default, a new IAM user receives no permissions. You can provide permissions by:

  • Adding the user to an existing group.
  • Copying permissions from another user.
  • Attaching policies directly.

For now, create a blank account (no permissions assigned) and click Next.

The image shows the "Set permissions" page in the AWS Management Console for creating a new user, with options to add the user to a group, copy permissions, or attach policies directly. There is also an option to create a group and set a permissions boundary.

Review the settings and then click Create User.

The image shows the "Review and create" page in the AWS IAM Management Console, where user details and permissions are being reviewed before creating a new user.

After creation, the users list displays "Sanjeev" with no group associations and disabled multi-factor authentication.


Logging in as an IAM User

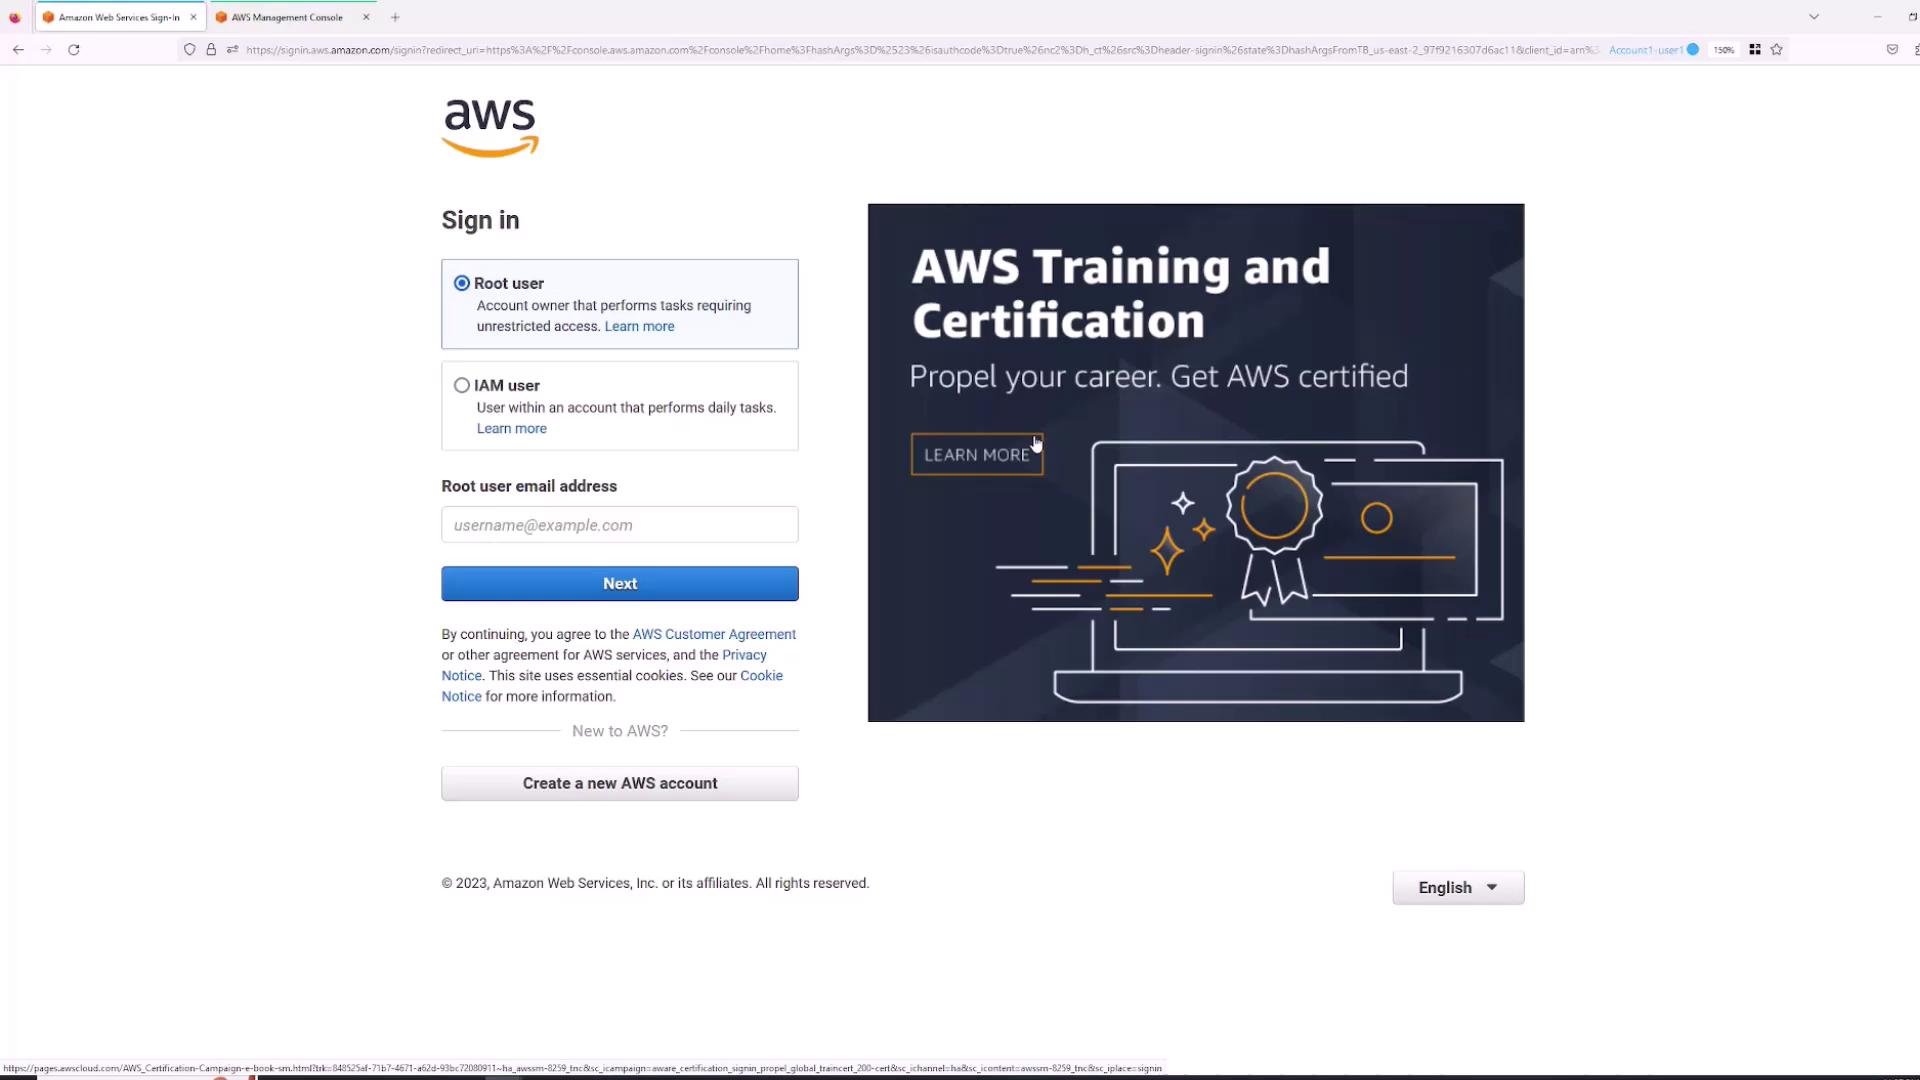
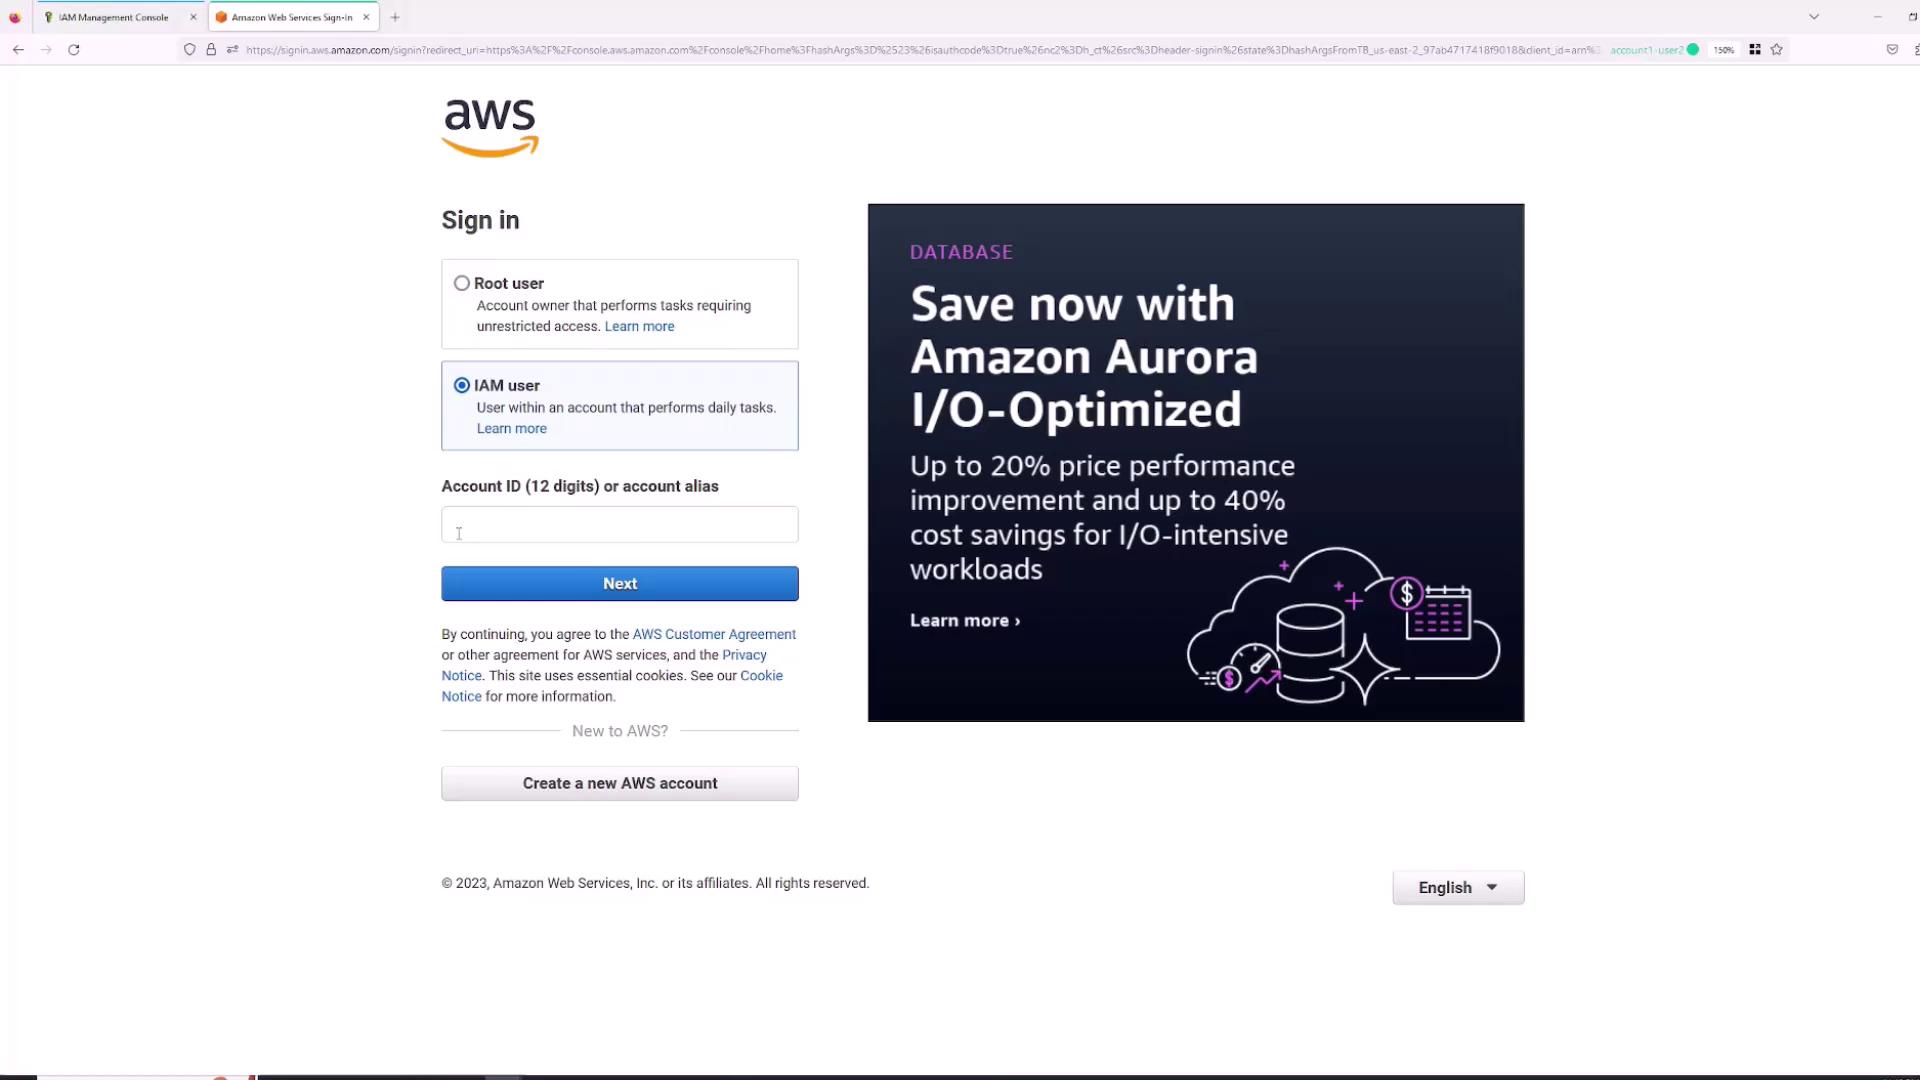
To log in as the newly created IAM user "Sanjeev":

  1. Open a new browser tab or an incognito window.
  2. Select the "IAM user" sign-in option (not the "root user" sign-in).
  3. Enter your AWS Account ID. You can find this by clicking your account name in the root session and copying the account ID.
  4. Enter the username ("Sanjeev") and the previously specified password.

The image shows the AWS sign-in page with options for "Root user" and "IAM user" login, alongside an advertisement for Amazon Aurora I/O-Optimized, highlighting performance and cost benefits.

After logging in, the console displays the username "Sanjeev" along with the account ID. However, since no permissions have been granted, any attempt to perform actions such as creating an S3 bucket results in an error due to insufficient permissions.

The image shows the AWS Identity and Access Management (IAM) console, displaying a user management interface with a notification about a user being created successfully.

For instance, attempting to create an S3 bucket produces an error message similar to "S3 Create Bucket permissions are required."

The image shows an AWS S3 bucket creation page with encryption settings. There's an error message indicating that the bucket creation failed due to insufficient permissions.


Granting Permissions via the Root User

Since the IAM user "Sanjeev" lacks permissions, you must use the root account to grant the required policies:

  1. Switch back to the root user session.
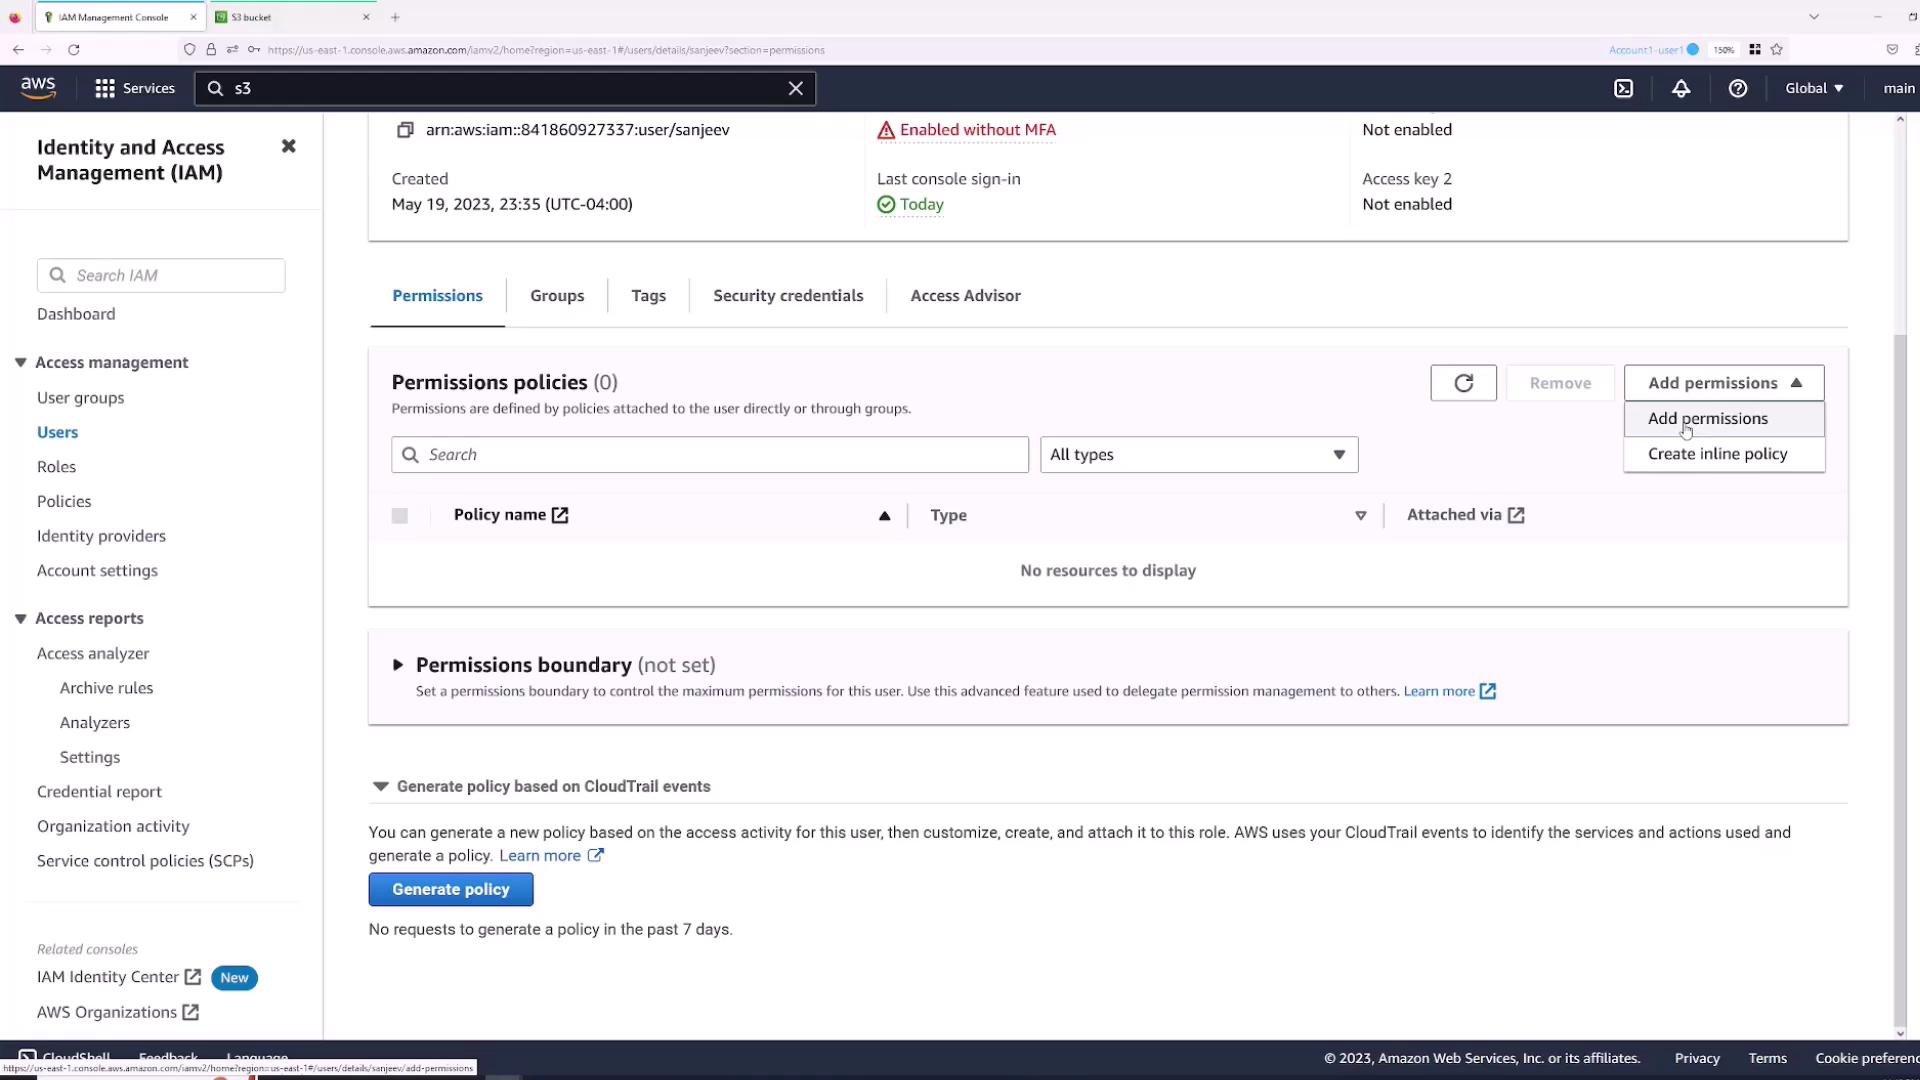
  2. In the IAM console, open the Users section and select the "Sanjeev" user.
  3. Navigate to the Permissions tab and click Add permissions.
  4. Choose "Attach policies directly" and select the AWS managed policy "AdministratorAccess" for full access.

The image shows an AWS Identity and Access Management (IAM) console screen, displaying user details and options to add permissions or create an inline policy. The user currently has no permissions policies attached.

The image shows the AWS IAM Management Console, specifically the "Add permissions" page for a user, with options to add the user to a group, copy permissions, or attach policies directly.

Click the plus icon on the "AdministratorAccess" policy to review its JSON content:

{
  "Version": "2012-10-17",
  "Statement": [
    {
      "Effect": "Allow",
      "Action": "*",
      "Resource": "*"
    }
  ]
}

Click Next and then Add permissions. Now, the "Sanjeev" user has full administrator access.

Return to the IAM user session. To verify the permissions, list the S3 buckets, which should now be visible, and test by creating a new bucket (e.g., "KodeKloudTest12345").

The image shows an Amazon S3 management console with a list of buckets, their regions, access settings, and creation dates. A notification indicates a bucket named "kodekloudtest12345" was successfully created.


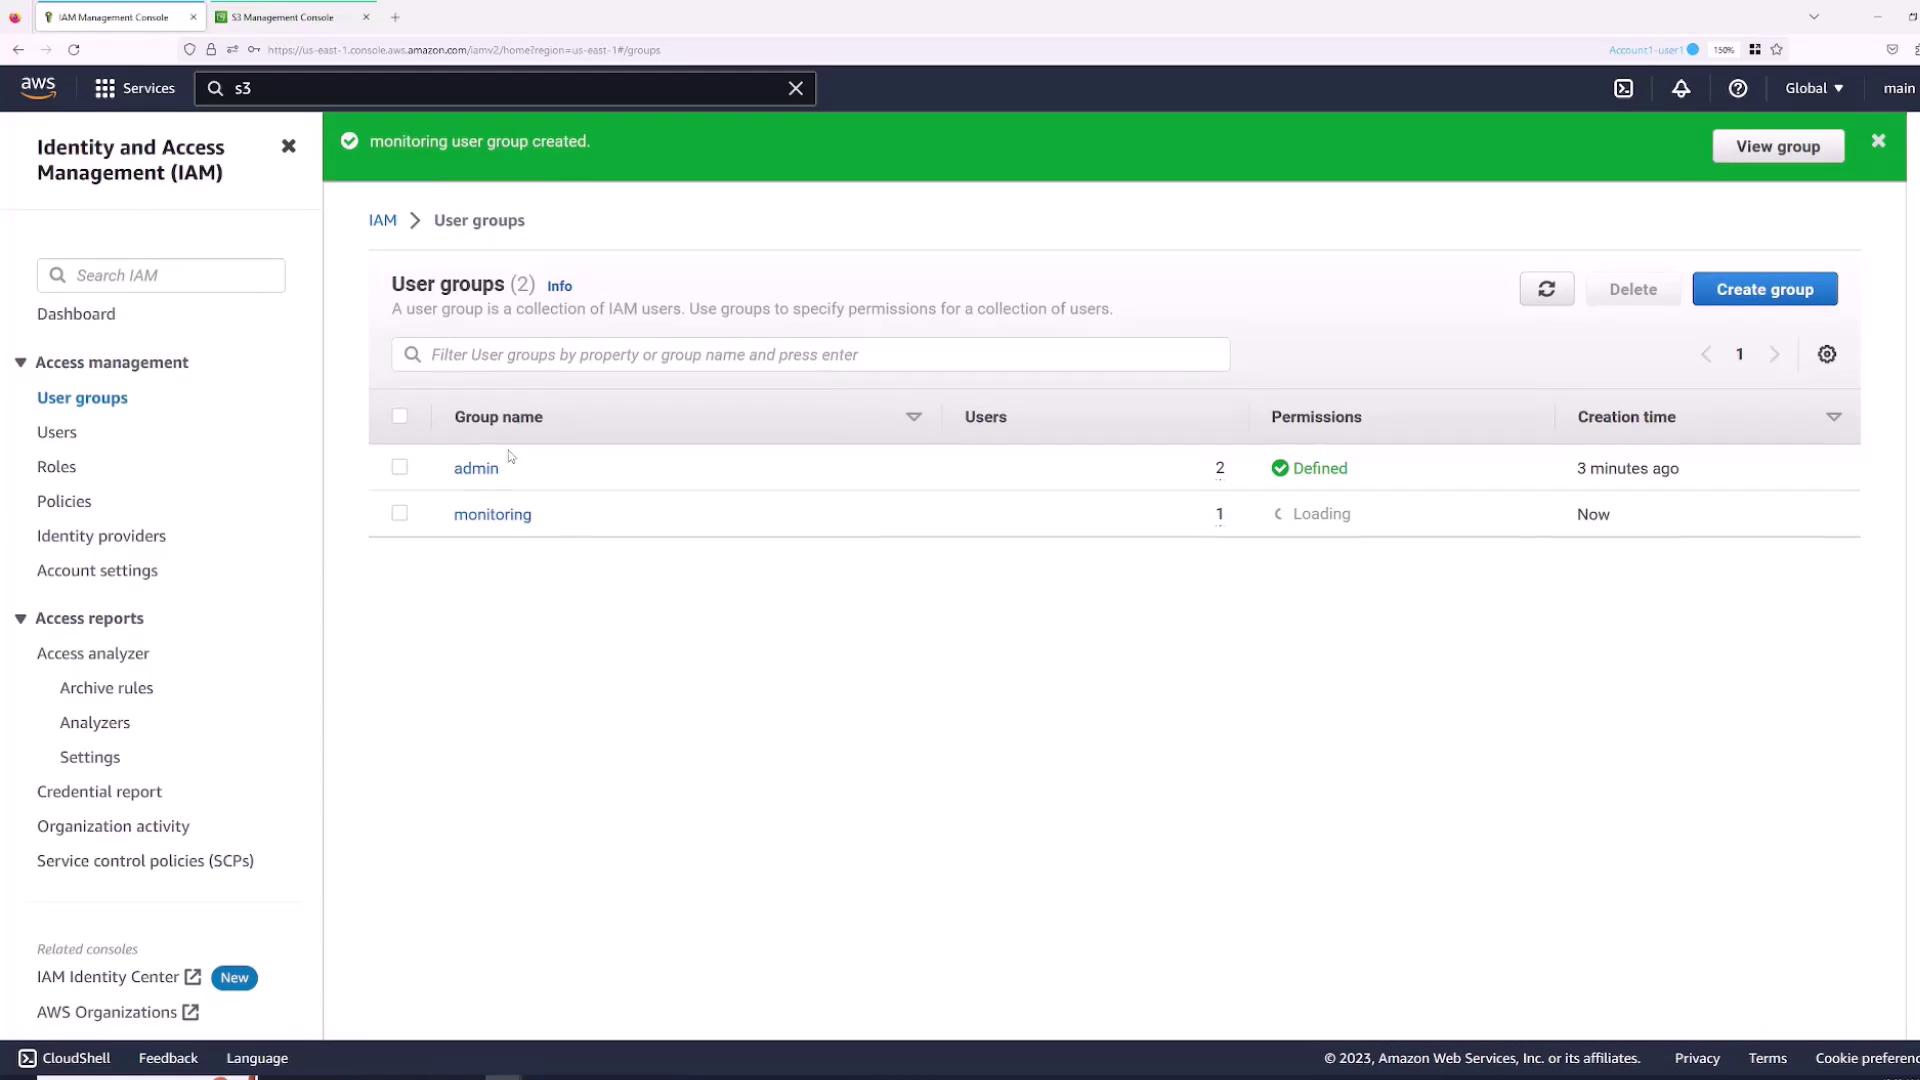
Managing Permissions with Groups

For organizations with multiple employees requiring similar permissions, using AWS groups simplifies permission management. Instead of assigning permissions individually, create groups and attach the necessary policies.

  1. Optionally, remove any existing direct permissions from the "Sanjeev" user.
  2. Create a new group (e.g., "Admin") and add users who require administrative access.
  3. Attach the "AdministratorAccess" policy to this group and create the group.

The image shows the AWS Identity and Access Management (IAM) console, specifically the "Add permissions" page for a user, with options to add the user to a group, copy permissions, or attach policies directly. A list of available permission policies is displayed below.

After adding users to the "Admin" group, permissions are inherited by group members. For instance, if you later create a "Monitoring" group, assign users who require read-only access, and attach the "ReadOnlyAccess" policy, those users will be limited to viewing AWS resources.

The image shows the AWS Identity and Access Management (IAM) console, specifically the "User groups" section, listing two groups: "admin" and "monitoring." A notification indicates that the "monitoring" user group was created.

A user can belong to multiple groups. For example, if "Sanjeev" is part of both "Admin" and "Monitoring" groups, he inherits permissions from both. Removing him from the "Admin" group will leave him with only the read-only permissions from the "Monitoring" group.

When a read-only user tries to delete an S3 bucket, they will receive a permissions error.

The image shows an AWS S3 console screen for deleting a bucket named "sanjeevkodekloudbucket," with a warning about permissions needed to delete the bucket.


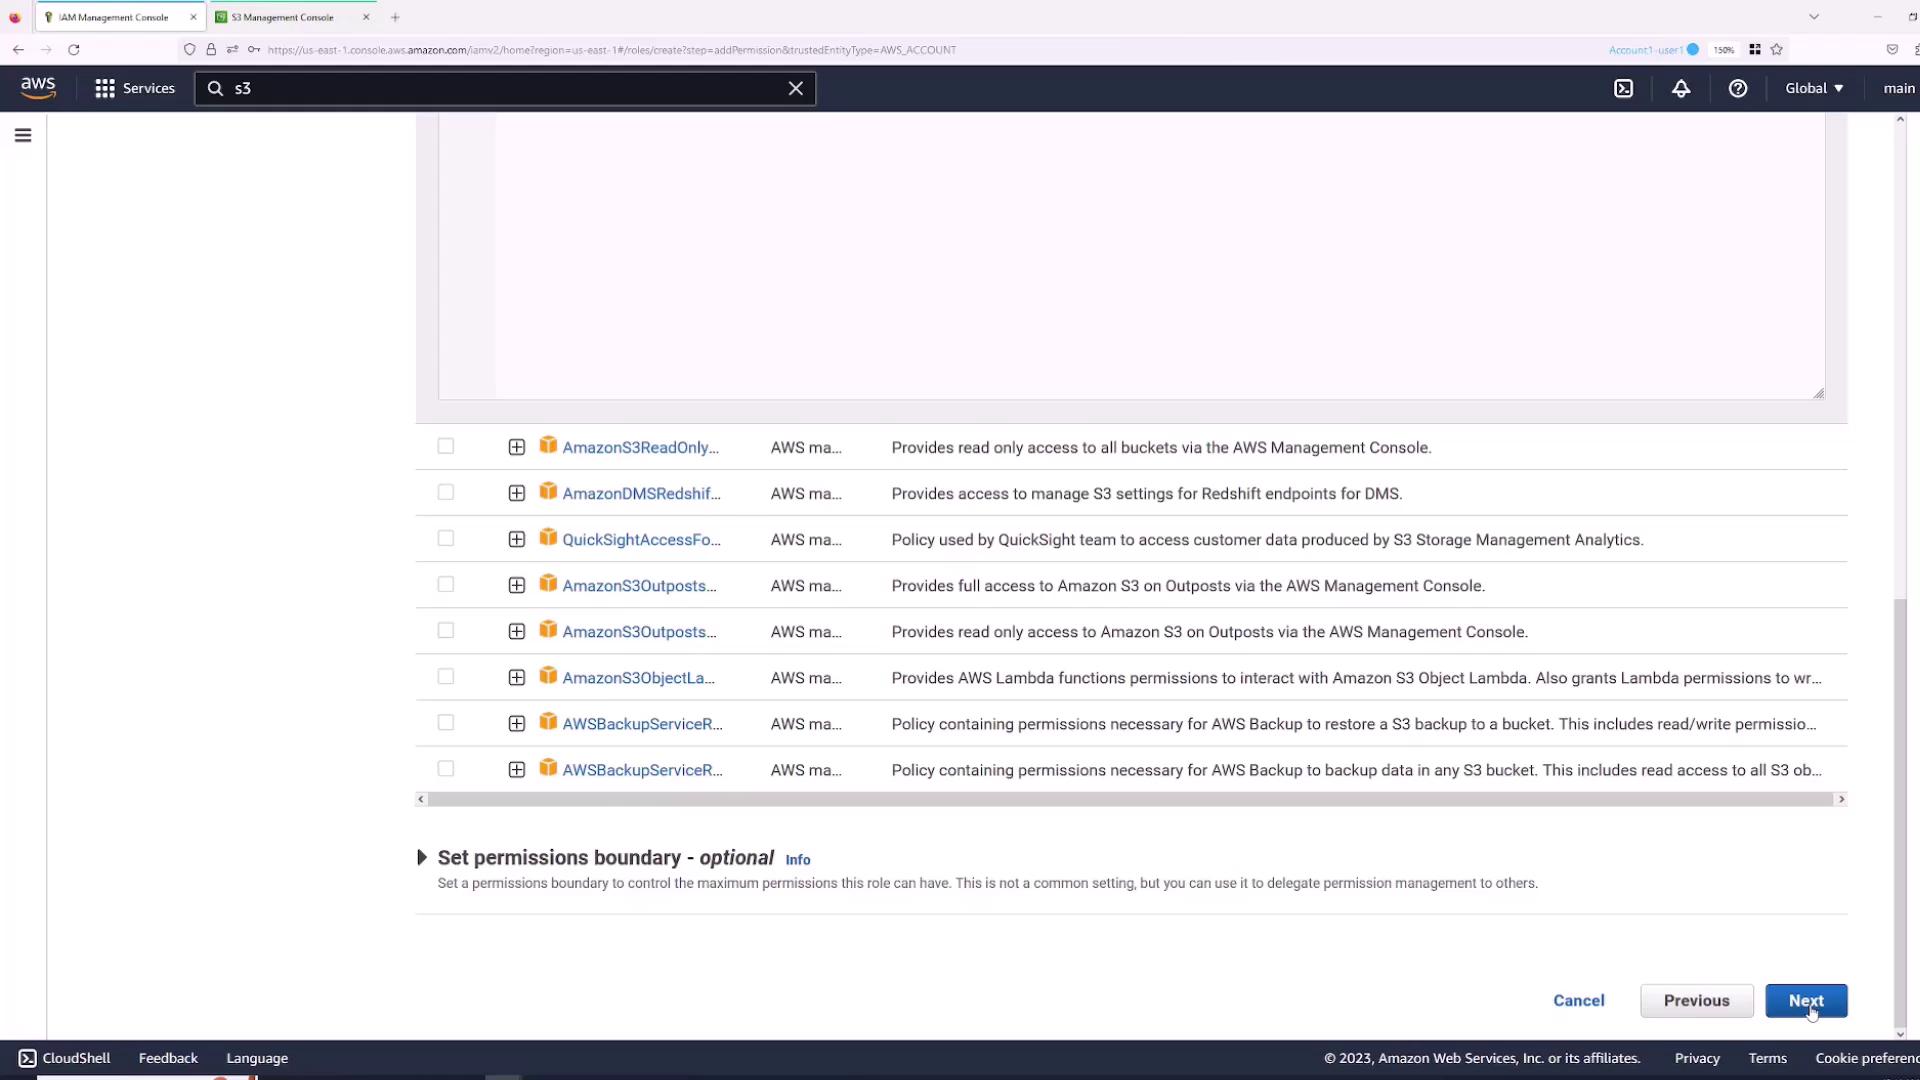
Using Roles for Temporary Permissions

AWS IAM roles allow users or services to assume temporary permissions. For example, a user with read-only access can temporarily assume a role with enhanced permissions to modify S3 buckets.

To create a role:

  1. Open the Roles section in the IAM console.
  2. Click Create Role.
  3. Select "AWS account" if the role will be assumed within your account.
  4. Click Next, then attach the required permissions, such as the AWS managed "S3FullAccess" policy.

The image shows the AWS Identity and Access Management (IAM) console, specifically the "Roles" section, listing various service roles and their trusted entities.

Review the S3 Full Access policy, which is similar to:

{
  "Version": "2012-10-17",
  "Statement": [
    {
      "Effect": "Allow",
      "Action": [
        "s3:*",
        "s3-object-lambda:*"
      ],
      "Resource": "*"
    }
  ]
}
  1. Name the role (for example, "S3FullAccess") and complete the creation process.

The image shows the AWS IAM Management Console with a list of policies related to Amazon S3, including options for read-only access and backup services. The "Next" button is highlighted at the bottom right.

Restricting Role Assumption to Specific Users

To ensure that only designated users (e.g., "Sanjeev") can assume the S3FullAccess role, attach an inline policy to that user:

  1. In the IAM console, navigate to the "Sanjeev" user.
  2. Click Add Permissions and select Create Inline Policy.
  3. For the service, choose STS, and under actions, select AssumeRole.
  4. Specify the role's ARN. Use the provided interface to add the ARN by entering the role name.

The image shows an AWS IAM Management Console screen where a user is adding an Amazon Resource Name (ARN) for a role in a policy. The dialog box includes fields for specifying the account number and role name.

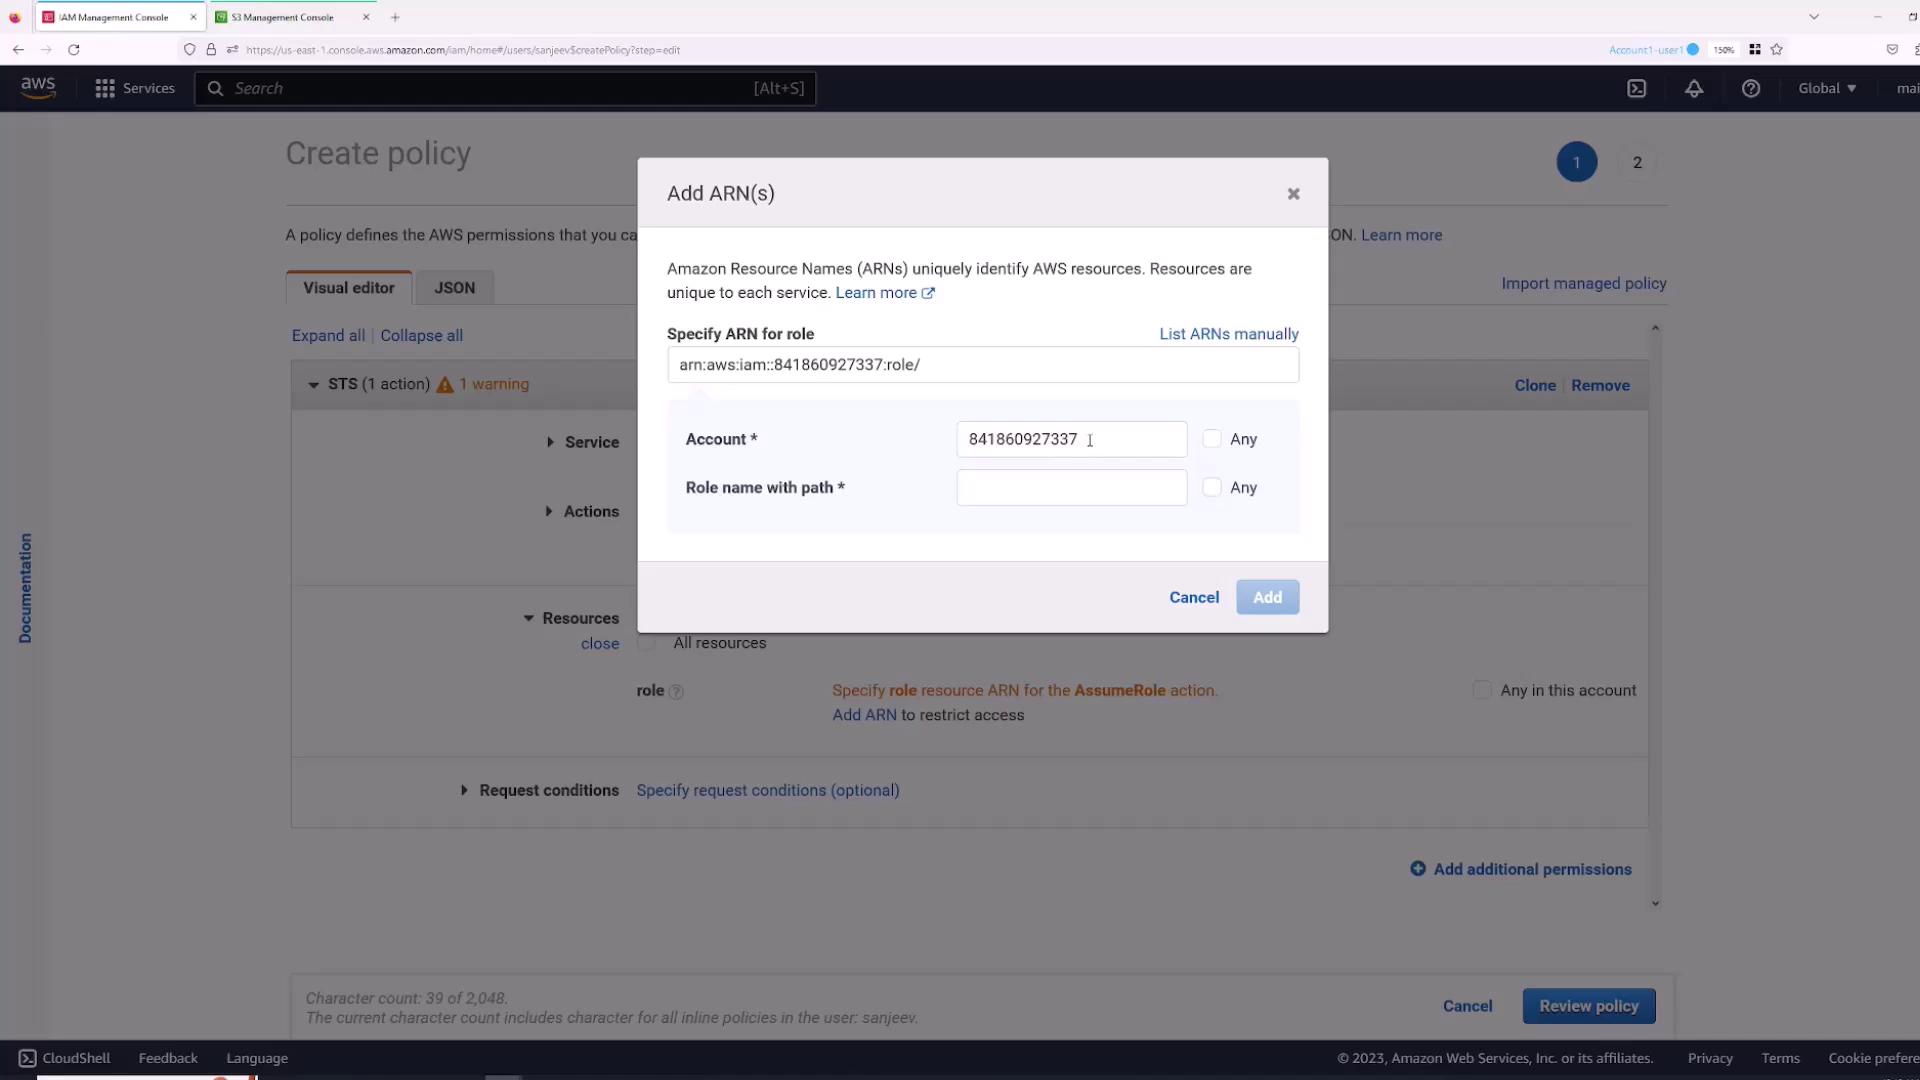
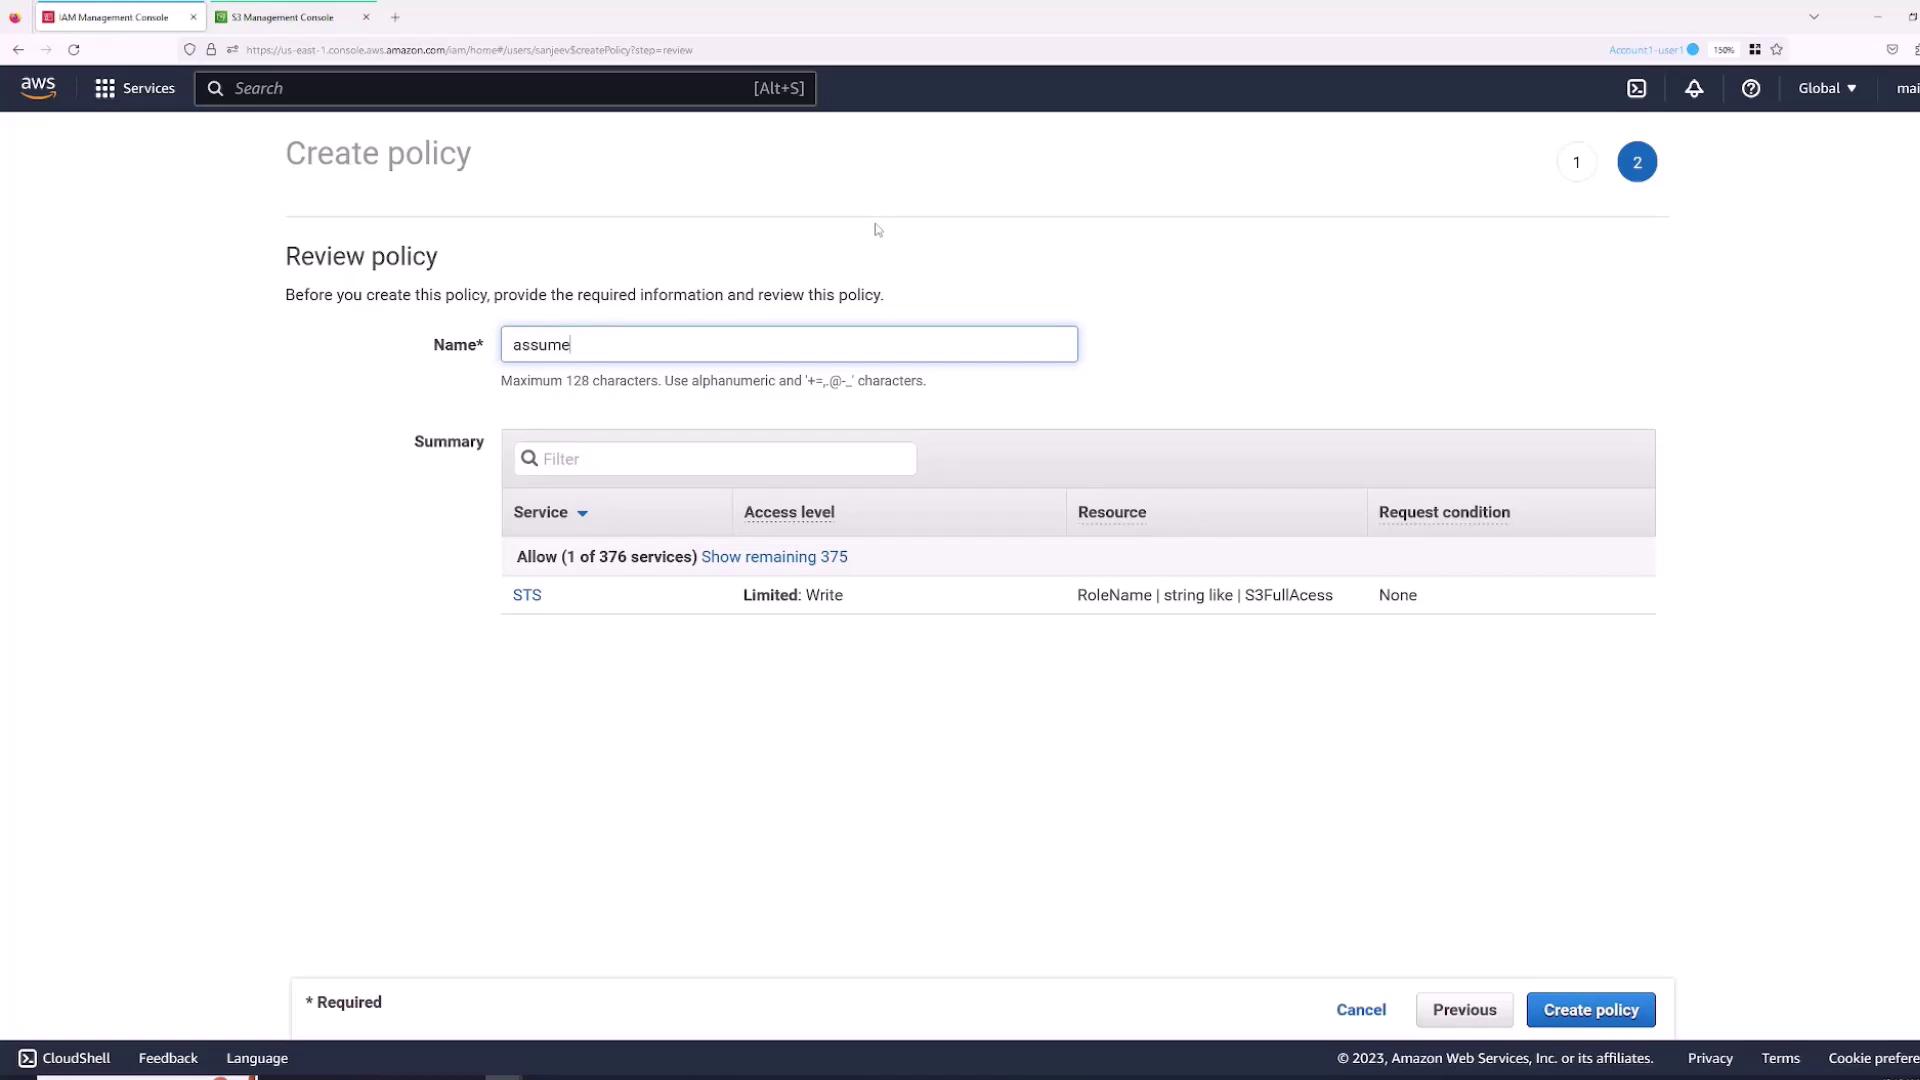
  1. Review and create the policy, naming it (for example, "AssumeS3Access"). The resulting policy will look similar to:
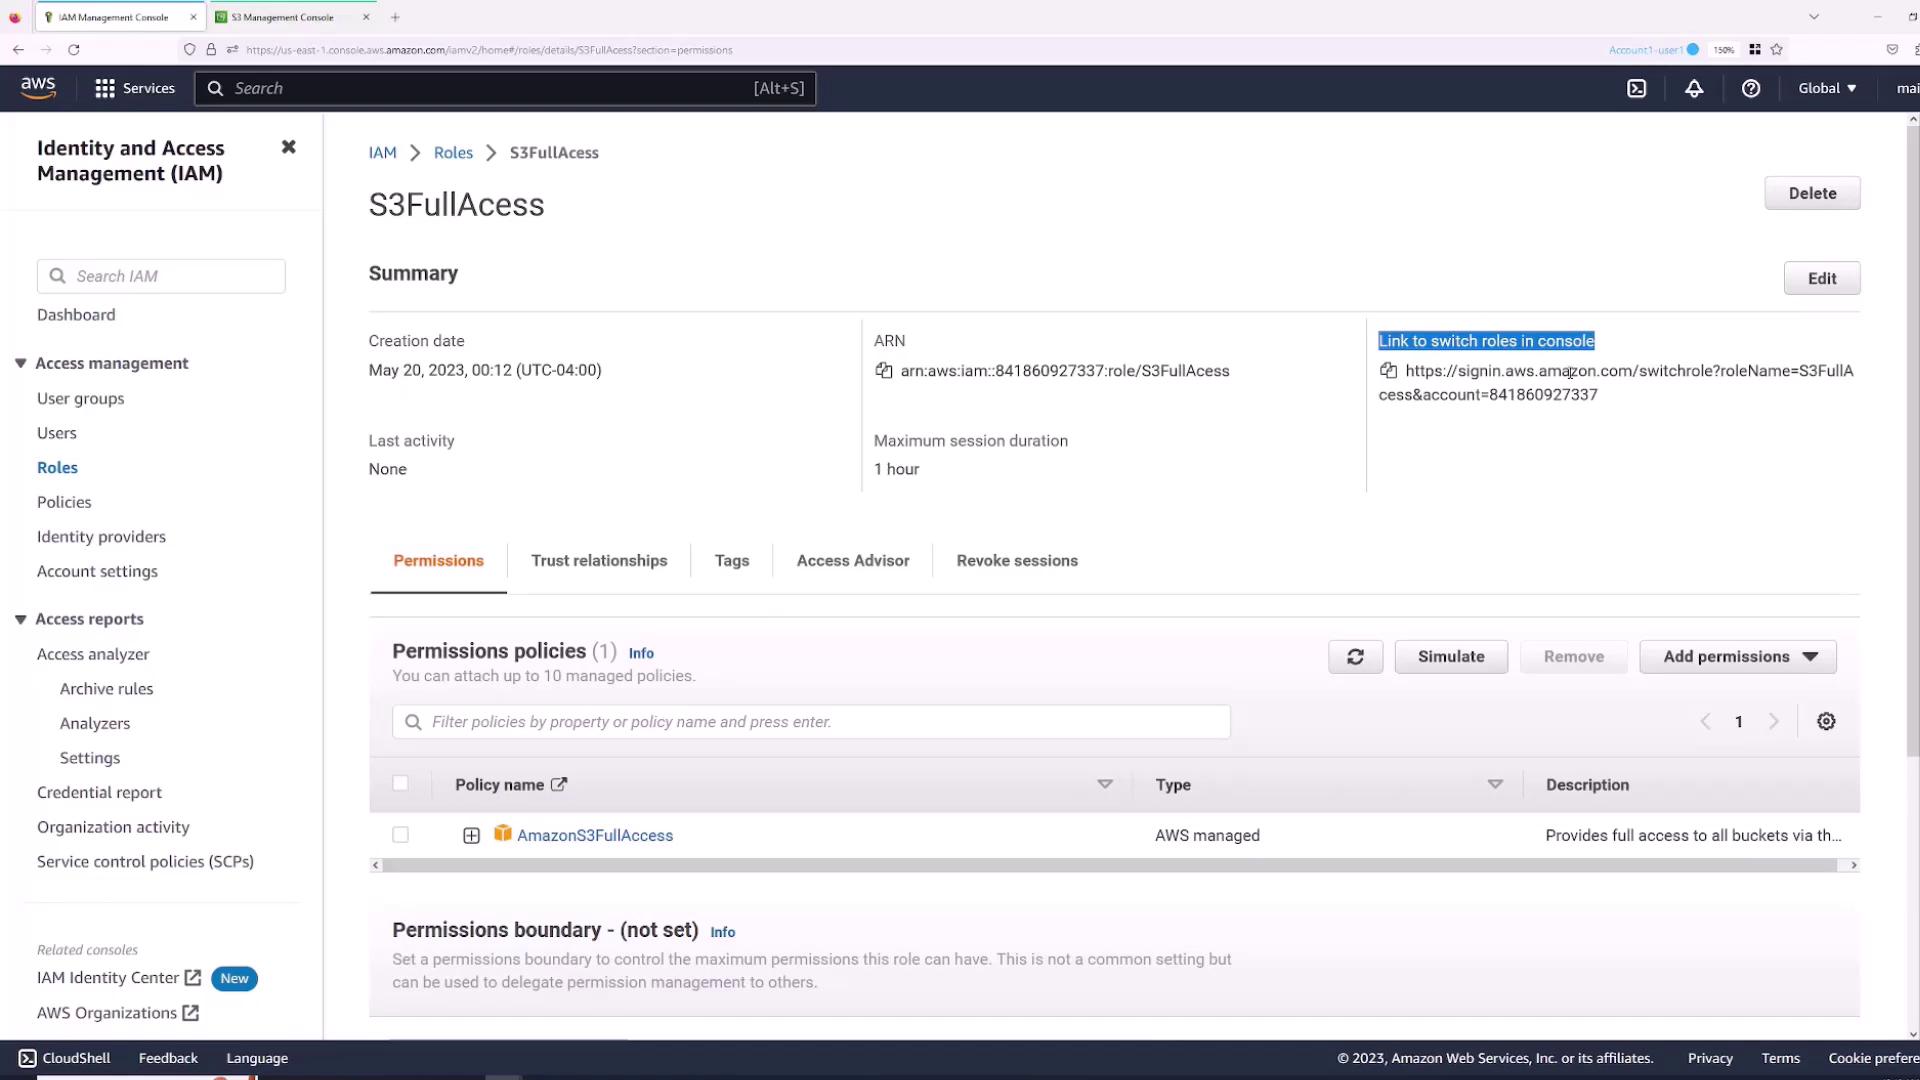
{
  "Version": "2012-10-17",
  "Statement": [
    {
      "Sid": "VisualEditor0",
      "Effect": "Allow",
      "Action": "sts:AssumeRole",
      "Resource": "arn:aws:iam::841860927337:role/S3FullAccess"
    }
  ]
}

The image shows the AWS IAM Management Console where a user is reviewing a policy named "assume" with specific permissions for the STS service.

Now, only the "Sanjeev" user is allowed to assume the S3FullAccess role. To test this:

  1. Go to the Roles section and select the "S3FullAccess" role.
  2. Click the Switch Role link.
  3. Paste the provided URL in the "Sanjeev" session. The switch role page will auto-fill the AWS account, role name, and let you set a display name (e.g., "S3 role") along with a color.
  4. Click Switch Role.

The image shows an AWS Identity and Access Management (IAM) console screen for a role named "S3FullAccess," displaying its summary, permissions policies, and a link to switch roles in the console.

After switching, a badge labeled "S3 role" with your chosen color confirms that you are operating under the S3FullAccess role. With full access to S3, you can now perform actions like deleting an S3 bucket.

For example, try deleting the "Sanjeev KodeKloud" bucket:

The image shows an AWS S3 console screen for deleting a bucket named "sanjeevkodekloudbucket," with a warning about permissions needed to delete the bucket.

Once the deletion is successful, switch back to your regular user session by clicking Switch Back.


Summary

In this guide, we covered how to:

  • Create IAM users and provide access to the AWS Management Console.
  • Grant permissions directly and through groups to efficiently manage multiple users.
  • Utilize IAM roles for temporary permission elevation.
  • Secure role assumption using precise AWS STS policies.

By following these steps, you can enhance your AWS account security by applying the principle of least privilege while maintaining flexibility in user access management. For more detailed information on AWS IAM, visit the AWS Documentation.

Watch Video

Watch video content

Practice Lab

Practice lab

Previous
IAM Overview