Demonstrating Ephemeral Public IP Behavior
Initially, the server is accessible via the public IP address 52.90.159.117. However, to illustrate the non-persistent nature of ephemeral public IPs, we will stop the server and then start it again. When the instance shuts down, it loses its public IP address. Upon restarting, the instance is assigned a new public IP address, which may differ from the original (for instance, starting with a different digit).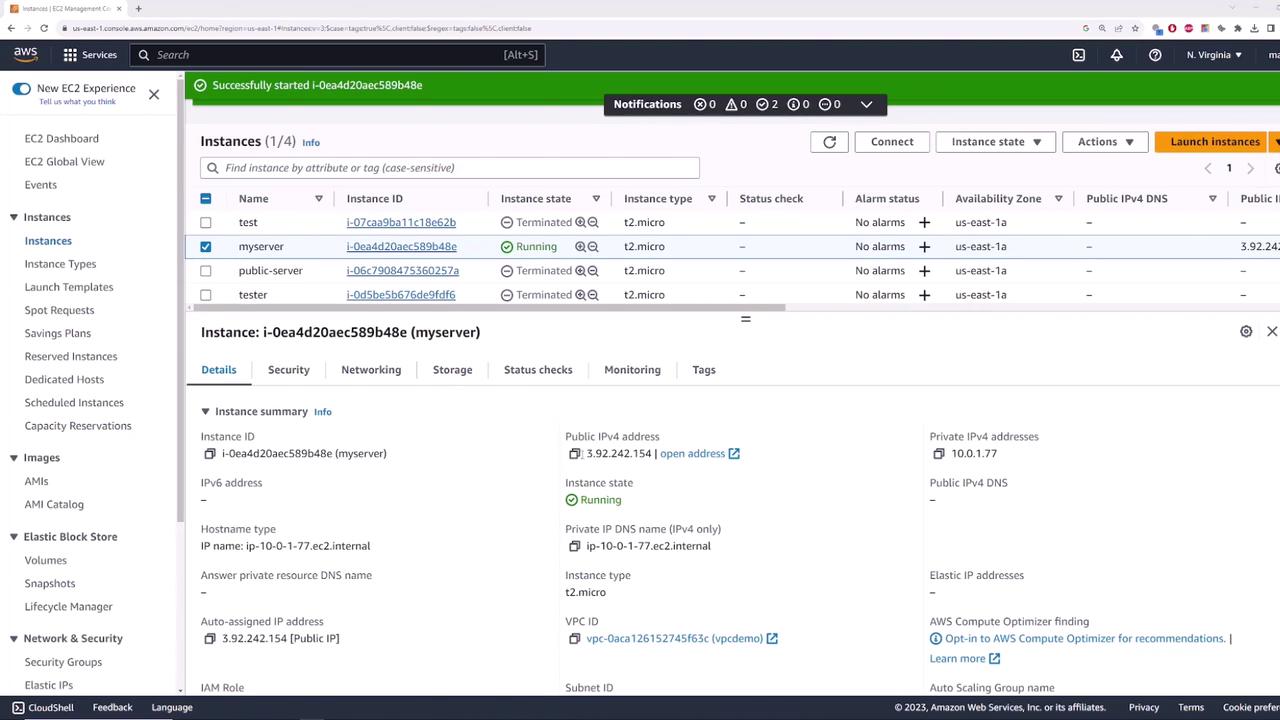
Introducing Elastic IP Addresses
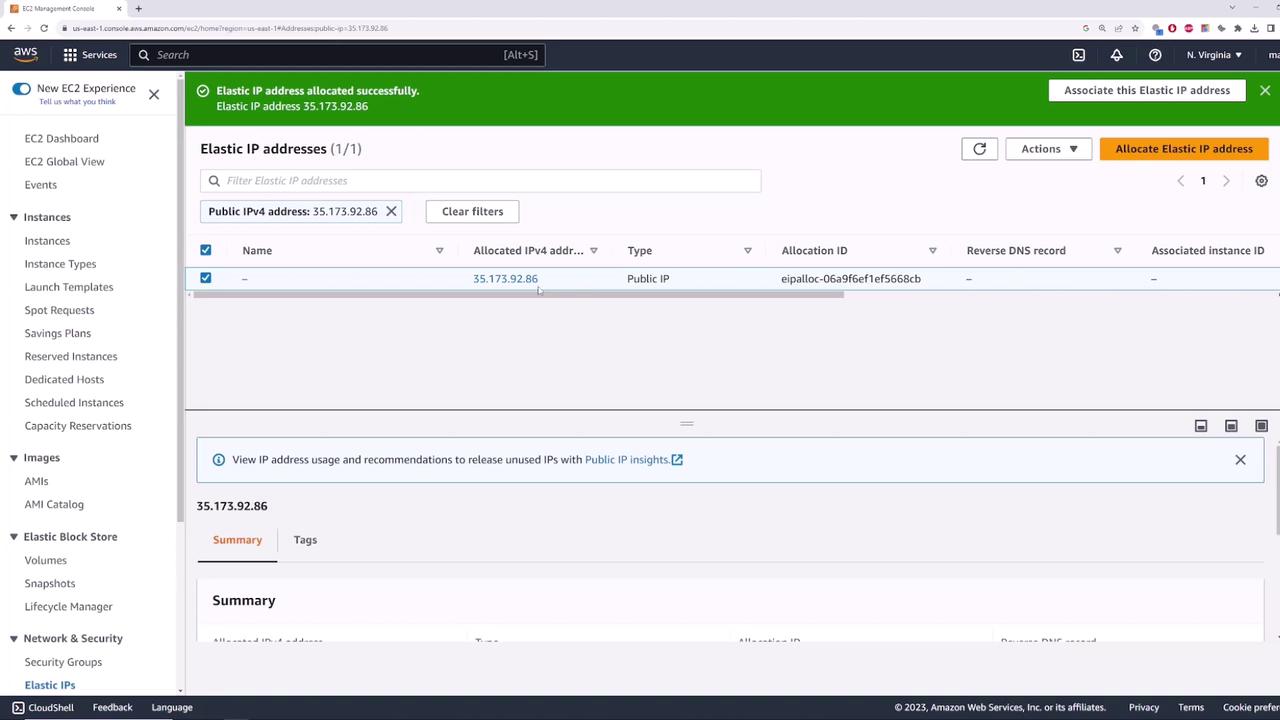
Elastic IPs solve this problem by offering a persistent public IP address that remains associated with your account regardless of instance reboots. Once allocated, the Elastic IP is reserved exclusively for your account, ensuring that no other user can claim it.Allocating an Elastic IP
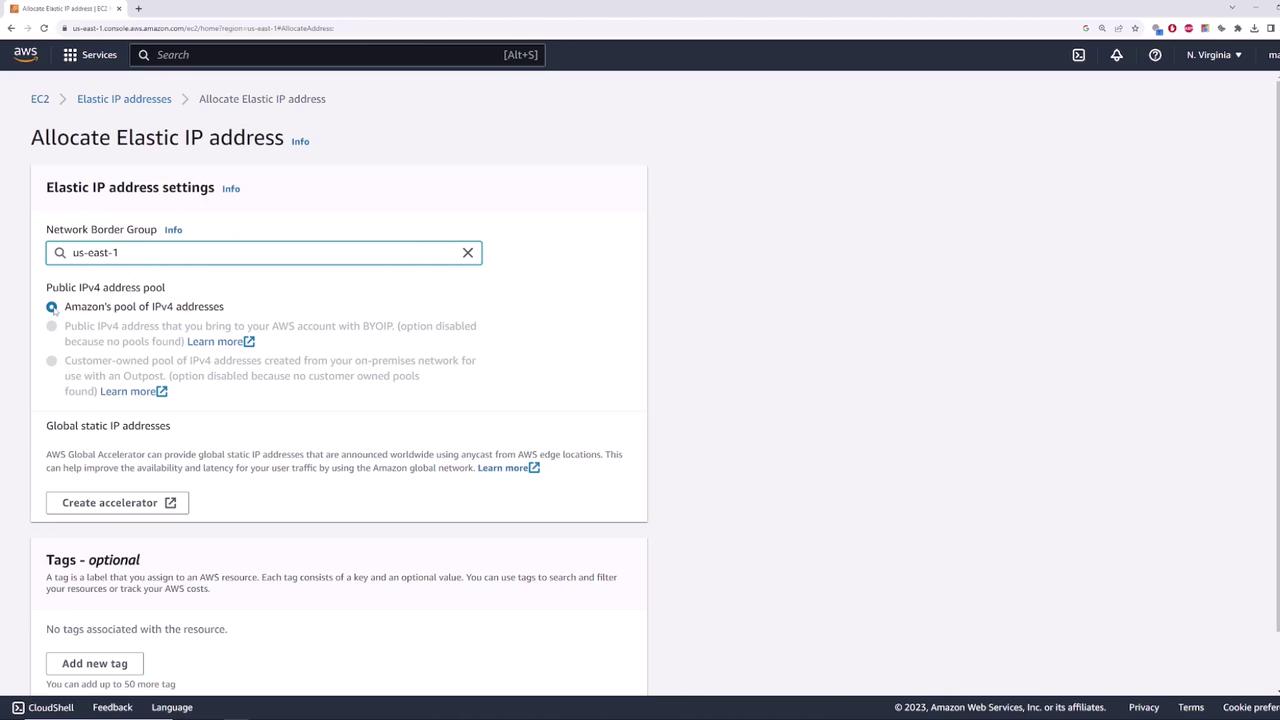
To allocate an Elastic IP, follow these steps:- Navigate to the EC2 dashboard.
- Select the Elastic IPs section.
- Click on “Allocate Elastic IP address” and choose the Amazon pool of IP addresses.
Associating the Elastic IP with an Instance
Once allocated, the next step is associating the Elastic IP with your instance. To do this:- In the EC2 console, select the allocated Elastic IP.
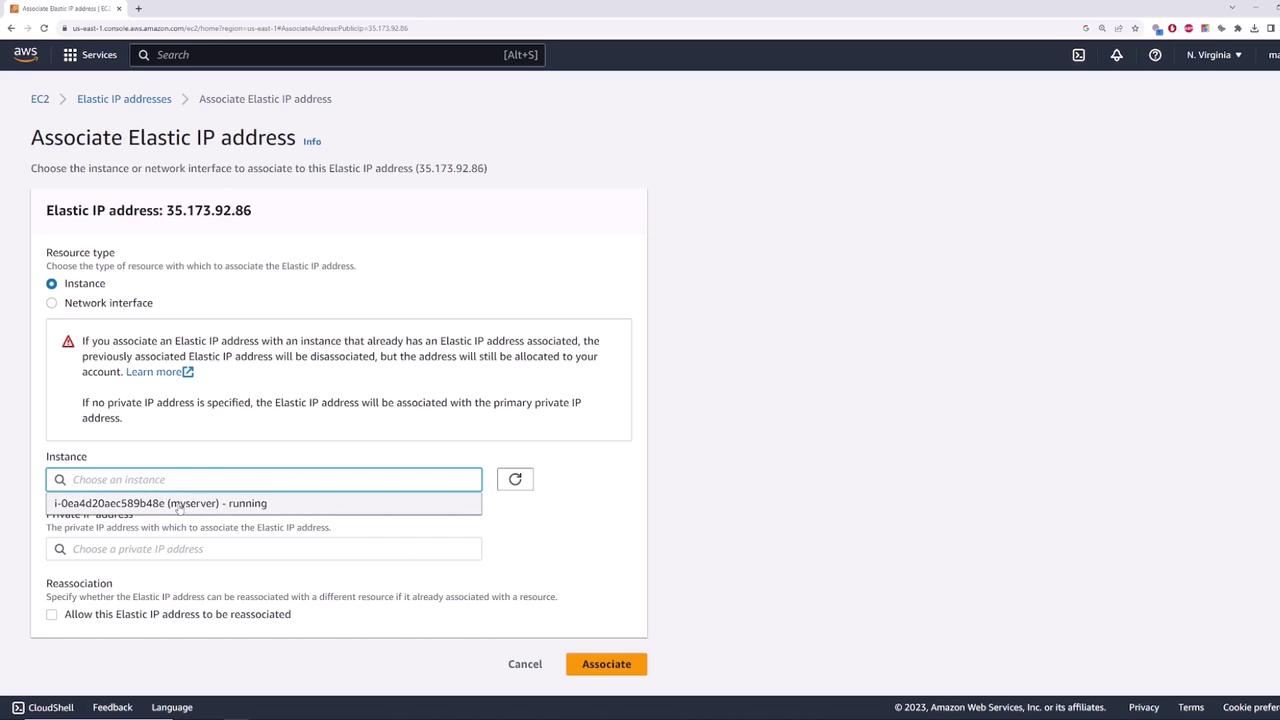
- Click on “Actions” and then select “Associate Elastic IP address”.
- Choose to associate it with an instance (or network interface) and select your instance. If the environment includes multiple private IP addresses, specify the correct one. In our case, the instance has only one.
Verifying Connectivity
To verify that the Elastic IP is correctly associated and reachable, you can use the ping command as demonstrated below.The successful ping test confirms that the Elastic IP is active and properly routed to your instance.
Ensuring Persistence Through Reboots
Elastic IPs are designed to remain constant even if you reboot your instance. After stopping and starting the instance, verify that the public IP continues to display as 35.173.92.86. This persistent behavior ensures uninterrupted connectivity for your applications—unlike ephemeral IP addresses that change upon every reboot.Releasing an Elastic IP
When the Elastic IP is no longer needed, it is important to disassociate it from your instance before releasing it to avoid incurring additional charges. If you attempt to release an Elastic IP without disassociating it, AWS will issue a warning indicating that the address cannot be released while it remains associated. Follow these steps to properly release an Elastic IP:- In the EC2 console, select the Elastic IP.
- Choose “Actions” followed by “Disassociate Elastic IP address”.
- Once disassociated, select “Release Elastic IP address”.
Ensure that you disassociate the Elastic IP before releasing it to prevent unnecessary charges.
In summary, Elastic IPs provide a stable, persistent public IP address that remains associated with your AWS instance even after reboots. This ensures that your applications continue to be reachable without requiring modifications to client configurations or code. For more information on AWS networking and IP management, consider exploring the AWS Documentation.