- Authenticated Access: Issues credentials for users from trusted identity providers.
- Guest Access: Provides unauthenticated public access to AWS services.
Configuring Authenticated Access
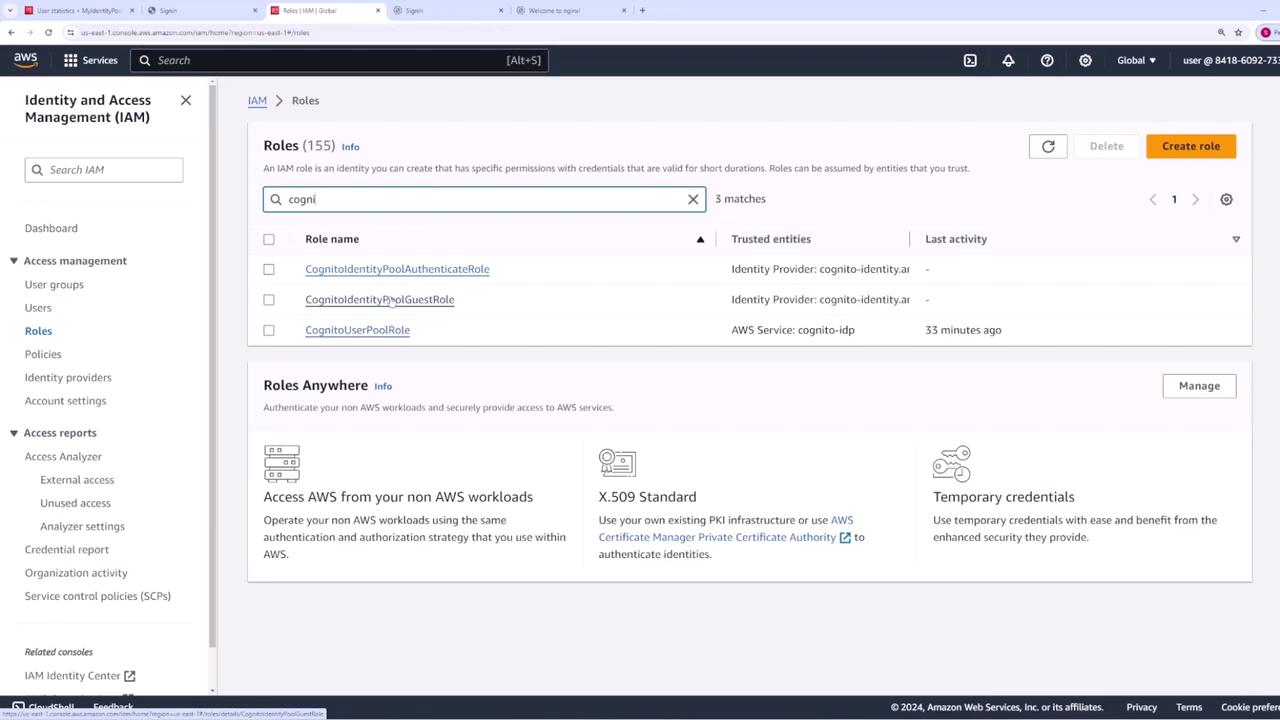
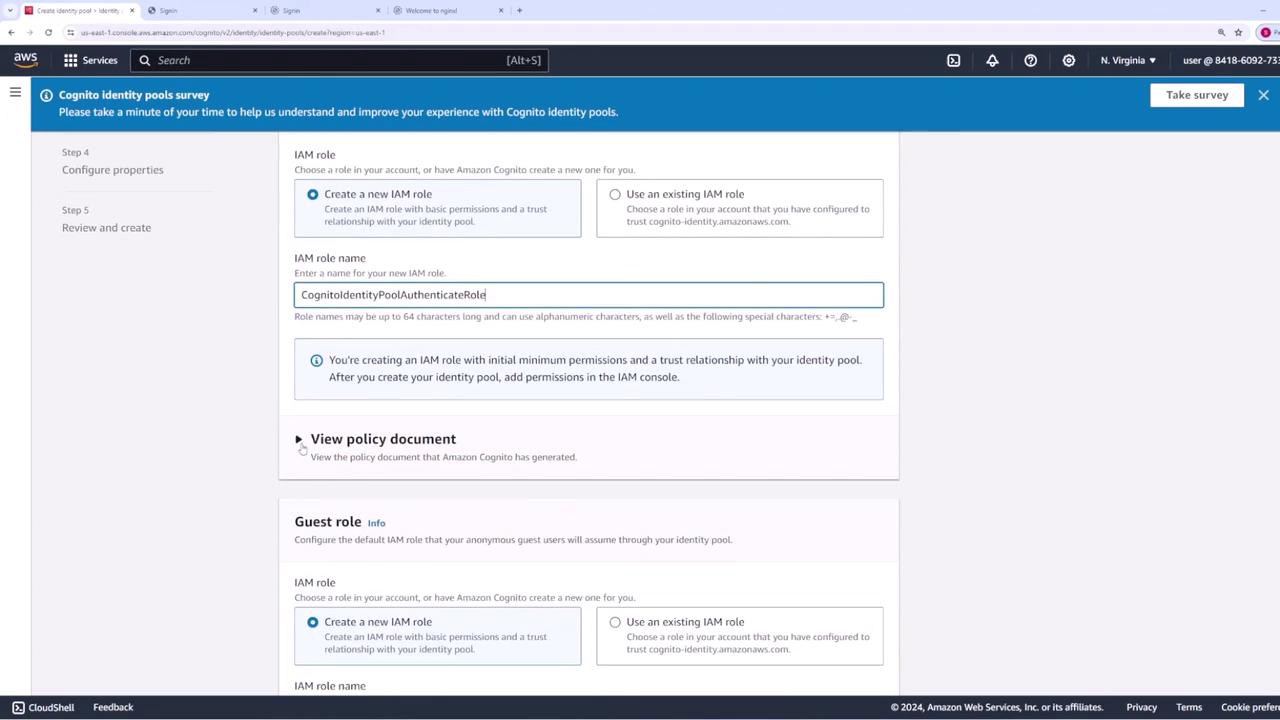
If you opt for authenticated access, you need to assign a role that authenticated users will assume when interacting with AWS. For example, you might name this role “Cognito Identity Pool - Authenticated Role.” By default, this role includes a policy document with limited permissions, primarily allowing the following action:These limited permissions ensure that users can only retrieve credentials for their identities. You can later update this role in AWS IAM to add additional permissions (such as S3 access) when necessary.
Configuring Guest Access
For guest access, create a new role, often by modifying the default role name (for instance, “guest”) and adjusting the associated policy document to define different permissions. This separation ensures that guests and authenticated users operate under distinct permission sets. After setting up both roles, you have the option to connect your identity providers. In this demonstration, the identity pool is named “my identity pool” and basic authentication flow is enabled. Click Next to review your configurations and proceed to create the identity pool.Post-Creation Steps
Once your identity pool has been created, ensure that users (whether authenticated or guests) log in via the chosen authentication provider. Upon successful login, they can retrieve temporary AWS credentials that allow them to interact with AWS services according to the permissions defined in their respective roles. Should you need to grant additional permissions later (for example, S3 access), simply update the role in IAM with the necessary policies.