AWS Certified Developer - Associate

Security

Cognito User Pool Demo

In this lesson, we will walk you through setting up an AWS Cognito user pool. Follow these steps to configure authentication, password policies, multi-factor authentication (MFA), federated identity providers, and more. This comprehensive guide simplifies the process of implementing secure, scalable user authentication for your application.

Step 1: Access the Cognito Service

Start by navigating to the AWS Cognito service page. Here, you can create user directories tailored for your application. Note that selecting "Grant access to AWS services" is intended for identity pools. In this demo, we will create a user pool. A separate lesson covers identity pool setup.

Click on Create User Pool to start the process.

The image shows the Amazon Cognito webpage, highlighting its features for secure identity and access management for apps, along with options for creating user pools and information on pricing and benefits.

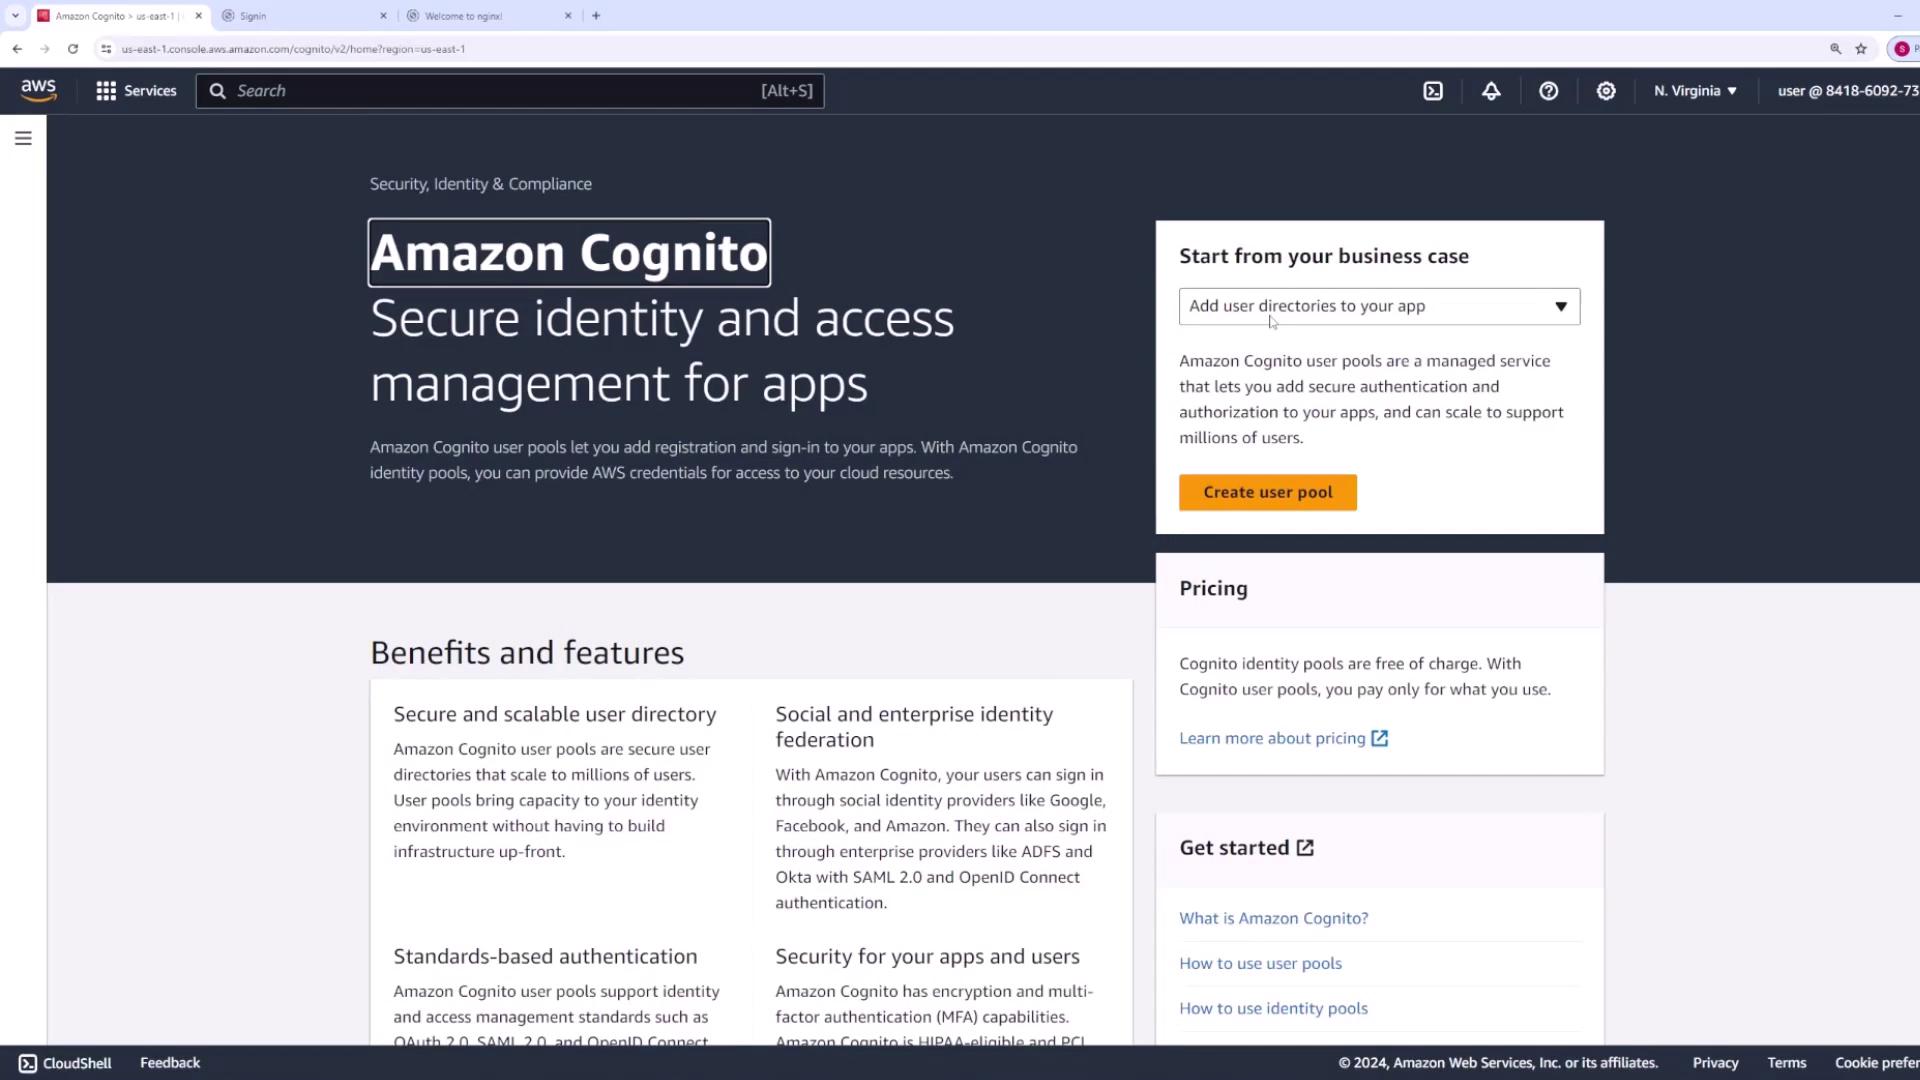
Step 2: Explore Cognito Authentication Capabilities

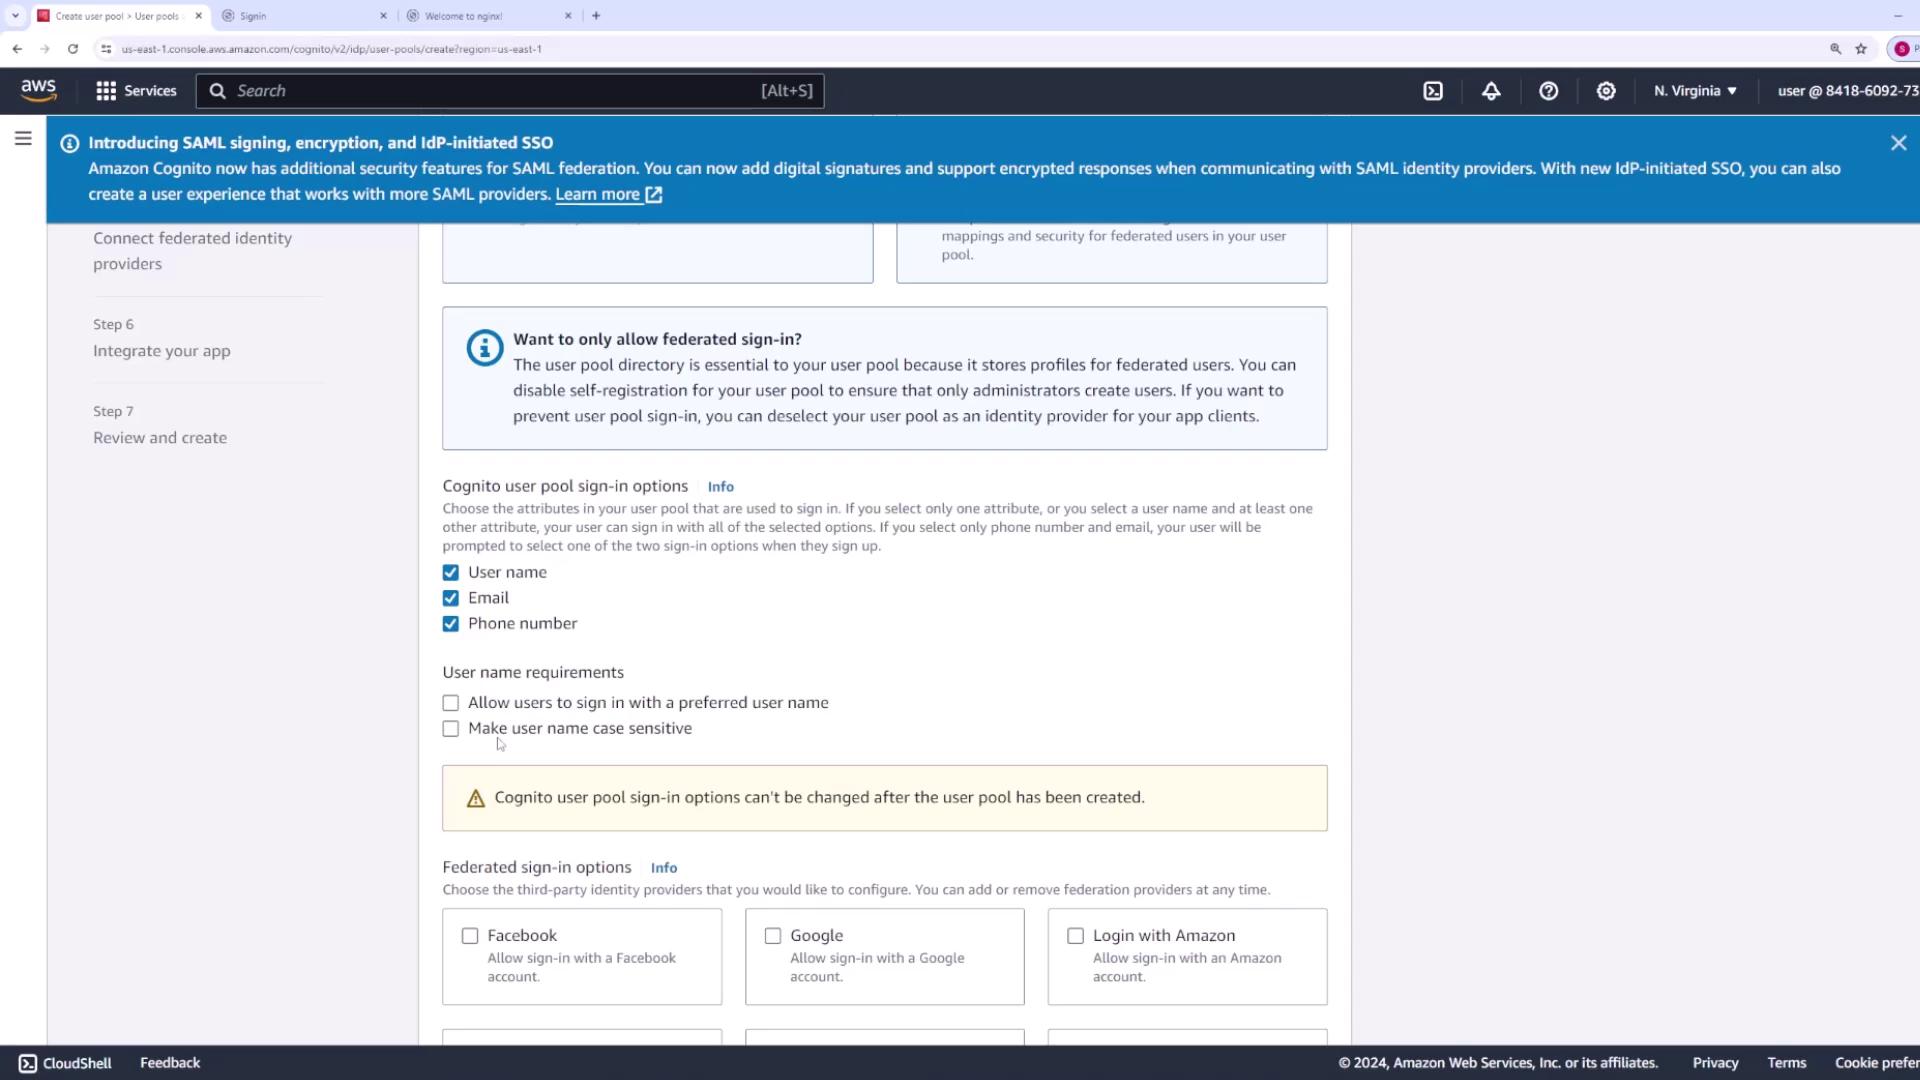
Amazon Cognito simplifies authentication by handling user registration, sign-in, sign-out, password recovery, and verification processes automatically. Under the "Provider Types" section, you will see that the Cognito user pool is pre-selected and grayed out, allowing sign-in using an email address, phone number, or username.

The image shows an AWS Cognito configuration screen for setting up sign-in experiences, with options for authentication providers and user pool sign-in options.

You can also enable federated identity providers such as Facebook, Google, Amazon, Apple, SAML, or OpenID Connect, eliminating the need for custom coding for third-party authentication. Configure the sign-in methods based on your application’s needs, such as enabling username, email, and phone number sign-in options, or setting preferences like case sensitivity for usernames.

The image shows an AWS Cognito user pool configuration screen, where options for user sign-in methods and federated identity providers are being set up.

Step 3: Configure Password Policy and Security Settings

Set your password policy by modifying the default settings. Typically, passwords must be at least eight characters and meet specific complexity requirements. Customize these settings as needed for your organization's security standards.

The image shows an AWS Cognito configuration page for setting security requirements, including password policies and multi-factor authentication options.

MFA Options

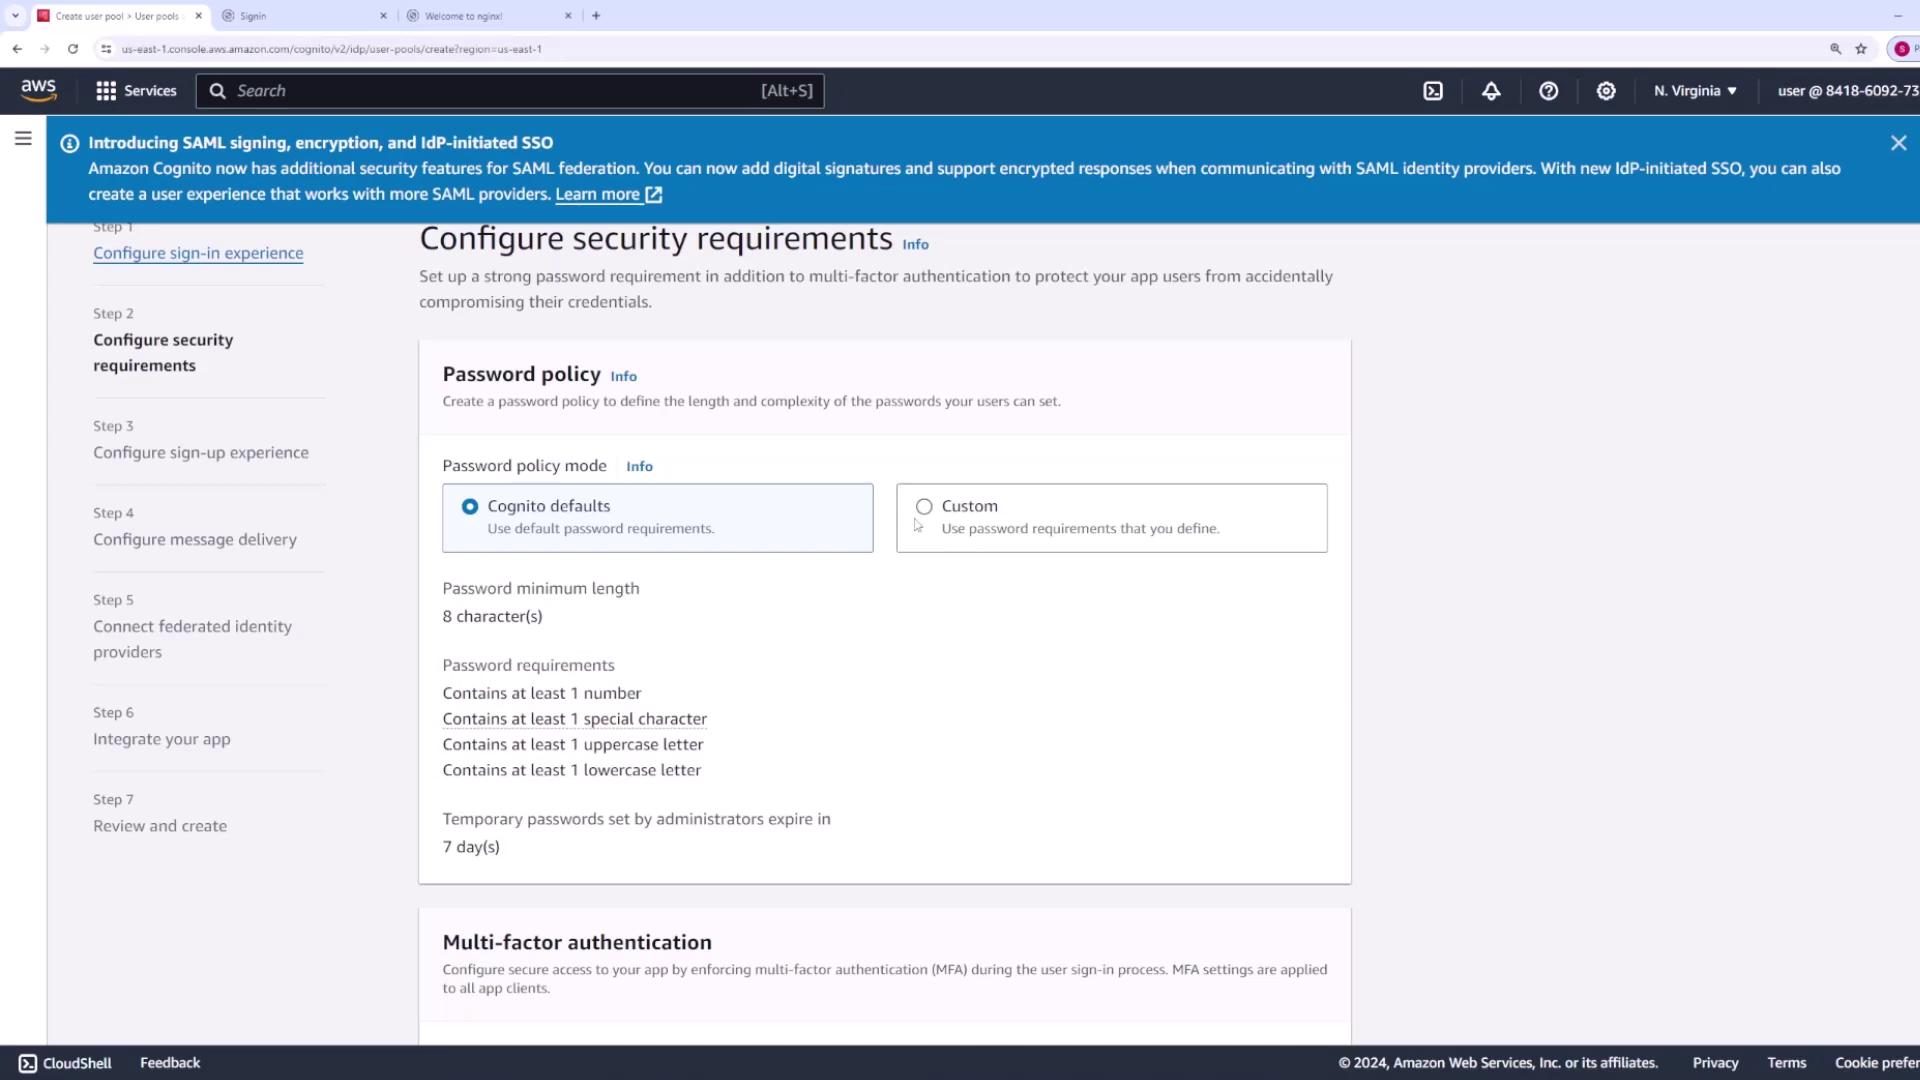
For this demo, MFA is disabled. However, you can enforce or optionally enable MFA (using SMS or an authenticator app) based on your security requirements.

Additionally, configure user account recovery options to allow users to reset passwords via email or SMS. You can choose the default delivery method (email) and decide whether self-service registration is enabled or if an administrator must onboard users manually.

The image shows an AWS Cognito configuration page for setting up a sign-up experience, with options for enabling self-registration and attribute verification.

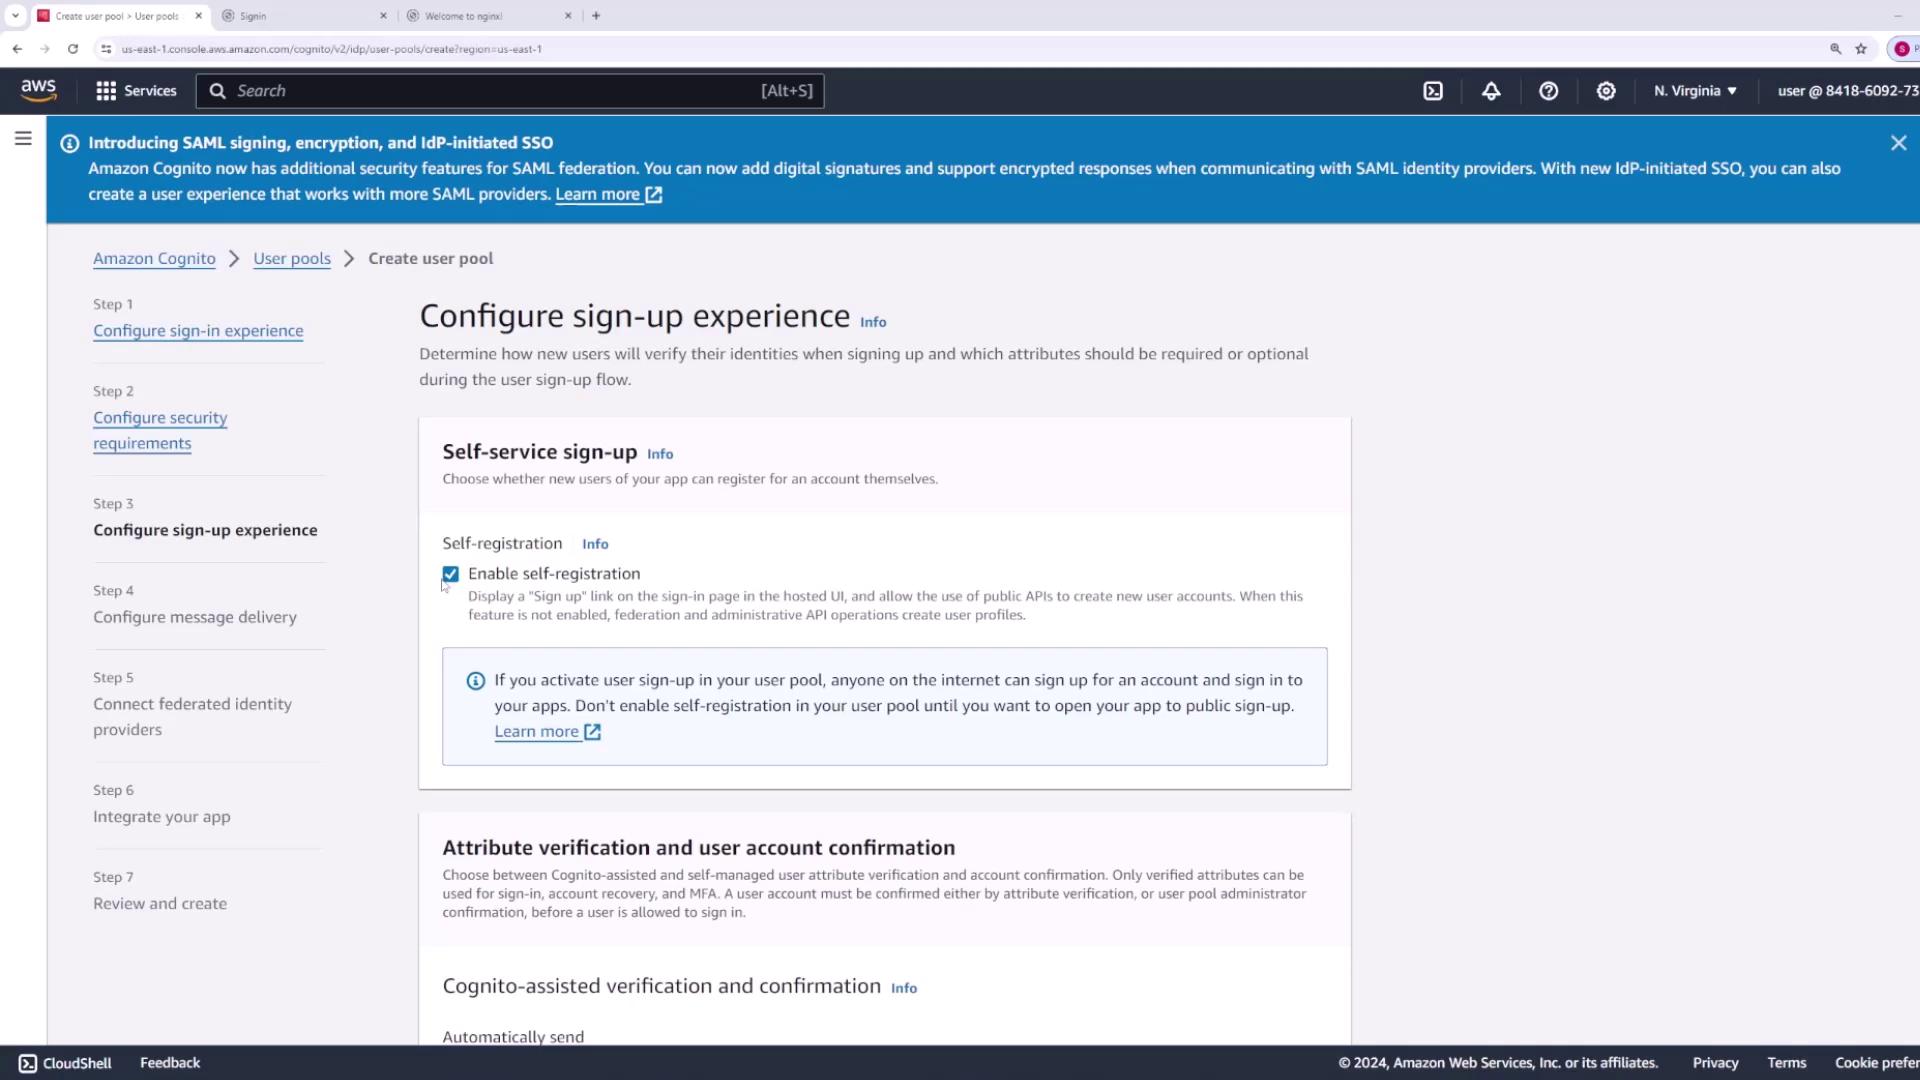
Step 4: Verify Account Attributes

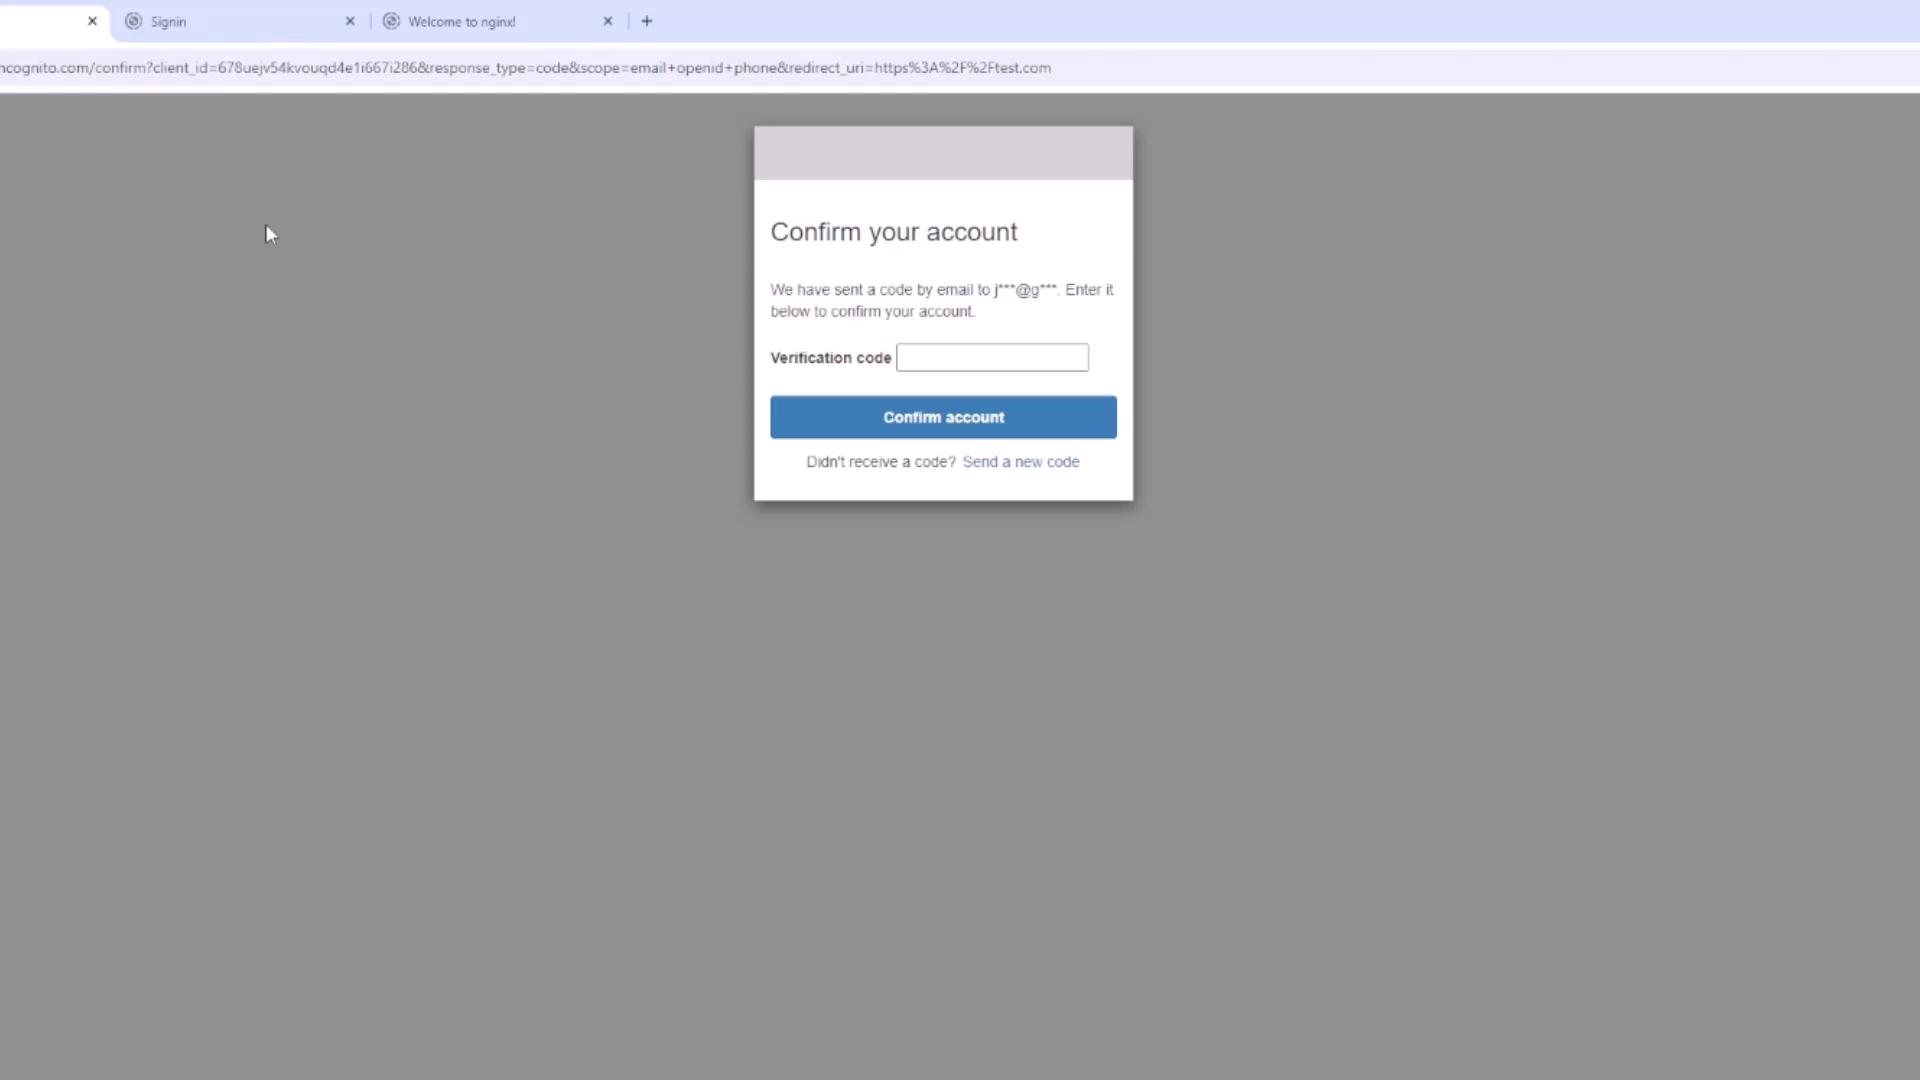
Amazon Cognito automates the process of sending verification messages via SMS or email to confirm ownership of the provided email addresses or phone numbers. During registration, specify which attributes (e.g., email, phone number, birthdate, or custom attributes) are required.

The image shows an AWS Cognito user pool configuration screen, where required and custom attributes for user sign-up are being set.

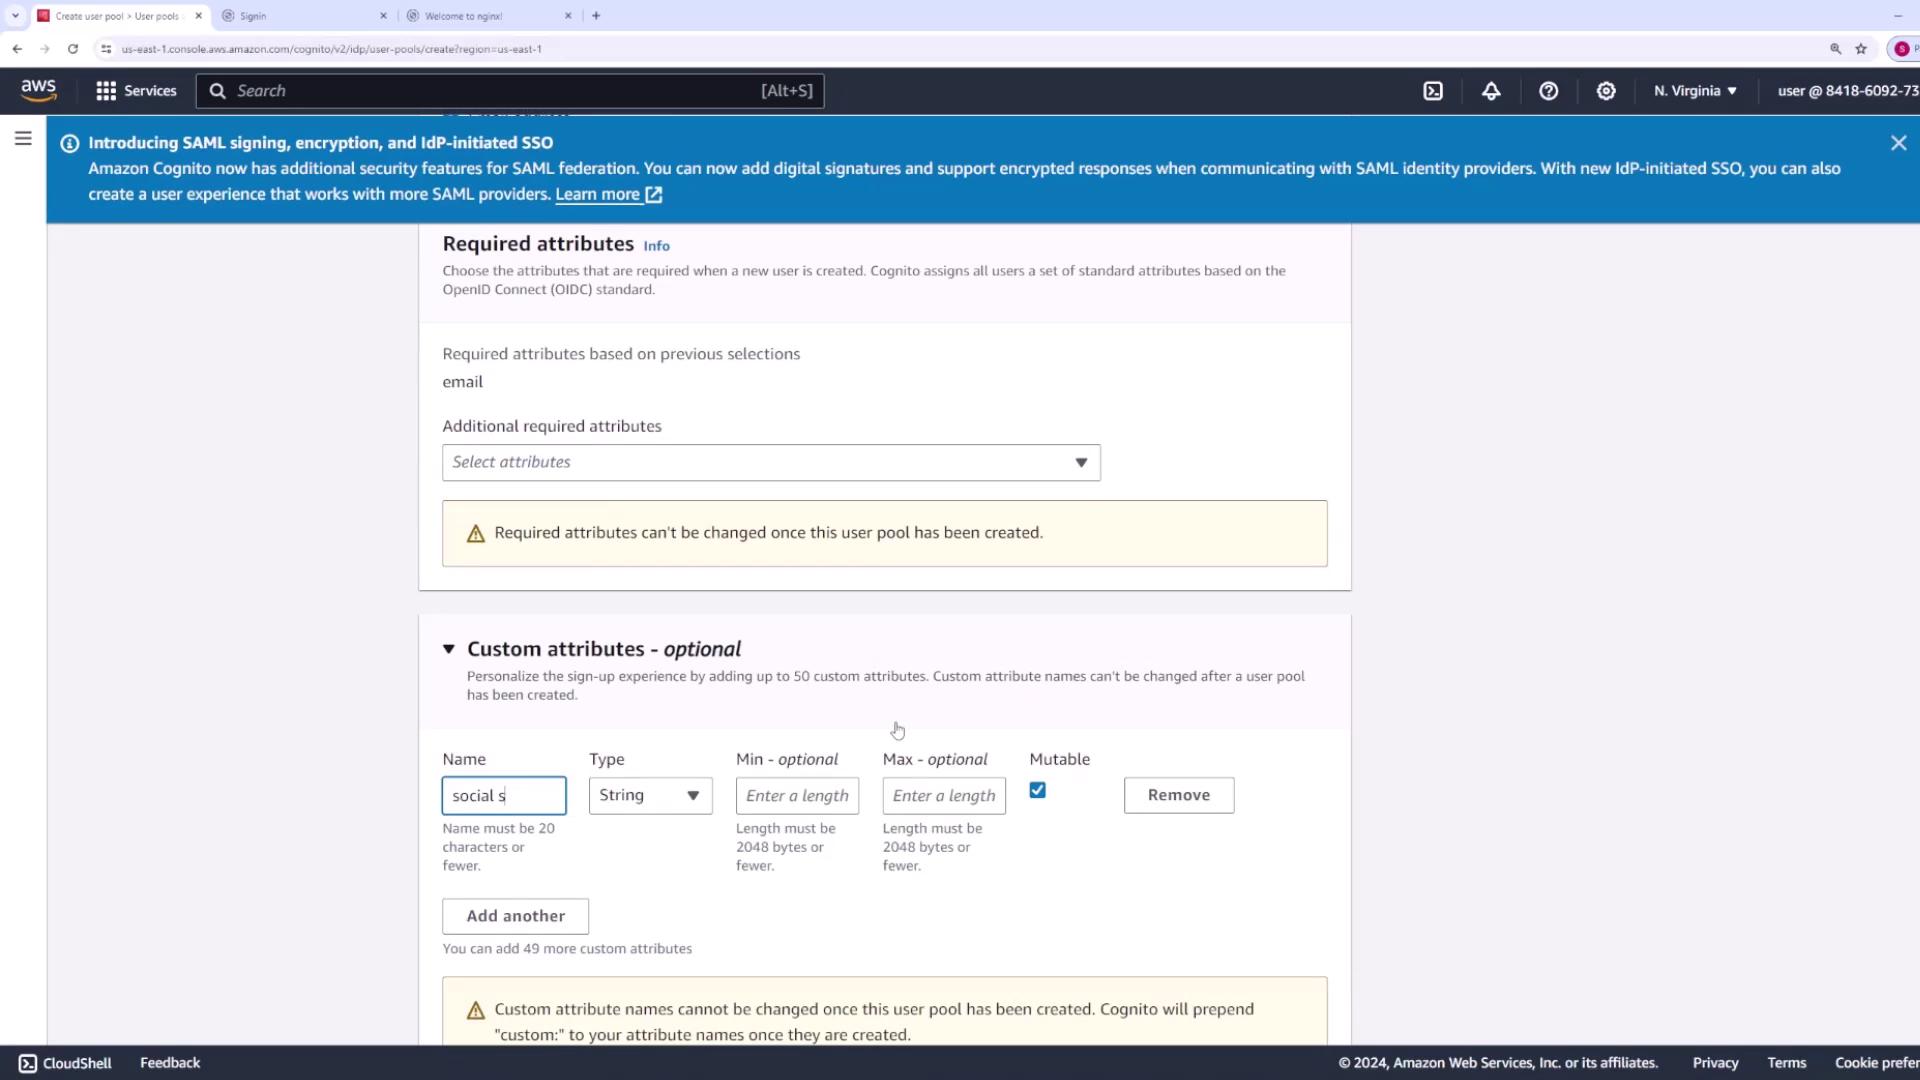
Step 5: Configure Email and SMS Message Delivery

Decide whether to use Amazon SES (Simple Email Service) or the default Cognito email service for message delivery. The default service is suitable for development (up to 50 emails per day), while SES is recommended for production environments with higher throughput. Configure your "From" email address accordingly.

The image shows an AWS Cognito configuration page for setting up message delivery, with options to send emails using Amazon SES or Cognito. It includes settings for SES region, email address, and configuration set.

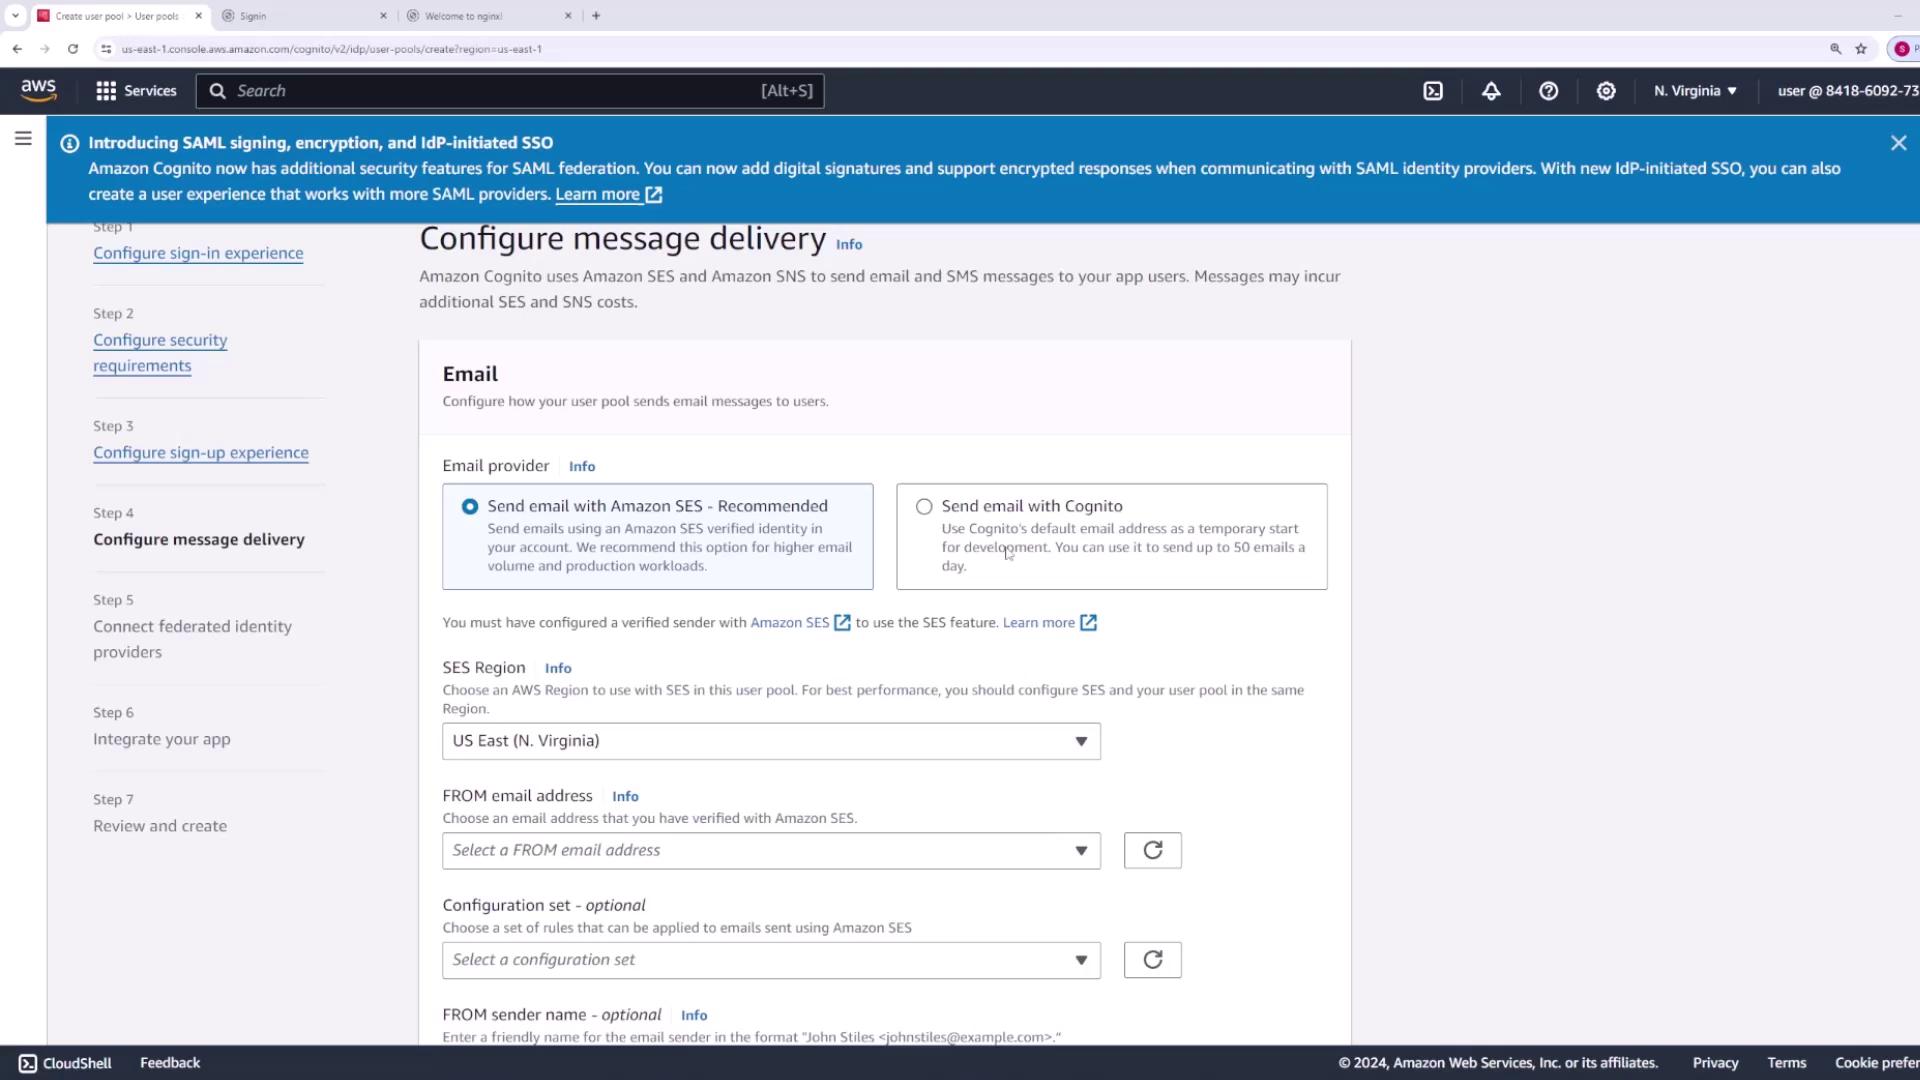
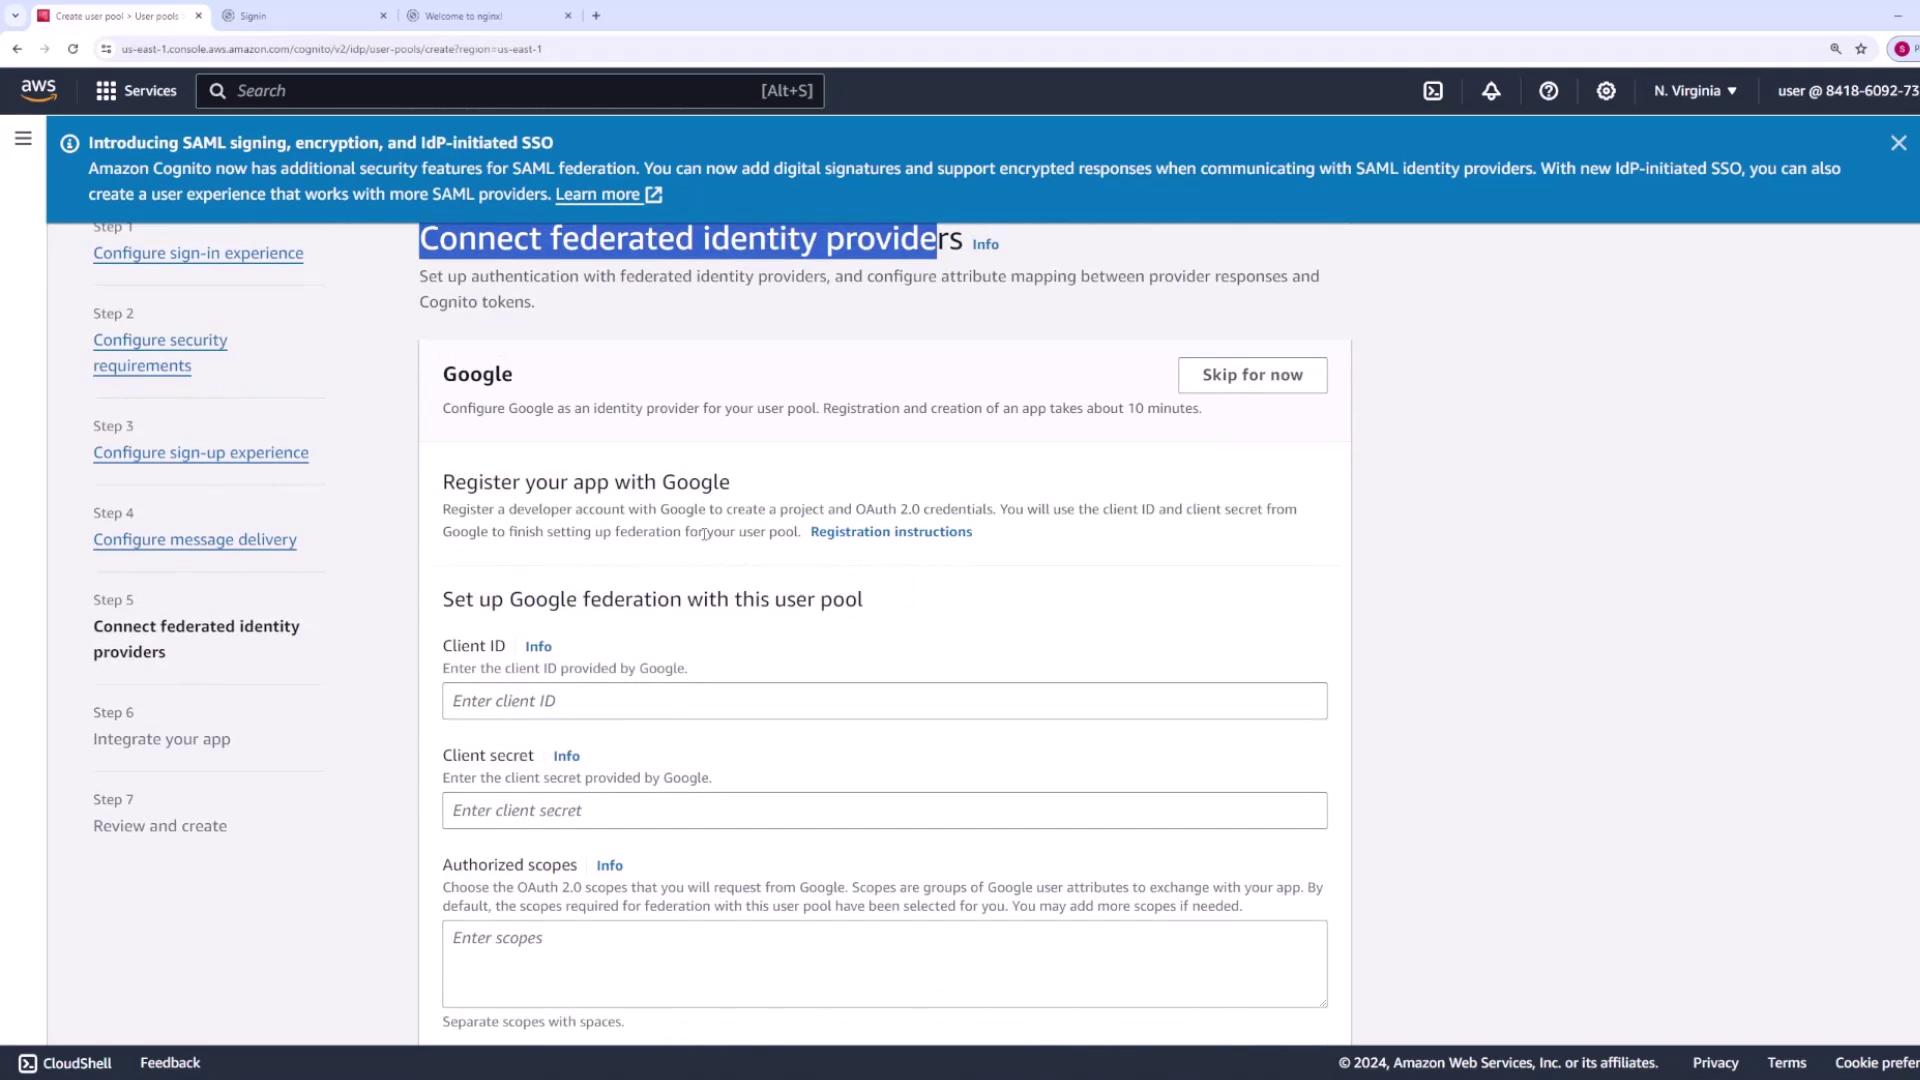
Step 6: Set Up SMS Role and Federated Identity Providers

Specify the IAM role that Amazon Cognito uses to send SMS messages through Amazon SNS. If you do not have an existing role, create one (e.g., "Cognito User Pool Role").

The image shows an AWS Cognito setup screen where a user is creating an IAM role for sending SMS messages with Amazon SNS. It includes options to create a new IAM role or use an existing one, and a warning about configuring AWS service dependencies for SMS setup.

Next, configure settings for federated identity providers. For example, if you want to enable Google sign-in, register your application in the Google Developer Console to obtain a client ID, client secret, and specify the required scopes. You can choose to skip this step and configure it later if needed.

The image shows an AWS Cognito setup page for connecting federated identity providers, specifically for configuring Google as an identity provider. It includes fields for entering a client ID, client secret, and authorized scopes.

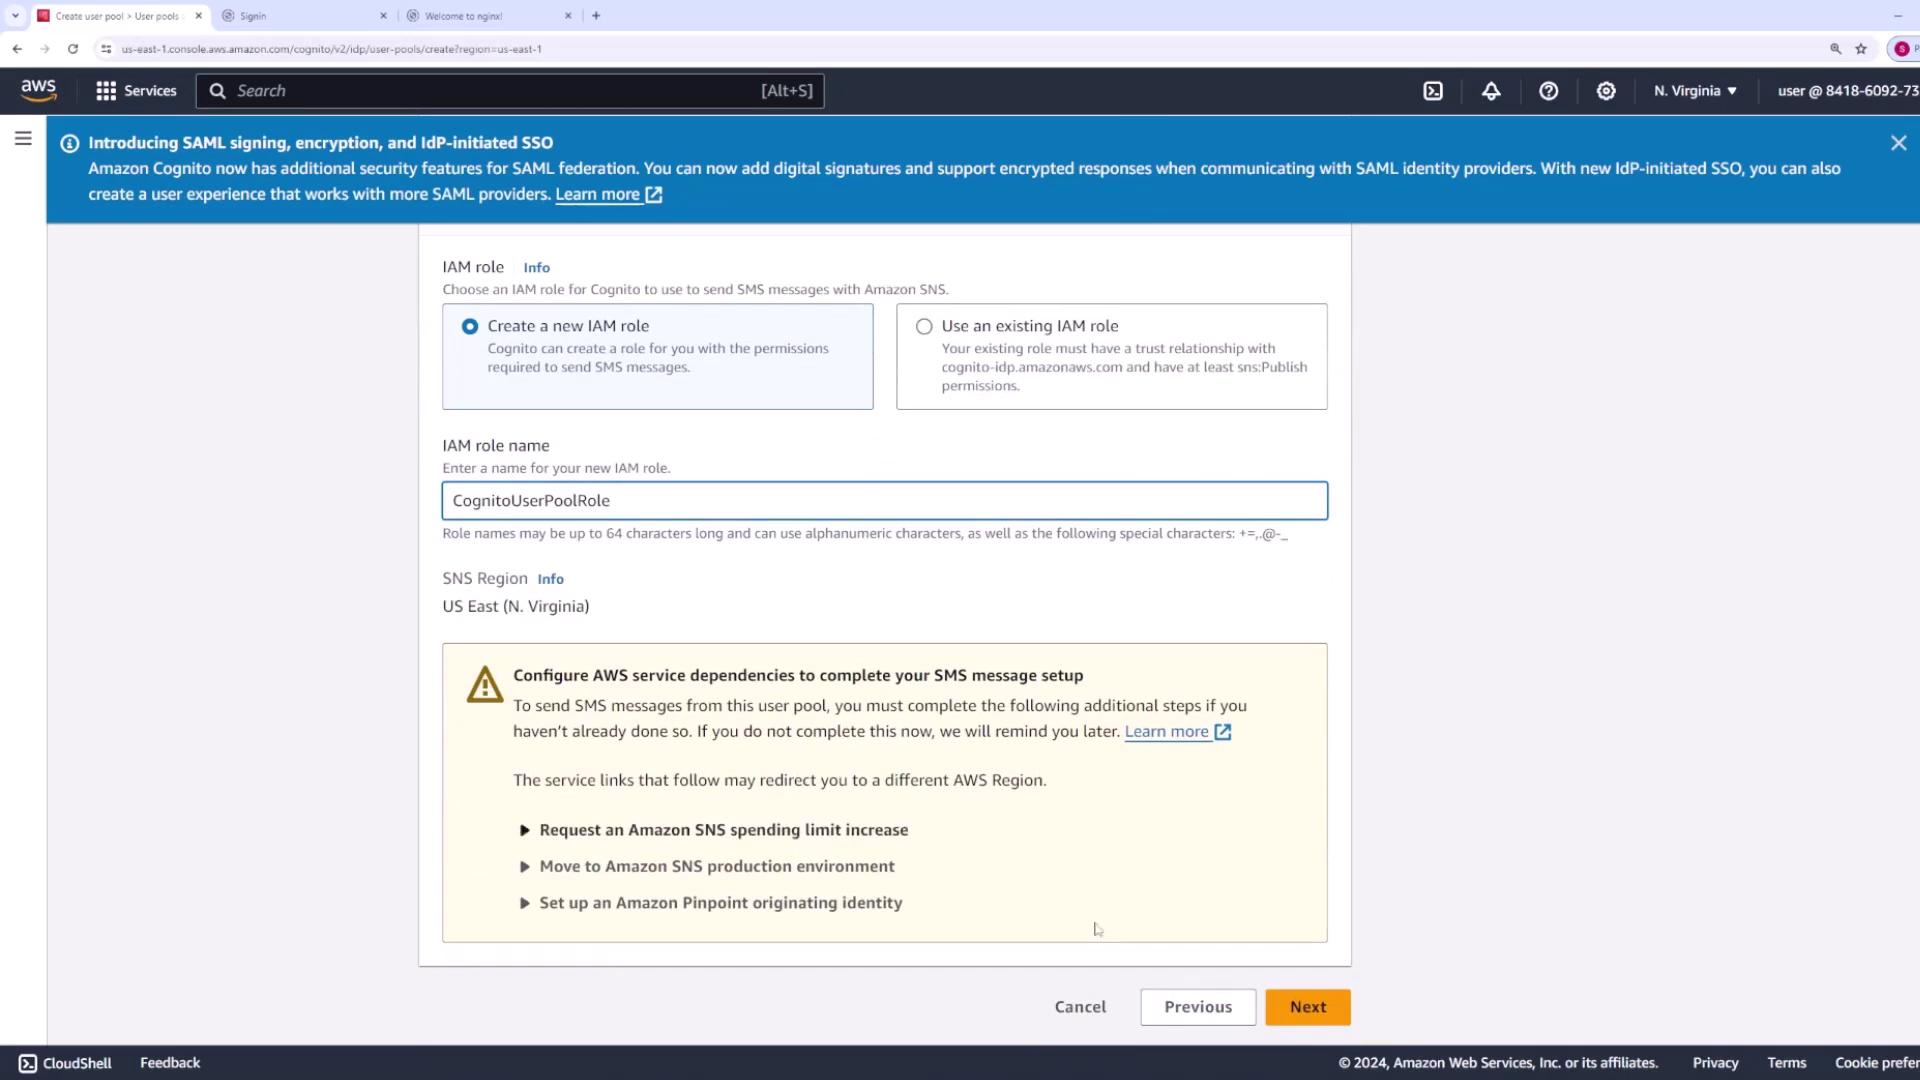
Step 7: Name Your User Pool and Configure the Domain

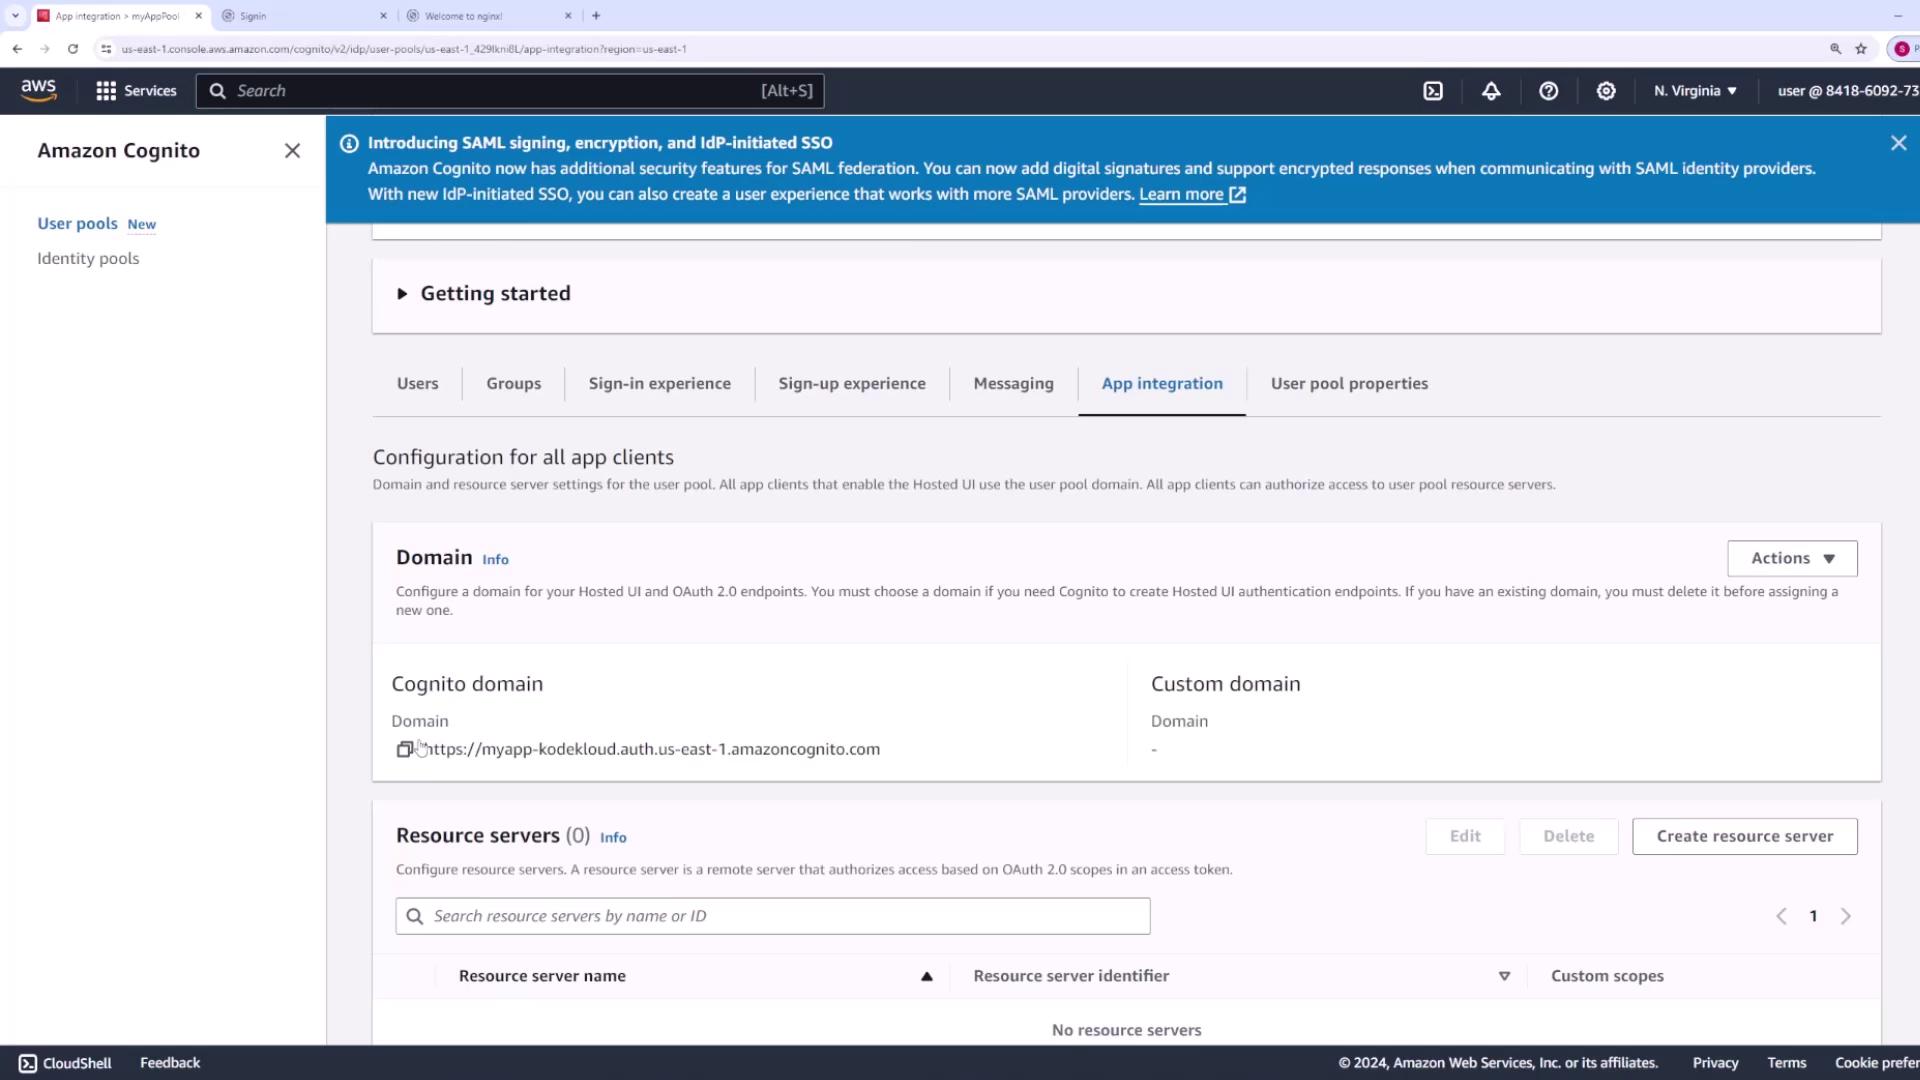
Assign a descriptive name to your user pool (e.g., "myAppPool"). Your application will also receive a domain name for the Cognito-hosted UI. You can either use a built-in Cognito domain with a unique prefix (e.g., "myapp-codecloud-") or set up a custom domain if you have certificates from ACM.

The image shows an AWS Cognito interface for creating a user pool, with fields for entering a user pool name and options for integrating an app.

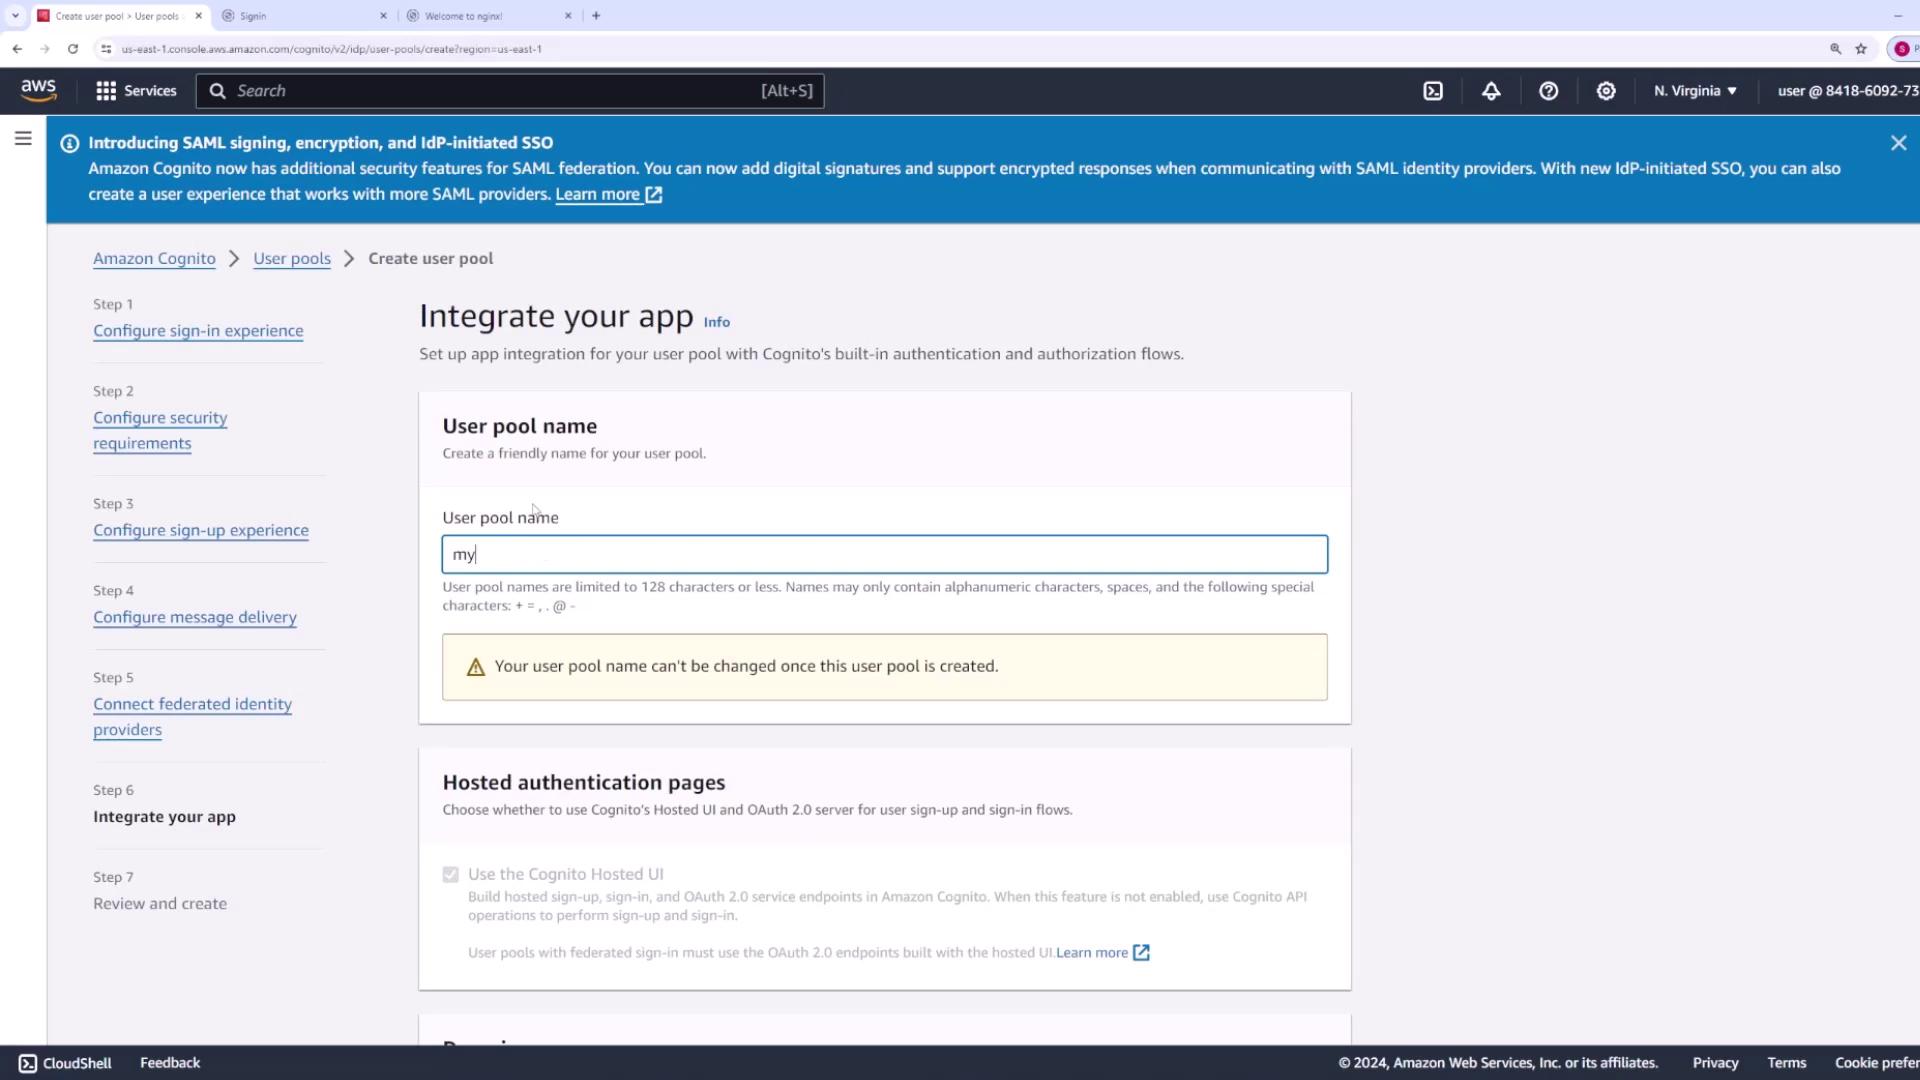
Step 8: Create an App Client

After creating the user pool, configure an app client to control how users interact with your application. Public clients are suitable for web or mobile applications, while confidential clients work best for server-side applications. For this demo, we will use a public client.

Enter an app client name (e.g., "AppOne") and optionally generate a client secret. Also, specify a callback URL (for testing, you might use "test.com") to redirect users after signing in.

The image shows an AWS Cognito interface for creating an initial app client, with options to select the app type, enter an app client name, and choose whether to generate a client secret.

Review your configuration settings, then click Create User Pool.

The image shows the Amazon Cognito dashboard on AWS, indicating that a user pool named "myAppPool" has been created successfully. It also highlights features like SAML signing, encryption, and IdP-initiated SSO.

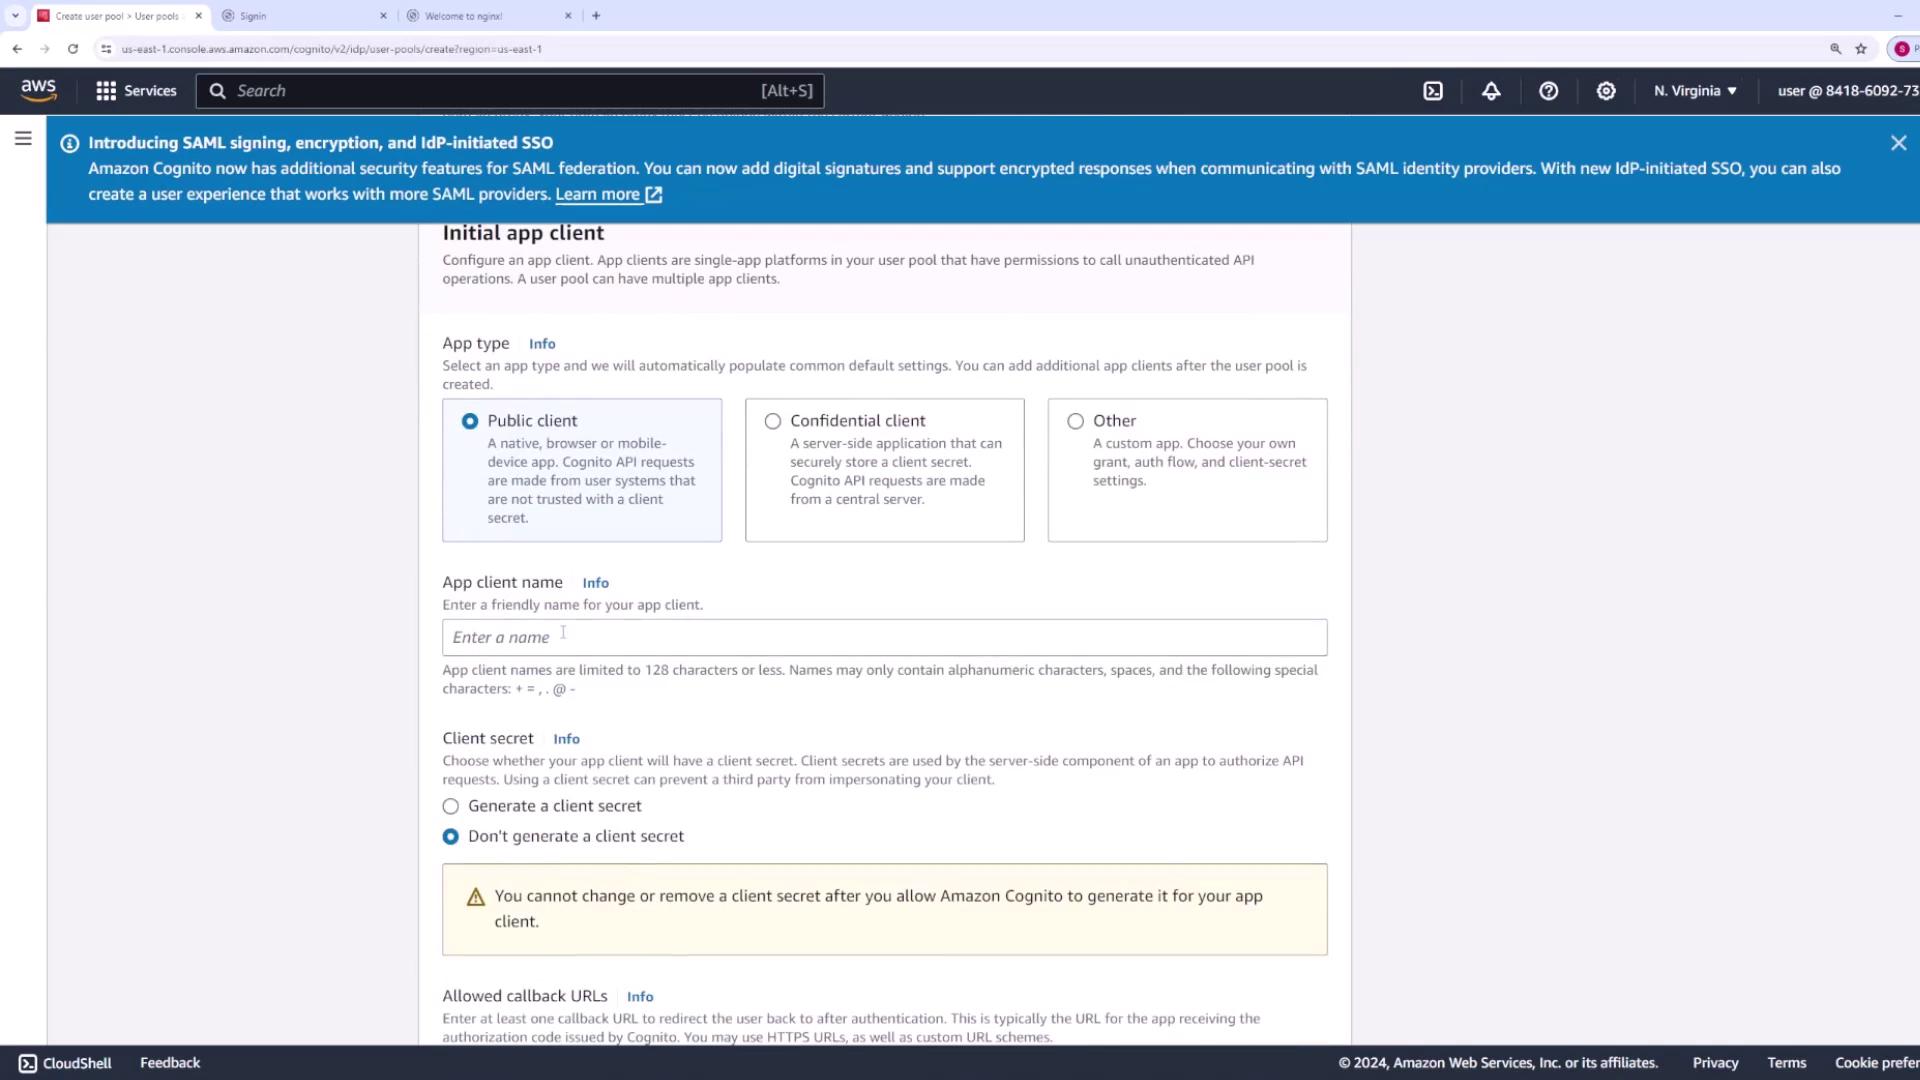
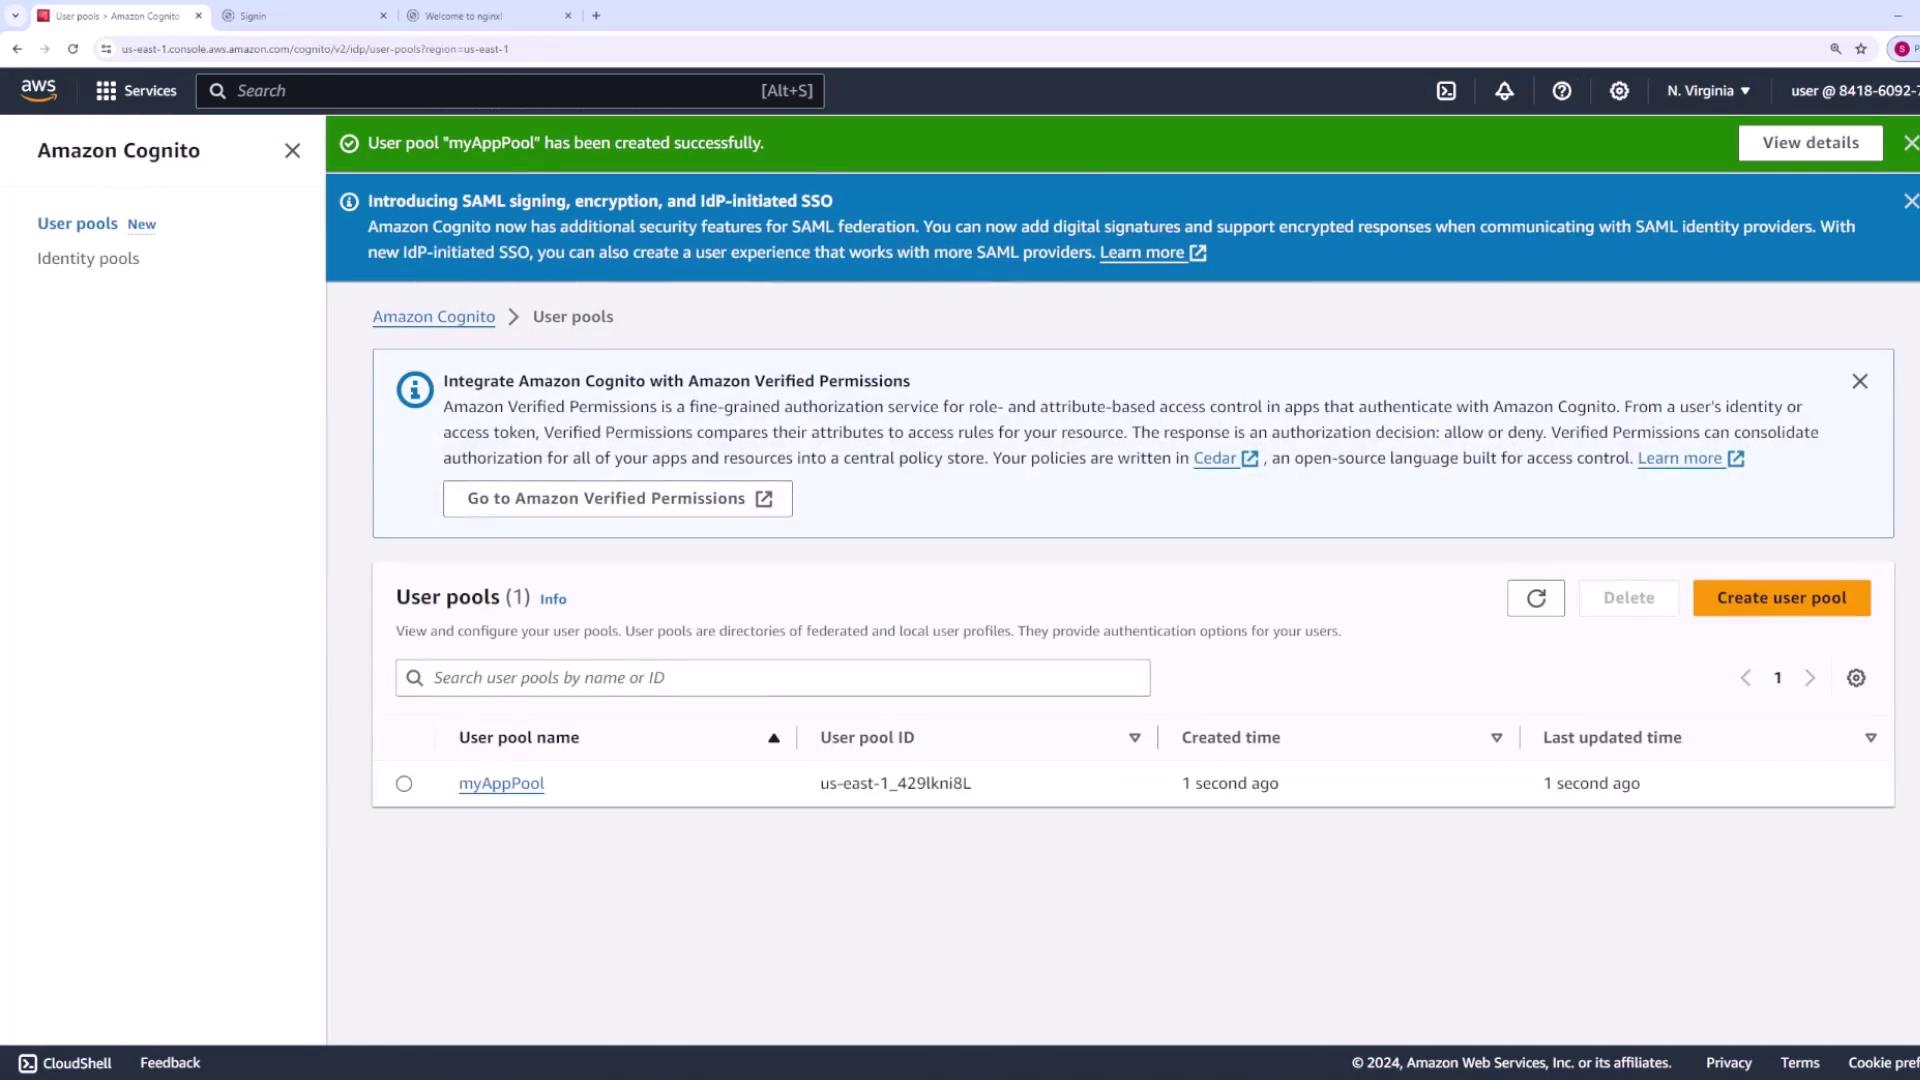
Step 9: Review the User Pool Configuration

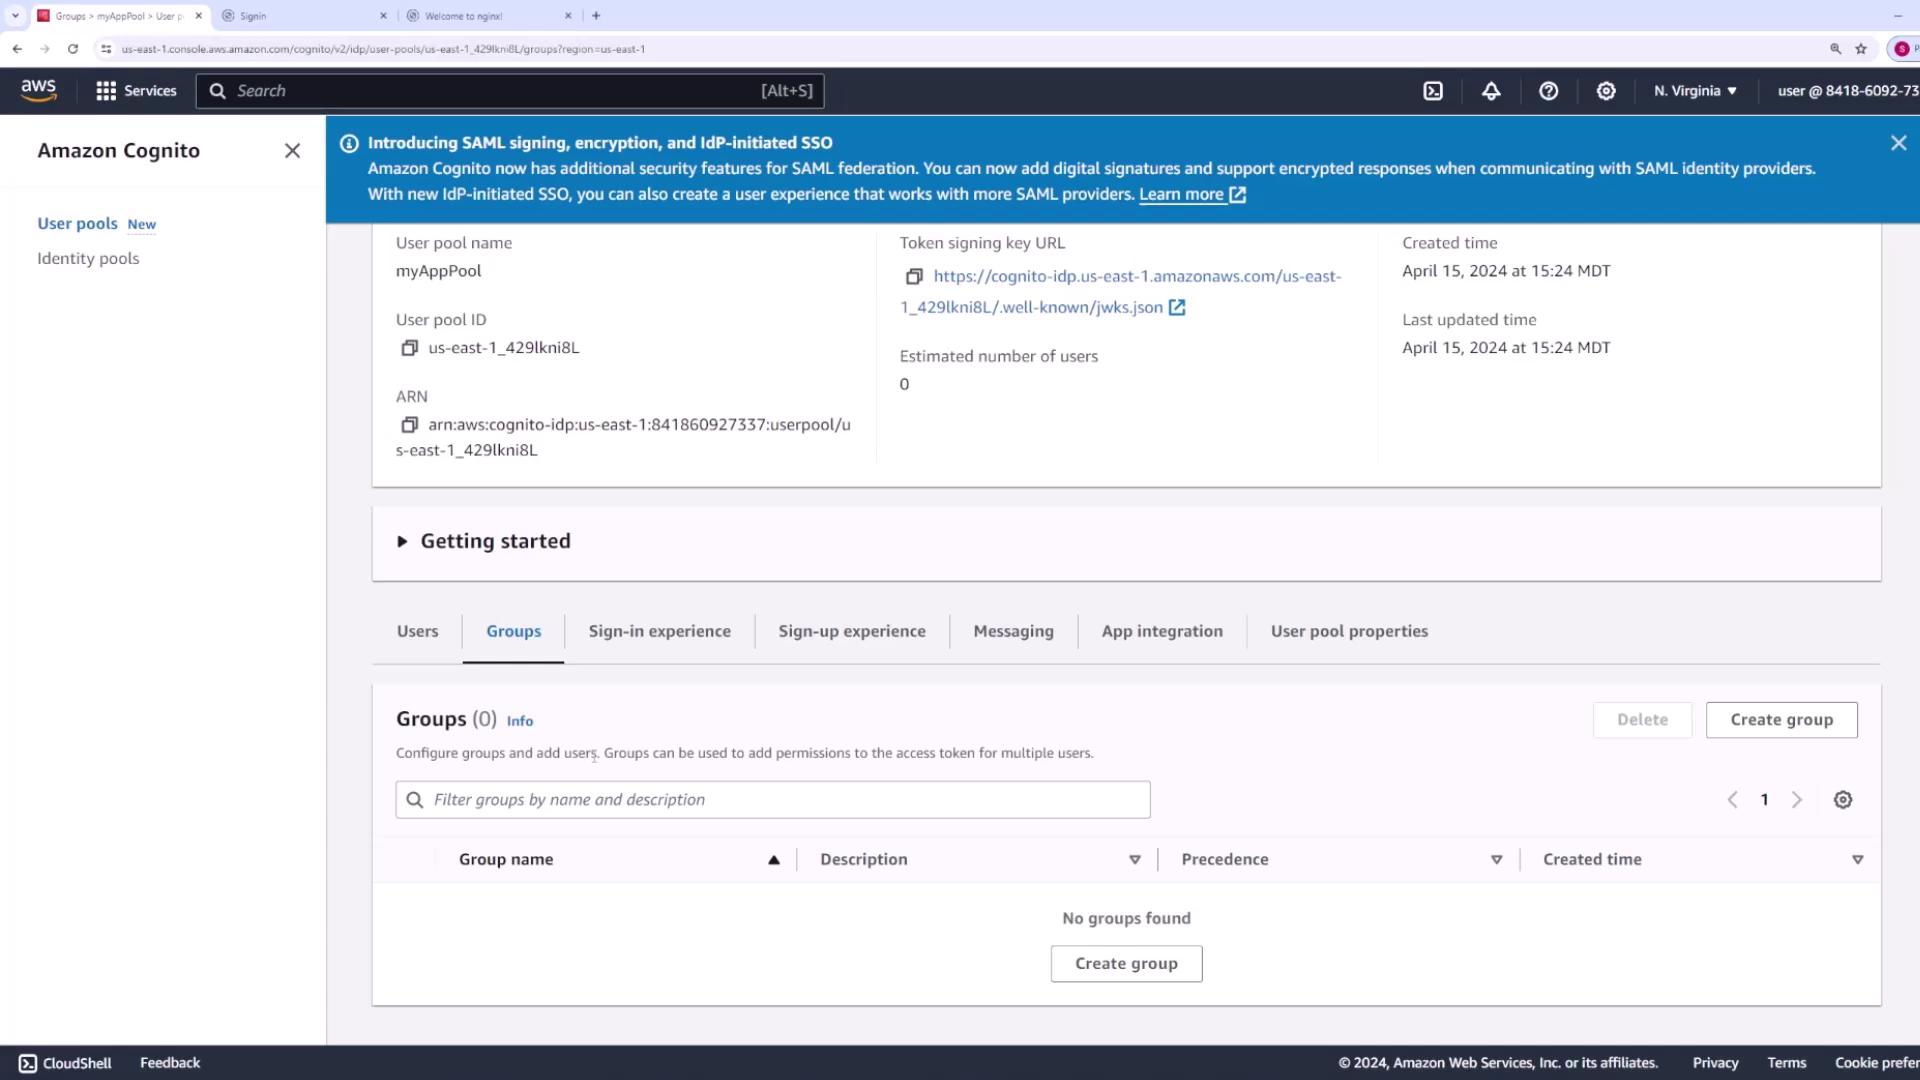
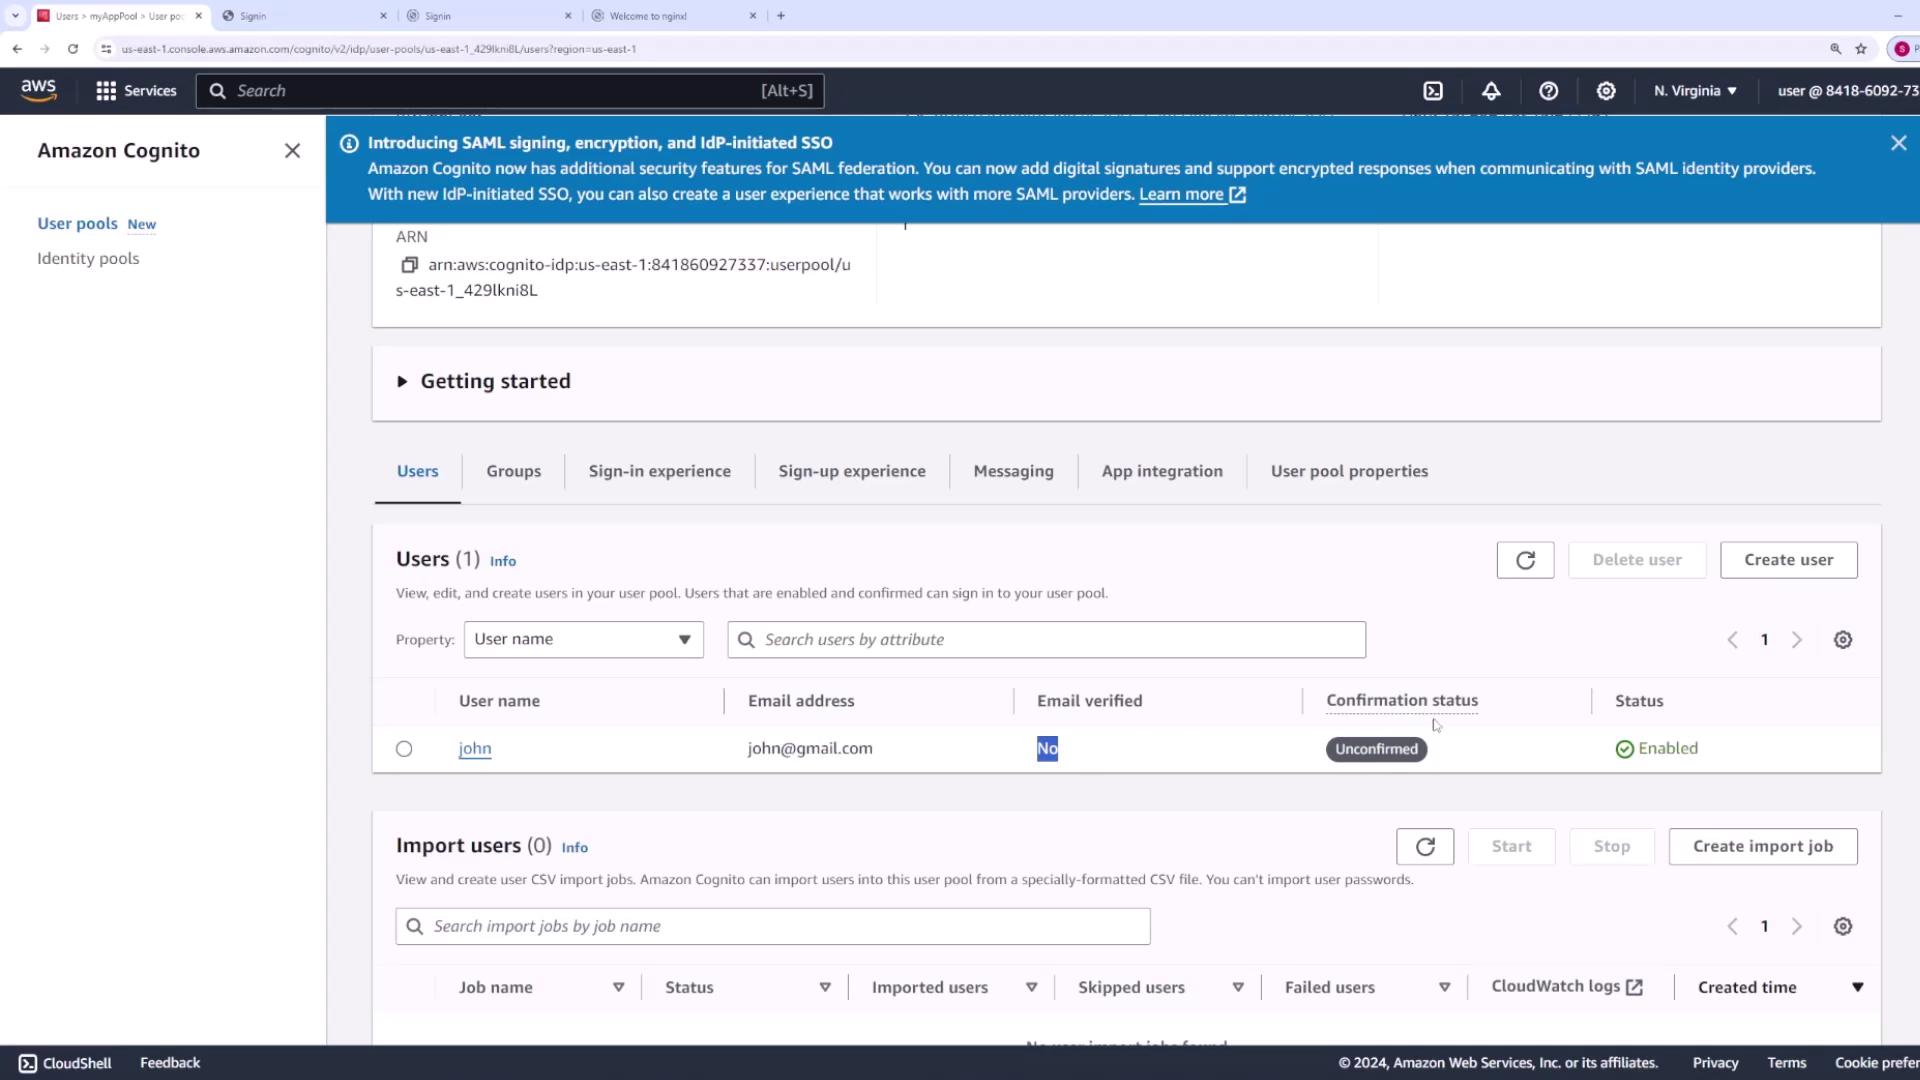
Once the user pool is created, review and manage its various sections:

  • Users: View and manage the list of registered users.
  • Groups: Create and manage groups to assign roles and permissions (e.g., administrators, end users).
  • Sign-In Experience: Customize sign-in methods, including federated identity provider settings and password policies.
  • Messaging: Customize email and SMS templates for communications.
  • App Integration: Access the hosted UI endpoint and other integration settings.

The image shows the Amazon Cognito user pool interface on AWS, displaying details about a user pool named "myAppPool" with options for managing groups and users.

The image shows the Amazon Cognito dashboard, specifically the "Messaging" section, where email and SMS configurations for user pools are displayed. It includes options for setting email providers and regions for both email and SMS services.

The image shows the Amazon Cognito console, specifically the "App integration" section, where configuration options for domains and resource servers are displayed.

Step 10: Test the Hosted UI

To see the hosted UI in action, navigate to the app client list and select your app. Choose "View Hosted UI" to access the Cognito sign-in page. The page includes fields for username and password and an option for new users to sign up.

The image shows a sign-up form for creating a new account, with fields for username, email, and password, along with password requirements listed below. A cursor is hovering over the "Sign up" button.

During registration, Cognito sends a verification code via email. In this demo, you might not receive an actual email, but you can verify the process by checking the users list in the Cognito console. Initially, the user's email will appear as unverified until confirmation.

The image shows a web page with a "Confirm your account" prompt, asking for a verification code sent via email. There is a field to enter the code and a button to confirm the account.

The image shows the Amazon Cognito user management interface, displaying user details such as username, email address, and verification status.

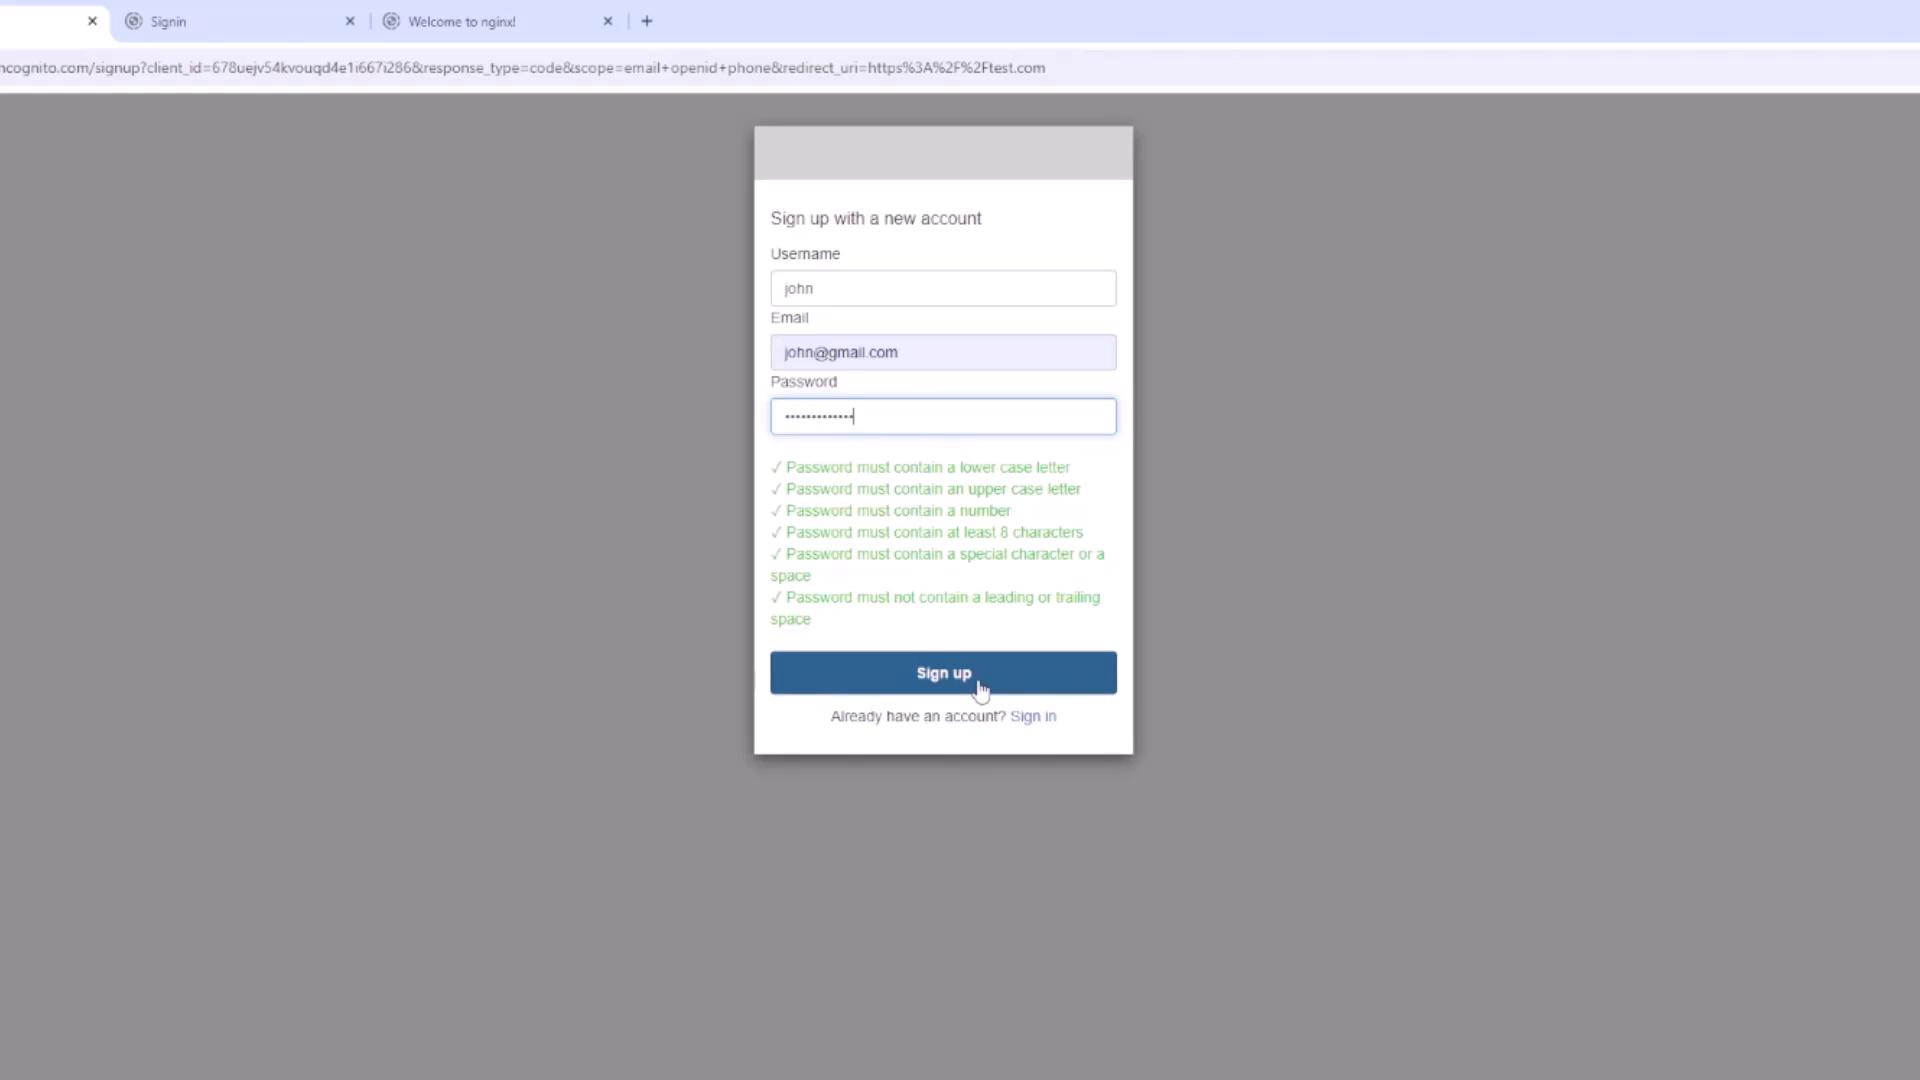
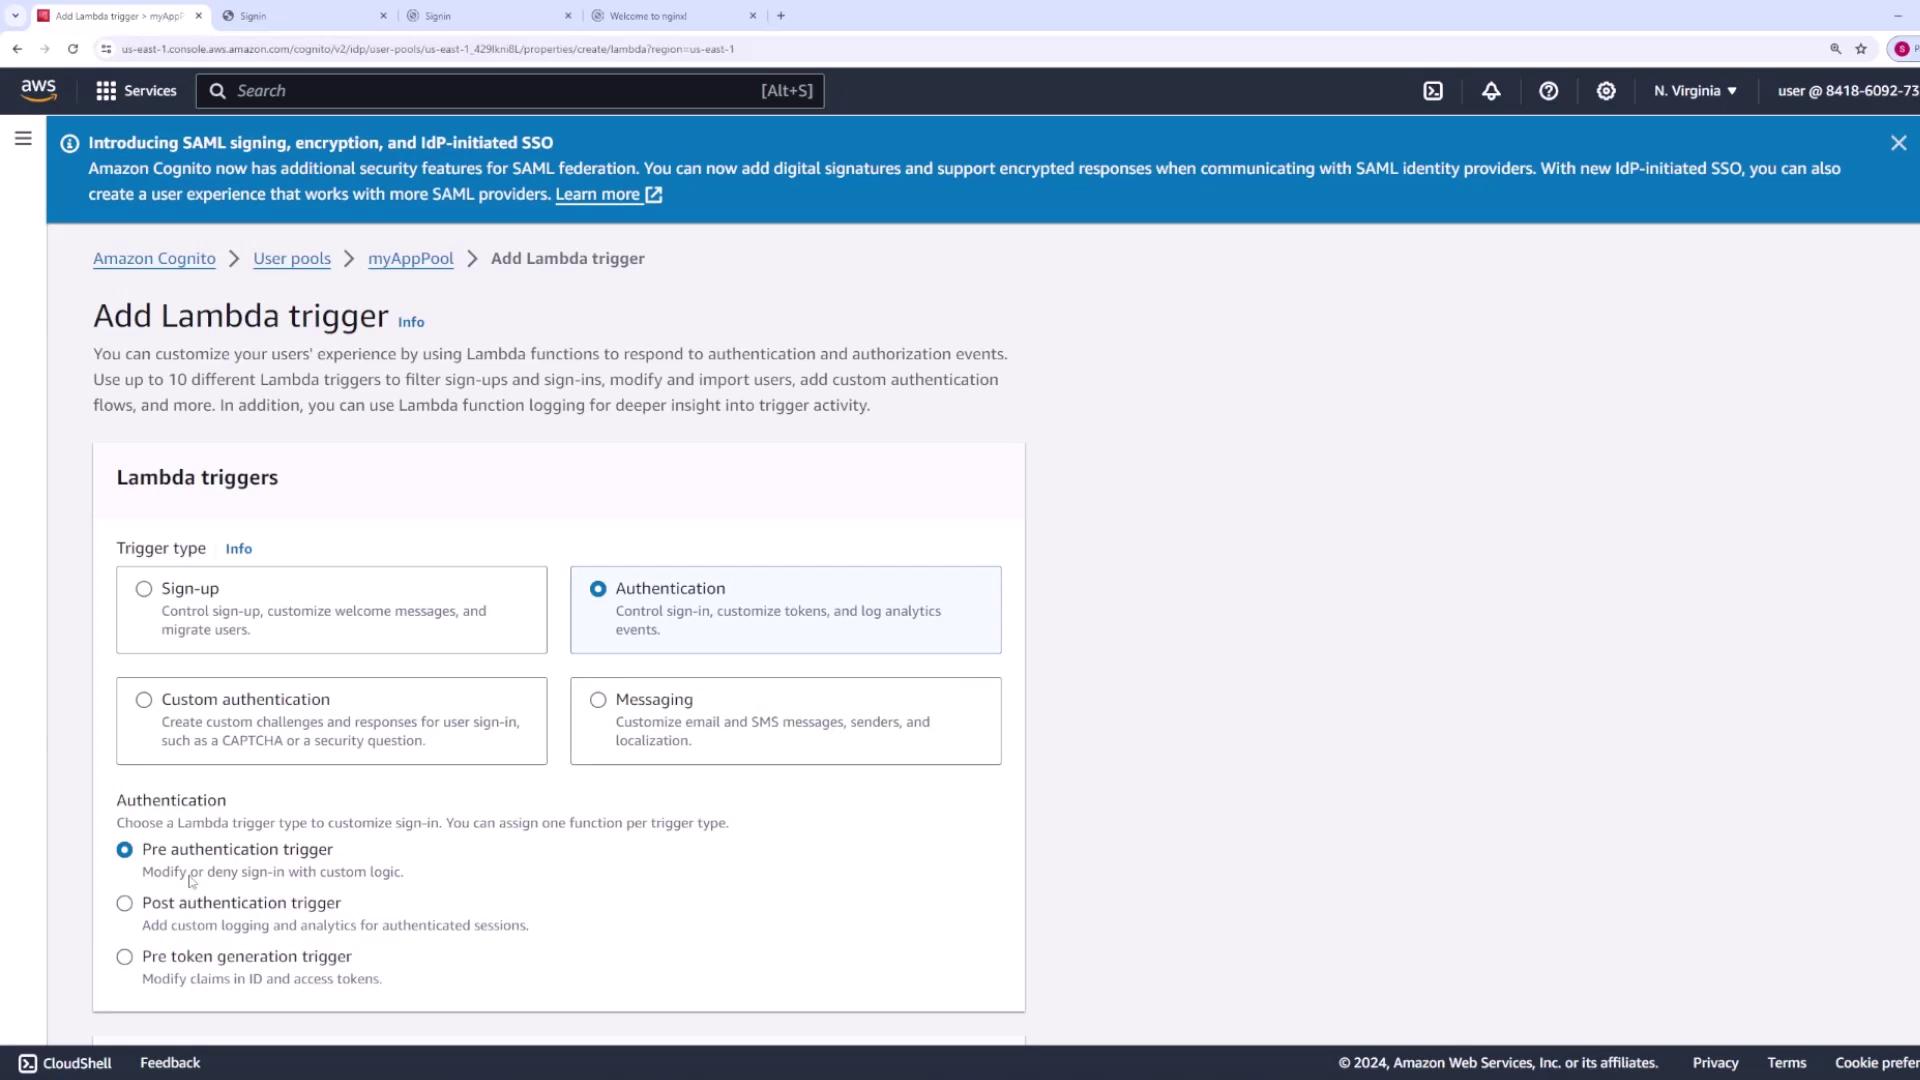
Step 11: Advanced Settings and Lambda Triggers

After exploring the core configuration, review additional settings available in your user pool:

  • AWS WAF: Configure web ACLs to protect your endpoints.

The image shows the Amazon Cognito user pool settings page on the AWS console, highlighting options for AWS WAF, deletion protection, and tags.

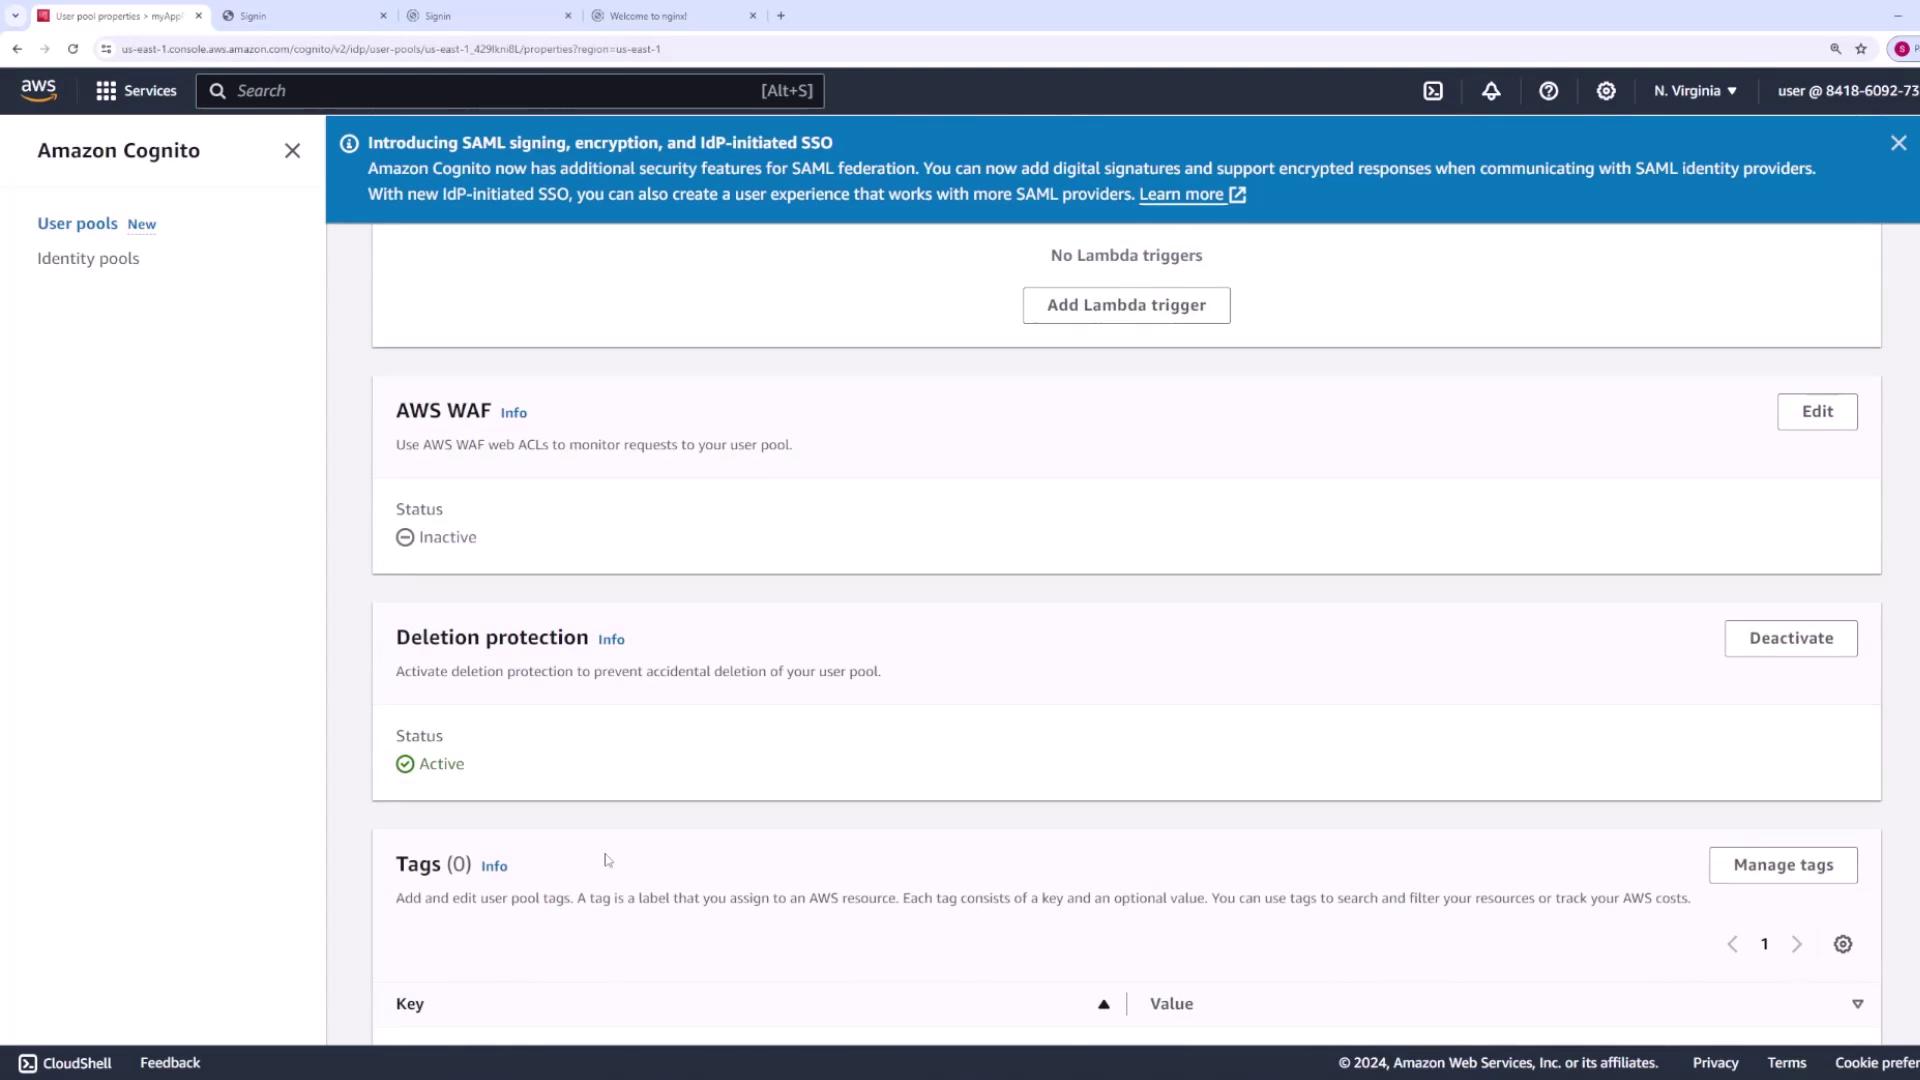
  • Lambda Triggers: Integrate AWS Lambda functions to run custom code during various authentication stages, such as before sign-up, after confirmation, during messaging customization, before sign-in, or before token generation.

The image shows an AWS console page for adding a Lambda trigger in Amazon Cognito, with options for different trigger types like sign-up, authentication, custom authentication, and messaging.

Conclusion

This lesson provided a detailed walkthrough of configuring an AWS Cognito user pool. You learned how to set up authentication methods, configure password policies and MFA, manage email and SMS messaging, integrate federated identity providers, and utilize advanced settings like IAM roles and Lambda triggers. Adjust these configurations to fit your application’s requirements and enhance your security strategy.

Enjoy building secure and scalable applications with AWS Cognito!

For further information, please visit the AWS Cognito Documentation.

Next Steps

Explore additional AWS services and features to further enhance your application's security and scalability.

Watch Video

Watch video content

Previous
Cognito