AWS Certified Developer - Associate
Storage
Instance Store Demo
In this lesson, you'll learn how to work with EC2 instance store volumes while understanding their key limitation: data stored on an instance store is lost if the EC2 instance moves from one physical host to another. This makes instance store volumes ideal only for temporary or scratch data. Remember, a stop/start event (in contrast to a reboot) triggers a host-change, wiping out any stored data.
Launching an Instance with an Instance Store
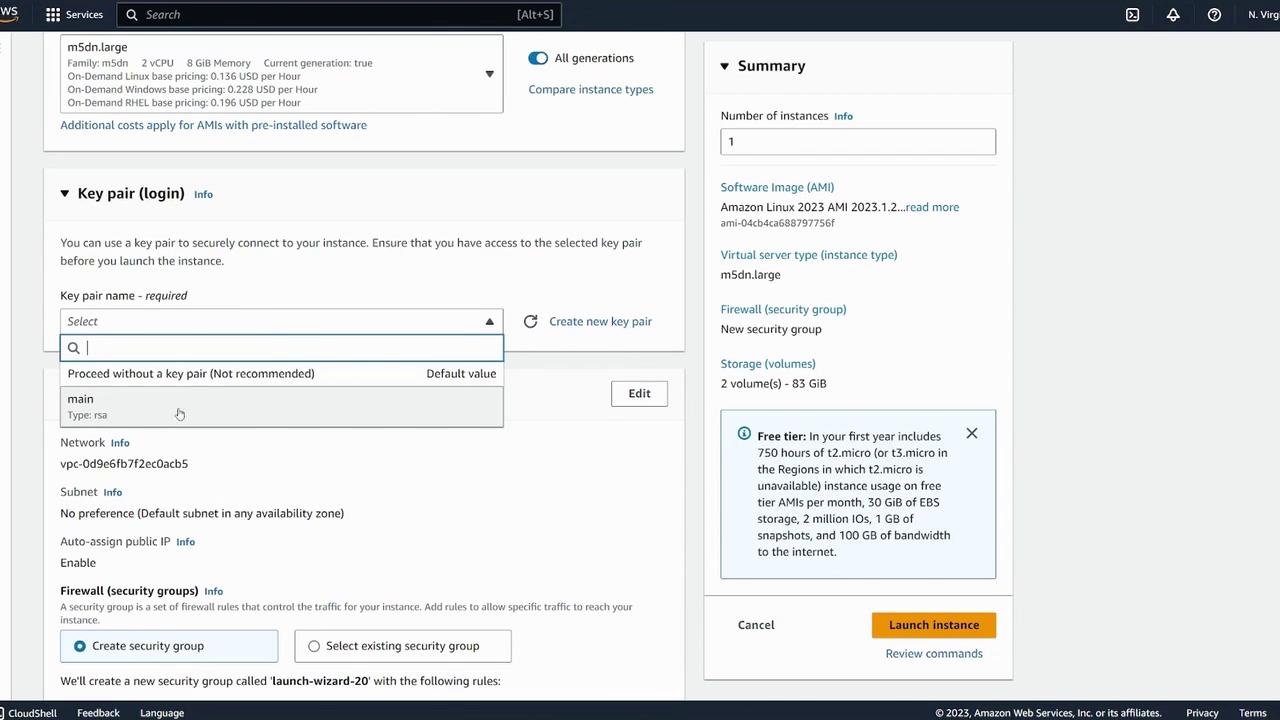
Begin by navigating to the EC2 console and launching a new instance. For this demonstration, we use the Amazon Linux 64-bit AMI and name the instance "instance store demo." Note that not all EC2 instance types support instance stores; for example, free-tier instances such as t2.micro do not include this feature. When selecting an instance type, ensure it provides an instance store, and be aware that charges may apply for prolonged running sessions.
When reviewing the instance configuration, you will see details such as:
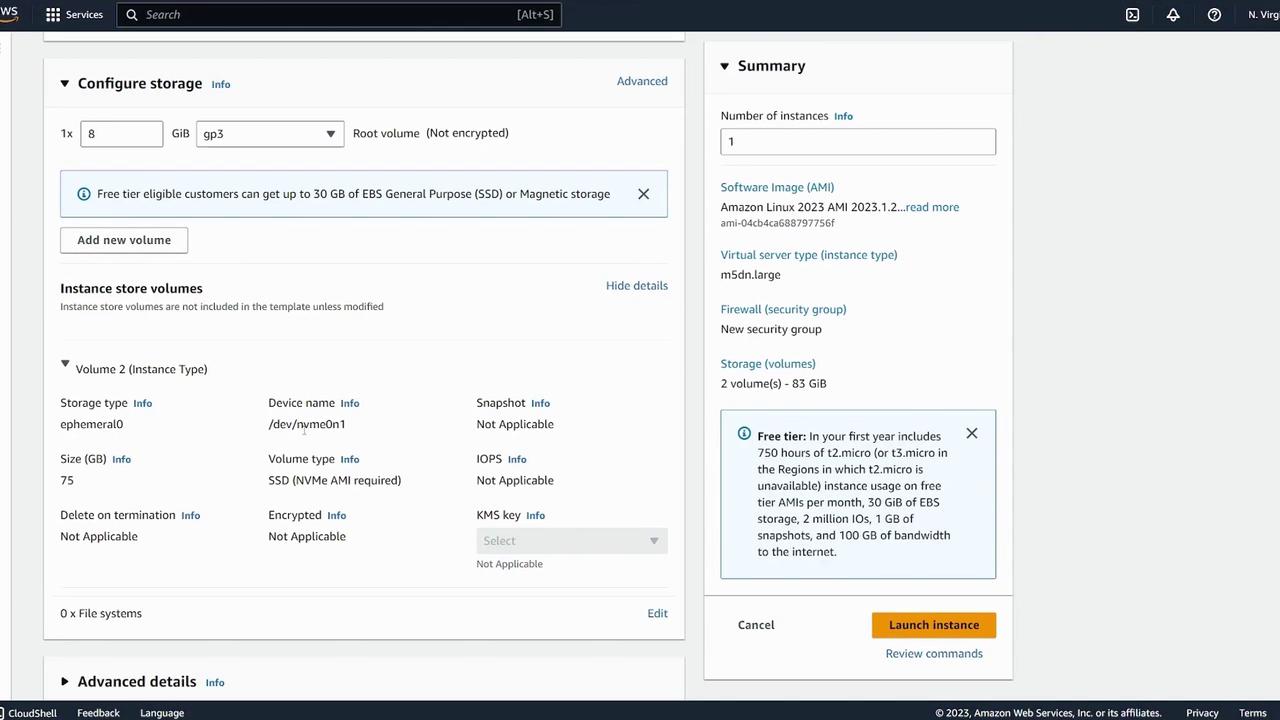
- An 8 GiB root volume.
- An additional instance store volume (e.g., 75 GiB) attached with a device name like
/dev/nvme0n1.
Proceed with the launch. In the storage configuration details, both the root volume and the instance store volume will be clearly indicated.
Ensure that the auto-assign public IP option is enabled to allow future connectivity. After launching, navigate to the Instances tab.
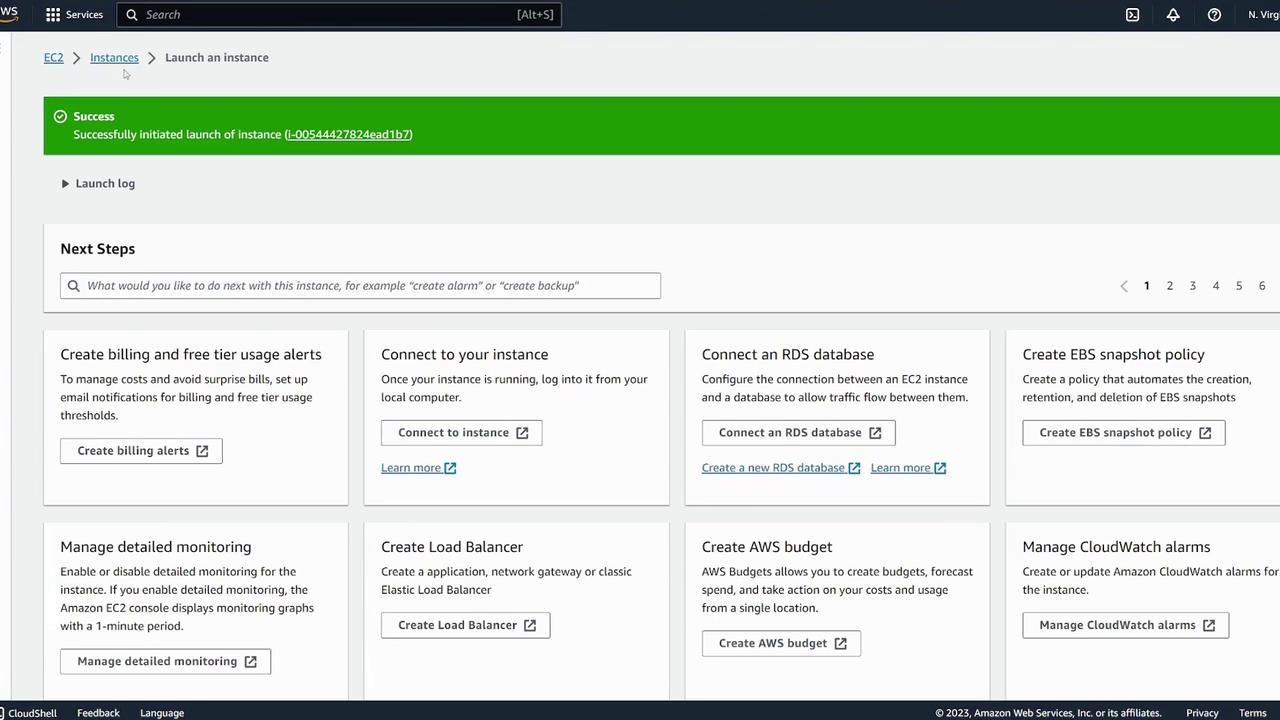
Setting Up the Instance Store Volume
Once your instance is up and running, retrieve its public IP address and SSH into it. Begin by listing the available block devices:
[ec2-user@ip-172-31-43-128 ~]$ lsblk
NAME         MAJ:MIN RM  SIZE RO TYPE MOUNTPOINTS
nvme1n1    259:0    0  69.8G  0 disk
nvme0n1    259:1    0    8G  0 disk
├─nvme0n1p1 259:2    0    8G  0 part /
└─nvme0n1p128 259:4    0   10M  0 part
In this output:
/dev/nvme0n1represents the root volume./dev/nvme1n1is the instance store volume (approximately 75 GB).
Before using the instance store volume, verify whether it already contains a filesystem:
[ec2-user@ip-172-31-43-128 ~]$ sudo file -s /dev/nvme1n1
/dev/nvme1n1: data
Since the output is "data," no filesystem is present. Next, create an XFS filesystem on the instance store volume:
[ec2-user@ip-172-31-43-128 ~]$ sudo mkfs -t xfs /dev/nvme1n1
meta-data=/dev/nvme1n1           isize=512    agcount=4, agsize=4577637 blks
         =                       sectsz=512    attr=2, projid32bit=1
         =                            crc=1        finobt=1, sparse=1, rmapbt=0
data     =                       bsize=4096   blocks=18310546, imaxpct=25
         =                            sunit=0    swidth=0 blks
naming   =version 2              bsize=4096   ascii-ci=0, ftype=1
log      =internal log          bsize=4096   blocks=16384, version=2
         =                       sectsz=512    sunit=0 blks, lazy-count=1
realtime =none                   extsz=4096   blocks=0, rtextents=0
Discarding blocks...Done.
Confirm that the filesystem is now present:
[ec2-user@ip-172-31-43-128 ~]$ sudo file -s /dev/nvme1n1
/dev/nvme1n1: SGI XFS filesystem data (blksz 4096, inosz 512, v2 dirs)
Create a mount point (e.g., /instance-demo) and mount the instance store volume:
[ec2-user@ip-172-31-43-128 ~]$ sudo mkdir /instance-demo
[ec2-user@ip-172-31-43-128 ~]$ sudo mount /dev/nvme1n1 /instance-demo
Validate the mount with the df -k command:
[ec2-user@ip-172-31-43-128 ~]$ df -k
Filesystem           1K-blocks      Used Available Use% Mounted on
tmpfs                    4096         0      4096   0% /dev
tmpfs                 3999454         0   3999454   0% /dev/shm
tmpfs                  1598940       412   1598528   1% /run
/dev/nvme0n1p1      83176864   1561348  67488168  19% /
tmpfs                  799998         0    799998   0% /tmp
tmpfs                  799998         0    799998   0% /run/user/1000
/dev/nvme1n1      73176864   543252  72633816   1% /instance-demo
Change into the mount directory and create a simple file to verify the volume is writable:
[ec2-user@ip-172-31-43-128 ~]$ cd /instance-demo/
[ec2-user@ip-172-31-43-128 instance-demo]$ sudo vi test
[ec2-user@ip-172-31-43-128 instance-demo]$ ls
test
The presence of the test file confirms that your instance store is mounted and operational.
Persistence and Instance Movements
Important Reminder
Remember that a reboot keeps the EC2 instance on the same physical host, preserving the instance store. However, a stop/start operation changes the host, causing the loss of any data on the instance store.
To demonstrate that a simple reboot does not affect the instance store:
- Reboot the instance from the EC2 console.
- Confirm that the public IP remains the same.
- SSH back into the instance.
- Use
lsblkanddf -kto verify that the instance store volume is still present and mounted.
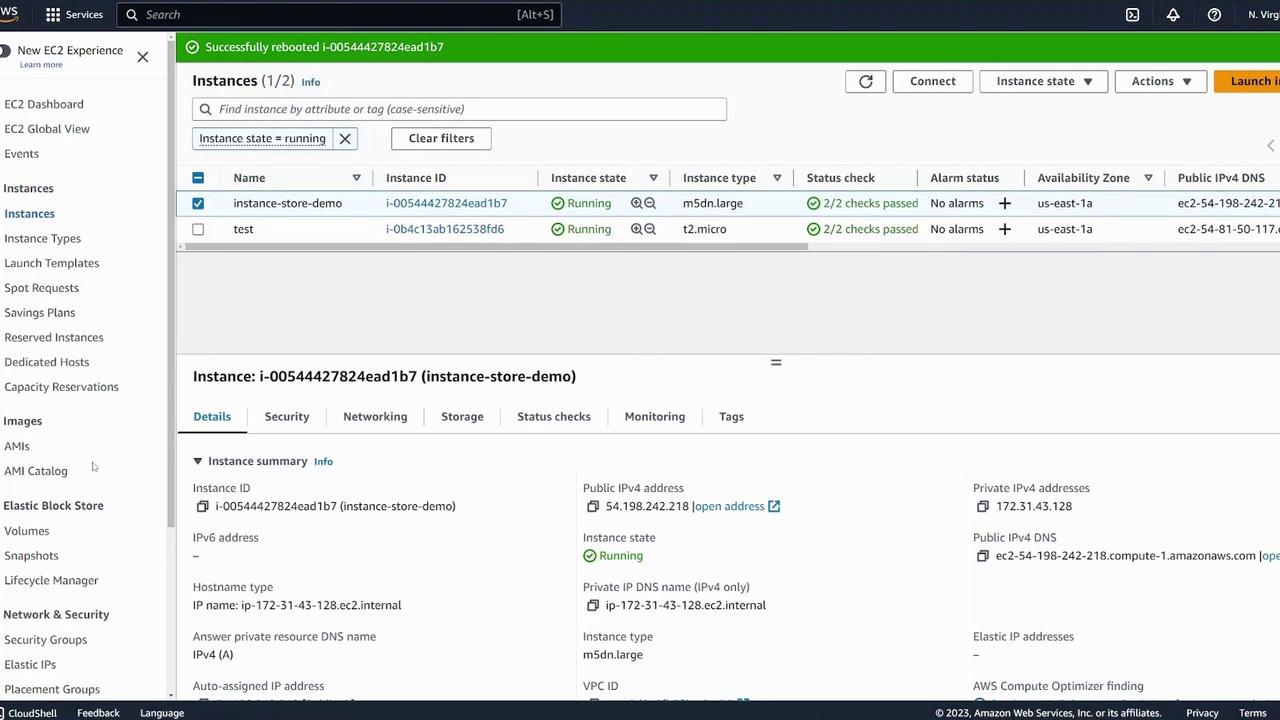
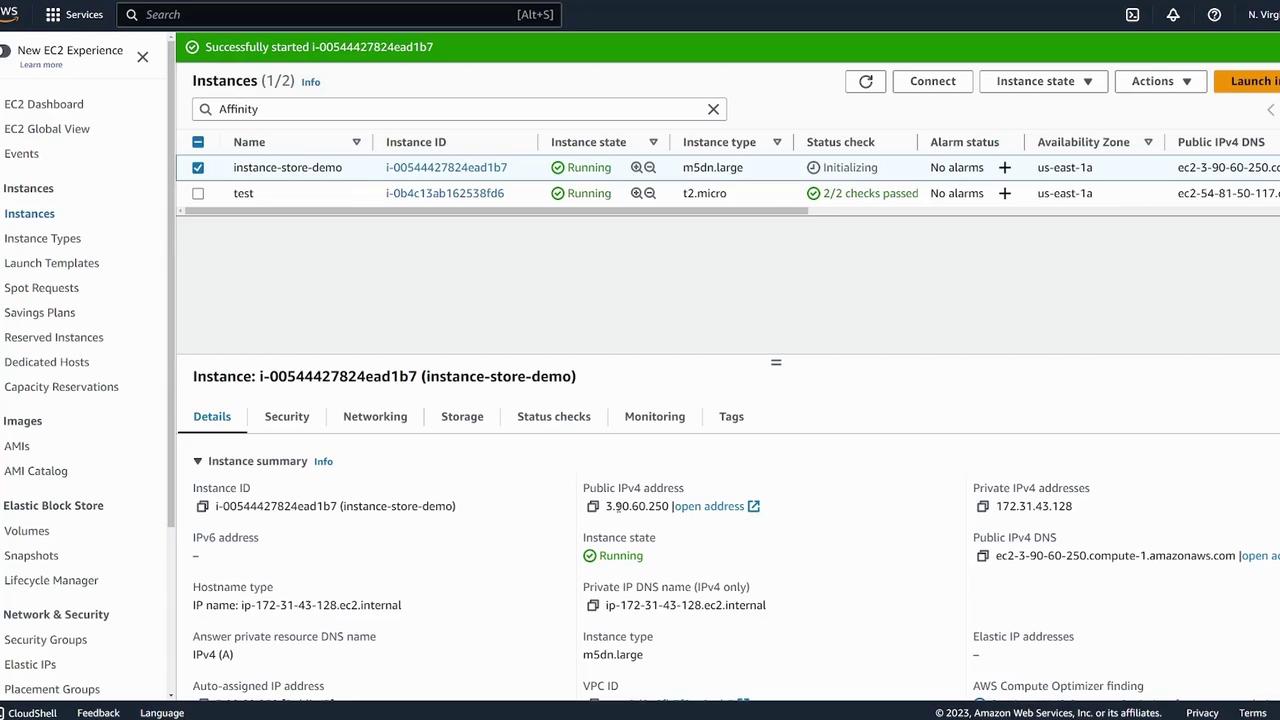
In contrast, stopping and then starting the instance moves it to a different physical host. In this demonstration, after performing a stop/start, notice that:
- The public IP has changed.
- The instance store volume is freshly attached with no pre-existing data.
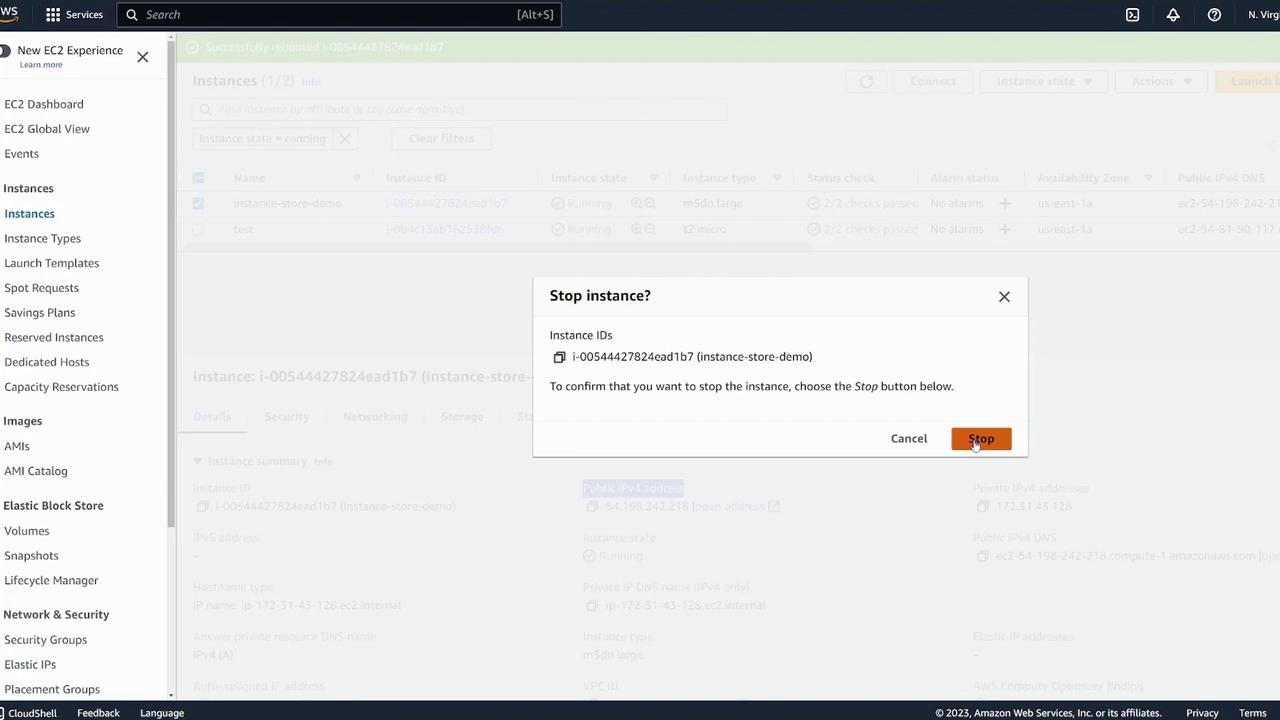
Upon restarting the instance, confirm the new details in the management console:
SSH into the instance using the new IP address and check the block devices:
[ec2-user@ip-172-31-43-128 ~]$ lsblk
NAME        MAJ:MIN RM   SIZE RO TYPE MOUNTPOINTS
nvme0n1    259:0    0     8G  0 disk
└─nvme0n1p1 259:1    0     8G  0 part /
nvme0n1p127 259:3    0     1M  0 part
nvme0n1p128 259:4    0    10M  0 part
nvme1n1    259:1    0  69.8G  0 disk
If you check the file system on /dev/nvme1n1:
[ec2-user@ip-172-31-43-128 ~]$ sudo file -s /dev/nvme1n1
The output will display "data," confirming that there is no pre-existing filesystem or data from the previous session. To use the instance store volume again, remount it:
[ec2-user@ip-172-31-43-128 ~]$ sudo mount /dev/nvme1n1 /instance-demo/
[ec2-user@ip-172-31-43-128 ~]$ cd /instance-demo/
[ec2-user@ip-172-31-43-128 instance-demo]$ ls
test
Note that the file test may be missing if the volume was remounted after a stop/start (i.e., when the instance moved). This confirms that instance store data does not persist across host changes.
Key Takeaways
| Key Aspect | Detail |
|---|---|
| Data Persistence | Data on an instance store is temporary and will be lost if the instance is moved via a stop/start operation. |
| Reboots vs. Stop/Start | Reboots preserve the host (and thus the instance store), while stop/start moves the instance, causing data loss. |
| Use Cases | Instance store volumes are best suited for temporary or scratch data. For persistent data, use EBS volumes or similar. |
This concludes our lesson on using EC2 instance store volumes. Always remember the nuances between temporary and persistent storage when planning your deployments.
Happy learning!
Watch Video
Watch video content