Demo Memory Stress on Enabling Versioning and Lifecycle Rules for S3
This demonstration showcases setting up an AWS S3 bucket, enabling versioning, and configuring lifecycle rules for efficient object storage management.
In this demonstration, we will walk you through the process of setting up an AWS S3 bucket for a demo environment. The tutorial covers how to create an S3 bucket, enable versioning, and establish lifecycle rules to transition objects between different storage classes automatically.
First, we create a bucket named “KodeKloud version demo bucket,” which will serve as both our versioning demonstration bucket and our lifecycle management bucket. The initial configuration for the bucket includes:
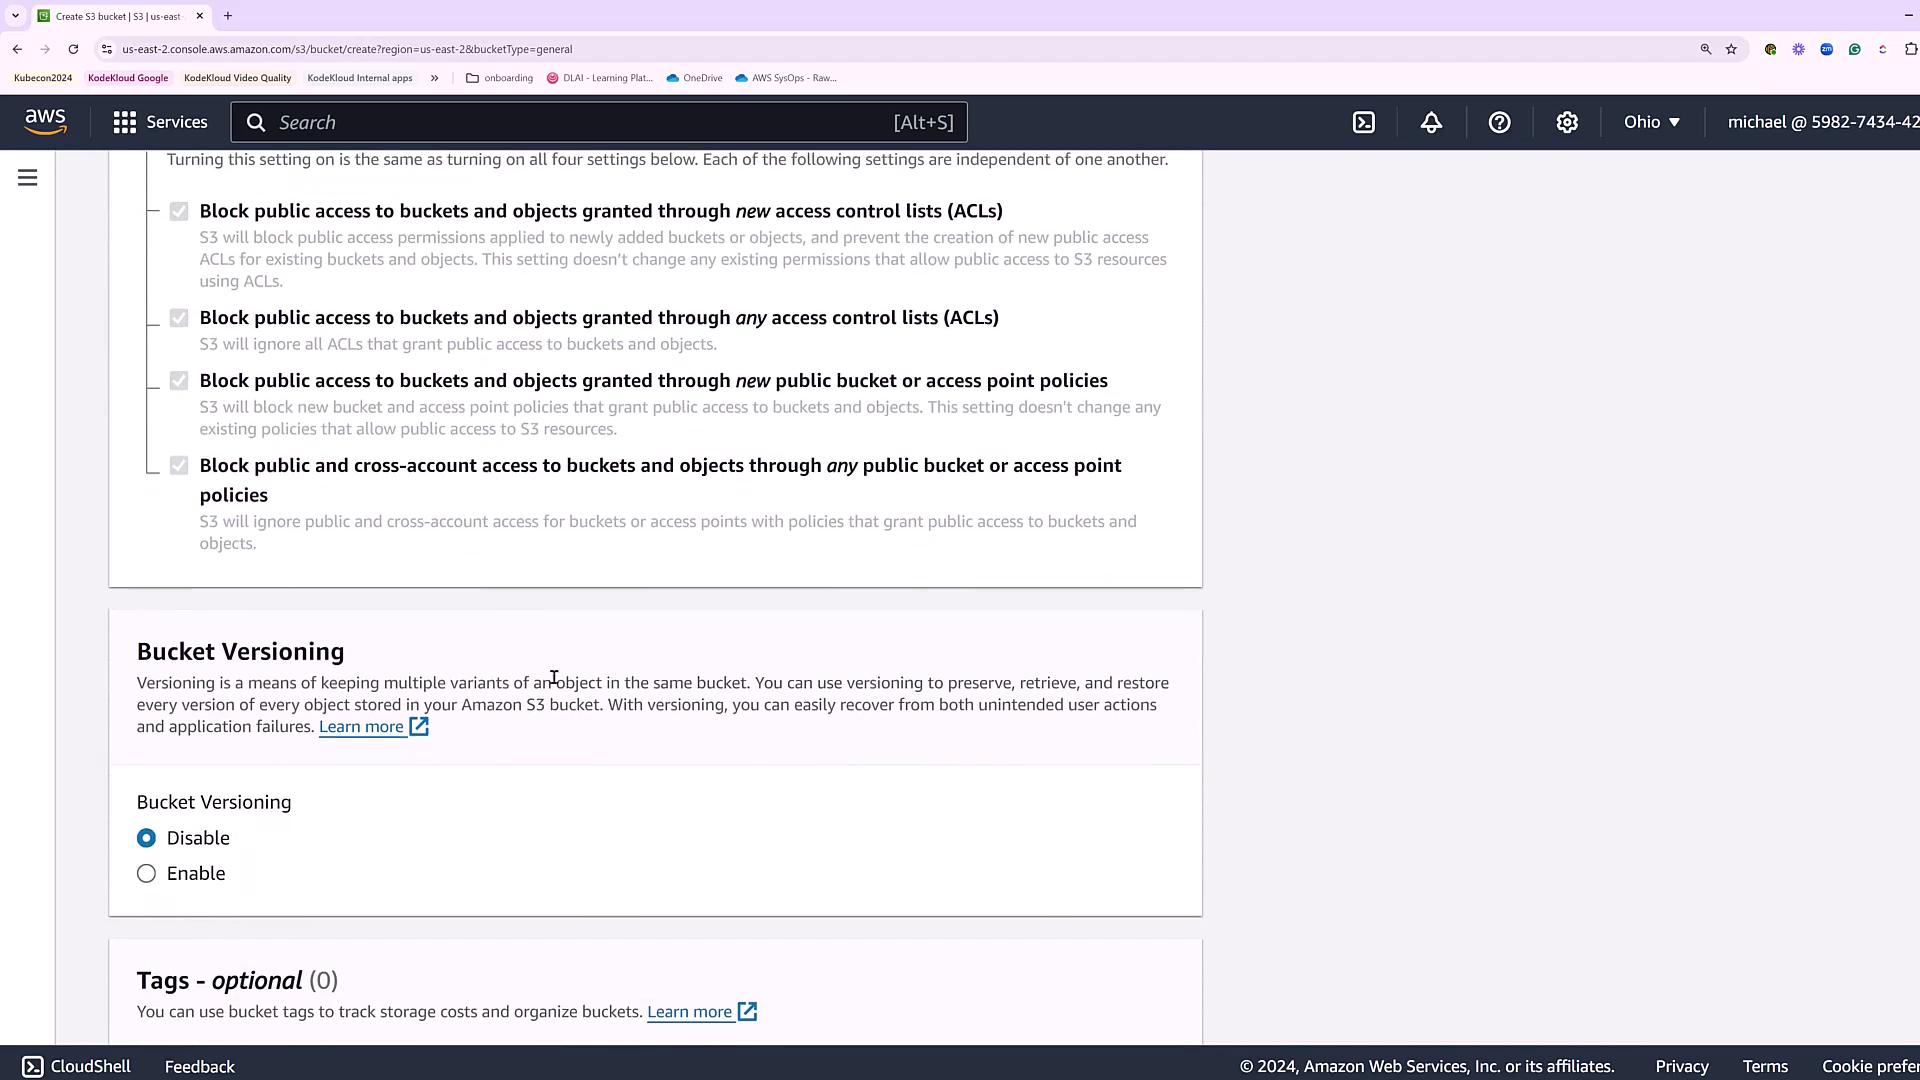
Blocking all public access
Keeping bucket versioning disabled initially (to be enabled later)
Using the default encryption settings
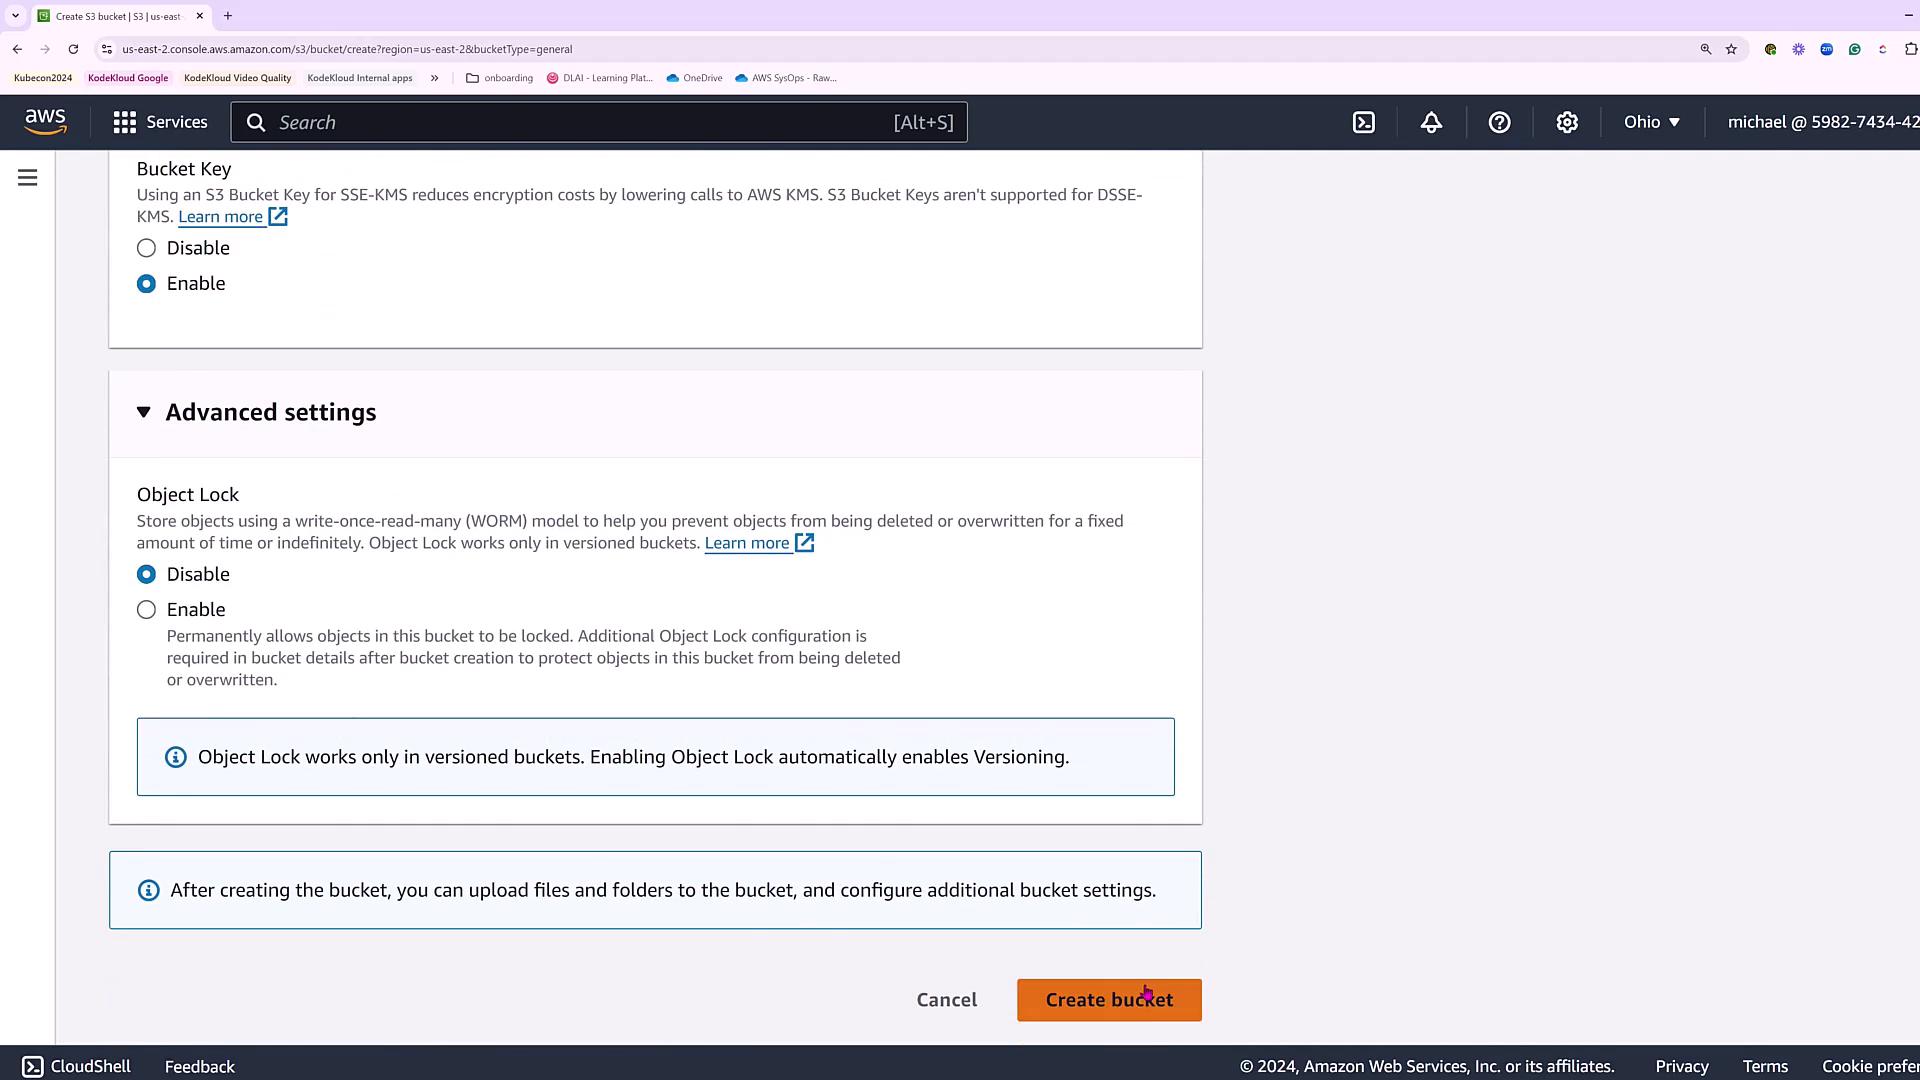
Skipping advanced options like object lock
Once these parameters are set, the bucket is created.
Next, we review the advanced settings to ensure the bucket is configured correctly.
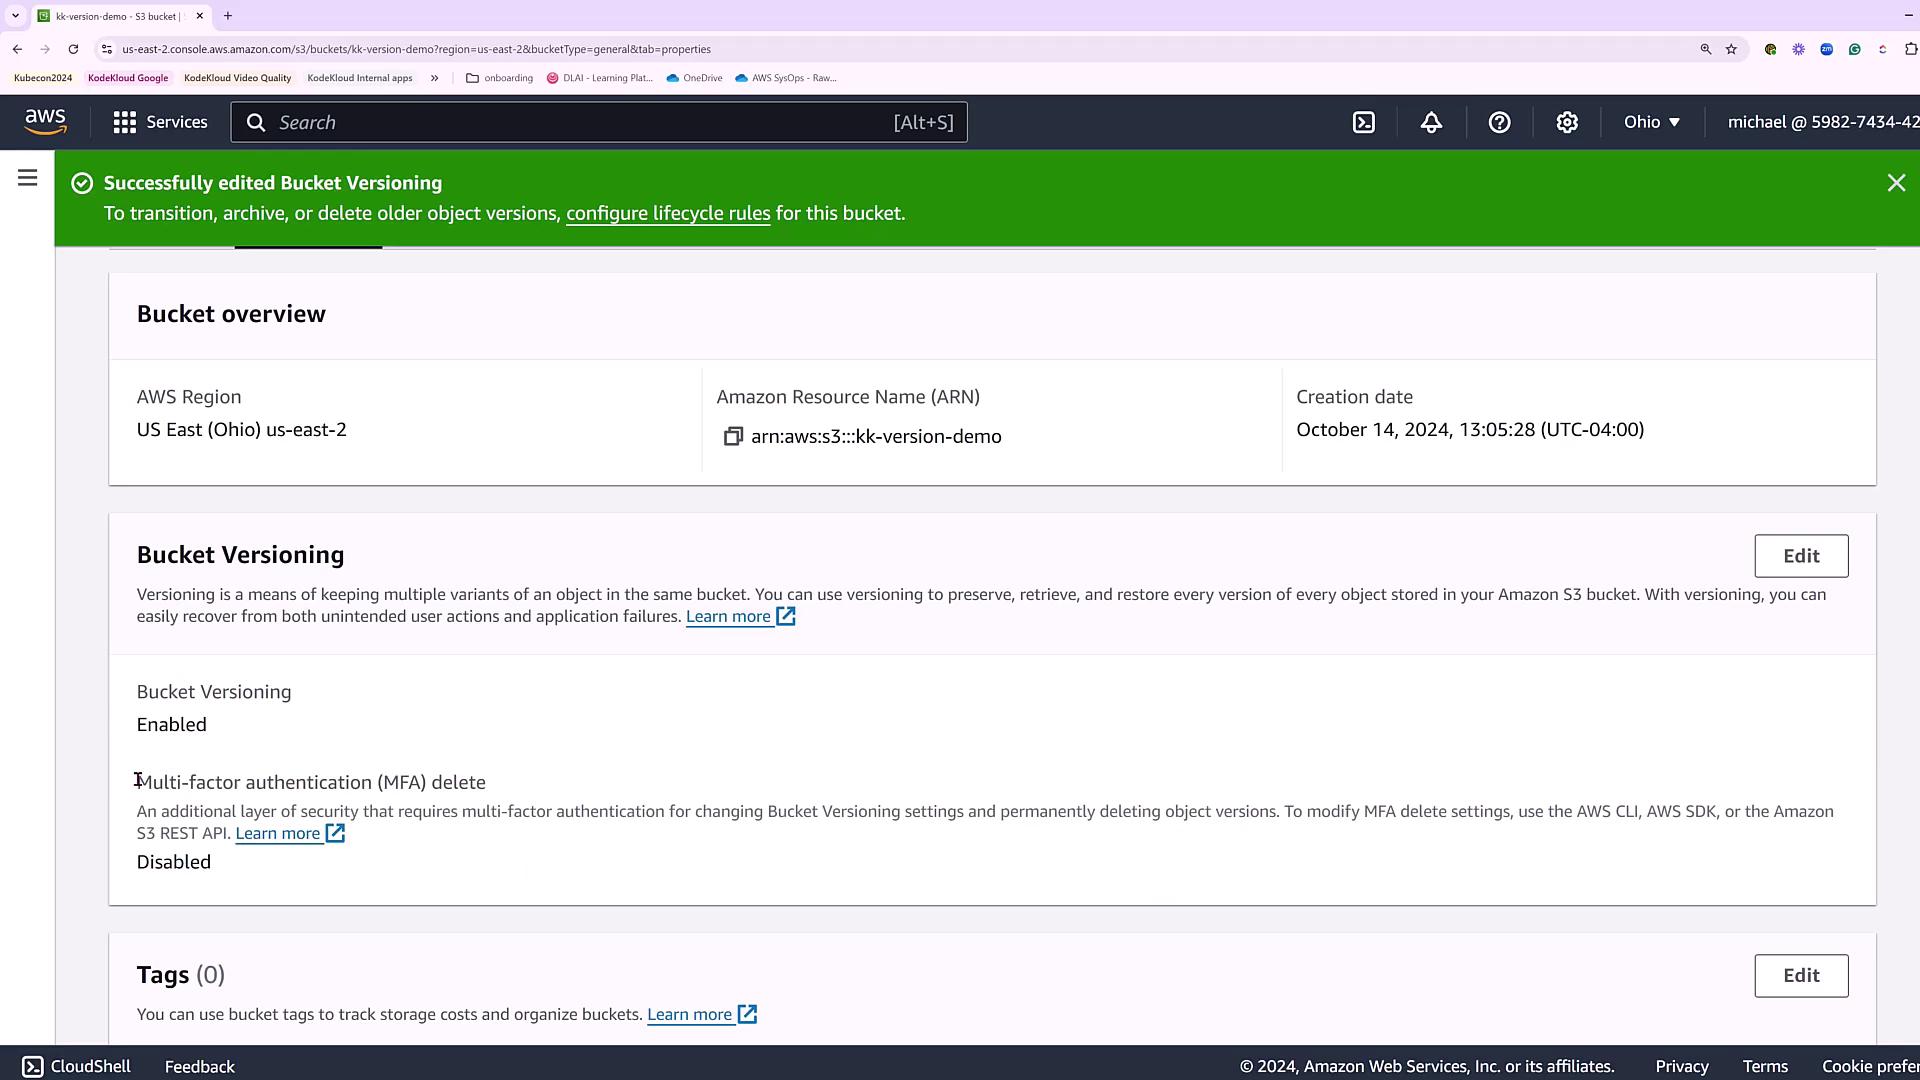
Once created in the US East 2 region, we navigate into the bucket.
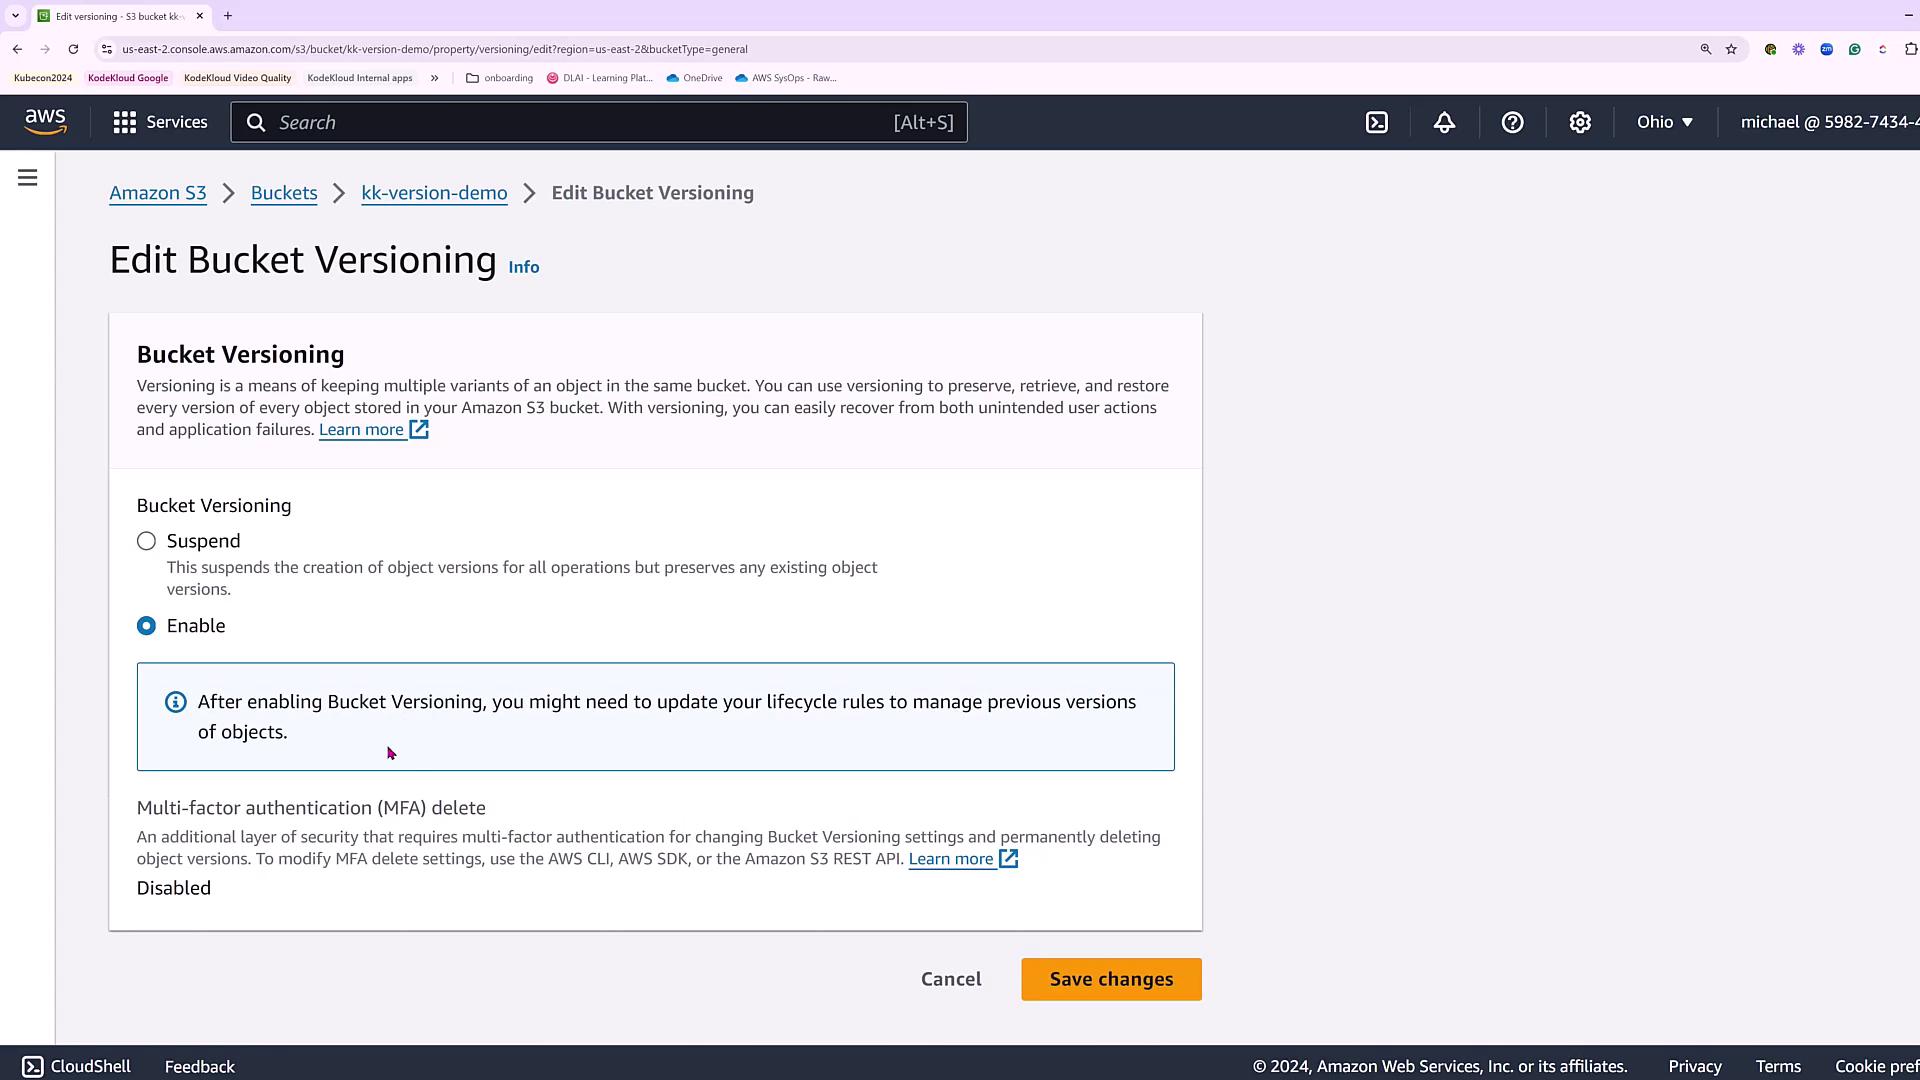
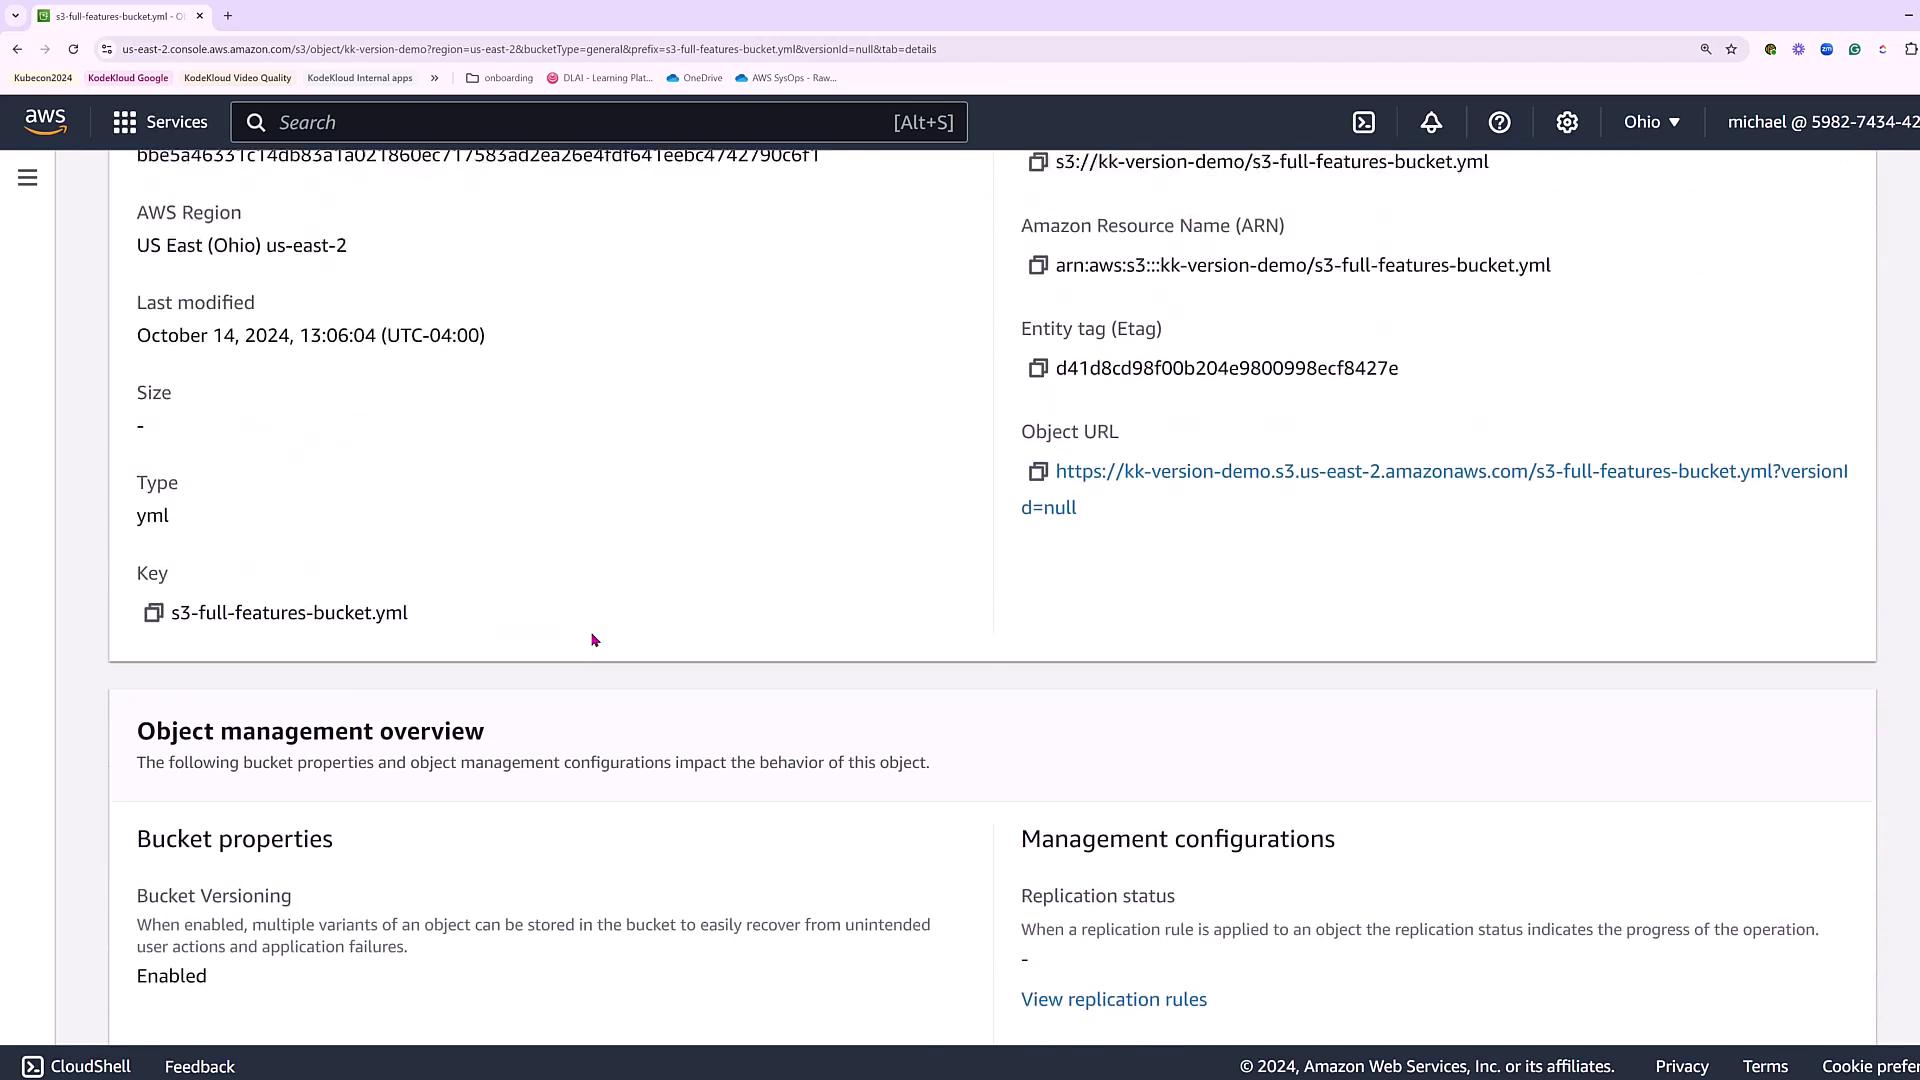
For version control, we begin by uploading a sample YAML file (referred to as the Full Features Bucket YAML file) directly to the bucket. After a successful upload, navigate to the bucket properties to enable versioning.
Enabling bucket versioning is essential as it allows you to maintain multiple versions of an object. Additionally, it opens the possibility to activate multi-factor authentication (MFA) delete—an extra protection layer for preventing accidental or unauthorized deletions in production environments.
For production deployments and exam preparations, consider enabling MFA delete to safeguard your S3 objects.
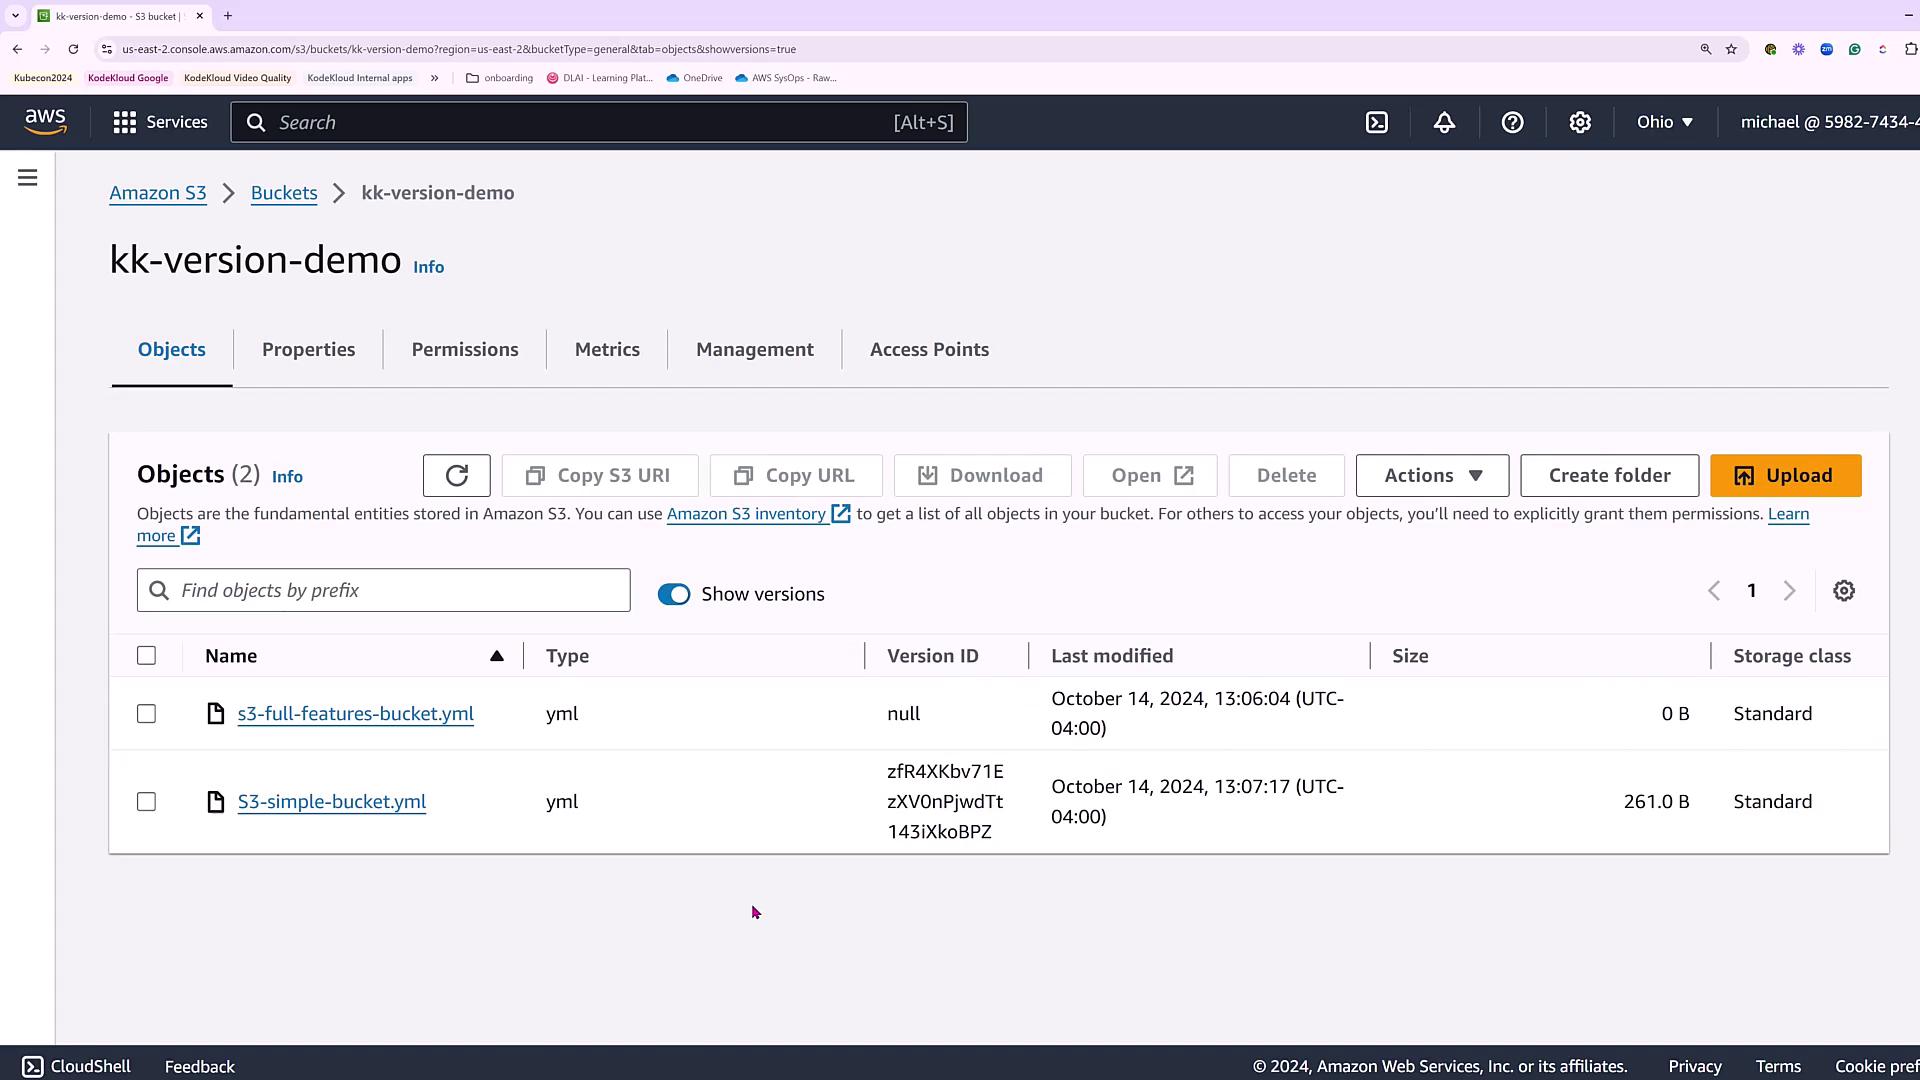
With versioning enabled, upload another file (the Simple Bucket YAML file) to observe the version control in action. Toggle the “Show Versions” option to view the incremental changes.
Below is the content of the Simple Bucket YAML file used in this demo:
Copy
AWSTemplateFormatVersion: '2010-09-09'Description: Simple CloudFormation template to create an S3 bucket for demoResources: MyS3Bucket: Type: 'AWS::S3::Bucket' Properties: BucketName: !Sub 'my-simple-log-bucket-${AWS::AccountId}'
After a few simulated edits, new versions become visible under the “Show Versions” view, clearly demonstrating how versioning tracks changes over time.
Managing the cost and performance of your S3 storage becomes easier with lifecycle rules, which automatically transition objects between storage classes after a specified period. For instance, you might configure the lifecycle to move YAML files from hot storage (Standard) to a more cost-effective storage option after 30 days.To set this up, navigate to the “Management” section in the bucket properties, then proceed to configure lifecycle rules. These rules can automate tasks such as:
Transitioning objects to a lower-cost storage class (for example, from Standard to One Zone Infrequent Access after 30 days, and then to Glacier or Flexible Retrieval after 90 days)
Deleting noncurrent versions of objects after a defined time frame
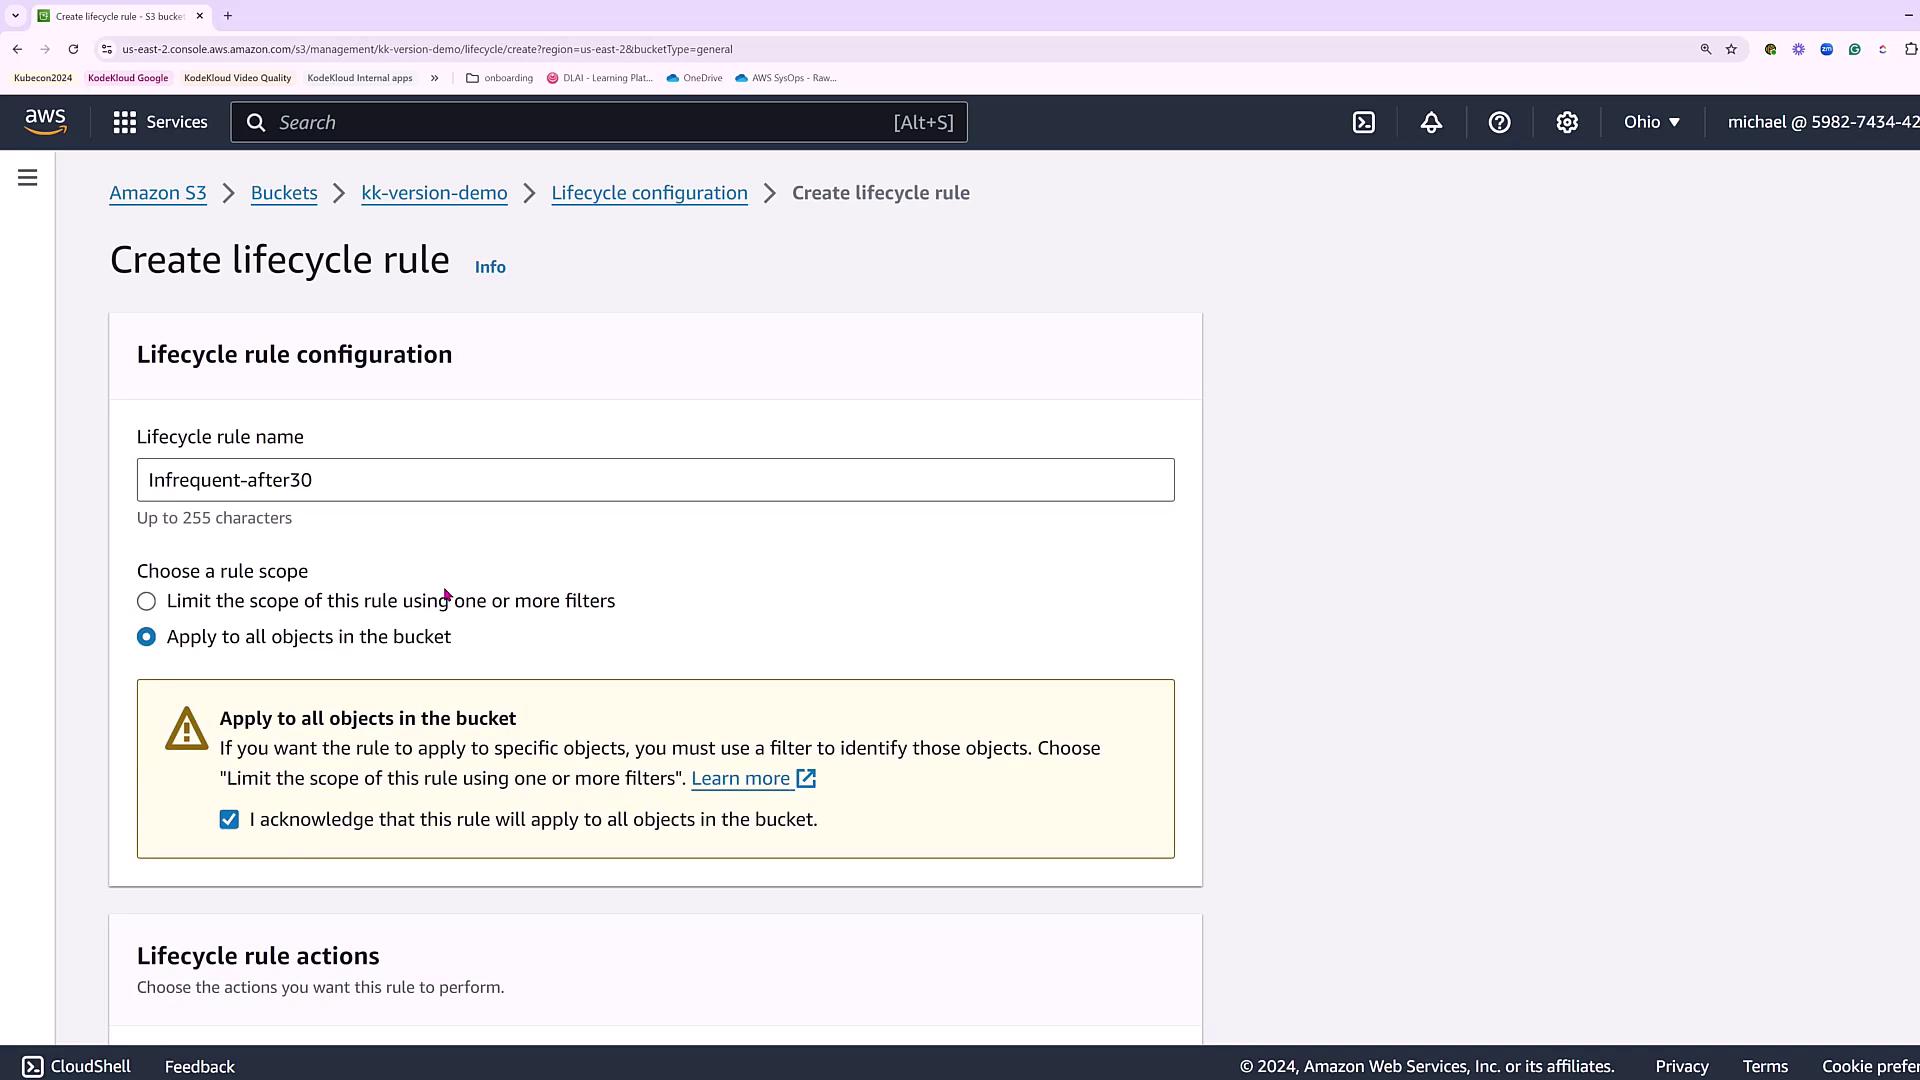
For the demo, we create a lifecycle rule named “Infrequent-after30” that applies to all objects in the bucket. This rule specifies the following actions for the latest versions of objects:
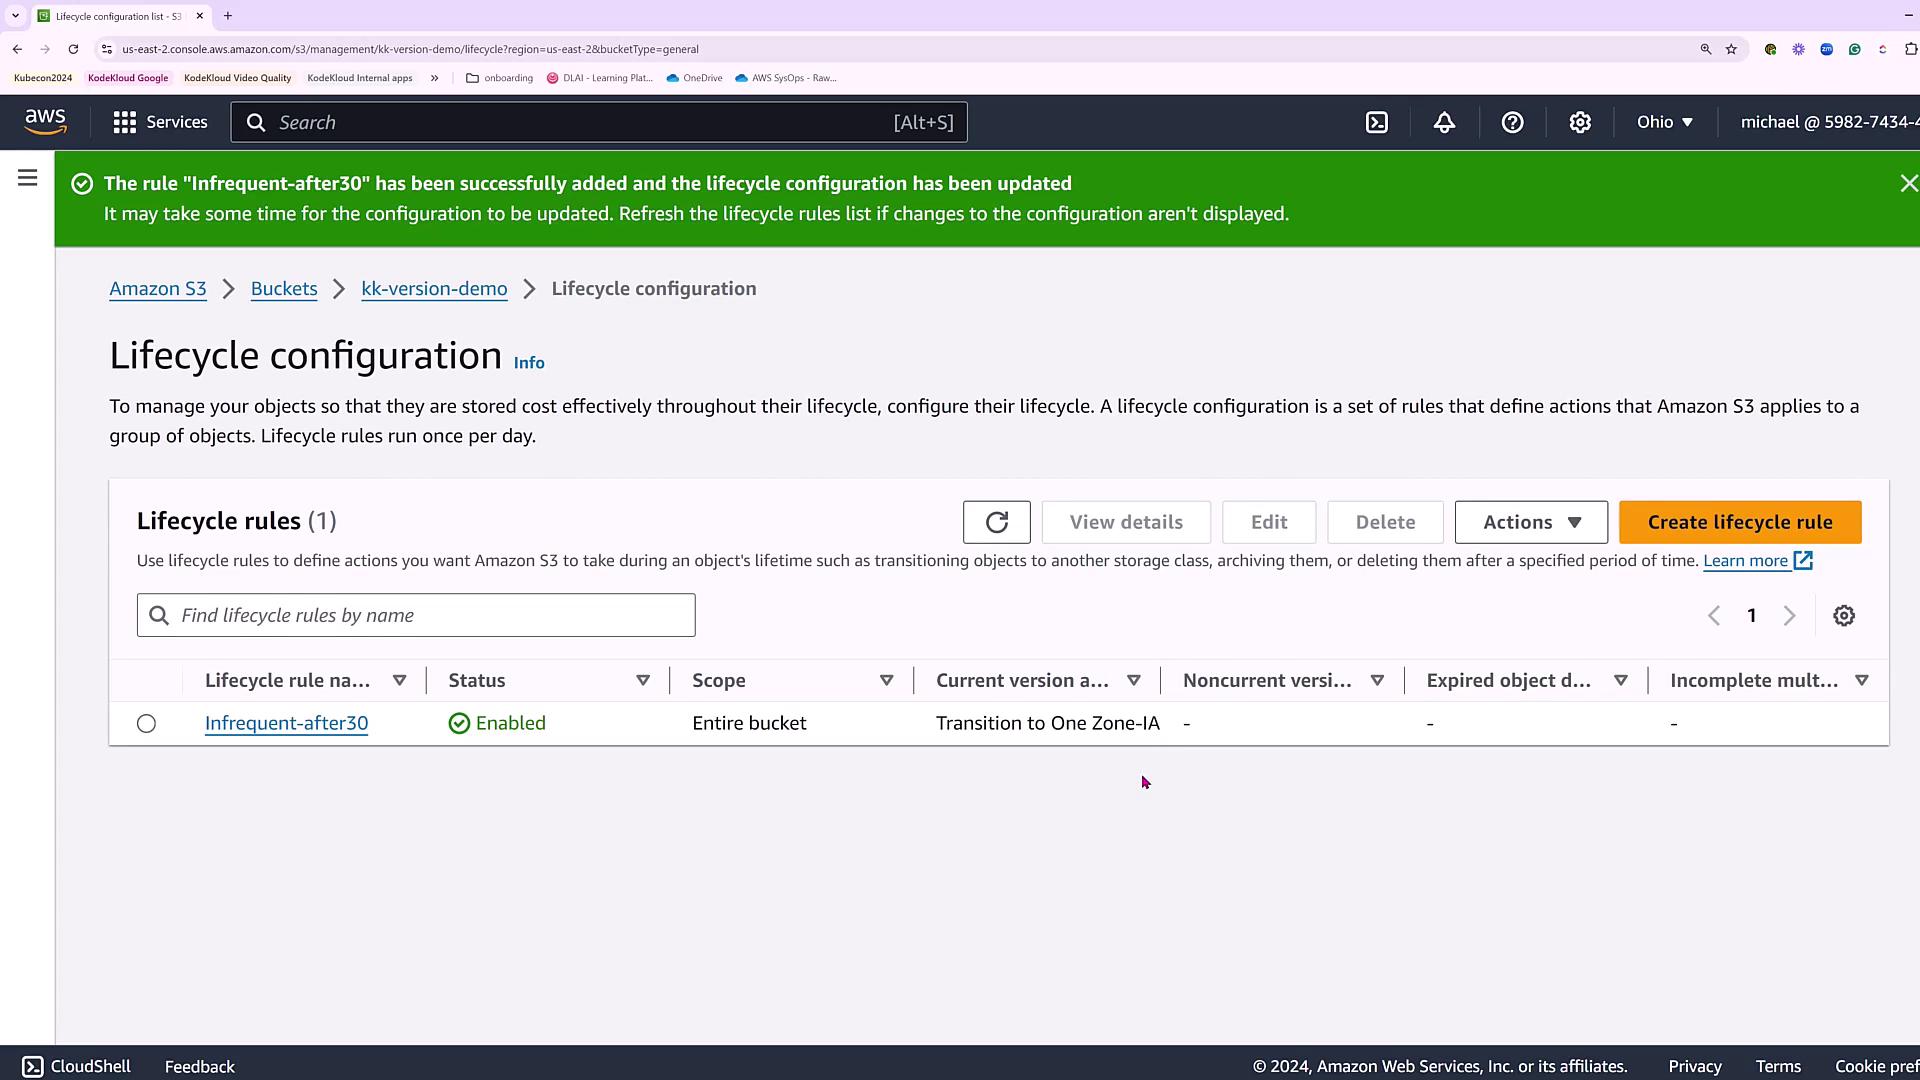
After 30 days: Transition to One Zone Infrequent Access
After 90 days: Transition to a Glacier-like storage class (Flexible Retrieval)
After reviewing the summary of transitions, the rule is confirmed and activated.
Lifecycle rules not only help optimize storage costs but also ensure that your data is stored in the most appropriate class based on its age and usage patterns.
This demonstration has showcased how to enable bucket versioning and set up lifecycle rules to manage S3 object storage efficiently.For further details on AWS S3 management and best practices, consider exploring the AWS Documentation.