AWS Certified SysOps Administrator - Associate

Introduction Prerequisites

Demo Setting Up Your Own AWS Account A walkthrough

Welcome to this lesson on setting up your own AWS Free Tier account. Follow this guide to learn how to create your account, configure billing information, and secure it through Identity and Access Management (IAM) best practices.

Step 1: Access the AWS Free Tier Page

Start by searching for "AWS Free Tier" on Google and clicking the aws.amazon.com/free link.

The image shows a webpage for the AWS Free Tier, offering information about free access to AWS products and services, with a button to create a free account.

Click on "Create a Free Account." You will be prompted to enter your root user email address. Use your personal email address (e.g., [email protected]) or an alias (e.g., [email protected]) to maintain account integrity.

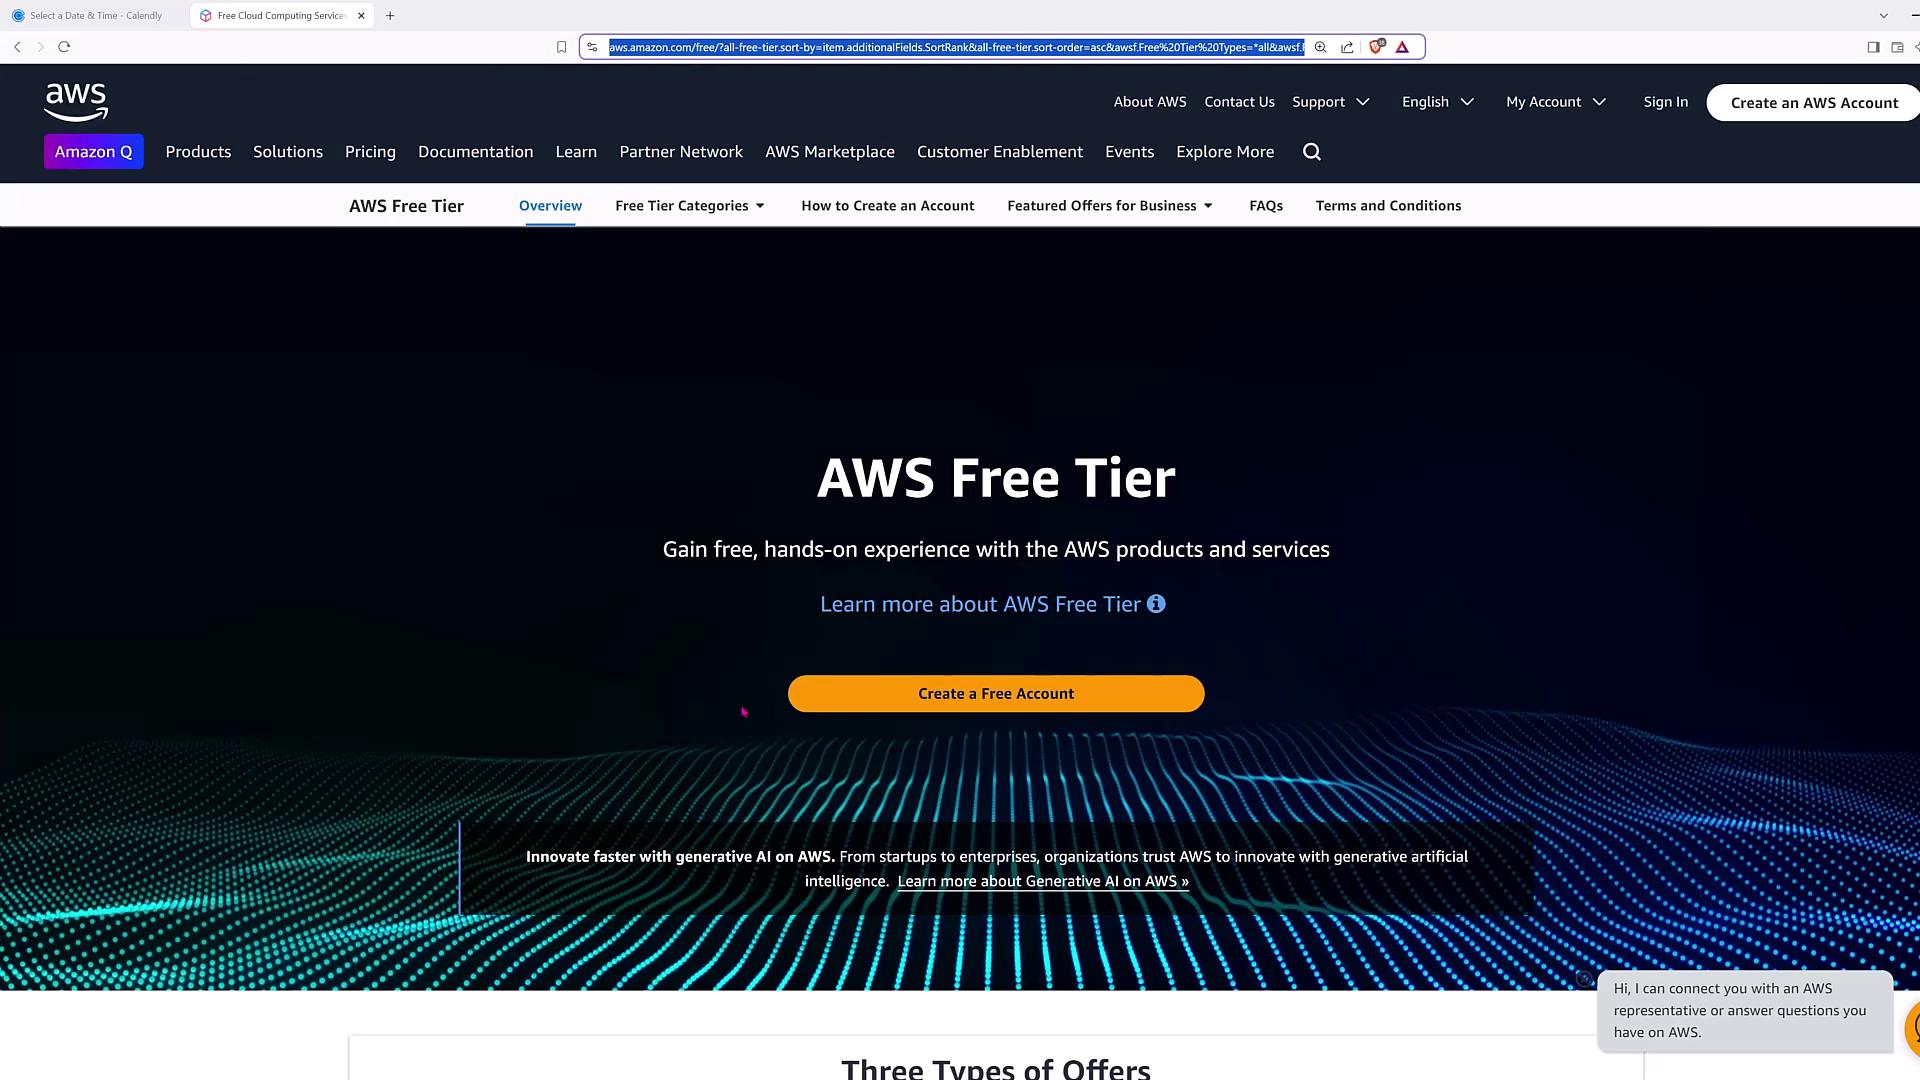
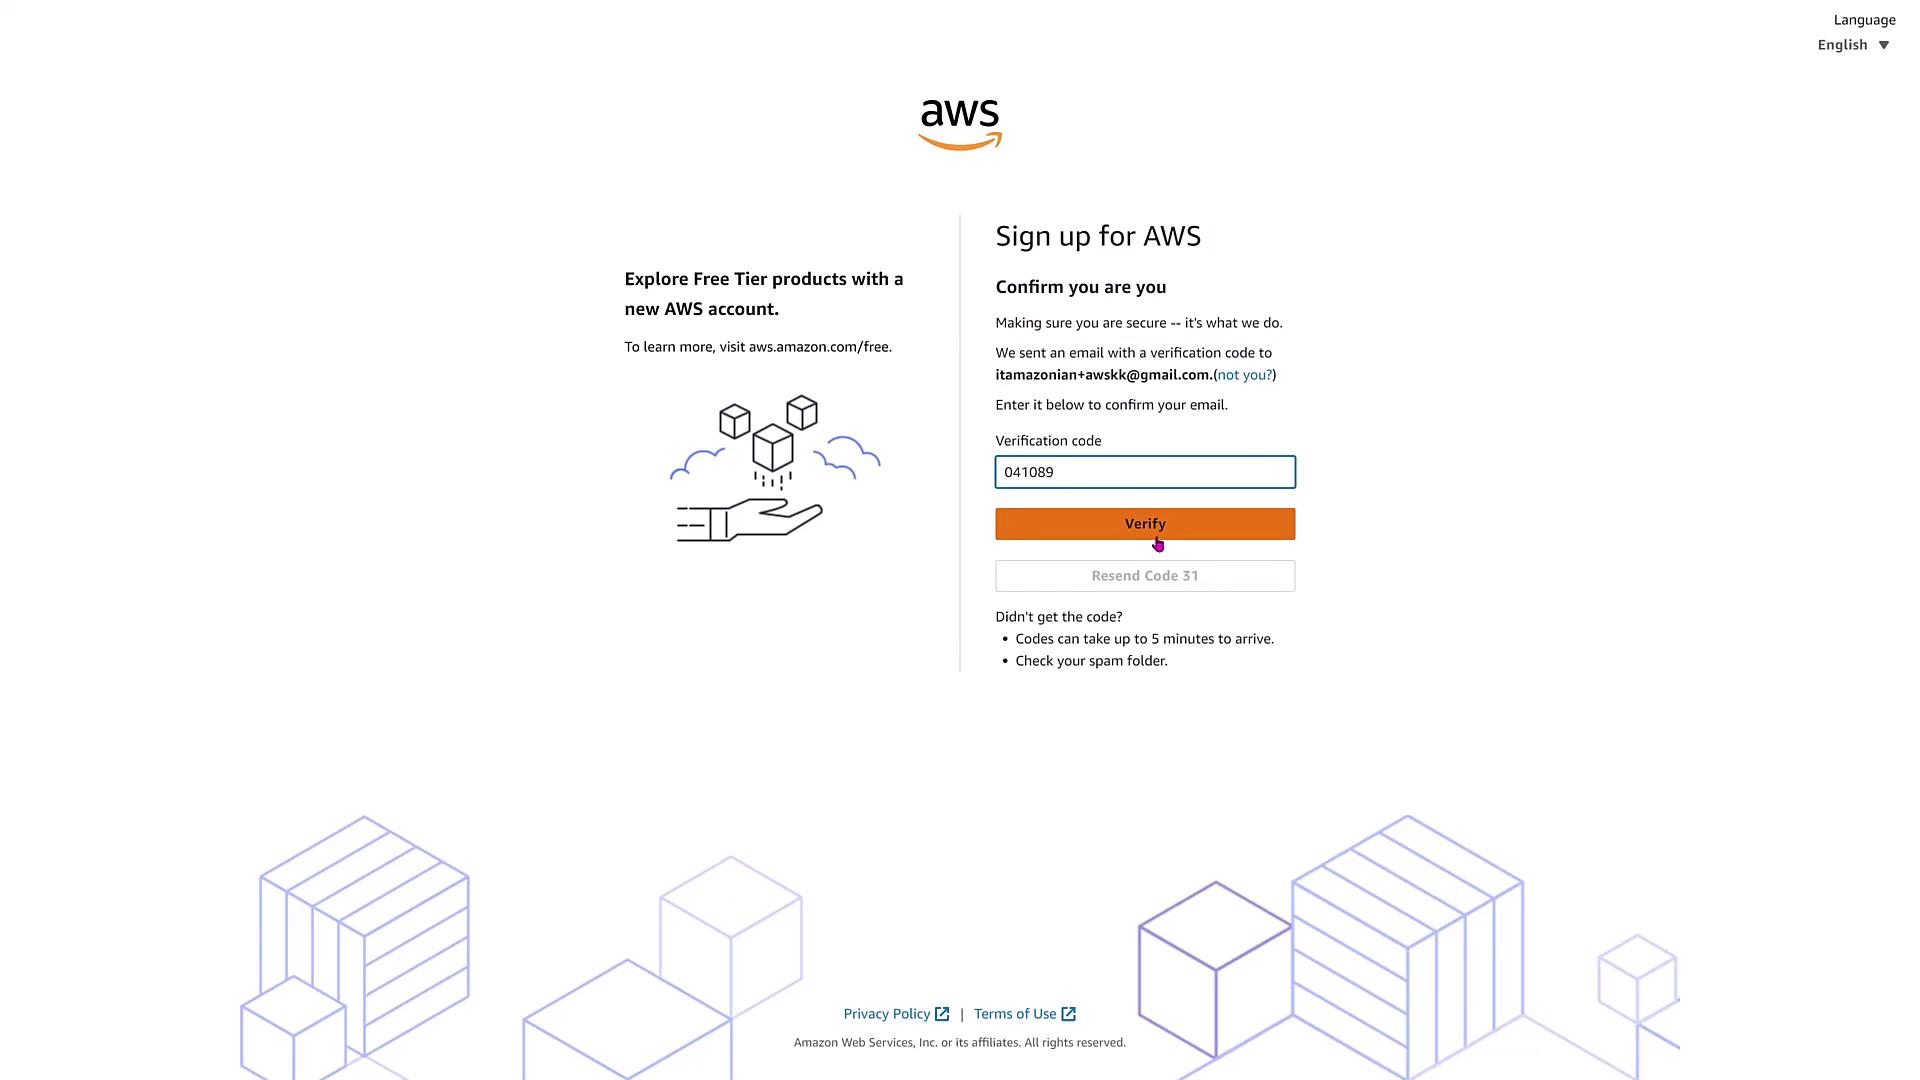
Step 2: Verify Your Email

After entering your email, AWS will send a verification code. Retrieve the code and enter it on the verification page.

The image shows an AWS sign-up page with fields for entering an email address and account name, along with options to verify the email or sign in to an existing account. There are also illustrations of cubes and a hand, suggesting cloud services.

The image shows an AWS sign-up page with a verification code entry section and a prompt to explore free tier products.

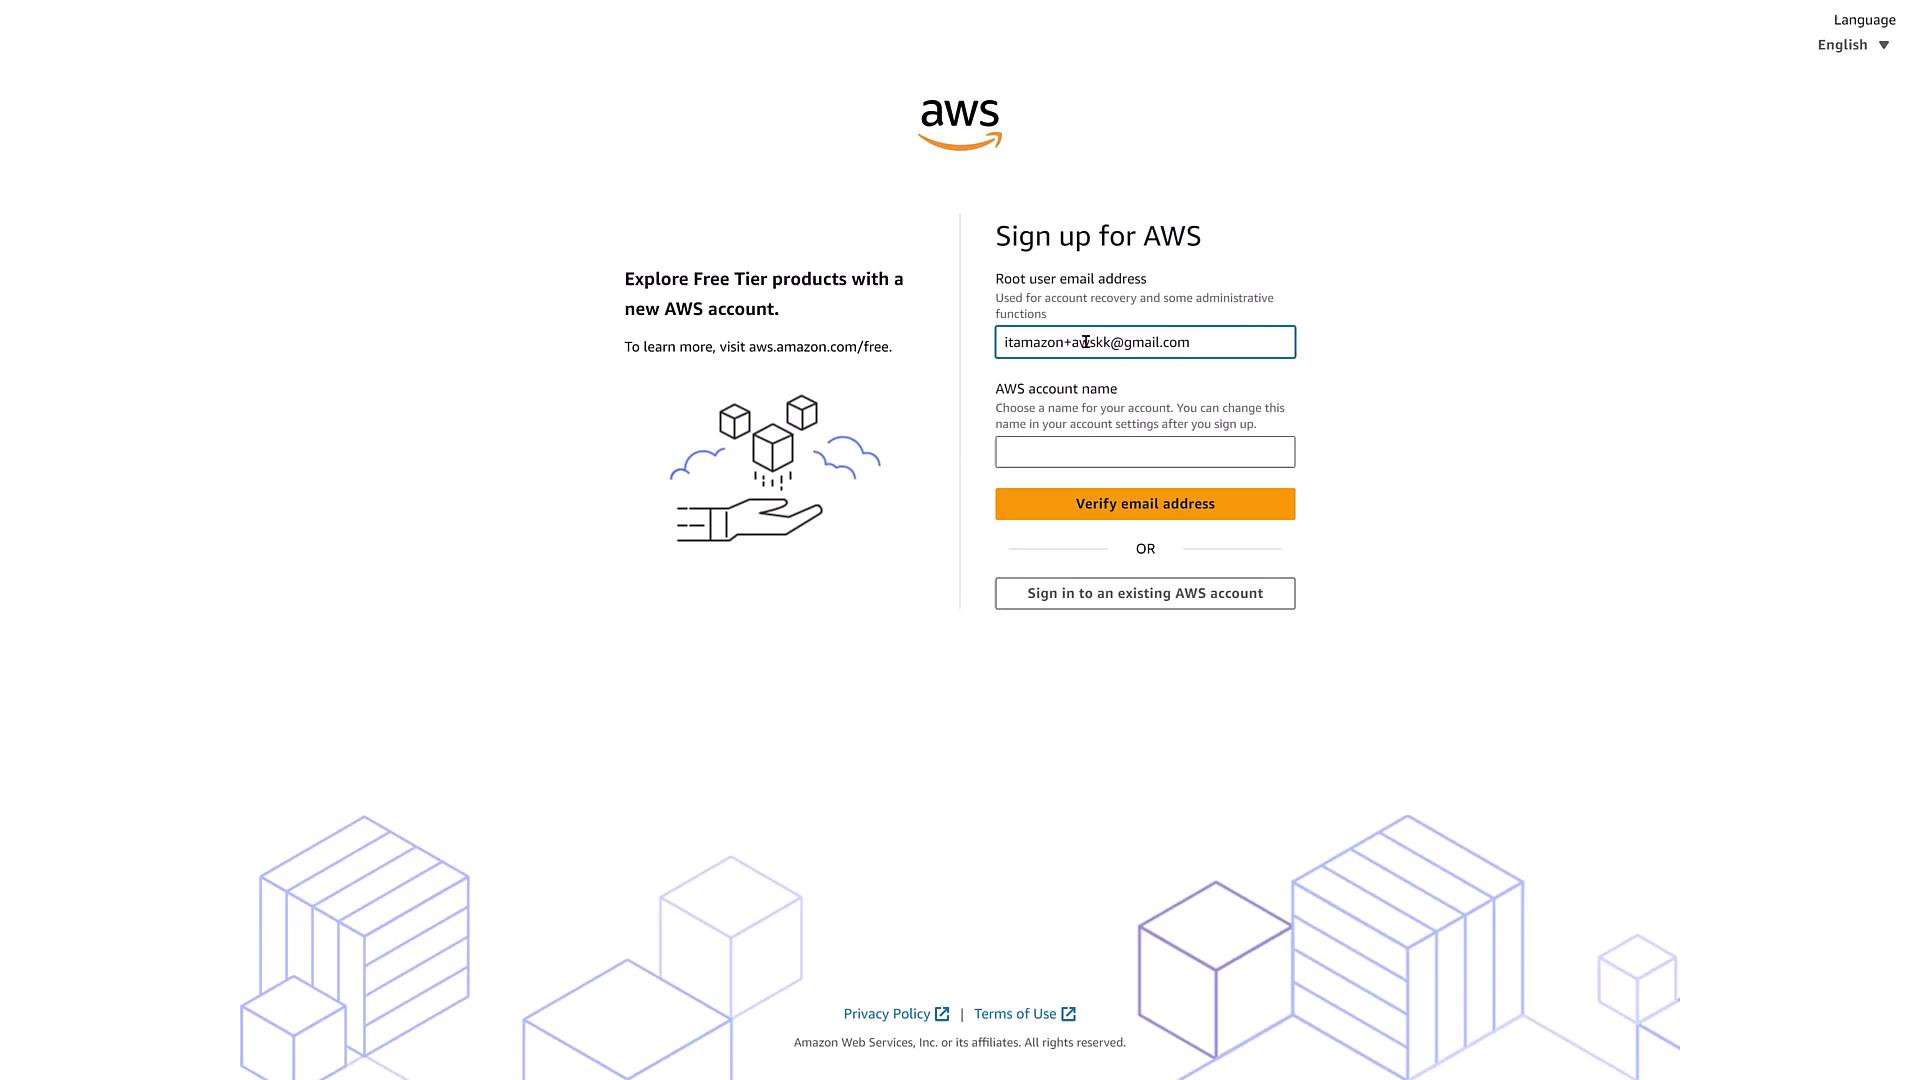
Step 3: Set Up Your Account Credentials

Once your email is verified, set a strong root password. Next, provide your billing information by submitting your credit card details. While the account is free tier, AWS needs to verify your identity with a valid credit card. After a verification code is sent to your phone and confirmed, choose the support plan that best suits your needs—typically, the free Basic support plan suffices for personal use.

The image shows an AWS sign-up page with options for selecting a support plan, including Basic, Developer, and Business support tiers. Each plan is briefly described with pricing and features, and there's a button to complete the sign-up process.

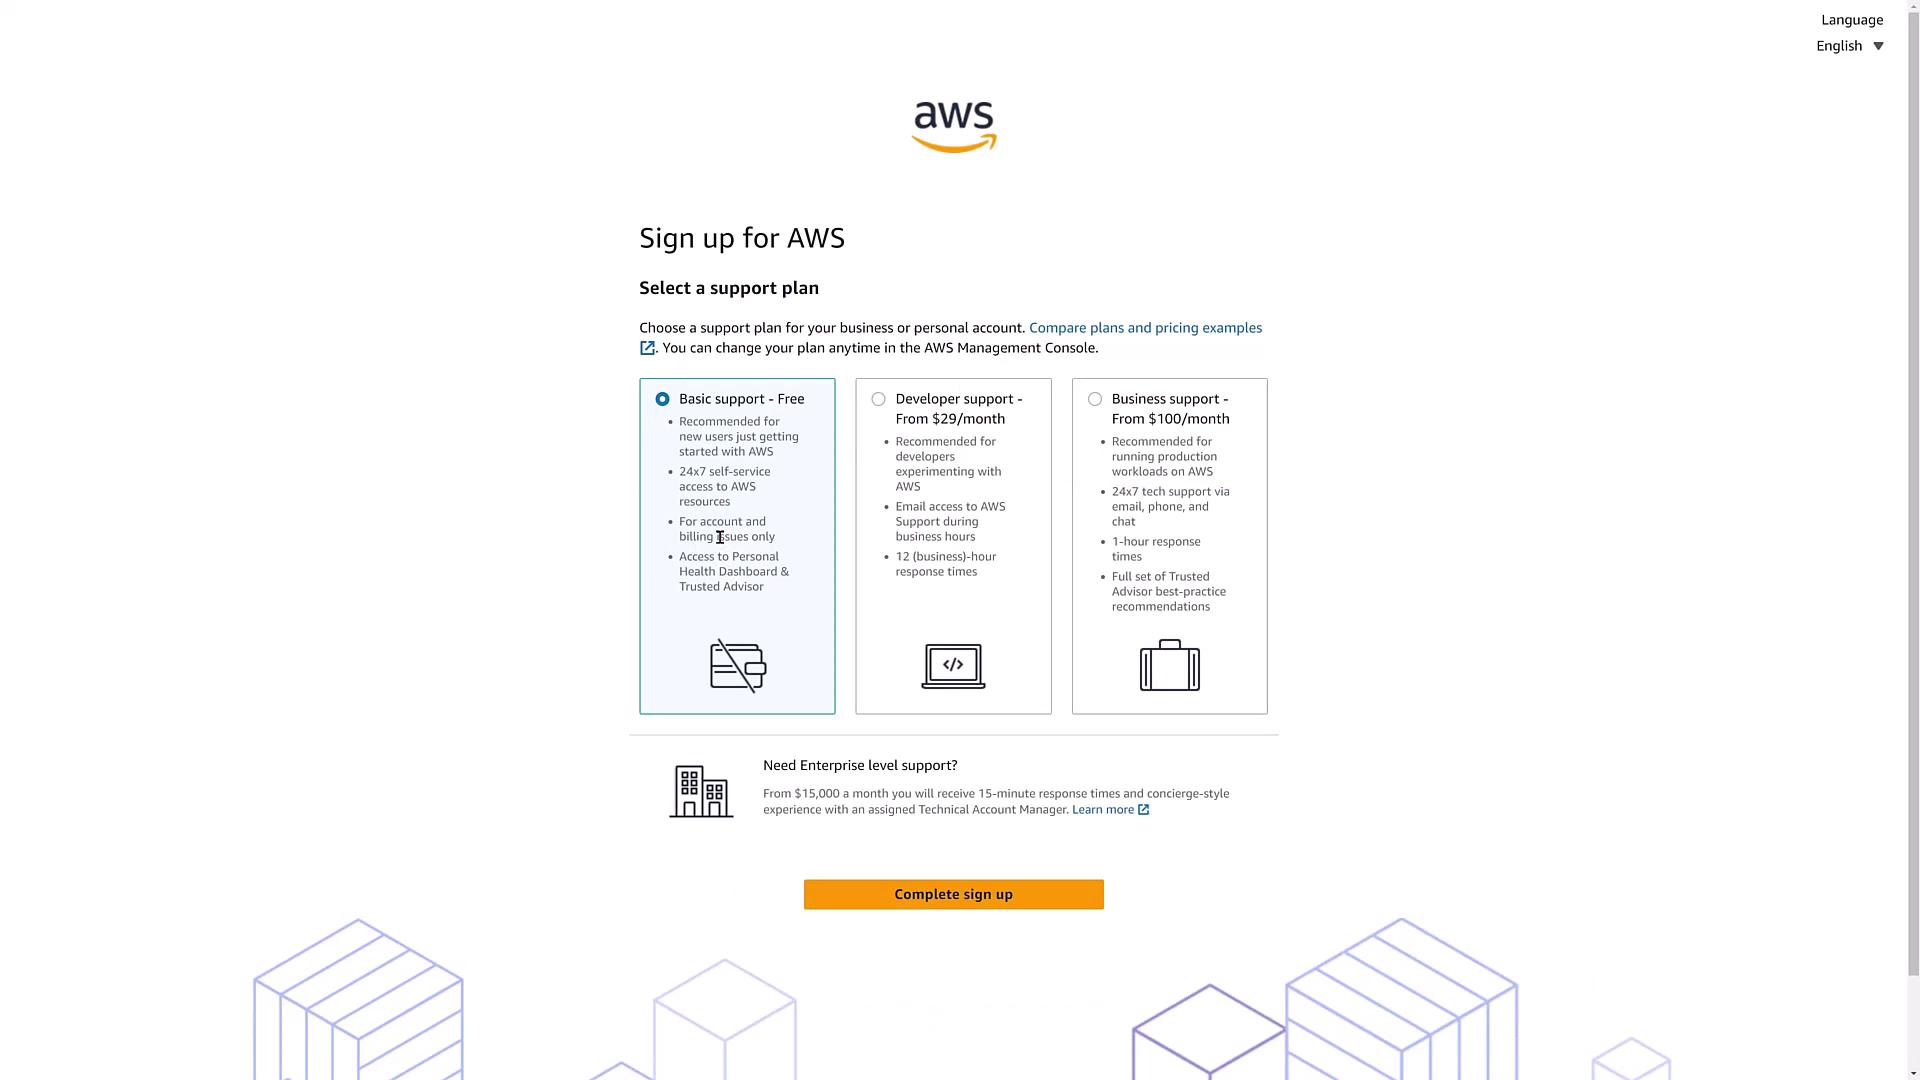
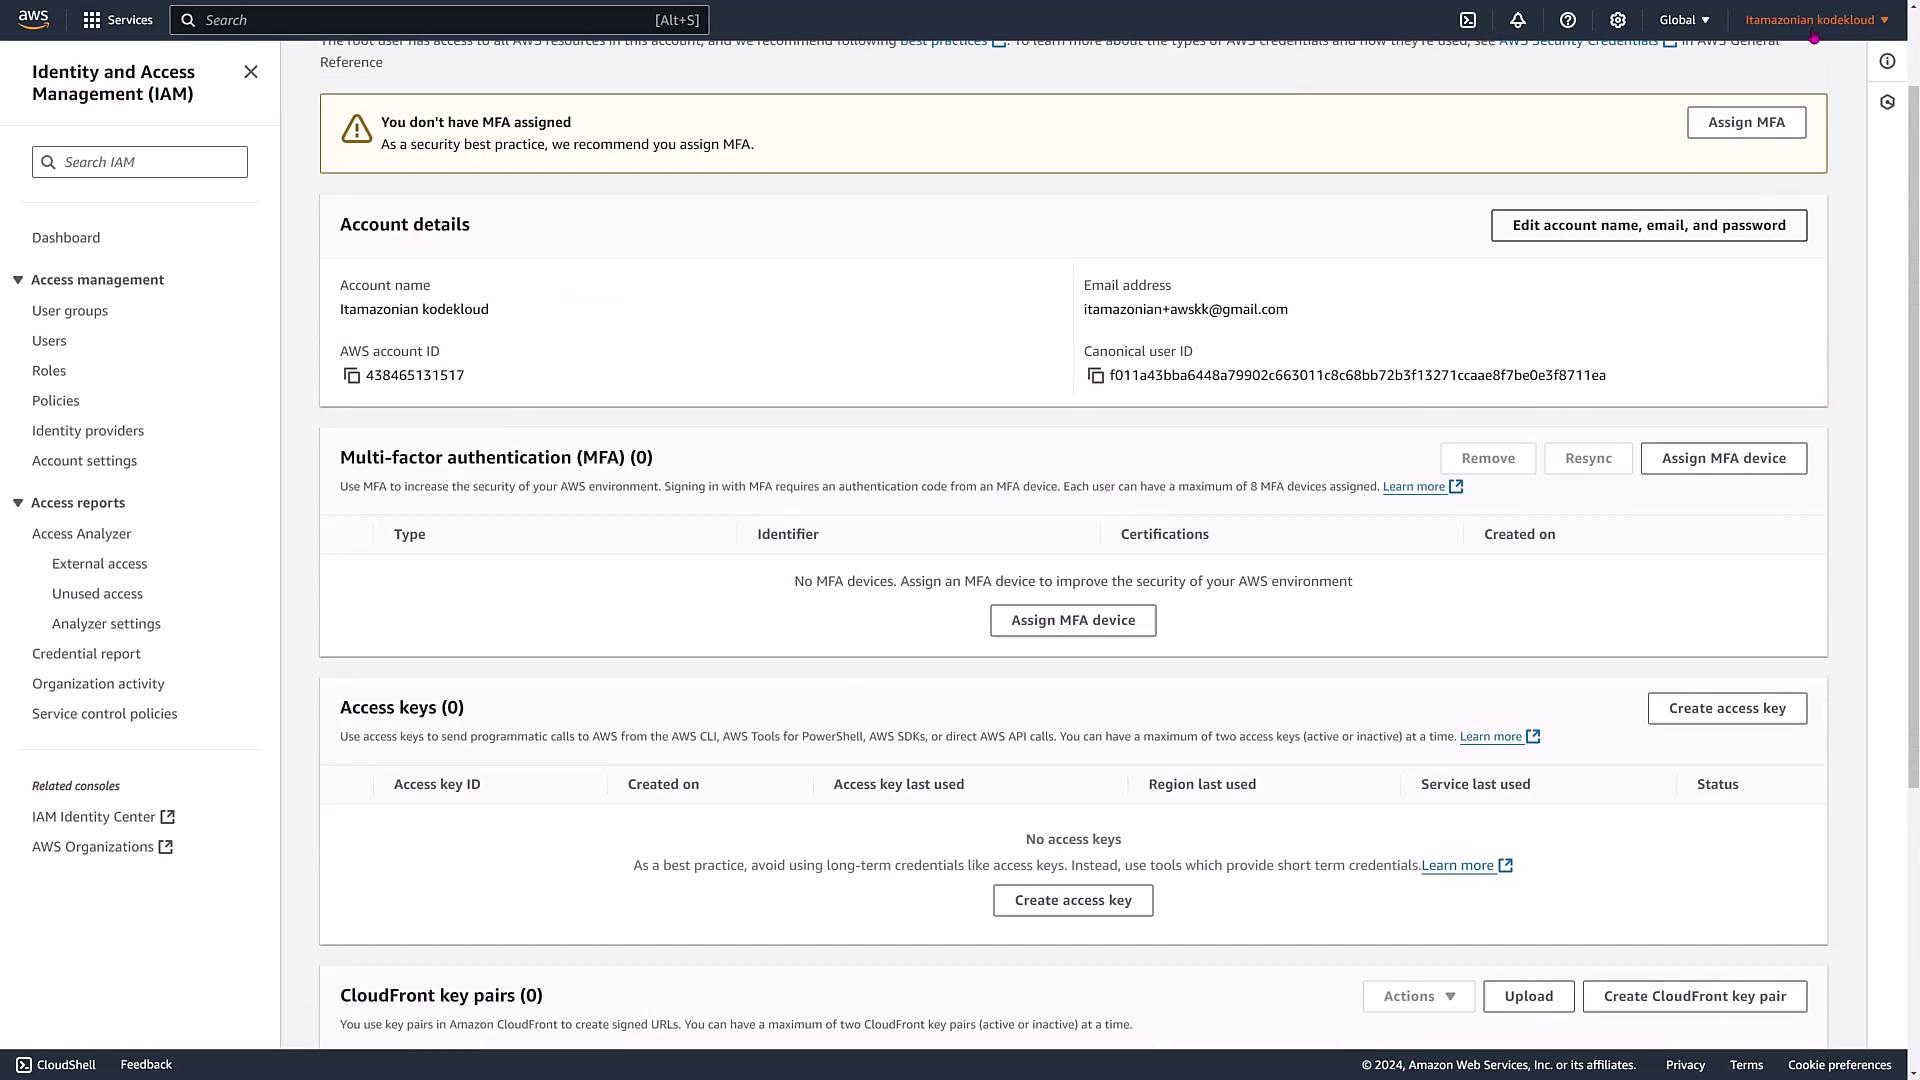
Step 4: Access the AWS Management Console

After completing the sign-up, click on "Go to Management Console." Initially, you'll log in as the root user, and the console might default to a specific region (for example, Ohio). Although the root user has full privileges, it is highly recommended to create an IAM user for daily tasks.

The image shows an AWS sign-up confirmation page with a congratulatory message and options to access the AWS Management Console or contact sales. There is also a section asking for additional user information.

Security Reminder

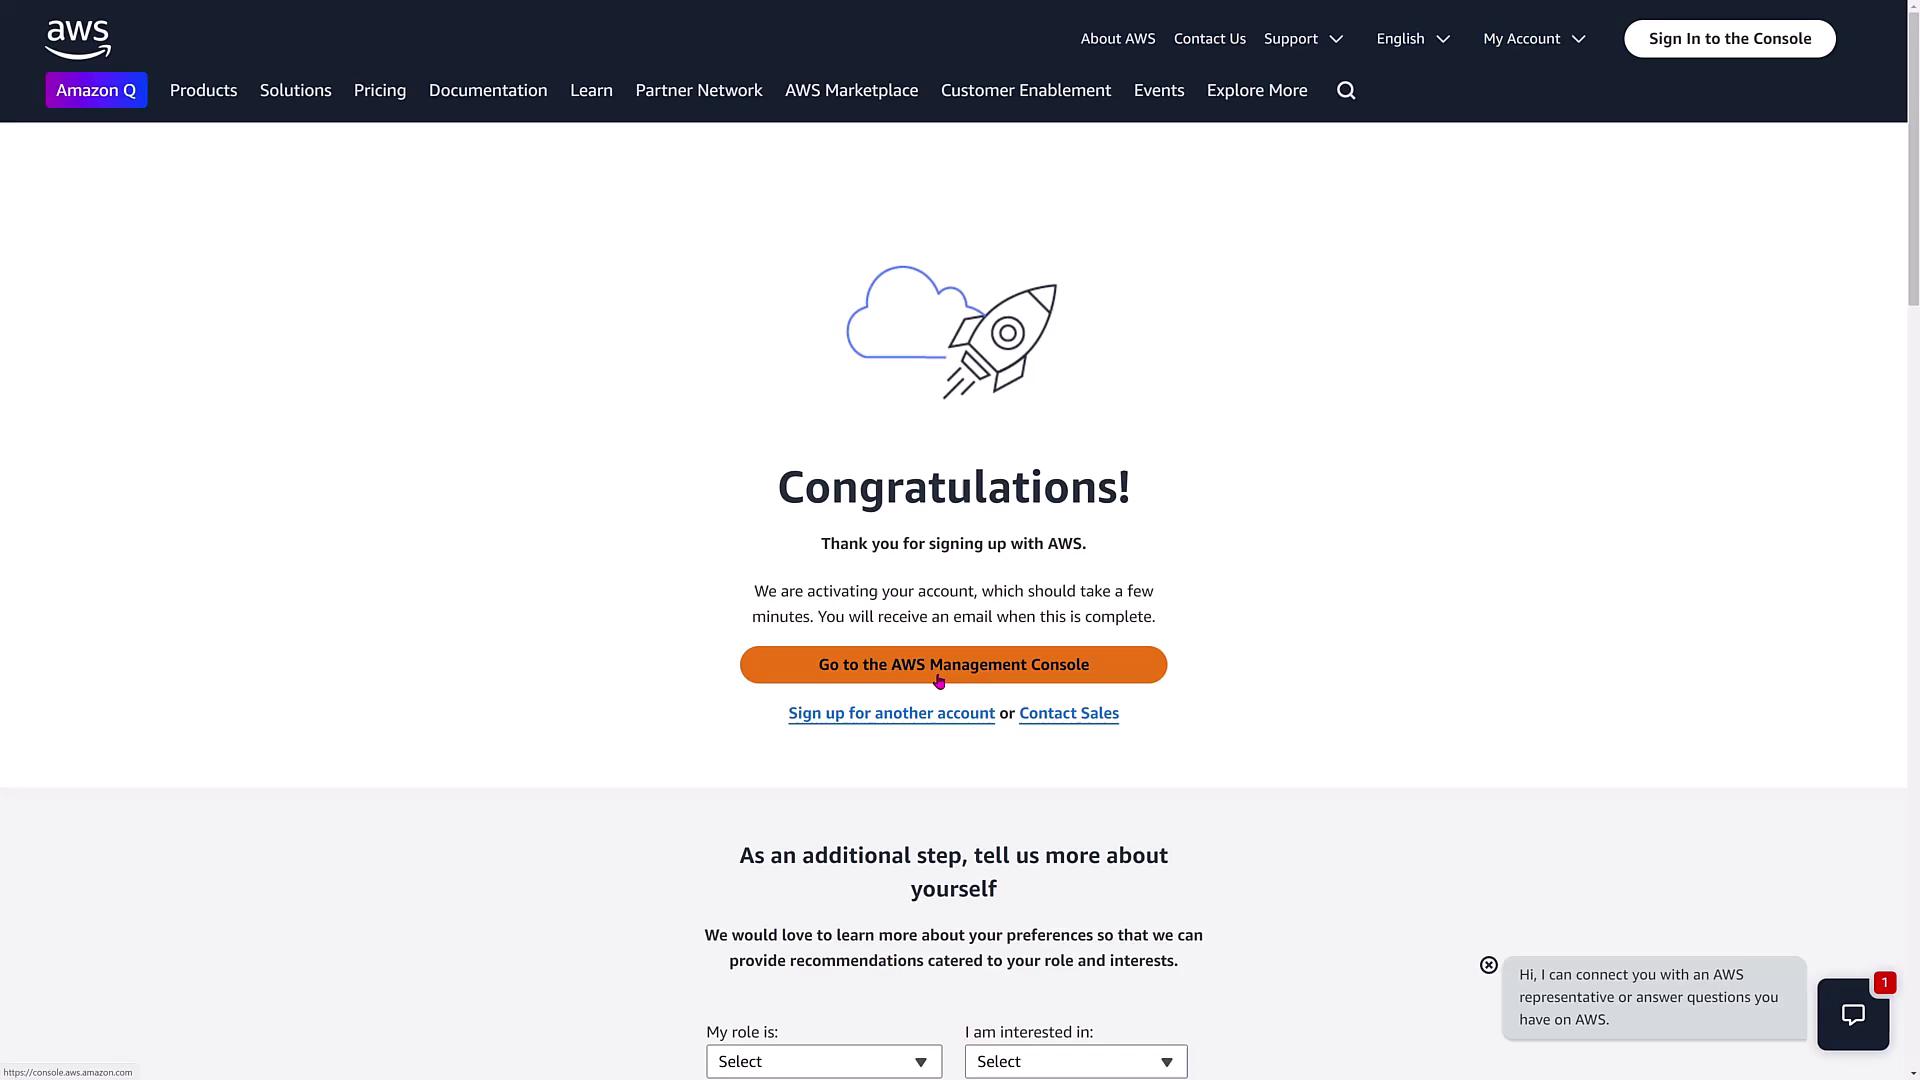
It is best practice to avoid using the root account for daily activities. Always use IAM users with restricted permissions and enable multi-factor authentication (MFA) to enhance security.

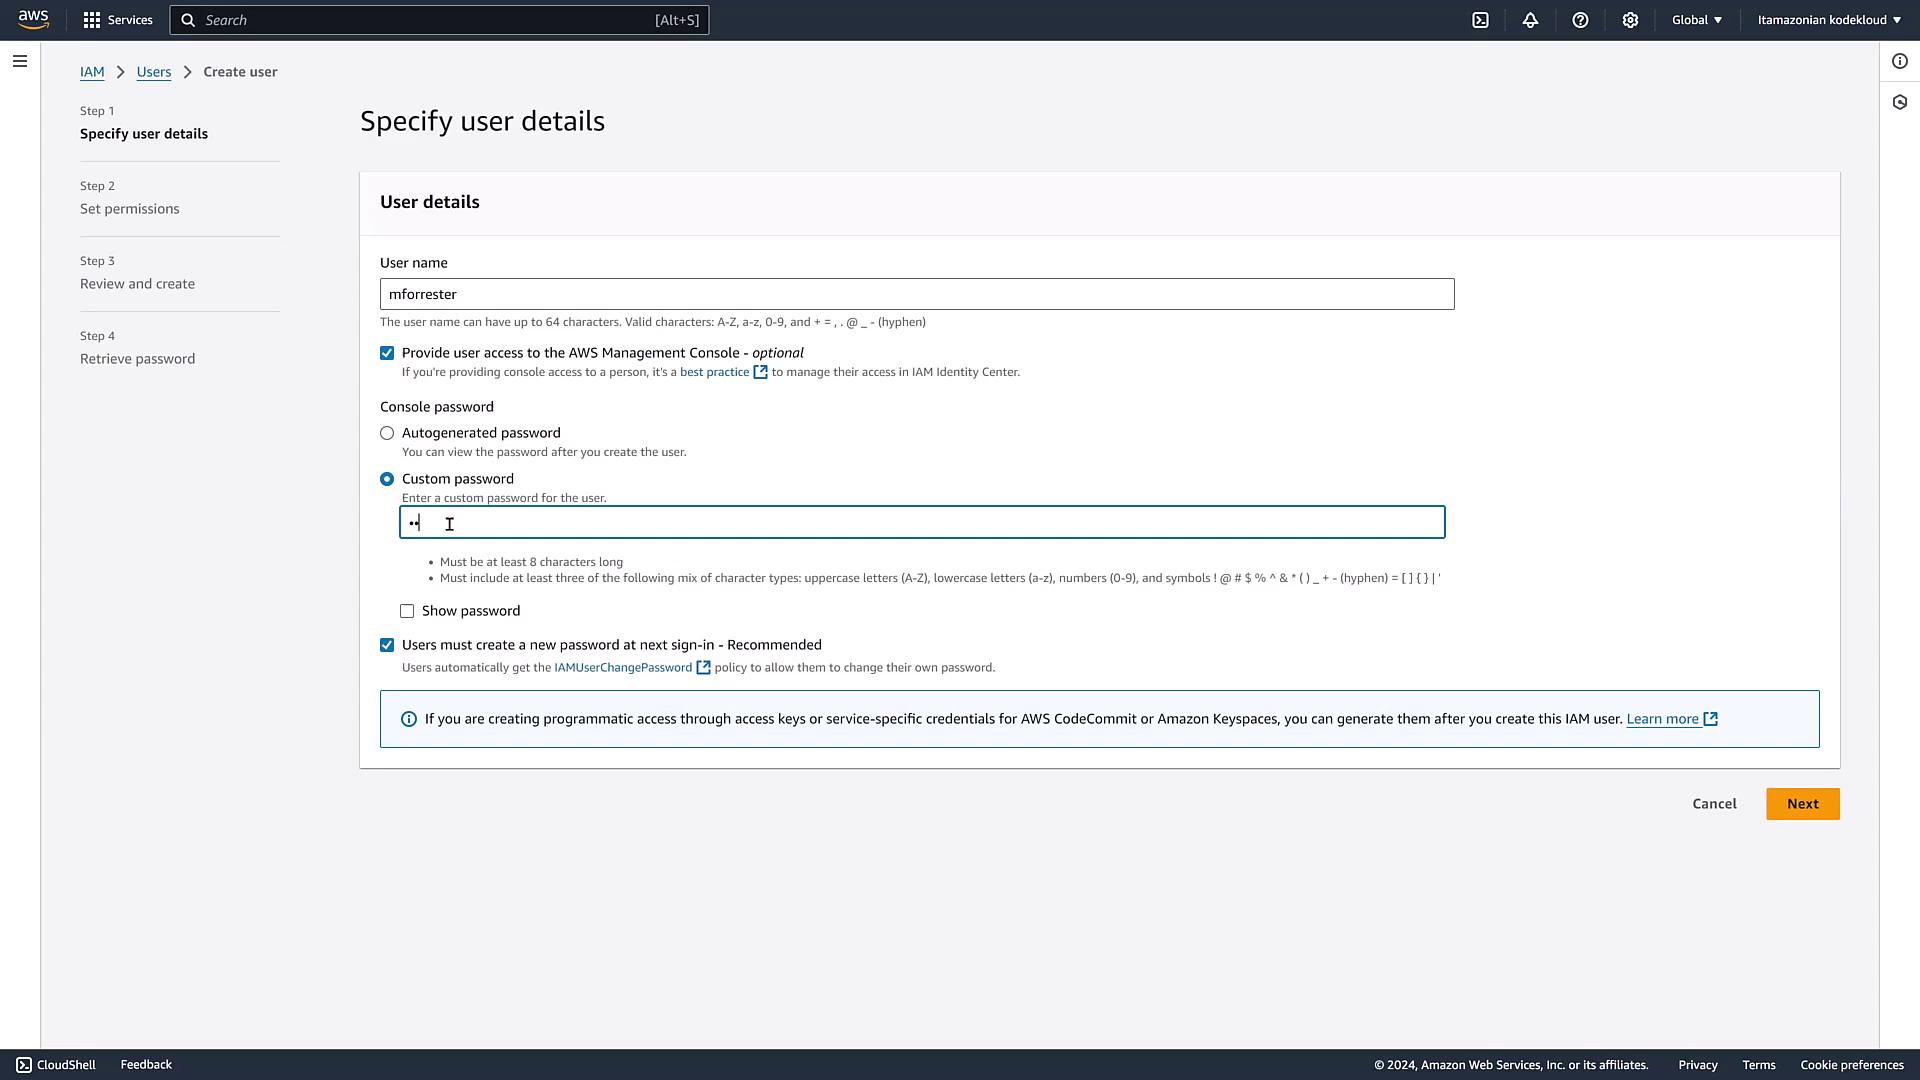
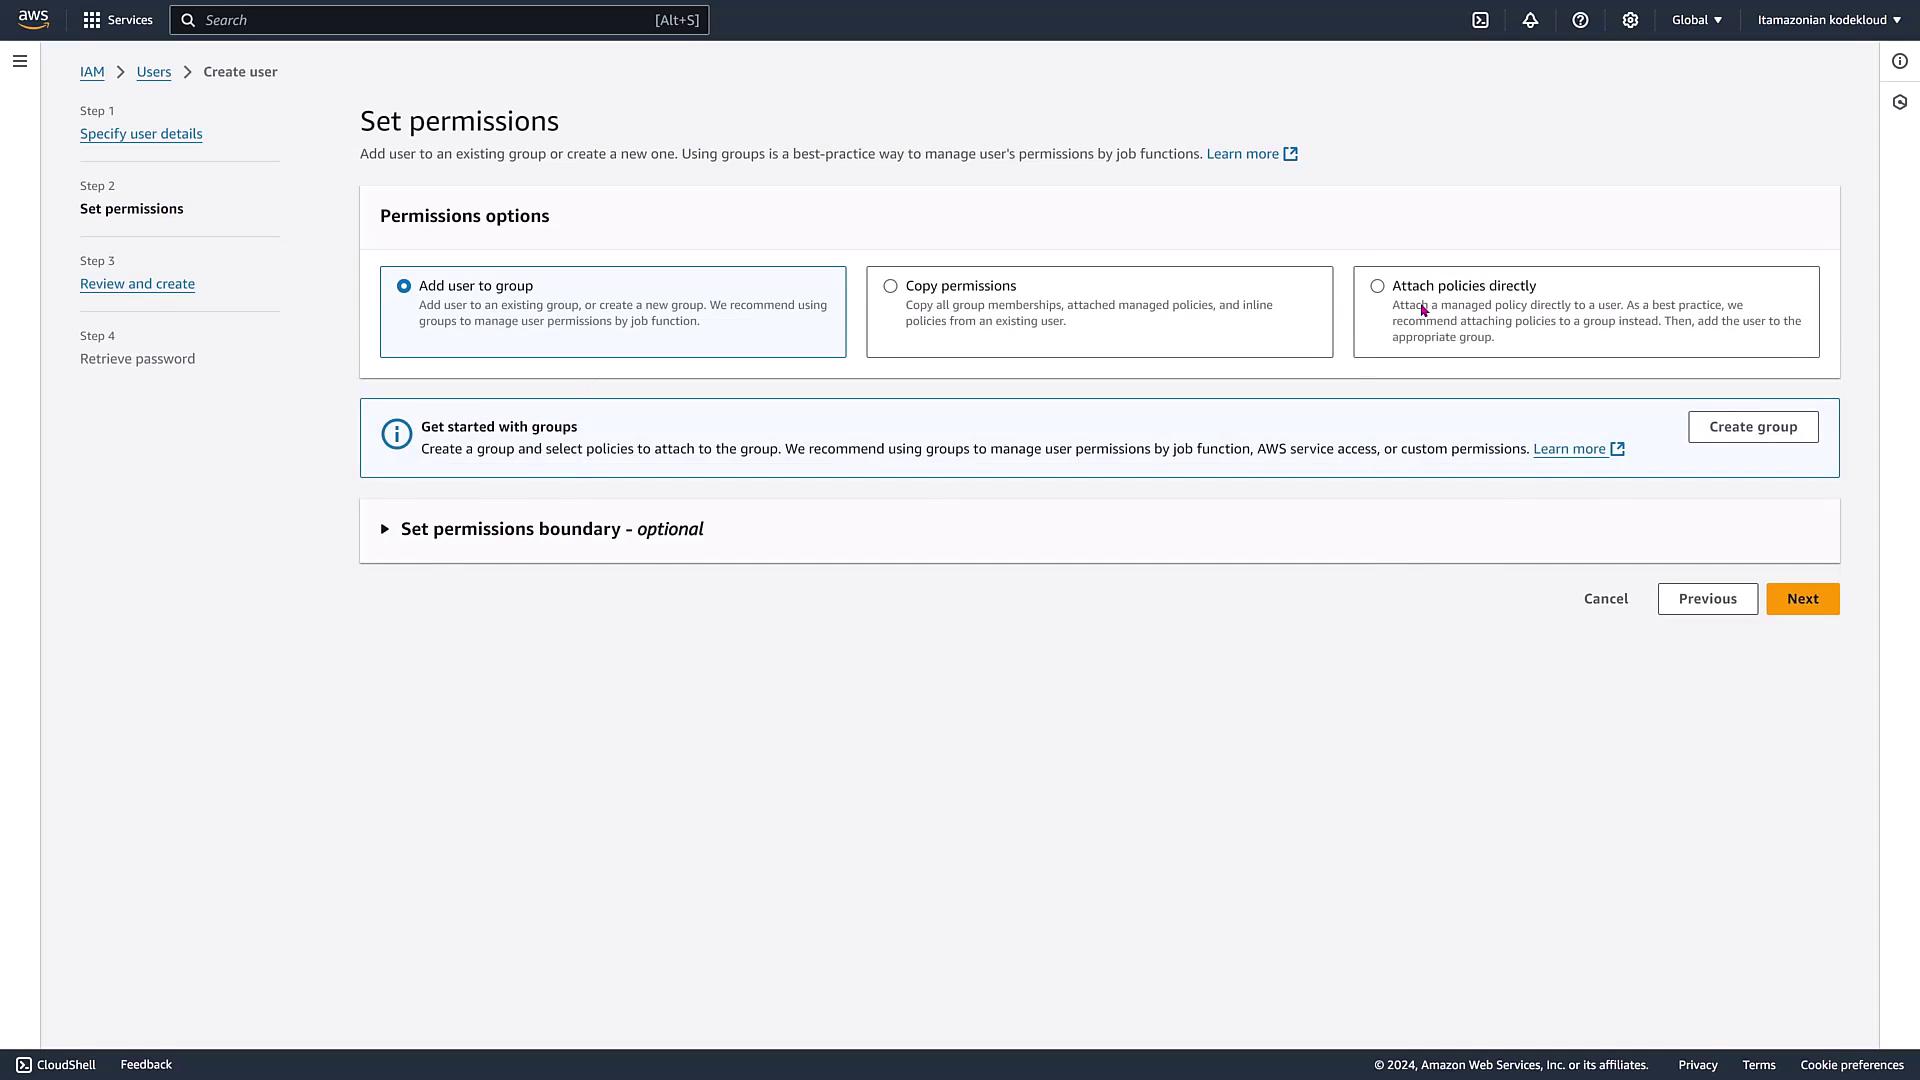
Step 5: Create an IAM User

To improve account security:

  1. Navigate to IAM in the AWS console.
  2. Create a new user (e.g., "MForrester") with console access.
  3. Set a custom strong password and choose to require a password change upon first login if necessary.

The image shows an AWS IAM user creation interface where user details are being specified, including options for setting a console password.

On the permissions page, attach the AdministratorAccess policy. While this grants full privileges, consider using IAM groups or roles with a limited set of permissions for secure environments.

The image shows an AWS IAM interface for setting user permissions, with options to add a user to a group, copy permissions, or attach policies directly. There is also an option to set a permissions boundary.

Once created, return to the user list to verify the new IAM user is present.

The image shows an AWS Management Console screen where a user has been successfully created. It displays the console sign-in details, including a URL, username, and an option to view the password.

Step 6: Secure Your Account with MFA

Enhance security further by setting up Multi-Factor Authentication (MFA) for both your root user and your newly created IAM user.

Important Security Alert

Do not create access keys or key pairs while logged in as the root user. Always use the IAM user with MFA enabled for daily operations.

The image shows an AWS Identity and Access Management (IAM) dashboard, displaying account details, multi-factor authentication (MFA) options, and access key information. It highlights that no MFA is assigned and no access keys are created.

From now on, always access your AWS console using the IAM user credentials rather than the root account.

Final Overview

In summary, you have successfully created an AWS Free Tier account, configured your billing information, and set up a secure environment by creating an IAM user with administrative privileges and enabling MFA. Always follow security best practices, regularly monitor your account, and ensure that no unnecessary services are left running to avoid unexpected charges.

For more information and additional AWS security practices, check out the AWS Documentation.

Happy learning and enjoy exploring AWS!

Watch Video

Watch video content

Previous
Demo The KodeKloud AWS Playgrounds