AWS Certified SysOps Administrator - Associate
Domain 3 Deployment Provisioning and Automation
Demo Creating and Managing AMIs with EC2 Image Builder
Welcome to this lesson on building an EC2 Image Builder pipeline. In this guide, we explore how to create a robust AWS AMI using EC2 Image Builder. If you’re already familiar with tools like HashiCorp Packer or other third-party image builders, you’ll appreciate the streamlined process that EC2 Image Builder offers for AWS environments.
Getting Started: Pipeline Creation
We begin by setting up a basic image pipeline called “KK, my first pipeline.” One of the initial steps is to provide a descriptive name for your pipeline. Although the description is optional, it greatly aids in managing multiple pipelines by clarifying their purposes.
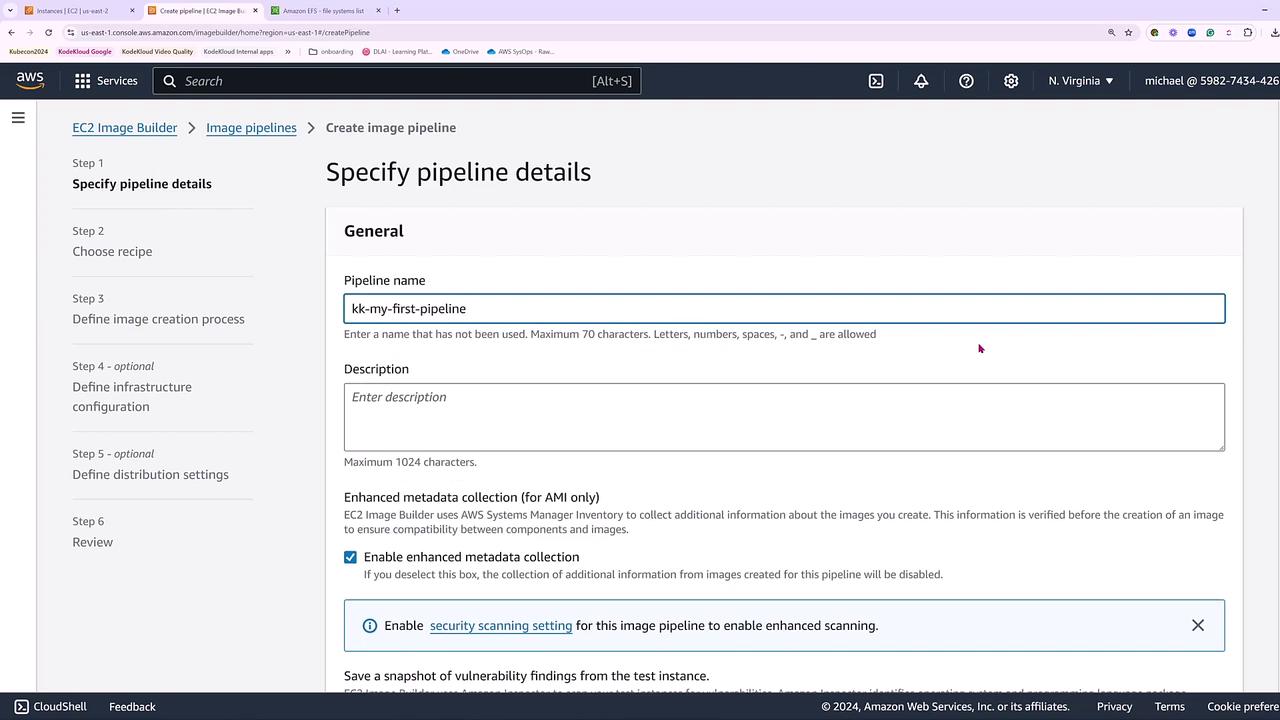
By default, EC2 Image Builder collects metadata from your images. You have the option to enable security scanning—this launches Amazon Inspector to perform security checks. For the purpose of this demo, we will keep security scanning disabled.

You may either schedule the pipeline with a cron expression or trigger it manually. For our example, we opt for manual execution to ensure ample configuration space as we add further settings.
Creating a New Recipe
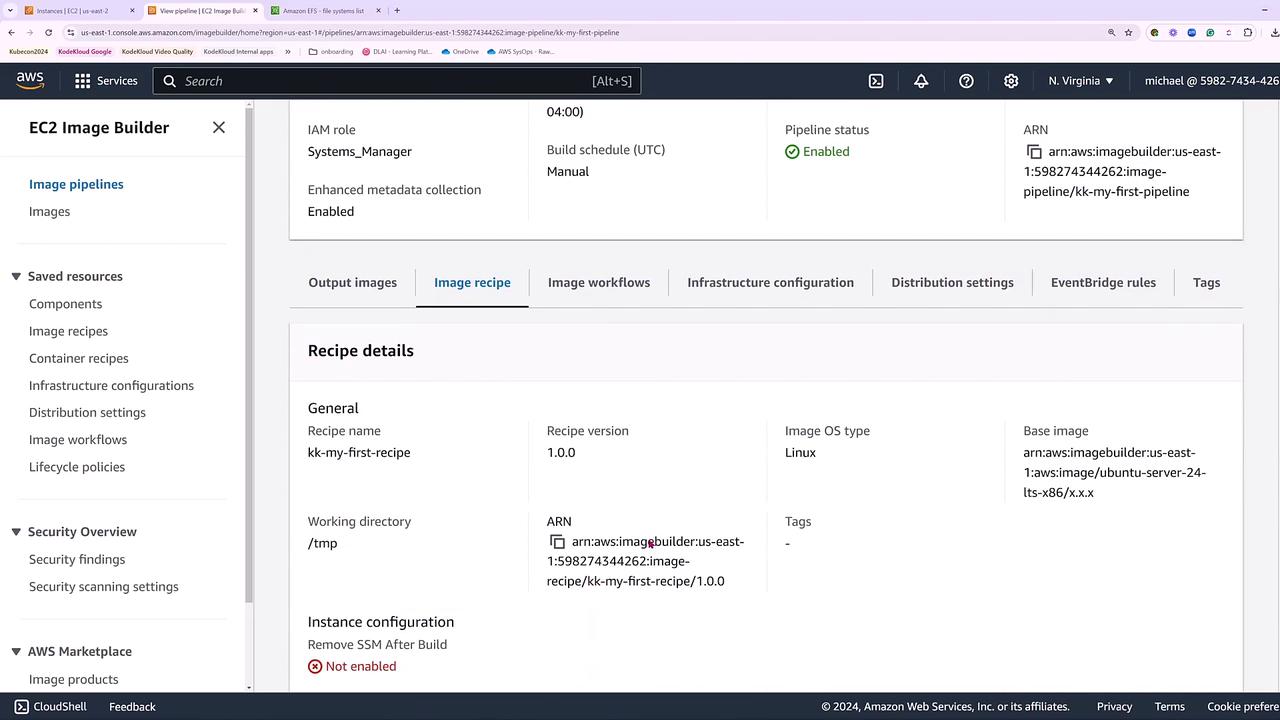
When building your pipeline, you can choose to either use an existing recipe or create a new one. In this demo, we create a new recipe named “KodeKloudMyFirstRecipe” with an assigned version number. Remember, every update to the recipe should increment the version to maintain version control.

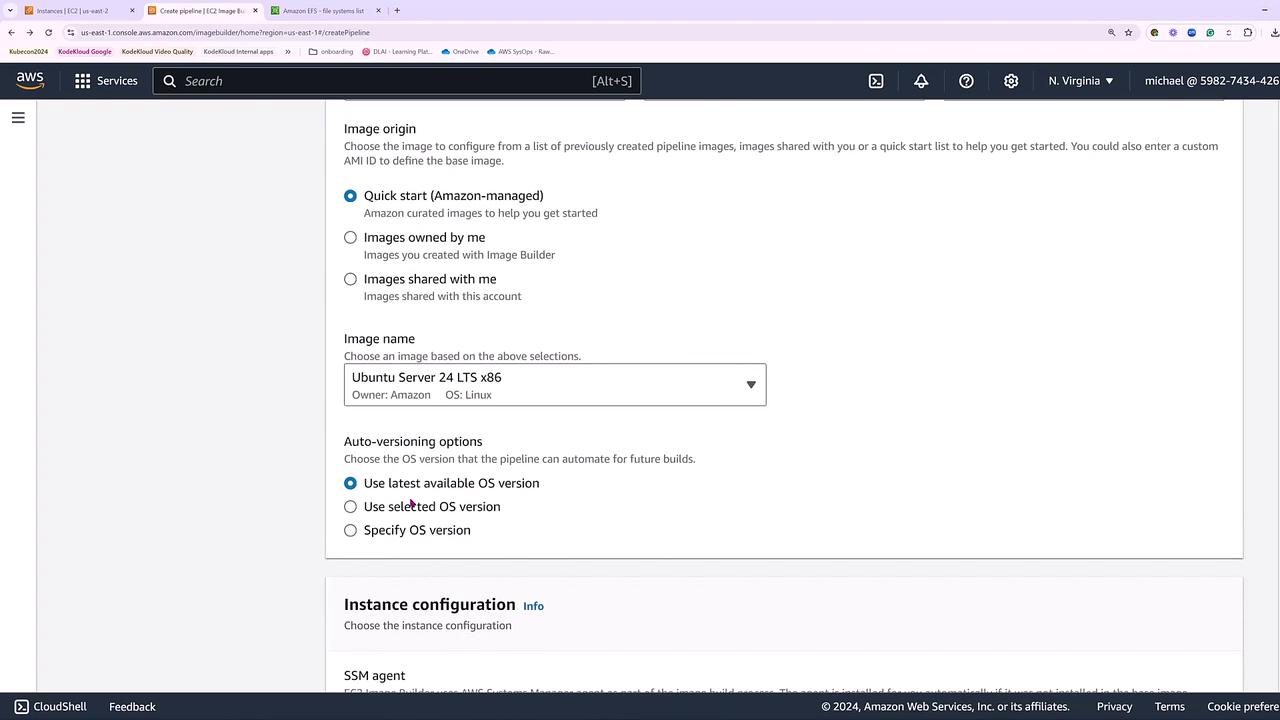
For the base image, select "Managed Images" and choose Ubuntu. Although options exist to pull images from the marketplace, use a custom AMI, or import from a virtual machine, we will continue with the default managed image. In this example, select “Ubuntu Server 24 LTS x86” (and not ARM) with the latest operating system version. In a production environment, consider pinning versions for consistency, unless you have extensive testing protocols in place.
Optionally, you can provide additional instructions such as installing extra packages during the image creation. For our demo, we will skip modifying the instance configuration, leaving the working directory at its default setting (“temp”).
Configuring Components
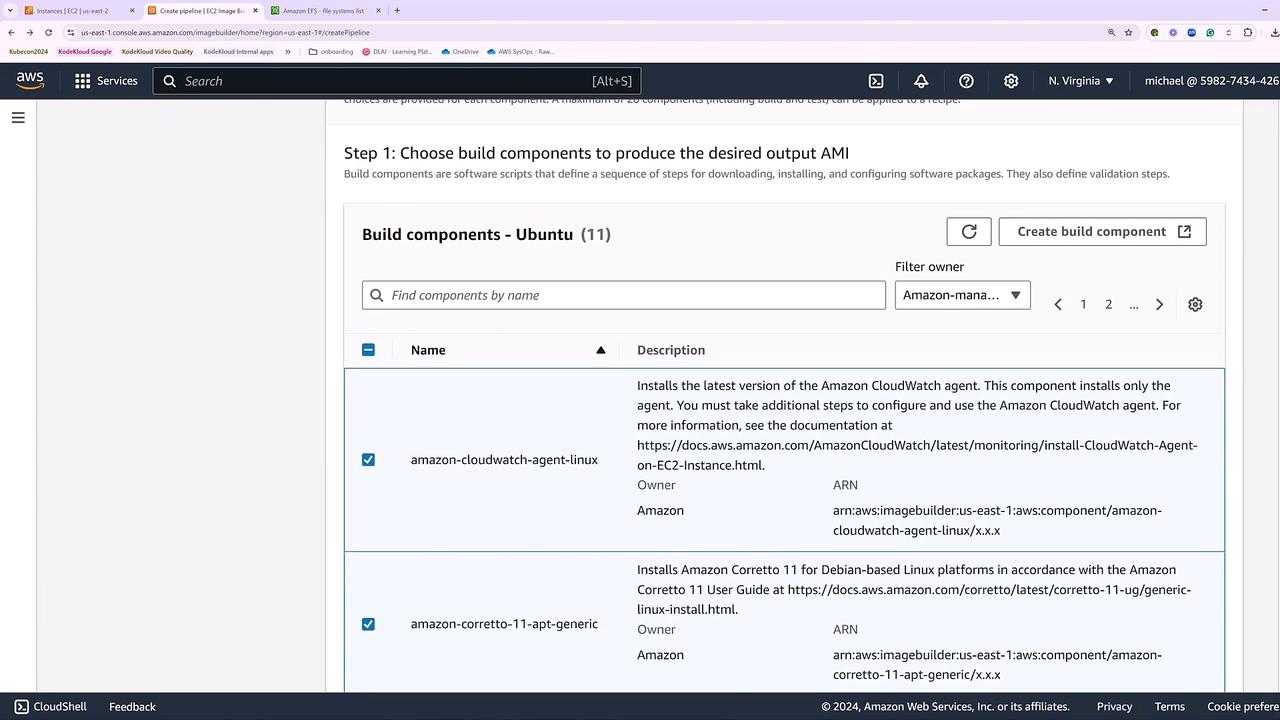
Scroll down to the components section where you can add various elements like the CloudWatch agent or Java. The order of components is significant as it defines the sequence of installations and tests during the build process. In this example, we include only the component for automatic updates.
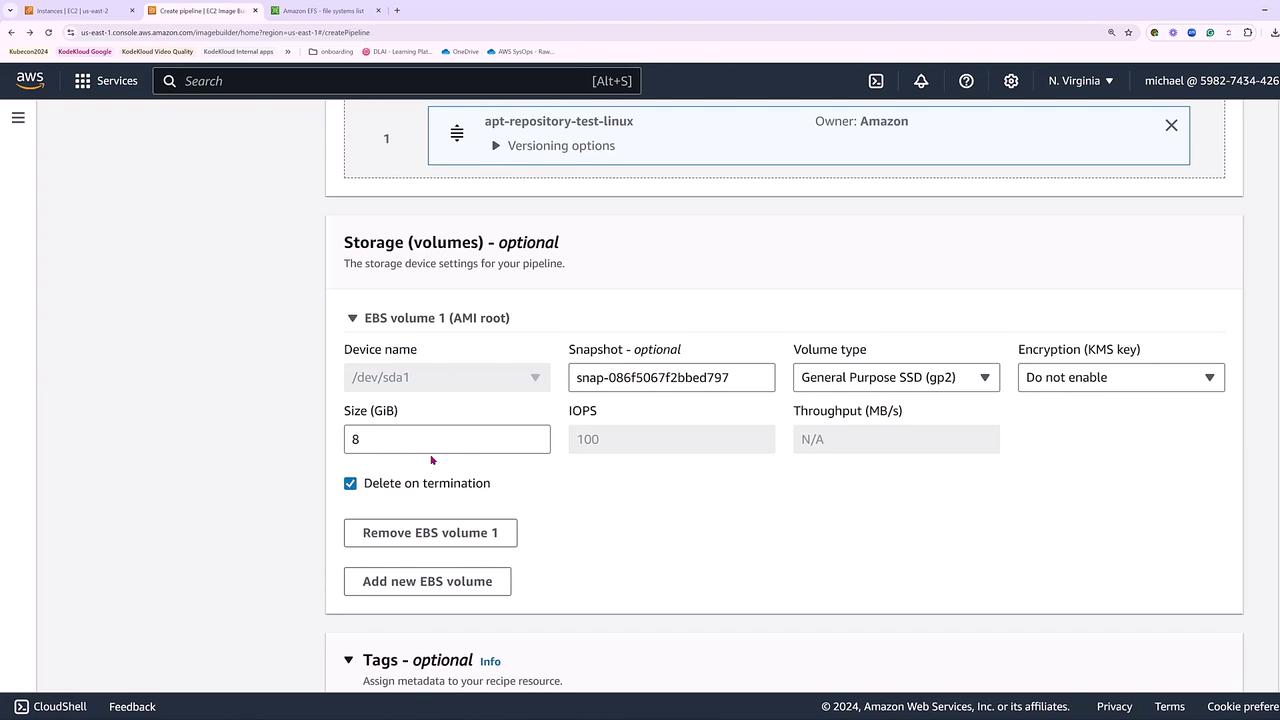
Additionally, you can modify the EBS storage settings. In this demo, we adjust the storage size to 10 GB.
Build and Infrastructure Configuration
Proceed to configure the build and test workflows. While custom workflows with specific IAM roles can be set up, we will stick to the service-provided defaults for simplicity. Click “Next” to move on to the infrastructure configuration.
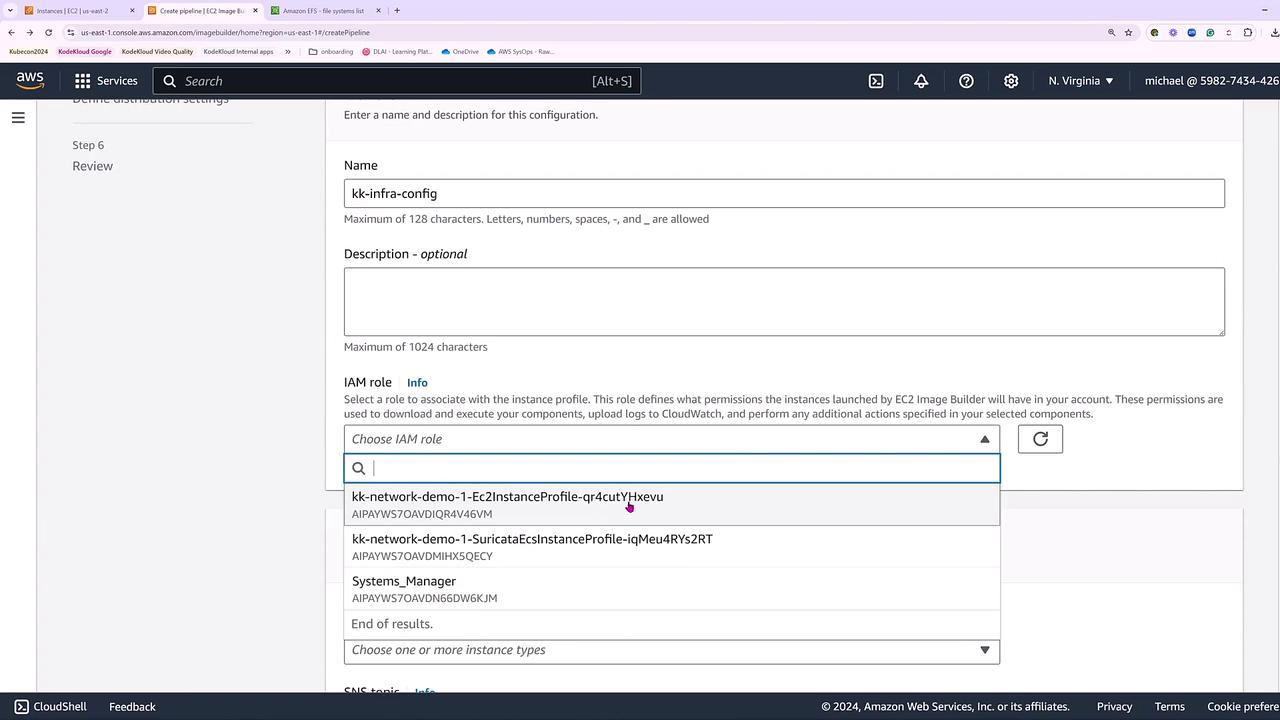
At this stage, you can create a new infrastructure configuration or reuse an existing one. This configuration covers settings such as the IAM instance profile, instance types, VPC, security groups, key pairs, and metadata options. In our example, we create a new configuration named “KK InfraConfig” and assign it the Systems Manager role.
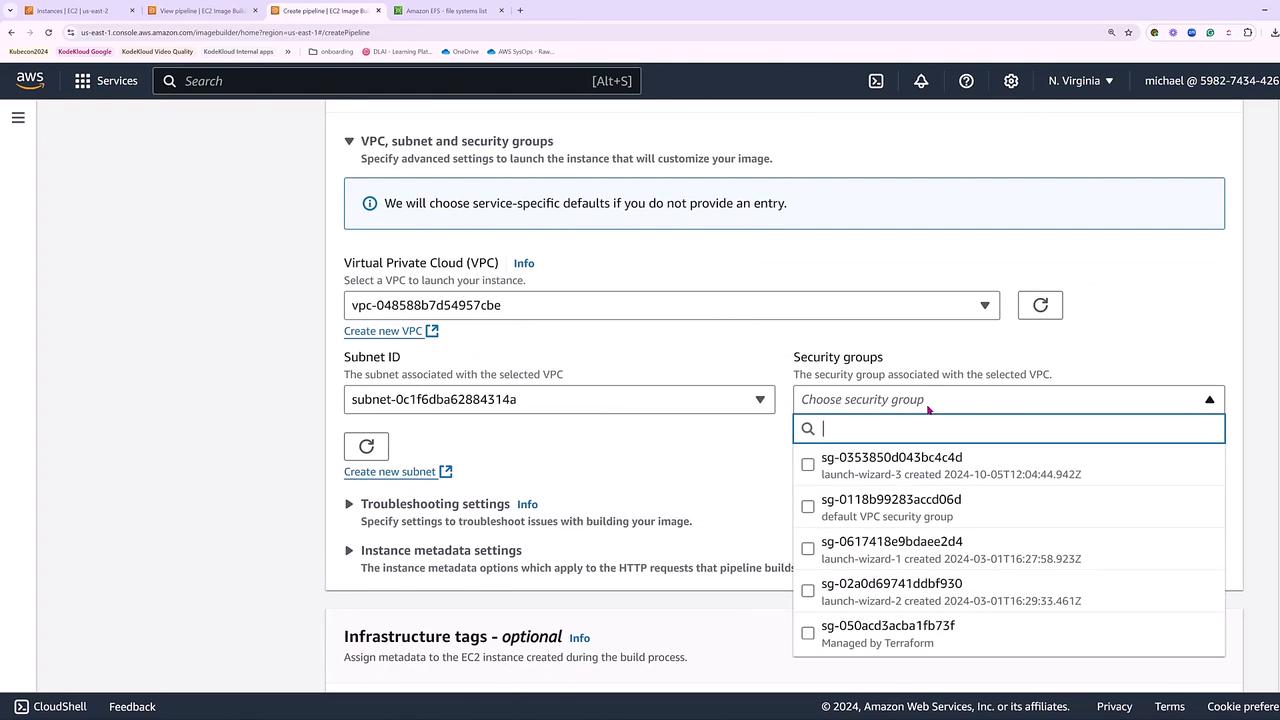
Choose the default VPC and a default subnet (for example, US East 1B) along with the default security group. You may also modify instance metadata to force version 2, select a key pair, and determine the instance type. Initially, a T4 series instance was selected; however, an error later indicates that T4a series instances are ARM-based while our Ubuntu image is x86.
Important
Ensure that the instance type matches the operating system architecture. In this demo, we correct the configuration by switching from a T4 to a T3 series instance.
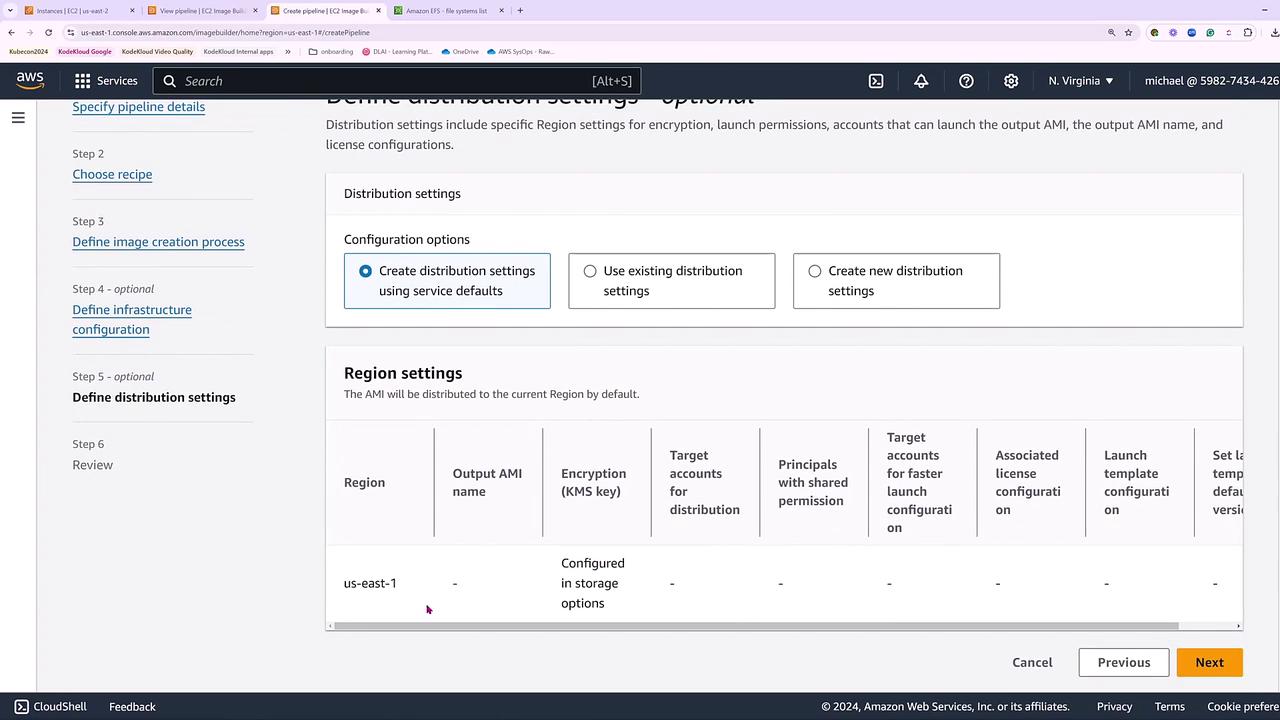
Distribution Settings
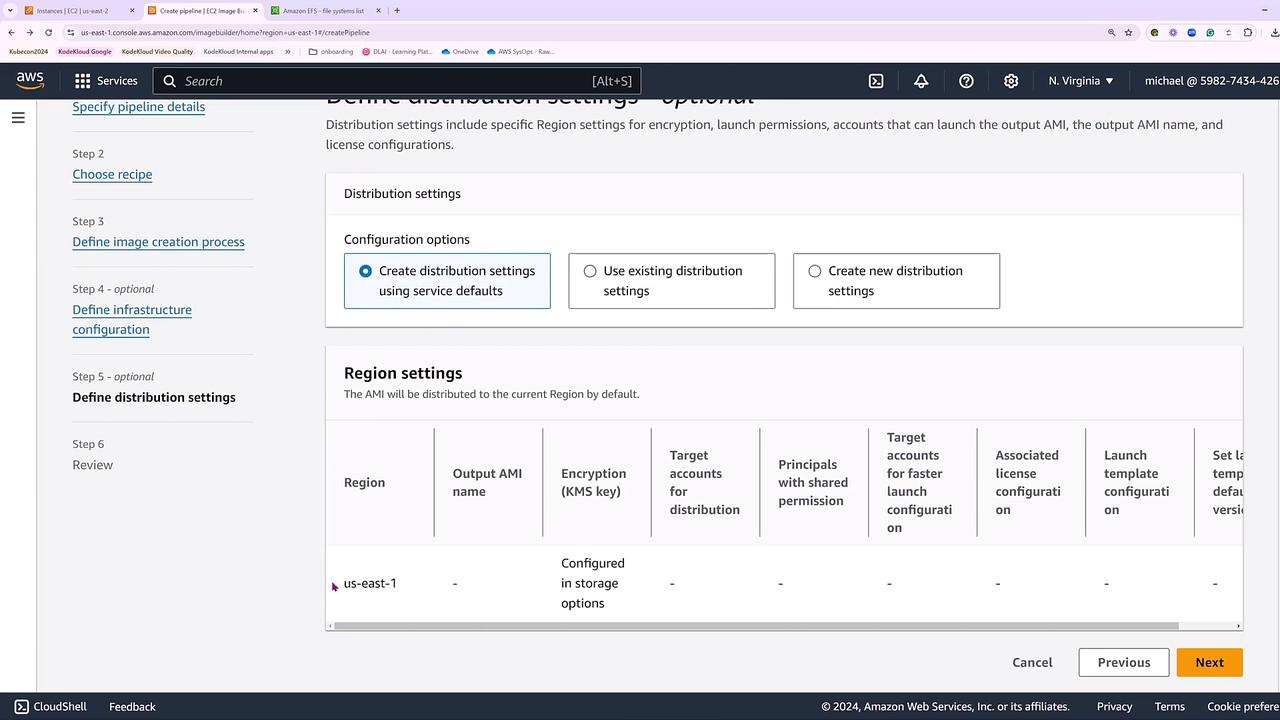
Define the distribution settings that determine in which regions the AMI will be available. For simplicity, we will use the default settings, placing the image in US East 1. You can, however, expand distribution to multiple regions by adding target accounts and custom AMI names.
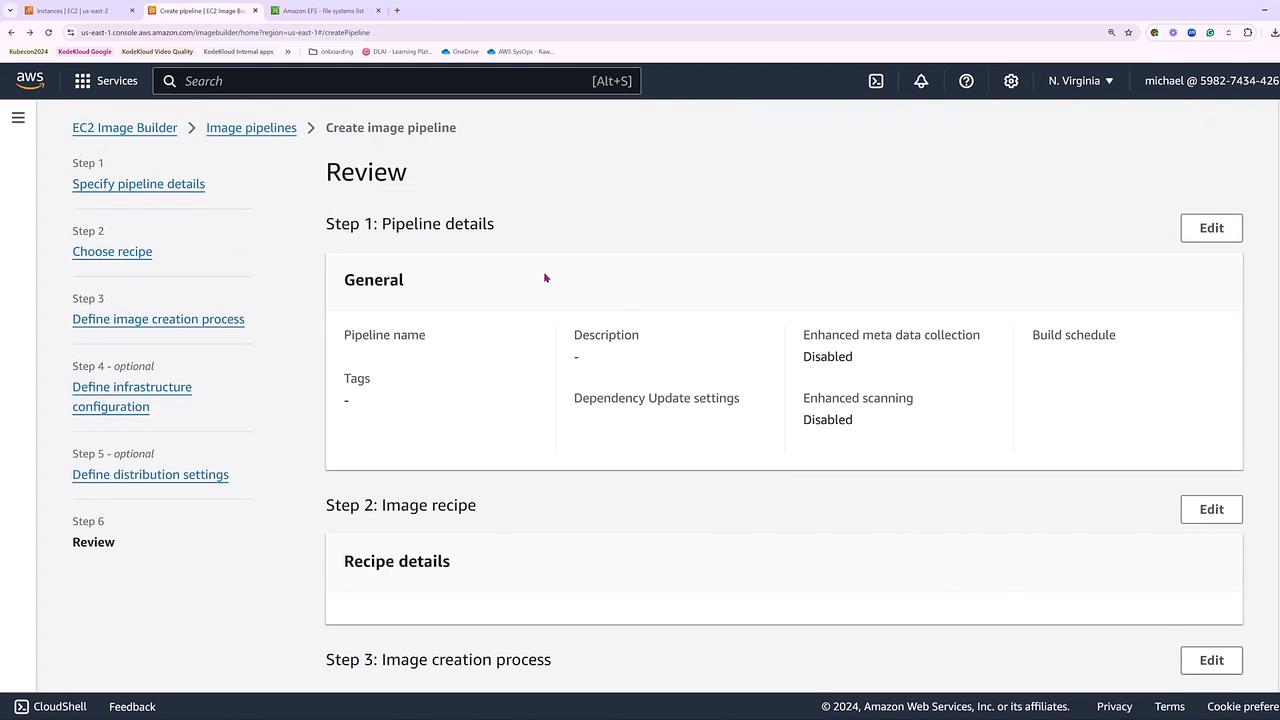
After reviewing all settings, click “Next” to create the pipeline. The process involves launching a parent instance, downloading build components, executing a build phase followed by a testing phase, and finally generating an AMI if all tests pass. If testing fails, the image is not marked as available.
Pipeline Execution and Troubleshooting
After starting the pipeline, you can monitor its progress, including details on the image recipe, infrastructure configuration, and distribution settings. At one point, the pipeline might fail due to an architecture mismatch—this error occurs if an ARM image is referenced while the operating system is x86.
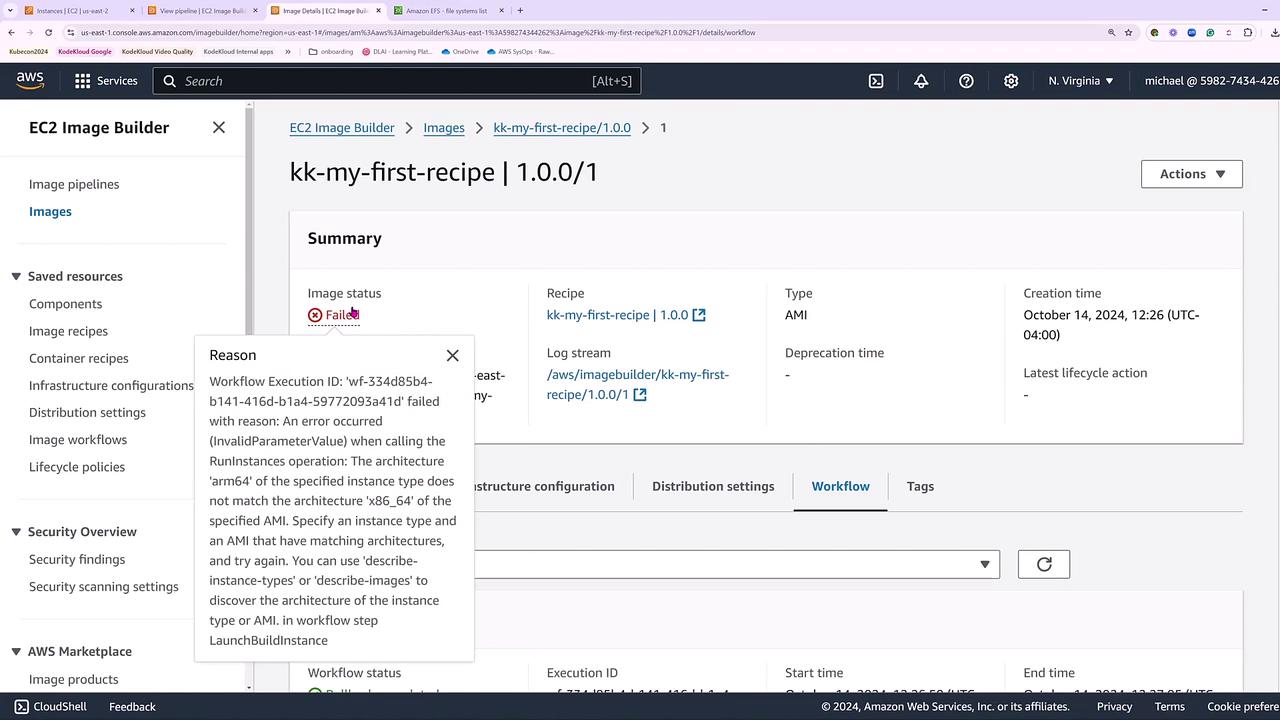
Since infrastructure configurations cannot be modified after creation, you must create a new pipeline with the corrected settings. Reuse the same x86 image recipe, build components, and storage configuration (10 GB). Additionally, select a compatible T3 series instance (for example, T3 extra large) instead of the T4 series instance, while keeping the VPC, subnet, and distribution settings unchanged.
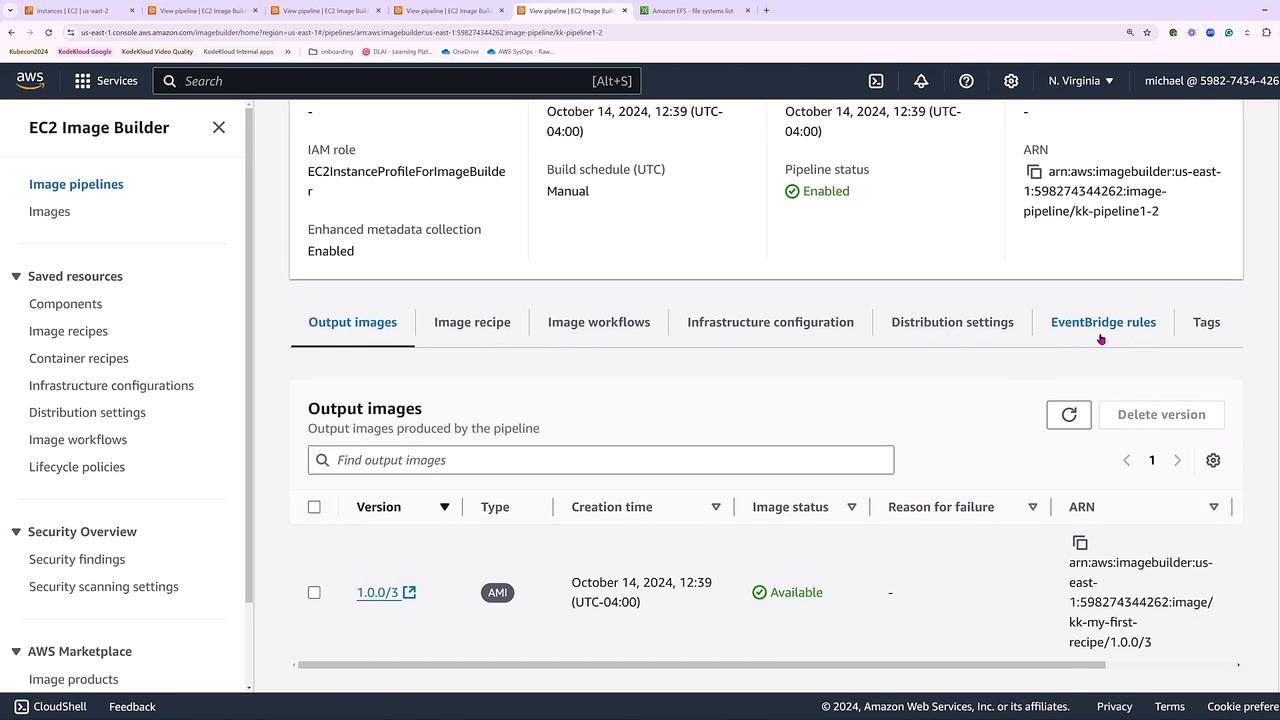
Once the new pipeline is established, run it and delete the previous incompatible pipeline. With a successful build and test phase, the pipeline status will eventually show as “available.”
Launching an EC2 Instance from the New AMI
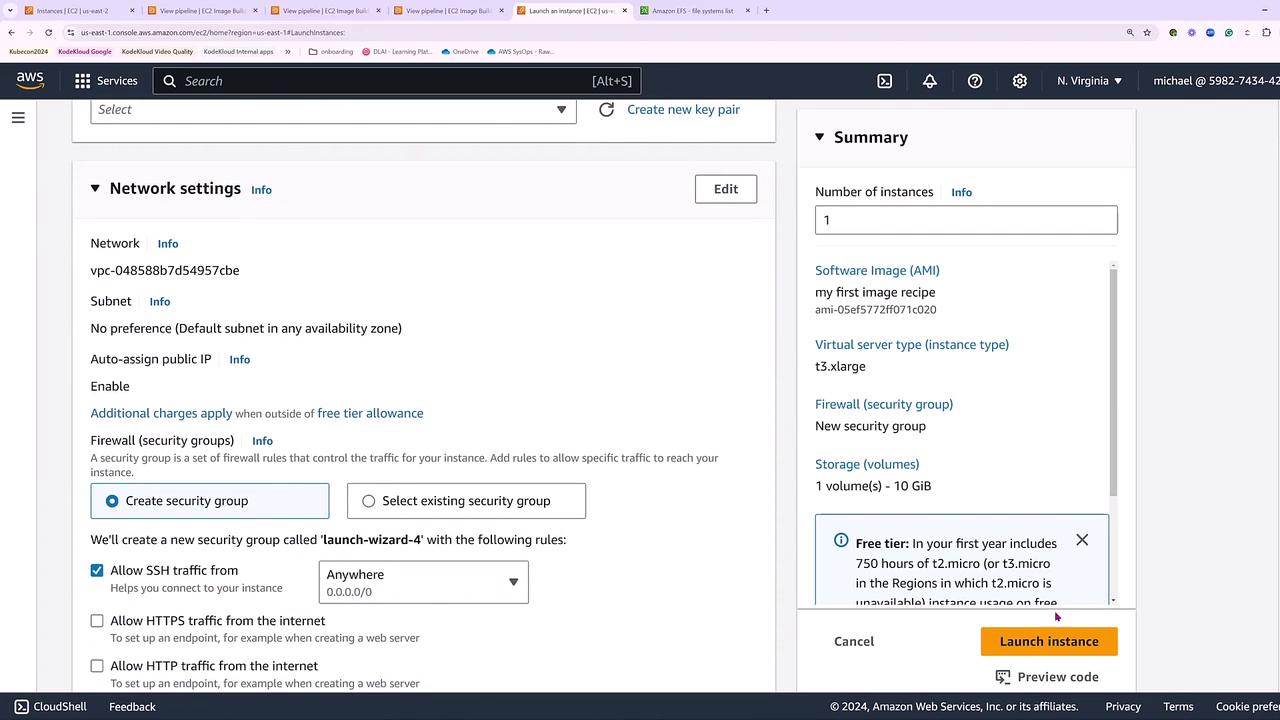
When the pipeline status changes from “building” to “testing” and finally to “available,” your new AMI is ready in your account. To launch an instance using this AMI, navigate to the EC2 console and select the newly created AMI from the list. Although the AMI might default to a T2 micro instance, you can choose a more robust instance type, such as T3 XLarge, based on your requirements.
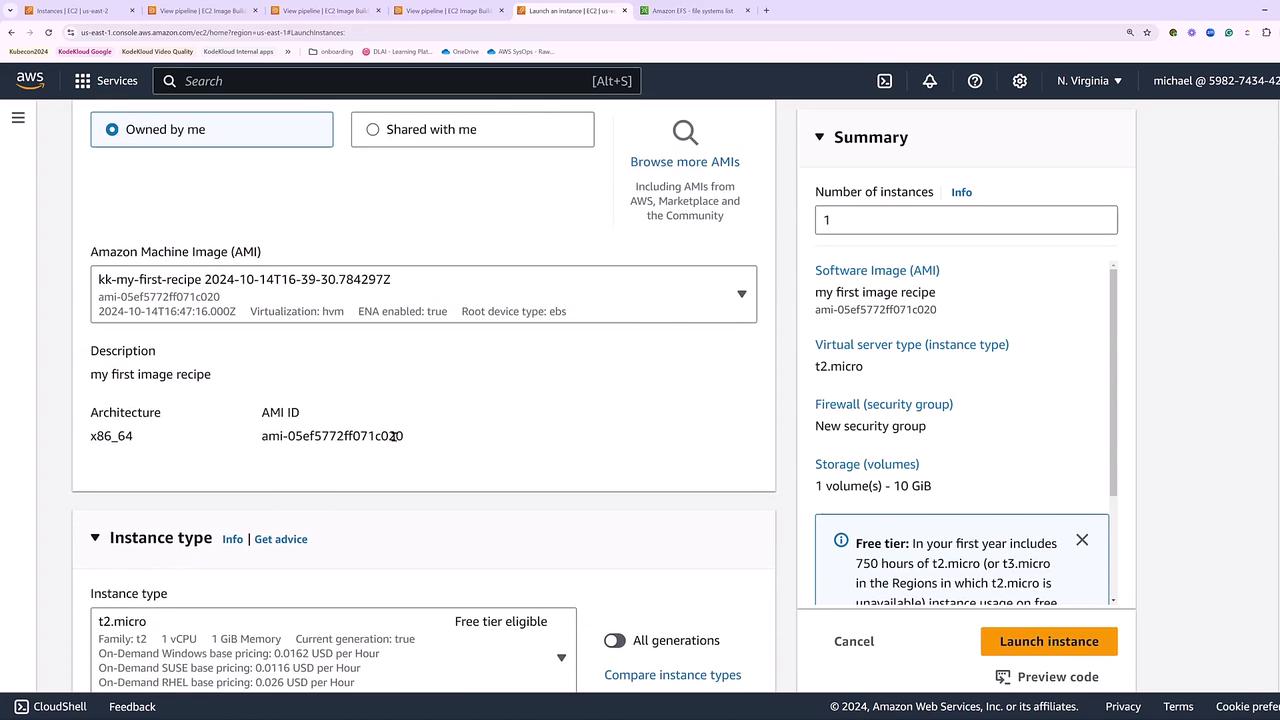
Finalize the launch by configuring key pairs, network settings, and any additional options. Once launched, the instance will run Ubuntu 24 LTS with all specified components, including a 10 GB drive, Java, and the Systems Manager Agent.
Conclusion
EC2 Image Builder offers a comprehensive process to create, test, and distribute AMIs by orchestrating an image recipe, infrastructure configuration, and detailed workflows. This lesson demonstrated the creation of a pipeline using a default workflow, while also addressing common pitfalls such as architecture mismatches.
We hope you found this guide helpful in understanding how to build and manage AMIs with EC2 Image Builder. Happy building!
Watch Video
Watch video content