This article demonstrates managing AWS IAM by working with users, groups, roles, and custom policies to control access and enhance security.
In this lesson, we will demonstrate how to manage AWS Identity and Access Management (IAM) by working with users, groups, roles, and custom policies. You will learn how to control access across your AWS account while following best practices for security.
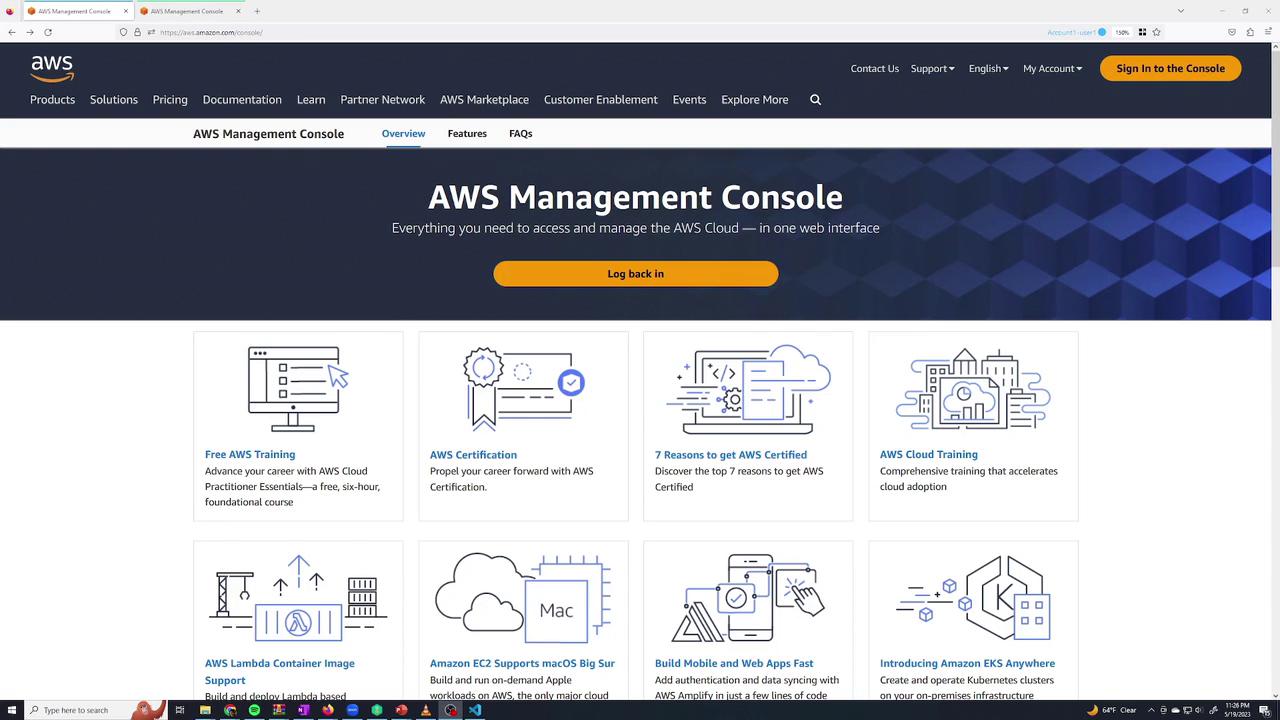
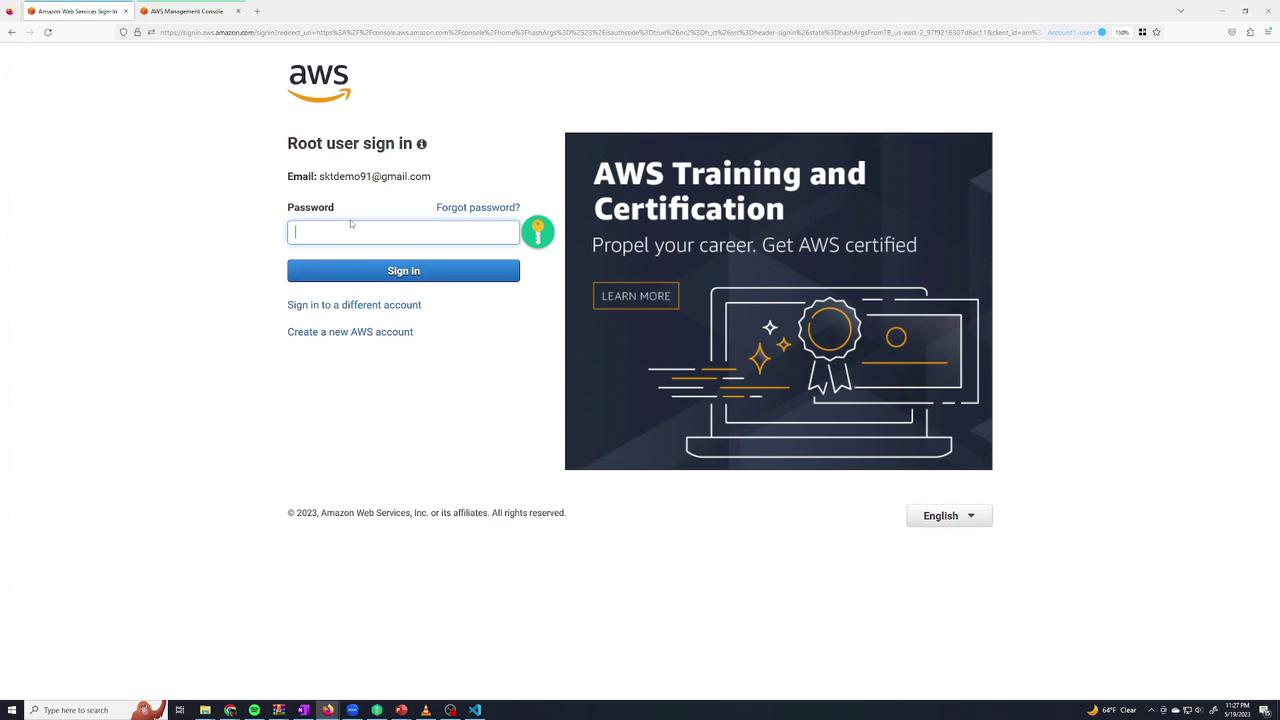
When you visit aws.amazon.com/console, you will see a “Sign in to the console” button at the top right. There are two ways to log in: as the root user or as an IAM user. When you create an AWS account, a root user is automatically created, which uses the email address registered with AWS and has full, unrestricted access to the account.
Minimize usage of the root user. Any leaked root credentials would grant complete control of your account. Always use an IAM user for day-to-day tasks.
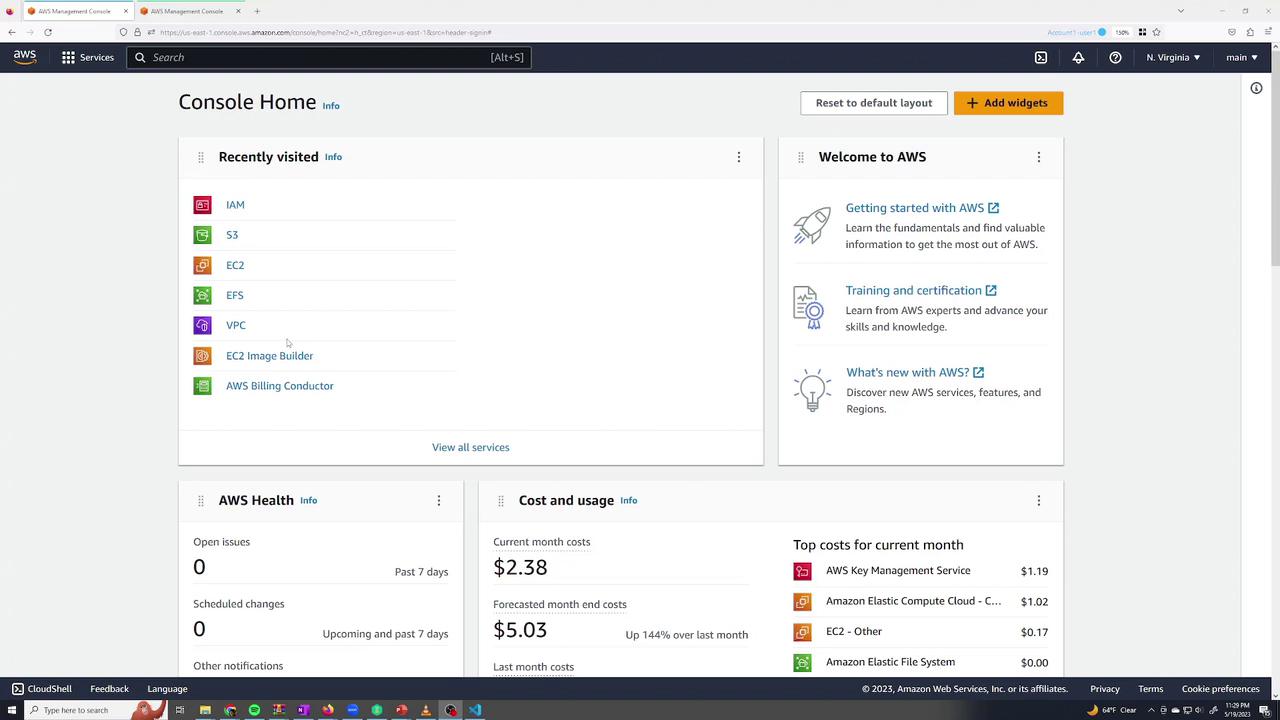
After successfully entering your credentials (and multi-factor authentication if enabled), you arrive at the AWS console home page as the root user.
Because the root user has complete access, it is recommended to create a separate IAM user for regular operations. This approach helps secure your account in case of any issues or compromised credentials.
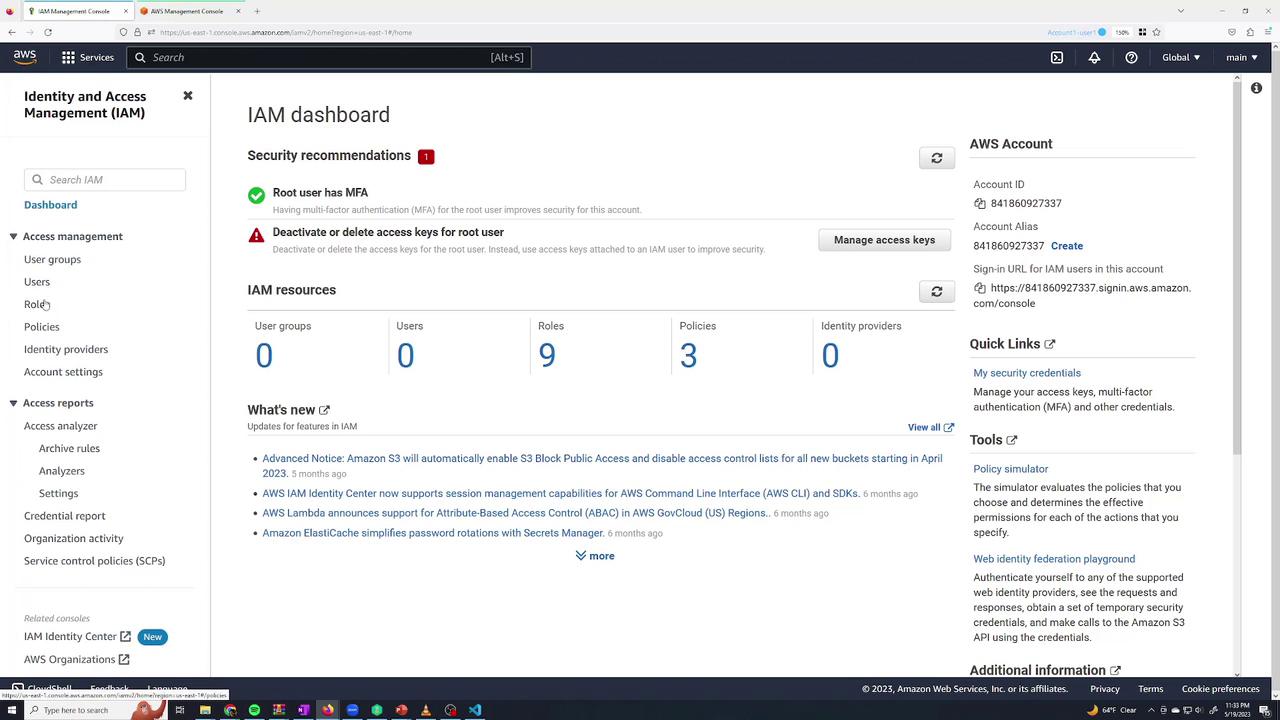
To create an IAM user, navigate to the IAM console. You can find IAM either in the “Recently visited services” area or by using the search bar.On the IAM dashboard, you can manage:
Users
Groups
Roles
Policies
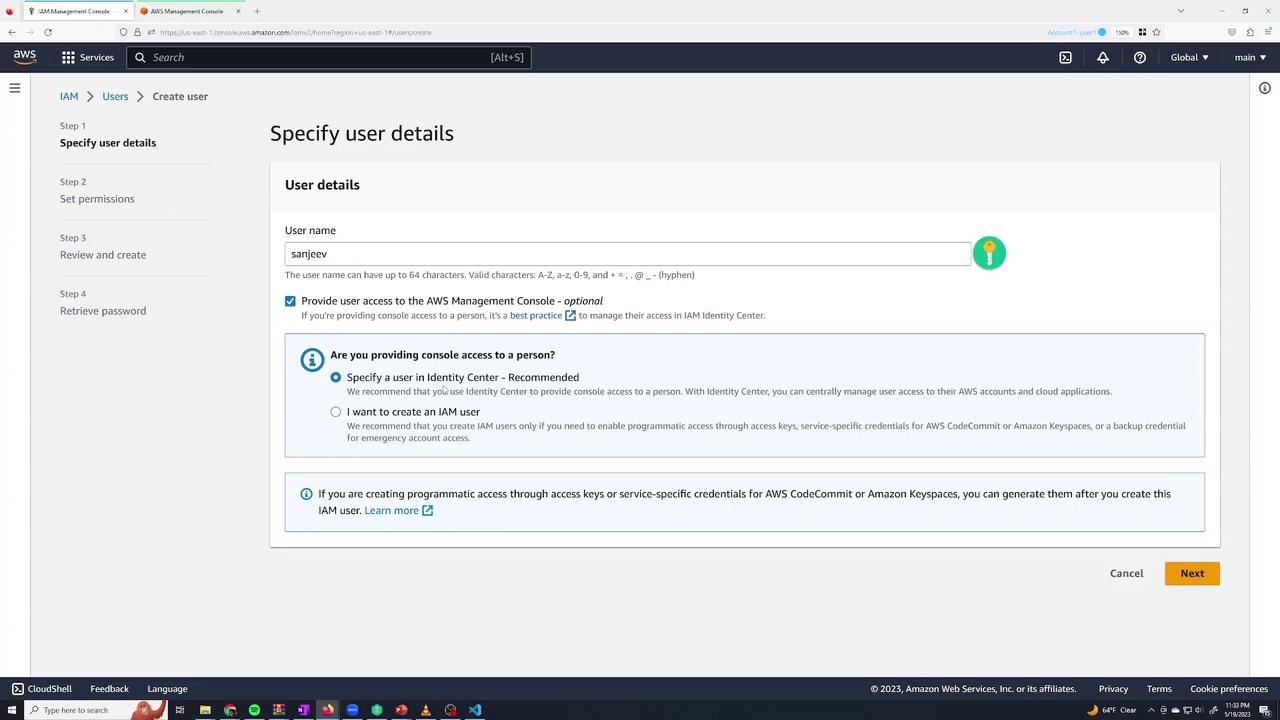
Select the Users section and click Add users. Provide a name for the new user (for example, “Sanjeev”). Ensure that you select the option to provide access to the AWS Management Console. Next, choose whether to auto-generate a password or specify one manually. In this example, we specify the password and disable the option for the user to set a new password at the next sign-in, as this account is for personal use.
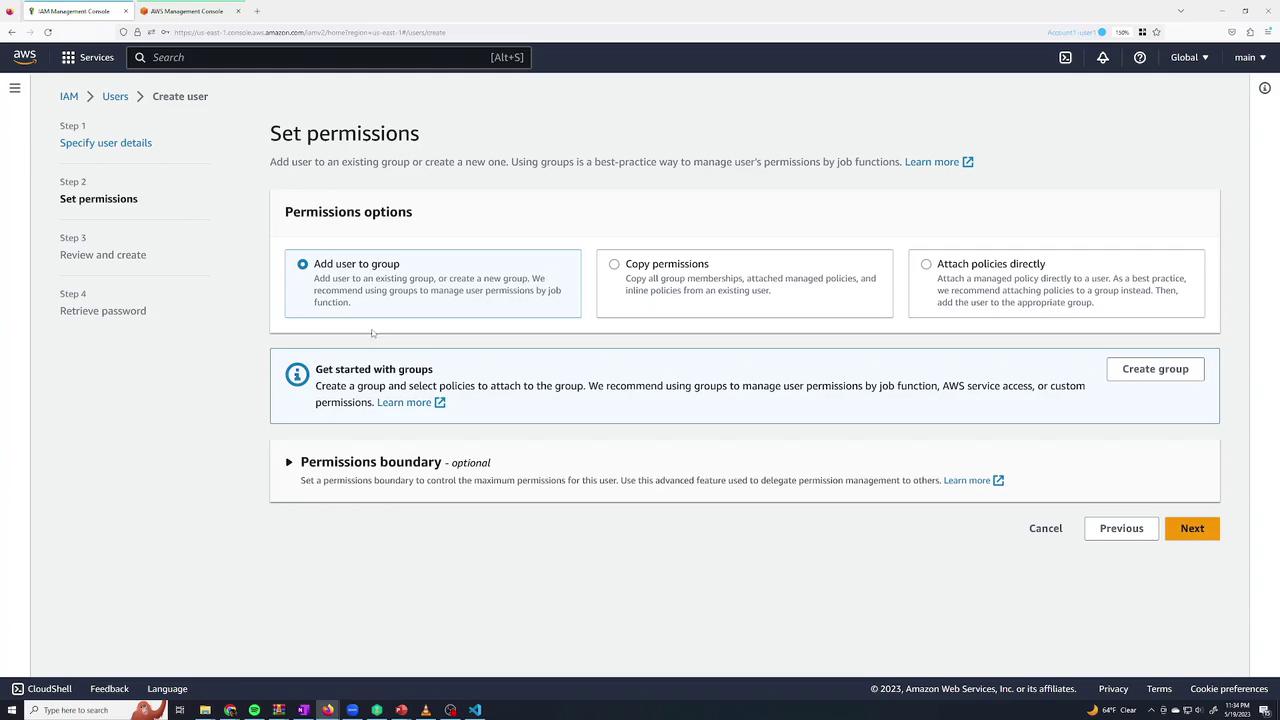
Proceed to the permissions step. By default, a newly created IAM user has no permissions. You can add the user to a group, copy permissions from an existing user, or attach policies directly. For the purpose of this demonstration, we create a blank account by not assigning any permissions.
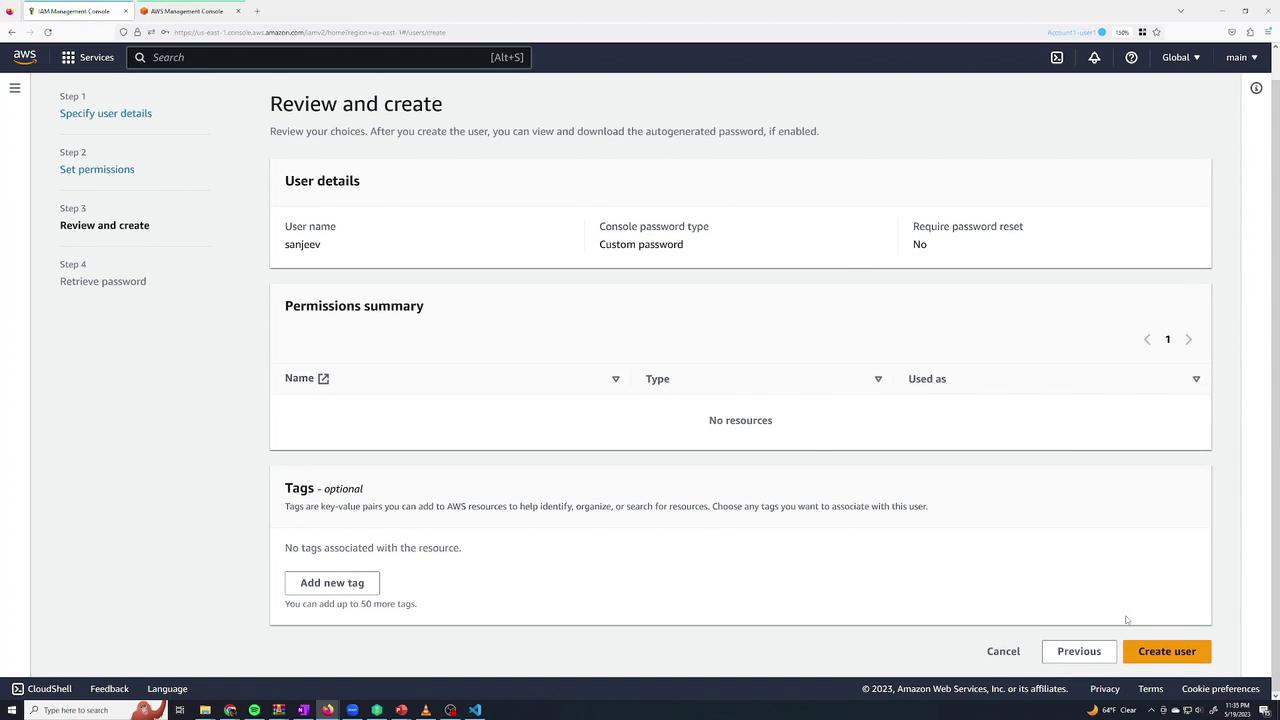
Review your selections on the final page and click Create user.
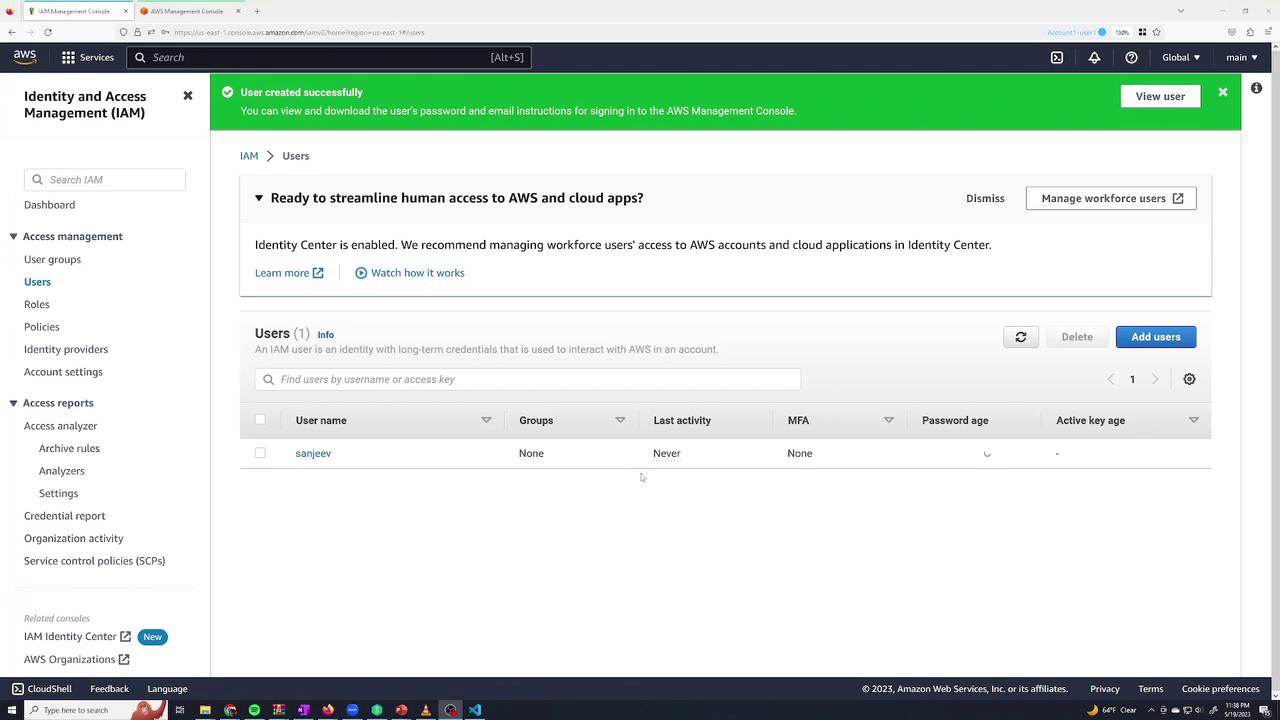
Once the user is created, you will see the new user (“Sanjeev Thiyagarajan”) in the users list. Initially, this user will have no permissions, as indicated by the absence of multi-factor authentication and group associations.
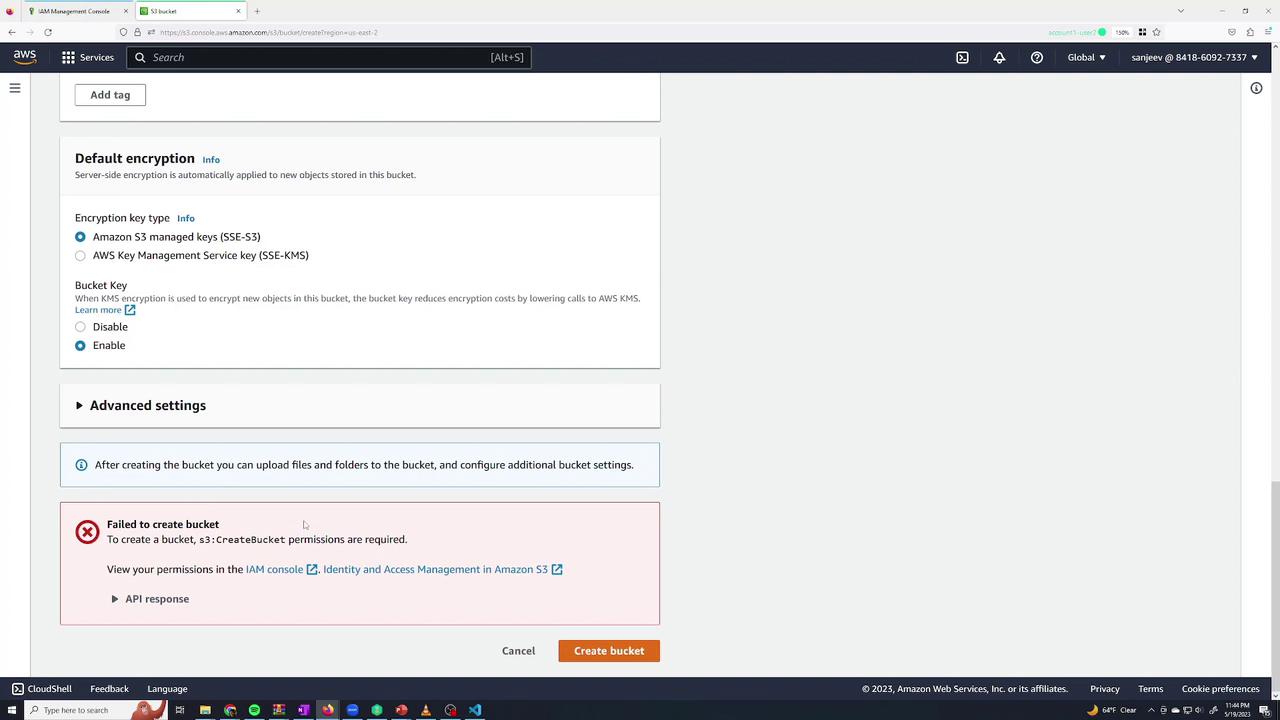
Log in as the new IAM user (“Sanjeev Thiyagarajan”) to verify access. Since no permissions have been assigned, this user will not be able to create, modify, or delete any AWS resources. For example, an attempt to create an S3 bucket will fail due to the lack of the required “s3:CreateBucket” permission.
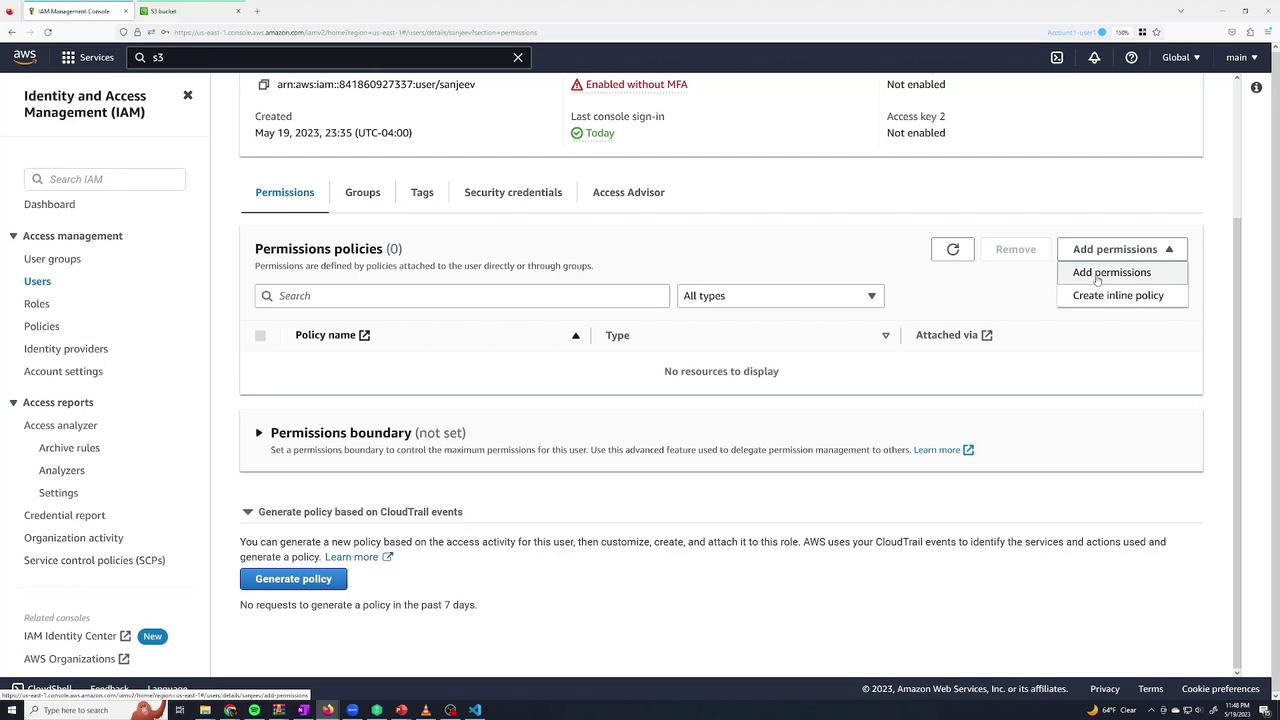
To grant the IAM user the ability to perform actions (e.g., managing S3 buckets), sign back in as the root user. In the IAM console, select the user (“Sanjeev Thiyagarajan”), go to the permissions tab, and click Add permissions. You have three options:
Add the user to a group
Copy permissions from an existing user
Attach policies directly
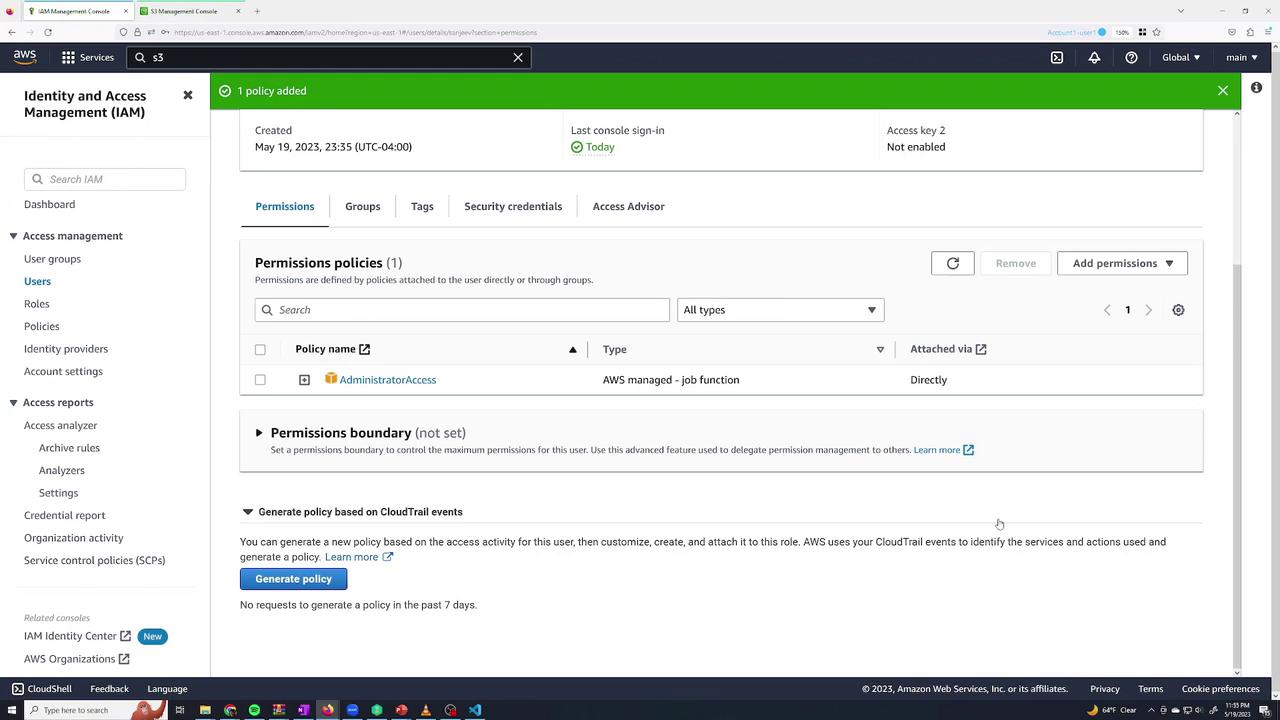
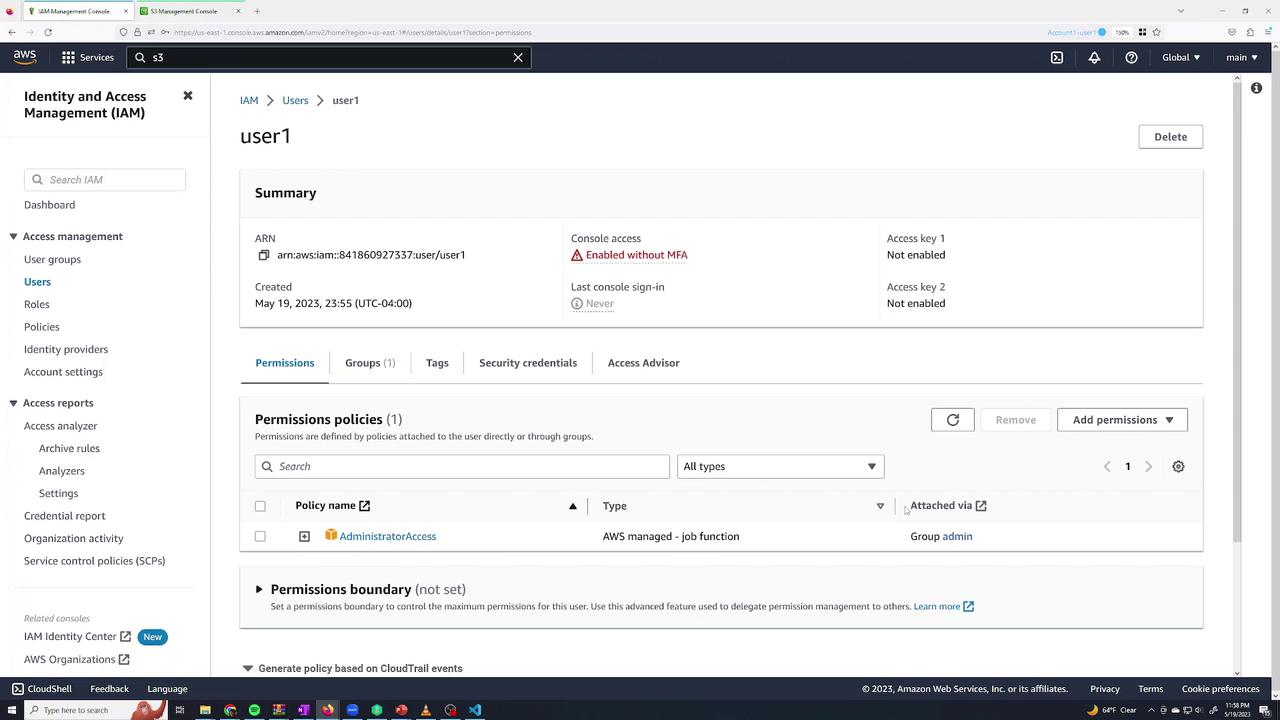
For this demonstration, we attach the AWS managed policy called Administrator Access to grant full permissions. The policy content is as follows:
After adding the policy, verify that the user’s permissions are updated by checking the IAM console.
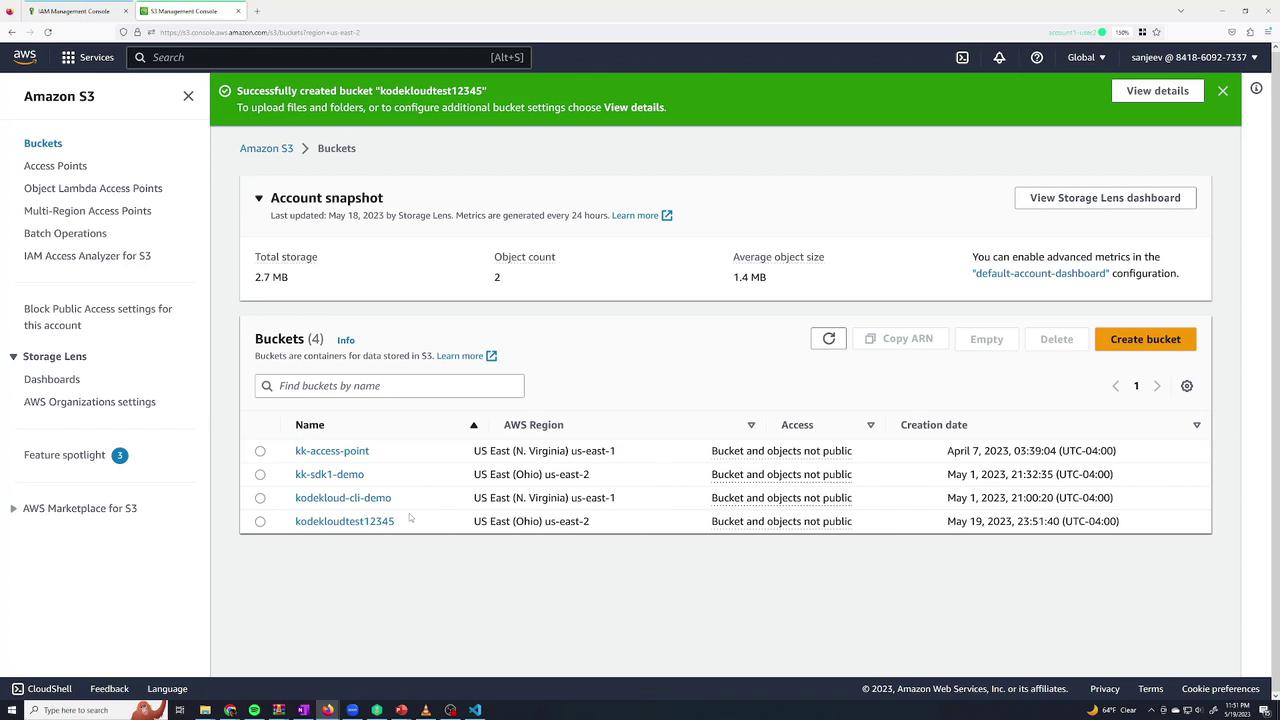
Switch back to the IAM user session and confirm that S3 buckets and other resources are now visible and manageable. For example, you should be able to create an S3 bucket successfully.
When onboarding multiple employees with similar roles, it’s more efficient to assign permissions through groups rather than individually attaching policies. For example, if several users require full administrator access, you would:
Create each IAM user (with console access but without direct permissions).
Create an admin group.
Attach the Administrator Access policy to the group.
Add the users to the group so they automatically inherit the permissions.
Later, if you need to assign read-only permissions (for monitoring purposes), you can create another group (e.g., monitoring) and attach AWS’s managed ReadOnlyAccess policy. A user can belong to multiple groups; for instance, “Sanjeev Thiyagarajan” can initially be in the admin group and later be moved to the monitoring group.
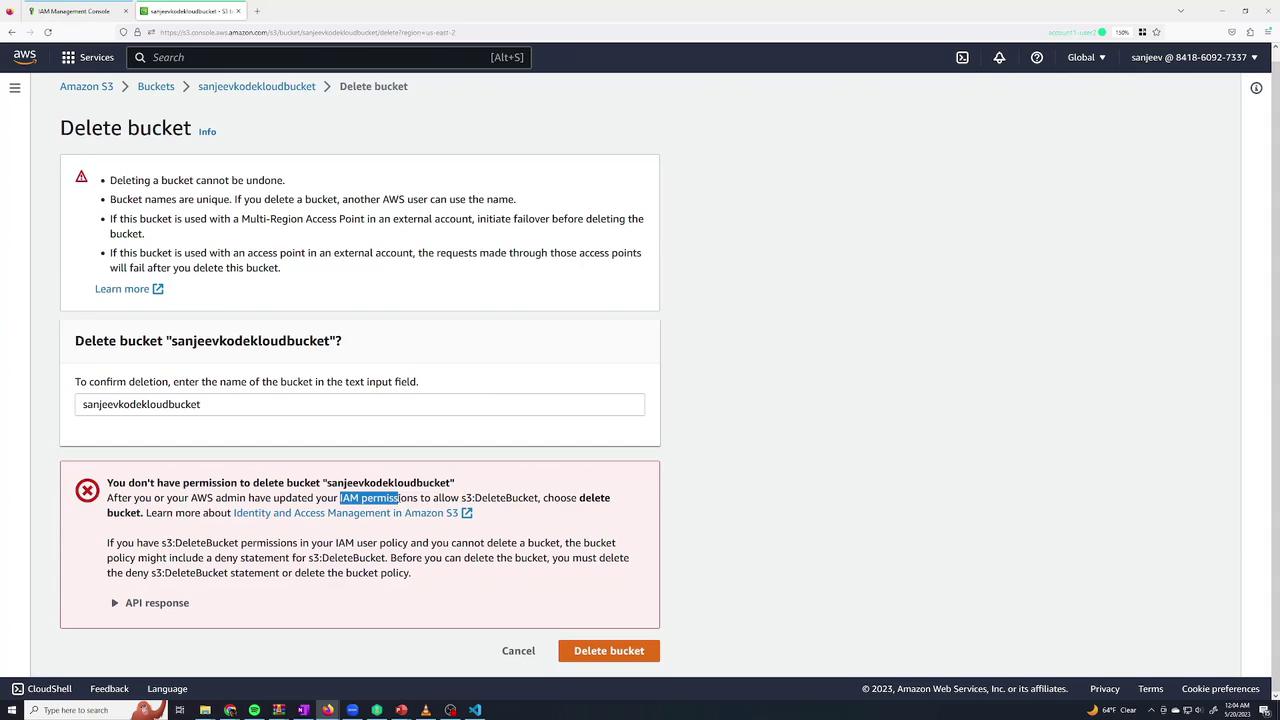
After configuring groups, verify that a user inherits the expected permissions by checking the permissions tab. Users in a monitoring group will be able to list S3 buckets, while attempts to delete a bucket will be denied due to missing “s3:DeleteBucket” permissions.
If you attempt to delete a bucket while the user is in a read-only group, an error will display due to insufficient “s3:DeleteBucket” permissions.
Roles allow users or AWS services to assume temporarily elevated permissions to perform tasks outside their standard privileges. For example, a user in a monitoring group might occasionally need permission to modify S3 buckets. In such cases, you can create a role that grants S3 full access temporarily.To create a role:
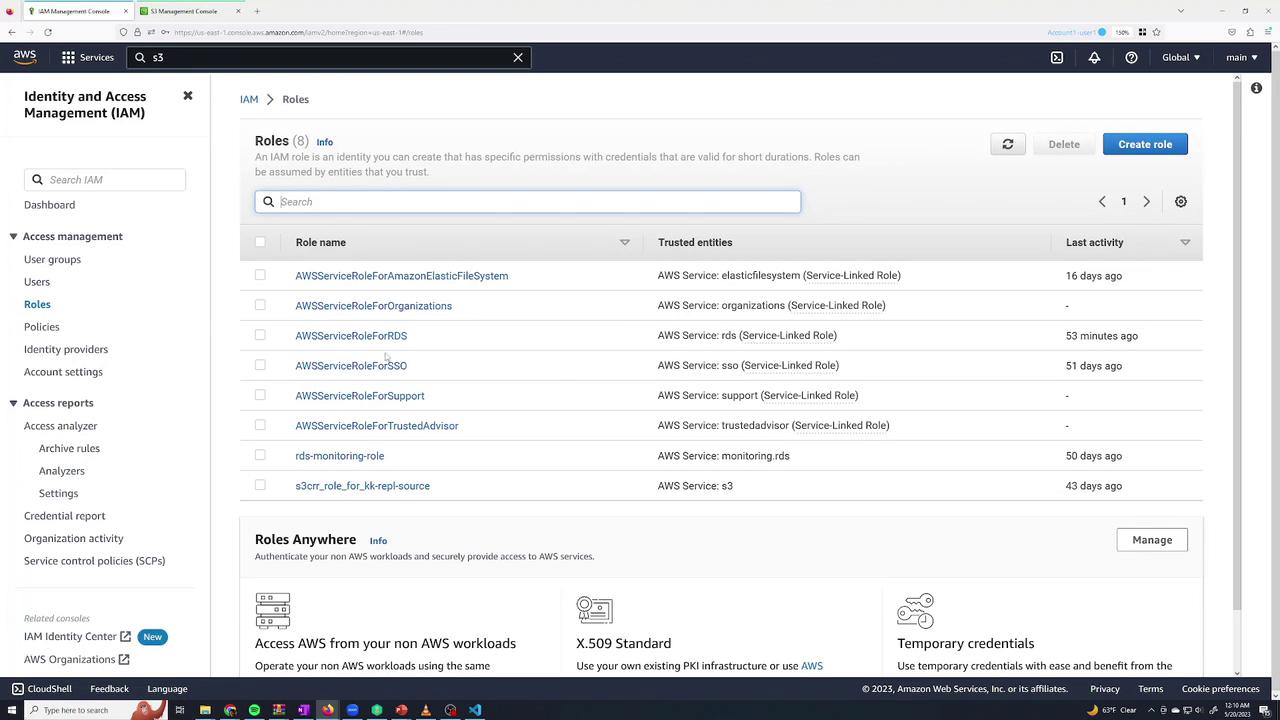
In the IAM console, select Roles and click Create Role.
Choose AWS account as the trusted entity since the role will be assumed by users in your account.
Attach the appropriate permission policy, such as S3 Full Access.
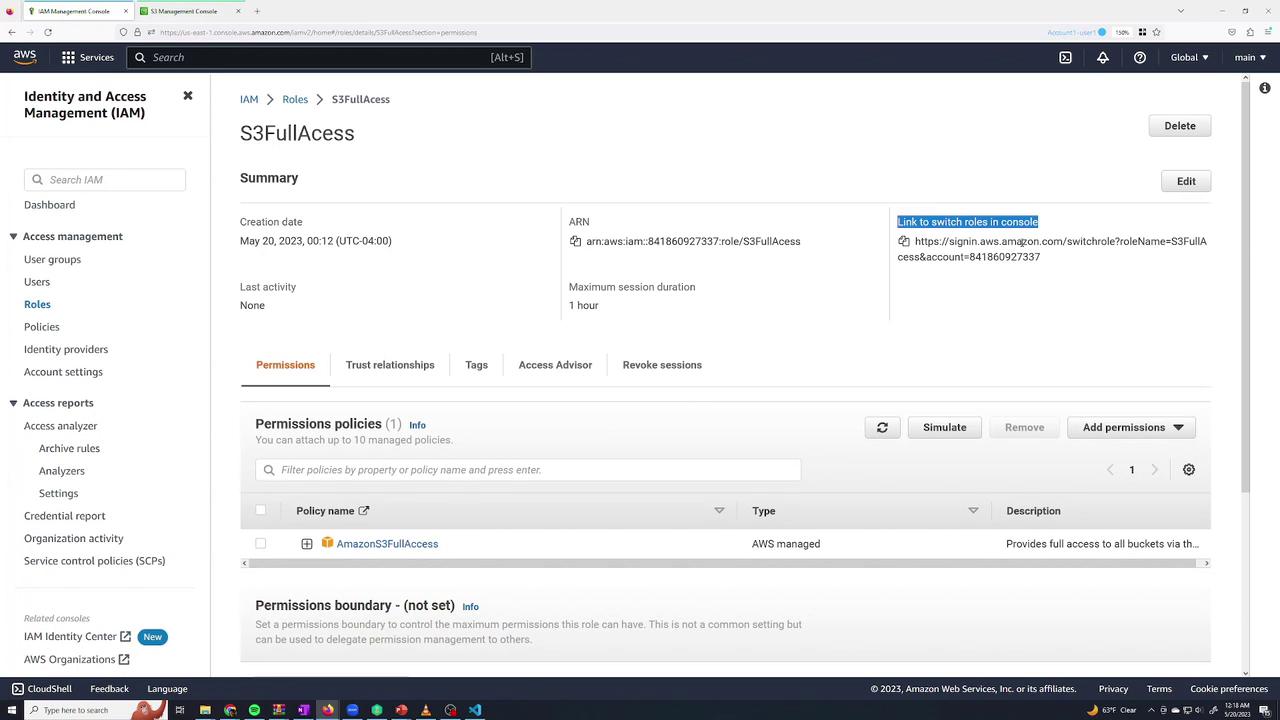
AWS provides a managed policy for S3 Full Access, which essentially allows all S3 actions on all resources. After attaching the policy, name the role (for example, “S3FullAccess”) and create it.Next, restrict role assumption so that only the intended user (e.g., “Sanjeev Thiyagarajan”) can assume this role. To do this, add an inline policy to the IAM user allowing the STS AssumeRole action on the new role. An example inline policy is shown below:
Go to the Users section, select the user, and click Add permissions.
Choose Create inline policy.
Using the visual editor or JSON tab, select STS as the service and the AssumeRole action.
Specify the role’s ARN in the resources section.
Review, name the policy (e.g., “AssumeS3Access”), and complete the creation process.
After attaching the inline policy, the user “Sanjeev Thiyagarajan” can assume the S3FullAccess role. There is a link in the role’s details for switching roles via the console. Once the role is assumed, a badge (for example, displaying “S3 role”) indicates the active role.
After assuming the role, the user can perform S3 operations such as deleting a bucket. For instance, try deleting the “Sanjeev Thiyagarajan KodeKloud bucket” to confirm that S3 full access is in effect.
To switch back to the original IAM user’s permissions, simply select the “Switch back” option within the console.
Test and verify user permissions (observing failures when permissions are missing).
Grant permissions directly using AWS managed policies.
Use groups to efficiently manage permissions for multiple users.
Create and configure roles for temporary privilege escalation.
Restrict role assumption to specific users via an inline policy.
This demonstration illustrates best practices in managing and securing your AWS account—minimizing root user exposure, enforcing the principle of least privilege for day-to-day operations, and leveraging roles for temporary access as needed.