Overview of EC2 Instances and Availability Zones
Two EC2 instances (instance 1 and instance 2) are provisioned in the same Availability Zone. This alignment is crucial because an EBS volume must be created in the same Availability Zone as the instance when attaching it.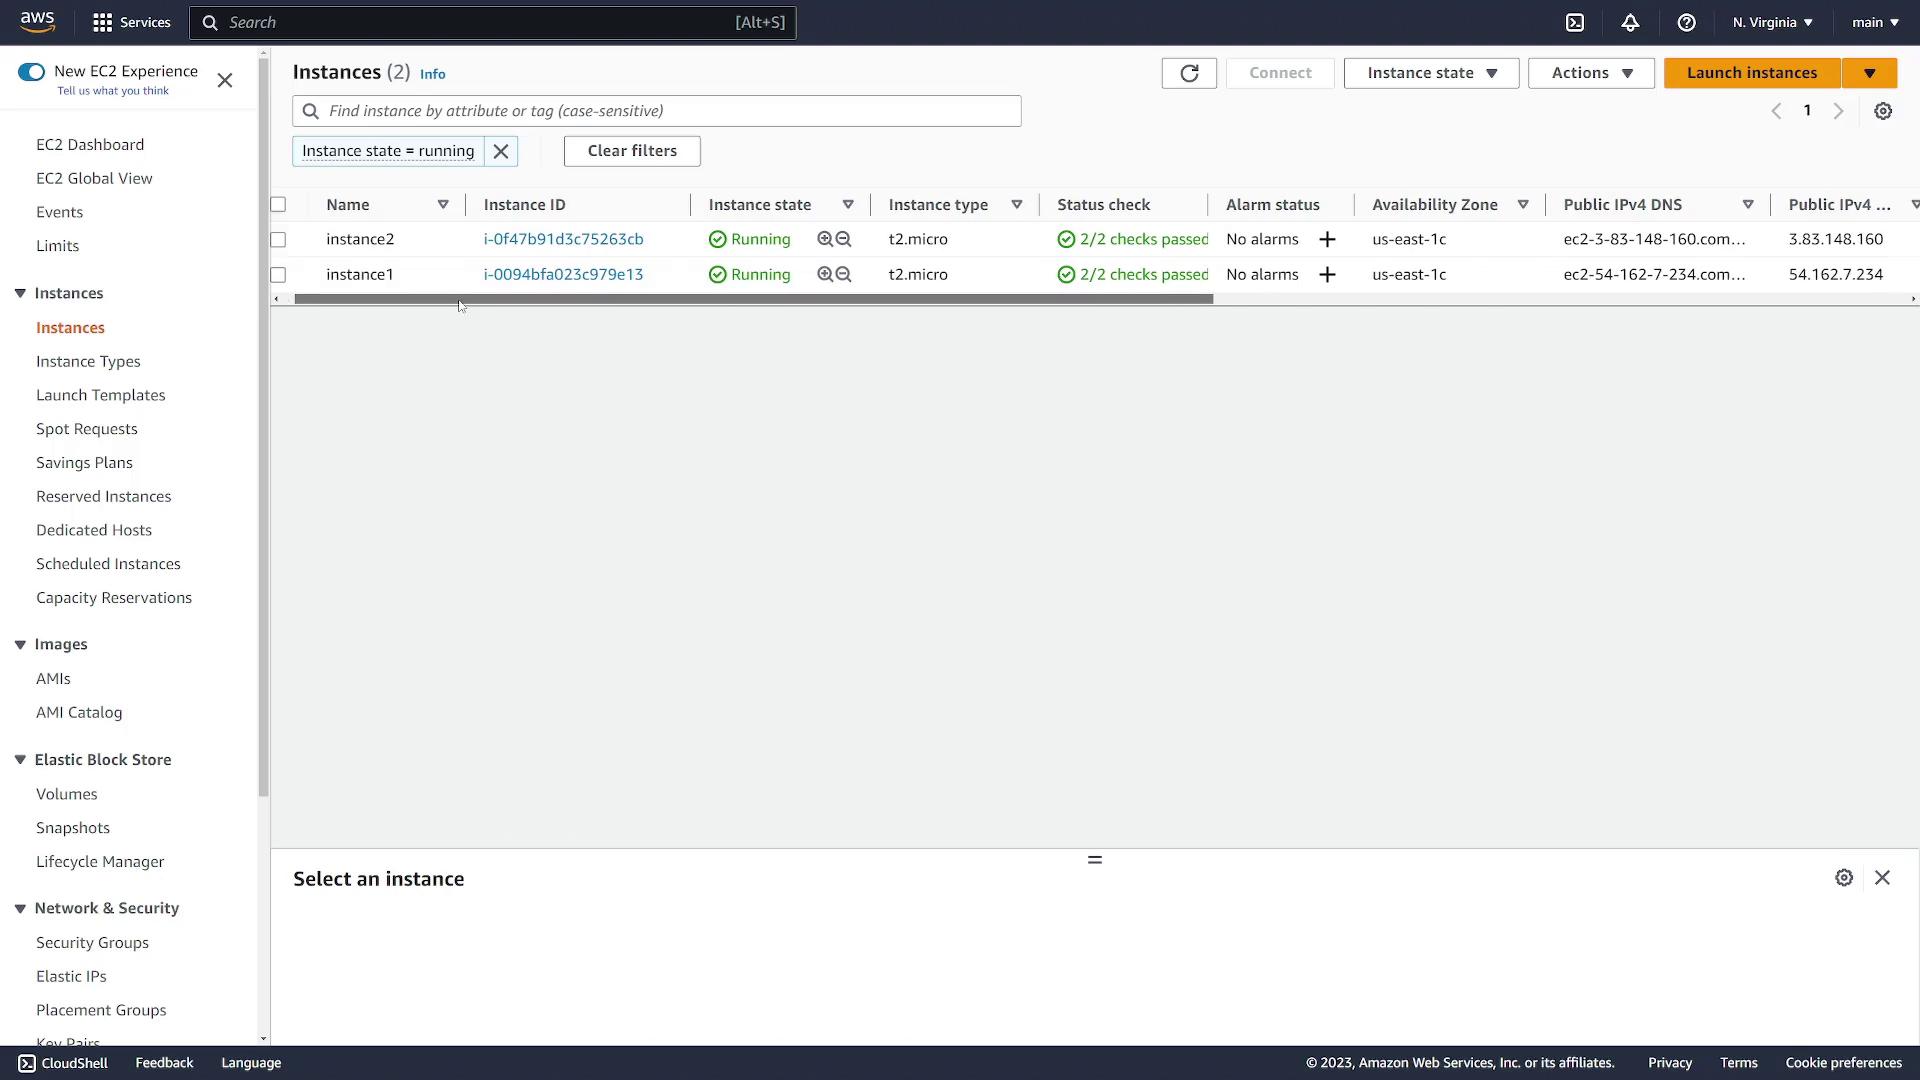
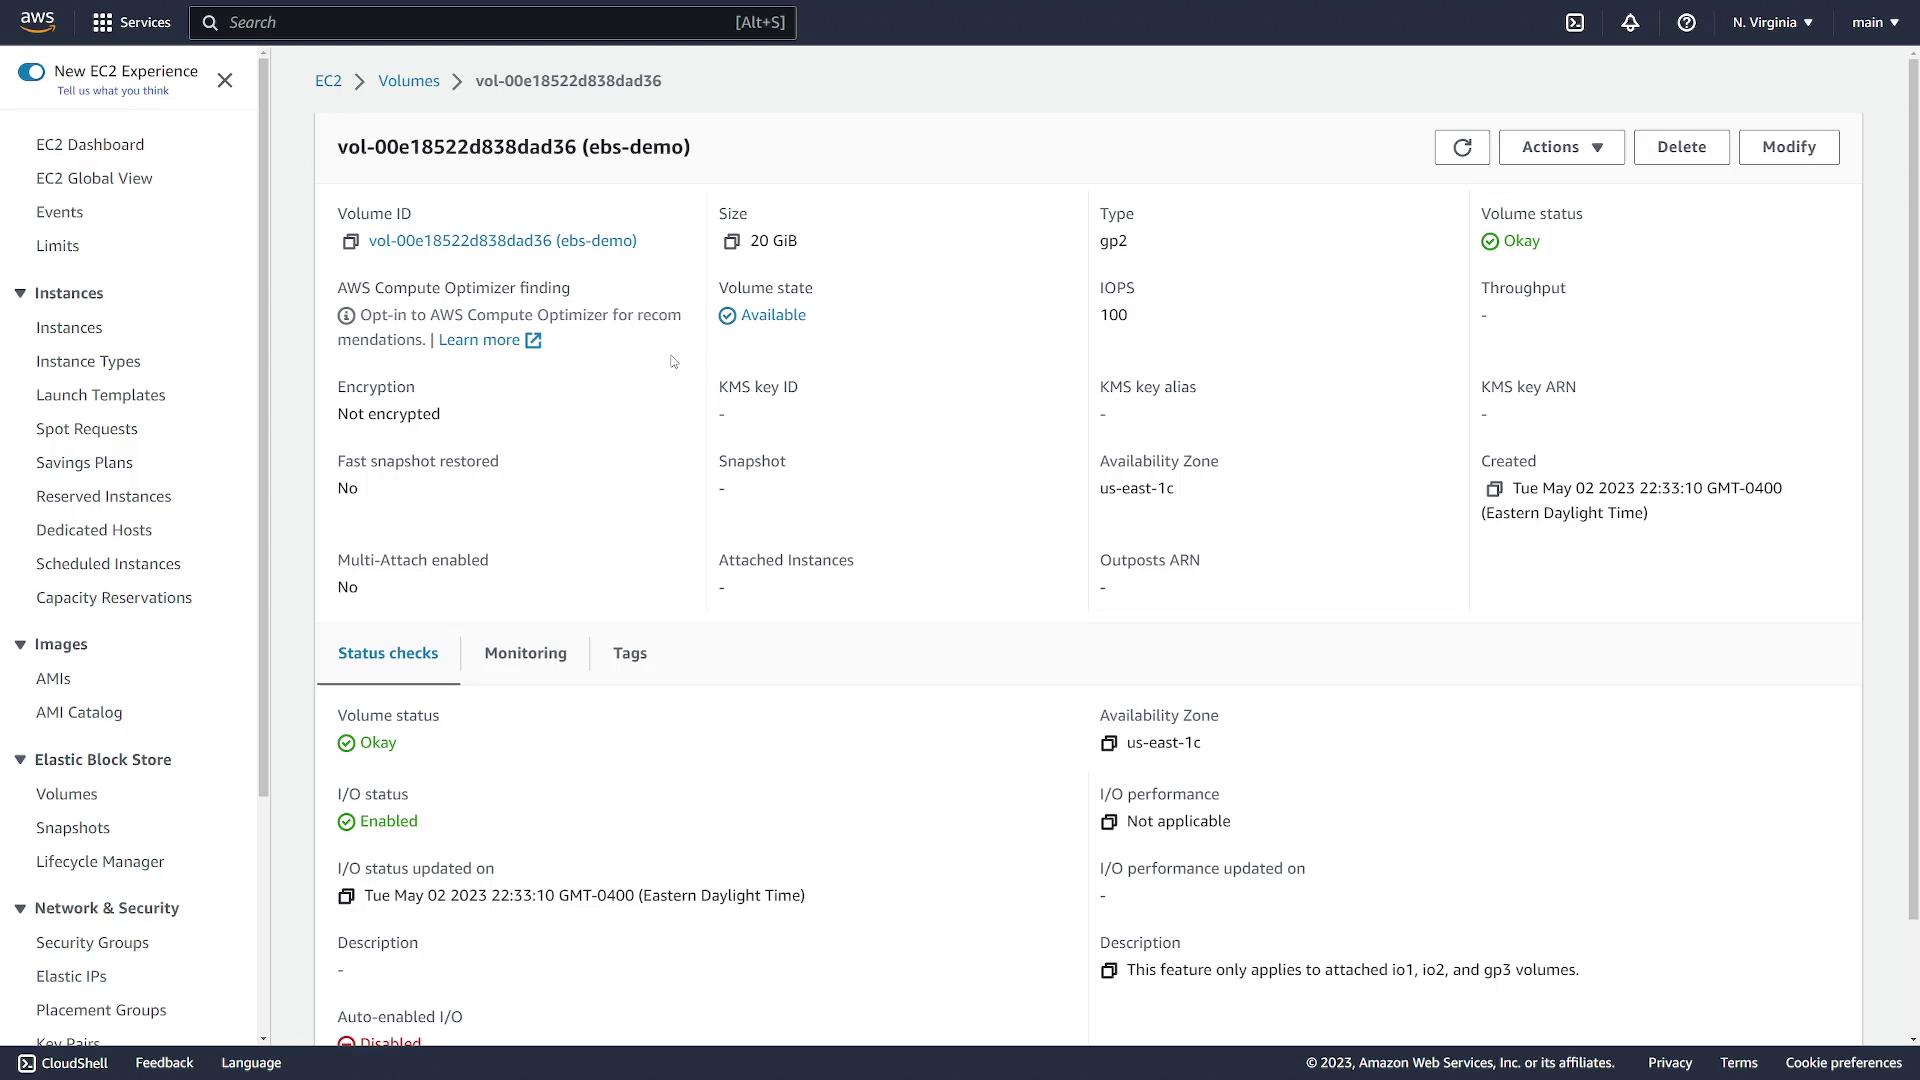
Creating an EBS Volume
- Navigate to the EC2 dashboard.
- Scroll down to the Elastic Block Store section and select Volumes.
- Click the Create Volume button to start a new volume configuration.
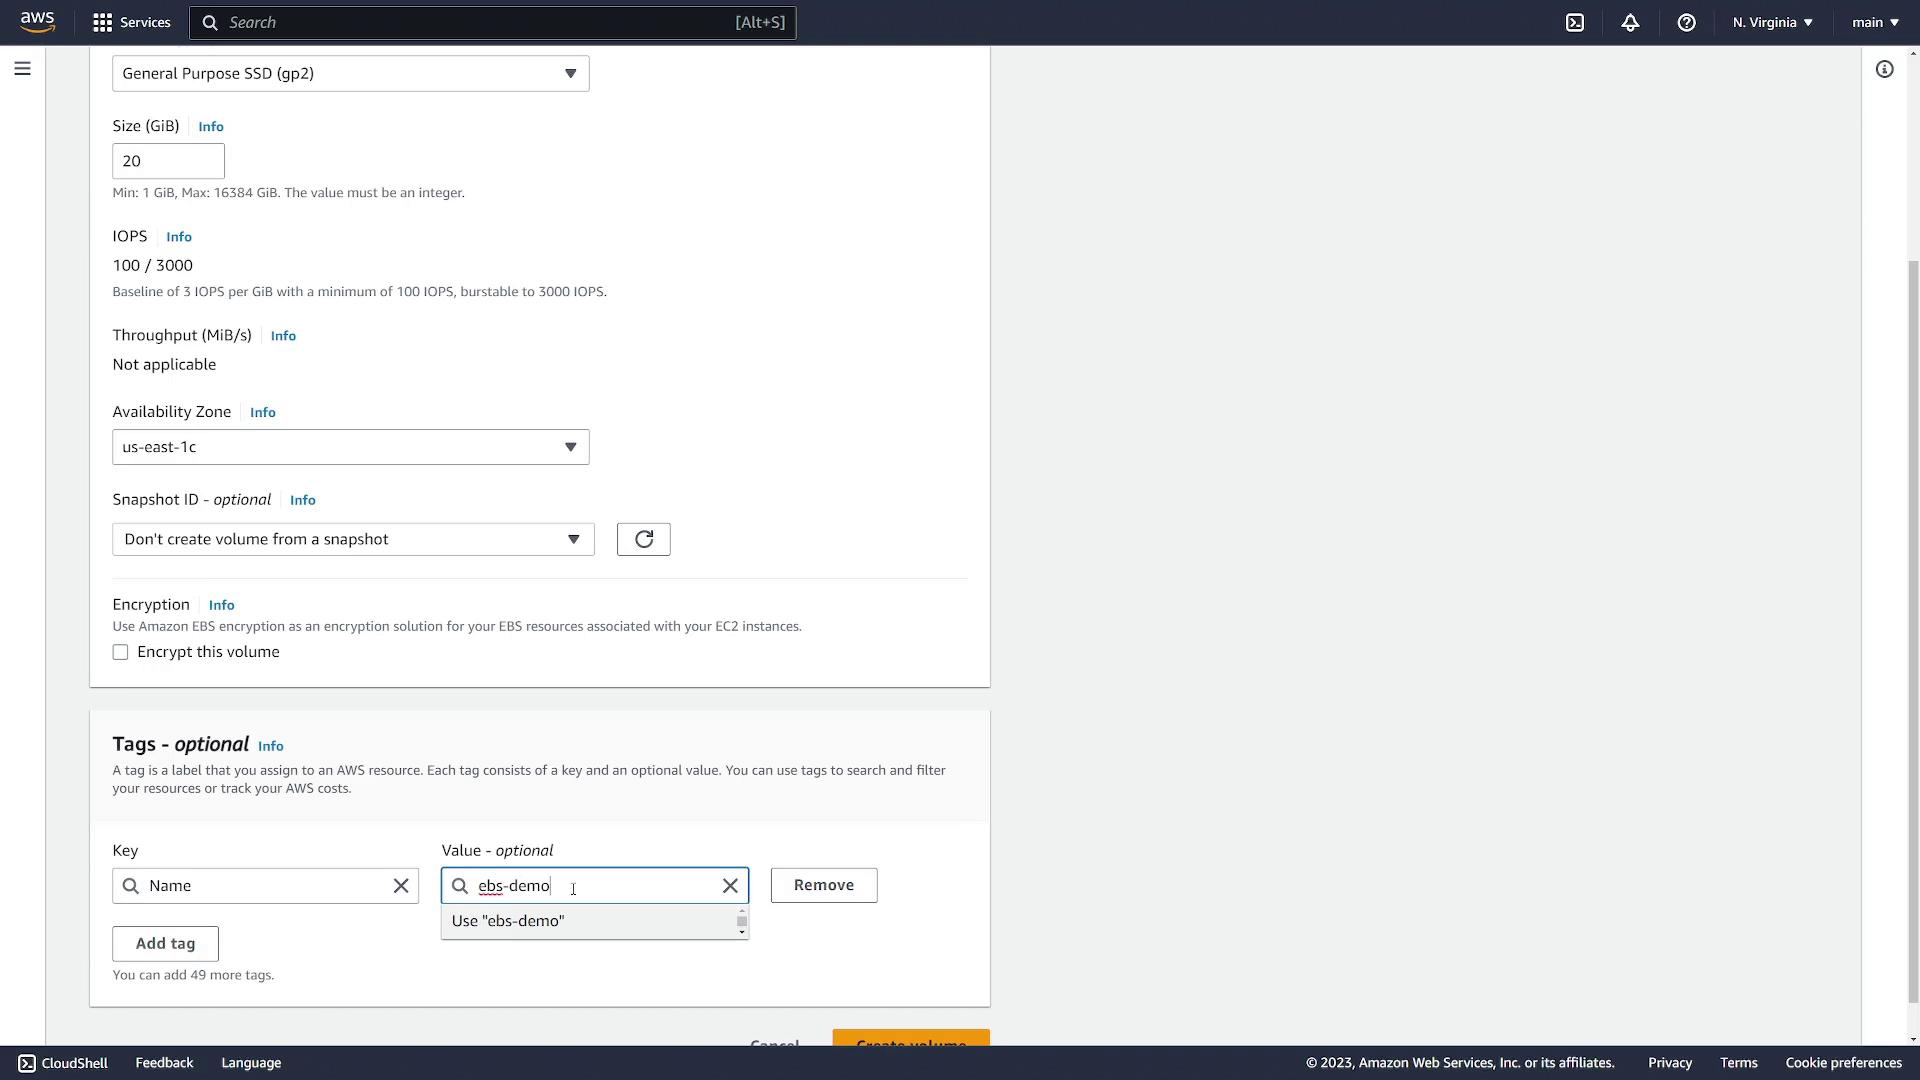
- Select General Purpose SSD as the volume type (default).
- Specify a size (for example, 20 GiB).
- Set the Availability Zone to US East-1C to match the EC2 instances.
- Optionally, assign a tag (e.g., Name tag: “EBS demo”).
Attaching the Volume to an EC2 Instance
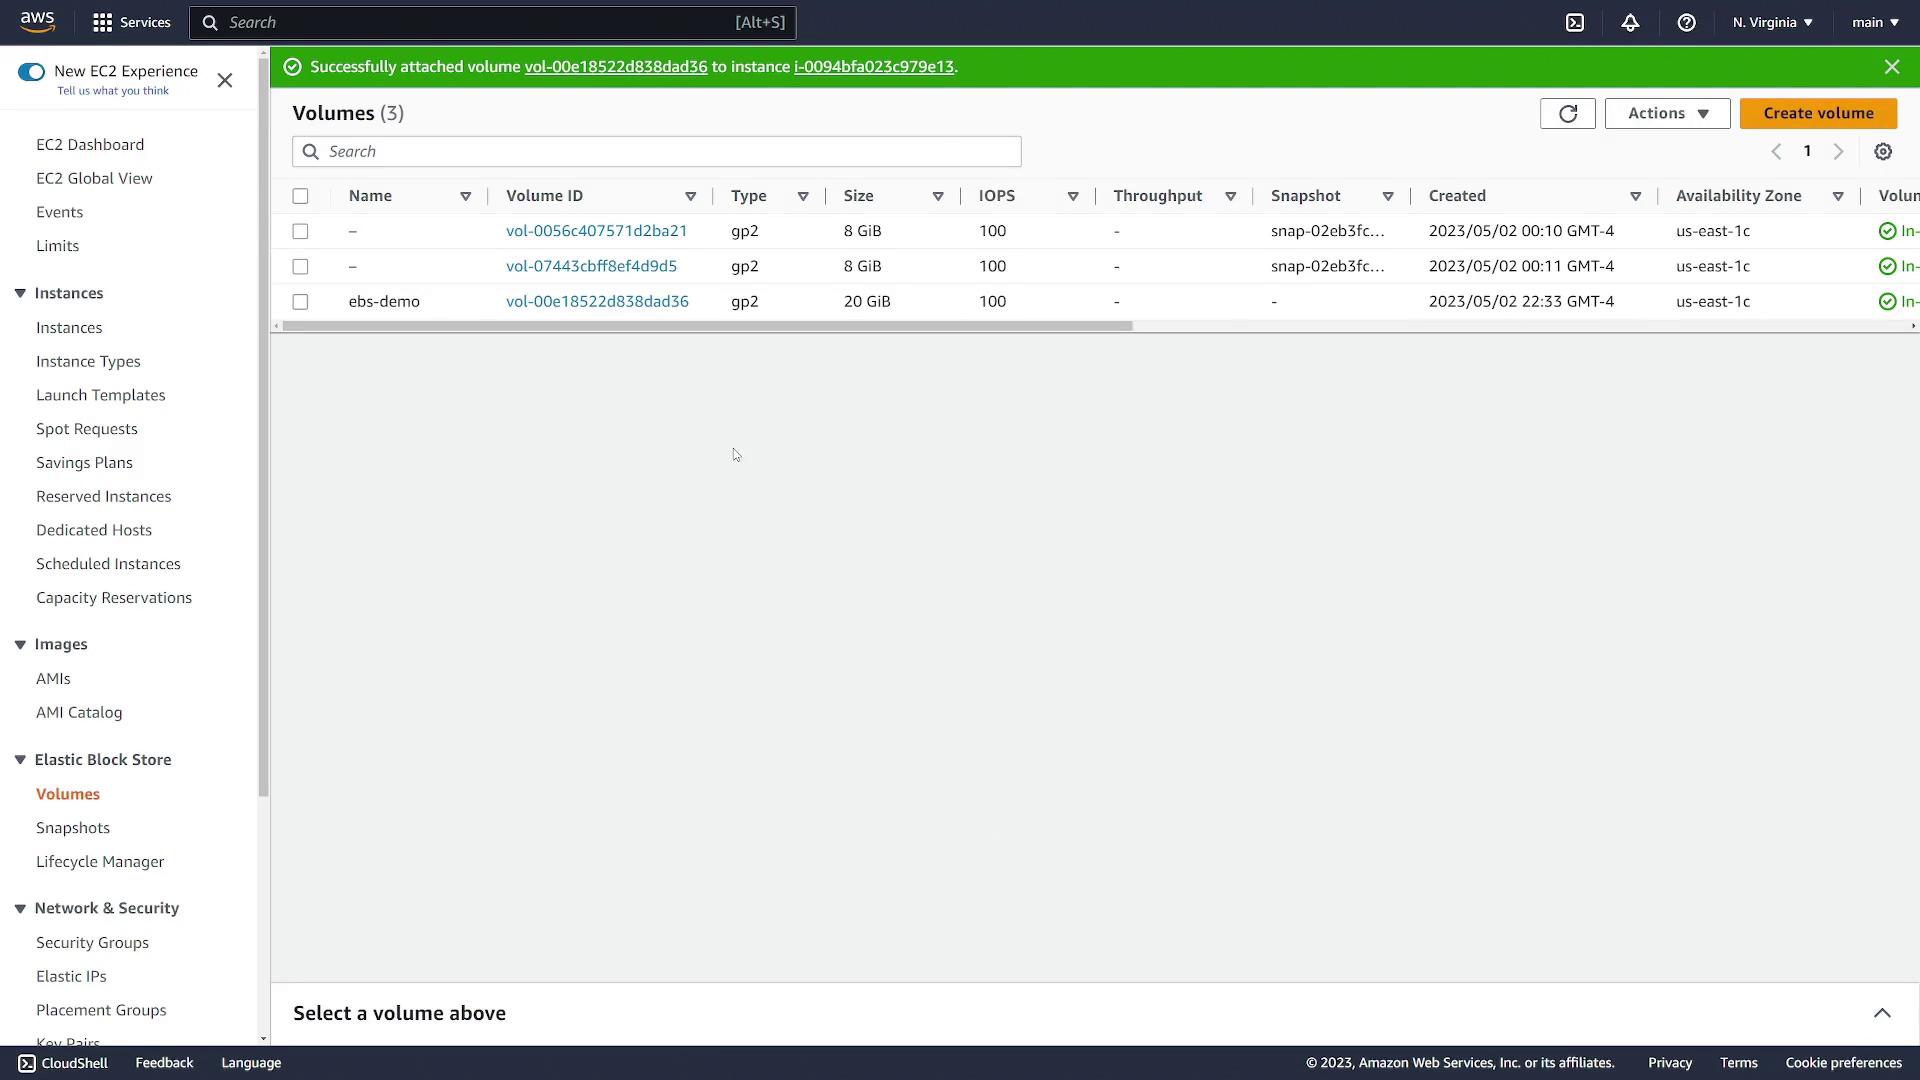
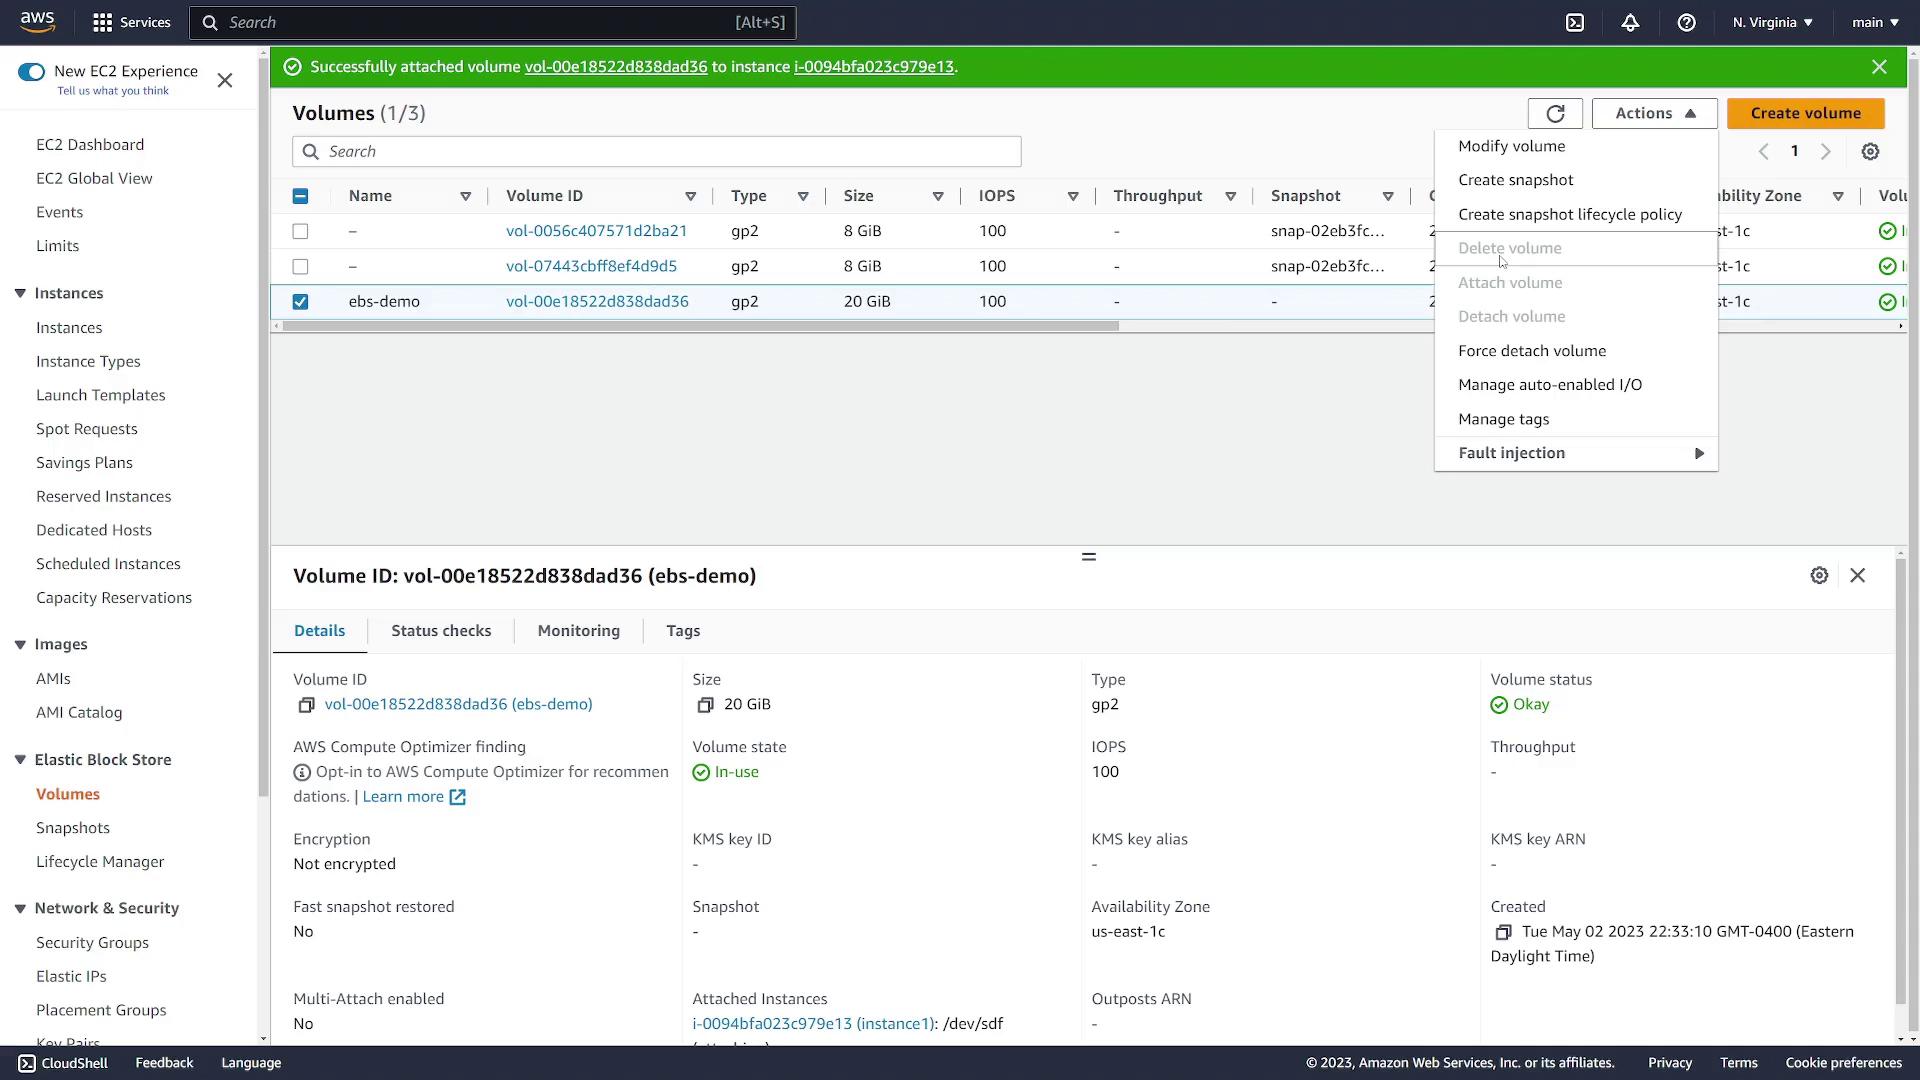
With the volume available, follow these steps to attach it to instance 1:- Select the newly created volume.
- Click on the Actions dropdown and choose Attach Volume.
- Choose instance 1 from the available instances.
- Note the device name shown on the instance (commonly /dev/sdf, which may appear as /dev/xvdf on newer Linux kernels).
Configuring the EBS Volume on Instance 1
Log in to instance 1 and follow these steps to prepare and mount the volume:-
List Block Devices
Run the following command to view all block devices on the instance:
You should see the root device (about 8 GiB) and the new 20 GiB volume as “xvdf” (or a similar name).
-
Verify the EBS Volume
Check if a file system already exists on the volume:
If the output returns “data,” no file system is present on the volume.
-
Create an EXT4 File System
To create a new file system on the volume, run:
After formatting, verify again to ensure that an EXT4 filesystem is now present:
-
Mount the File System
Create a directory serving as the mount point and mount the volume:
-
Create a directory (e.g.,
/ebsdemo): -
Mount the volume to the new directory:
To further confirm, use:This command verifies that/dev/xvdfis mounted on/ebsdemo. -
Create a directory (e.g.,
Remember to use the correct device name (
/dev/xvdf) which may vary depending on your Linux kernel.Persisting the Mount Across Reboots
To automatically remount the EBS volume after a system reboot, update the/etc/fstab file:
-
Retrieve the UUID
Run the command below to find the UUID of the volume:
Identify the UUID corresponding to
/dev/xvdf. -
Edit the fstab File
Open
/etc/fstabwith your favorite text editor: -
Add the New Entry
Insert a new line similar to the following. Replace the UUID with the one you found:
Double-check for typographical errors to avoid boot issues.
Verifying the Setup
To validate your configuration, change to the mount point and create a test file:-
Change the directory:
-
Create and edit a new file:
Enter some text (e.g., “I created this file on instance 1”) and save the file.
-
List the contents of the directory:
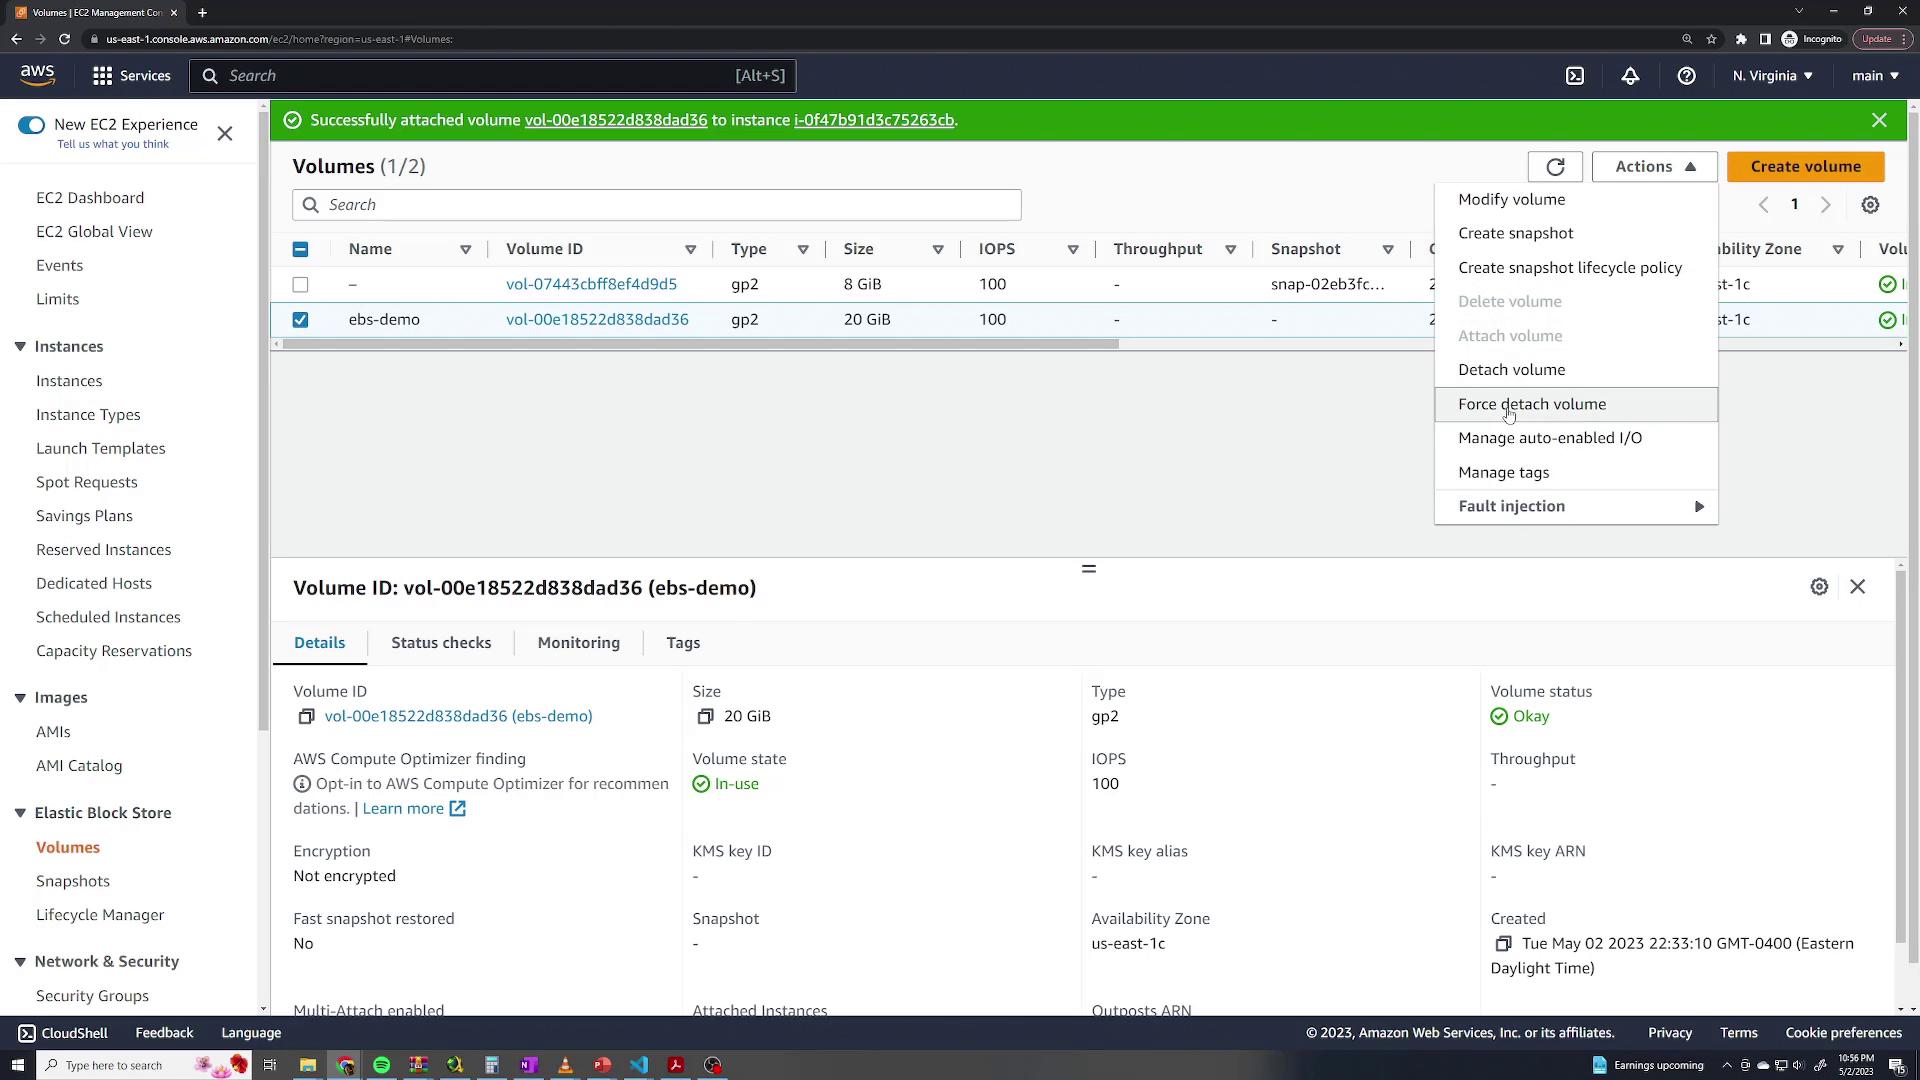
Detaching the Volume and Attaching to Another Instance
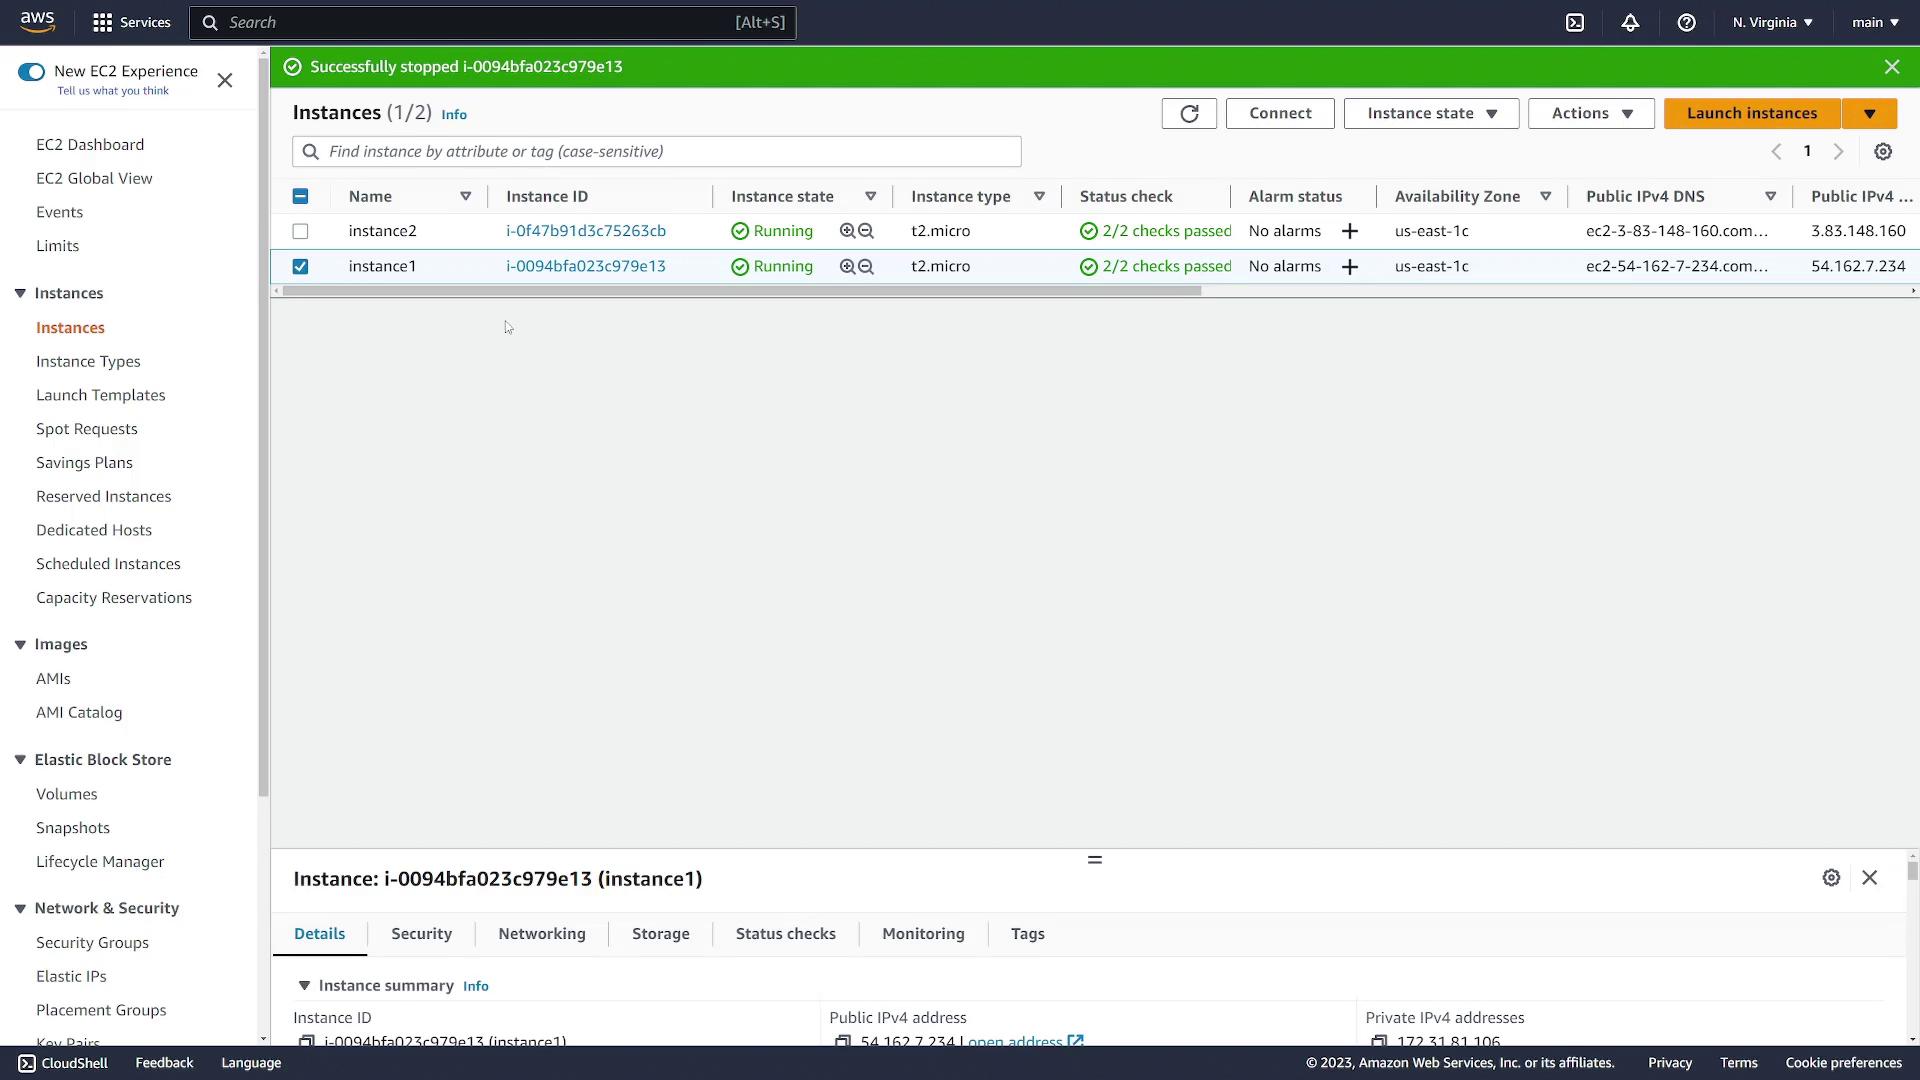
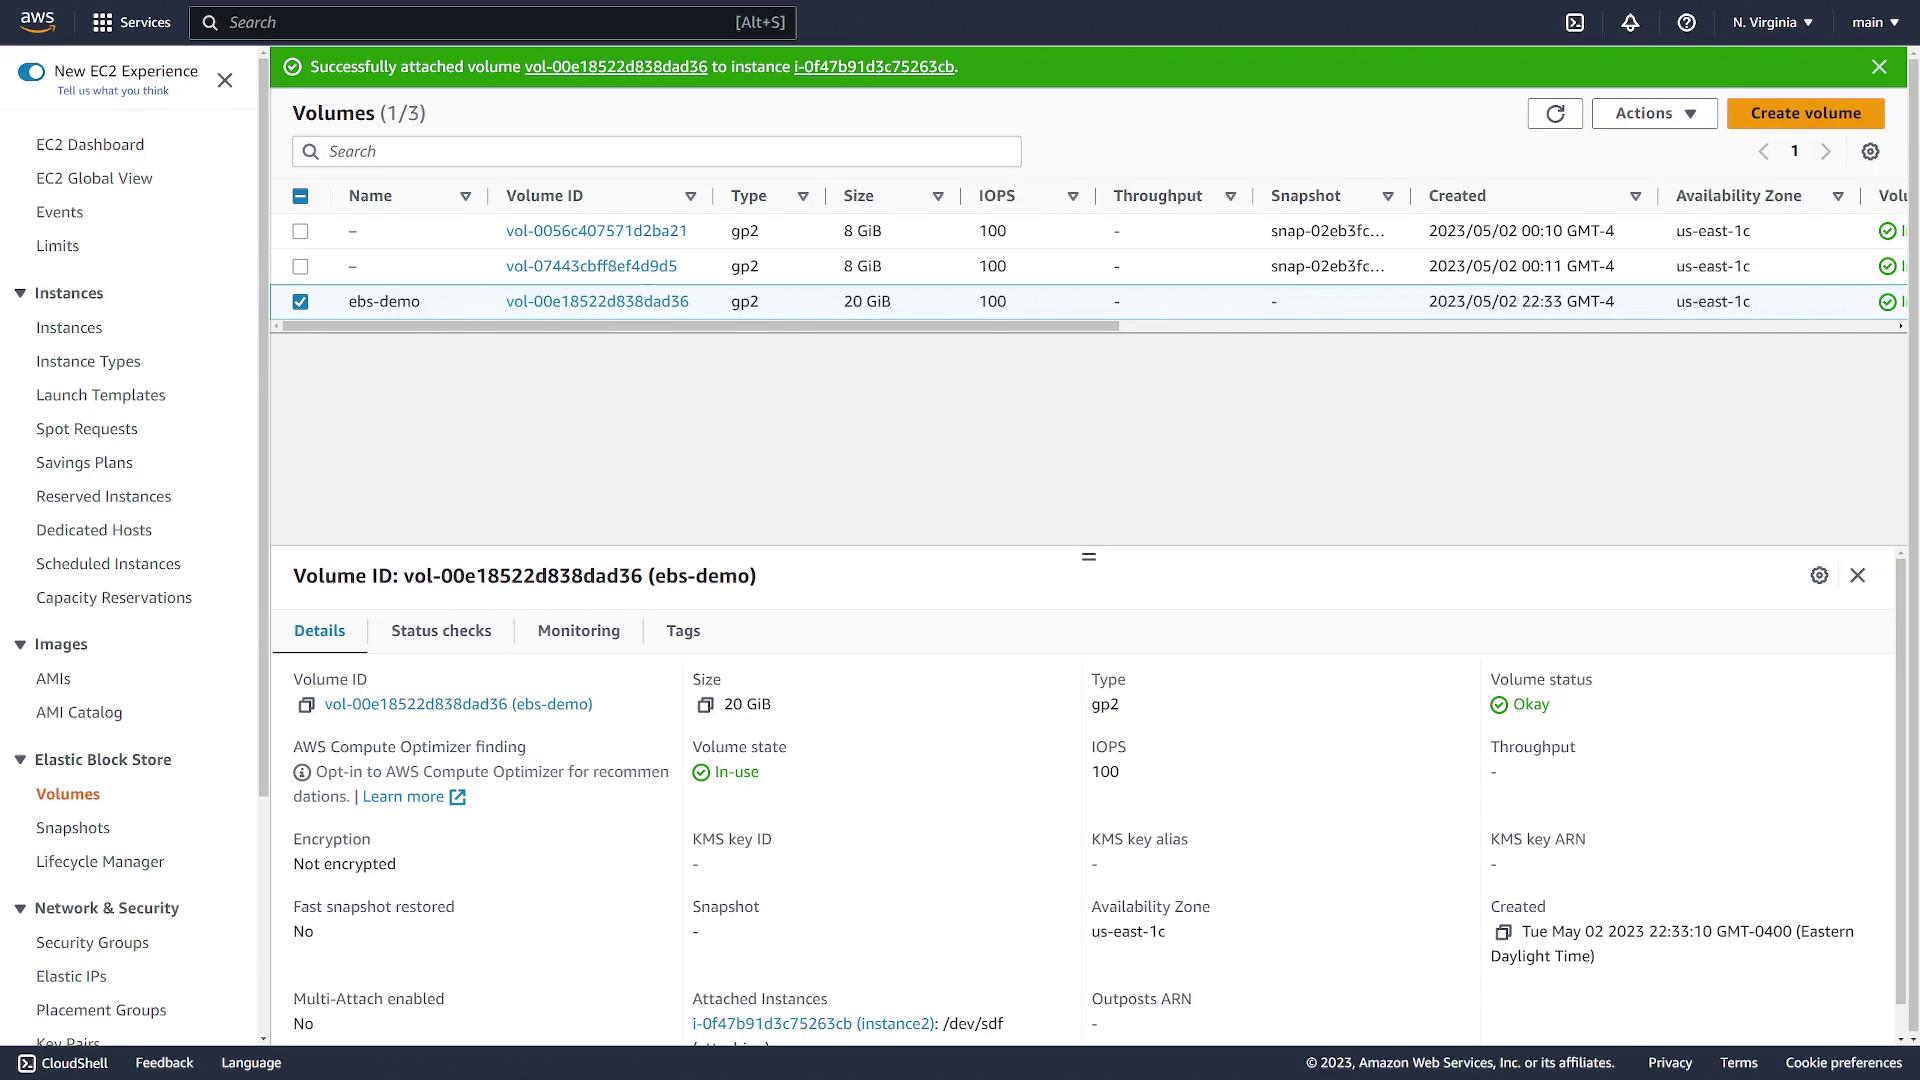
To illustrate that an EBS volume is not tied to a single EC2 instance, detach it from instance 1 and attach it to instance 2 by following these steps:- Go to the EC2 console and select instance 1. Stop instance 1 to ensure safe volume detachment.
- Navigate to the Volumes section, select the volume, and click Detach Volume.
- After detachment, attach the volume to instance 2 using the same device name:
- Select the volume.
- Click on Actions and choose Attach Volume.
- Select instance 2 from the dropdown list.
-
Display block devices:
-
Create a mount directory and mount the volume:
-
Verify that the file created on instance 1 is present:
Cleaning Up
After the demonstration is complete, make sure to clean up your AWS resources:- Shut down and terminate both EC2 instances.
- Remember that EBS volumes persist beyond instance termination, so navigate to the Volumes section.
- Select and click Delete Volume to remove the volume.