This article provides a comprehensive lesson on building, training, and deploying machine learning models using AWS SageMakers tools and features.
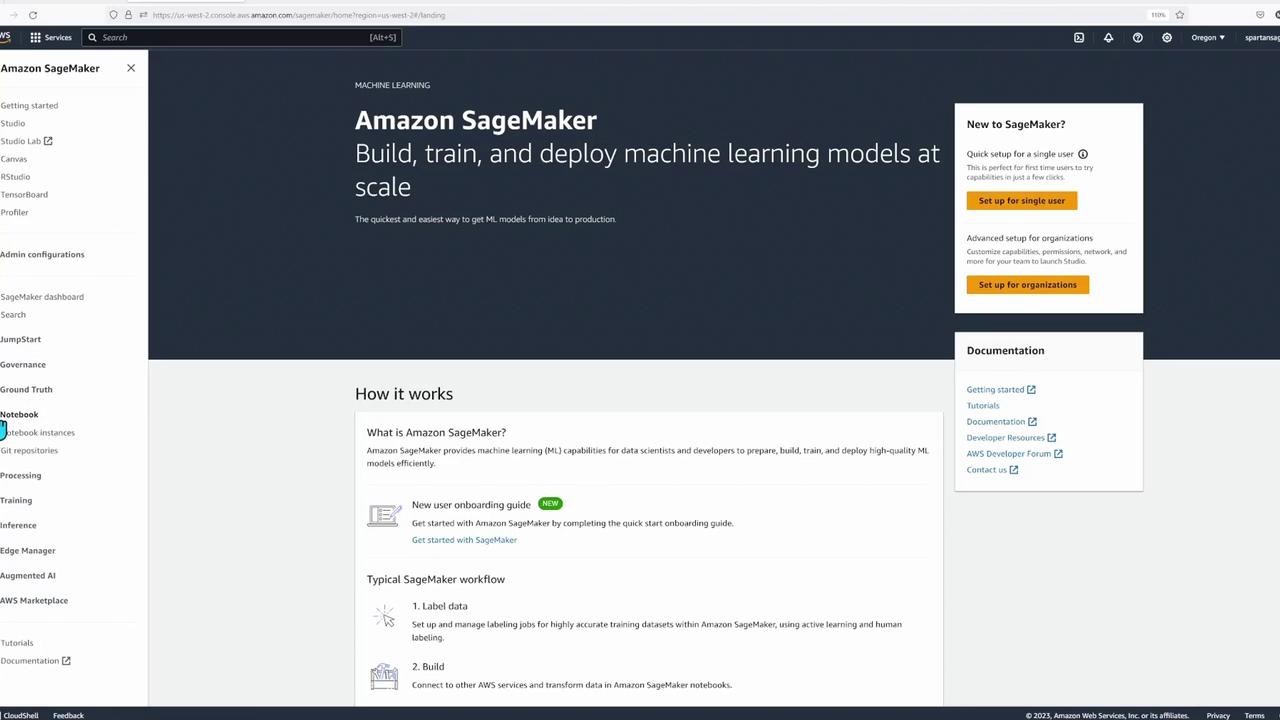
Welcome to this comprehensive lesson on AWS SageMaker. In this demo, you will explore how to build, train, and deploy machine learning models using SageMaker’s robust suite of tools. This article highlights key SageMaker subservices and walks you through the process of setting up and executing common machine learning tasks.SageMaker includes several powerful features such as:
Edge Manager
Augmented AI (for human evaluation of data)
Inference (for model predictions and testing)
Training and Data Processing
Notebooks (with integrated Jupyter notebooks and Git repository support)
Ground Truth (for dataset labeling)
Additional governance options and quick-start jumpstarts
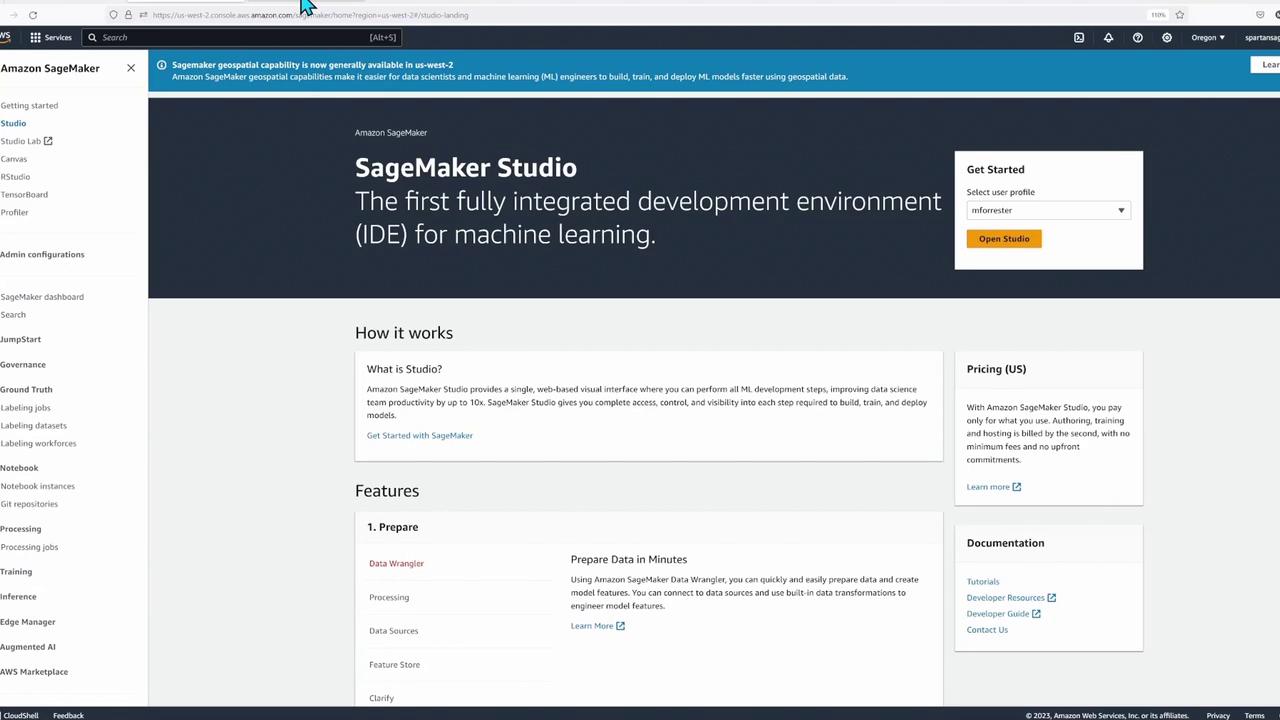
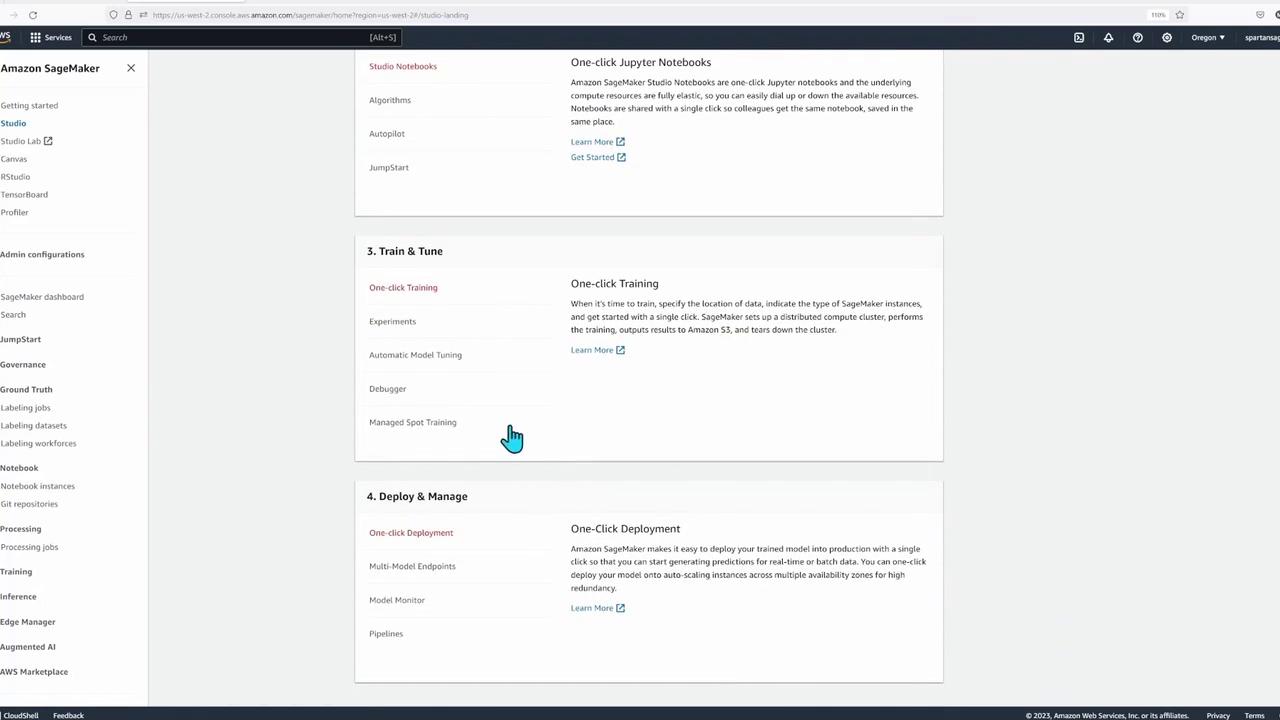
For this lesson, we focus on SageMaker Studio—an integrated development environment (IDE) designed to streamline access to all SageMaker functionalities. The demonstration environment has been pre-configured, and the necessary workshop materials are already downloaded.
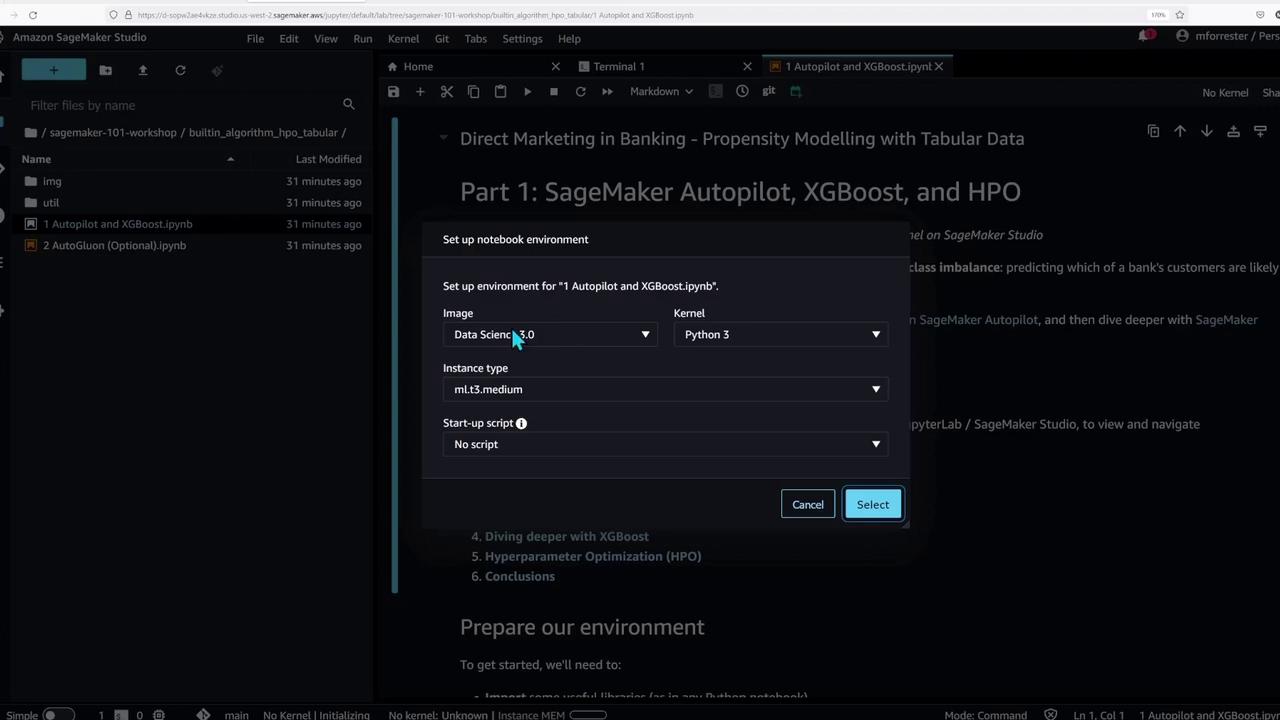
Navigating SageMaker Studio and Opening a Notebook
Start by navigating to the folder named “built-in algorithm HPO tabular” and double-click on the first notebook titled “autopilot and XGBoost.” This notebook contains step-by-step instructions and code cells for configuring your environment. You will be prompted to select the “medium” instance type when initializing the notebook kernel, which then launches an instance in the background.To execute a code cell in the notebook, simply click the play button or use the shortcut Shift+Enter. This interactive approach is ideal for data scientists and ML engineers as it facilitates immediate feedback and iterative development.
The notebook begins by importing essential libraries, configuring an S3 bucket, defining the IAM role, and establishing a connection to SageMaker services using the SageMaker SDK. Below is the initial setup code:
Copy
# Load the autoreload extension%load_ext autoreload%autoreload 2# Python Built-Ins:import jsonimport time# External Dependencies:import boto3 # AWS SDK for Pythonimport numpy as np # For numerical and matrix operationsimport pandas as pd # Utilities for tabular dataimport sagemaker # High-level SDK for Amazon SageMakerfrom sagemaker.automl.automl import AutoMLEstimatorfrom sagemaker.feature_store.feature_group import FeatureGroup# Local Helper Functions:import util# Setting up SageMaker parameterssgmk_session = sagemaker.Session() # Connect to SageMaker APIsregion = sgmk_session.boto_session.region_name # AWS Region (e.g., 'ap-southeast-1')bucket_name = sgmk_session.default_bucket() # Default Amazon S3 bucketbucket_prefix = "sme101/direct-marketing" # S3 path for file storagesgmk_role = sagemaker.get_execution_role() # IAM role with necessary permissionsprint(f"s3://{bucket_name}/{bucket_prefix}")print(sgmk_role)
This script initializes your connection with AWS services by setting parameters like the AWS region, S3 bucket name, bucket prefix, and execution role.If you’d like to verify the instance, check the notebook instances section in the SageMaker interface or the corresponding section in Studio.
Once the kernel is up and running, click the play button on each cell to execute the code.
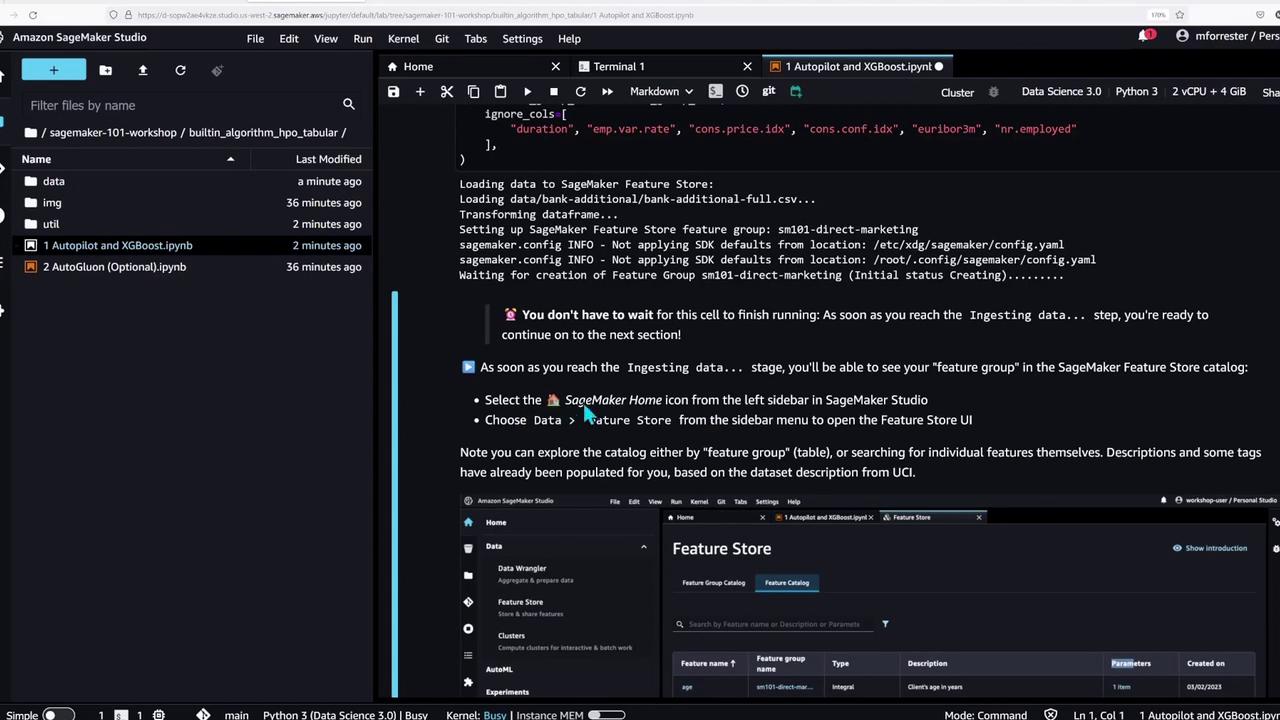
Uploading Sample Data and Loading It into the Feature Store
In the next step, the notebook demonstrates how to fetch sample data, upload it to S3, and load the CSV file into the SageMaker Feature Store. The code below outlines these steps:
Copy
# Fetch the sample data using a helper functionraw_data_path = util.data.fetch_sample_data()print(f"Got: {raw_data_path}\n")print("Uploading raw dataset to Amazon S3:")raw_data_s3_uri = f"s3://{bucket_name}/{bucket_prefix}/raw.csv"!aws s3 cp {raw_data_path} {raw_data_s3_uri}# Timing the operation and preparing the feature group%timefeature_group_name = "sm101-direct-marketing"print("Loading data to SageMaker Feature Store")util.data.load_sample_data( raw_data_path, f"{raw_data_s3_uri.split('/raw.csv')[0]}/feature-store", feature_group_name=feature_group_name, ignore_columns=[ "duration", "emp.var.rate", "cons.conf.idx", "euribor3m", "nr.employed" ],)
This cell performs the following tasks:
Fetches the sample CSV file.
Uploads the CSV to a specified S3 path.
Loads the data into the Feature Store while excluding certain columns.
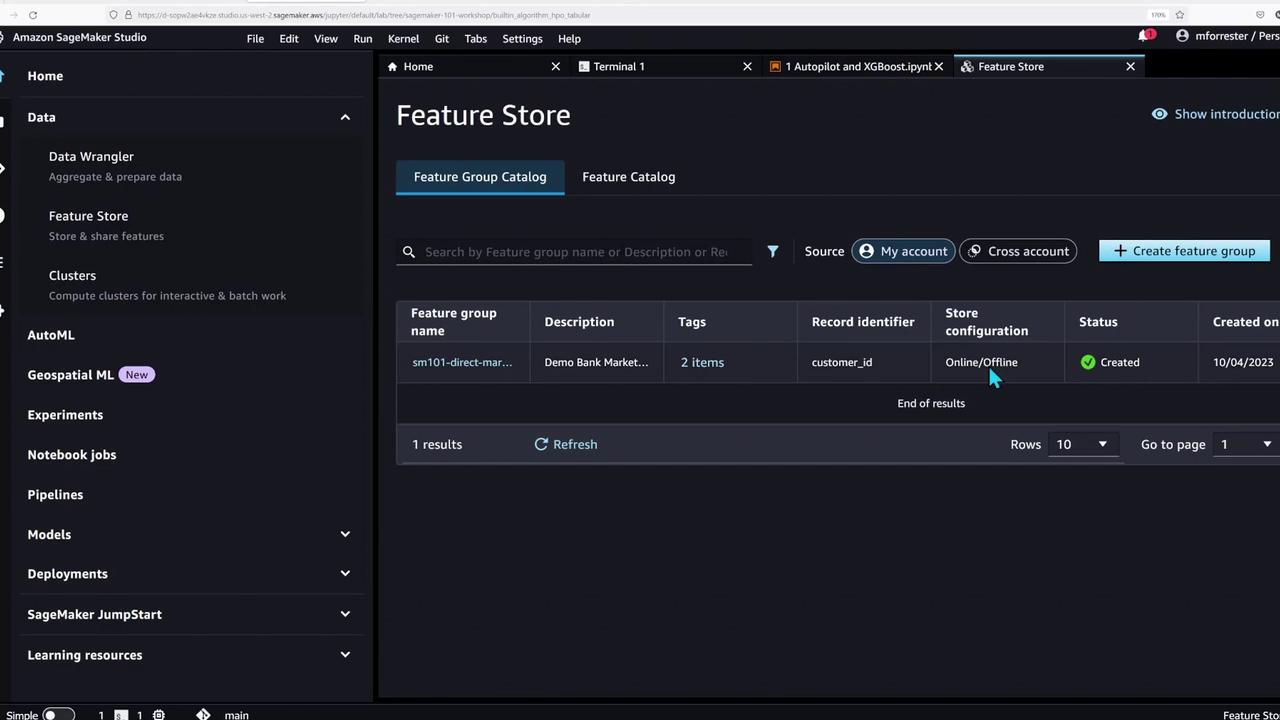
After running this cell, check the SageMaker Feature Store in Studio to confirm that the data has loaded successfully.
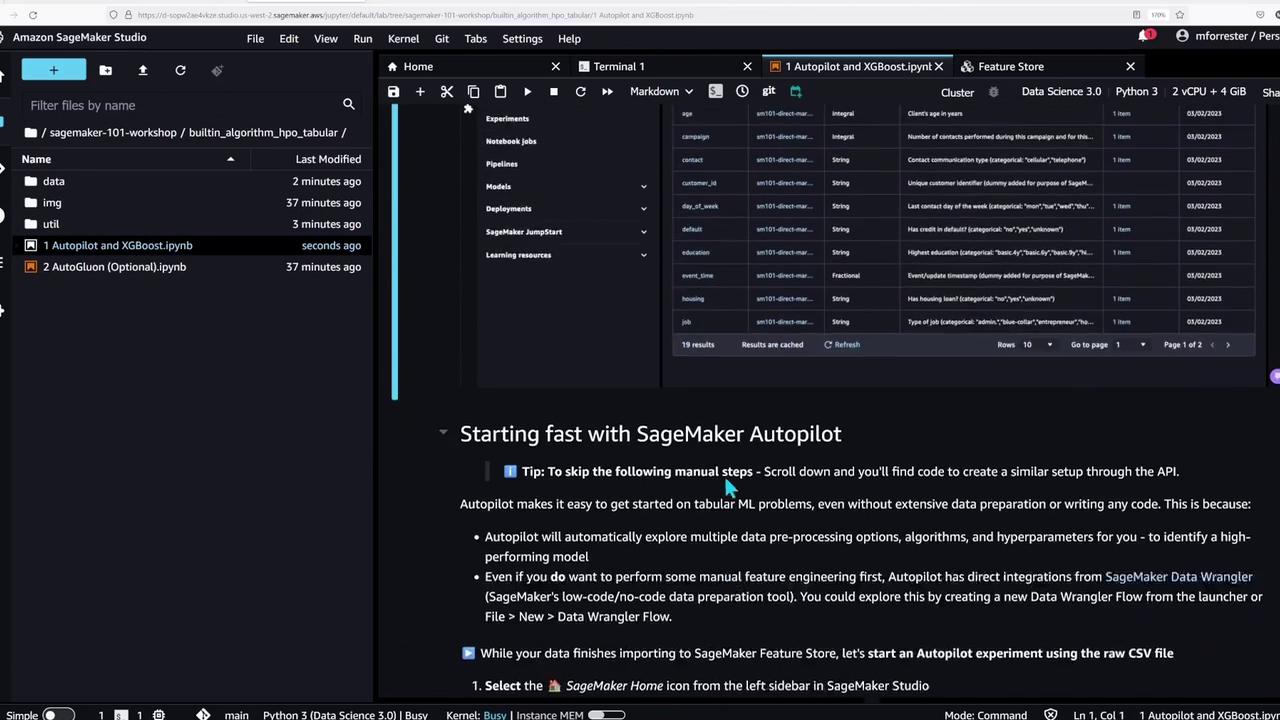
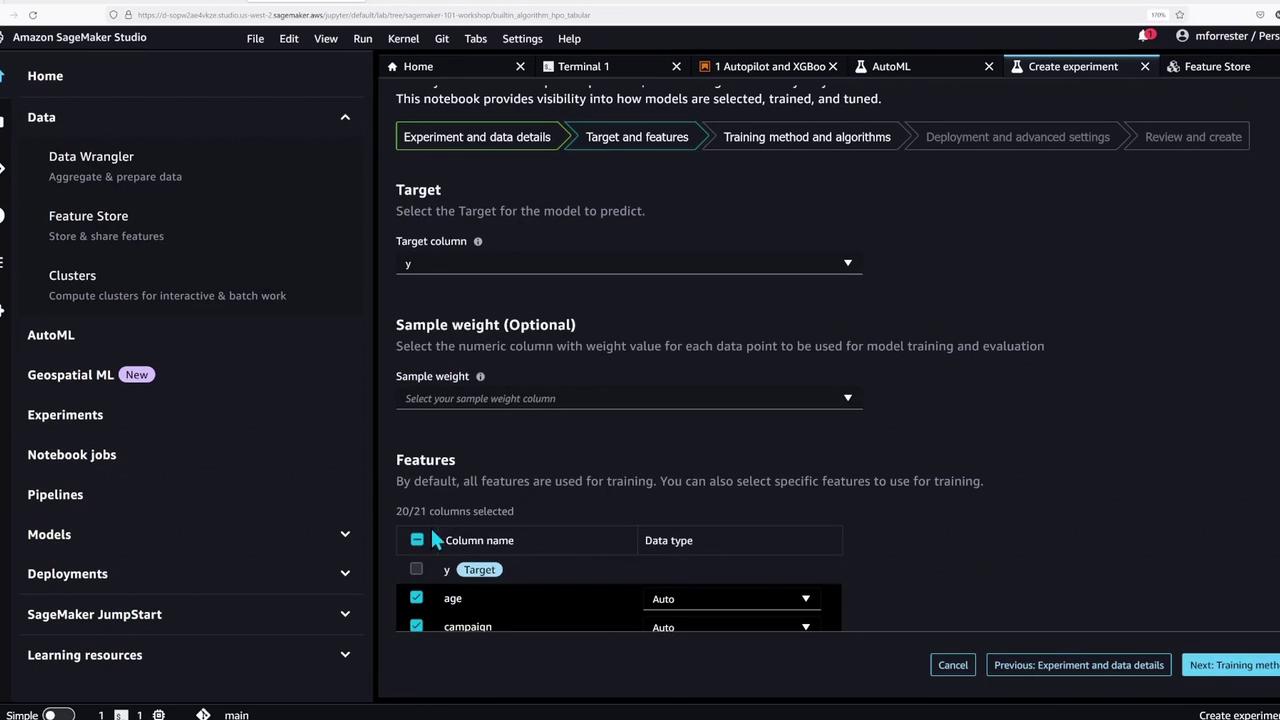
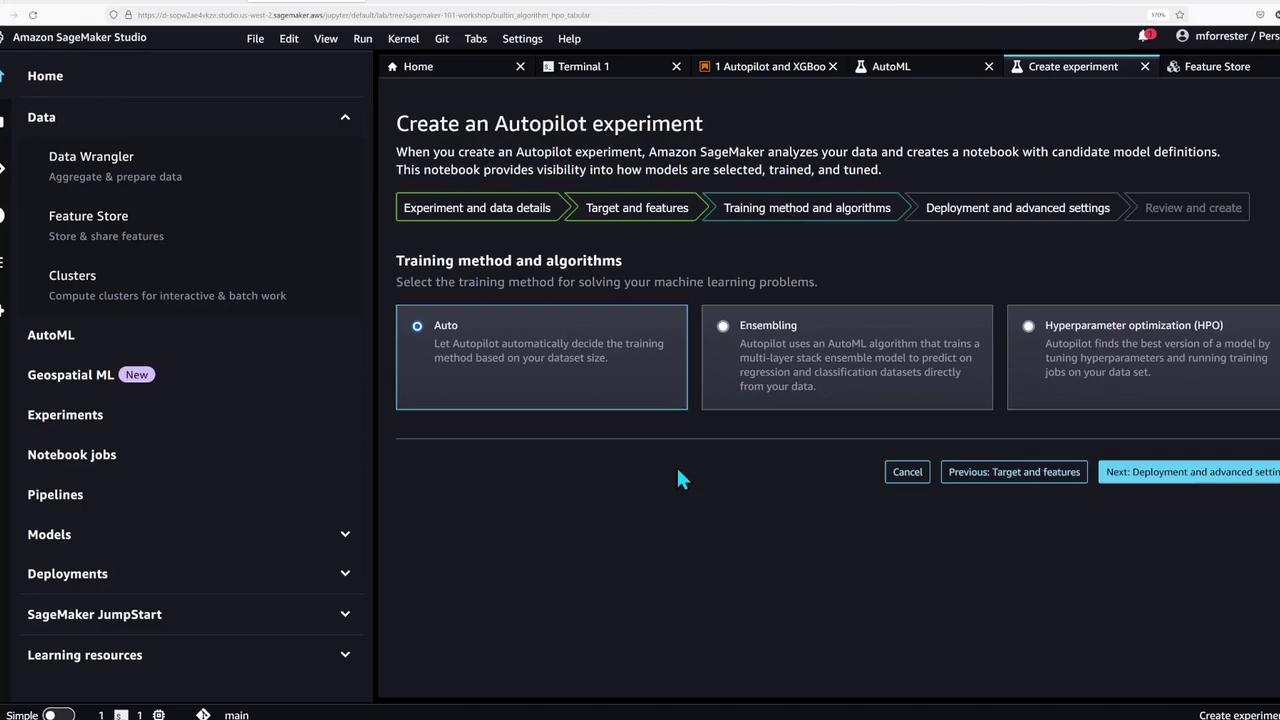
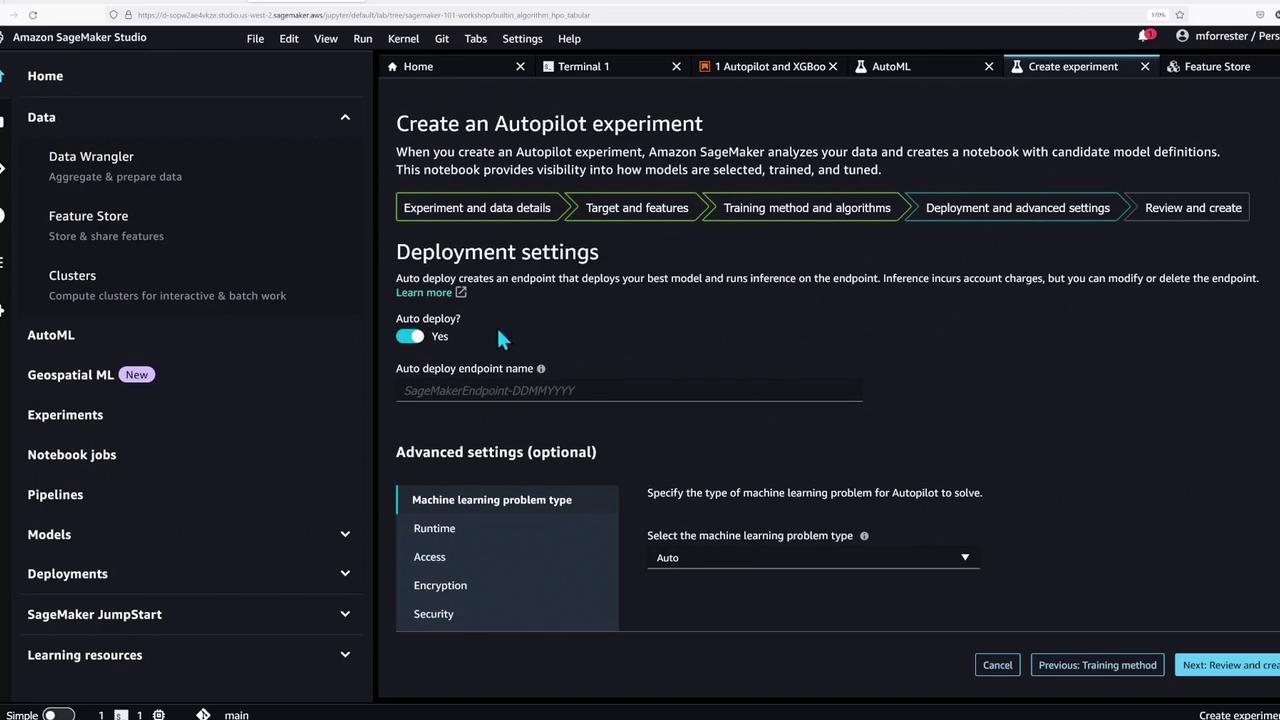
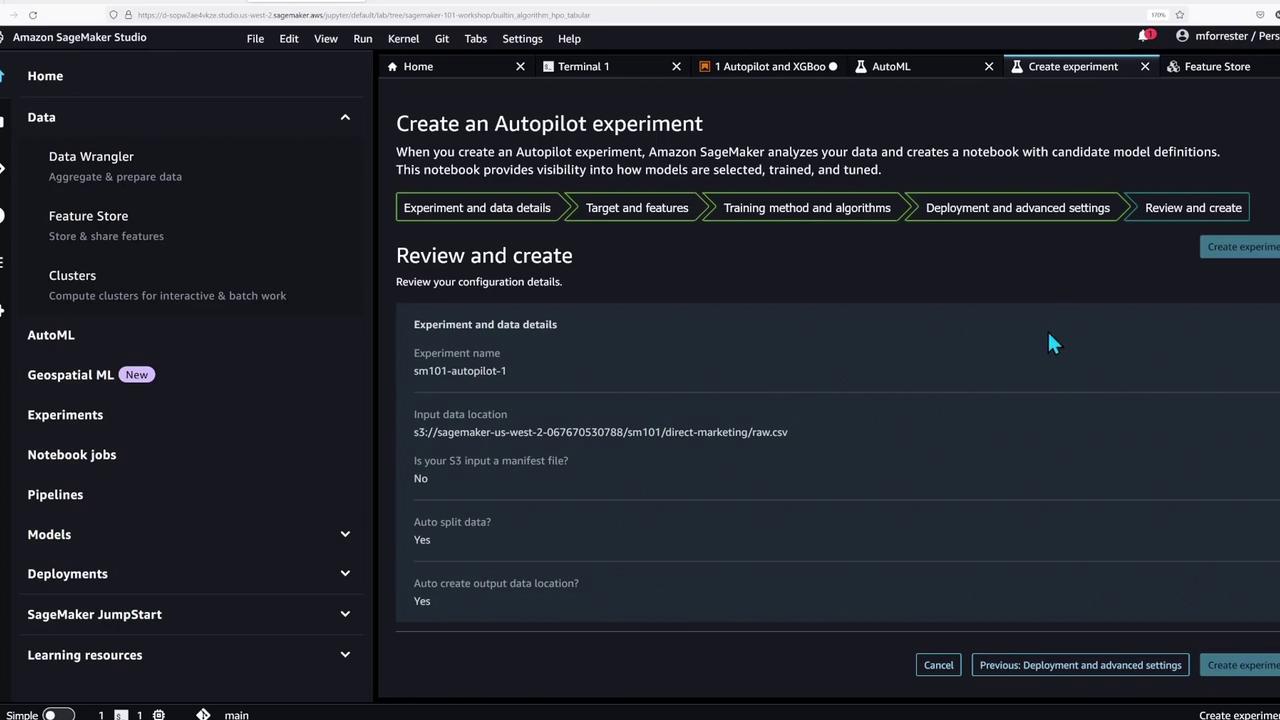
With the feature store populated, the notebook now showcases SageMaker Autopilot—an AutoML tool that automates data preparation and model training for tabular data problems.To create an Autopilot experiment, you can follow the Studio GUI or execute the following code to run the job manually:
This portion of the demo underlines SageMaker Studio’s support for a wide range of machine learning workflows—from basic model training to advanced AutoML experiments.
The final part of the notebook demonstrates how to extract a snapshot from the SageMaker Feature Store using an Athena query. The following code snippet shows how to perform this query:
Copy
feature_group = FeatureGroup(feature_group_name, sagemaker_session=sgmk_session)query = feature_group.athena_query()table_name = query.table_namedata_extract_s3_uri = f"s3://{bucket_name}/{bucket_prefix}/data-extract"!aws s3 rm --quiet --recursive {data_extract_s3_uri} # Clear previous data extractsprint(f"Querying feature store to extract snapshot at:\n{data_extract_s3_uri}")query.run("""SELECT *FROM ( SELECT ROW_NUMBER() OVER ( PARTITION BY "customer_id" ORDER BY "event_time" DESC, api_invocation_time DESC, write_time DESC ) AS row_number, * FROM "{table_name}" WHERE "event_time" = {time.time()}) tWHERE row_number = 1 AND NOT is_deleted;""", output_location=data_extract_s3_uri)query.wait()full_df = query.as_dataframe()print(f"Got {len(full_df)} records")
In summary, this process:
Executes an Athena query on the feature store table to extract the latest records for each customer.
Stores results at a specified S3 URI.
Loads the data into a pandas DataFrame for further analysis.
A similar version of the query is provided later in the notebook, featuring slight variations in syntax.
In this lesson, we demonstrated how AWS SageMaker Studio streamlines machine learning model development. You learned how to:
Navigate the SageMaker Studio interface
Import essential libraries and set up your environment
Upload sample data to S3 and load it into the Feature Store
Run AutoML experiments with SageMaker Autopilot and test with XGBoost
Query the Feature Store using Athena to extract data snapshots
By leveraging SageMaker, you focus on model development and experimentation while AWS handles the underlying infrastructure. We hope this demo has provided valuable insights into efficient machine learning workflows using AWS SageMaker. Happy modeling, and see you in the next lab!
For more information on AWS SageMaker and advanced machine learning workflows, visit the AWS SageMaker Documentation.