AWS Cloud Practitioner CLF-C02

Technology Part Three

AWS Workspaces Demo

Welcome, Cloud Practitioners! In this demo, we will guide you through the process of setting up and using Amazon WorkSpaces—an AWS end-user computing service that provides persistent virtual desktops within the cloud. You can access these desktops via a dedicated client or through a web interface.


Region and Directory Setup

We start our demo in the Northern Virginia region as Amazon WorkSpaces is not supported in all regions (for example, Ohio). When you click "Create a new WorkSpace," you'll be guided through several configuration steps. One of the initial steps is selecting a directory. In this demo, a simple Active Directory—functionally similar to LDAP—is used. This directory is registered with multiple subnets (for instance, us-east-1a and us-east-1b) and includes subnet details with IDs ending in c6, b7, c6, 2, and e2.

All necessary features are active, such as WorkDocs, internet access, and local administrator rights. Additionally, web access and Linux client support are enabled. This directory was pre-configured for Active Directory management, which simplifies user administration.

The image shows an AWS WorkSpaces directory summary page with details like directory type, organization name, status, VPC, subnets, and encryption settings.


Creating a Workspace

The next step is to select the appropriate directory containing your users and click Next. In this phase, an additional user is created specifically for the WorkSpace. For demonstration purposes, the user is named "Amazon Linux" (abbreviated as AL2) with the email "Michael+AL2@KodeKloud.com". Note that many email providers ignore text after the plus sign, so the email still routes to Michael@KodeKloud.com.

The image shows an AWS WorkSpaces interface for creating users, with fields for username, first name, last name, and email, alongside navigation and password management options.

After creating the user, verify its presence along with other users (such as mForrester and Ubuntu) in the directory and then click Next.

The image shows an AWS WorkSpaces interface for identifying users, listing usernames, names, and emails, with "amazonl2" selected. Steps for creating WorkSpaces are on the left.

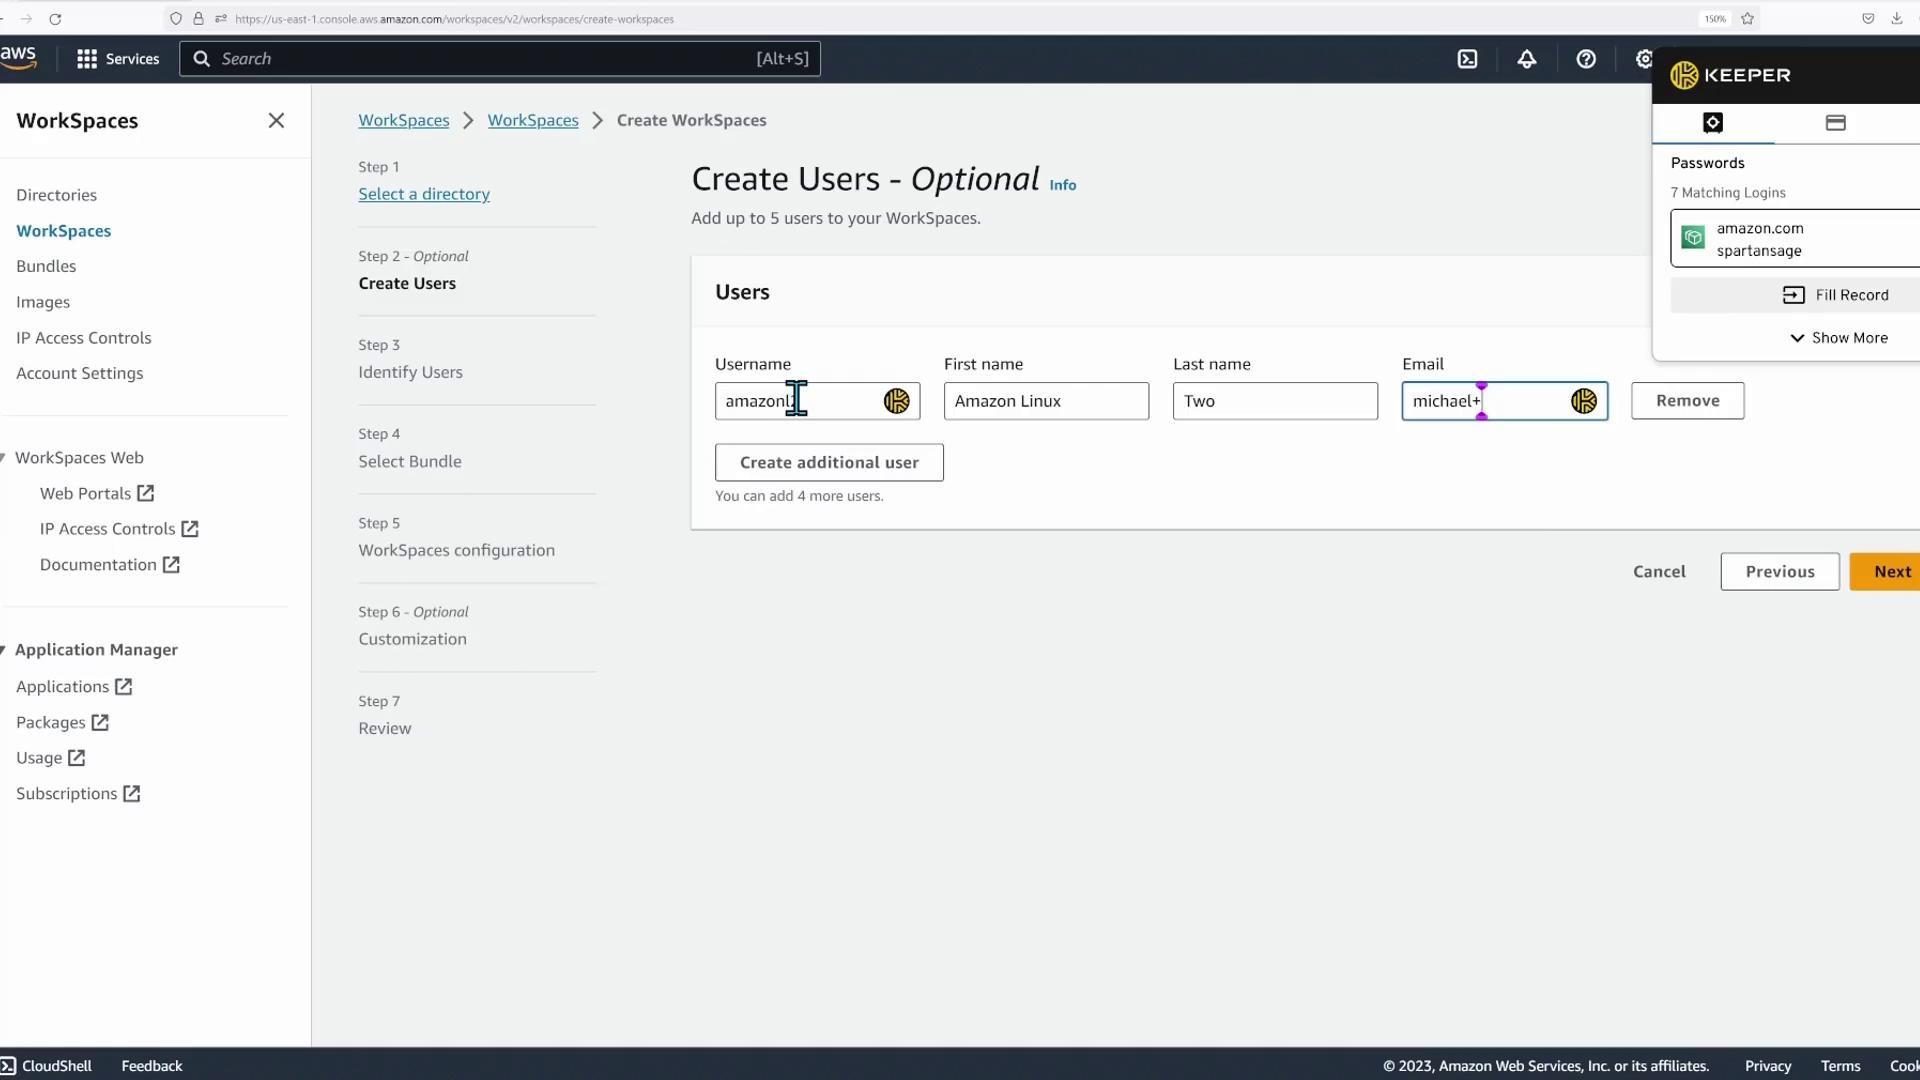
Selecting a Bundle and Operating System

In the next phase of the configuration, you need to choose a system bundle. The available bundles include:

  • Value: 1 CPU, 2 GB memory
  • Standard
  • Performance
  • Power: 4 vCPUs, 16 GB memory (selected for this demo)
  • PowerPro: 8 vCPUs, 32 GB memory
  • GPU-enabled options: Various configurations, including one with 122 GB memory and a dedicated virtual GPU

For this demo, the "Power" bundle was chosen for its balanced performance. Although the user is named after Amazon Linux, the demo opts for the Ubuntu operating system. Additionally, the WorkSpace is configured to auto-stop after one hour, and tag configuration is skipped to streamline the setup.

The image shows an AWS WorkSpaces interface for selecting a bundle, highlighting a "Power" option with 4 vCPU and 16 GB memory, suitable for software development and data processing.

The image shows an AWS WorkSpaces configuration screen, highlighting running mode options (AlwaysOn, AutoStop) and tag management, with navigation steps on the left sidebar.

After reviewing the selected settings, click Create. Note that new WorkSpaces typically take around 20 minutes to become fully active. In this demo, two WorkSpaces were preloaded, providing immediate visual feedback without a long wait period.


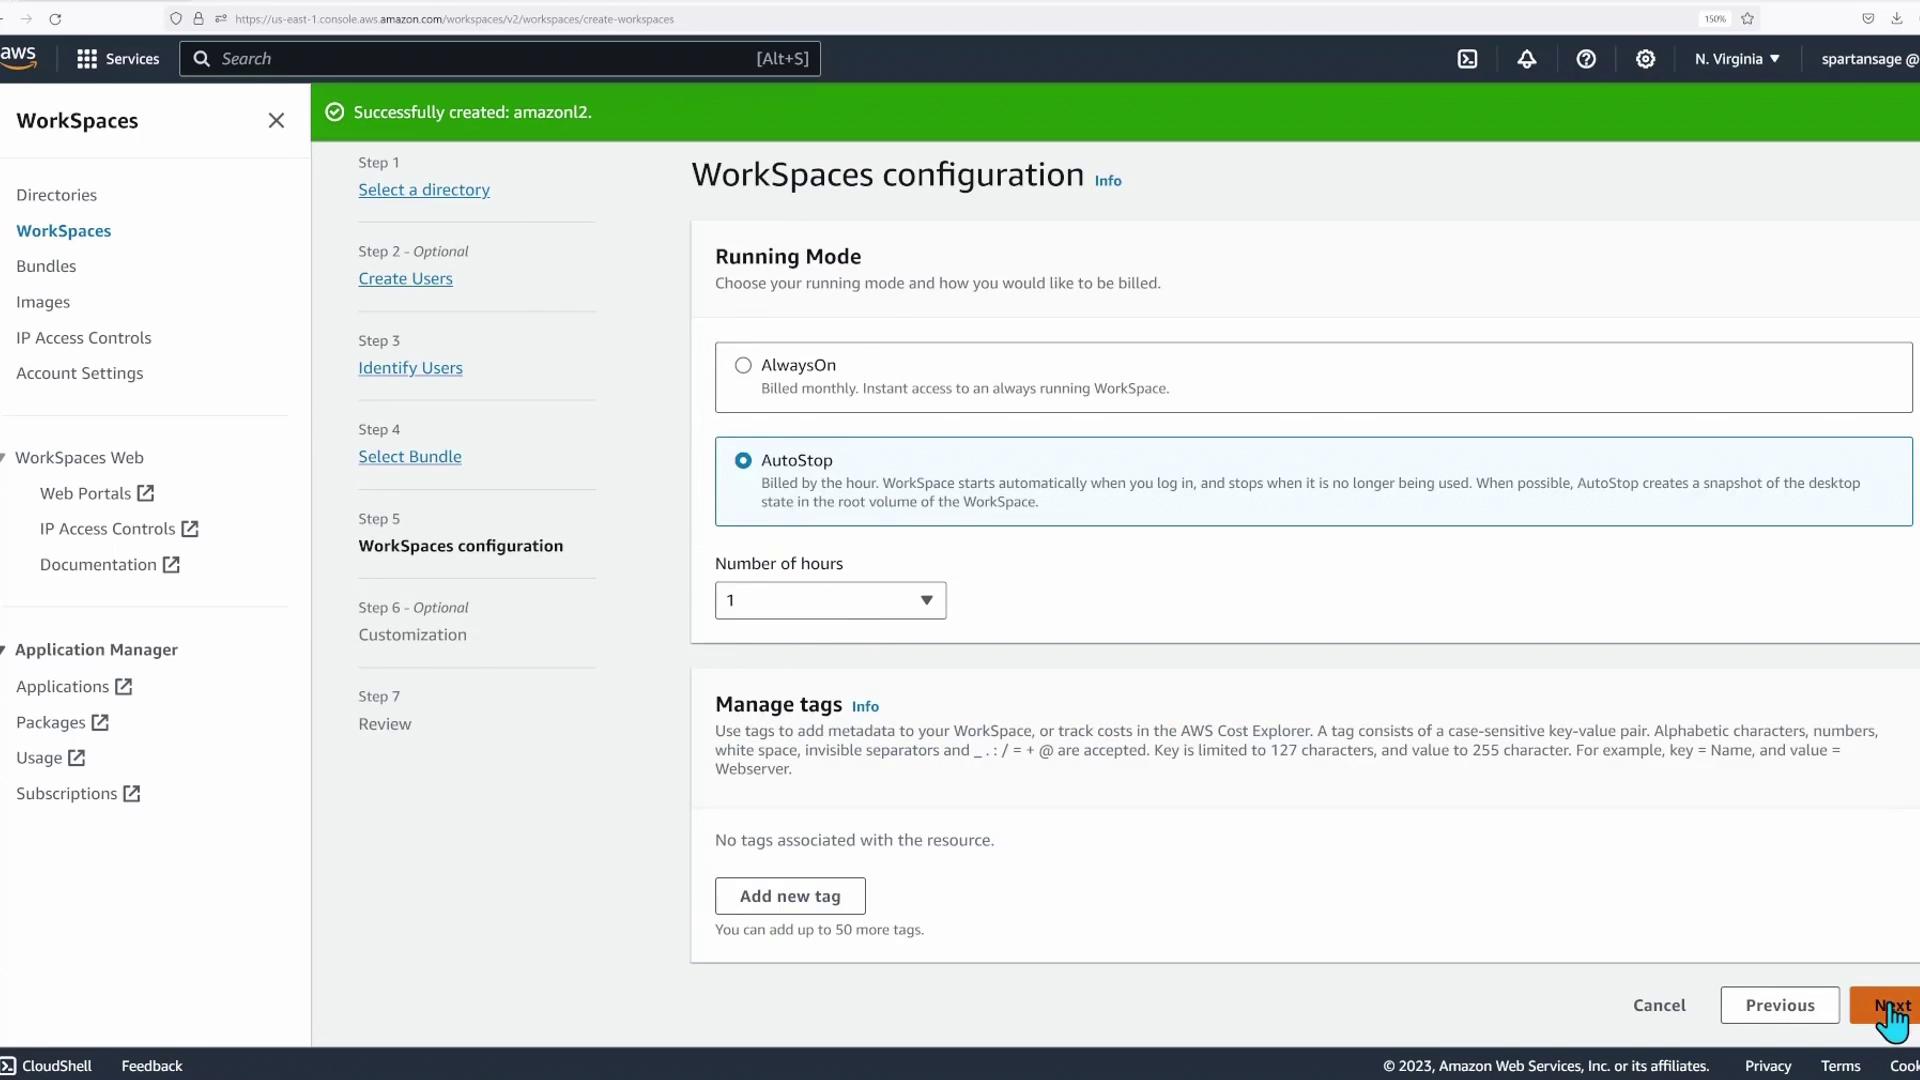
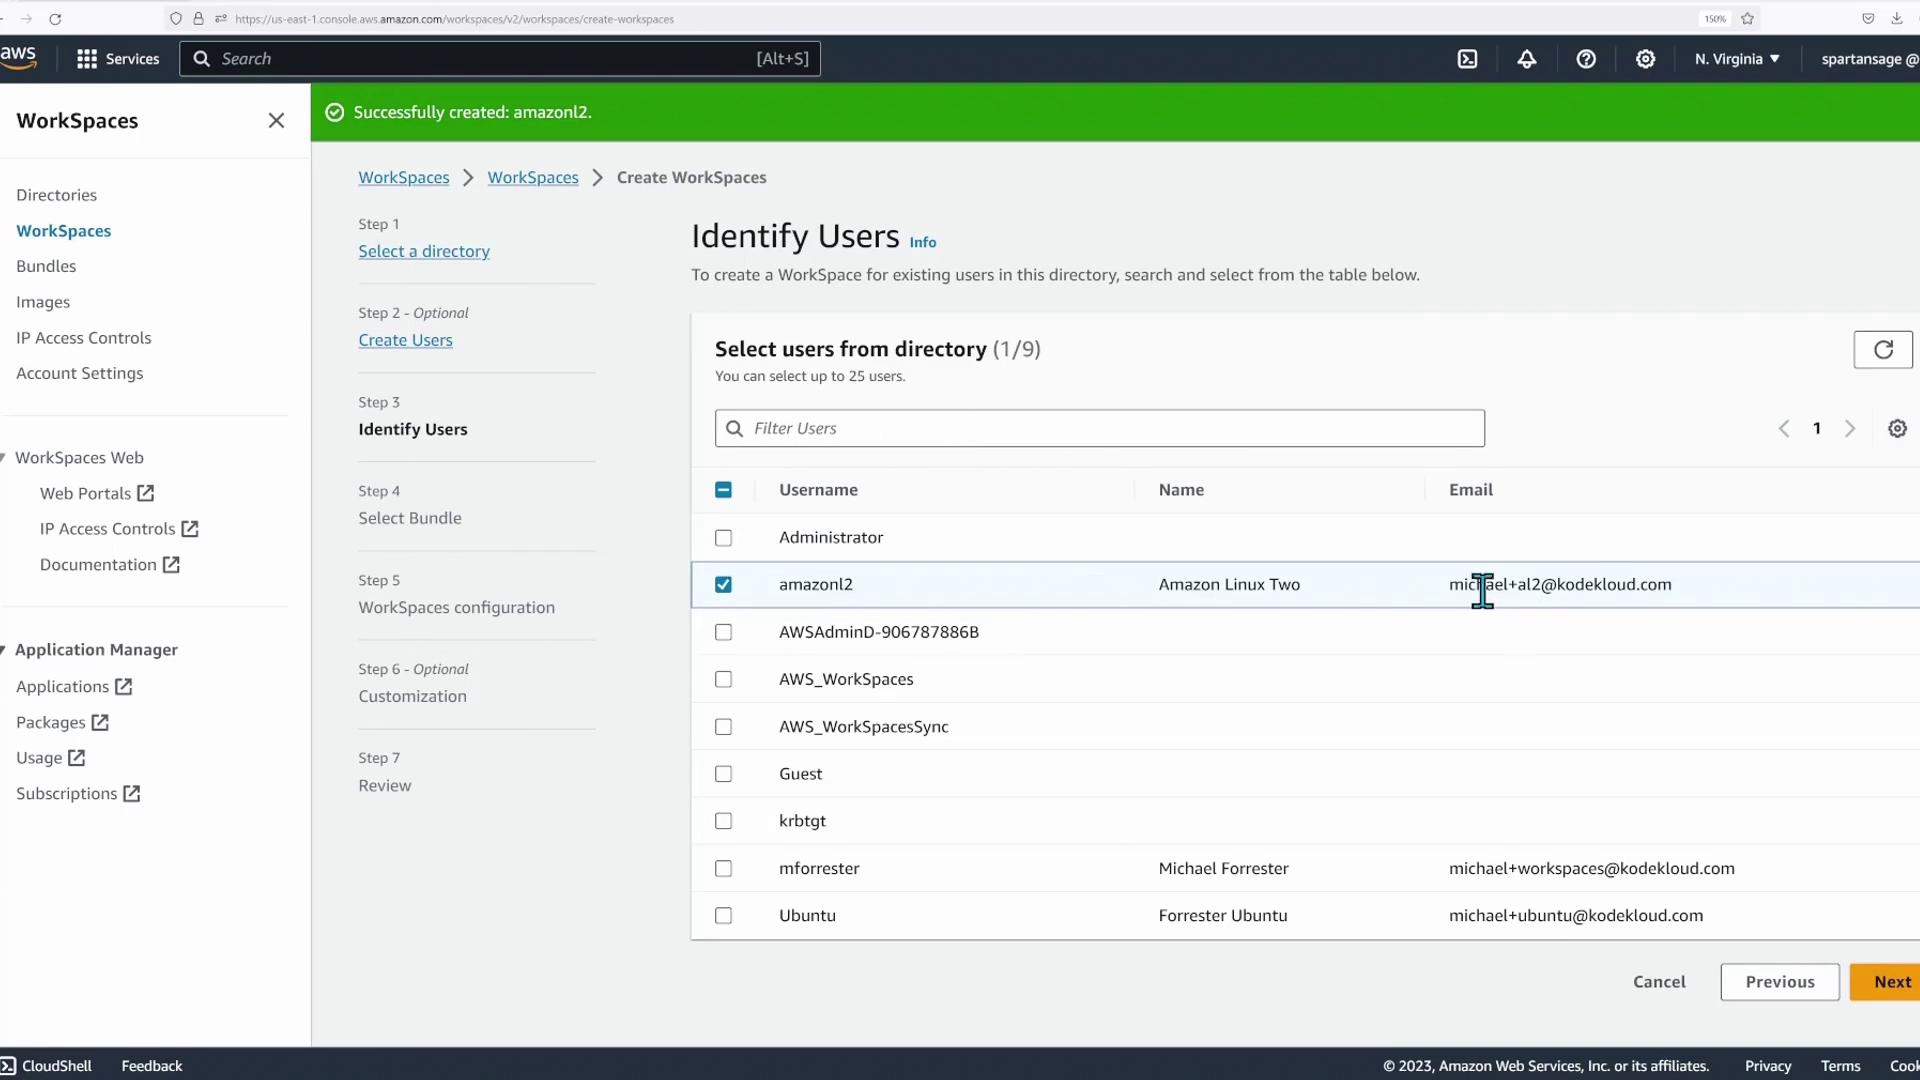
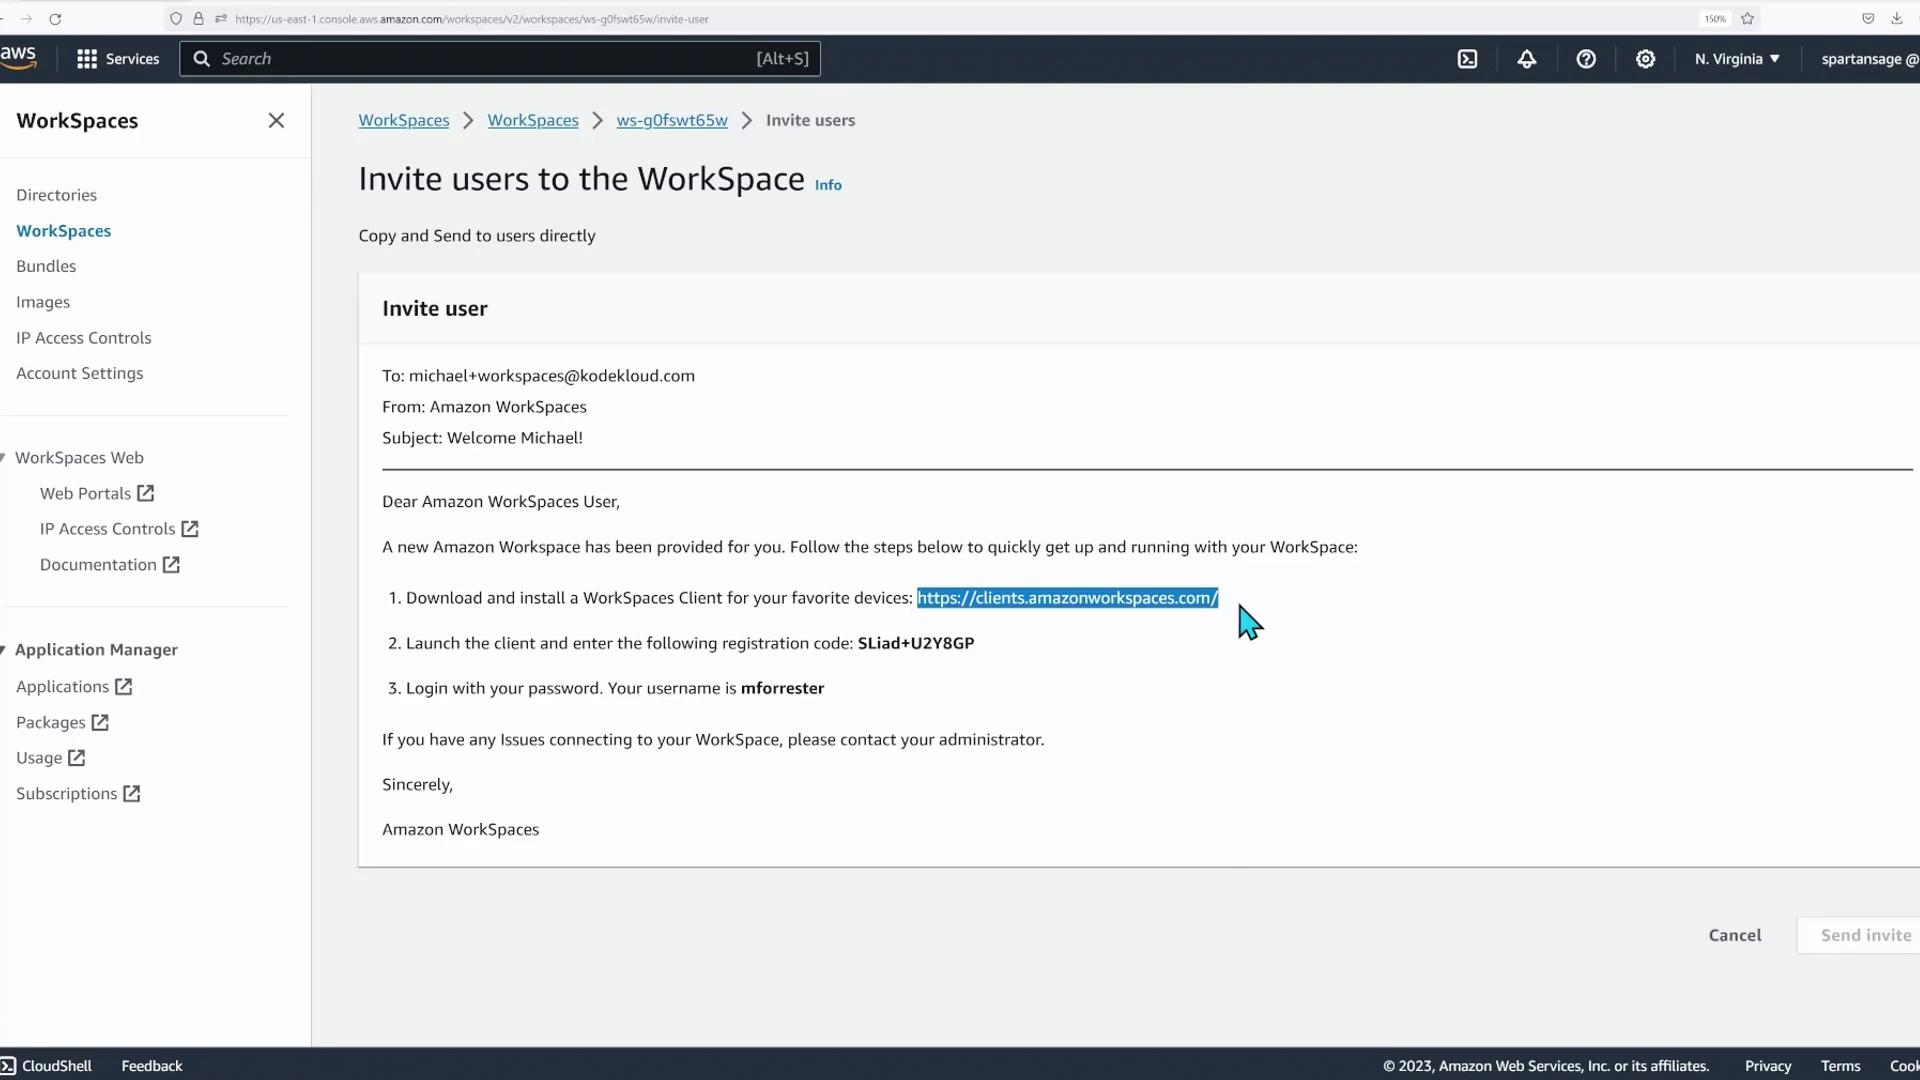
Workspace Status and Invitation

Once the WorkSpaces are created, you'll notice that one might be in an available state while another still shows as pending. For instance, the WorkSpace configured with Amazon Linux might remain pending for a short time, whereas another (such as one running Windows Server) may be available. Select an available WorkSpace to proceed with connecting.

The image shows an AWS WorkSpaces management console with details of a specific workspace, including user information, connection state, and available actions like editing users.

Next, click the Invite Users action. AWS provides a registration code that is needed to access the WorkSpace. Copy the code and note that the associated username is “Enforcer.”

The image shows an Amazon WorkSpaces interface for inviting users, with instructions for downloading the client and registration details.

Right-click the provided link and proceed with the invitation process. With the WorkSpaces client already installed, open the application and register your WorkSpace using the registration code. After confirming that the username “Enforcer” is correctly set and entering the correct credentials, the client establishes a connection.

Once connected, the WorkSpace applies personalized settings, logs you into the virtual desktop hosted on AWS, and allows you to install and run your applications as if you were using a local machine.


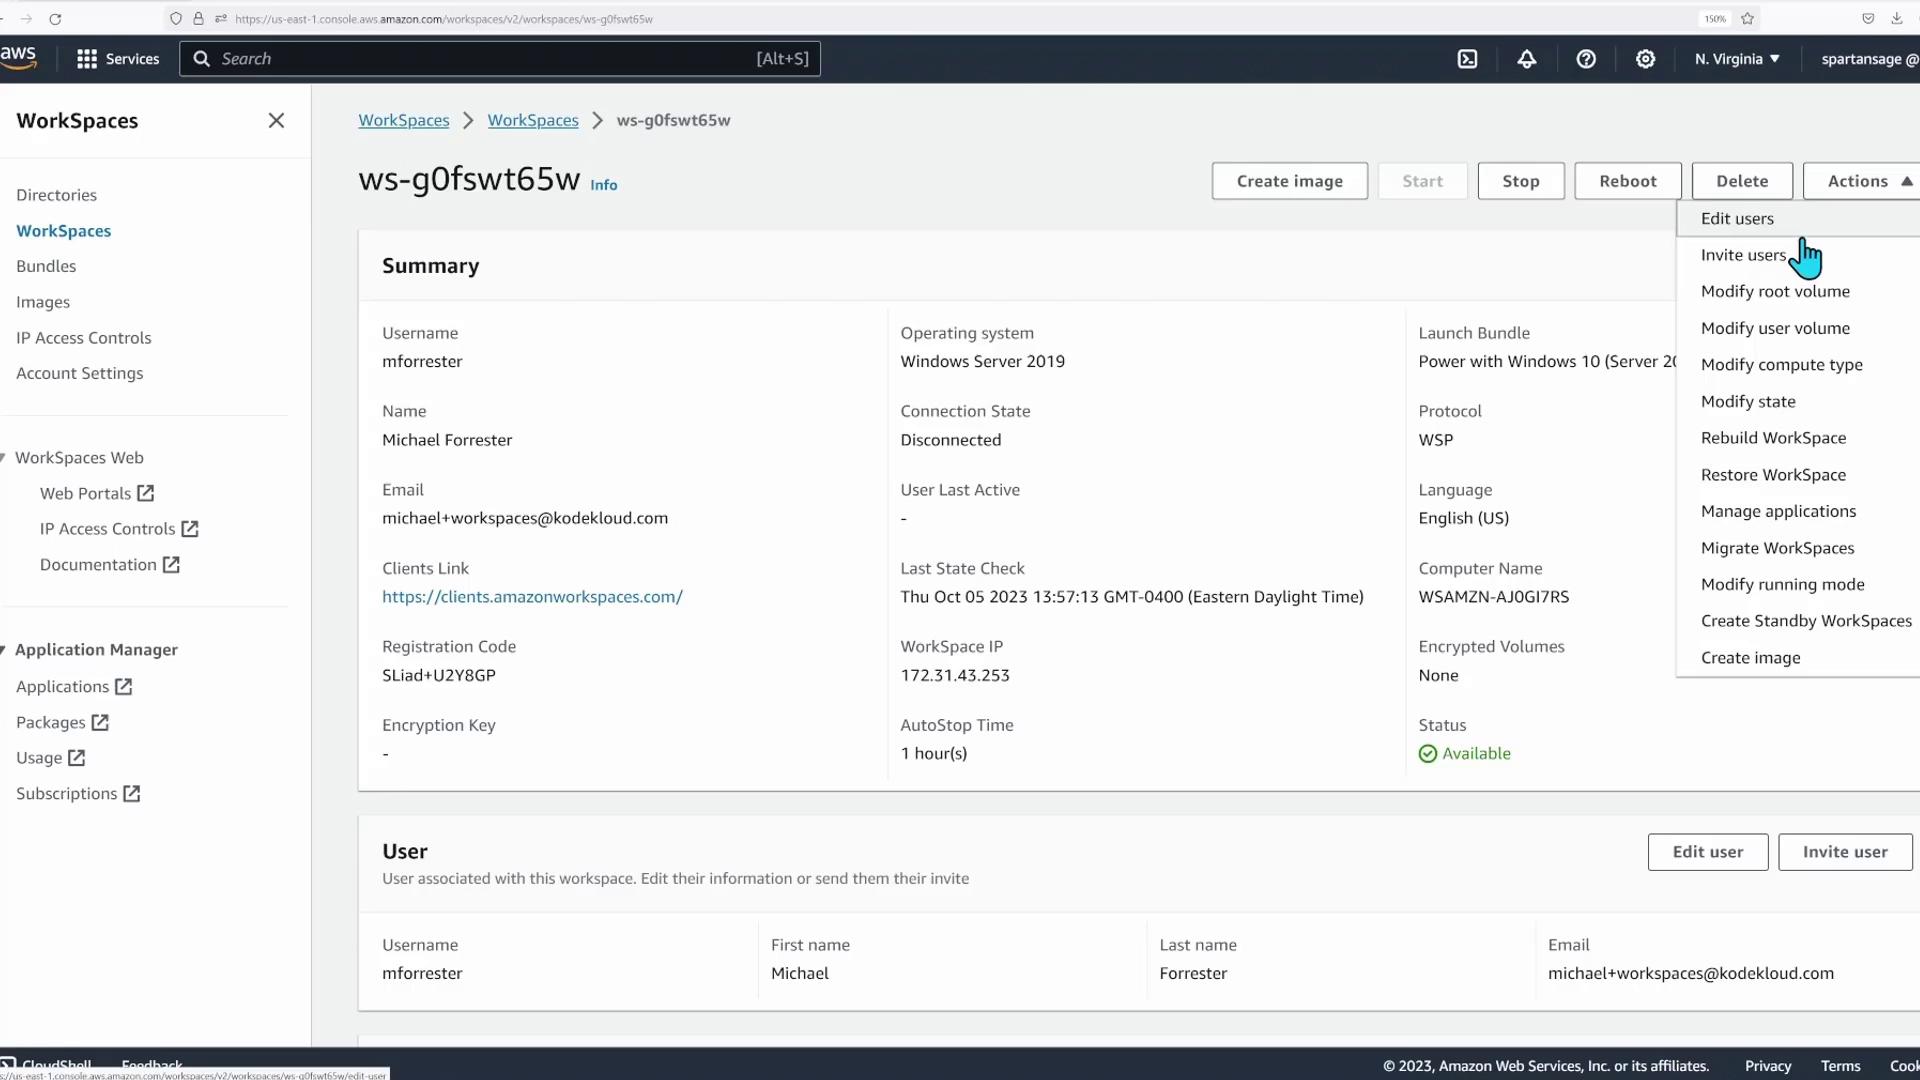
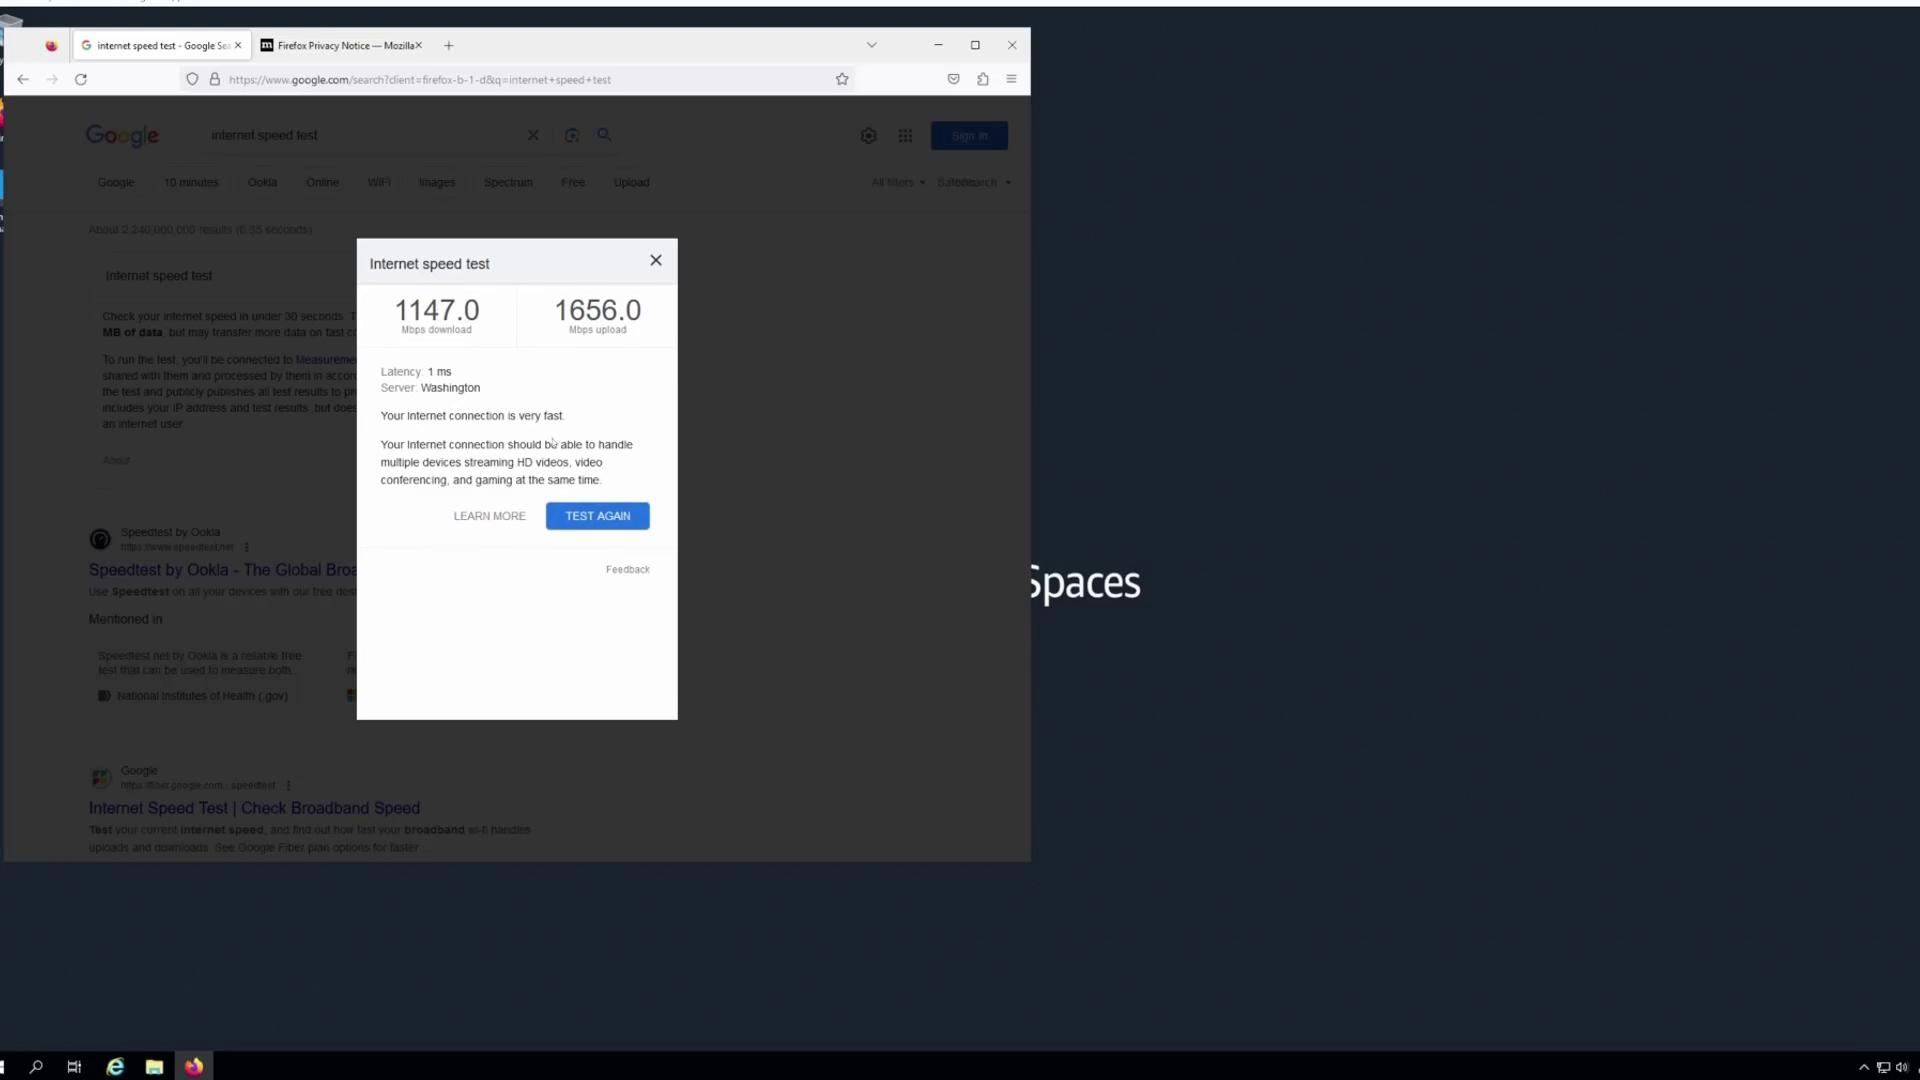
Testing the Virtual Desktop

Inside the virtual desktop, launch Firefox to assess network performance. Running an internet speed test reveals that the connection speed significantly exceeds typical desktop network speeds. The results demonstrate speeds that are well above standard Ethernet limits, likely powered by high-speed network backplanes.

The image shows an internet speed test in progress, displaying a download speed of 1213.0 Mbps on a computer screen.

A subsequent test confirms similar results:

A screenshot of an internet speed test result showing 1147 Mbps download and 1656 Mbps upload, with 1 ms latency, indicating a very fast connection.

Quick Tip

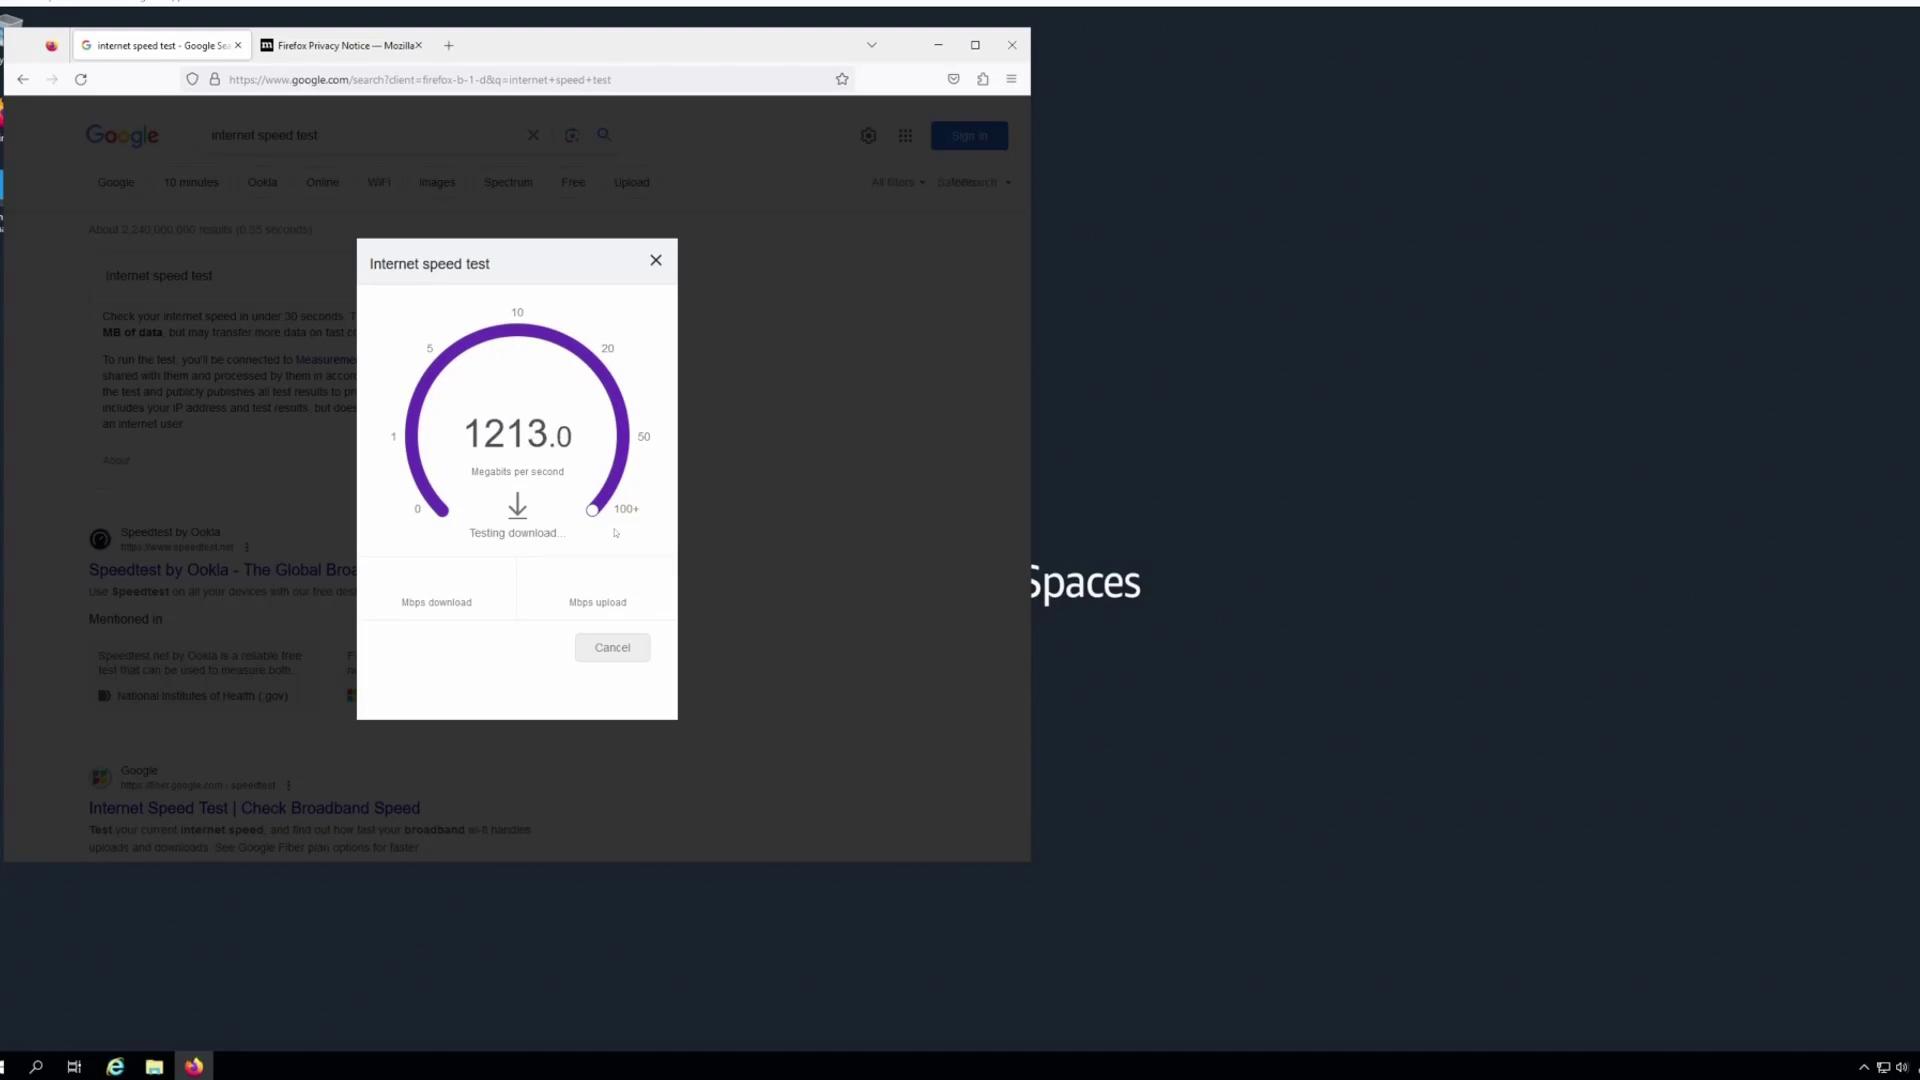
For a smooth user experience, remember to customize your virtual desktop settings and install only the necessary software, enhancing both security and performance.

This confirms that Amazon WorkSpaces delivers a powerful and responsive virtual desktop experience.


Conclusion

This demo showcased the process of setting up and connecting to an Amazon WorkSpace—from configuring directories and creating users to selecting hardware bundles and testing network speeds. Once connected, you gain access to a full-featured virtual desktop in AWS where you can seamlessly install and run your applications.

For more information, explore the following resources:

Thank you for reading, and we look forward to sharing more cloud computing insights in our next article.

Watch Video

Watch video content

Previous
Secondary AWS Services End User Computing