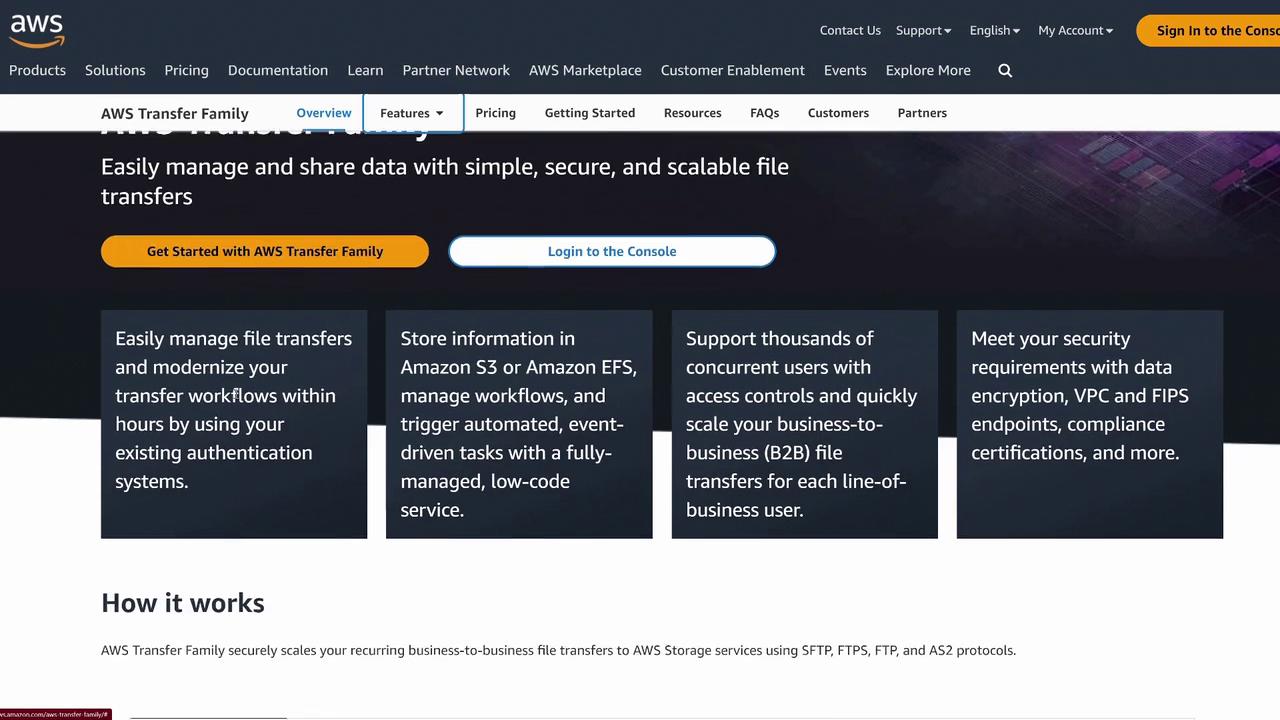
Learn to configure an AWS Transfer Family SFTP server using an Amazon S3 bucket for secure file transfers.
Welcome to this AWS Cloud Practitioners lesson. In this demonstration, you’ll learn how to configure the AWS Transfer Family to set up an SFTP server using an Amazon S3 bucket as its backend. This tutorial focuses on SFTP (Secure File Transfer Protocol) rather than FTPS, FTP, or AS2, ensuring a secure file transfer process over SSH.
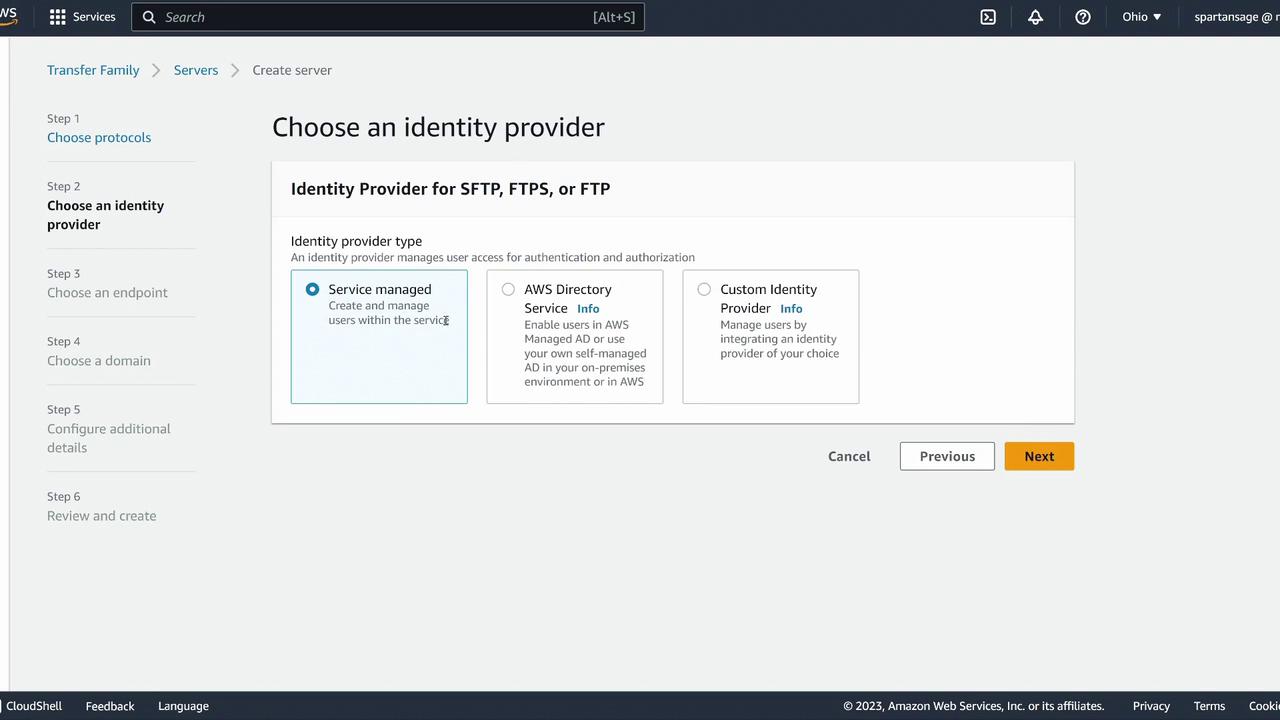
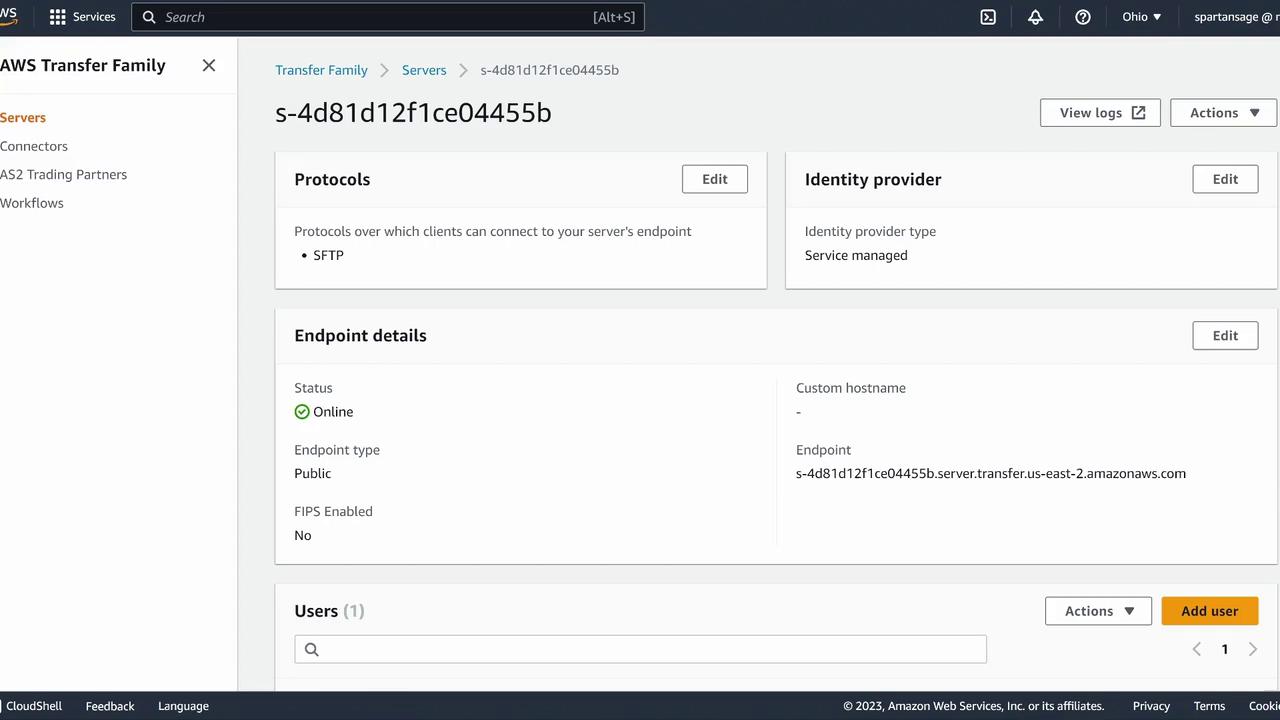
Begin by navigating to the AWS Transfer Family console. Even if there is an existing server, create a new server specifically for your SFTP configuration. When prompted, select SFTP and opt for the service-managed identity provider.
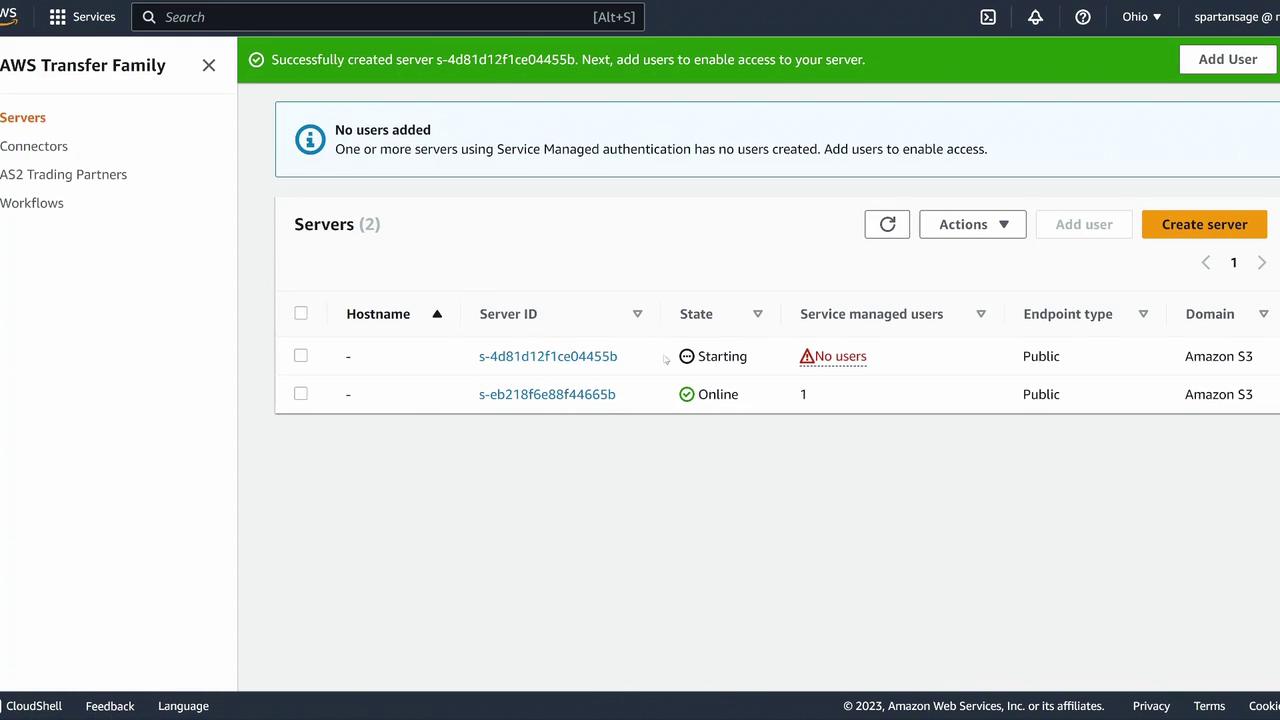
Ensure that the server is publicly accessible using default hostnames and choose Amazon S3 for backend storage instead of EFS. Create a new IAM role without any additional managed workflows, triggers, cryptographic modifications, or host key changes. A welcome message such as “Welcome to our SFTP server, KodeKloud” will be displayed on your server.After reviewing your configuration, click Next followed by Create. The server status will initiate as “starting.”
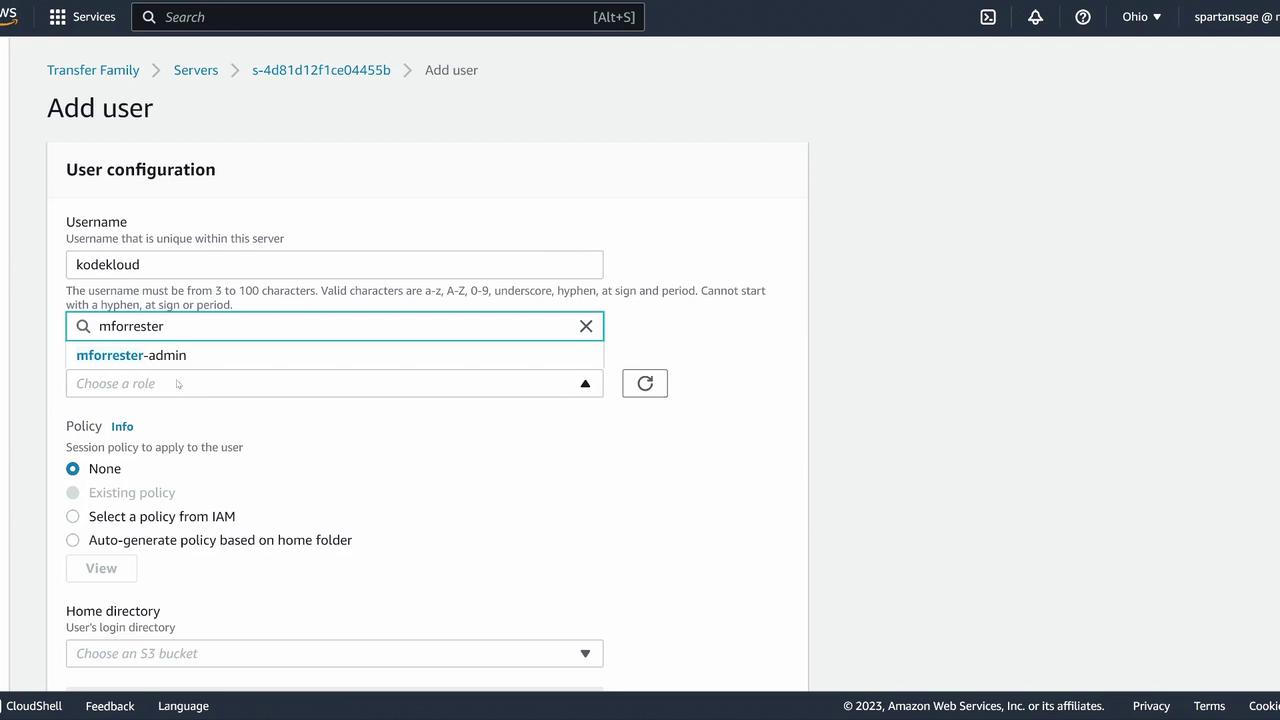
While the server is starting, click into its details and then select Add User. Provide a username (for example, KodeKloud) and assign the appropriate IAM role (this can be an existing role such as an admin role). For the home directory, input a placeholder name like “KodeKloud”, and then paste your public SSH key.
The public SSH key is safe to share with servers and is essential for establishing a secure connection.
After entering the user information and pasting the public key, click Add in the AWS console to complete the user creation. Once finished, you’ll see the username (e.g., KodeKloud) along with the SFTP endpoint. Copy this endpoint for later use and keep checking the server status until it changes from “starting” to “online.”
When your SFTP server status is online, you can connect using the SFTP command. Ensure you are using the correct private key corresponding to the public key you added earlier. For example:
This demonstration confirms that your AWS Transfer Family SFTP server is configured correctly. You can now perform various file transfer operations such as uploading files, listing directories, and more.Thank you for following this AWS Migration and Transfer demo. For further details on secure file transfers with AWS, refer to the AWS Transfer Family Documentation. We look forward to sharing more lessons in our upcoming articles.