AWS CodePipeline (CI/CD Pipeline)

CICD Pipeline with CodeCommit CodeBuild and CodeDeploy

CodeBuild Demo

Welcome to this step-by-step tutorial on integrating AWS CodeBuild with Amazon S3 for continuous integration and delivery. By the end of this guide, you'll learn how to compile Java code, run unit tests, and store build artifacts in S3—all within a fully managed AWS service.

Overview

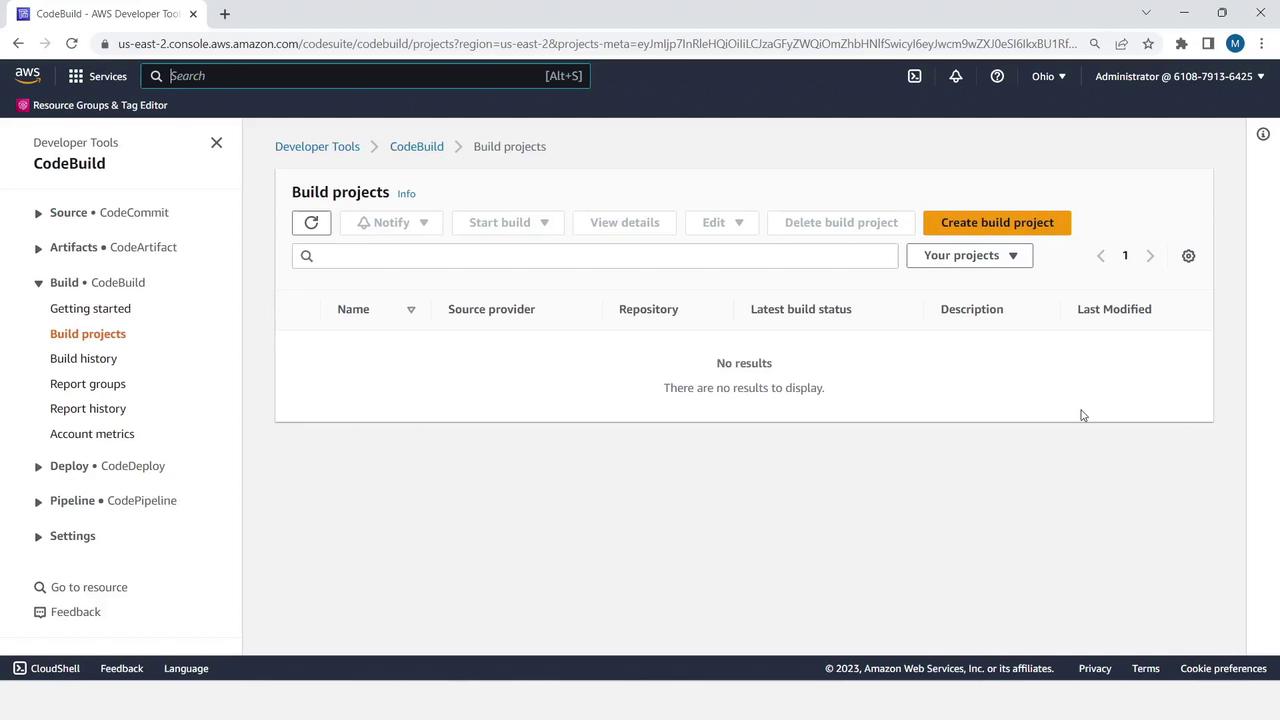
The image shows the AWS CodeBuild interface with the "Build projects" section open, displaying no results and options to create or manage build projects.

AWS CodeBuild is a fully managed build service that compiles source code, executes tests, and produces deployable artifacts. In this demo, we will:

  1. Implement a simple Java utility and unit tests.
  2. Create a buildspec.yml to define build commands.
  3. Provision two S3 buckets—one for source input, one for build output.
  4. Configure and run a CodeBuild project that pulls from S3, builds with Maven, and pushes artifacts back to S3.

Note

You can follow along in your own AWS account. After completing the tutorial, remember to clean up any resources to avoid unexpected charges.


Prerequisites

  • An AWS account with permissions for CodeBuild, S3, and IAM.
  • AWS CLI or access to the AWS Management Console.
  • Java 11 (Corretto) and Maven installed locally (for packaging).

Step 1: Create the Java Utility and Unit Tests

  1. In your project directory, create the MessageUtil class:
// src/main/java/MessageUtil.java
public class MessageUtil {
    private String message;

    public MessageUtil(String message) {
        this.message = message;
    }

    public String printMessage() {
        System.out.println(message);
        return message;
    }

    public String salutationMessage() {
        message = "Hi! " + message;
        System.out.println(message);
        return message;
    }
}
  1. Next, add a JUnit test for MessageUtil:
// src/test/java/TestMessageUtil.java
import org.junit.Test;
import static org.junit.Assert.assertEquals;

public class TestMessageUtil {
    String message = "Robert";
    MessageUtil messageUtil = new MessageUtil(message);

    @Test
    public void testPrintMessage() {
        assertEquals(message, messageUtil.printMessage());
    }

    @Test
    public void testSalutationMessage() {
        String expected = "Hi! Robert";
        assertEquals(expected, messageUtil.salutationMessage());
    }
}

Step 2: Define the Build Specification (buildspec.yml)

Create a file named buildspec.yml at the project root:

version: 0.2
phases:
  install:
    runtime-versions:
      java: corretto11
  pre_build:
    commands:
      - echo "Starting pre-build phase..."
  build:
    commands:
      - echo "Build started on `date`"
      - mvn install
artifacts:
  files:
    - target/*.jar

Build Phases at a Glance

PhaseDescriptionSample Command
installSet up runtime environmentsjava: corretto11
pre_buildPrepare dependencies or variablesecho "Preparing..."
buildCompile, test, and package the appmvn install

Step 3: Verify Directory Structure

Ensure your project looks like this:

project-root/
├── pom.xml
├── buildspec.yml
└── src
    ├── main
    │   └── java
    │       └── MessageUtil.java
    └── test
        └── java
            └── TestMessageUtil.java

Step 4: Create S3 Buckets for Source and Artifacts

  1. In the AWS Console, navigate to S3 and click Create bucket.
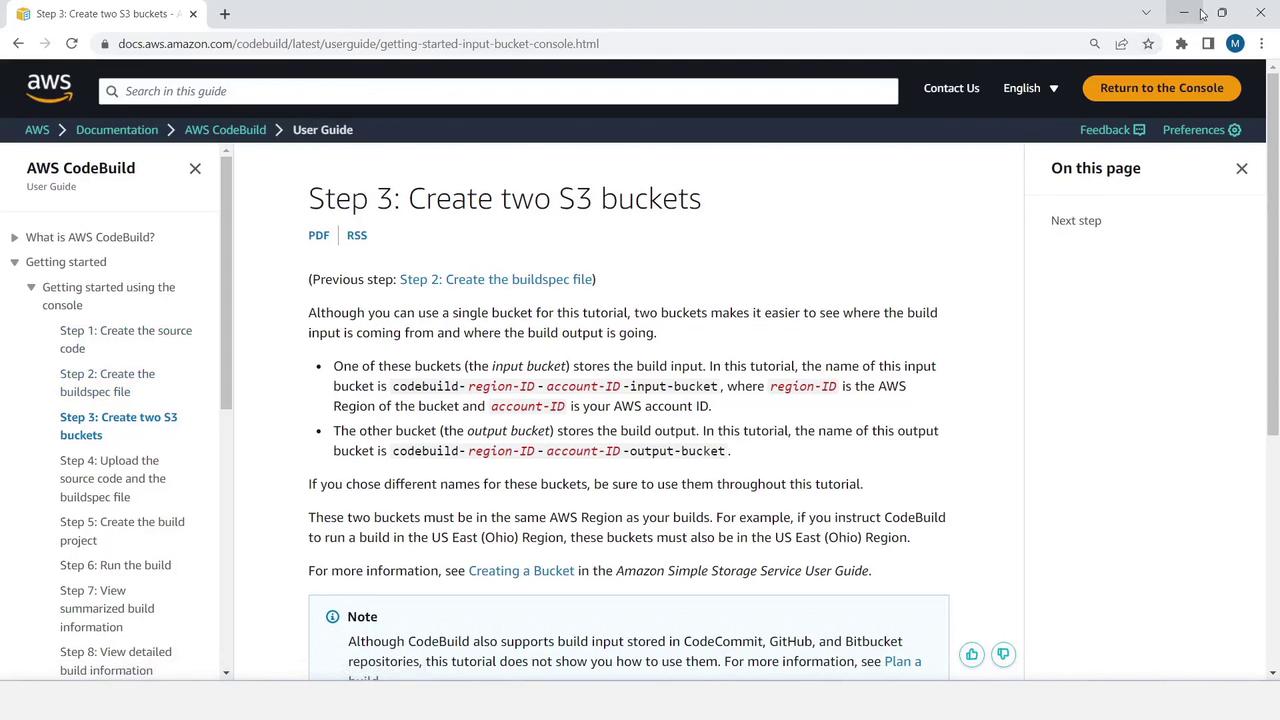
The image shows a webpage from the AWS CodeBuild user guide, specifically detailing Step 3: Create two S3 buckets. It provides instructions on setting up input and output buckets for a build process.

Warning

S3 bucket names must be globally unique. Choose a naming convention (e.g., <yourname>-codebuild-source).

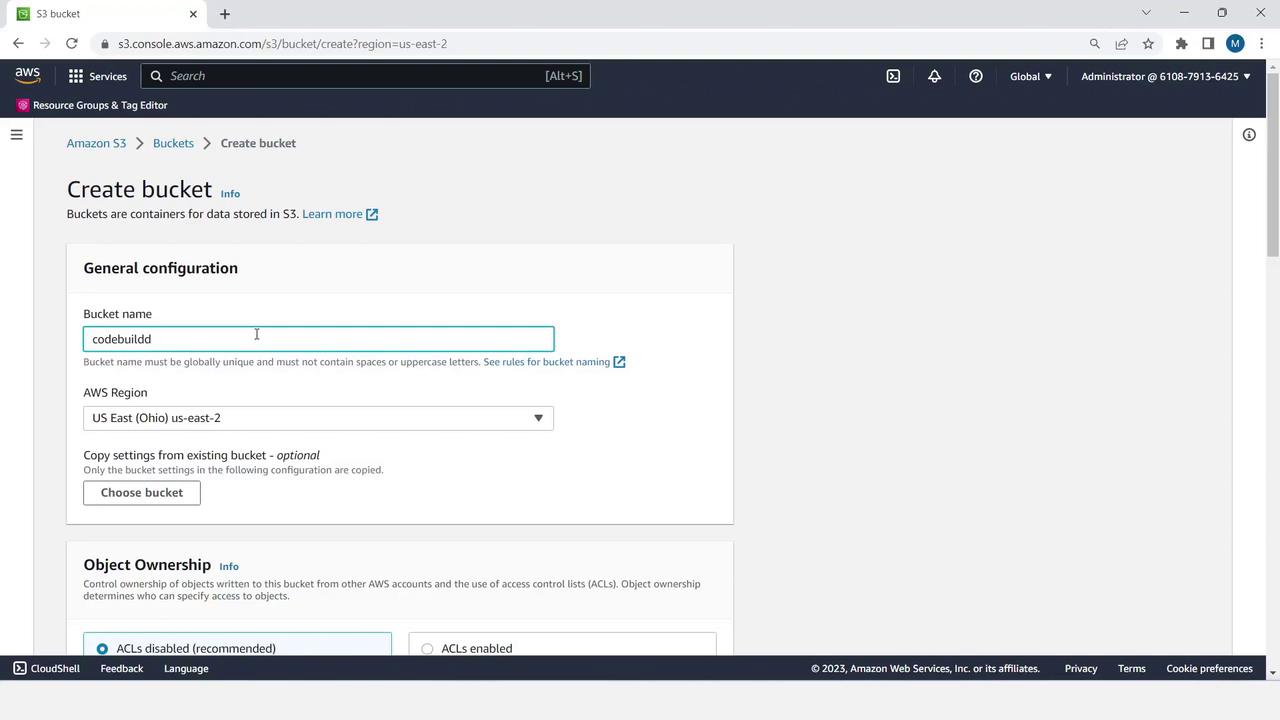
  1. Enter a name like codebuilddemo-kodekloud-mbbucket1 and accept the defaults.

The image shows the AWS S3 console interface for creating a new bucket. It includes fields for entering the bucket name, selecting the AWS region, and configuring object ownership settings.

  1. Repeat to create a second bucket (e.g., codebuilddemo-kodekloud-mbbucket2).

The image shows an AWS S3 bucket creation page, with options for default encryption settings and a "Create bucket" button.


Step 5: Package and Upload Your Source Code

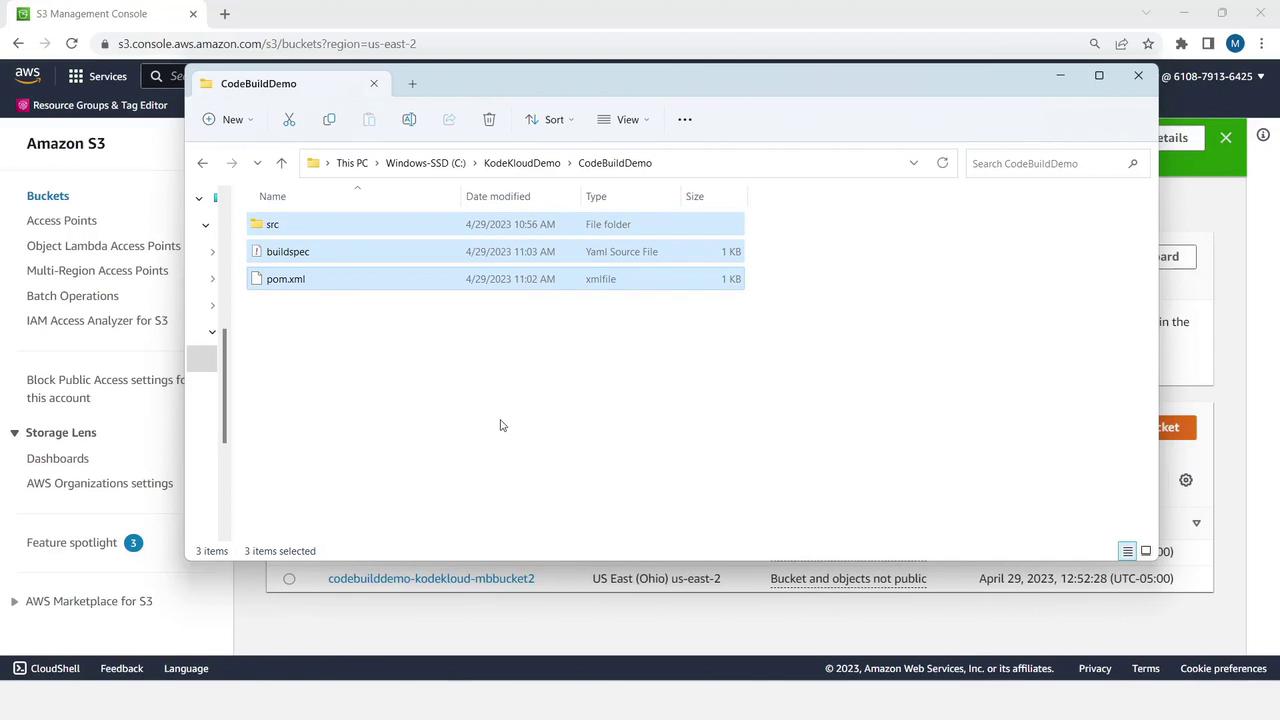
  1. Zip your project files: pom.xml, buildspec.yml, and the src directory.

The image shows a Windows File Explorer window open to a folder named "CodeBuildDemo" containing three items: a folder named "src" and two files named "buildspec" and "pom.xml." In the background, an Amazon S3 Management Console is visible.

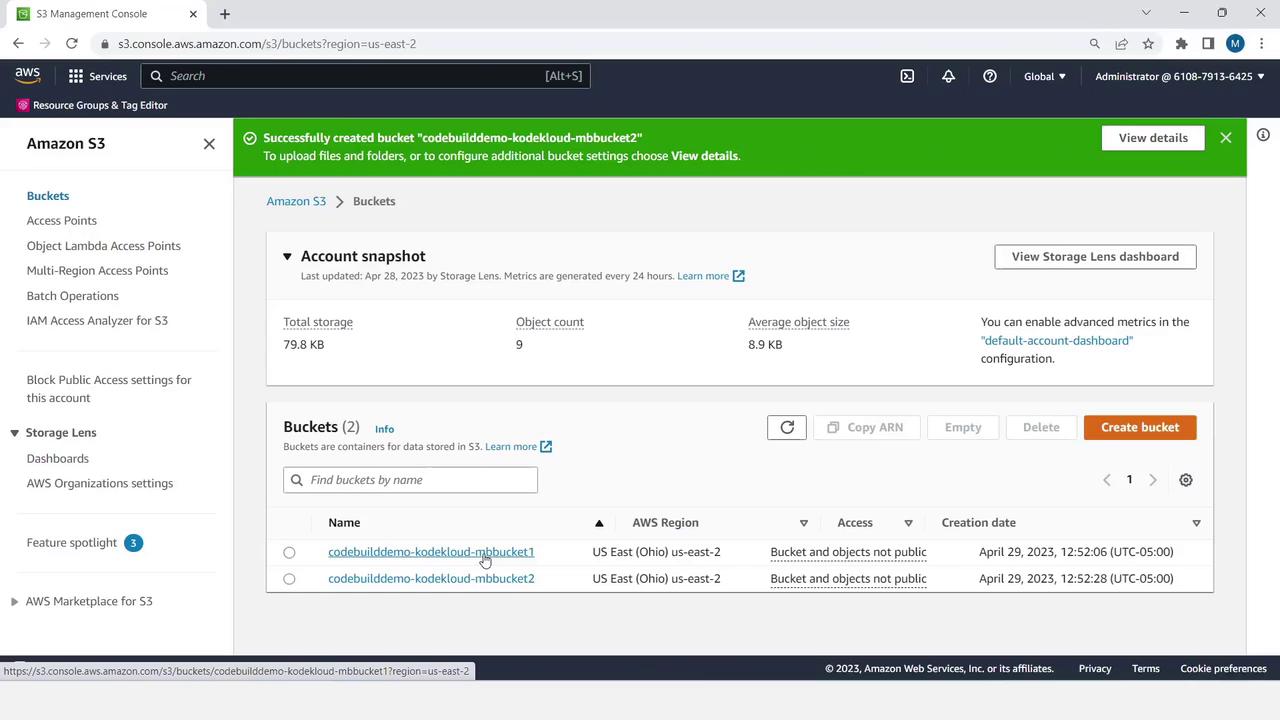
  1. Name the archive MessageUtil.zip and upload it to your source bucket:

The image shows an Amazon S3 management console with a notification of a successfully created bucket. It displays account snapshot details and a list of buckets with their names, regions, and access settings.

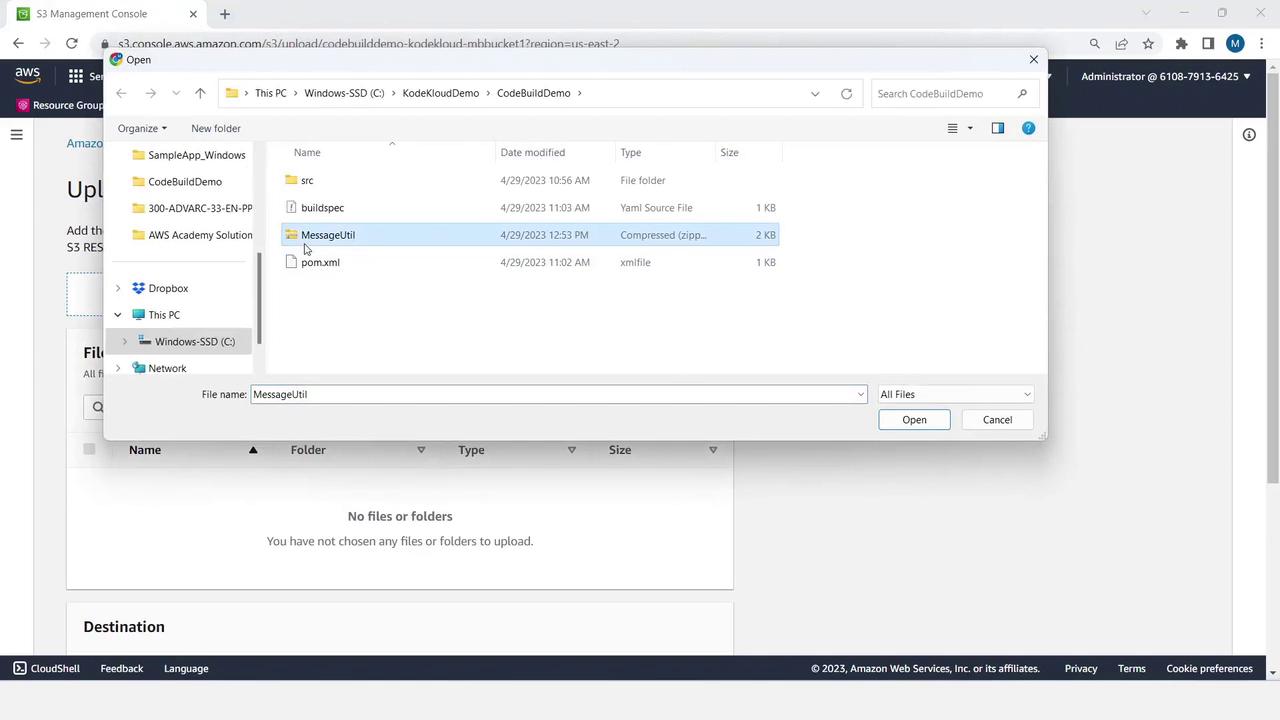
  1. Click the bucket, choose Upload, add MessageUtil.zip, and complete the upload wizard.
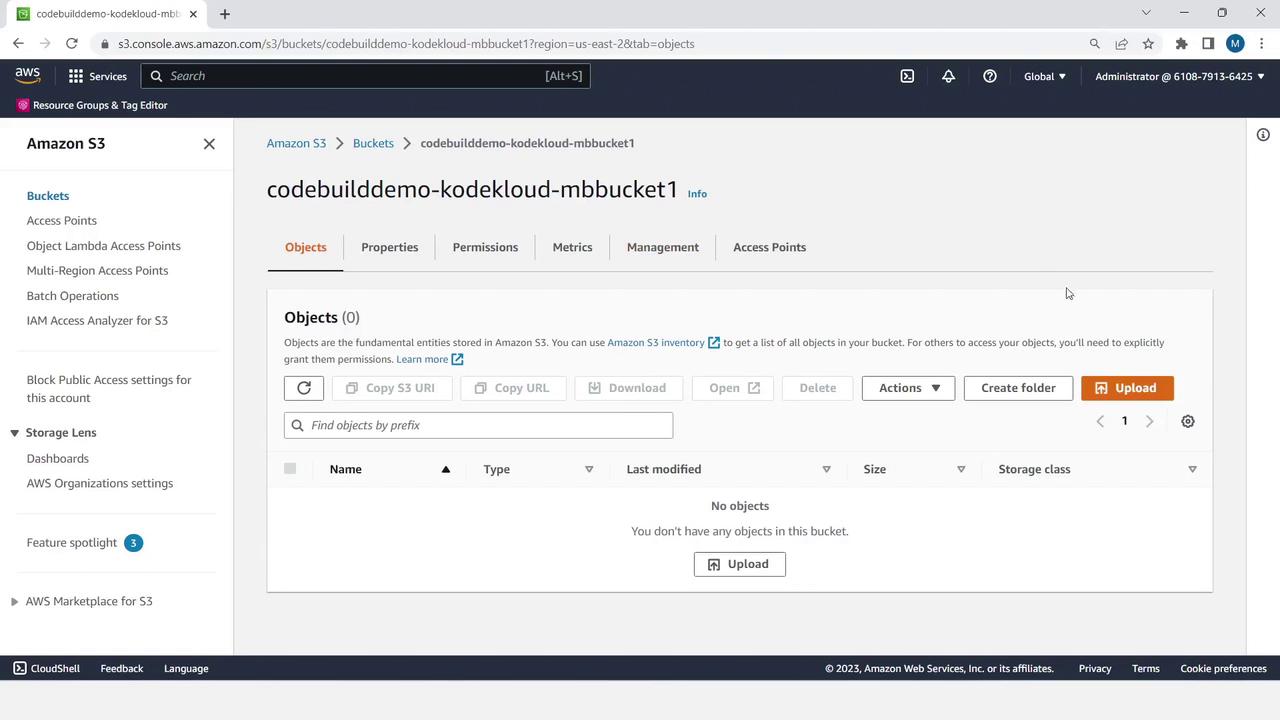
The image shows an Amazon S3 bucket interface on AWS, specifically the "Objects" tab for a bucket named "codebuilddemo-kodekloud-mbbucket1," which currently has no objects stored.

The image shows a file upload dialog in the AWS S3 Management Console, with a folder named "CodeBuildDemo" open, displaying files like "buildspec" and "MessageUtil.zip".


Step 6: Create and Configure the CodeBuild Project

  1. In the AWS Console, open CodeBuild and click Create build project.
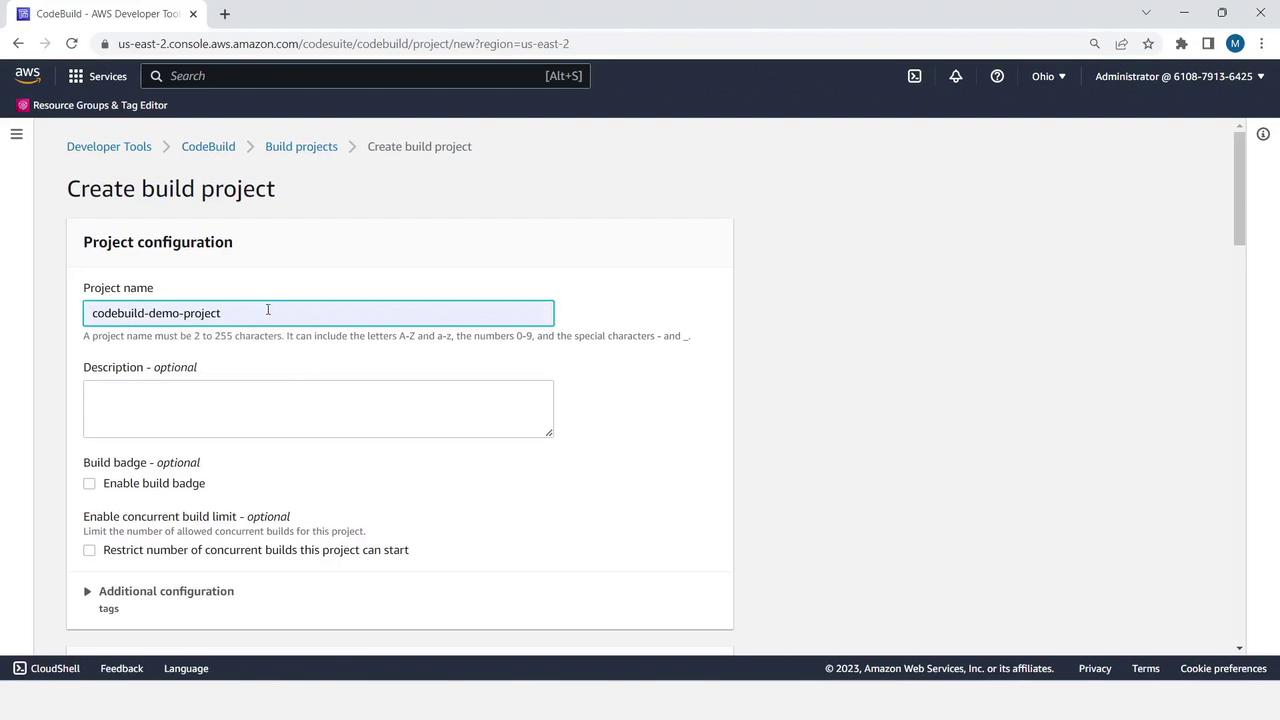
The image shows the AWS CodeBuild interface for creating a new build project, with fields for project name and optional description. The project name "codebuild-demo-project" is entered in the text box.

  1. Under Source, choose Amazon S3.

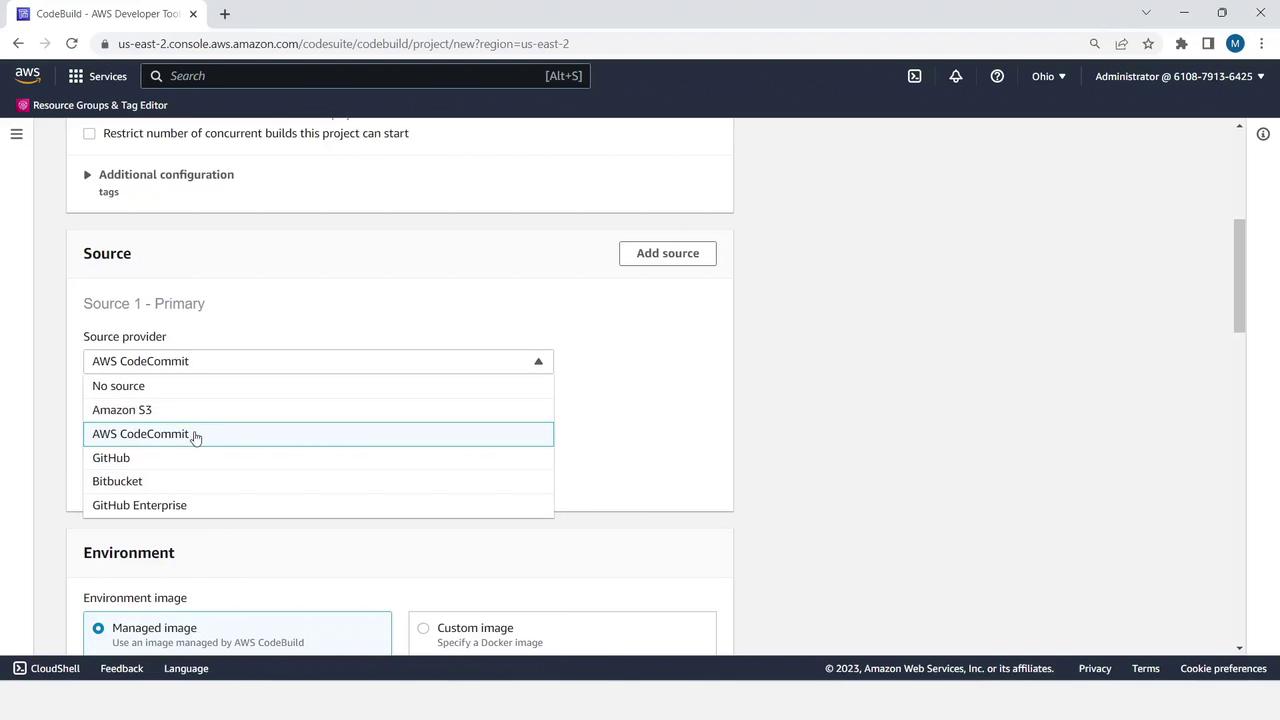
The image shows a screenshot of the AWS CodeBuild console, where a user is selecting a source provider from options like AWS CodeCommit, Amazon S3, GitHub, and Bitbucket.

  1. Select your input bucket and set Object key to MessageUtil.zip.
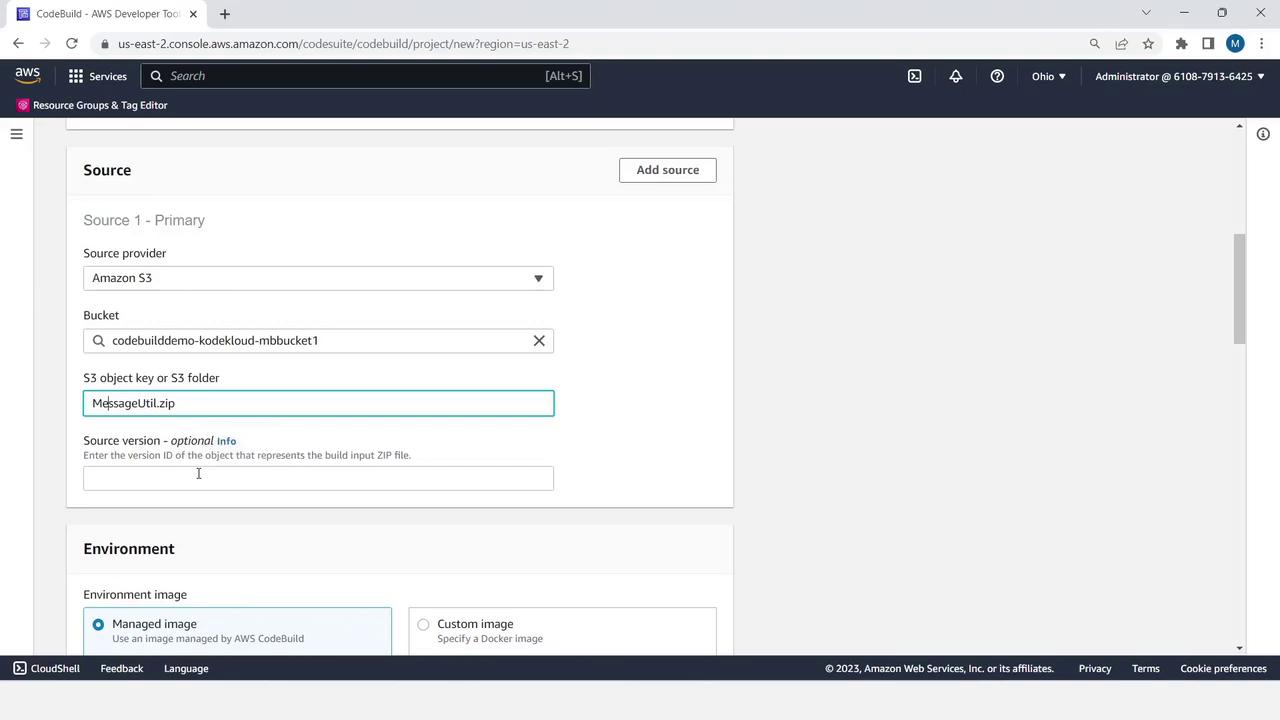
The image shows an AWS CodeBuild configuration screen where the source provider is set to Amazon S3, with a specified bucket and object key for a file named "MessageUtil.zip".

  1. Scroll to Environment:
    • Managed image
    • Operating system: Linux
    • Runtime: Standard
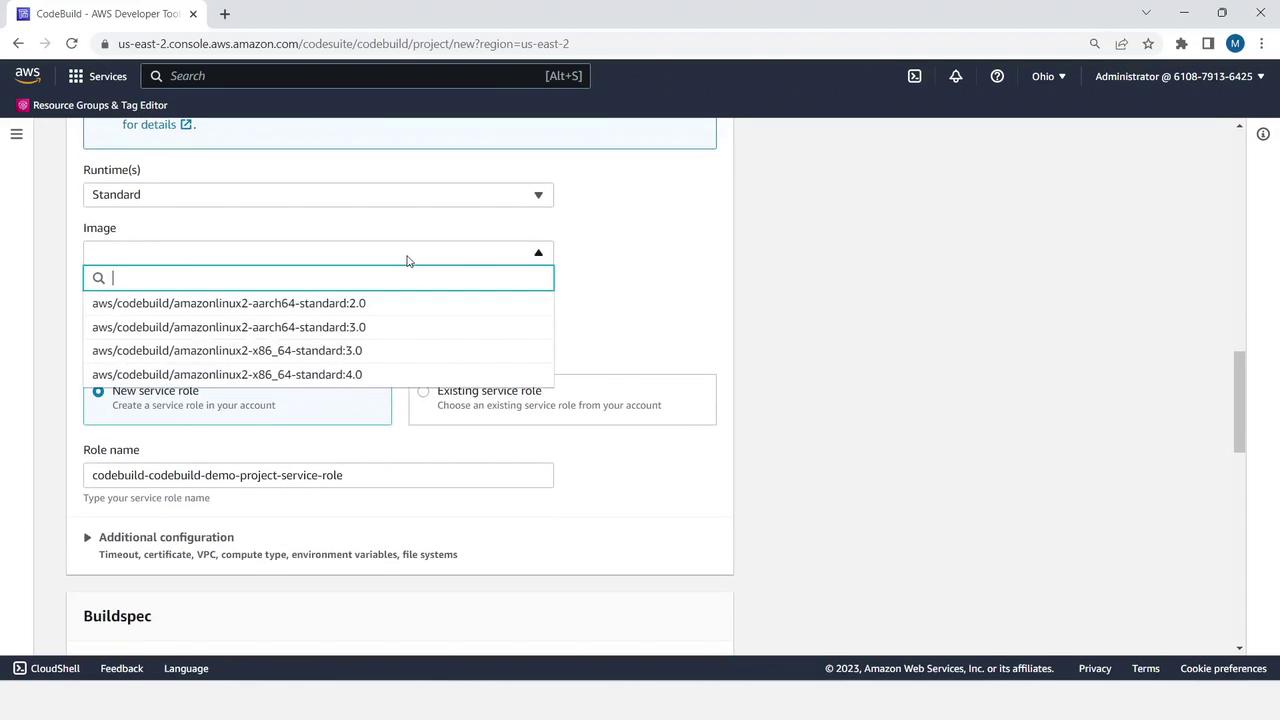
    • Image: x86_64 standard: 3.0

The image shows a screenshot of the AWS CodeBuild interface, where a user is selecting a runtime image and configuring a service role for a project.

  1. Under Buildspec, choose Use a buildspec file.
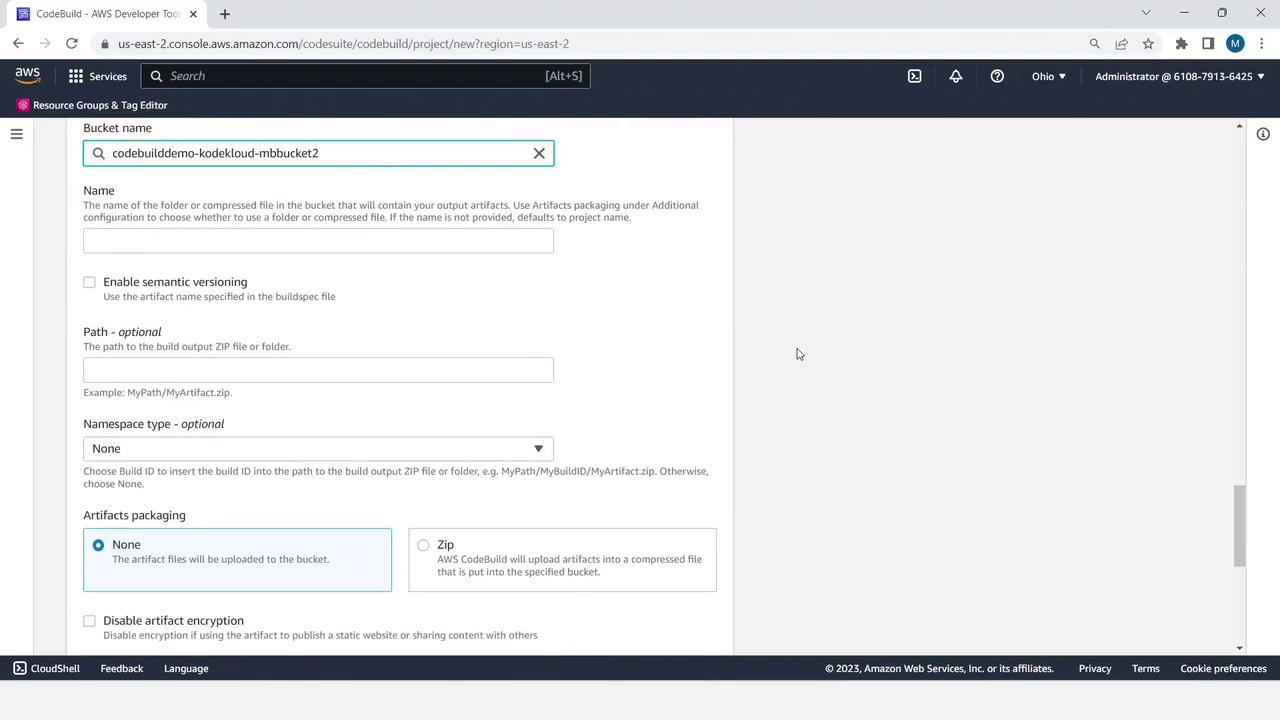
  2. For Artifacts, select Amazon S3 and pick your output bucket.
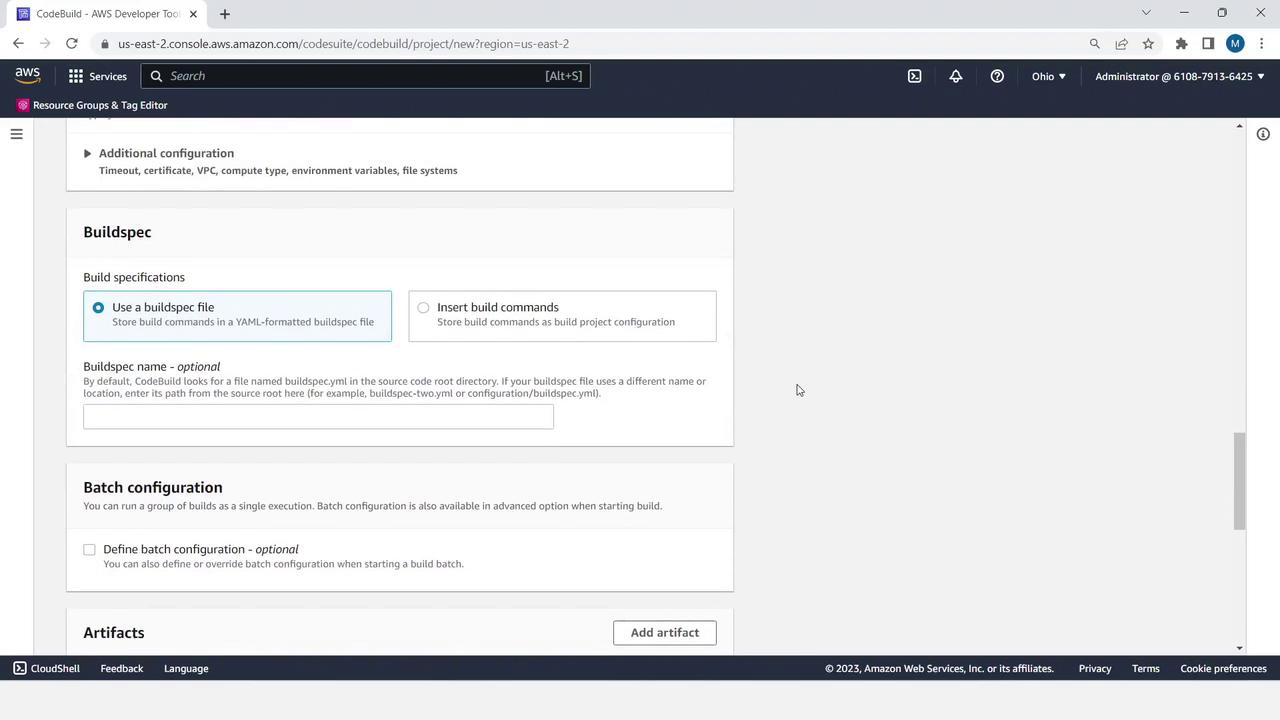
The image shows a screenshot of the AWS CodeBuild console, specifically the section for configuring build specifications, batch configuration, and artifacts. It includes options for using a buildspec file or inserting build commands directly.

The image shows an AWS CodeBuild configuration screen where a user is setting up a project with options for bucket name, semantic versioning, path, namespace type, and artifact packaging.

  1. Click Create build project to finalize.

Step 7: Start the Build and Monitor Logs

  1. Select your newly created project and click Start build.
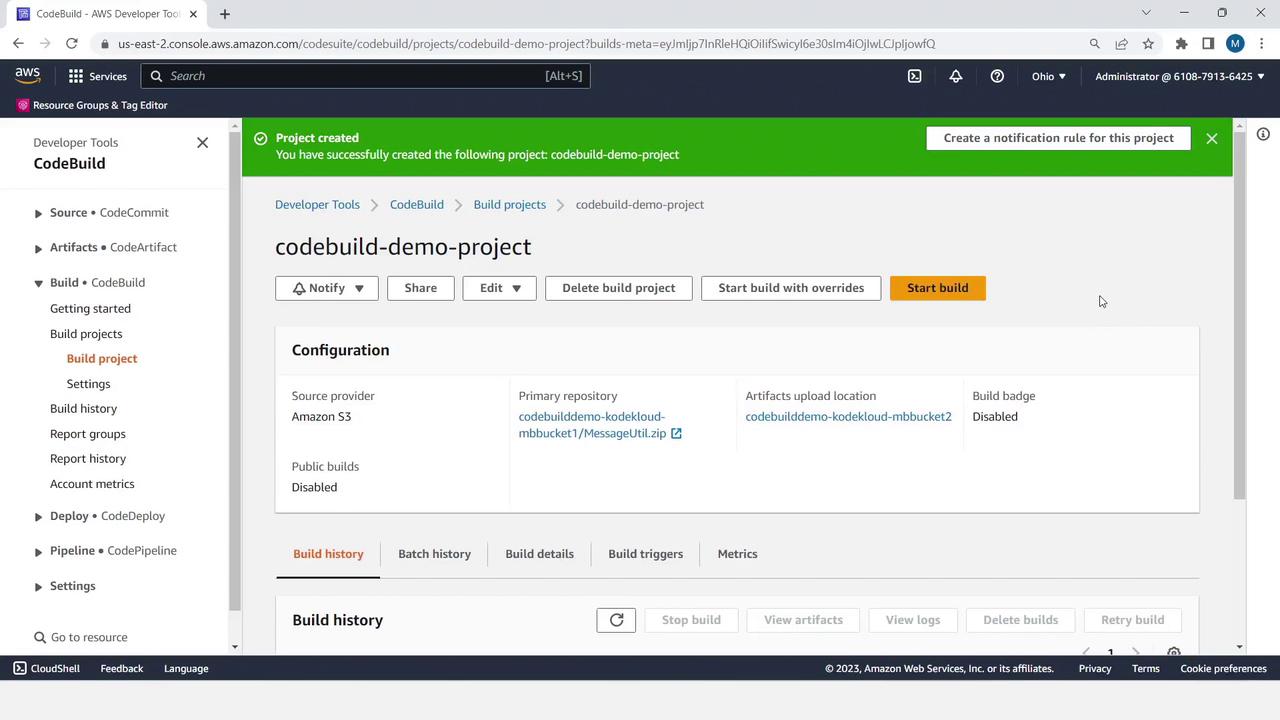
The image shows an AWS CodeBuild project interface with configuration details for a project named "codebuild-demo-project." It includes options to start a build, edit, or delete the project, and displays build history and configuration settings.

  1. Watch the real-time logs for each build phase:
[Container] 2023/04/29 17:58:45 Waiting for agent ping
[Container] 2023/04/29 17:58:48 Phase is DOWNLOAD_SOURCE
[Container] 2023/04/29 17:58:49 Selecting 'java' runtime version 'corretto'...
[Container] 2023/04/29 17:58:49 Running command mvn install
...
  1. Upon completion, you’ll see Succeeded status and your JAR files in the output bucket.
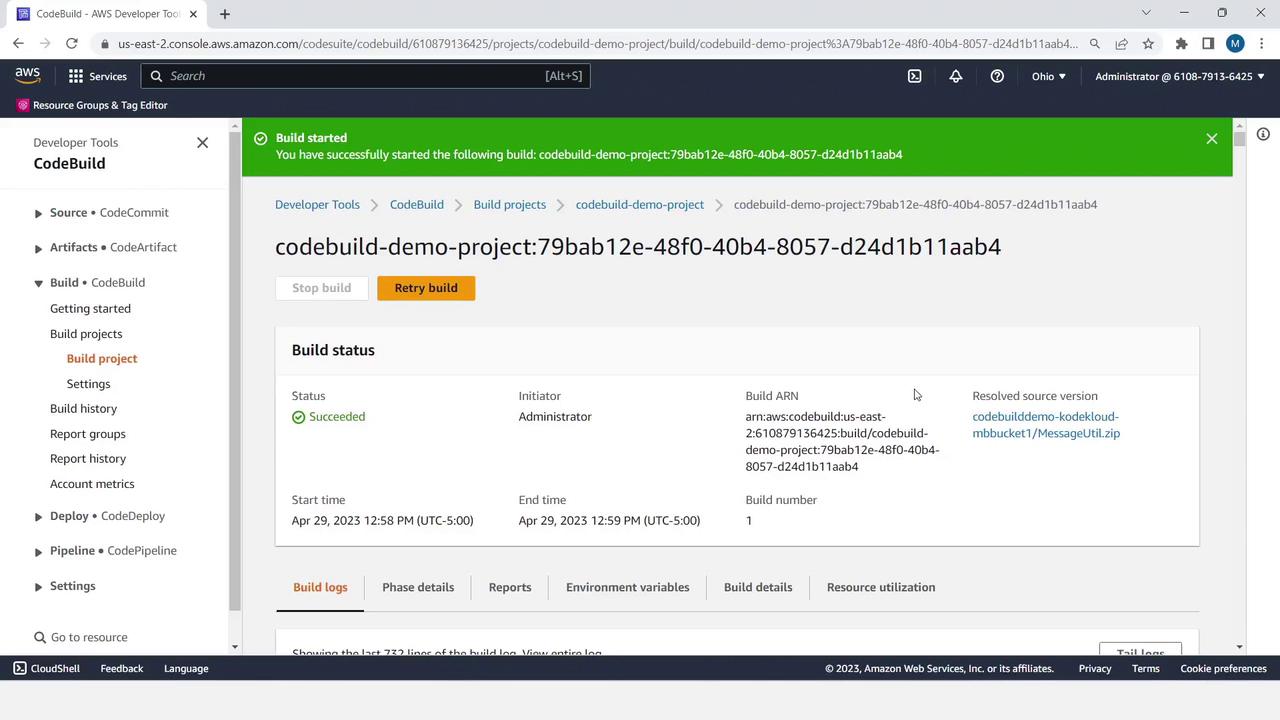
The image shows an AWS CodeBuild interface with a build project that has successfully completed. The build status is marked as "Succeeded," and details such as start and end times are displayed.


What’s Next?

You’ve successfully automated a Java build using AWS CodeBuild and S3. In upcoming lessons, we’ll explore deployment strategies using AWS CodeDeploy and AWS CloudFormation.


References

Watch Video

Watch video content

Practice Lab

Practice lab

Previous
Build stage with AWS CodeBuild