AWS CodePipeline (CI/CD Pipeline)
Creating a CICD pipeline with AWS CodePipeline
Demonstration 3 Create 4 Stage Pipeline
In this walkthrough, you will build a complete AWS CodePipeline CI/CD workflow with four stages—Source, Build, Test, and Deploy—using AWS CodeCommit, CodeBuild, CodeDeploy, and EC2. Automating these steps ensures consistent, repeatable deployments and faster delivery cycles.
Pipeline Overview
| Stage | AWS Service | Purpose |
|---|---|---|
| Source | CodeCommit | Store application code and scripts |
| Build | CodeBuild | Install dependencies and compile assets |
| Test | CodeBuild | Run automated tests |
| Deploy | CodeDeploy | Deploy artifacts to EC2 instances |
1. Source Stage with CodeCommit
- Open the AWS CodeCommit console and create a new repository named
kodekloudcpdemo.

- Enter Repository name as
kodekloudcpdemoand click Create.

- Clone the repo locally:
git clone https://git-codecommit.us-east-2.amazonaws.com/v1/repos/KodeKloudCPDemo
- Back in the console, click Upload file to add your application files (
after_install,application_start,appspec.yml, etc.). For each file, provide an author name and email, then commit.

- After each commit, you’ll see a success notification:
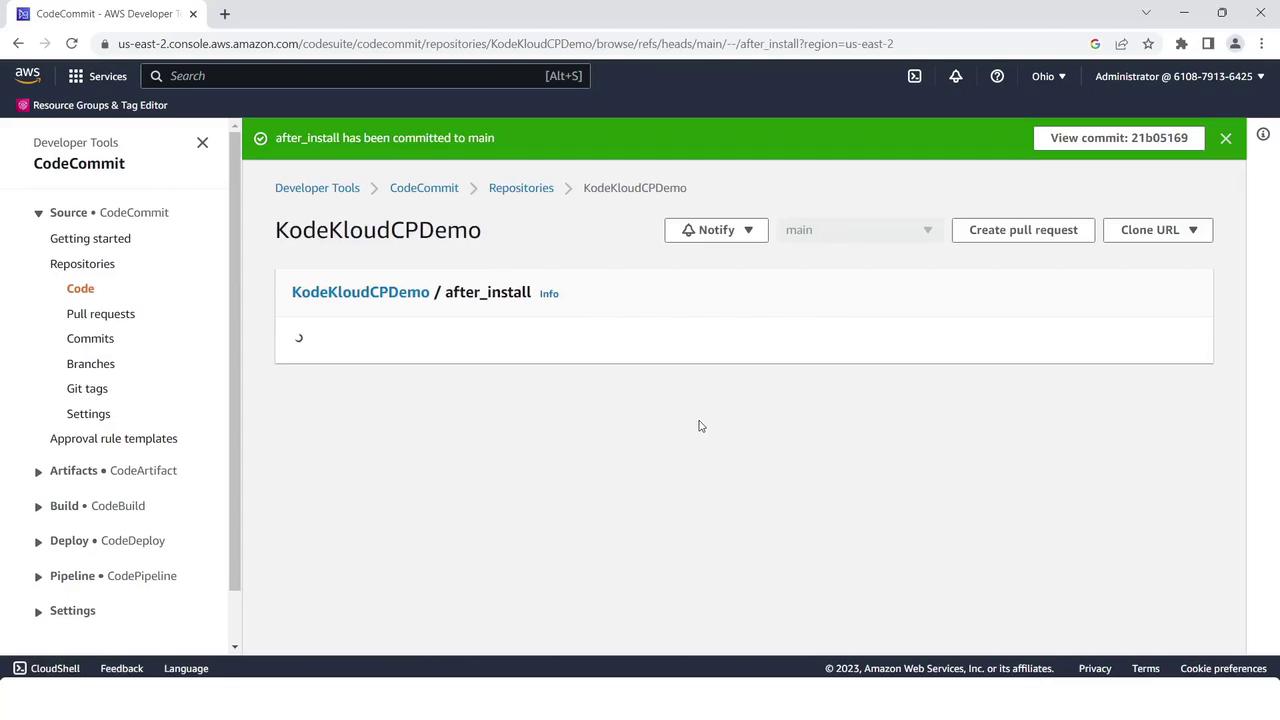
- When all nine files are uploaded, your repo should list them as shown:

2. Build Stage with CodeBuild
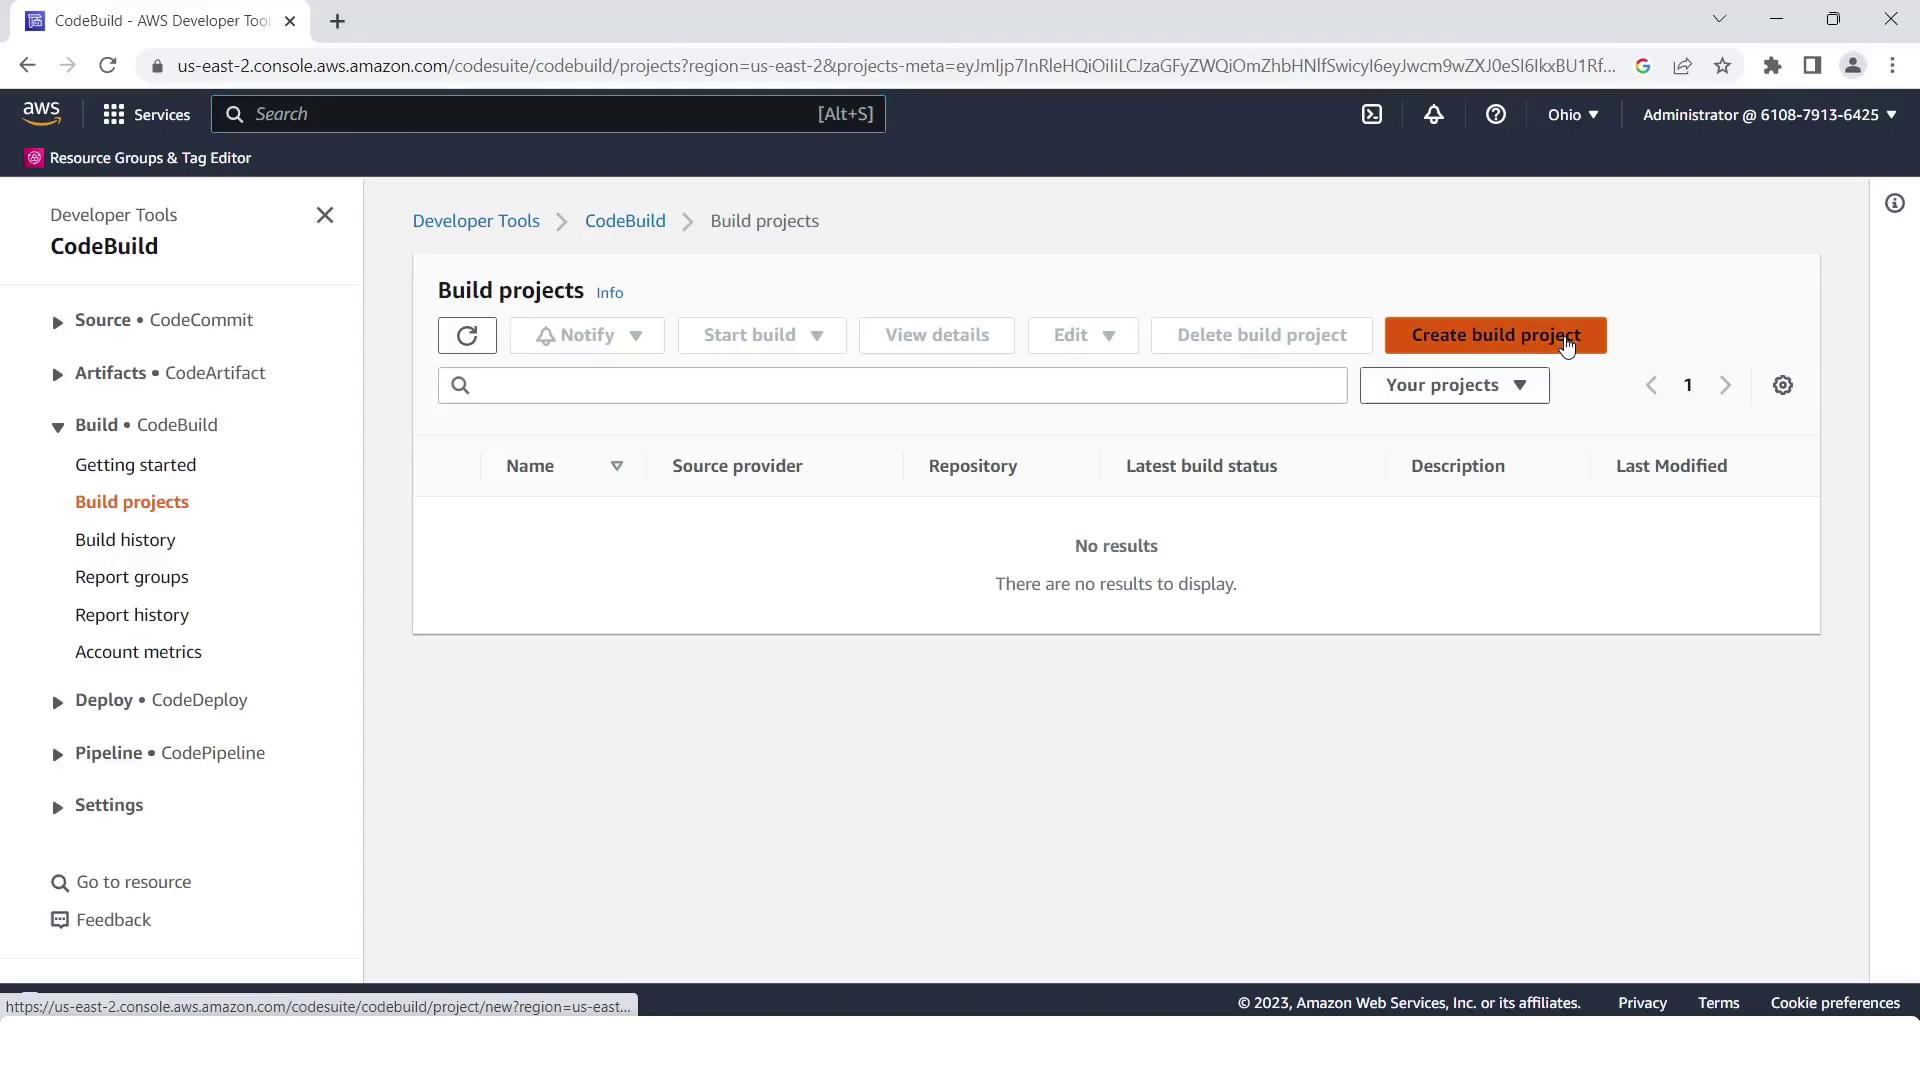
- Navigate to the AWS CodeBuild console and click Create build project.
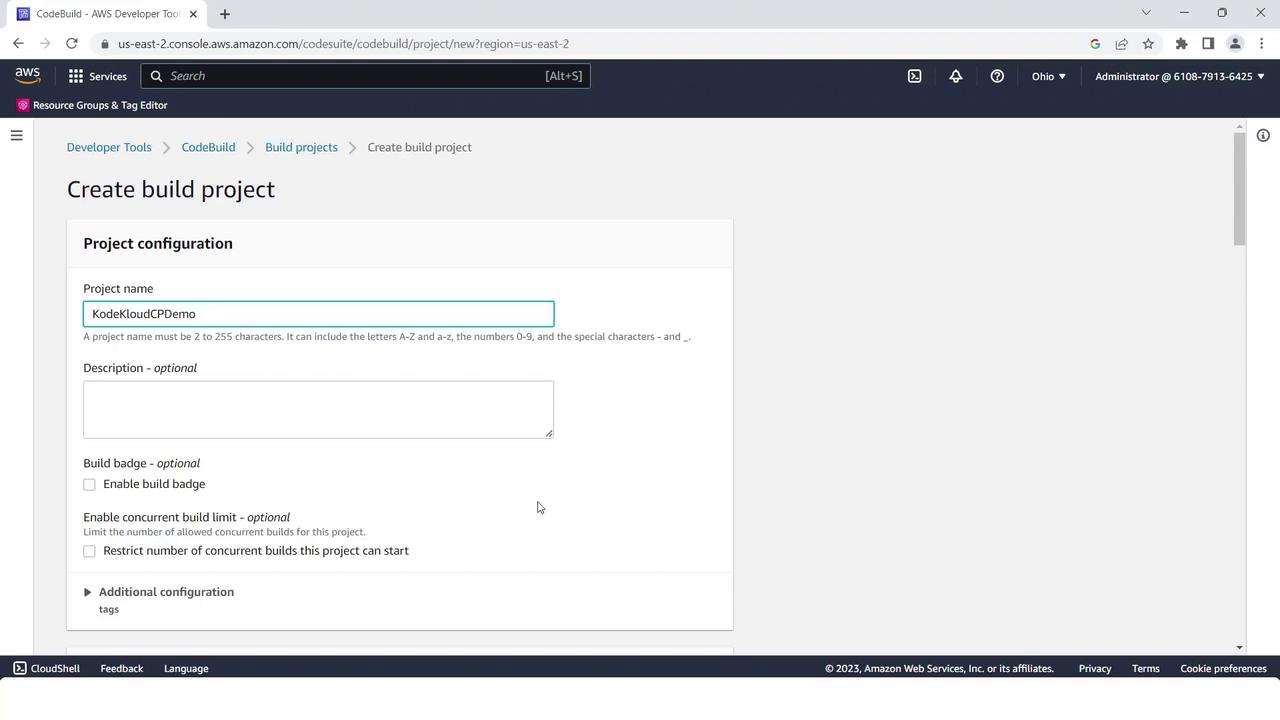
- Set Project name to
KodeKloudCPdemo.
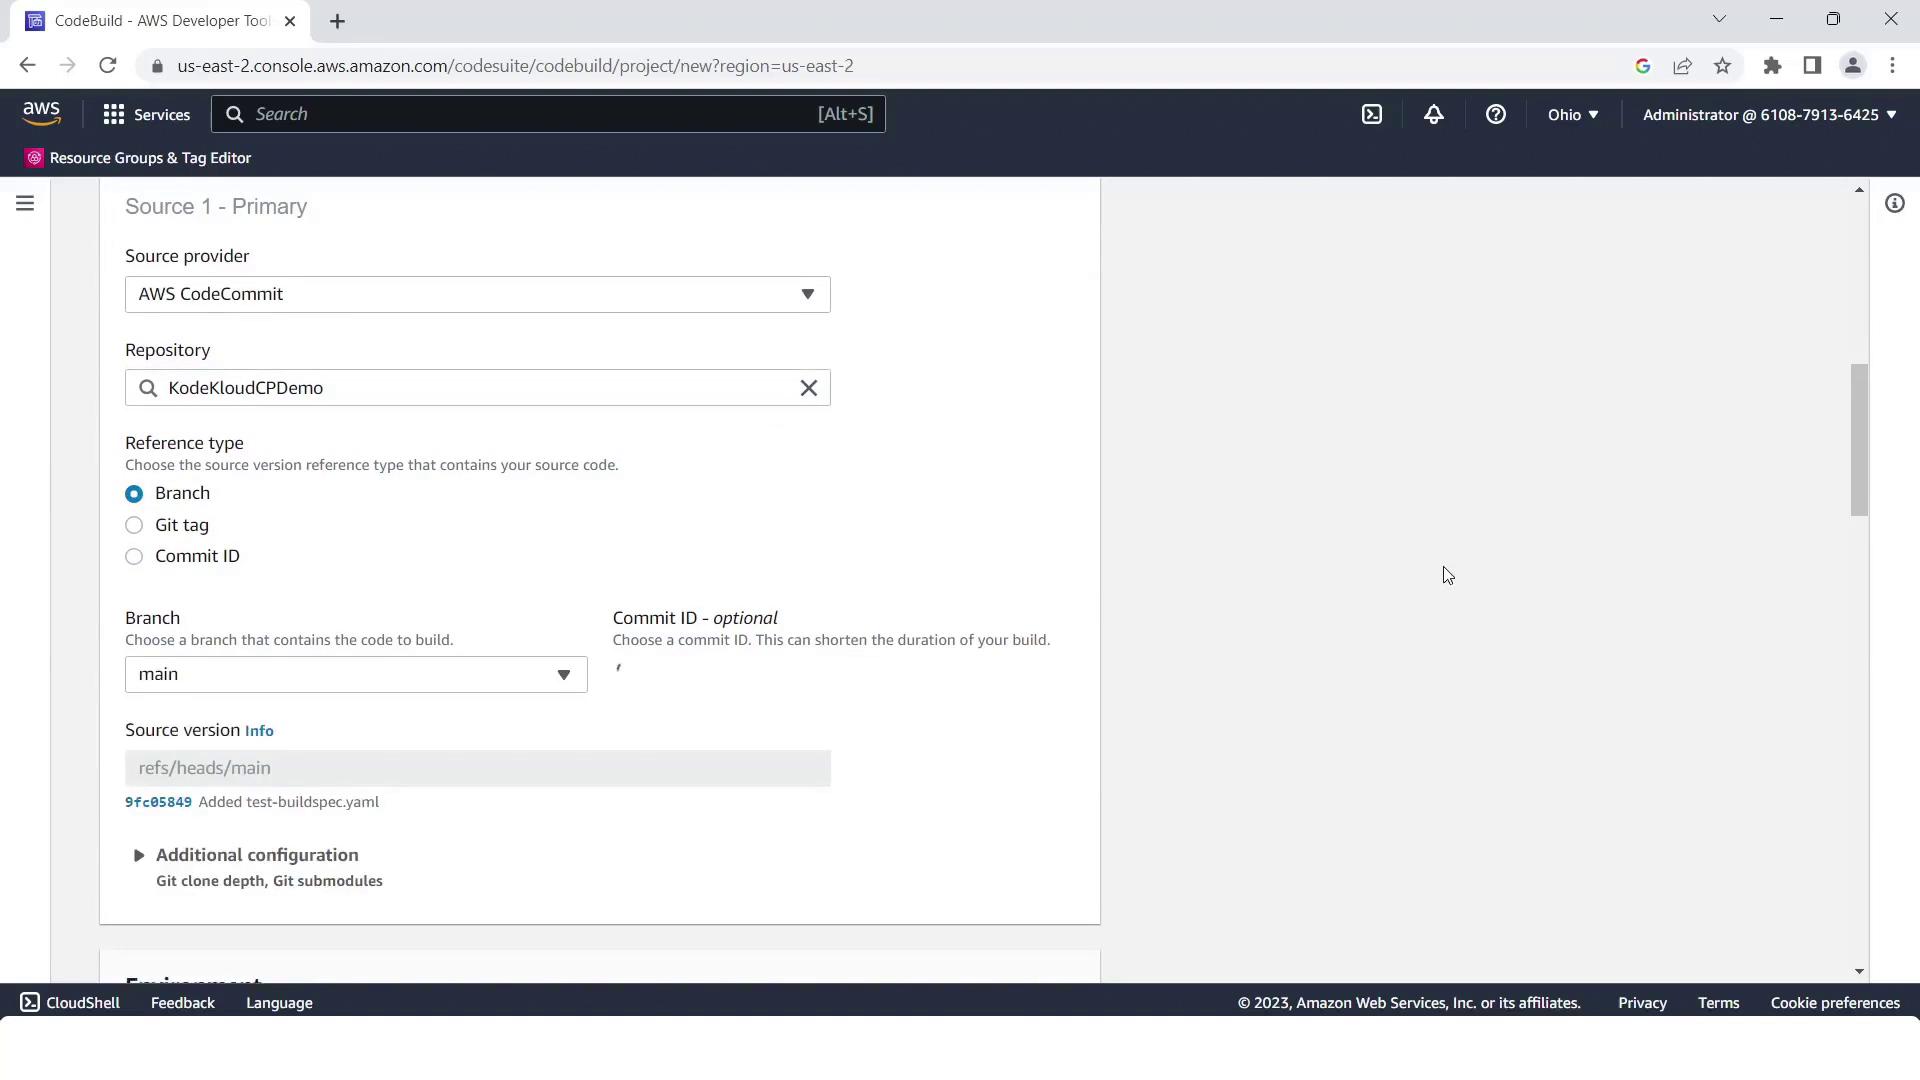
- Under Source, select AWS CodeCommit, choose
kodekloudcpdemo, and branchmain.
In Environment, pick:
- Operating system: Linux
- Runtime: Standard
- Image: aws/codebuild/standard:2.0
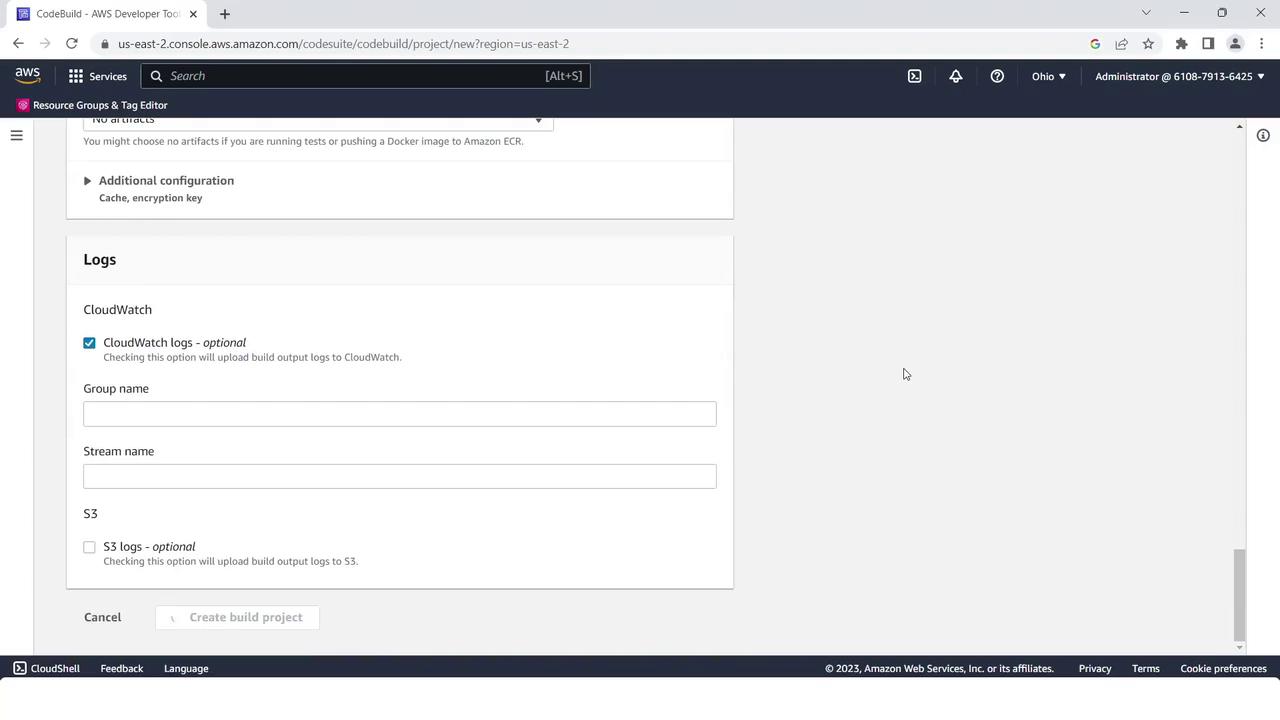
Keep service role and log settings at their defaults, then click Create build project.
- Confirm your project is ready:
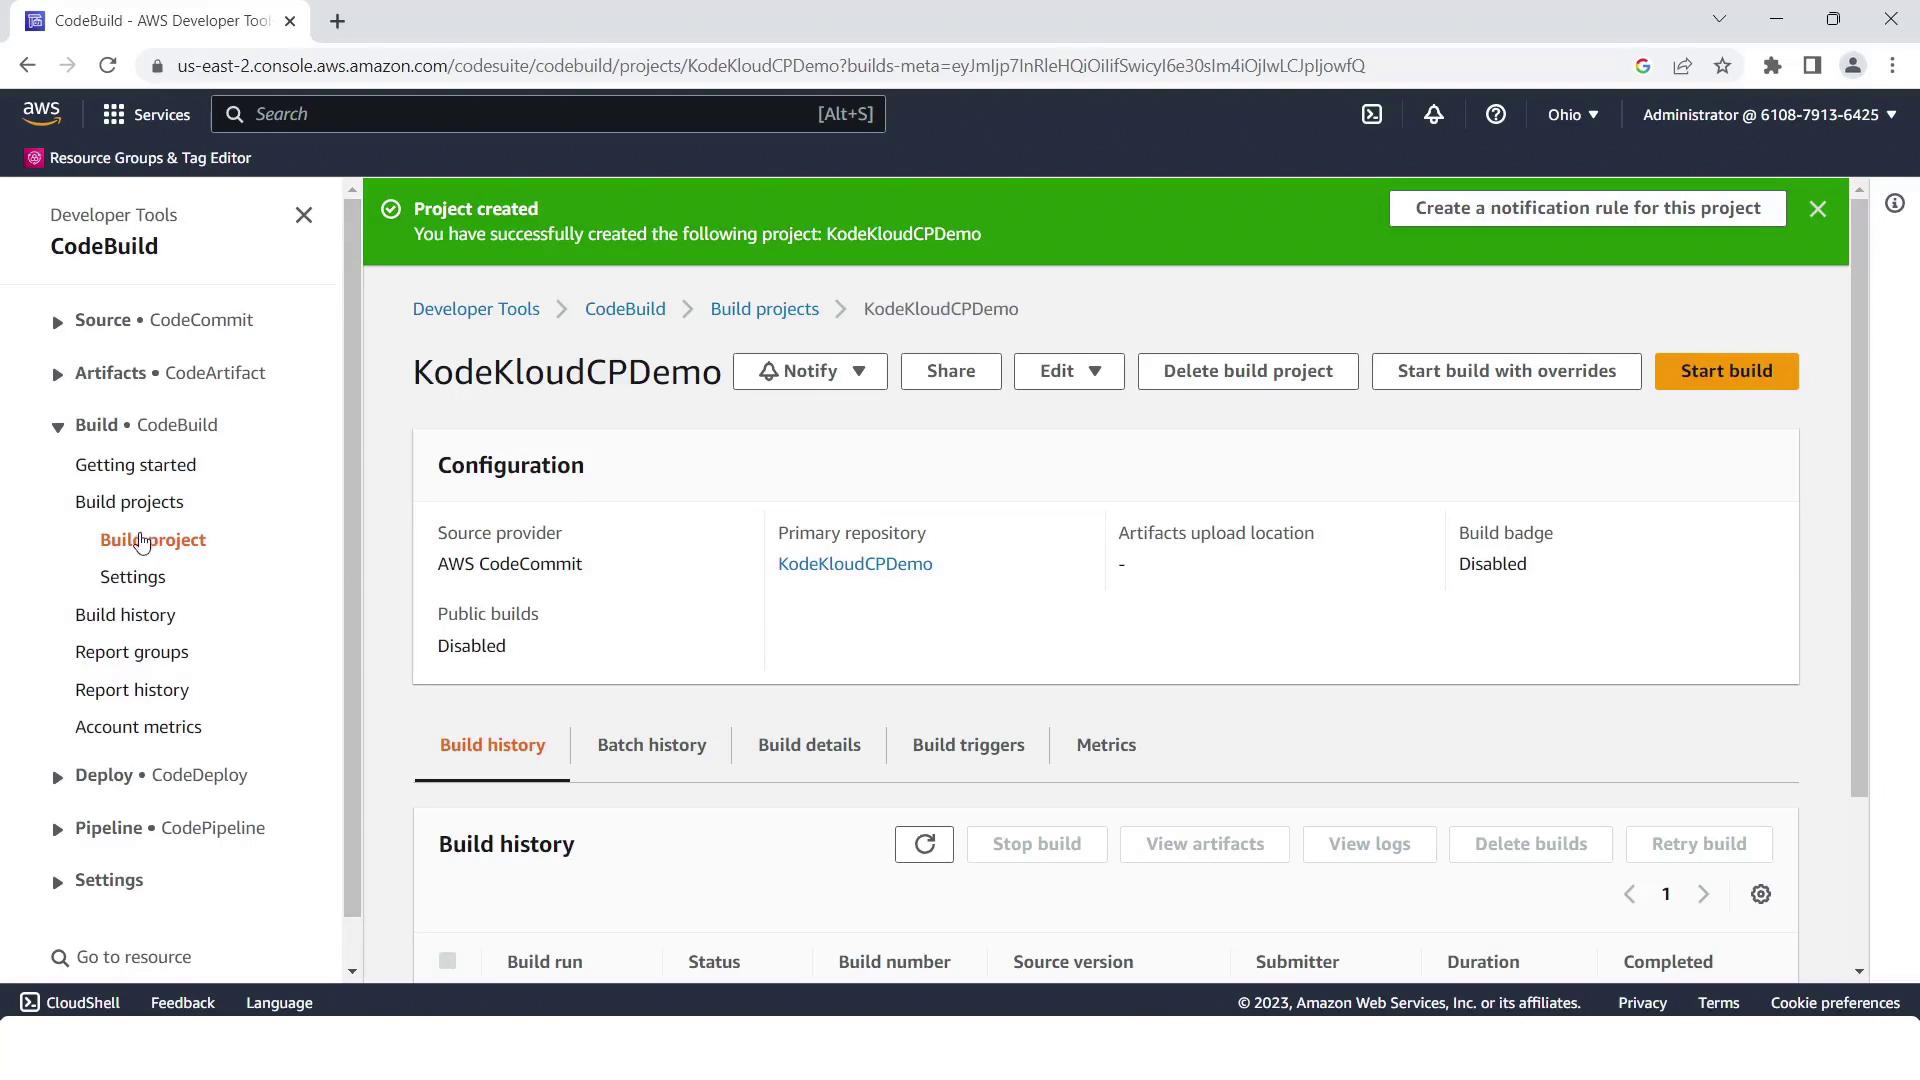
Warning
The default buildspec.yml uses Node.js 14, but your app requires Node.js 10. Update the runtime-versions accordingly to avoid build failures.
Adjusting the Buildspec
Open buildspec.yml in your CodeCommit repo. Change Node.js version from 14 to 10:
version: 0.2
phases:
  install:
    runtime-versions:
      nodejs: 10
    commands:
      - echo "Installing dependencies"
      - npm install
  build:
    commands:
      - echo "Building the application"
      - npm run build
artifacts:
  files:
    - '**/*'
Commit your changes with author metadata.
3. Prepare EC2 Instances for CodeDeploy
- In the EC2 console, click Launch Instance.
- Name the instance
CodePipelineCPdemoand choose an Ubuntu AMI. - Select or create a key pair.
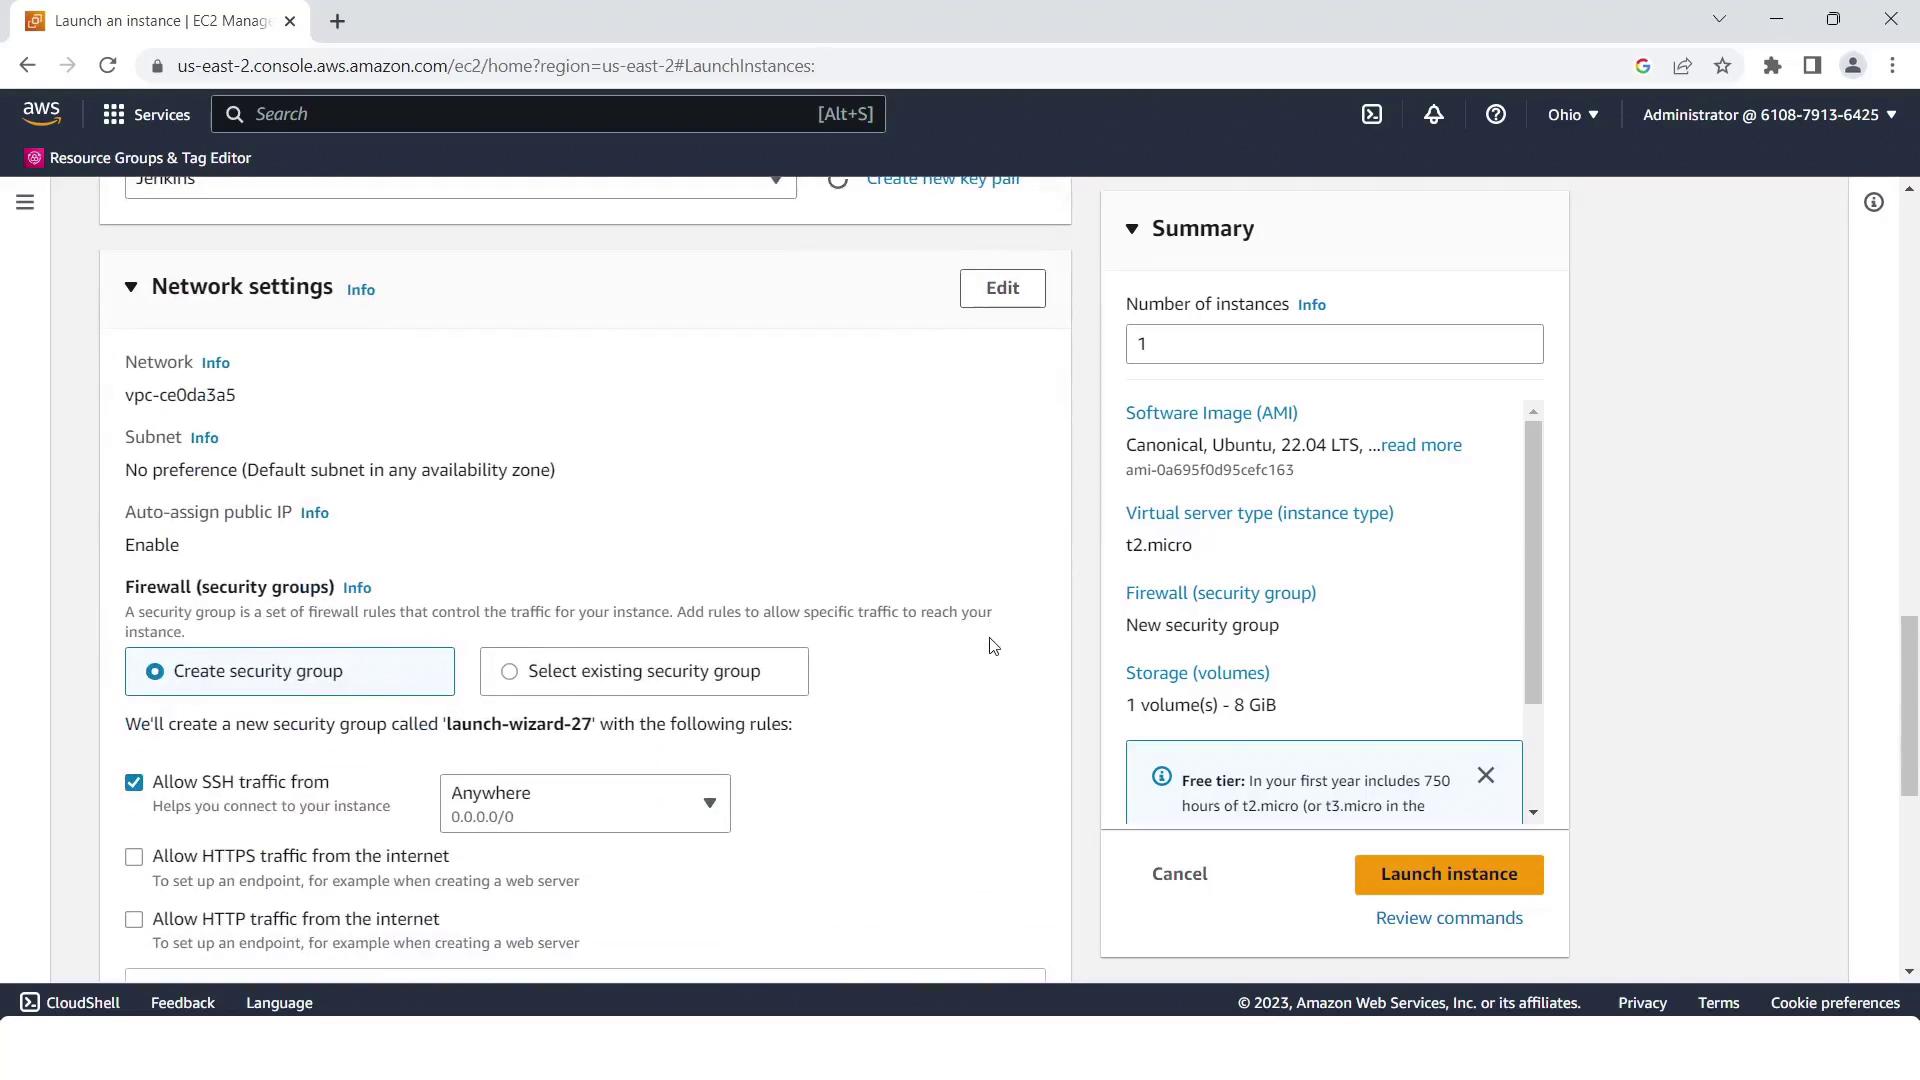
- Open HTTP (port 80) and HTTPS (port 443) in the security group.
- Enable Auto-assign Public IP.
- Under Advanced Details, attach an IAM instance profile with CodeDeploy permissions.
- Click Launch Instance.
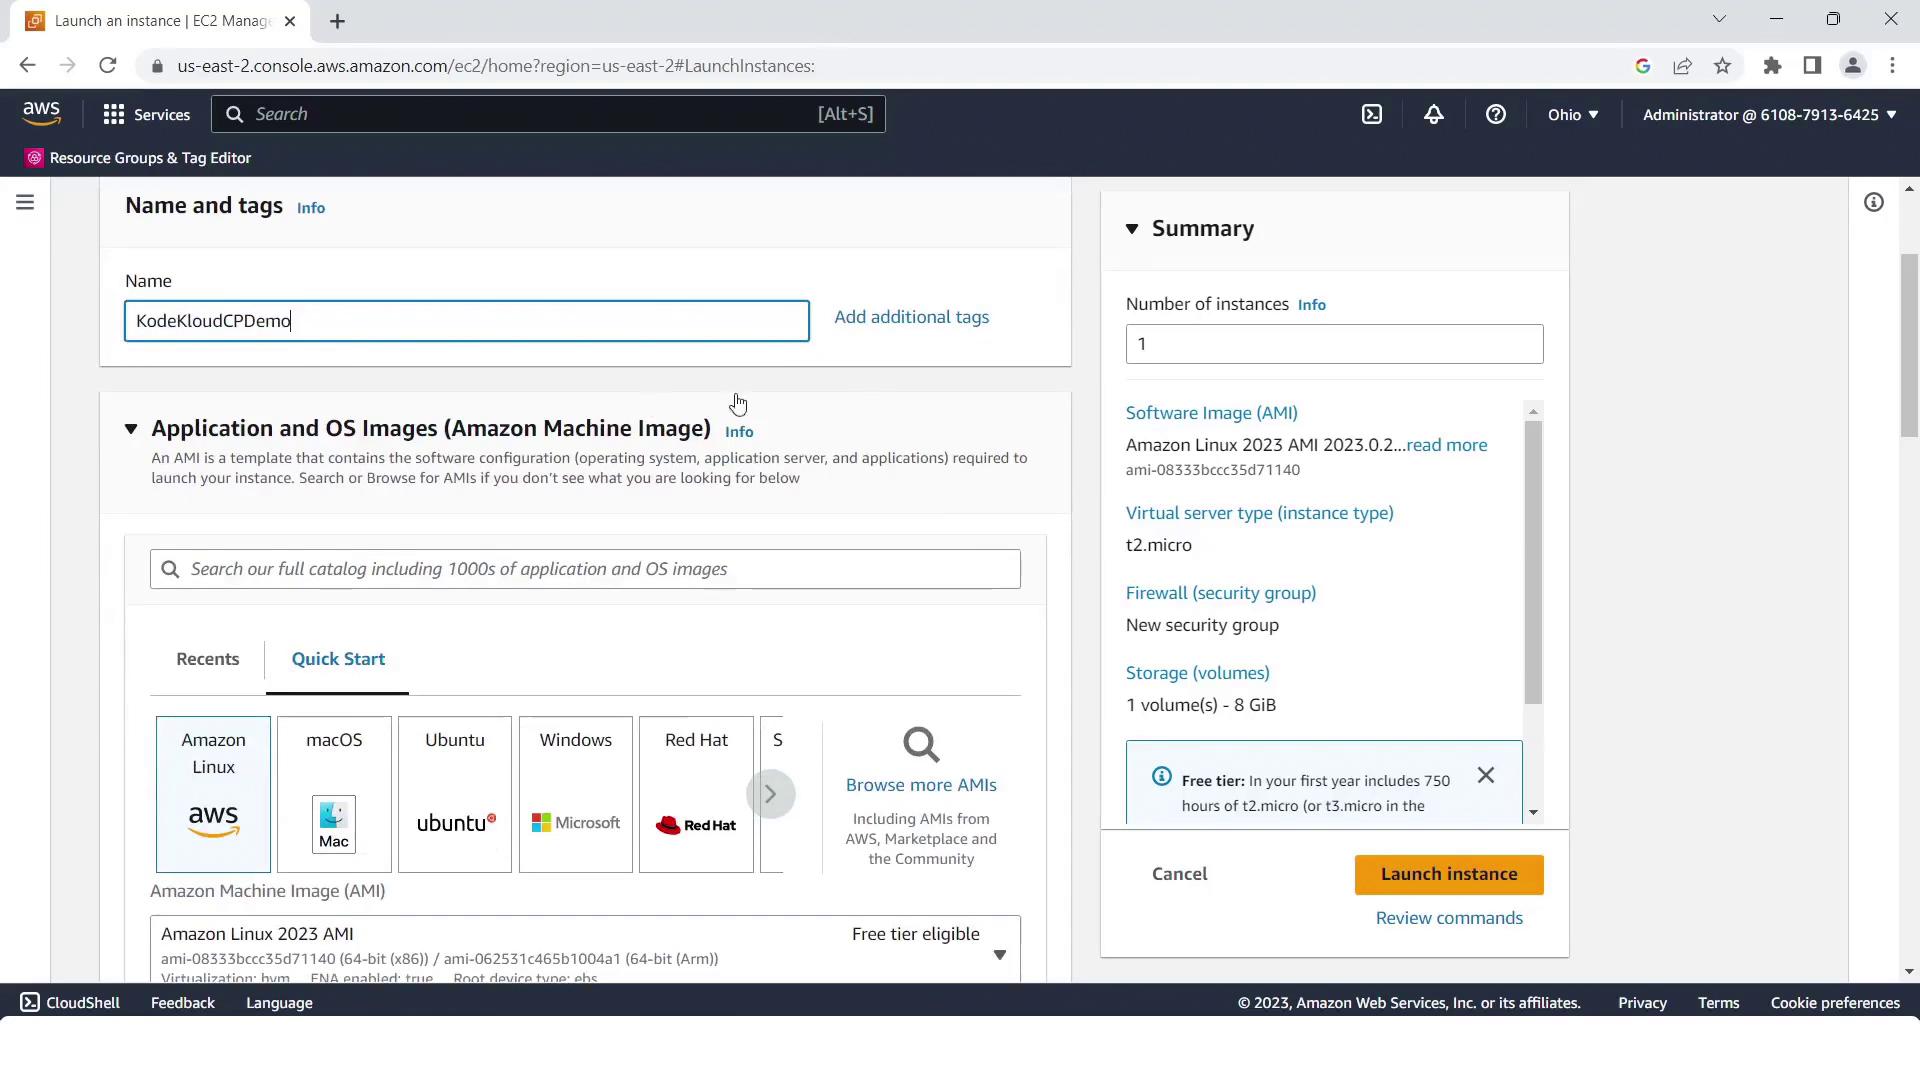
Review network settings and instance summary:
Select the IAM role:
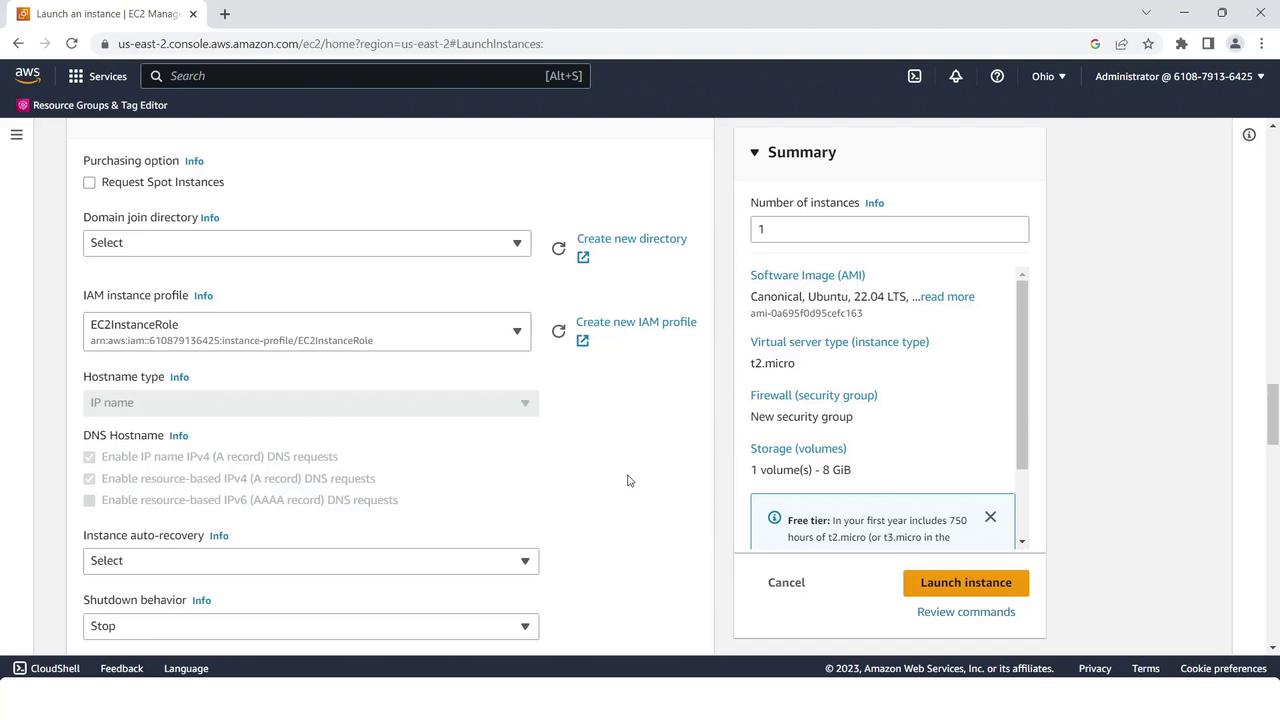
Verify the instance is running before proceeding to CodeDeploy.
Note
Ensure the IAM instance profile has AmazonEC2RoleforAWSCodeDeploy permissions so the CodeDeploy agent can communicate with AWS.
4. Deploy Stage with CodeDeploy
- Go to the AWS CodeDeploy console and click Create application.
- Name it
KodeKloudCPdemoand choose EC2/On-premises as the compute platform.
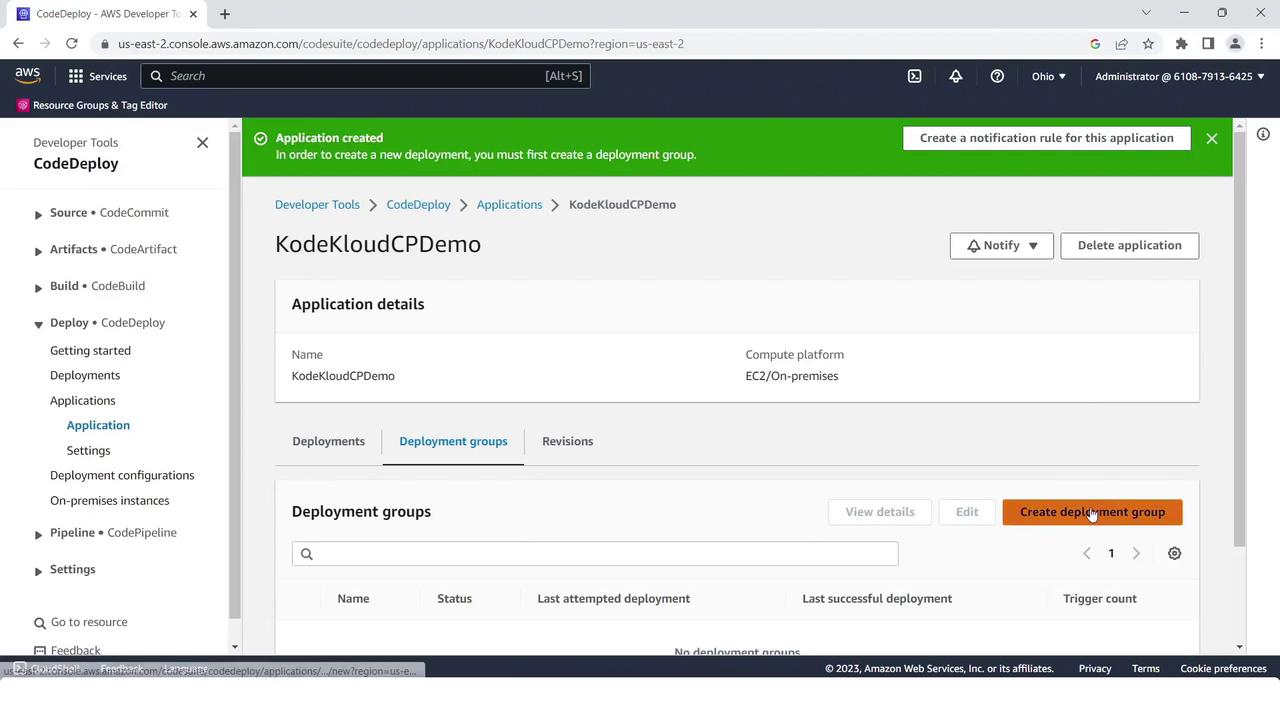
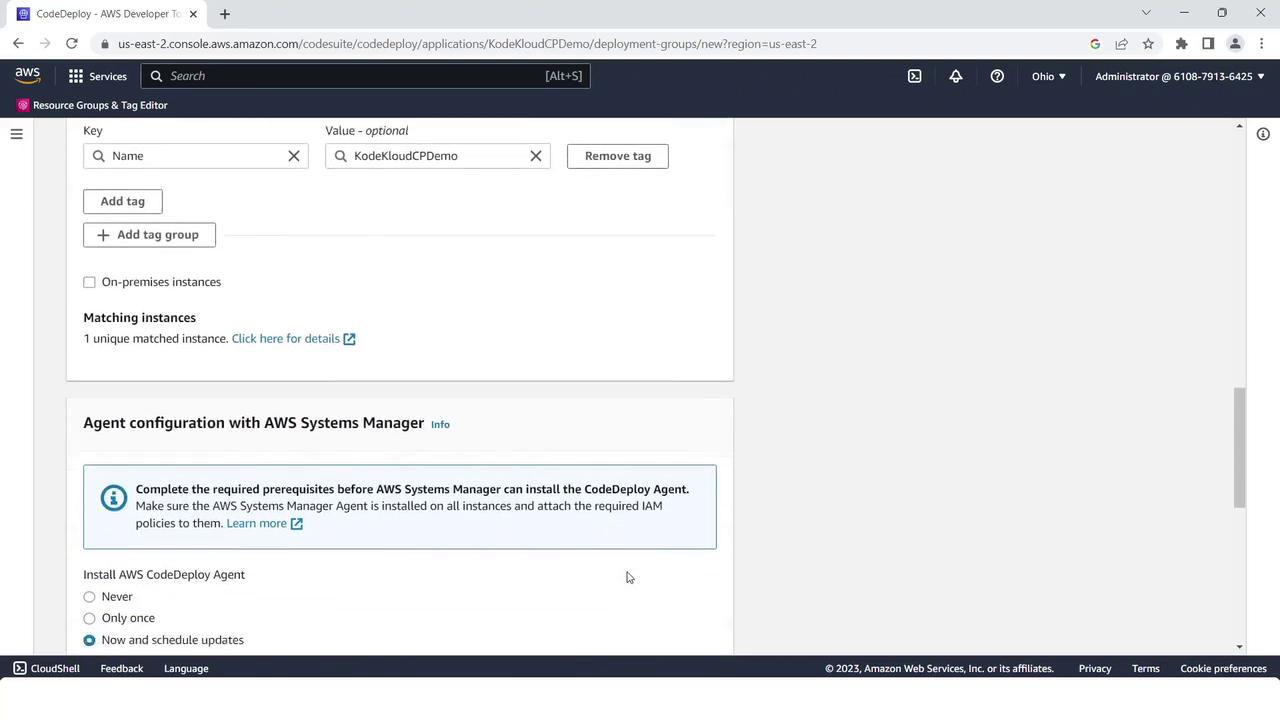
- Create a deployment group:
- Name: KodeKloudCPdemo
- Service role: CodeDeployDefault (or your custom role)
- Uncheck load balancer integration.
- Environment: EC2/On-premises
- Tag key/value matching your EC2 instance (
Name=CodePipelineCPdemo).
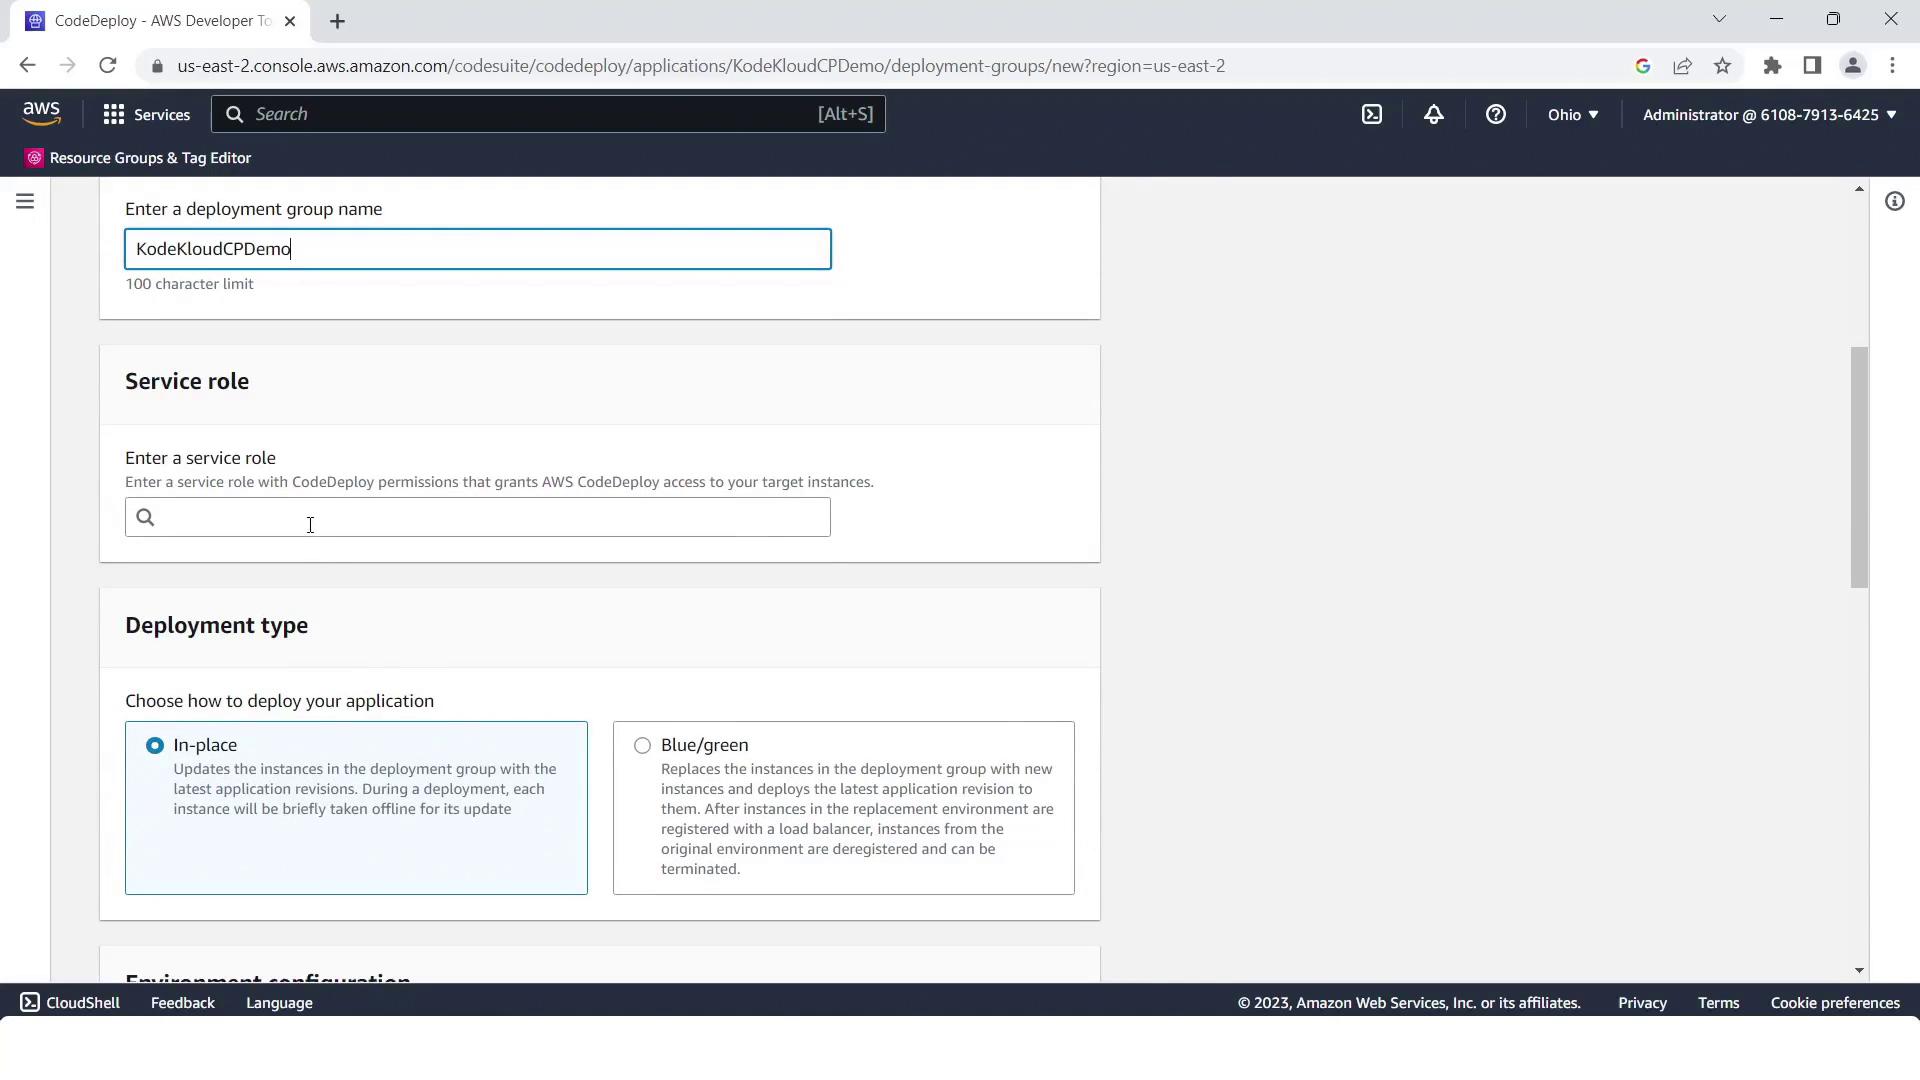
- Select the EC2 instance by tag:
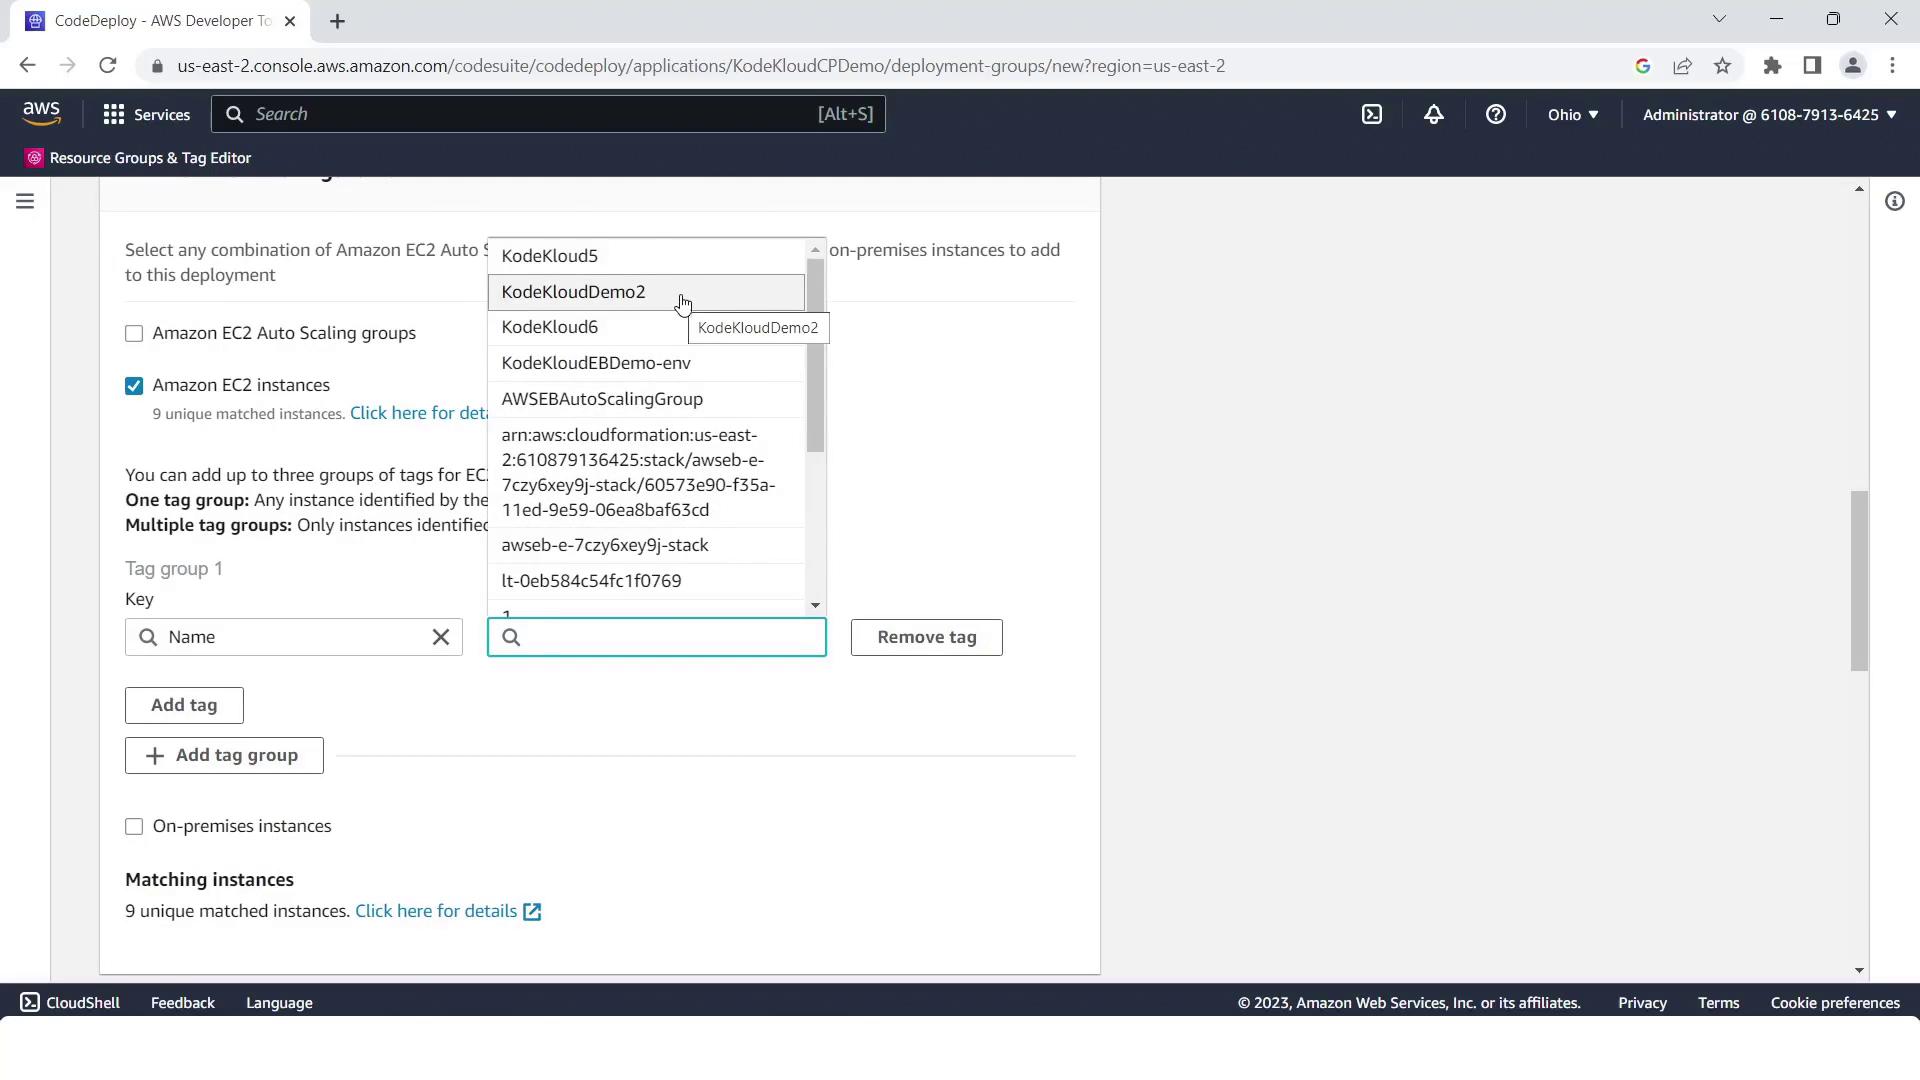
- (Optional) Install or verify the CodeDeploy agent via Systems Manager, then click Create deployment group.
5. Create the Four-Stage Pipeline
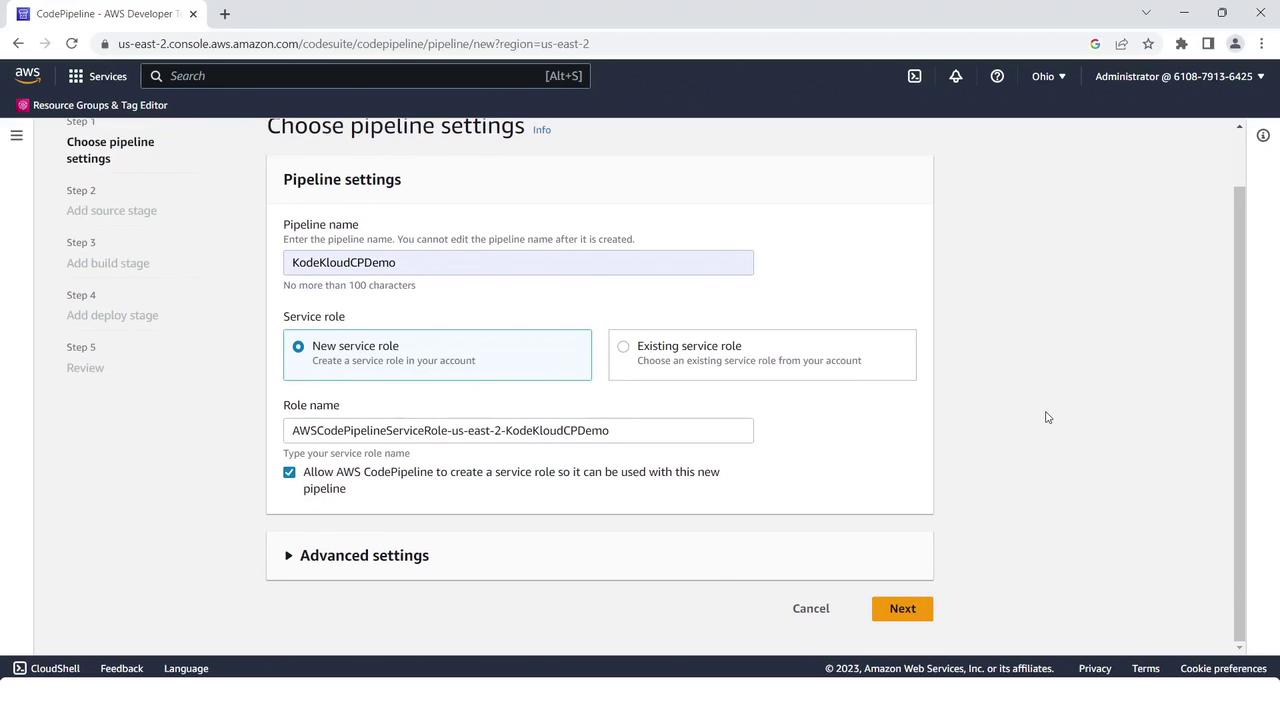
- Open the AWS CodePipeline console and click Create pipeline.
- Name it
KodeKloudCPdemoand use the default service role.
Source Stage
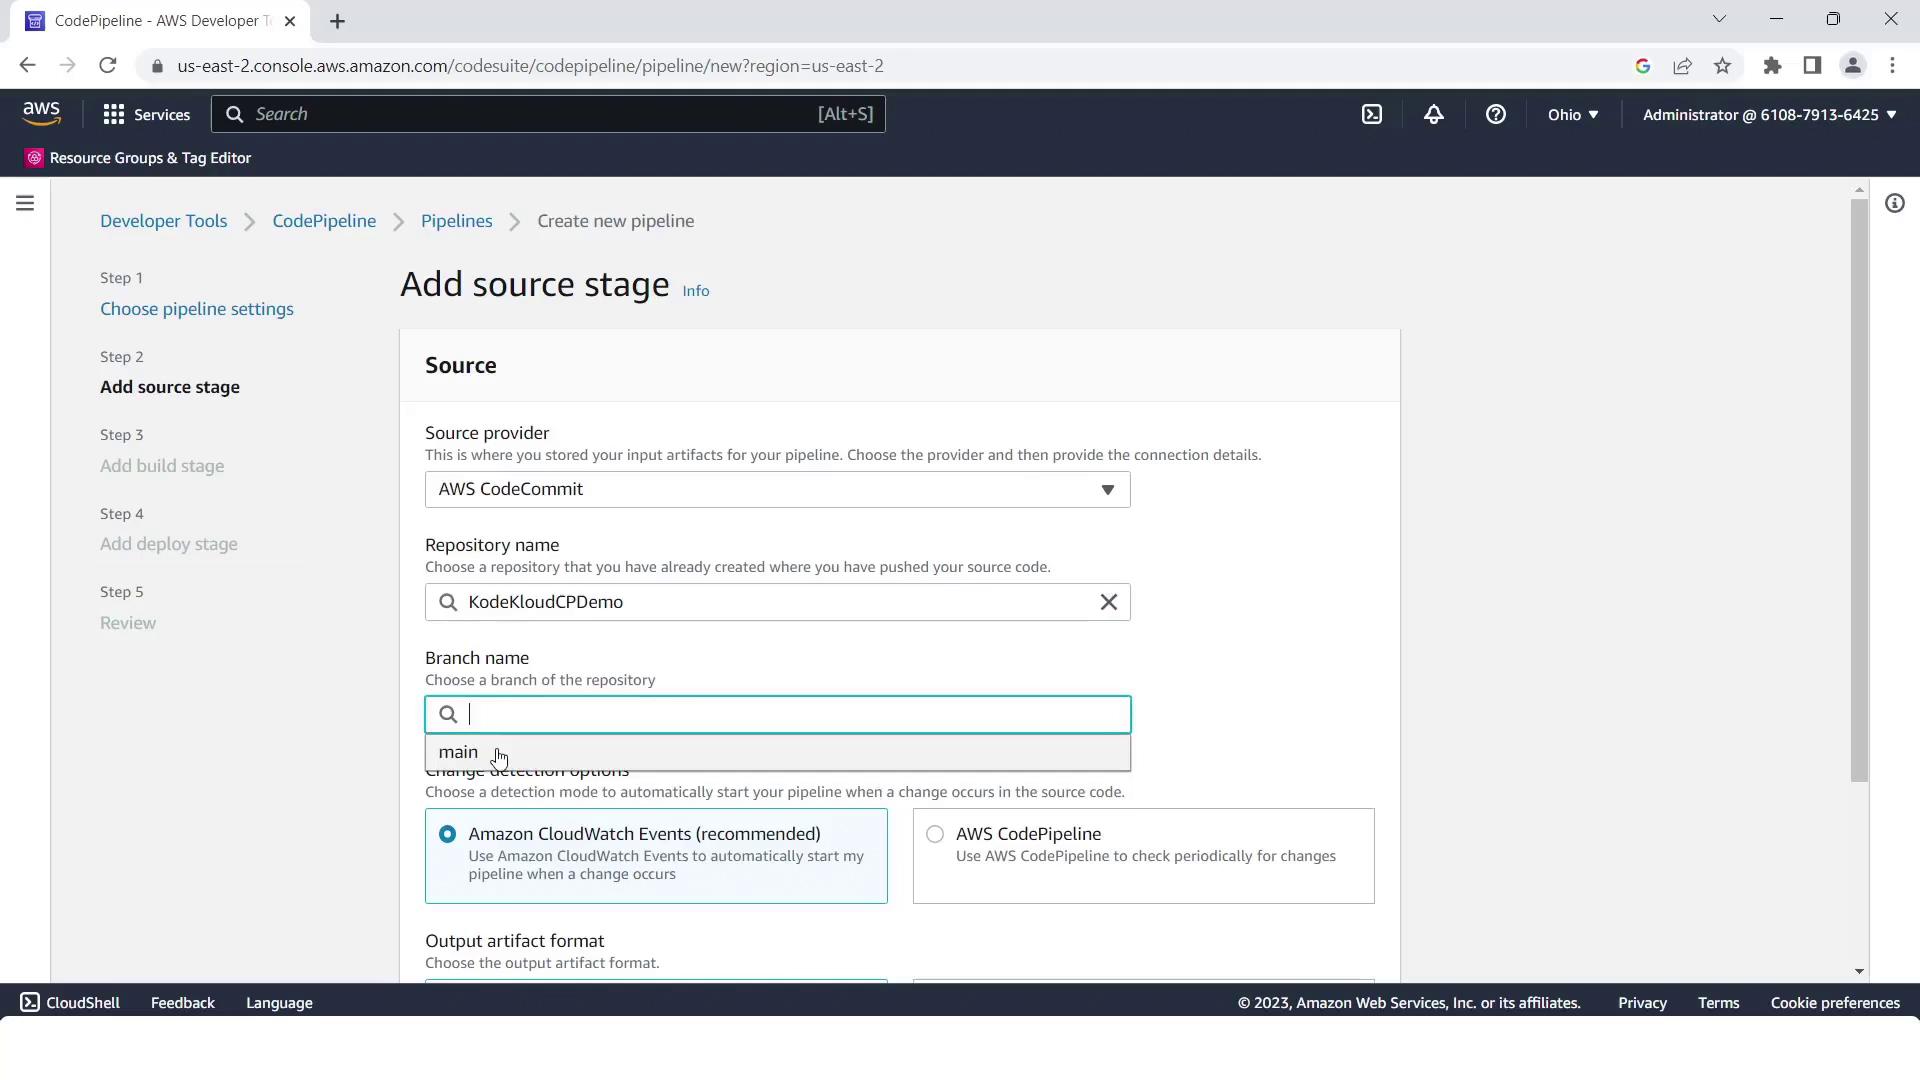
- Provider: AWS CodeCommit
- Repository:
kodekloudcpdemo - Branch:
main
Build Stage
- Provider: AWS CodeBuild
- Project name:
KodeKloudCPdemo

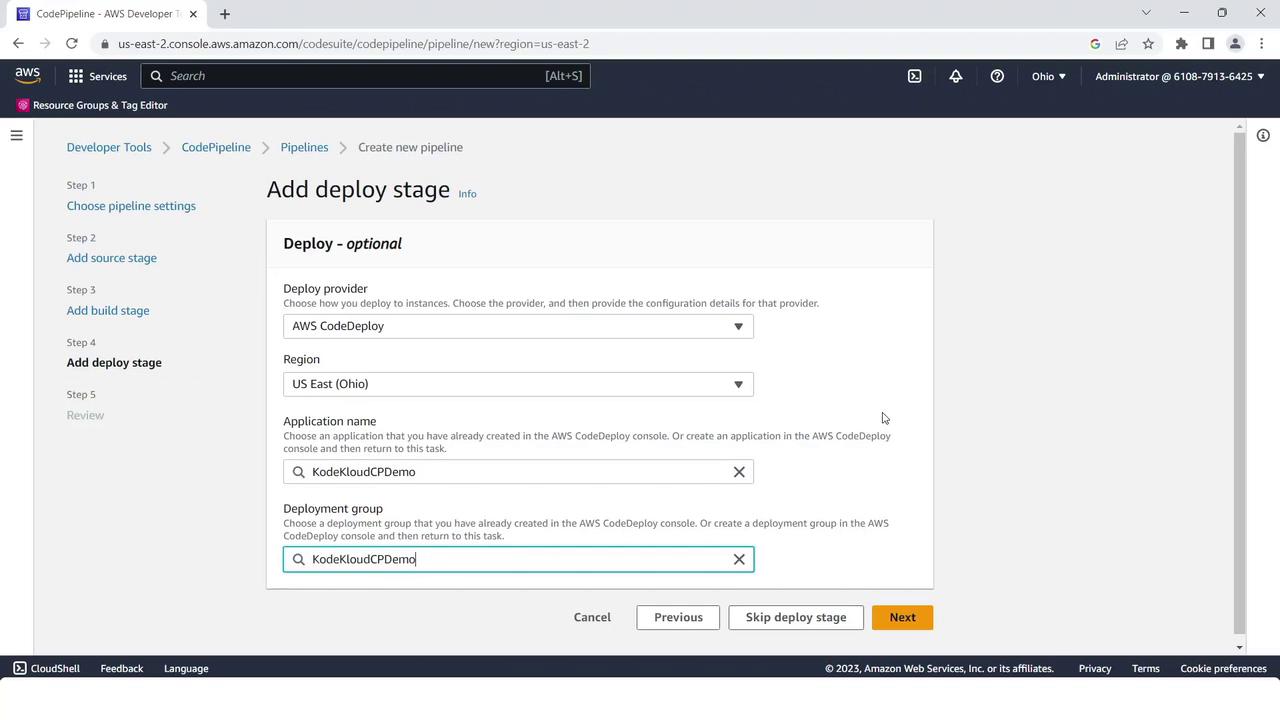
Deploy Stage
- Provider: AWS CodeDeploy
- Region: your AWS Region
- Application:
KodeKloudCPdemo - Deployment group:
KodeKloudCPdemo
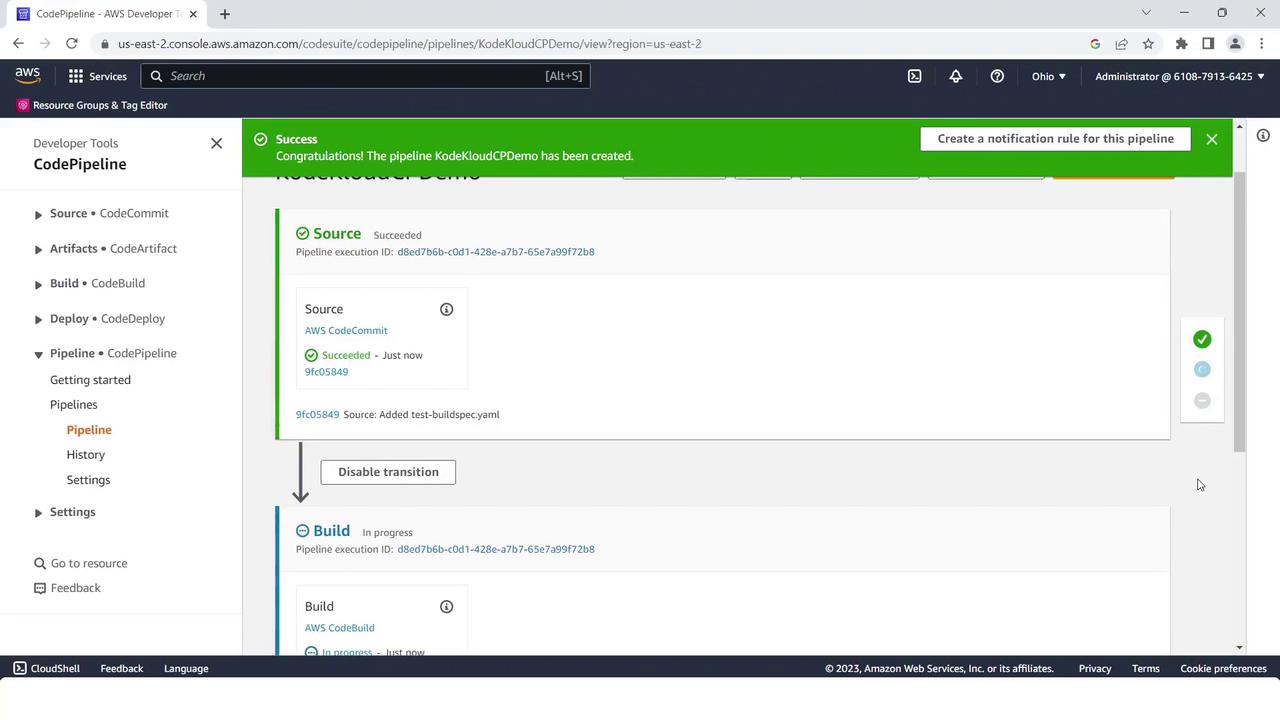
Click Create pipeline. The pipeline initializes and starts its first run:
6. Adding the Test Stage
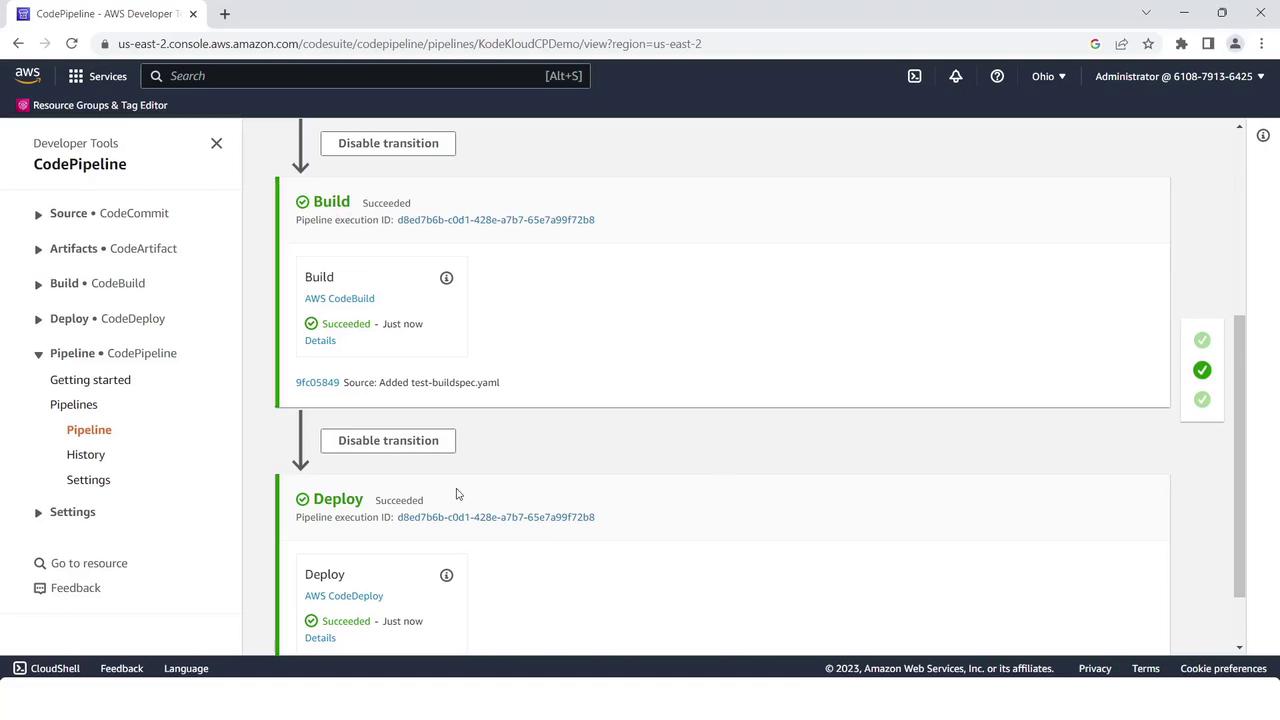
Once the initial pipeline run succeeds, insert a Test stage between Build and Deploy:
- Click Edit in the pipeline view.
- Under the Build stage, click Add stage, name it Test, then Add stage.
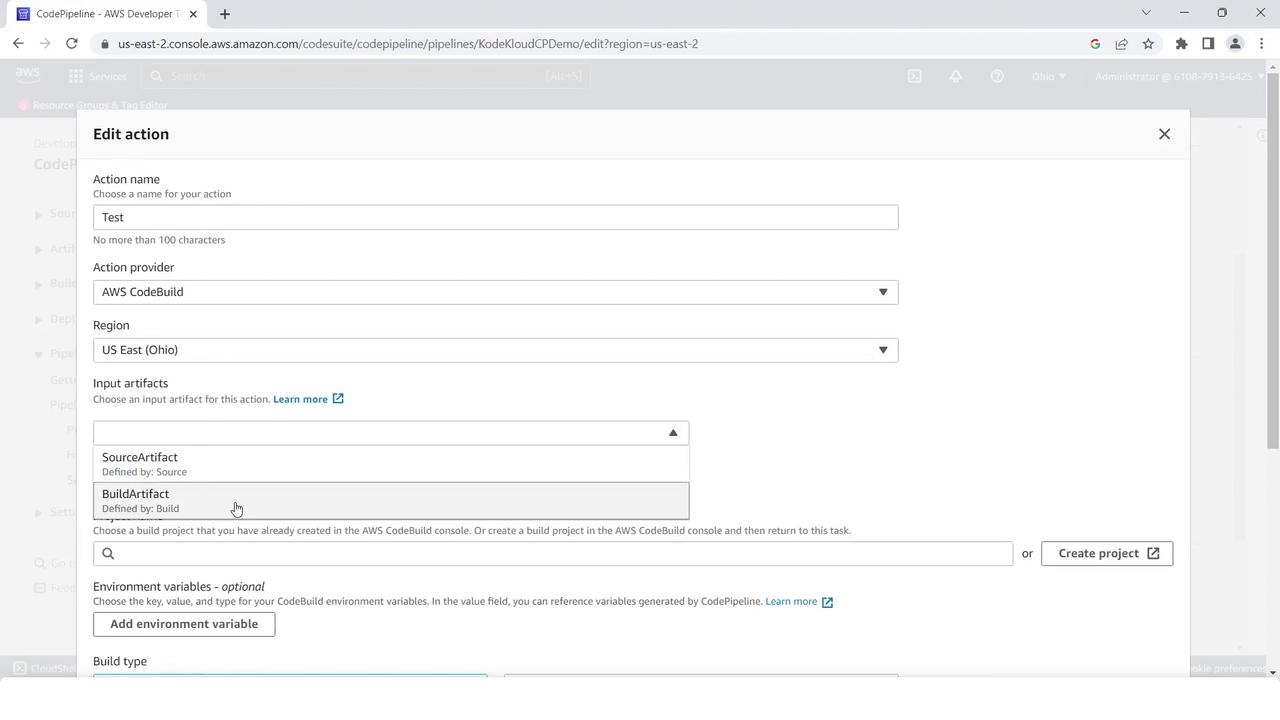
- Inside Test, click Add action group and configure:
- Action name:
TestAction - Provider: AWS CodeBuild
- Input artifact:
BuildArtifact - Project name:
KodeKloudCPdemo
- Action name:
- Save changes and click Release change. The pipeline will now run all four stages in sequence, ending with a green success status across Source, Build, Test, and Deploy.
Summary
You have successfully built an automated four-stage CI/CD pipeline on AWS:
- Source: CodeCommit
- Build: CodeBuild
- Test: CodeBuild
- Deploy: CodeDeploy
Use this template to accelerate your deployments and enforce consistent delivery practices.
Links and References
- AWS CodePipeline Documentation
- AWS CodeCommit Documentation
- AWS CodeBuild Documentation
- AWS CodeDeploy Documentation
- EC2 Instance Connect
Watch Video
Watch video content
Practice Lab
Practice lab