AWS CodePipeline (CI/CD Pipeline)

Creating a CICD pipeline with AWS CodePipeline

Demonstration 2 Create 2 Stage Pipeline

In this guide, you’ll set up a simple two-stage CI/CD pipeline on AWS using CodeCommit for source control and CodeDeploy for deployment. We’ll deploy a sample web application to an EC2 instance following the AWS CodePipeline simple tutorial.

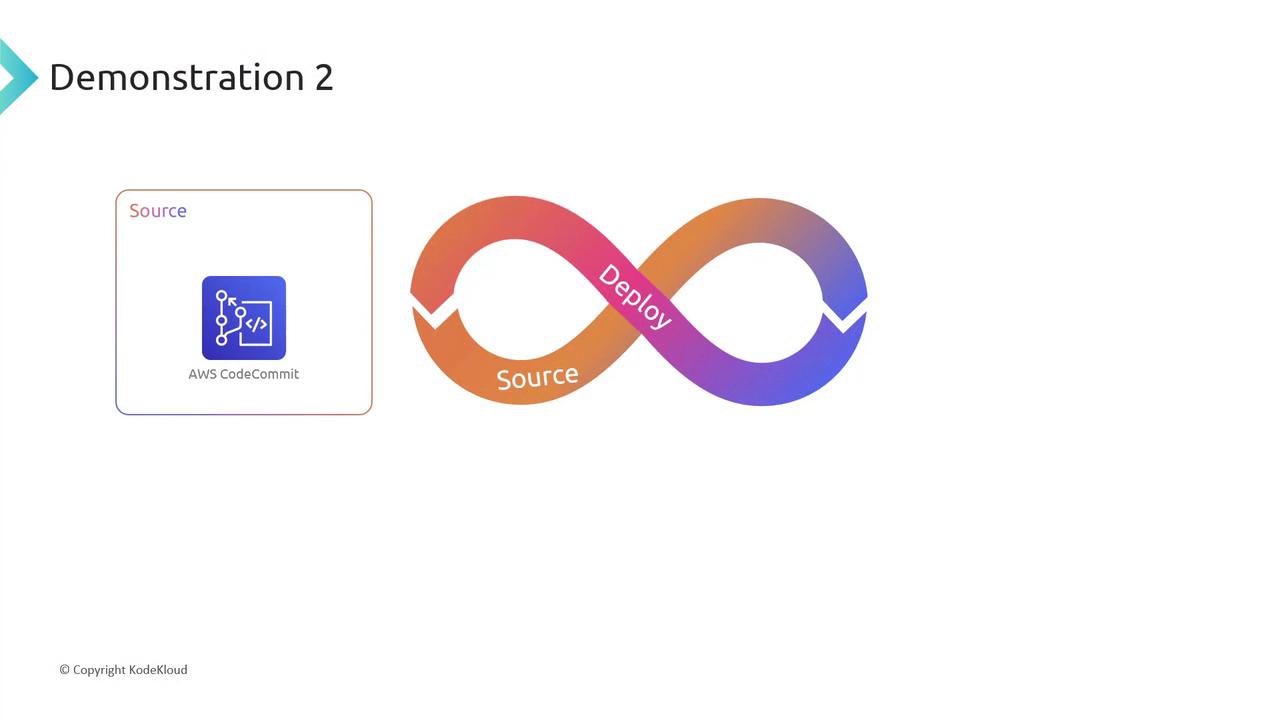
The image shows a demonstration slide with an infinity loop labeled "Source" and "Deploy," alongside an AWS CodeCommit icon.

The image contains a URL link to an AWS CodePipeline tutorial page. It also includes a copyright notice for KodeKloud.


1. Create a CodeCommit Repository

  1. Sign in to the AWS Management Console and open CodeCommit.
  2. Ensure your region is set (we’re using us-west-2).

    Note

    Always match the region across CodeCommit, CodeDeploy, and EC2 to avoid cross-region issues.

  3. Click Create repository, name it MyDemoRepo, and confirm.
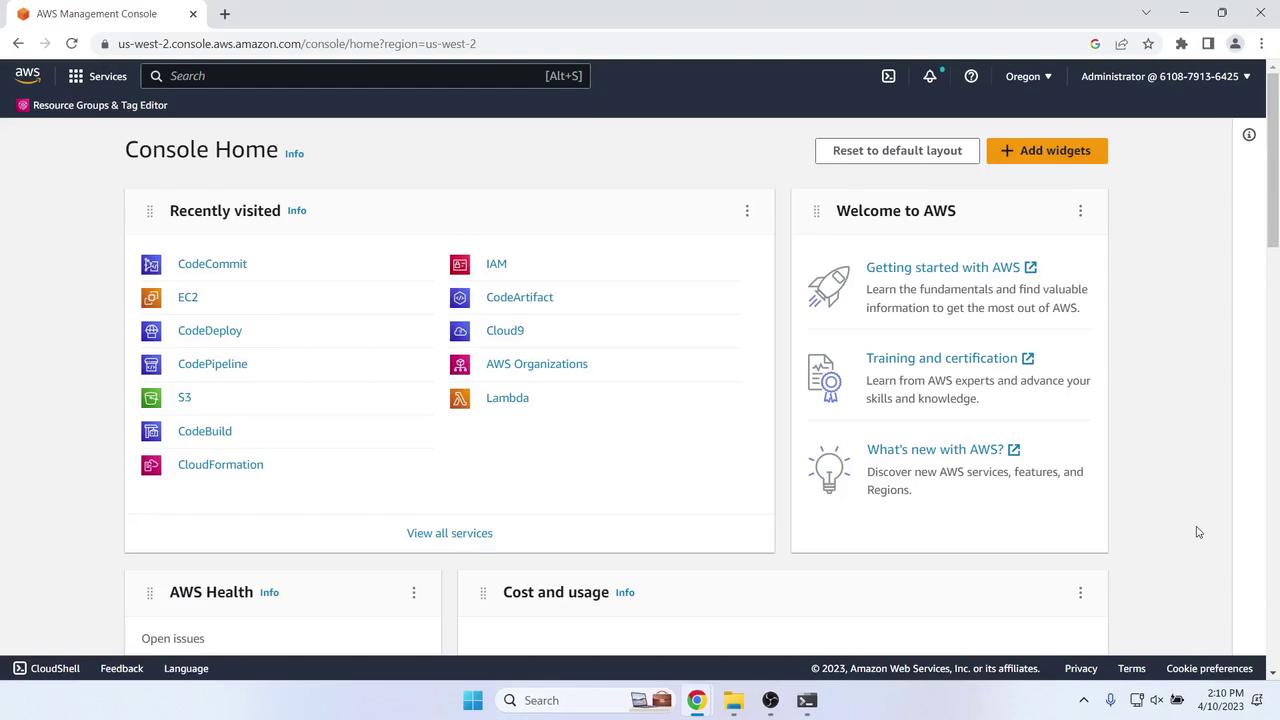
The image shows the AWS Management Console home page, displaying recently visited services and a welcome section with links to getting started, training, and new features.

The image shows the AWS CodeCommit interface for creating a new repository, with fields for repository name, description, and optional settings.

Once the repo is ready, note the clone instructions:

The image shows an AWS CodeCommit interface with a repository named "MyDemoRepo" successfully created. It displays connection steps and prerequisites for accessing the repository.


2. Clone the Repository Locally

On your laptop or workstation:

# Create a working directory
mkdir -p ~/demo/MyDemoRepo
cd ~/demo/MyDemoRepo

# Clone via HTTPS
git clone https://git-codecommit.us-west-2.amazonaws.com/v1/repos/MyDemoRepo .
ls
# (directory is currently empty)

3. Add the Sample Application

  1. Download the sample app ZIP from the AWS tutorial and extract its contents.

  2. You should see:

    MyDemoRepo/
    ├── appspec.yml
    ├── index.html
    ├── LICENSE.txt
    └── scripts/
        ├── install_dependencies
        ├── start_server
        └── stop_server
    

    The image shows a Windows File Explorer window open to the "SampleApp_Linux" folder, displaying four selected items: "appspec," "index," "LICENSE," and "scripts."

  3. Add, commit, and push:

    git add .
    git commit -m "Add initial sample application files"
    git push origin master
    
  4. Verify the files in the AWS Console:

    The image shows an AWS CodeCommit repository interface named "MyDemoRepo" with files like "scripts," "appspec.yml," "index.html," and "LICENSE.txt" listed. The interface includes options for creating pull requests and cloning the repository URL.


4. Create an IAM Role for EC2 (CodeDeploy Agent)

In the IAM console, go to Roles > Create role:

  • Trusted entity: AWS service → EC2

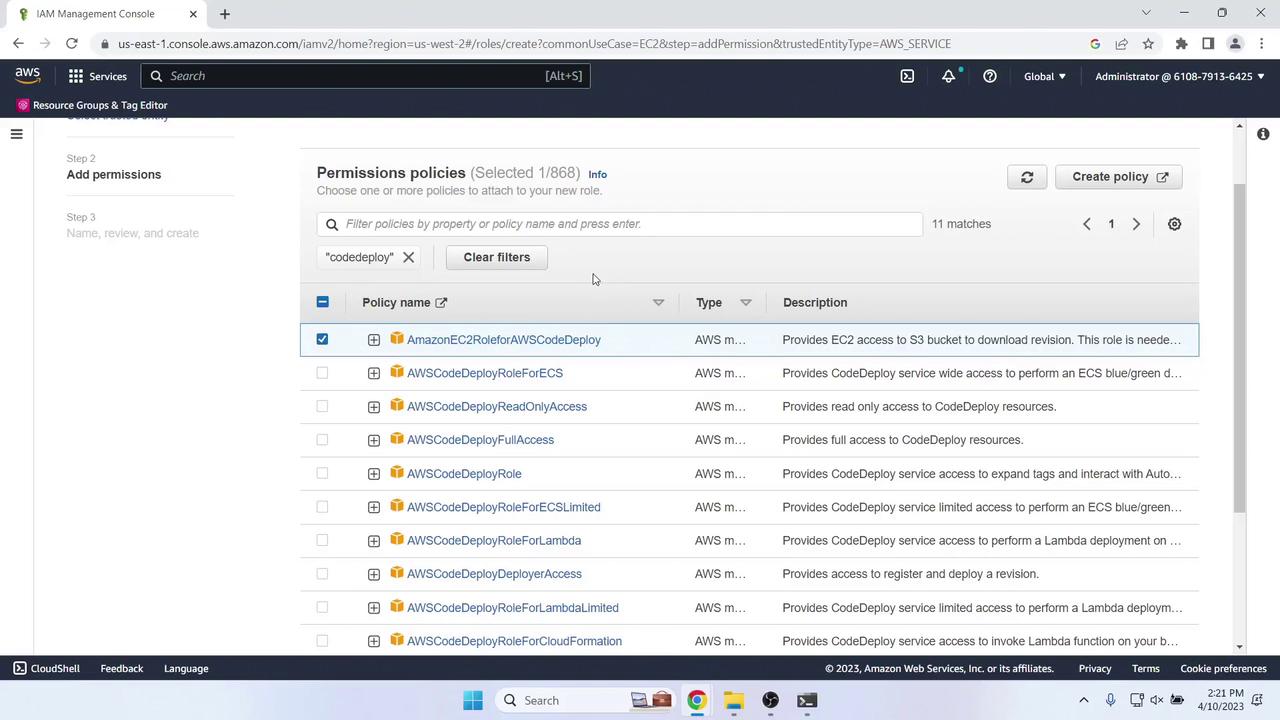
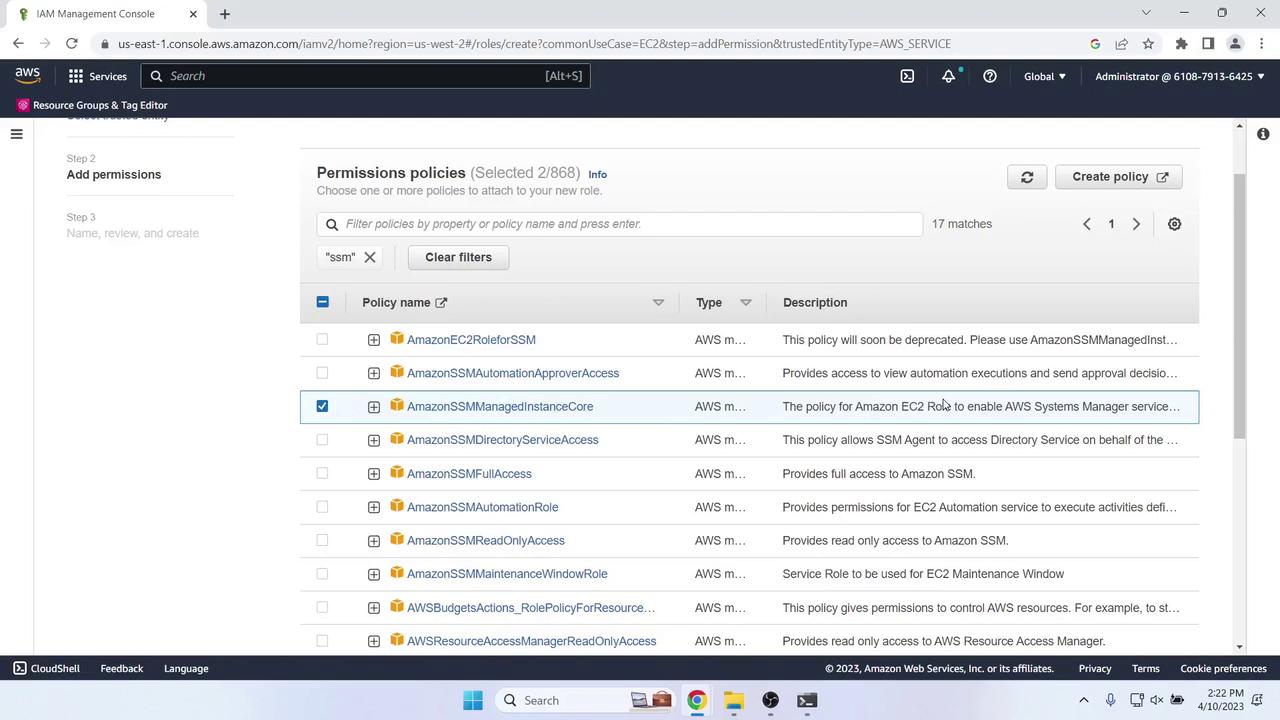
  • Attach policies:

    Policy NamePurpose
    AmazonEC2RoleforAWSCodeDeployGrants CodeDeploy agent permissions
    AmazonSSMManagedInstanceCoreAllows AWS Systems Manager operations

The image shows the AWS IAM Management Console with a list of permission policies related to CodeDeploy. A specific policy, "AmazonEC2RoleforAWSCodeDeploy," is selected. The image shows the AWS IAM Management Console with a list of permission policies related to Amazon SSM. One policy, "AmazonSSMManagedInstanceCore," is selected.

  1. Name the role EC2InstanceRole.
  2. Use this trust policy:
{
  "Version": "2012-10-17",
  "Statement": [
    {
      "Effect": "Allow",
      "Principal": { "Service": "ec2.amazonaws.com" },
      "Action": "sts:AssumeRole"
    }
  ]
}

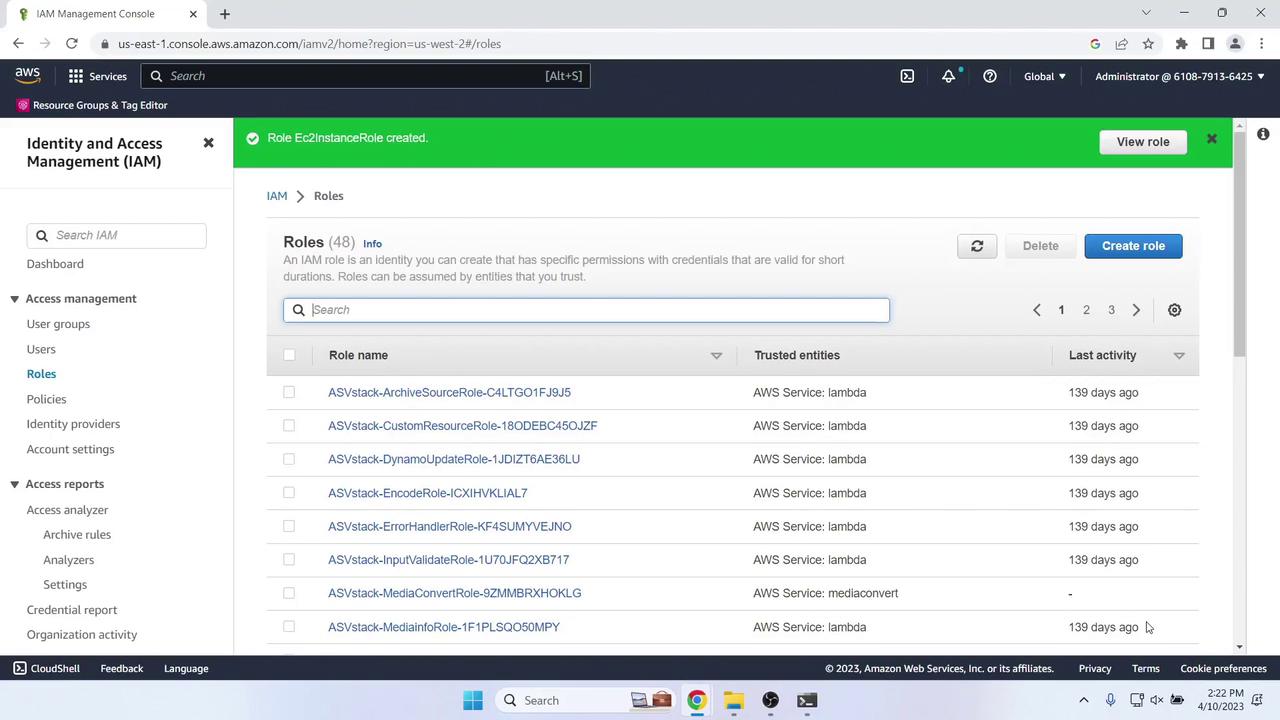
After creation, you’ll see:

The image shows the AWS Identity and Access Management (IAM) console, specifically the "Roles" section, listing various roles with their trusted entities and last activity details. A green notification bar indicates that a role named "Ec2InstanceRole" has been created.


5. Launch an EC2 Instance

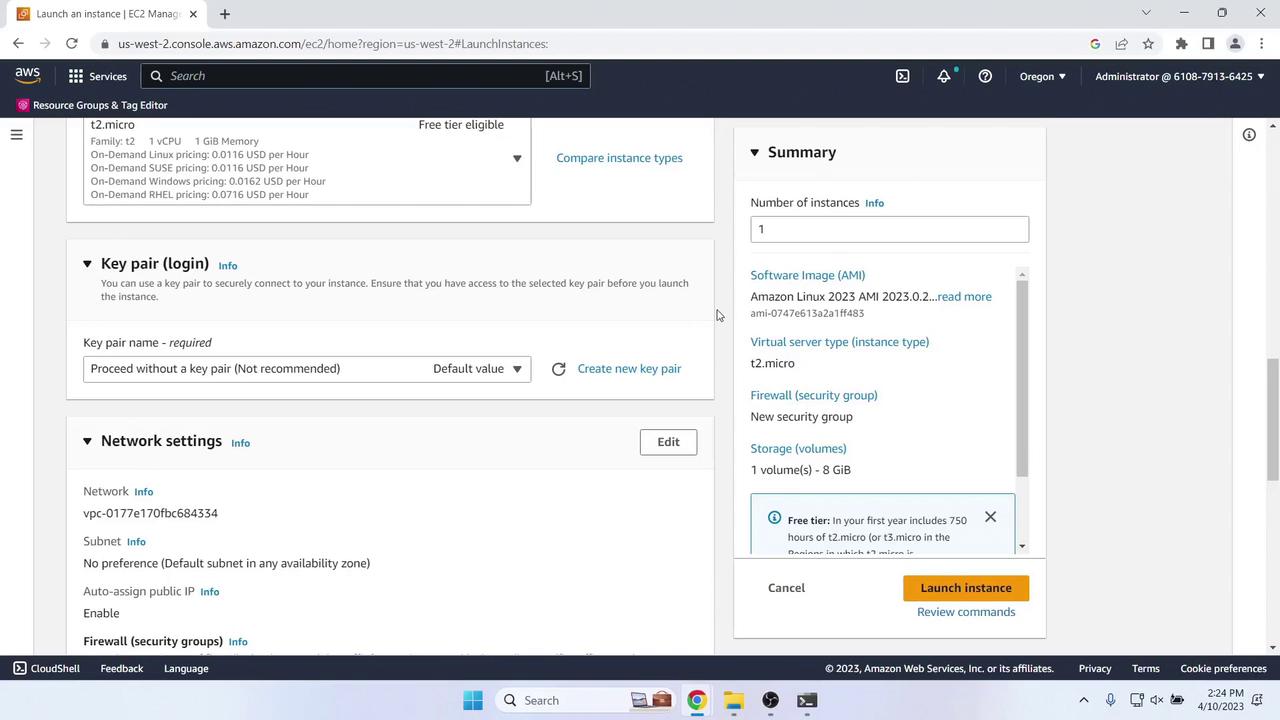
  1. In the EC2 console (same region), choose Launch Instance.
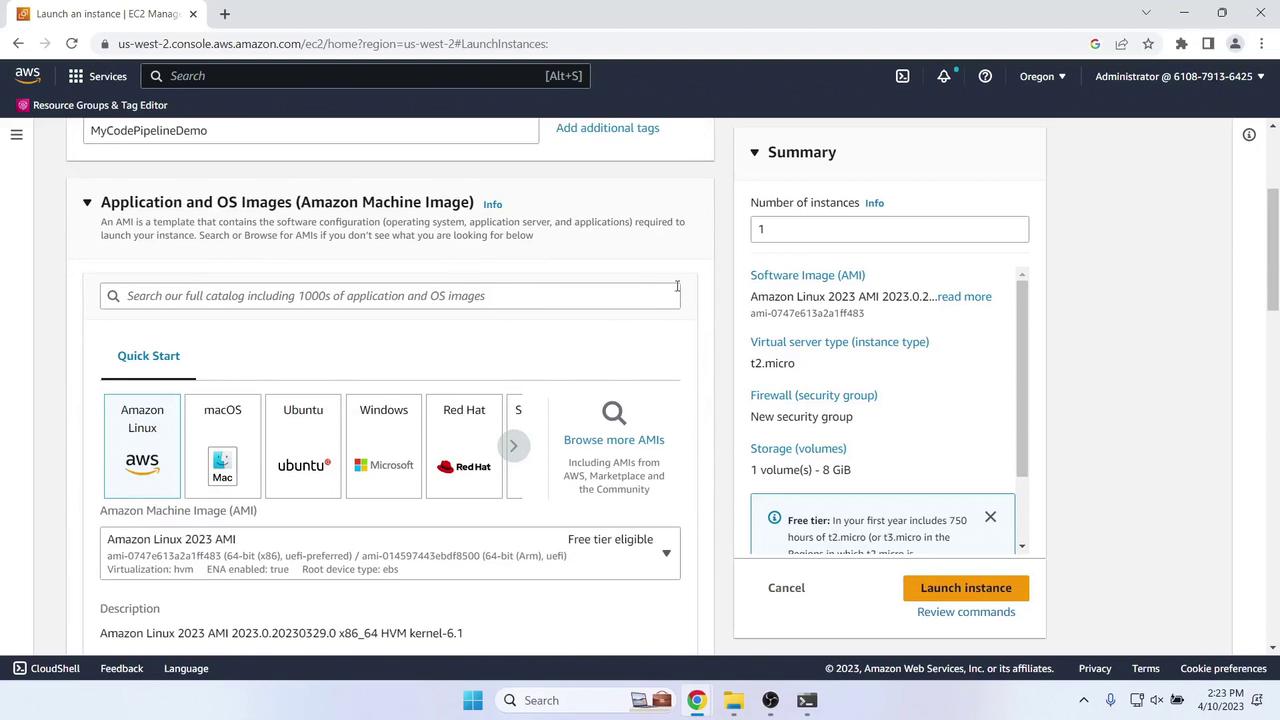
  2. Configure as follows:
    • Name tag: MyCodePipelineDemo
    • AMI: Amazon Linux 2 (Free Tier)
    • Instance type: t2.micro (Free Tier)
    • Key pair: Proceed without one (demo only)
    • Network: Enable auto-assign Public IP
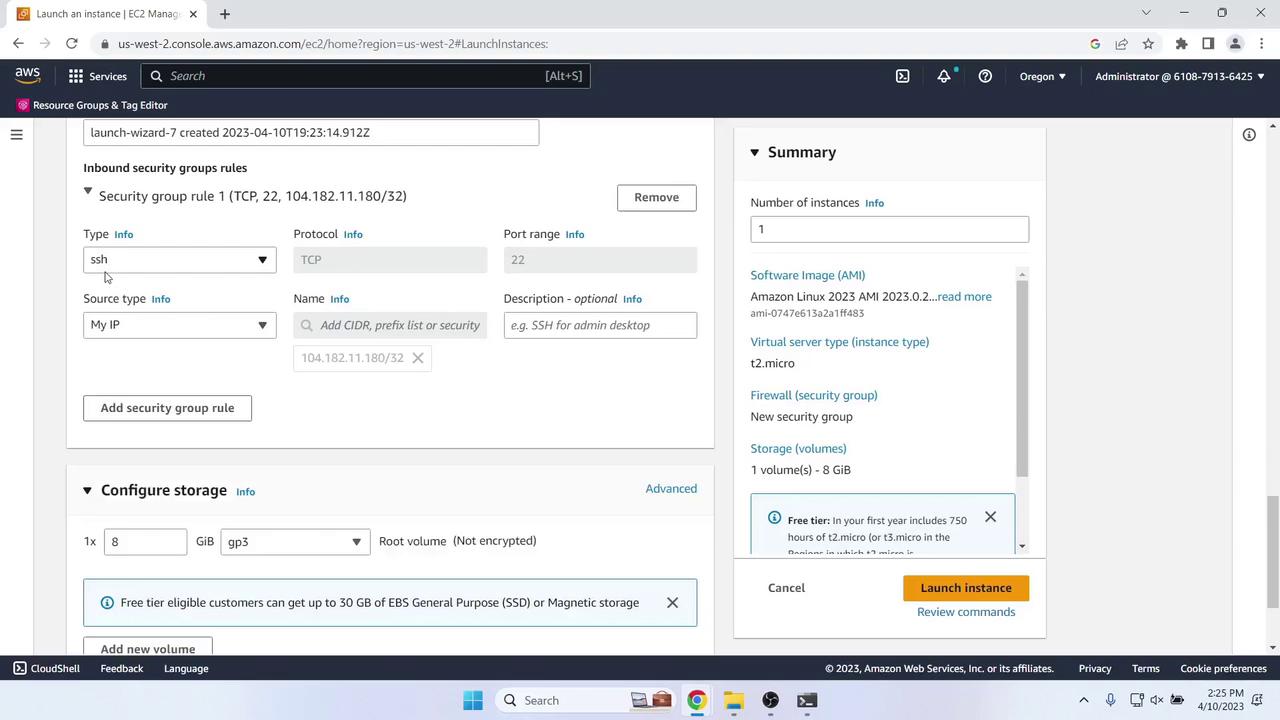
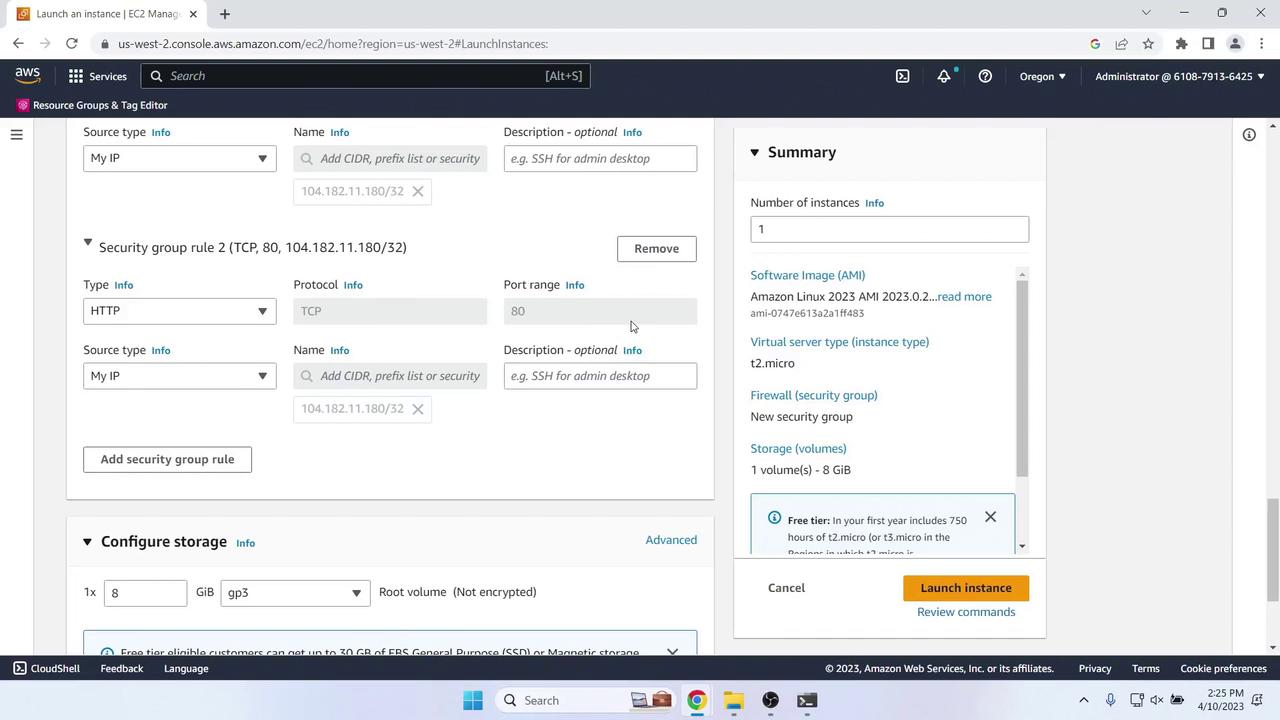
    • Security group:
      • SSH (port 22) from My IP
      • HTTP (port 80) from My IP

The image shows an AWS EC2 management console where a user is selecting an Amazon Machine Image (AMI) to launch an instance. The summary on the right details the instance configuration, including the software image, instance type, and storage. The image shows an AWS EC2 management console where a user is configuring settings to launch an instance, including key pair, network settings, and instance summary details. The image shows an AWS EC2 management console where a user is configuring security group rules and storage settings for launching an instance. The summary section on the right provides details about the instance type, software image, and storage volume. The image shows an AWS EC2 management console where a user is configuring security group rules and storage settings for launching an instance. The summary section on the right provides details about the instance type, software image, and storage volume.

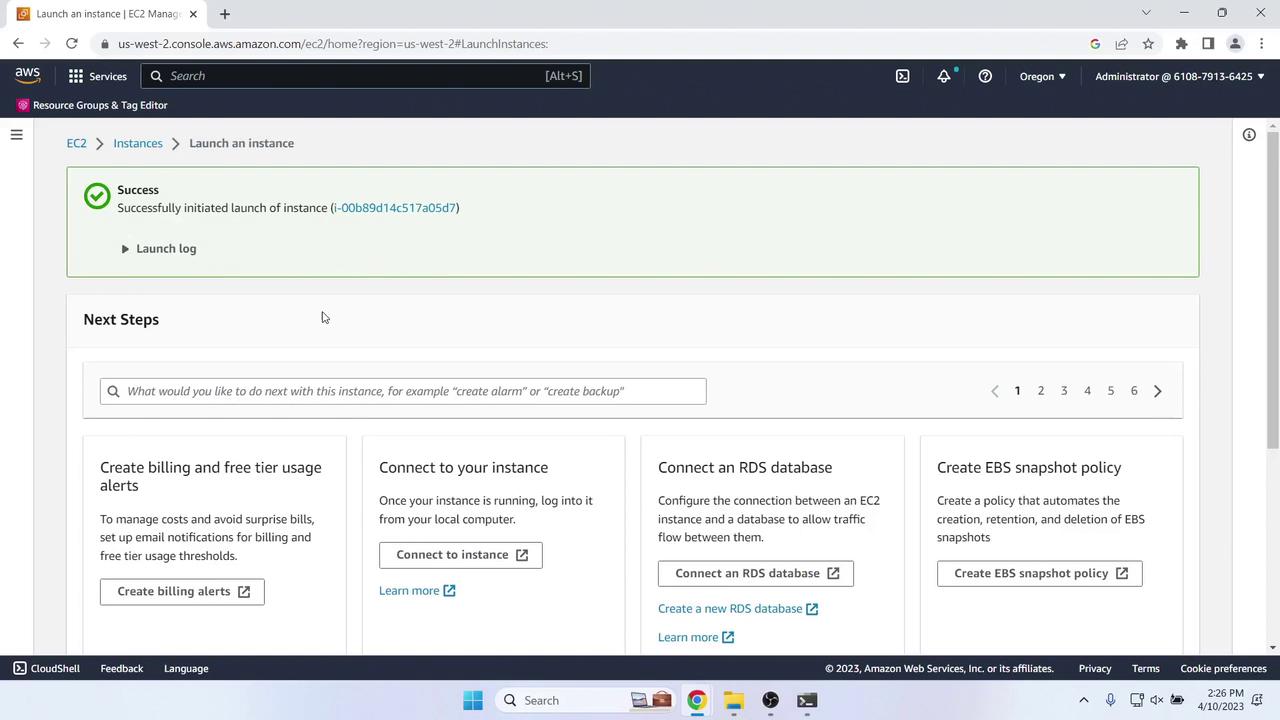
Under Advanced details, assign the EC2InstanceRole profile and click Launch instances.

The image shows an AWS EC2 management console with a success message indicating the initiation of an instance launch. It also displays next steps for managing the instance, such as connecting to it or setting up billing alerts.


6. Create a CodeDeploy Application & Deployment Group

6.1 Service Role for CodeDeploy

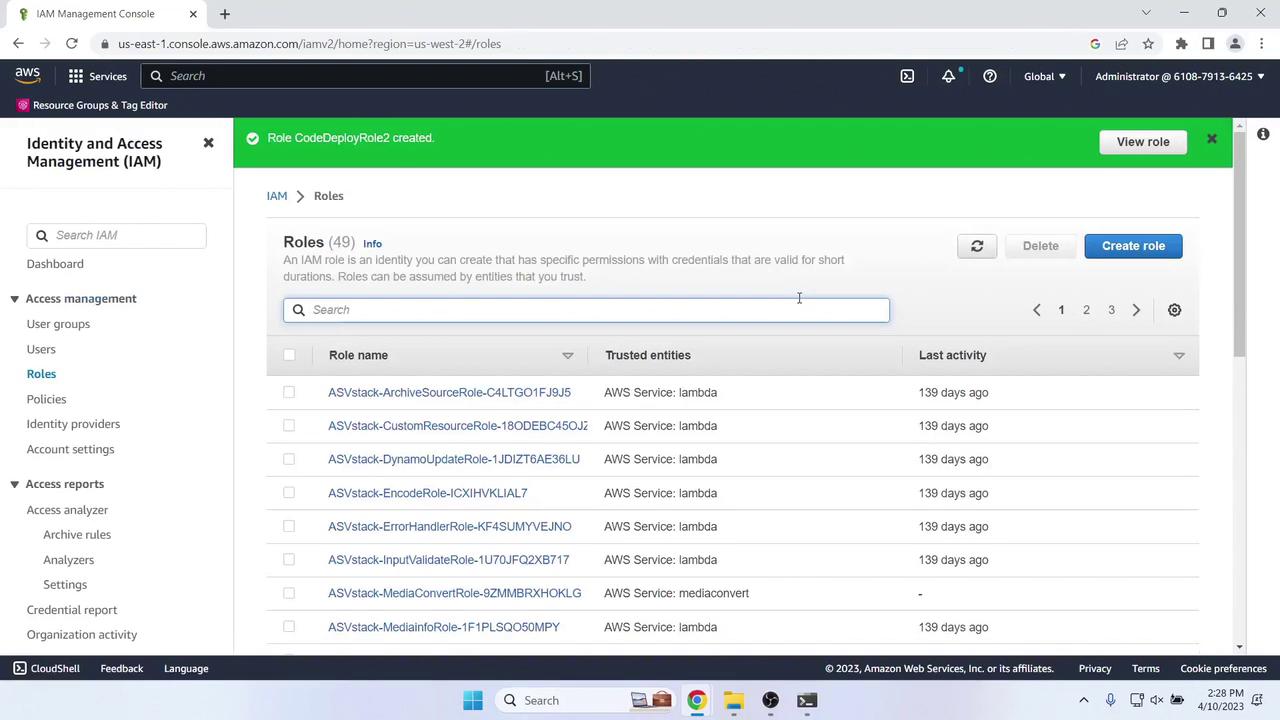
In IAM, choose Roles > Create role:

  • Trusted entity: AWS service → CodeDeploy
  • Managed policy: AWSCodeDeployRole
  • Role name: CodeDeployRole

Use this trust policy:

{
  "Version": "2012-10-17",
  "Statement": [
    {
      "Effect": "Allow",
      "Principal": { "Service": "codedeploy.amazonaws.com" },
      "Action": "sts:AssumeRole"
    }
  ]
}

The image shows the AWS Identity and Access Management (IAM) console, specifically the "Roles" section, listing various roles with their trusted entities and last activity dates. A notification at the top indicates that a role named "CodeDeployRole2" has been created.

6.2 Application & Deployment Group

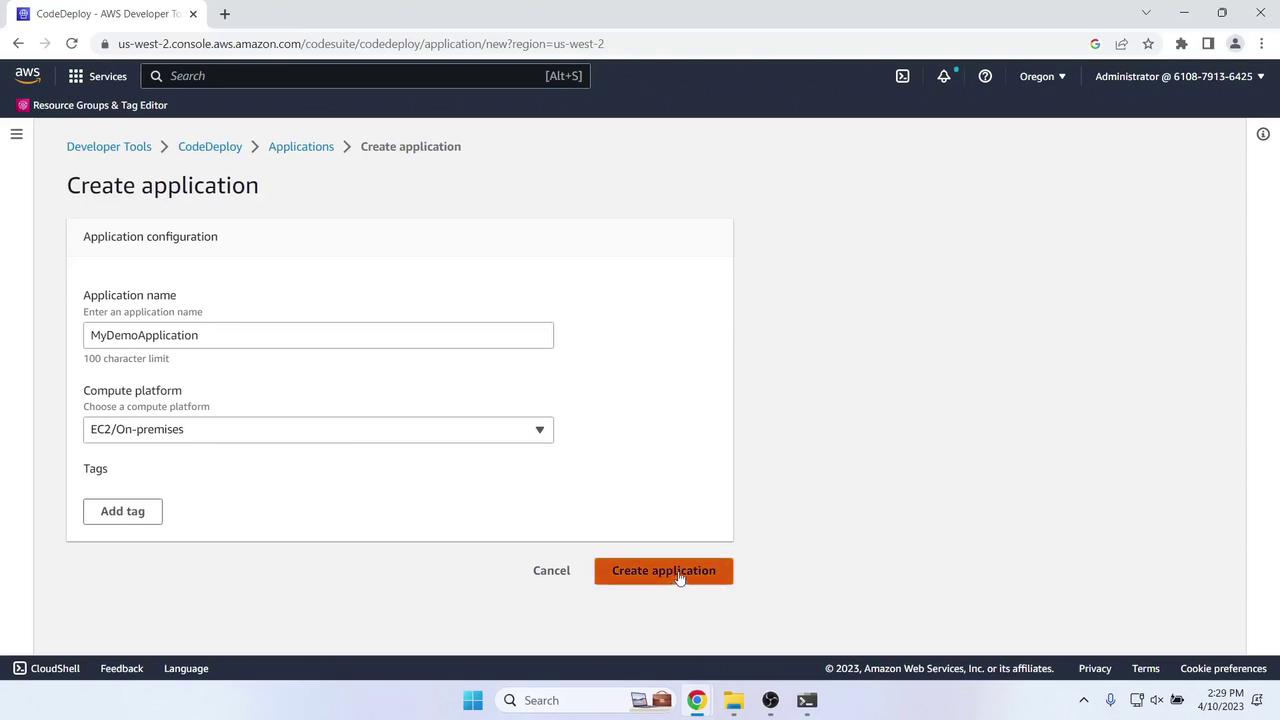
  1. Open CodeDeploy > Applications > Create application:

    • Name: MyDemoApplication
    • Compute platform: EC2/On-premises

    The image shows the AWS CodeDeploy interface for creating a new application, with fields for application name, compute platform, and tags. The "Create application" button is highlighted.

  2. Under Deployment groups, click Create deployment group:

    • Name: MyDemoDeploymentGroup
    • Service role: CodeDeployRole
    • Deployment type: In-place
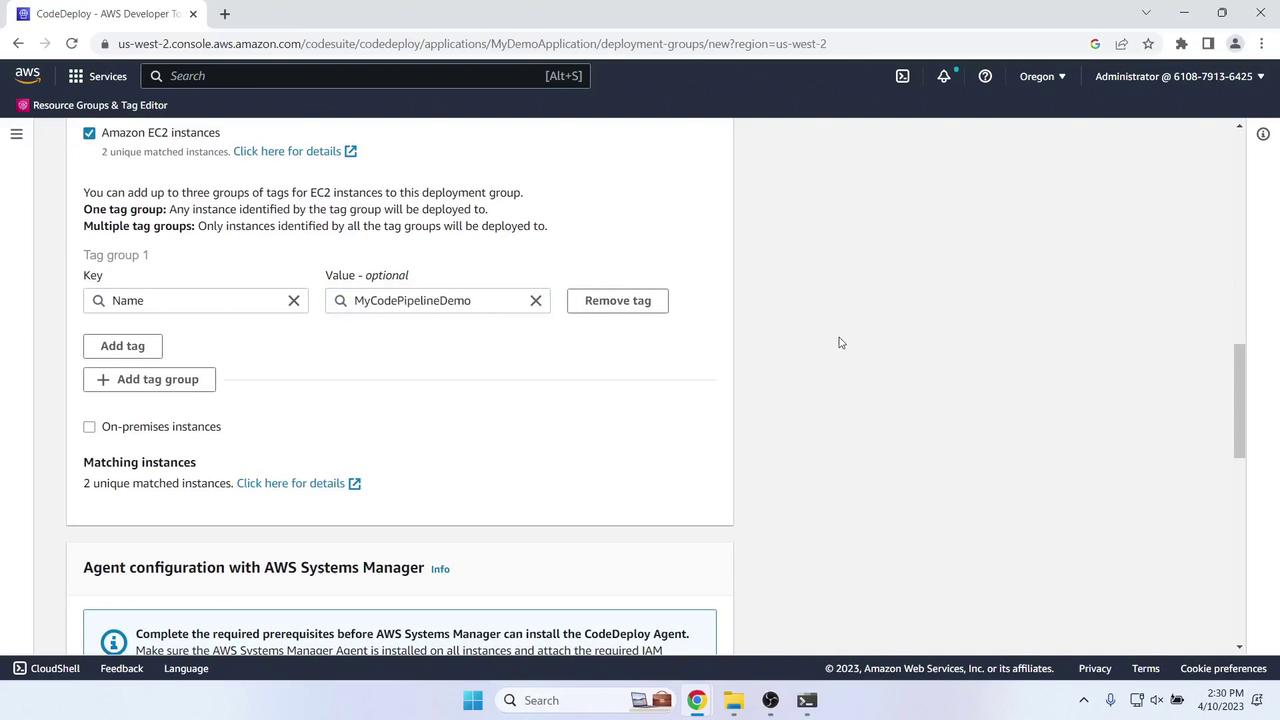
    • Environment configuration: Tag instances Name = MyCodePipelineDemo
    • Load balancing: Disabled
    • Agent configuration: AWS Systems Manager
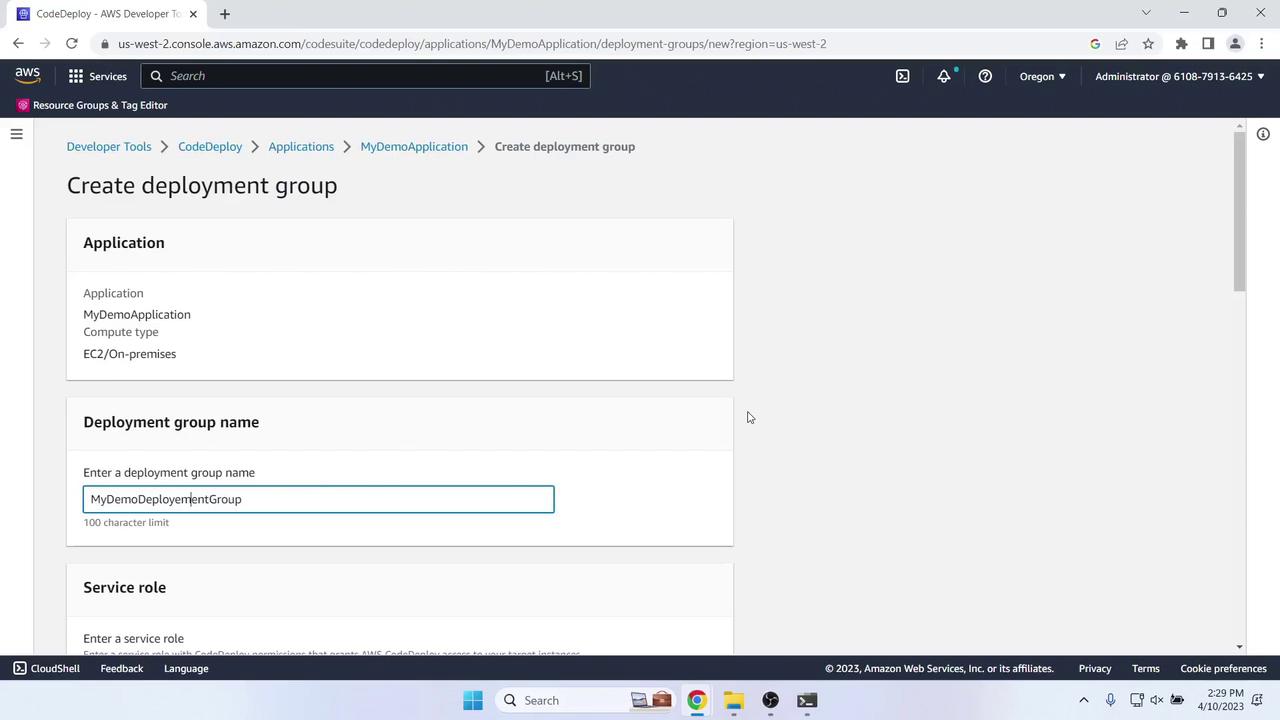
    The image shows an AWS CodeDeploy interface where a user is creating a deployment group for an application named "MyDemoApplication." The deployment group name is set as "MyDemoDeploymentGroup." The image shows an AWS CodeDeploy configuration screen where Amazon EC2 instances are being tagged for deployment. It includes options for adding tag groups and configuring the AWS Systems Manager agent.

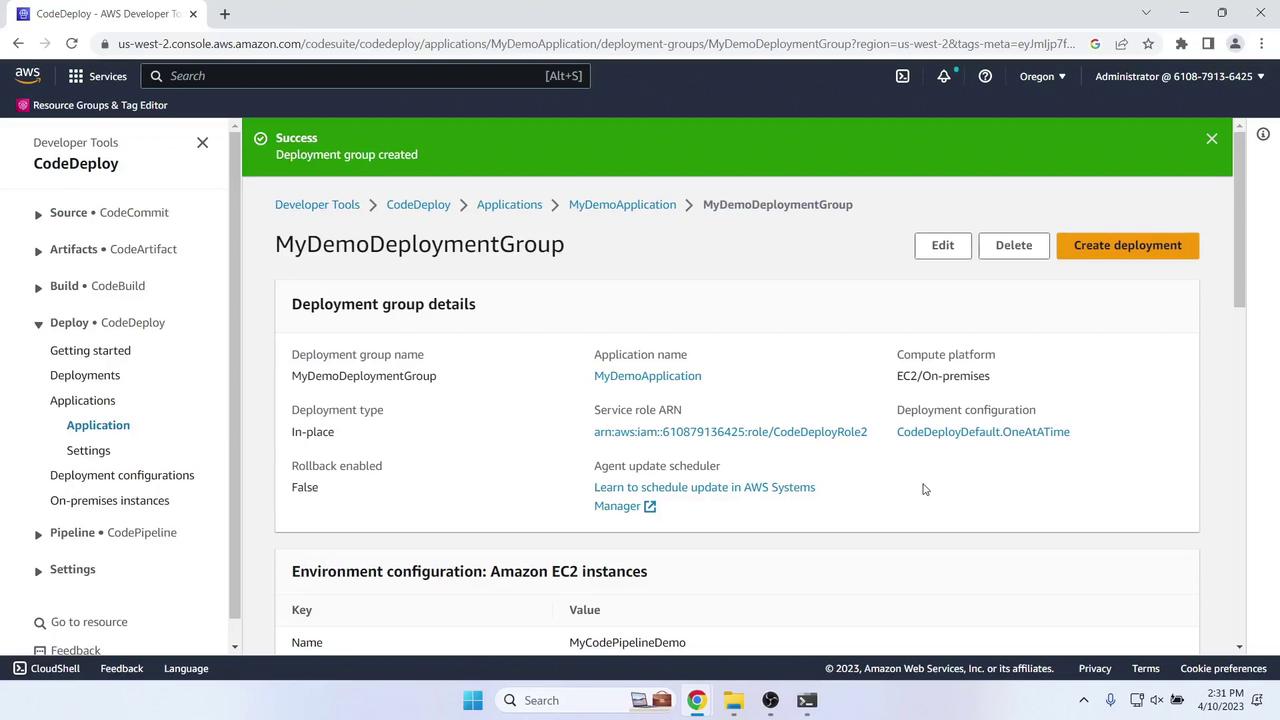
When complete, review details:

The image shows an AWS CodeDeploy interface with details of a deployment group named "MyDemoDeploymentGroup." It includes information about the application, deployment type, and environment configuration for Amazon EC2 instances.


7. Create the CodePipeline

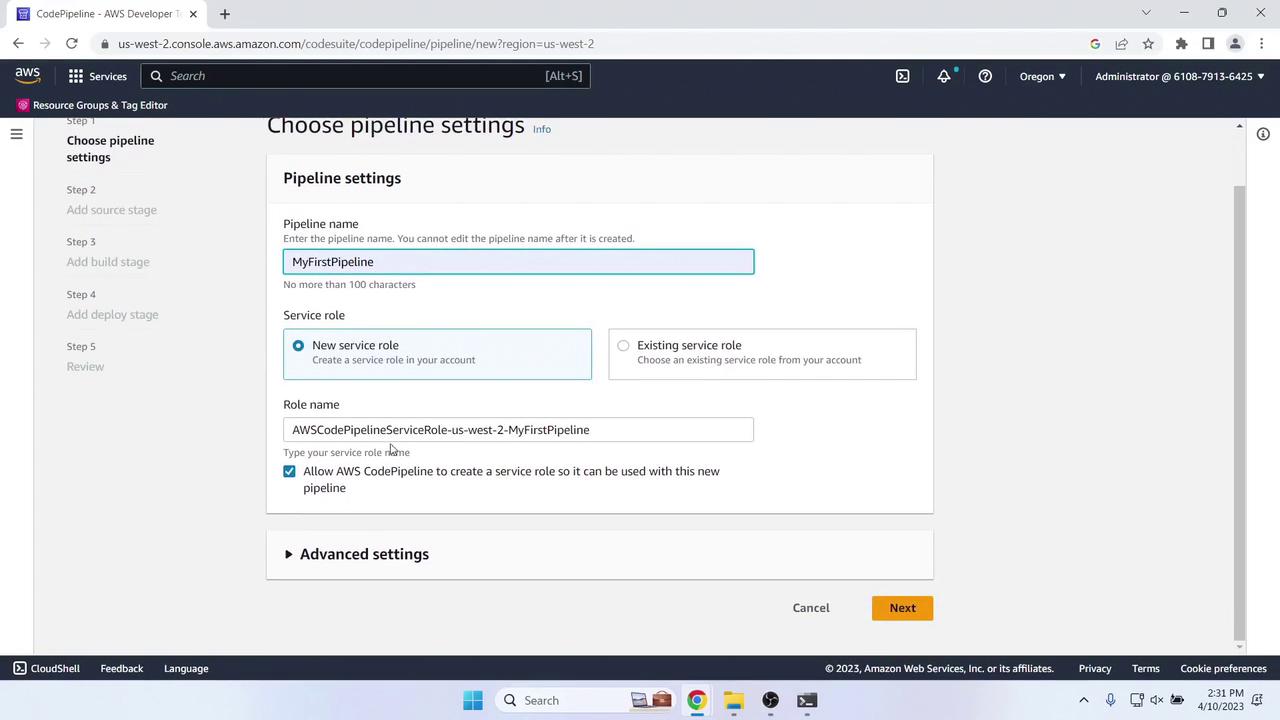
In CodePipeline, click Create pipeline and configure:

  1. Pipeline name: MyFirstPipeline
  2. Service role: New service role

The image shows the AWS CodePipeline setup screen where a user is configuring pipeline settings, including naming the pipeline "MyFirstPipeline" and selecting a new service role.

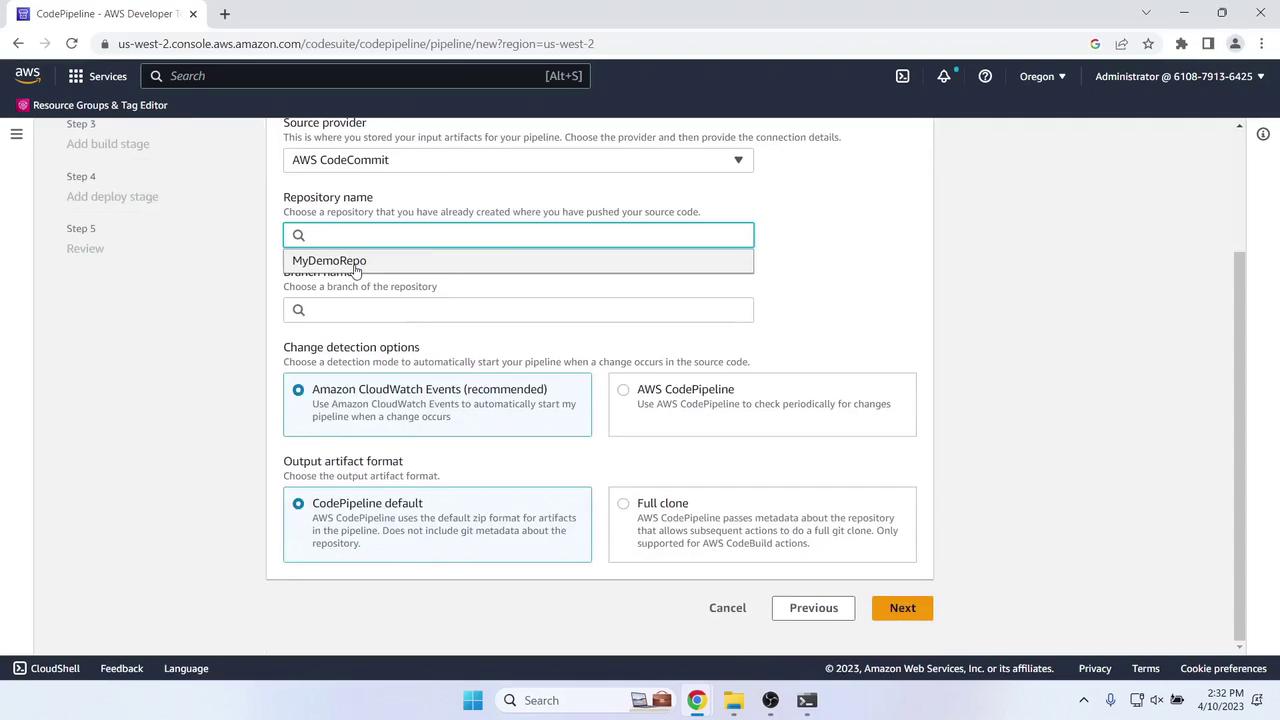
Source Stage

  • Provider: AWS CodeCommit
  • Repository name: MyDemoRepo
  • Branch name: master

The image shows a screenshot of the AWS CodePipeline setup interface, where a user is configuring a source provider and repository settings. Options for change detection and output artifact format are also visible.

Skip Build

Choose Skip build stage.

Deploy Stage

  • Action provider: AWS CodeDeploy
  • Region: US West (Oregon)
  • Application name: MyDemoApplication
  • Deployment group: MyDemoDeploymentGroup
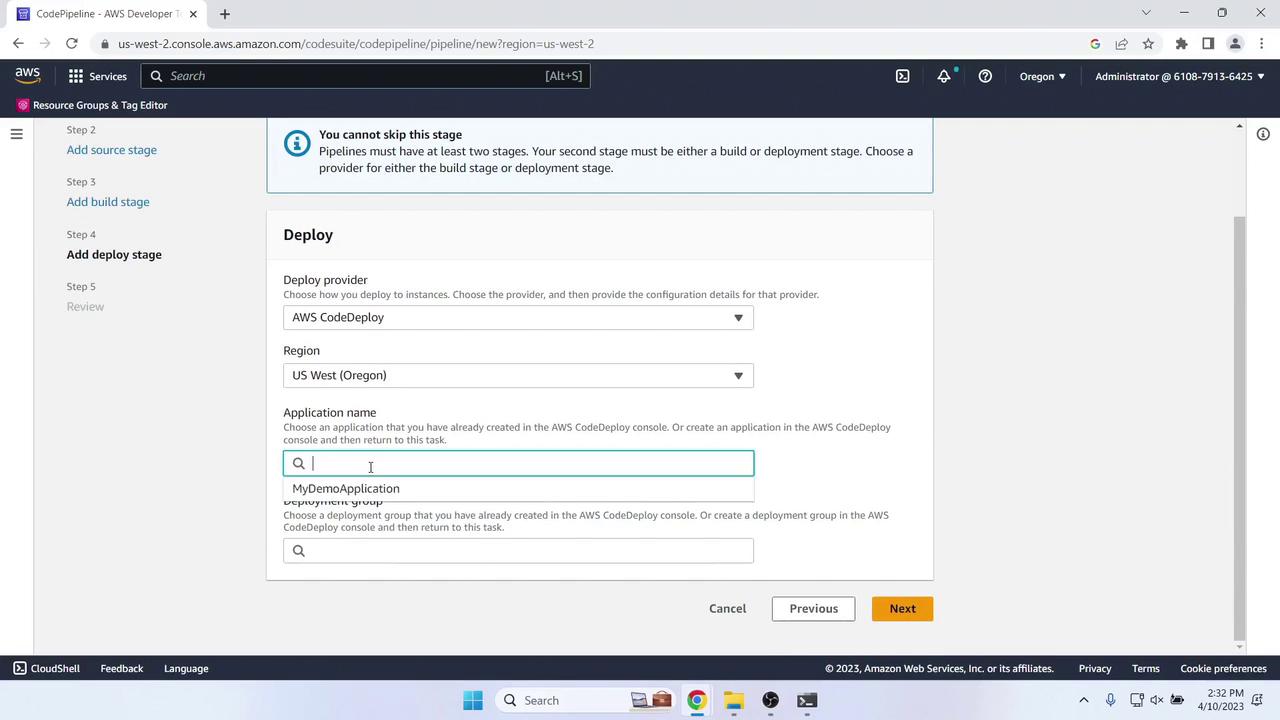
The image shows an AWS CodePipeline interface where a user is configuring a deployment stage using AWS CodeDeploy, selecting the region "US West (Oregon)" and specifying an application name.

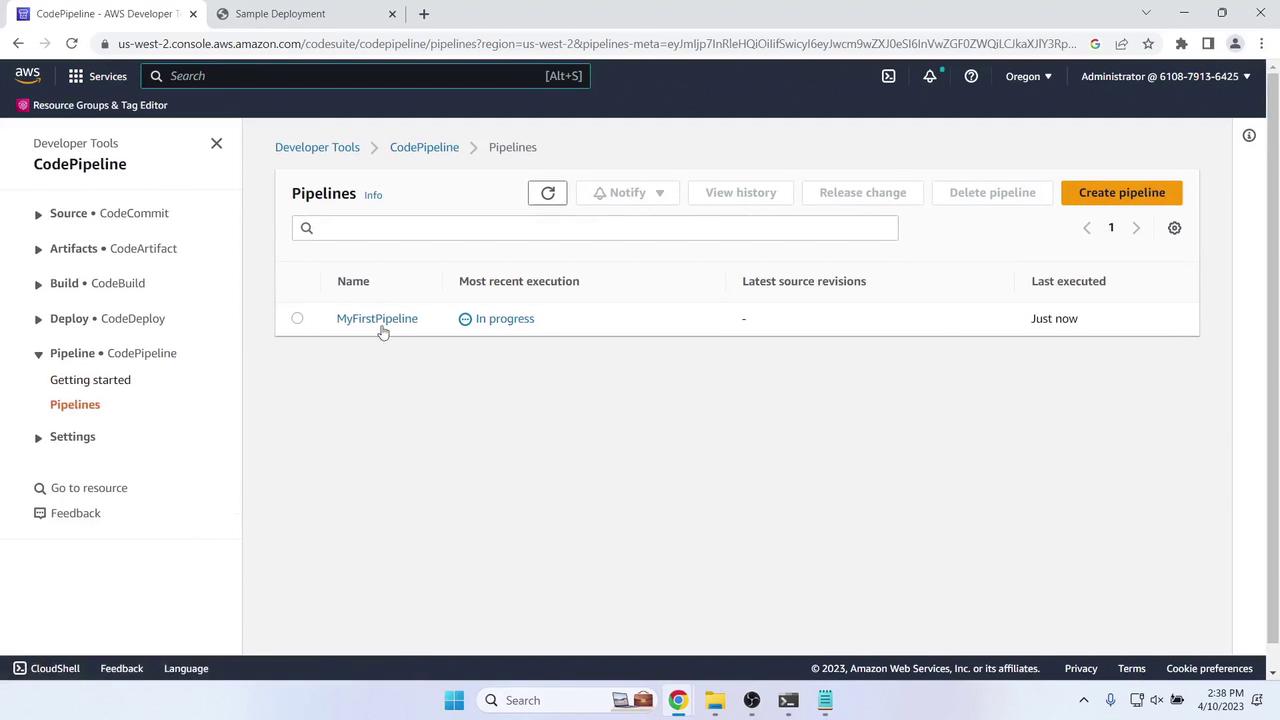
Review and click Create pipeline. The pipeline will start automatically:

The image shows an AWS CodePipeline interface with a pipeline named "MyFirstPipeline" that is currently in progress. The interface includes options for creating and managing pipelines.


8. Verify the Initial Deployment

Once Source and Deploy stages complete, get the Public IPv4 DNS of your EC2 instance:
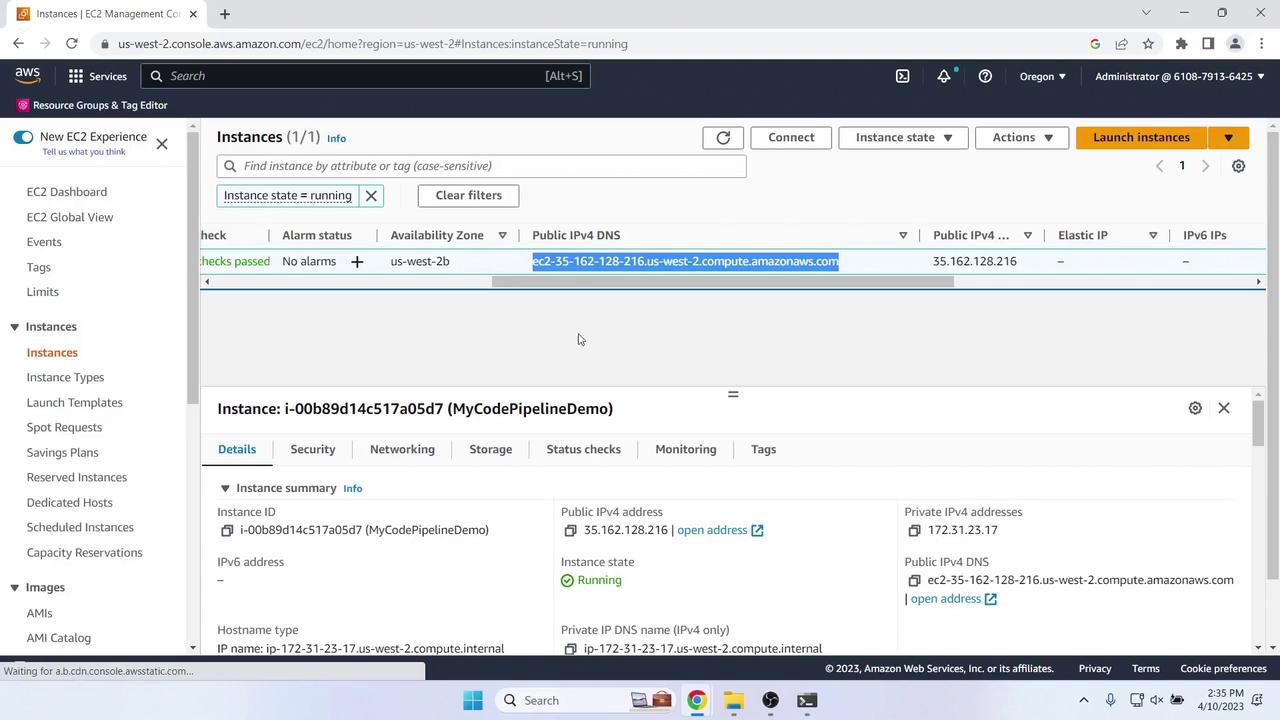
The image shows an AWS EC2 Management Console with details of a running instance, including its instance ID, public IPv4 address, and status.

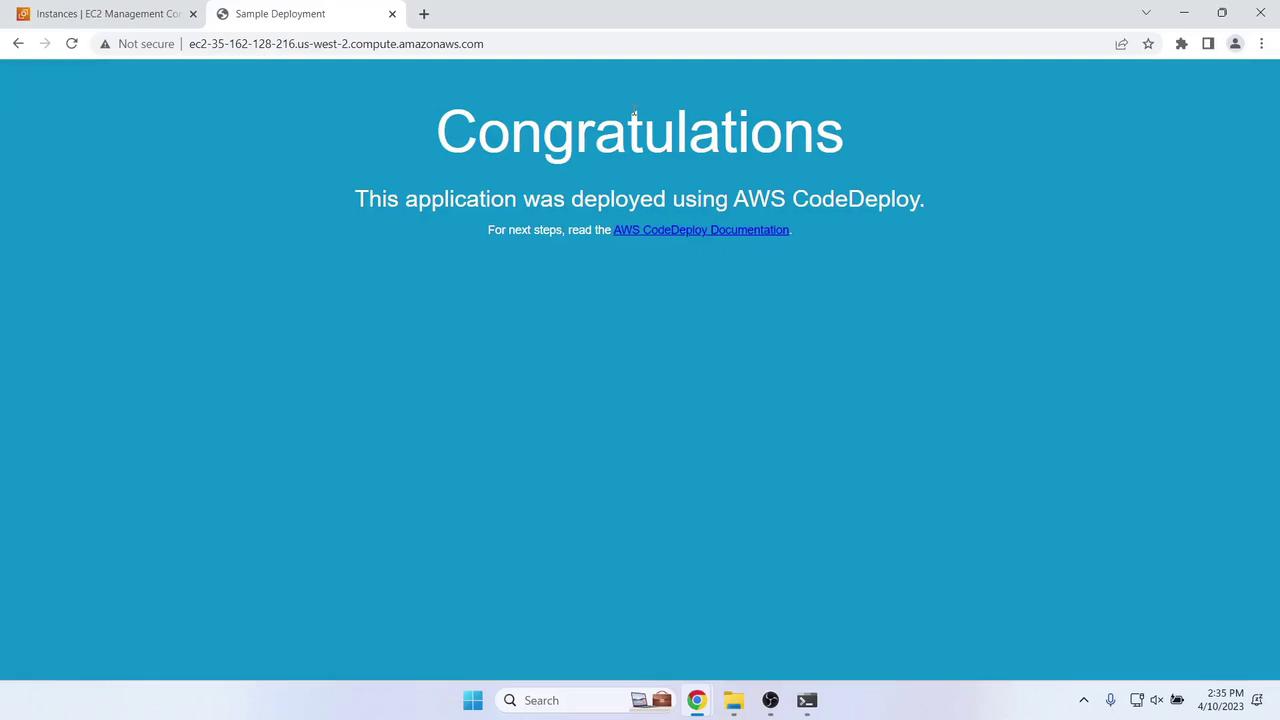
Paste the address into your browser to see the welcome page:

The image shows a web page with a blue background displaying a "Congratulations" message, indicating that an application was deployed using AWS CodeDeploy. It also provides a link to the AWS CodeDeploy documentation for further steps.


9. Update the Application and Redeploy

  1. Modify index.html locally. Example update:

    <!DOCTYPE html>
    <html>
    <head>
      <title>Updated Sample Deployment</title>
      <style>
        body { background-color: #CCFFCC; font-family: Arial, sans-serif; }
        h1 { font-size: 250%; margin-bottom: 0; }
        h2 { font-size: 175%; margin-bottom: 0; }
      </style>
    </head>
    <body>
      <div align="center"><h1>Updated Sample Deployment</h1></div>
      <div align="center"><h2>Deployed via CodePipeline, CodeCommit & CodeDeploy.</h2></div>
      <div align="center">
        <p>Learn more:</p>
        <p><a href="https://docs.aws.amazon.com/codepipeline/latest/userguide/">CodePipeline User Guide</a></p>
        <p><a href="https://docs.aws.amazon.com/codecommit/latest/userguide/">CodeCommit User Guide</a></p>
        <p><a href="https://docs.aws.amazon.com/codedeploy/latest/userguide/">CodeDeploy User Guide</a></p>
      </div>
    </body>
    </html>
    
  2. Commit and push:

    git add index.html
    git commit -m "Update index.html for new deployment"
    git push origin master
    

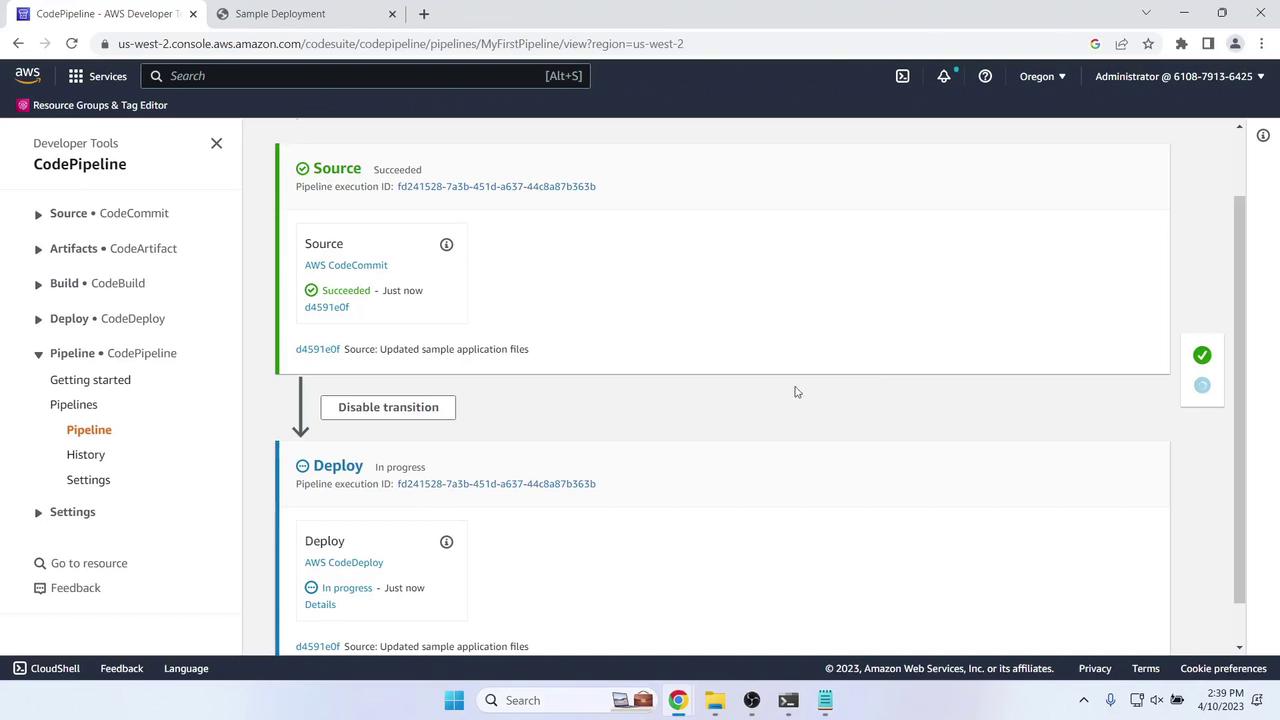
The pipeline auto-triggers and redeploys:

The image shows an AWS CodePipeline interface with a pipeline execution in progress. The "Source" stage has succeeded, and the "Deploy" stage is currently in progress.

After deployment, refresh to view changes:

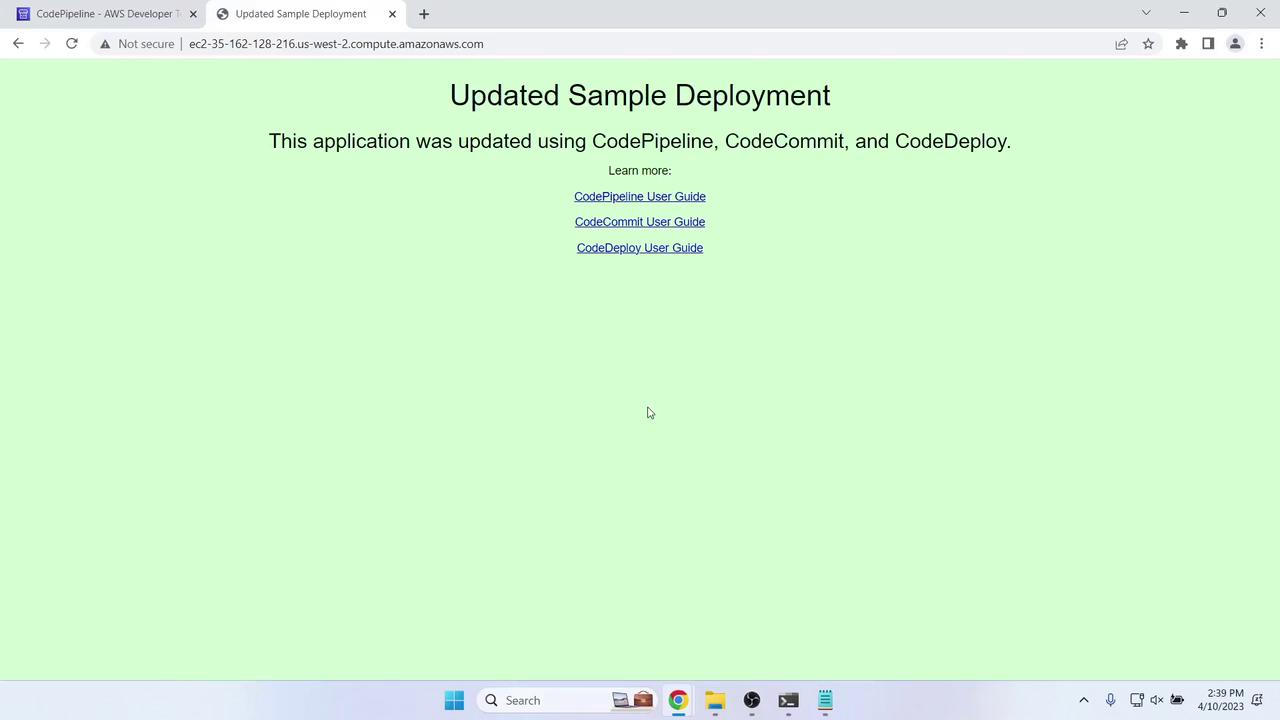
The image shows a webpage titled "Updated Sample Deployment" with a message about using CodePipeline, CodeCommit, and CodeDeploy, along with links to user guides.


Conclusion

You’ve successfully created and tested a two-stage AWS CodePipeline using CodeCommit and CodeDeploy. In this lesson you:

  • Set up and cloned a CodeCommit repository
  • Added a sample web application
  • Configured IAM roles for EC2 and CodeDeploy
  • Launched an EC2 instance with the CodeDeploy agent
  • Defined a CodeDeploy application and deployment group
  • Built a Source → Deploy pipeline
  • Verified initial deployment and automated updates

Up next: we’ll extend this pipeline with build and test stages for a complete four-stage CI/CD workflow.


References

Watch Video

Watch video content

Practice Lab

Practice lab

Previous
Demonstration 1 Create 2 Stage Pipeline