1. Create an S3 Bucket
- Sign in to the AWS Management Console and open Services > S3.
- Click Create bucket in the top-right corner.
- Enter a unique bucket name (for example,
aws-codepipeline-demobucket-example-kodekloudmv) and choose your region (e.g., US West 2). - Scroll down and click Create bucket.

- Go to Properties, enable Bucket Versioning, and click Save changes.
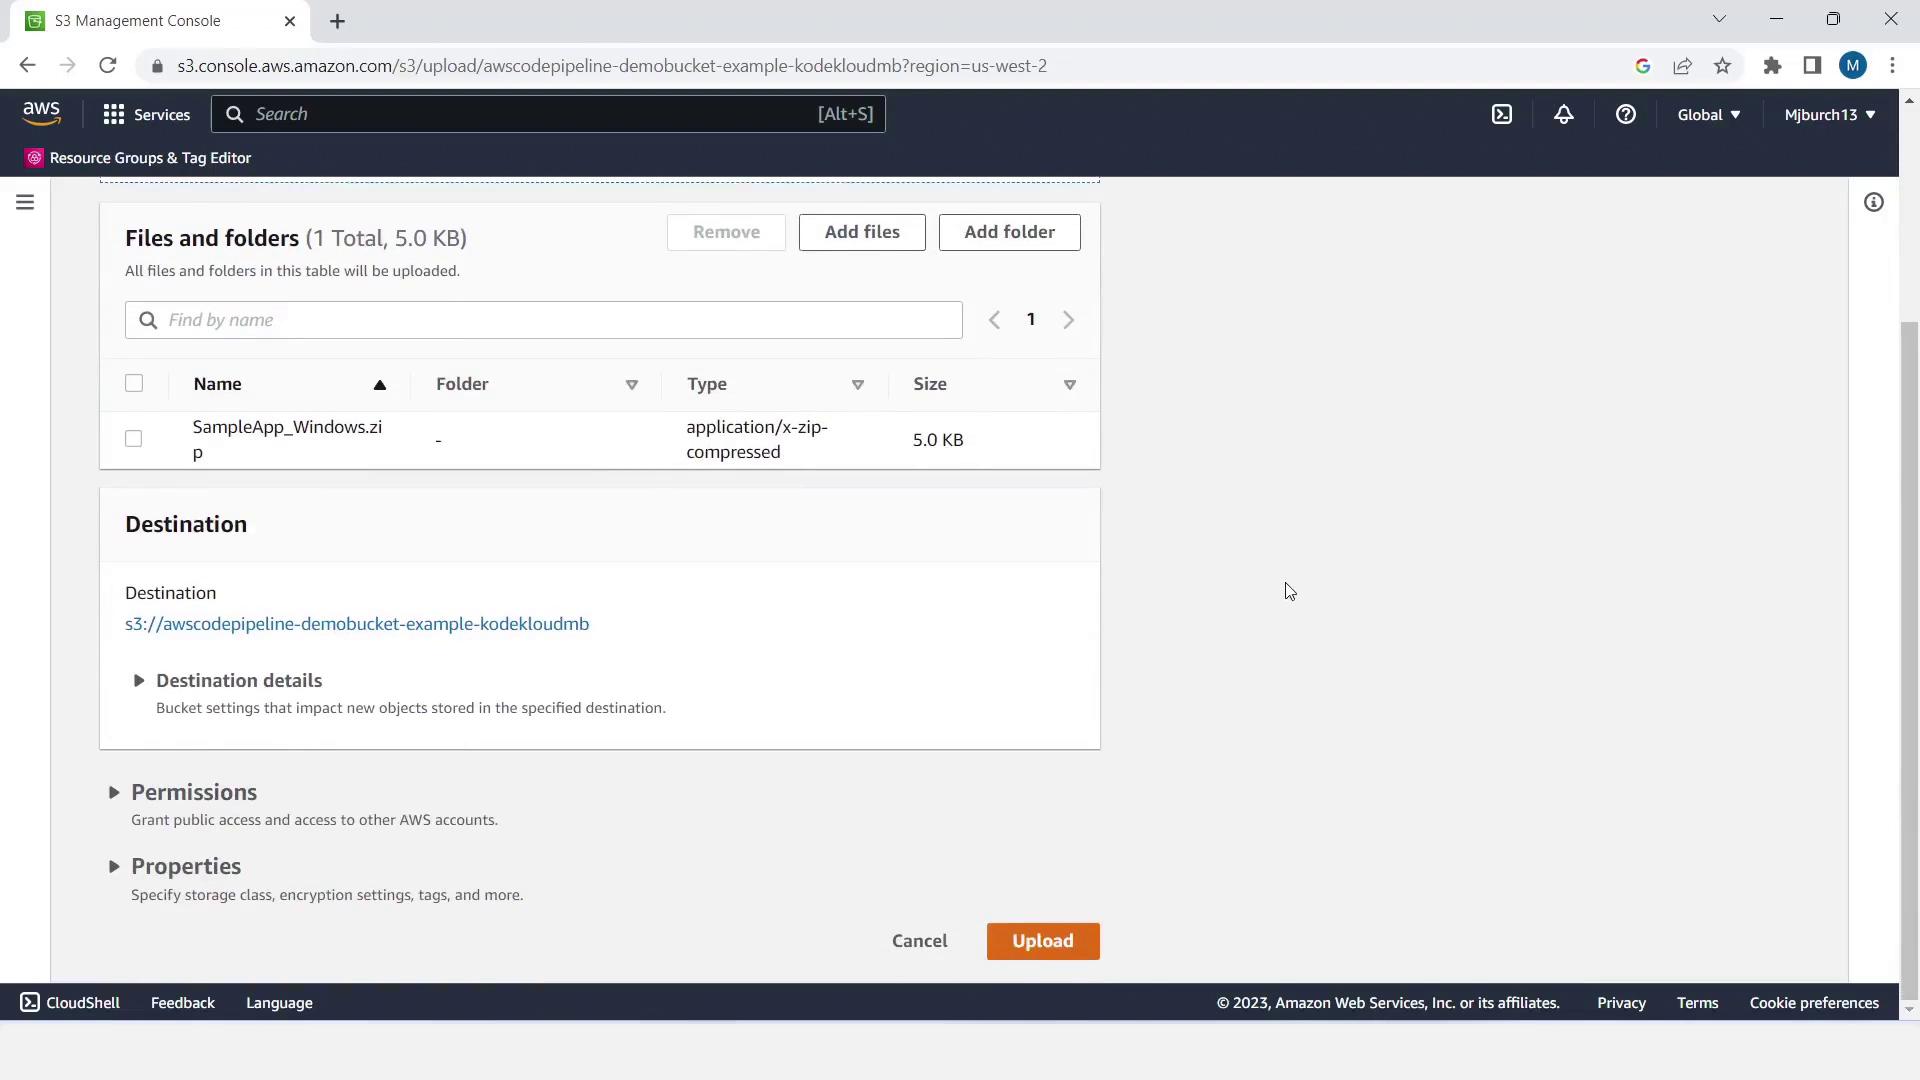
- Download the sample application ZIP (Windows or Linux) as referenced in the tutorial.
- Switch to Objects and Upload the sample ZIP file.
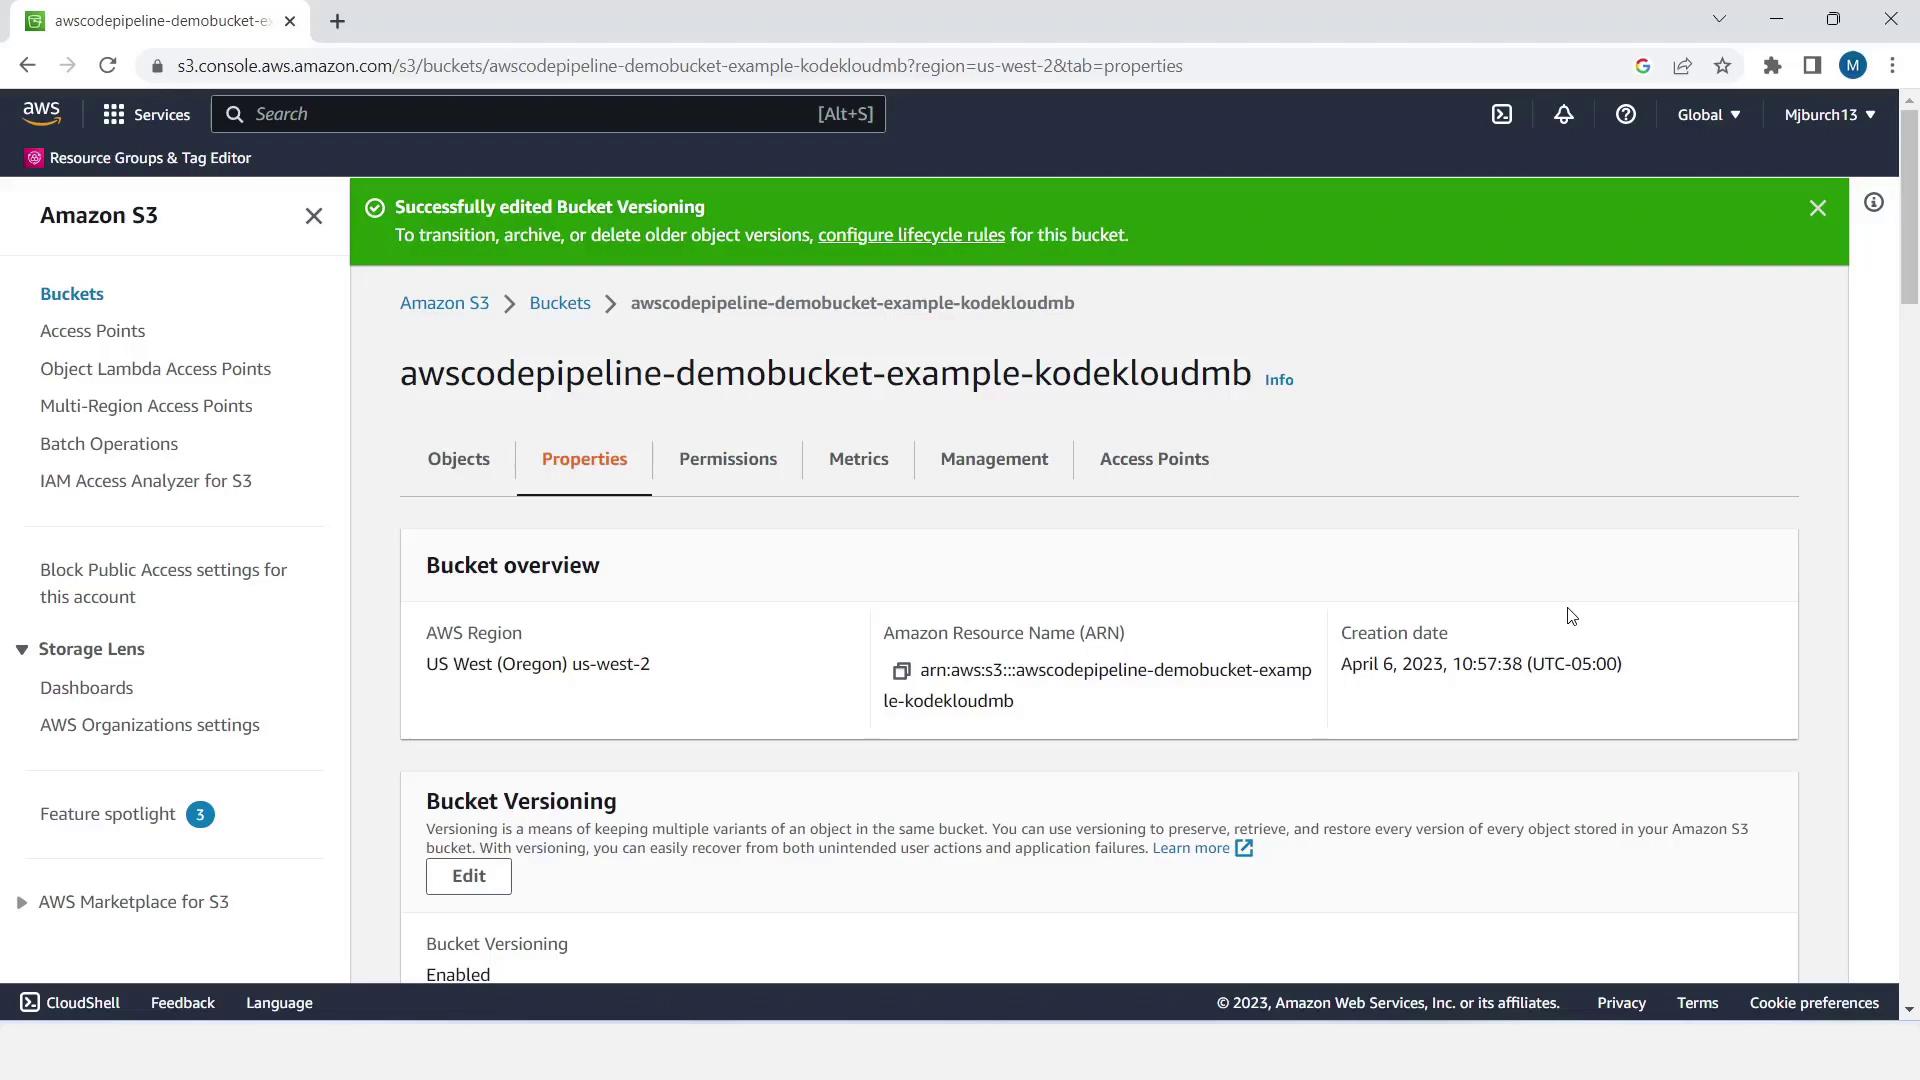
Bucket Versioning allows you to roll back to previous object versions and maintain a full history—critical for CI/CD source artifacts.
2. Create an IAM Role for EC2 Instances
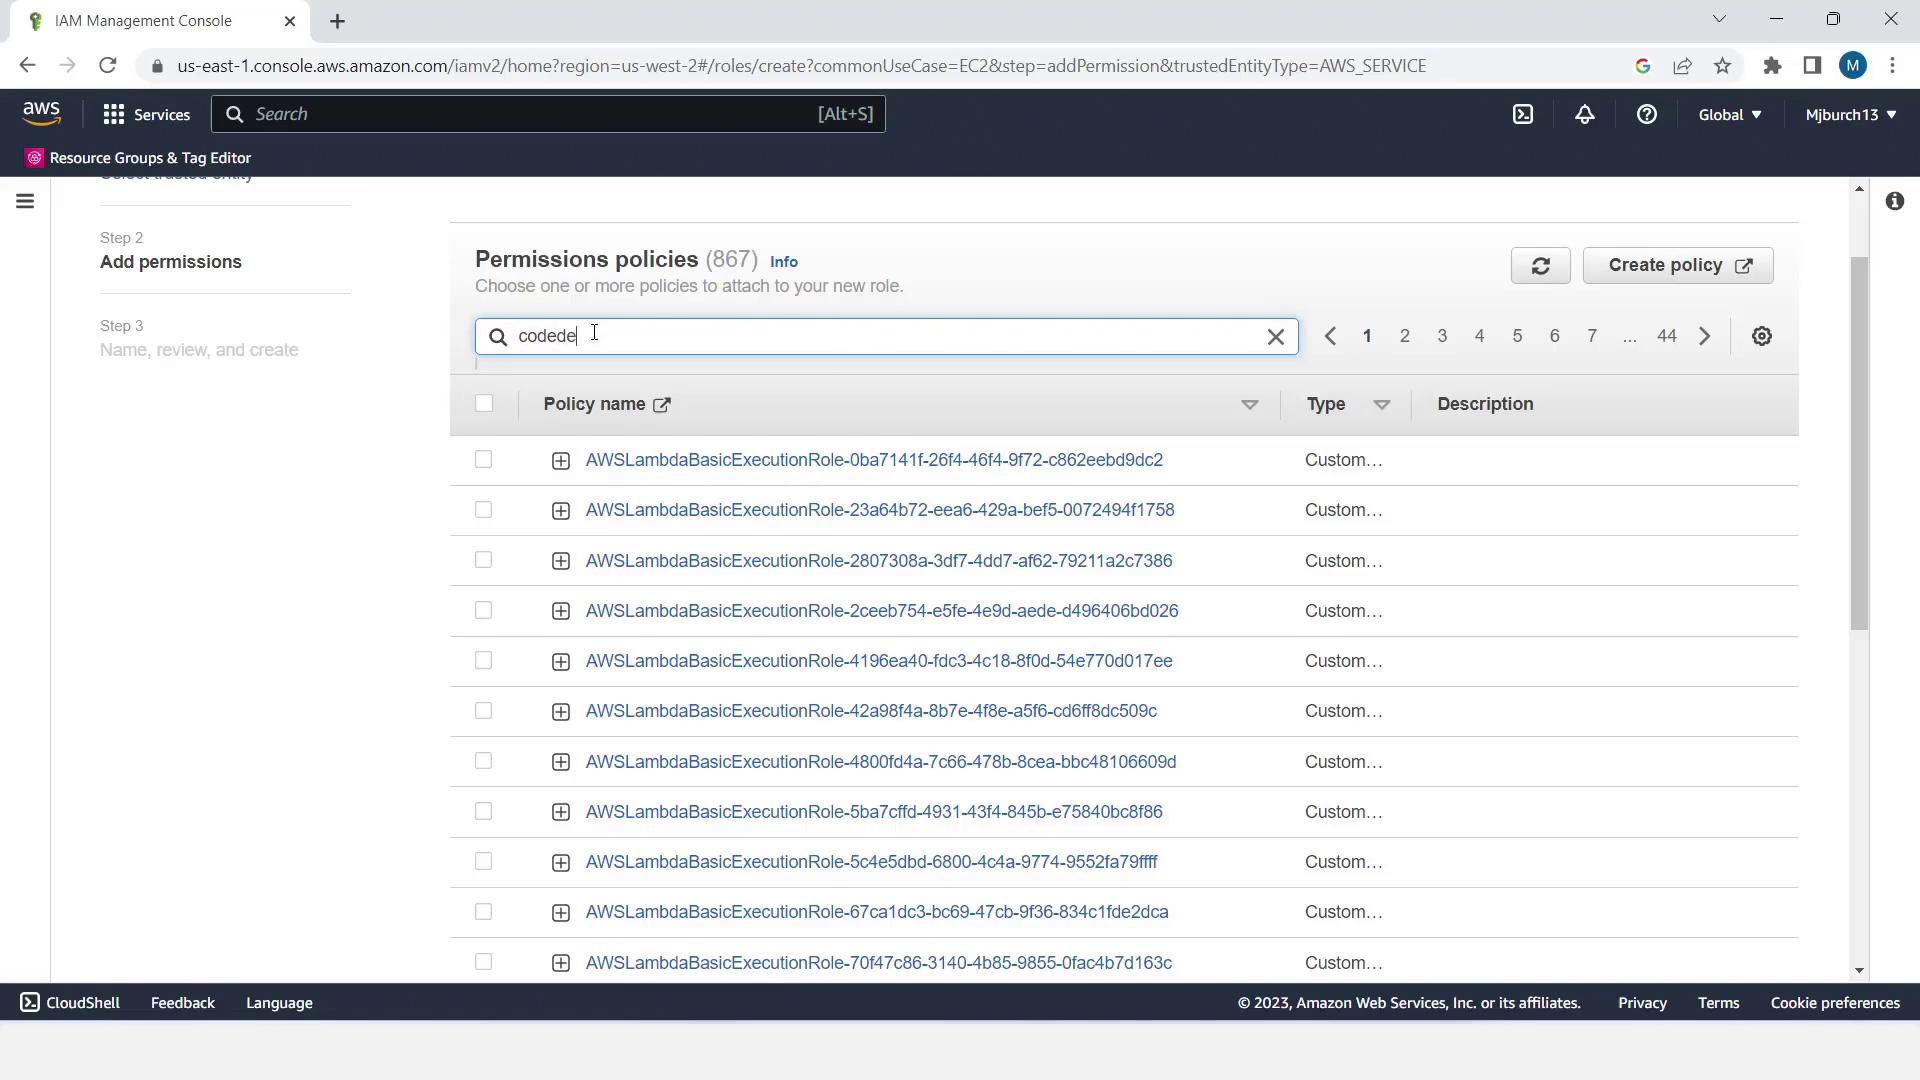
This role grants EC2 instances the permissions needed by CodeDeploy and SSM.- Open Services > IAM, select Roles, then Create role.
- Under Trusted entity, choose AWS service and select EC2.
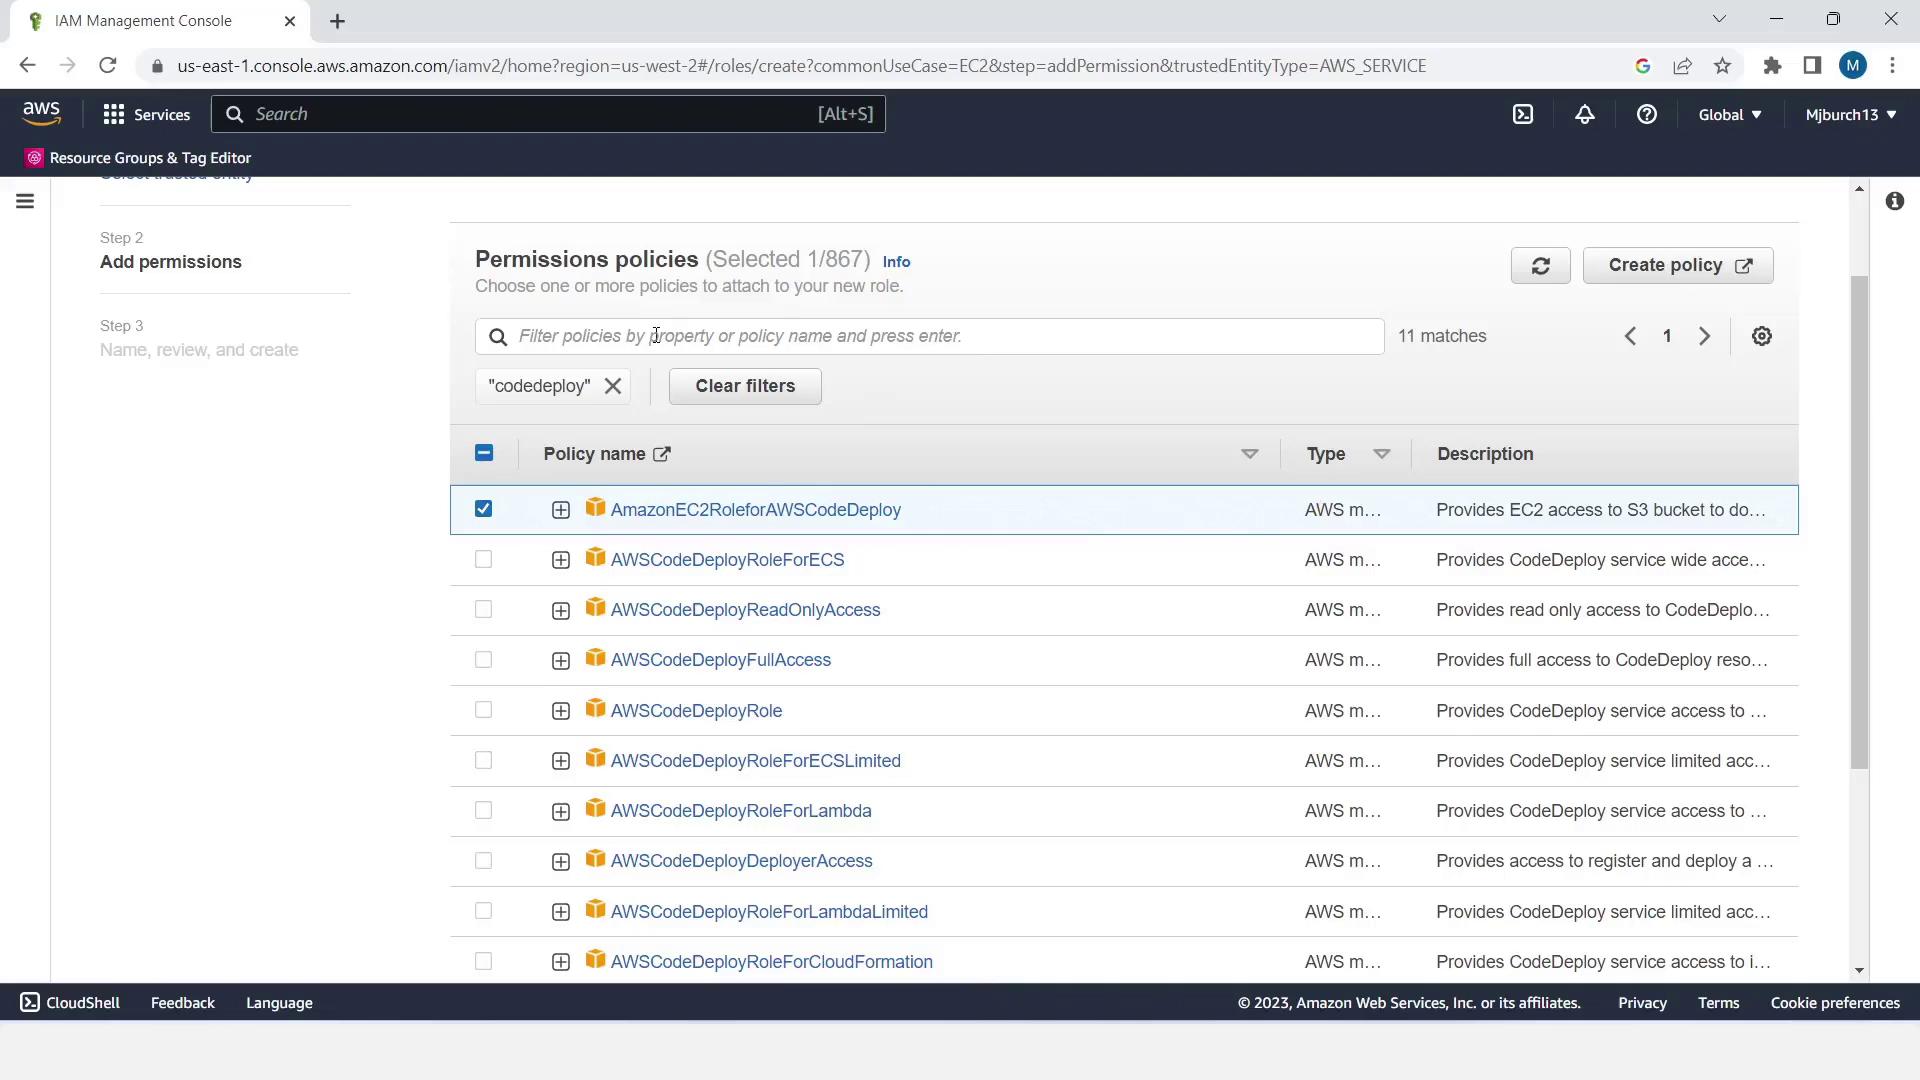
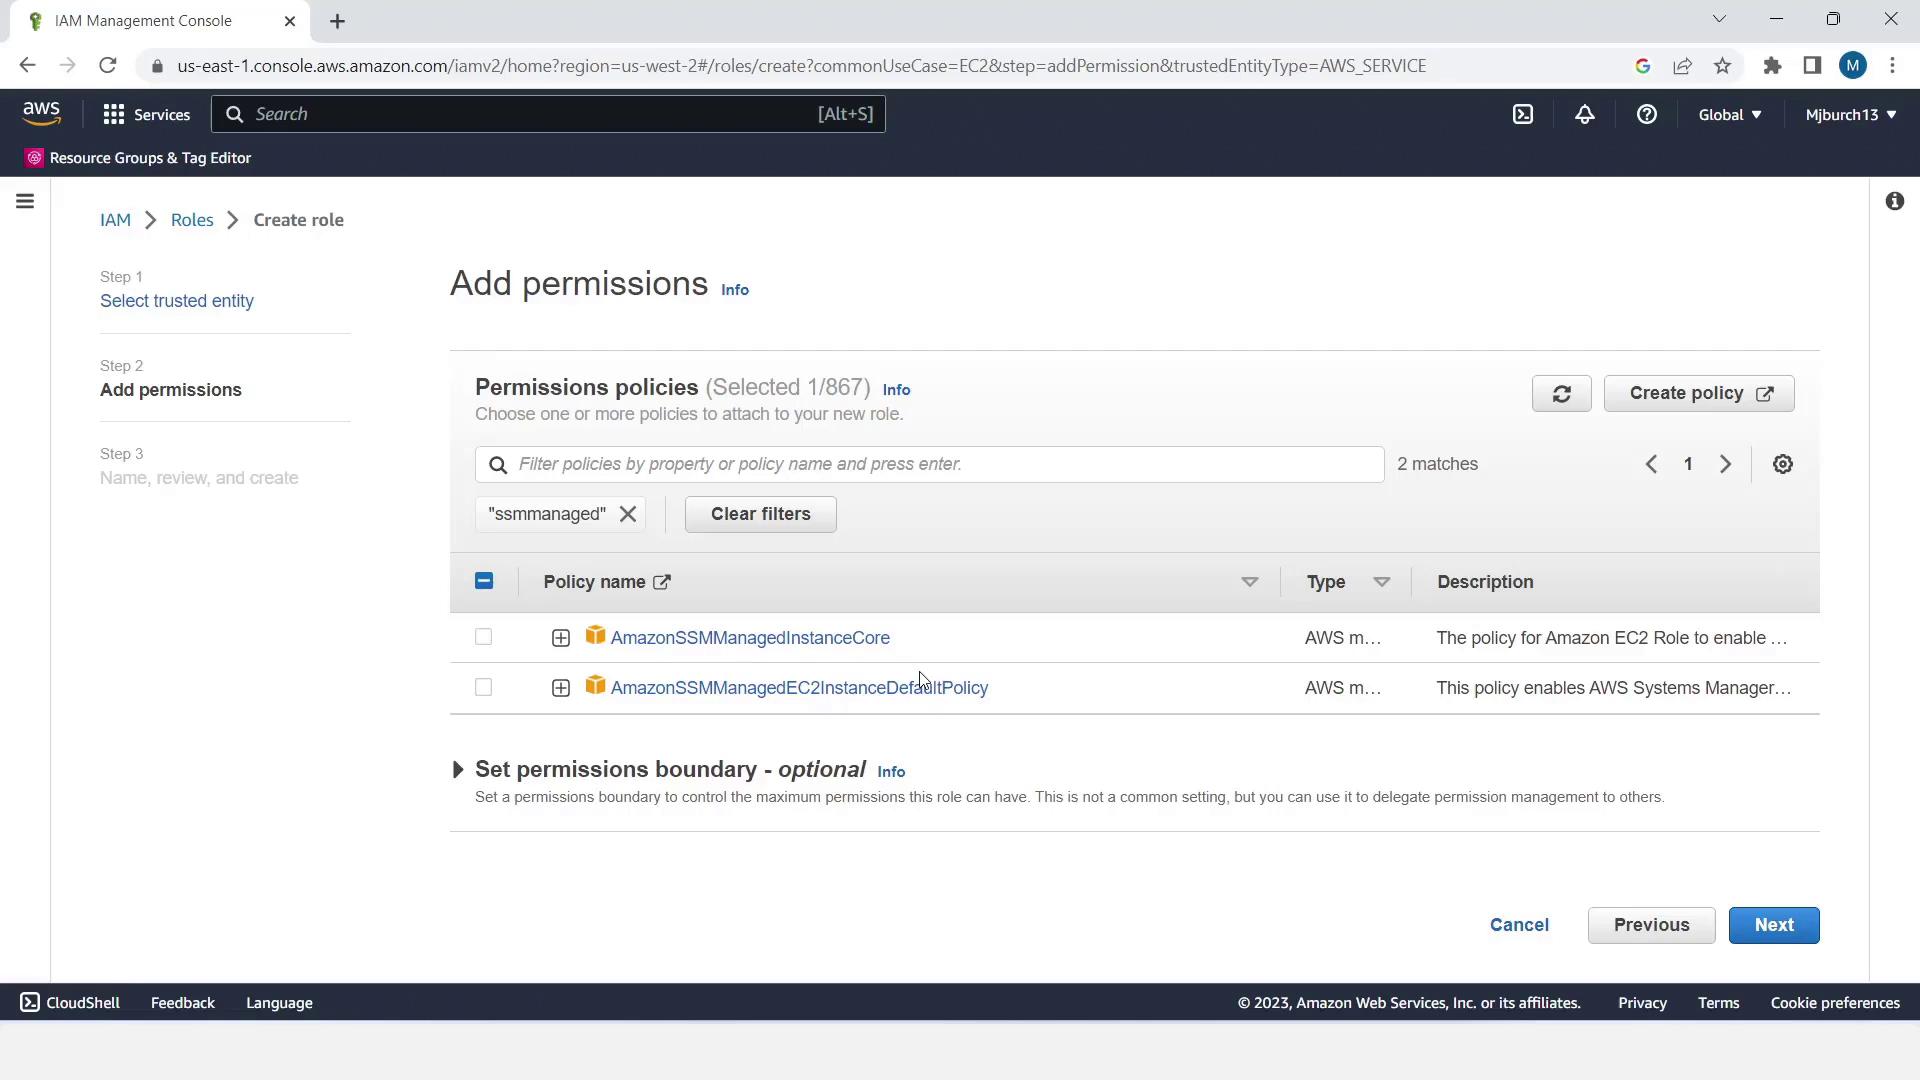
- Click Next and attach the following policies:
| Policy Name | Description |
|---|---|
| AmazonEC2RoleforAWSCodeDeploy | Permissions for CodeDeploy to deploy applications on EC2 |
| AmazonSSMManagedInstanceCore | Allows AWS Systems Manager Agent to manage and patch instances |
- Click Next, name the role EC2InstanceRole, and choose Create role.
3. Launch EC2 Windows Instances
We’ll deploy two Windows instances tagged for CodeDeploy.- Go to Services > EC2 and click Launch Instance.
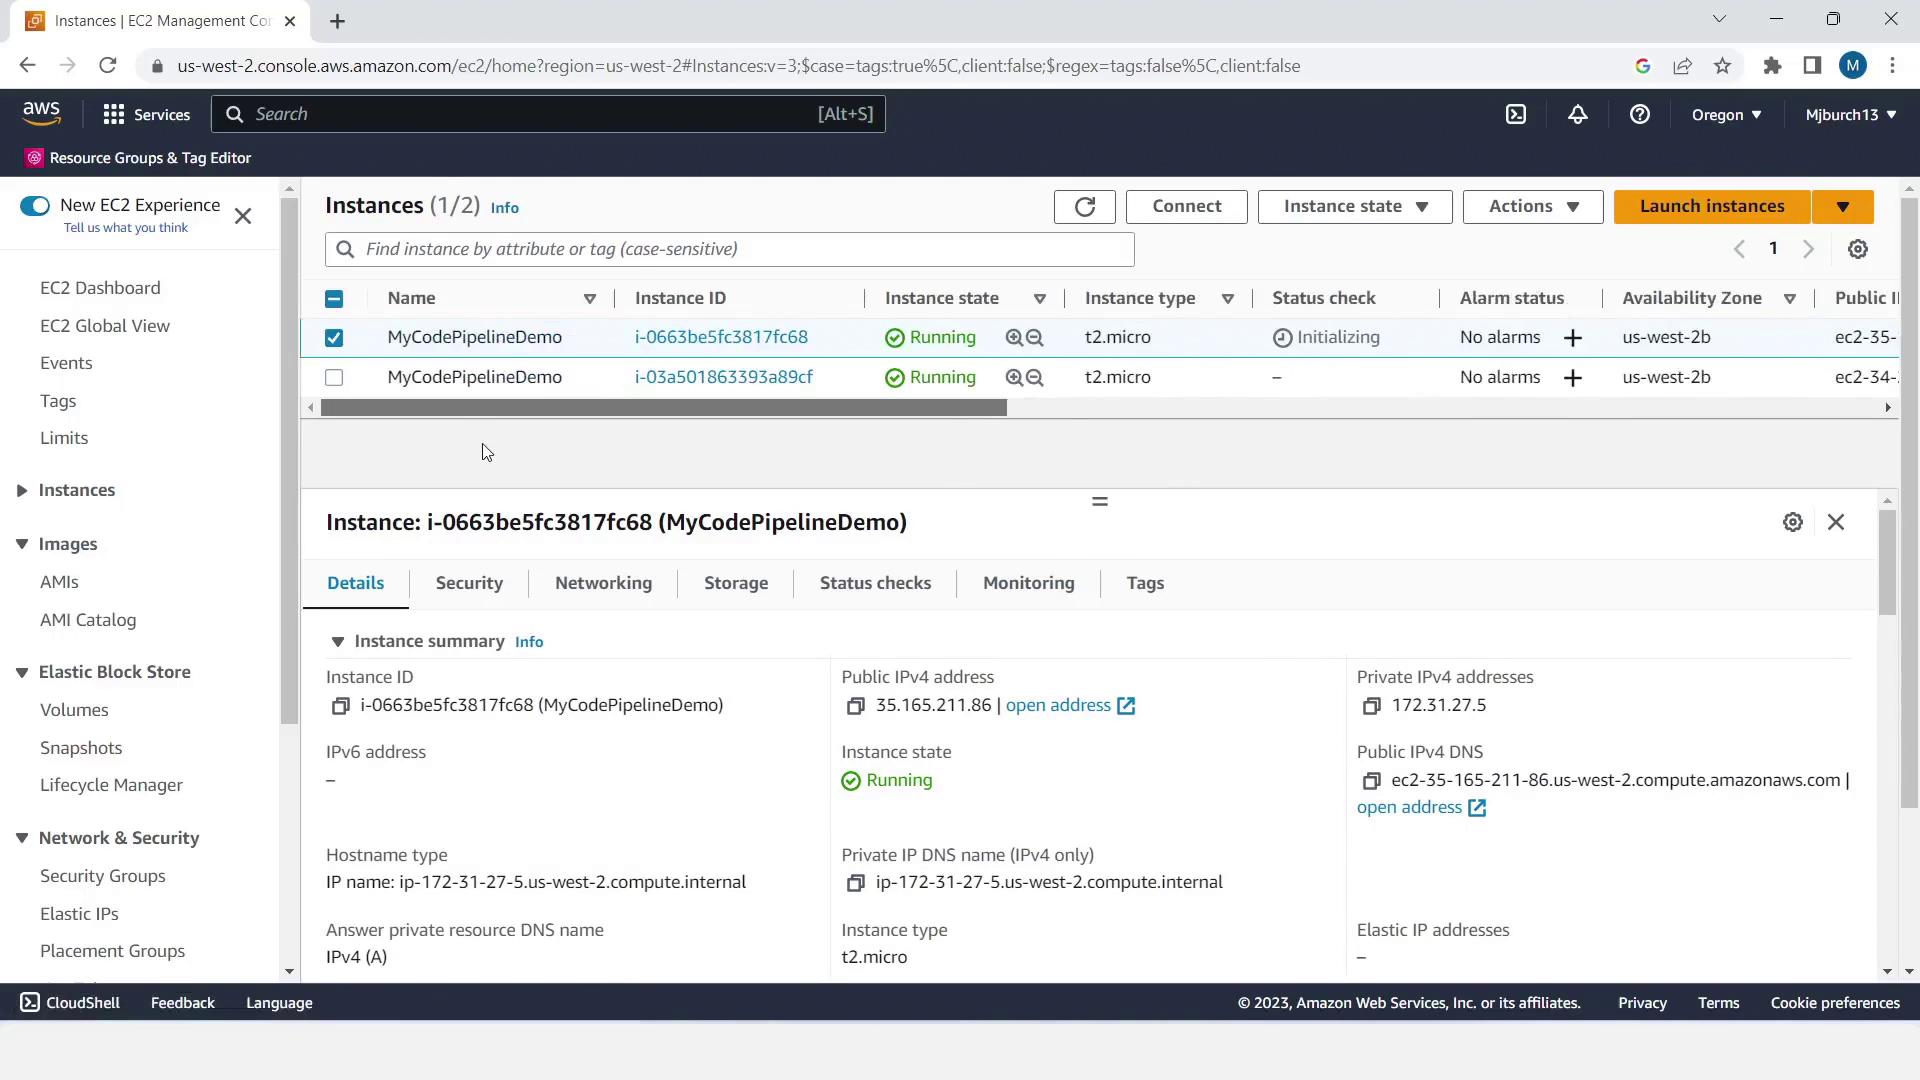
- Set Name and tags → Name:
MyCodePipelineDemo. - Choose a Windows Free Tier AMI and t2.micro instance type.
- Under Key pair, select Proceed without a key pair (demo only).
- In Network settings, enable Auto-assign Public IP.
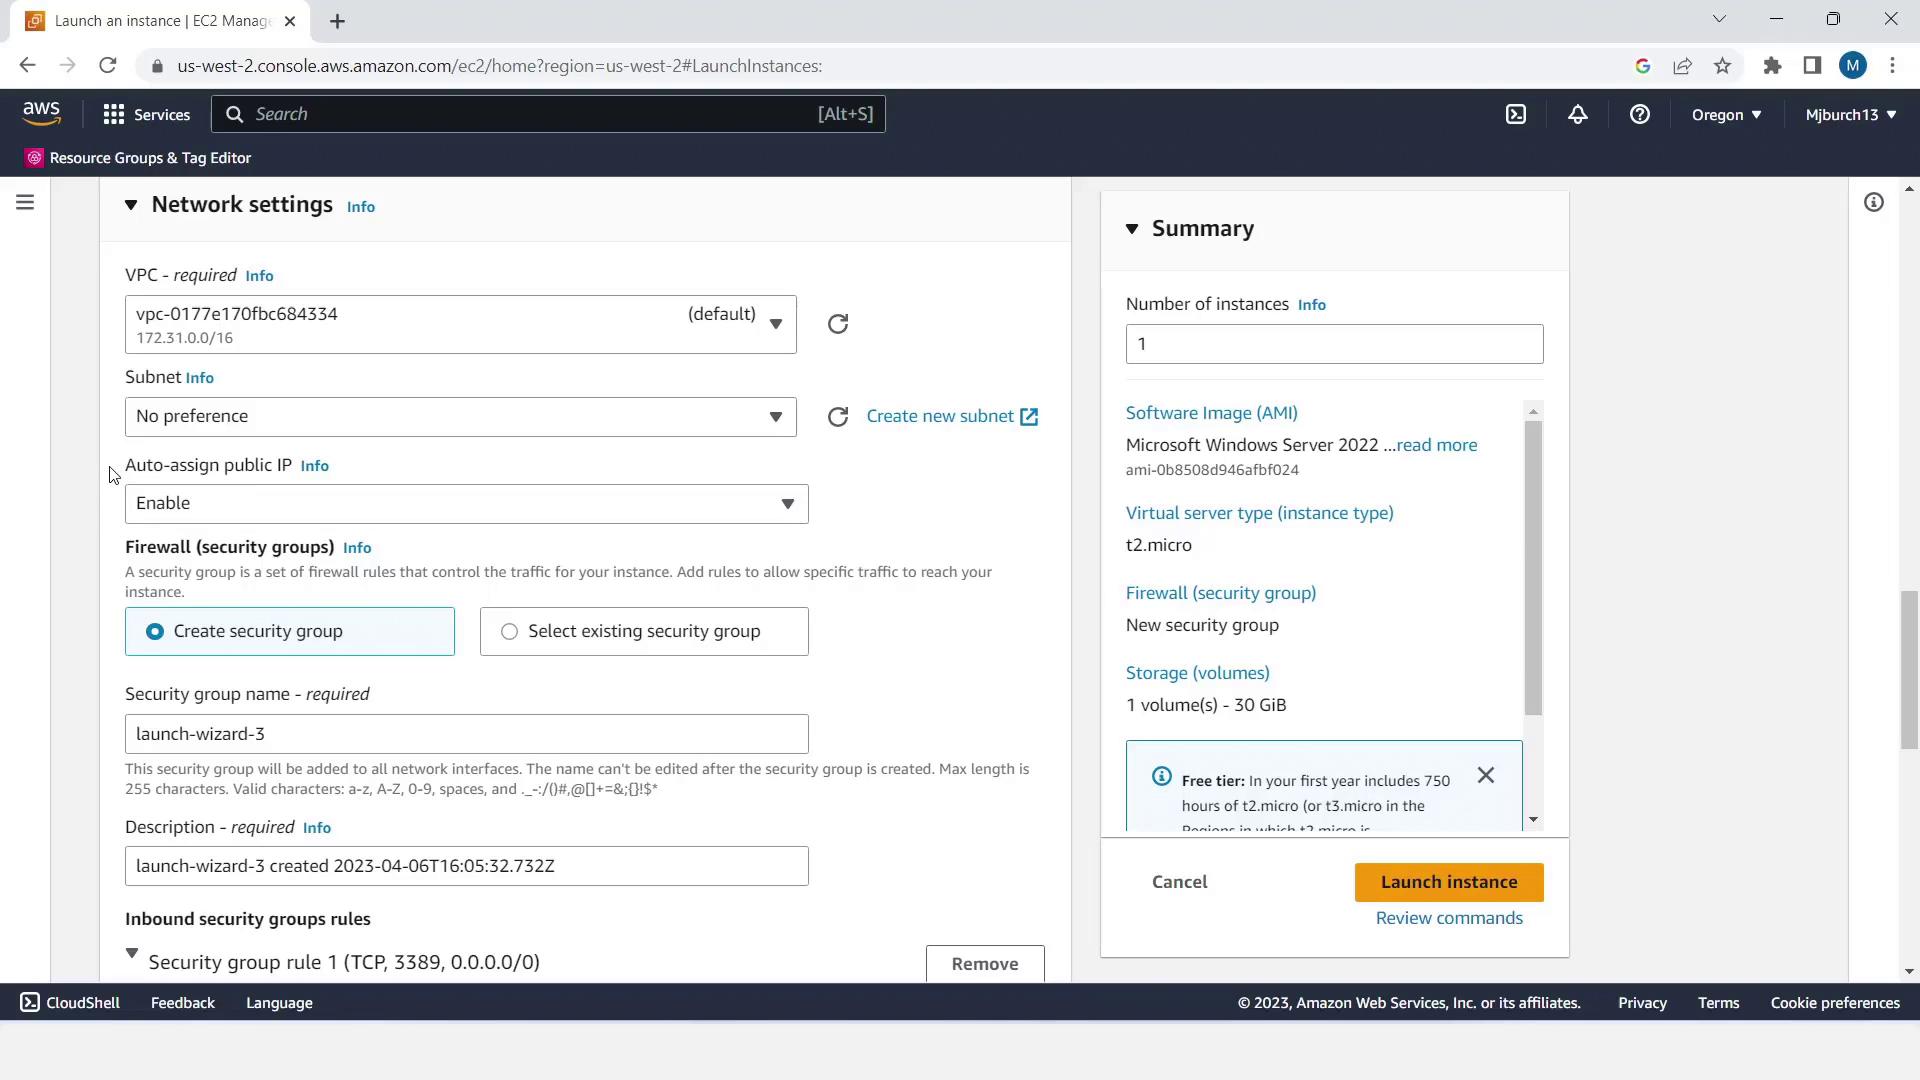
- Create a new security group allowing SSH (port 22) and HTTP (port 80) from your IP.
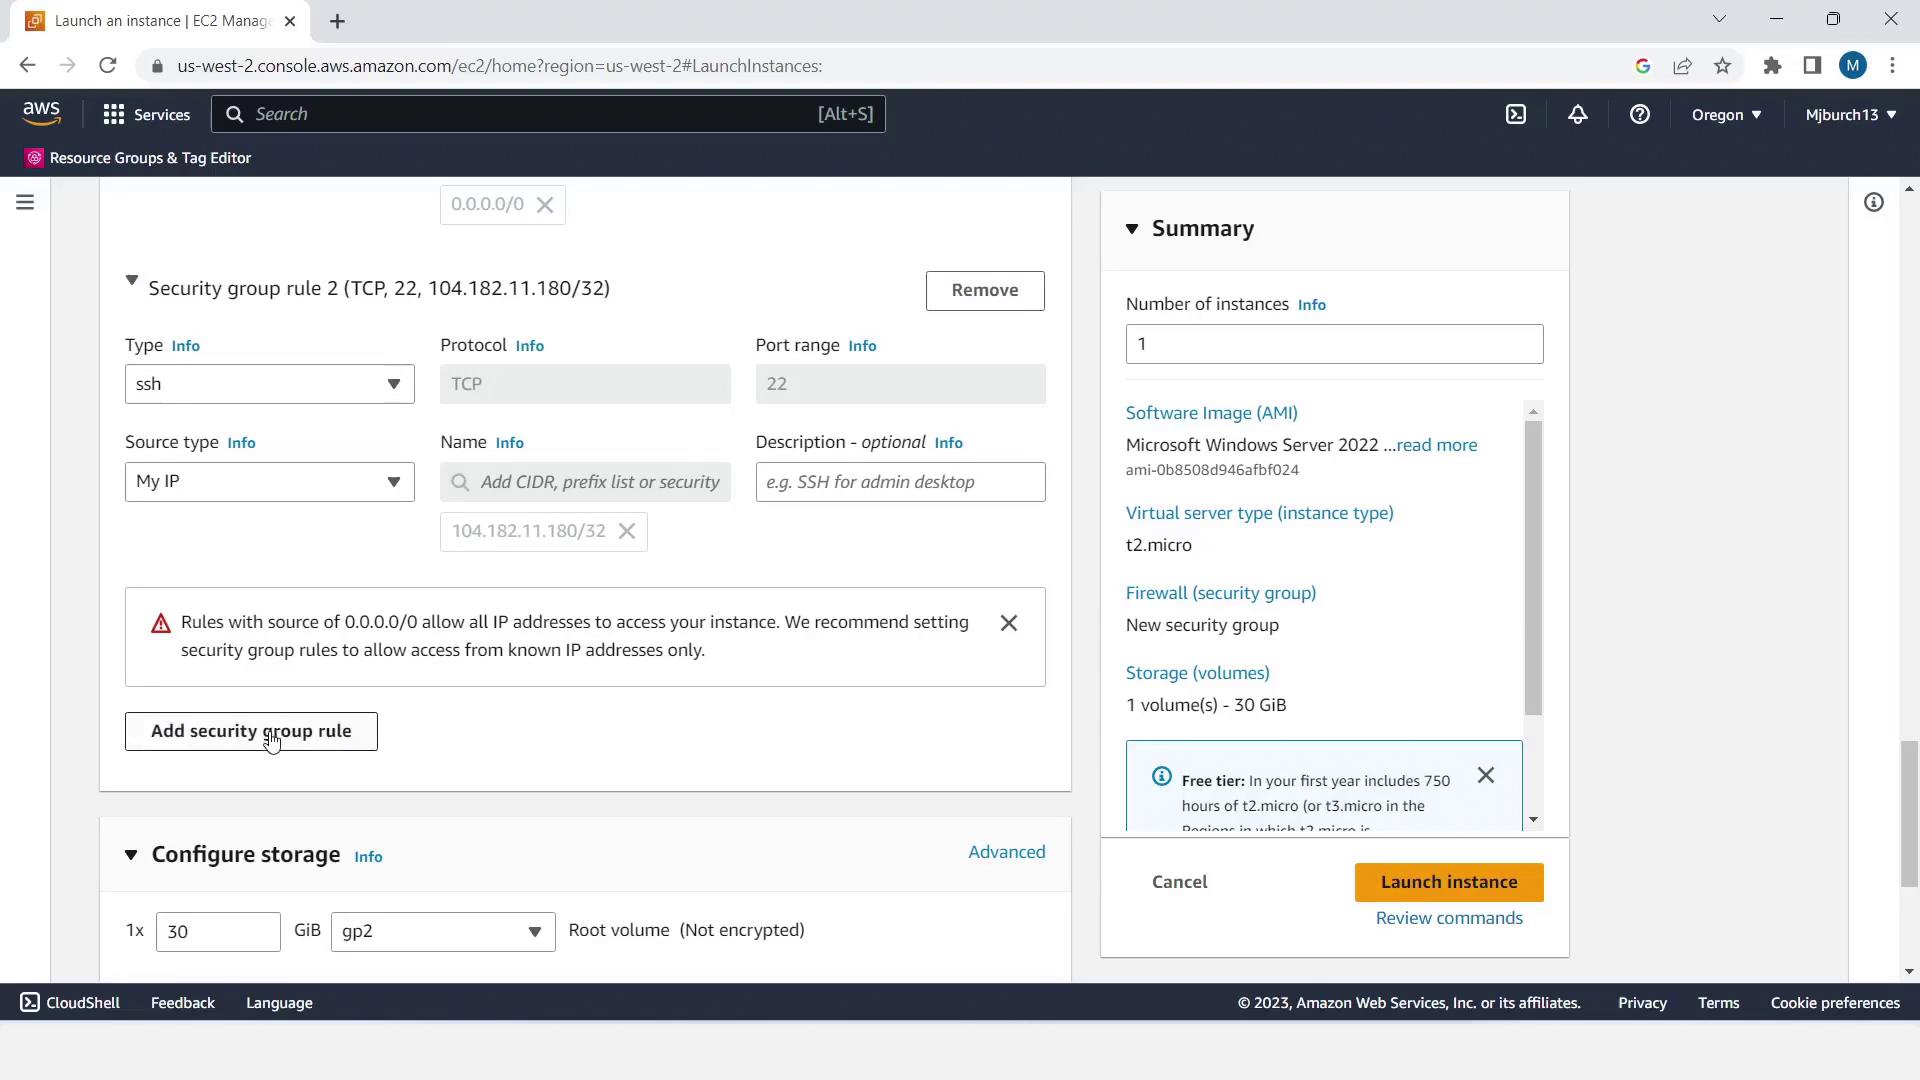
Skipping a key pair is only for demo purposes. In production, always use key pairs or Systems Manager Session Manager for secure access.
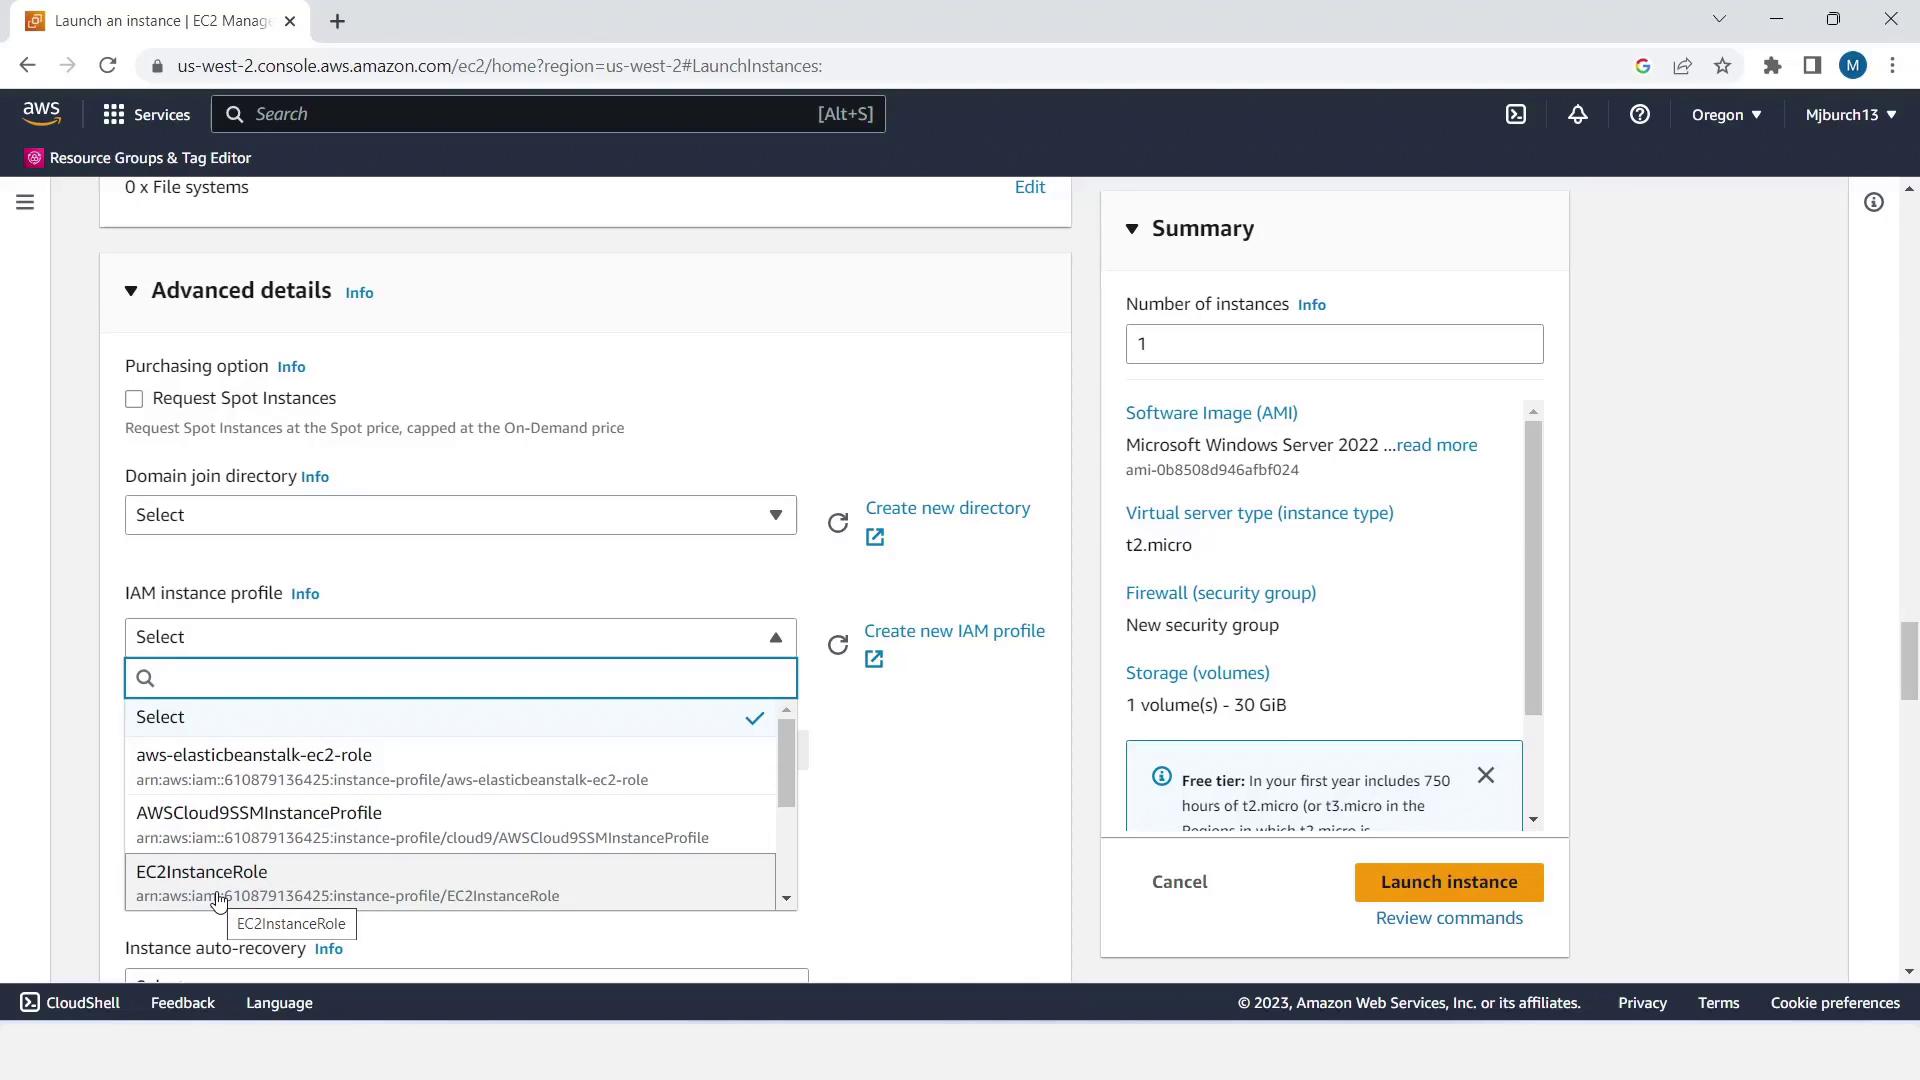
- Expand Advanced Details, set IAM instance profile to EC2InstanceRole, and increase Number of instances to 2.
- Click Launch instances.
- Note each instance’s Public IPv4 DNS—you’ll test the deployment later.
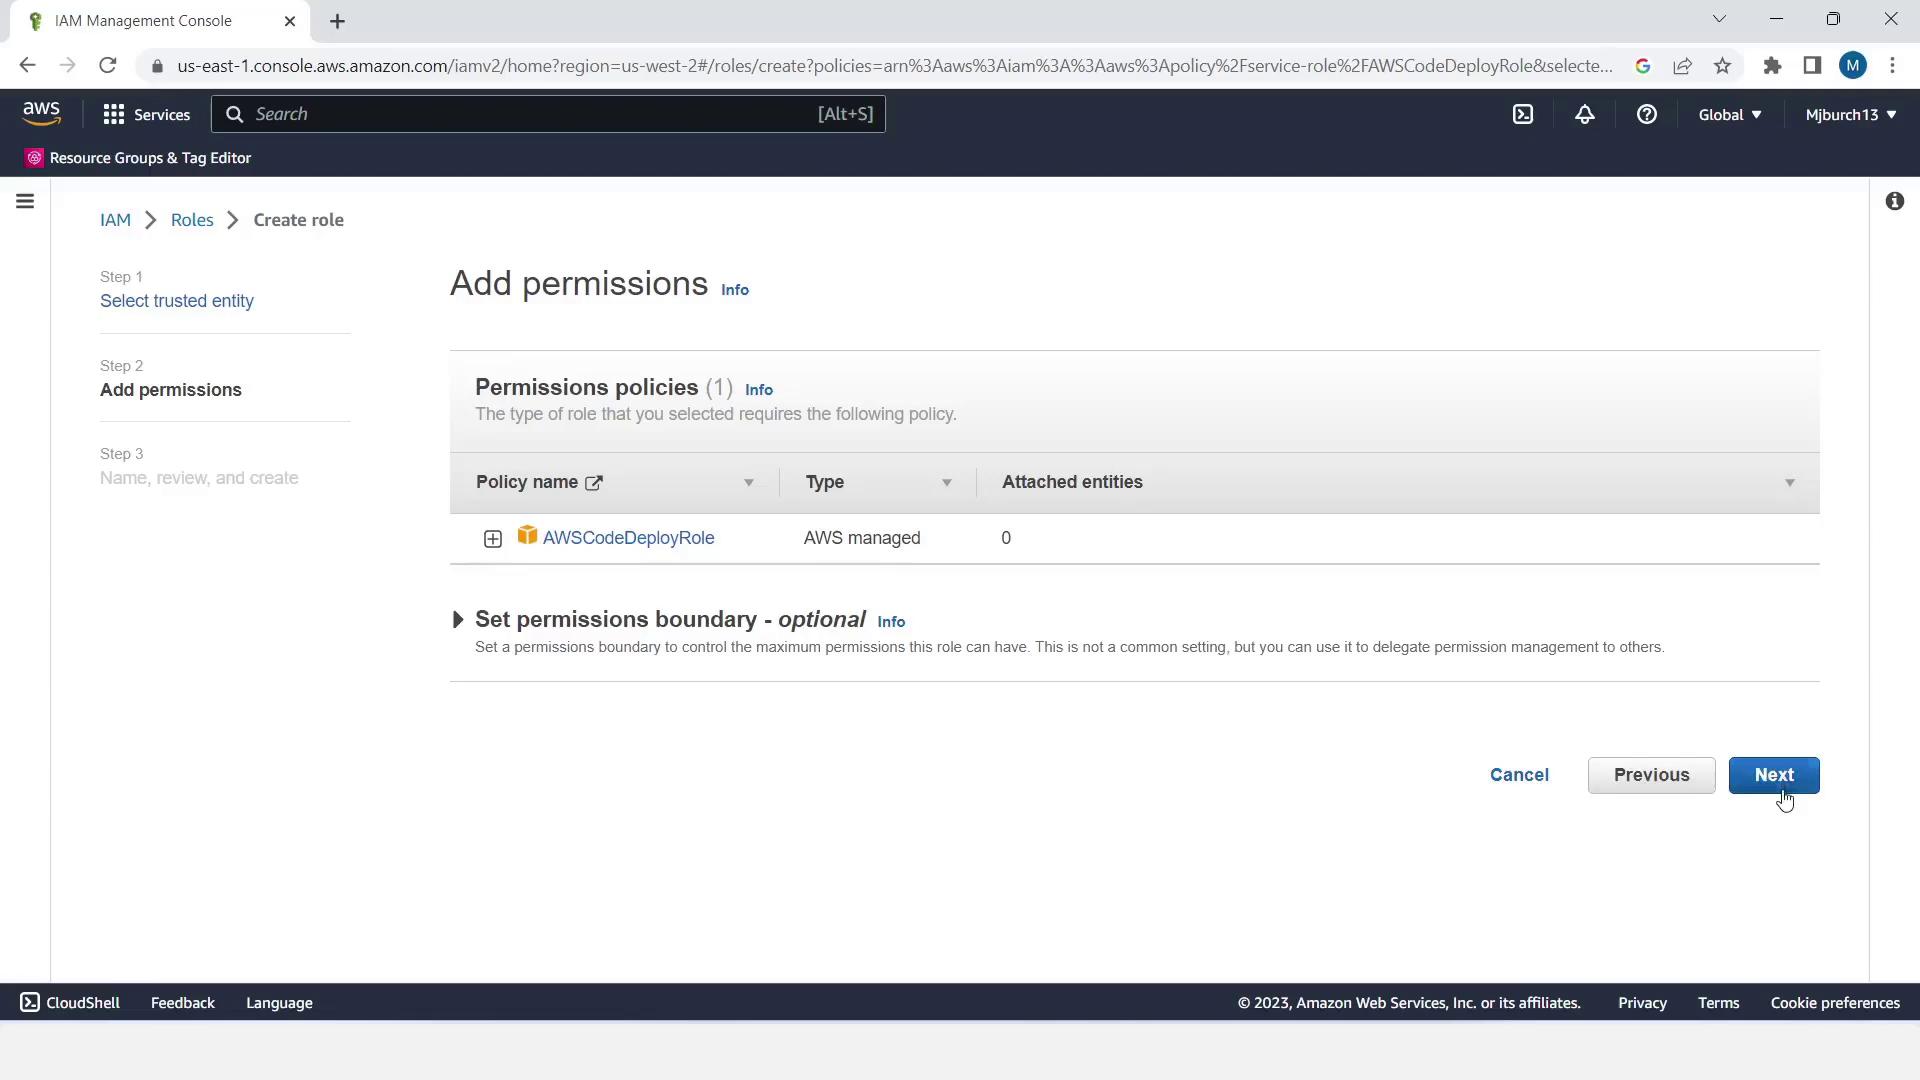
4. Create an IAM Role for CodeDeploy
- In IAM, select Roles > Create role.
- Choose AWS service → CodeDeploy, click Next.
- The AWSCodeDeployRole policy is preselected—click Next.
- Name the role CodeDeployRole and click Create role.

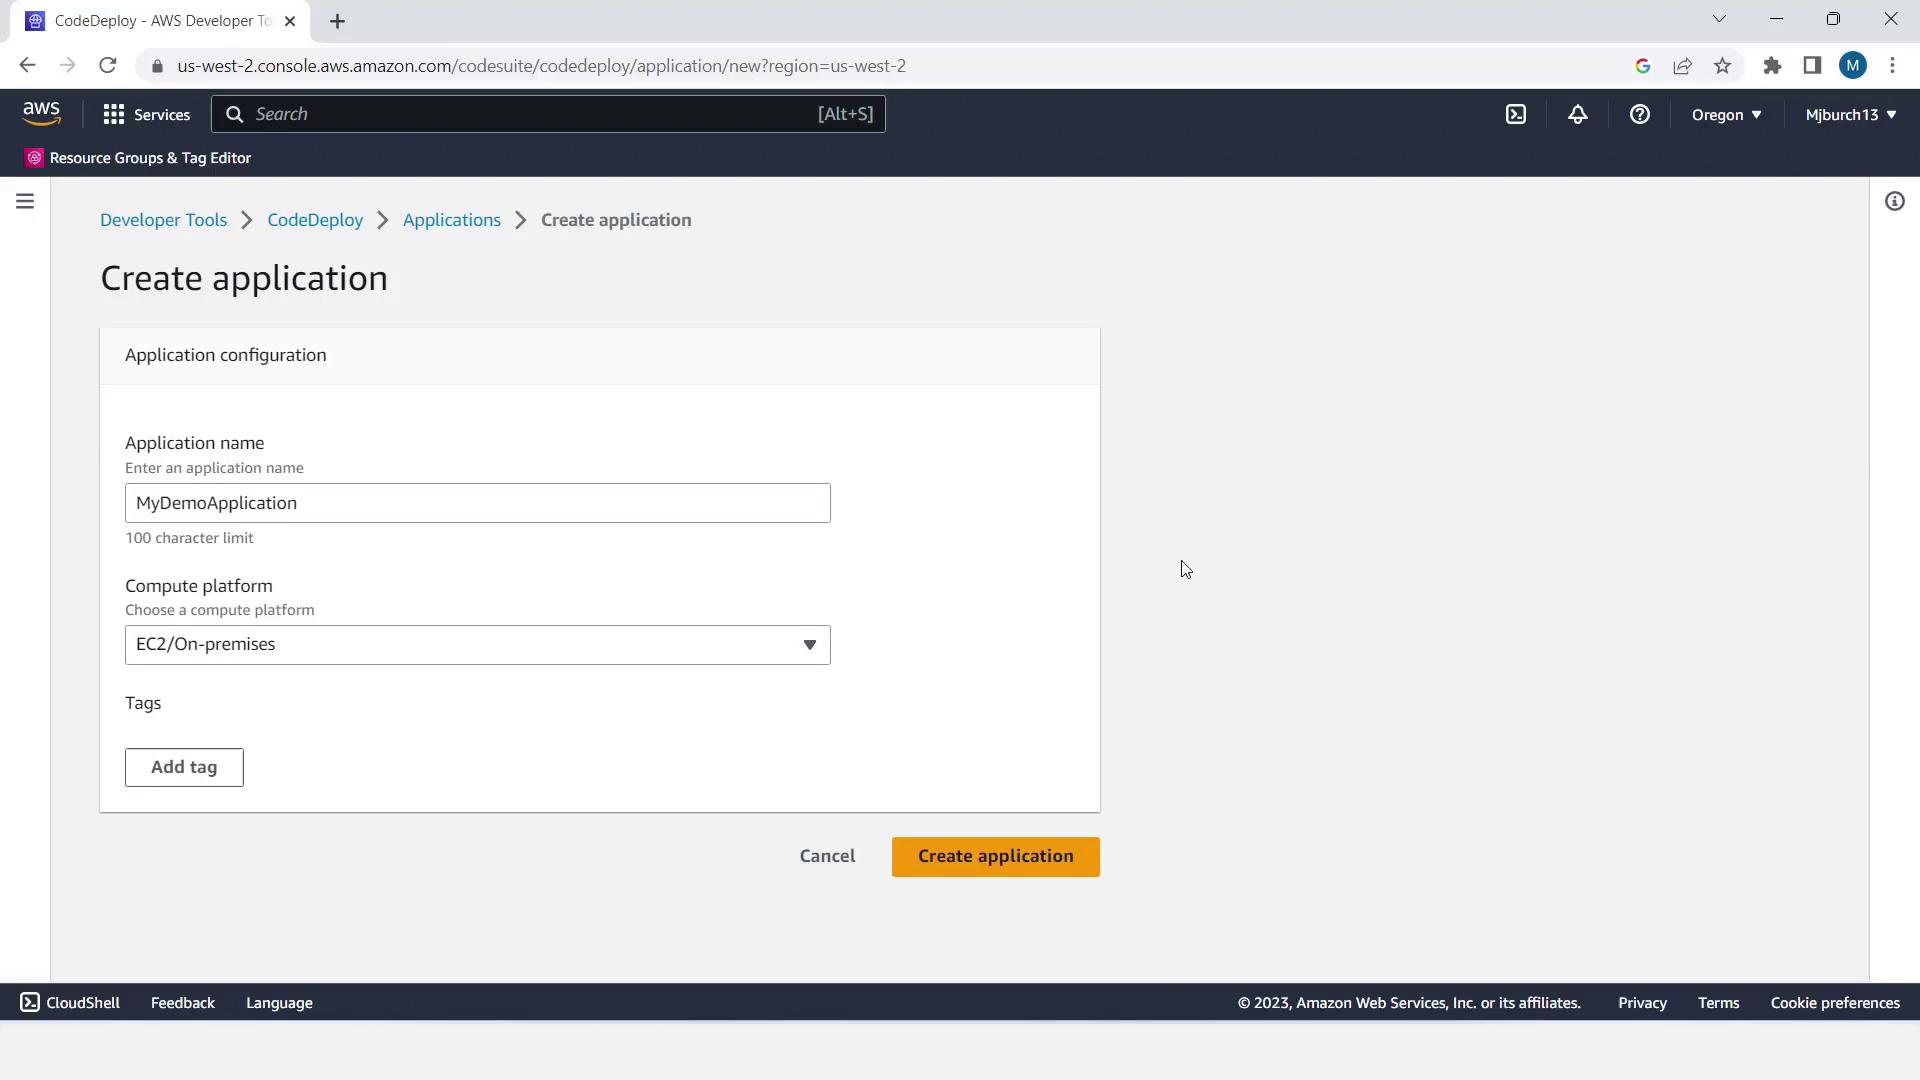
5. Configure CodeDeploy Application and Deployment Group
- Navigate to Services > CodeDeploy > Applications, then Create application.
- Enter Application name:
MyDemoApplication. Select EC2/On-premises and click Create application.
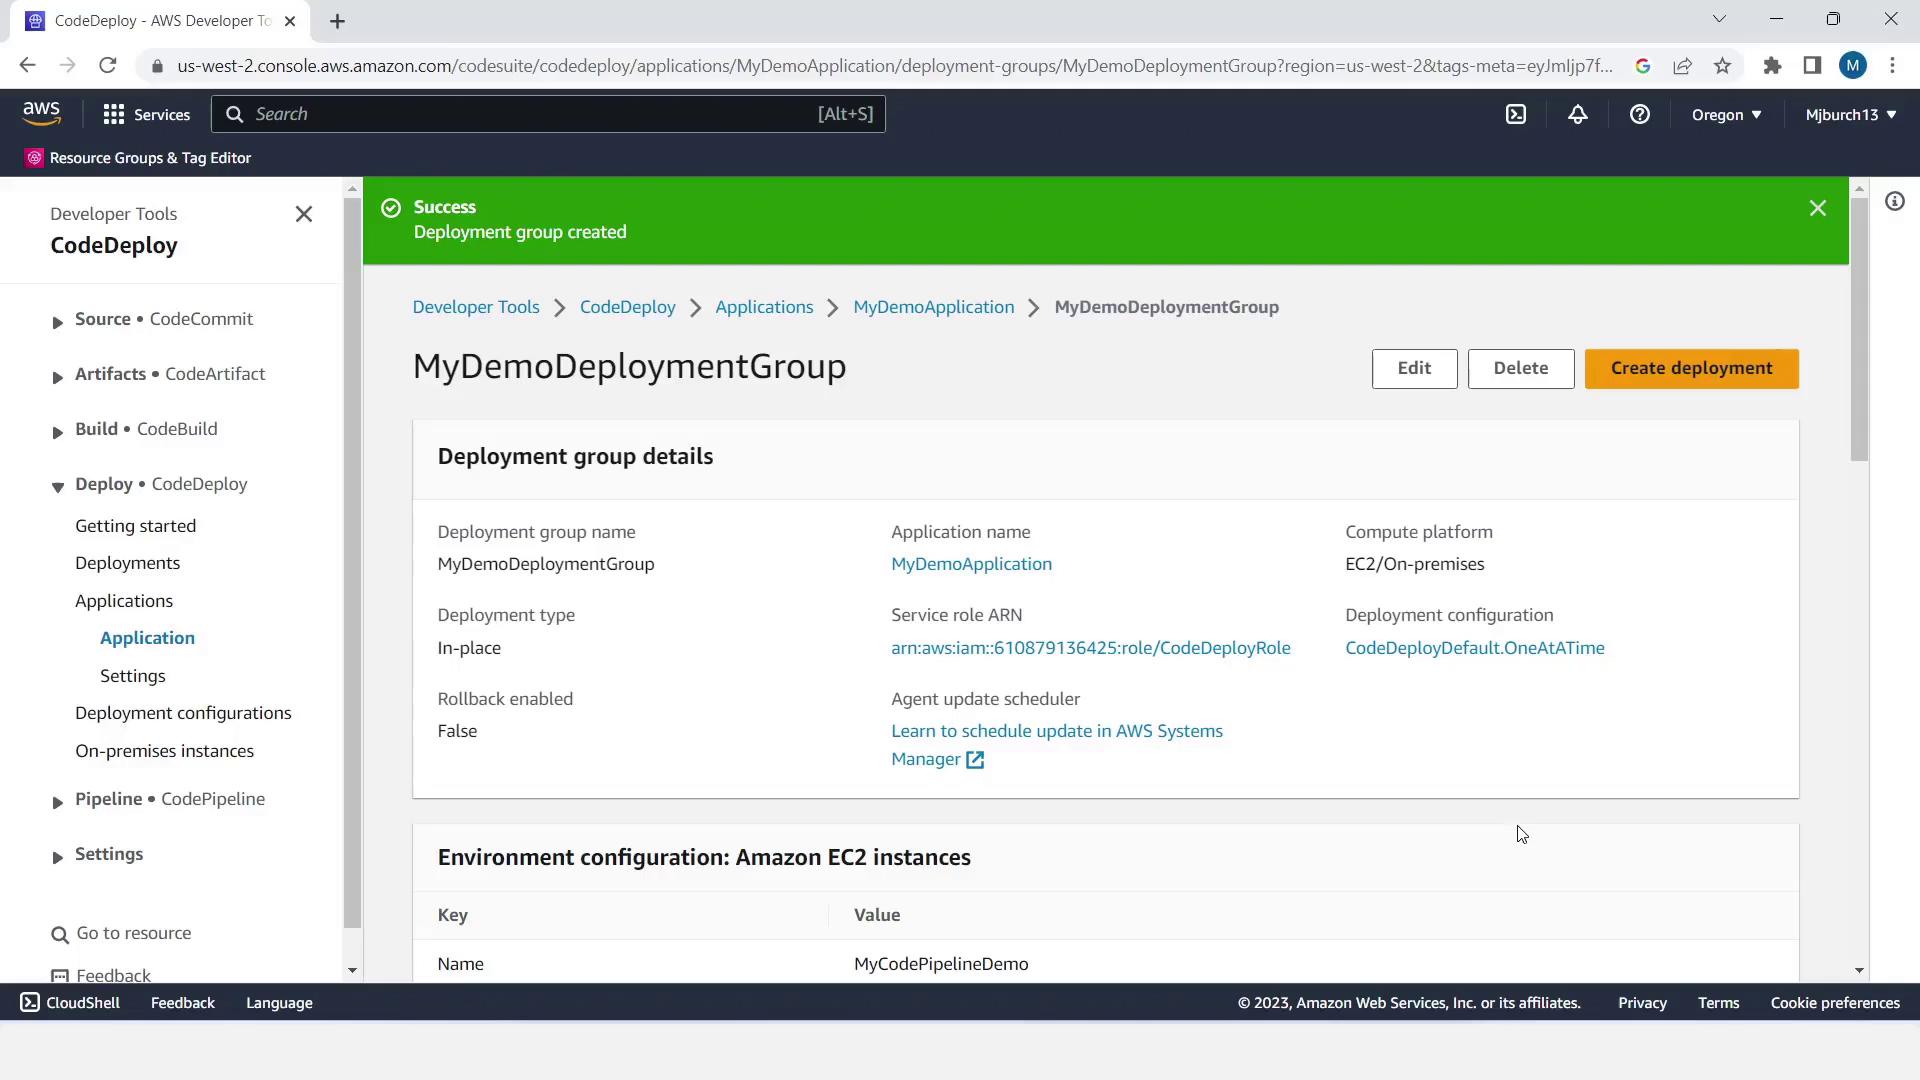
- Click Create deployment group.
- Set Deployment group name:
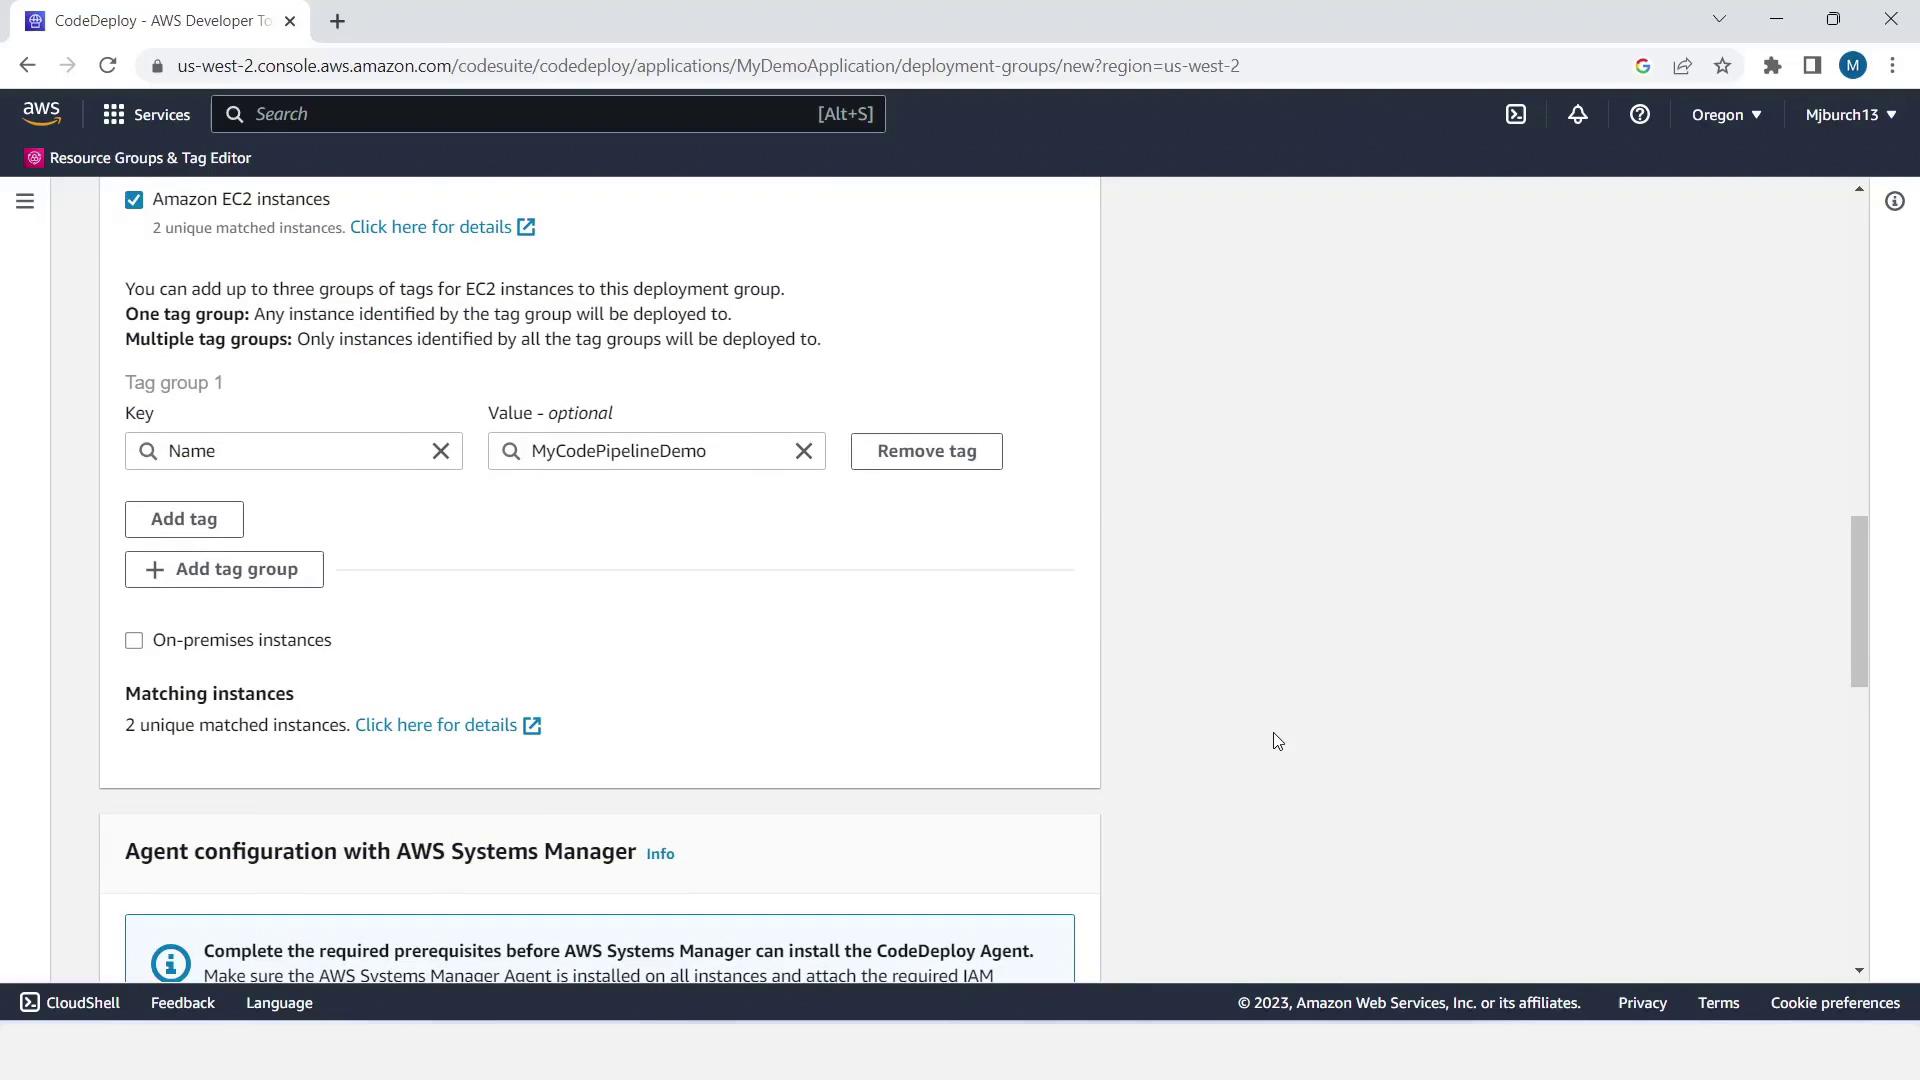
MyDemoDeploymentGroup. Choose CodeDeployRole. - Under Environment configuration, select Amazon EC2 instances and filter by tag:
- Key =
Name - Value =
MyCodePipelineDemo
- Key =
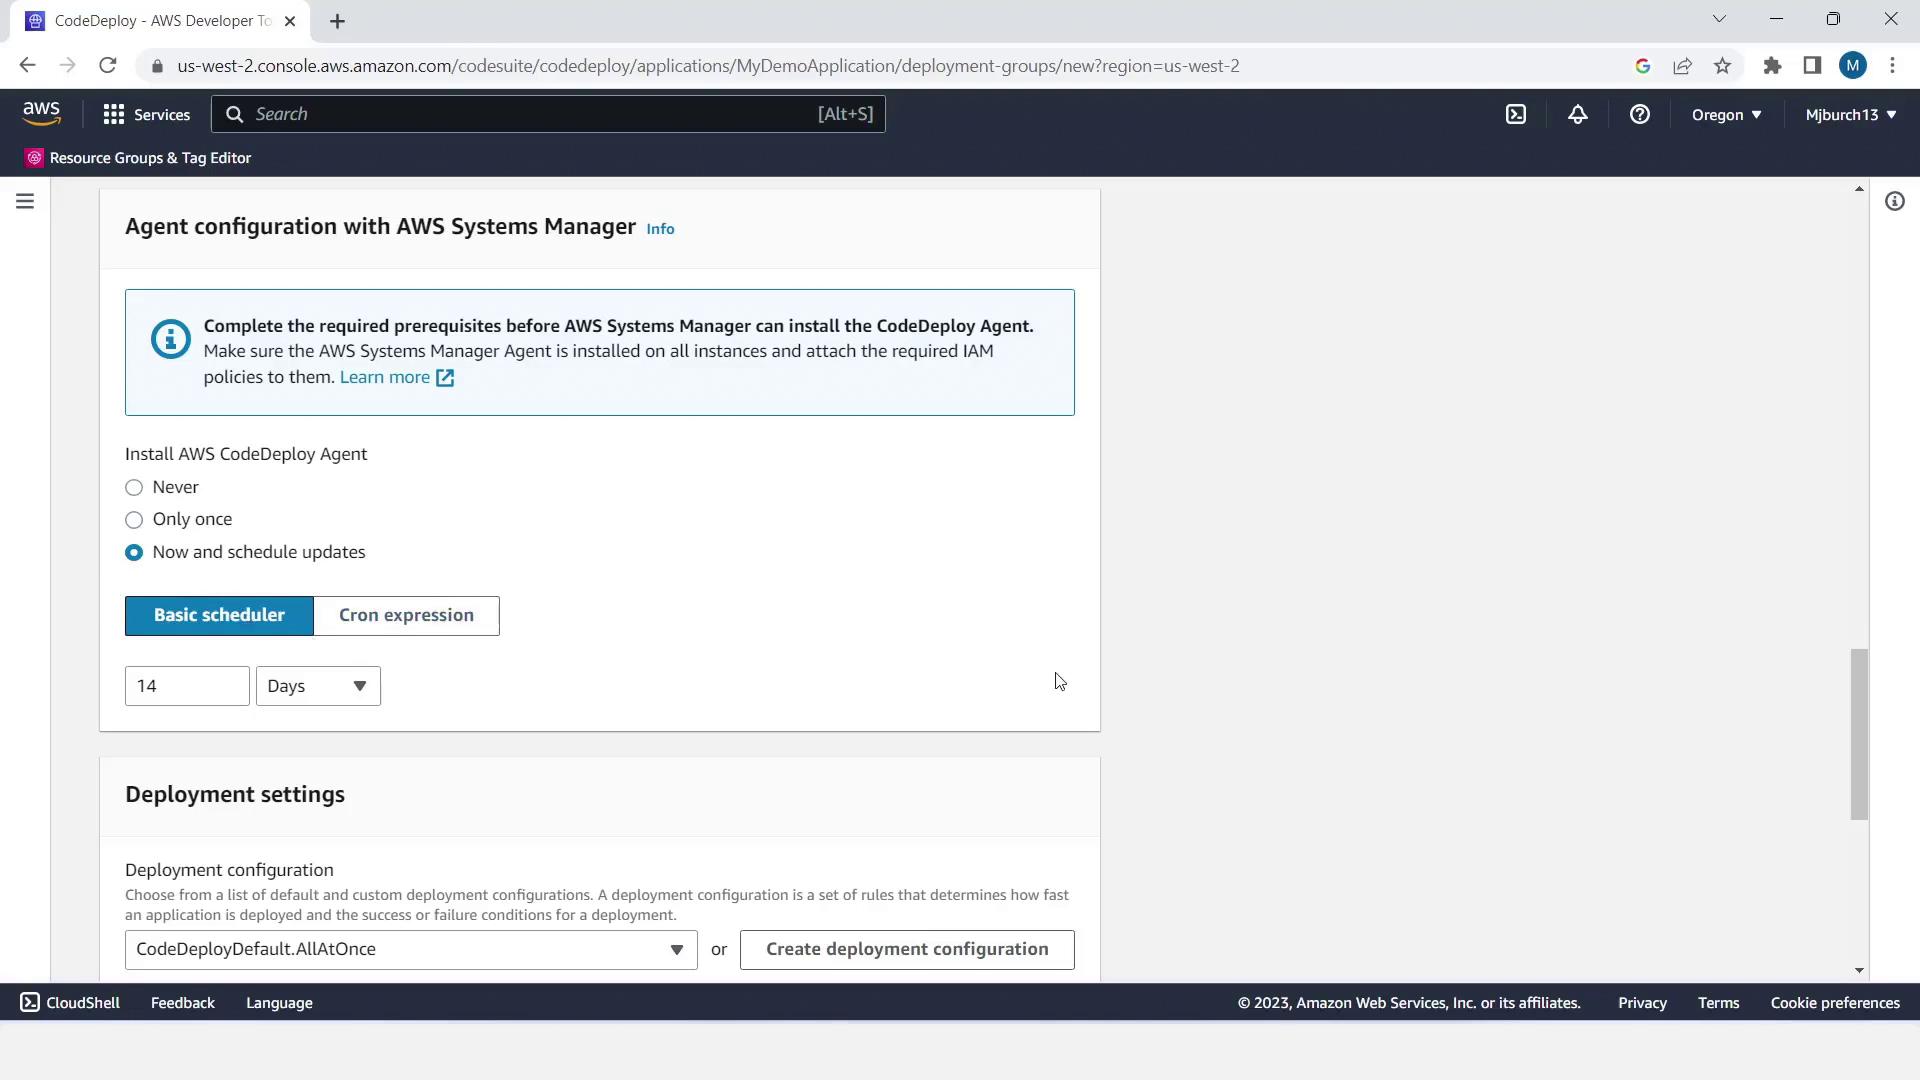
- In Agent configuration, choose Latest run (schedule future updates).
- For Deployment settings, select CodeDeployDefault.OneAtATime.
- Disable Load Balancing and click Create deployment group.
6. Create the CodePipeline Pipeline
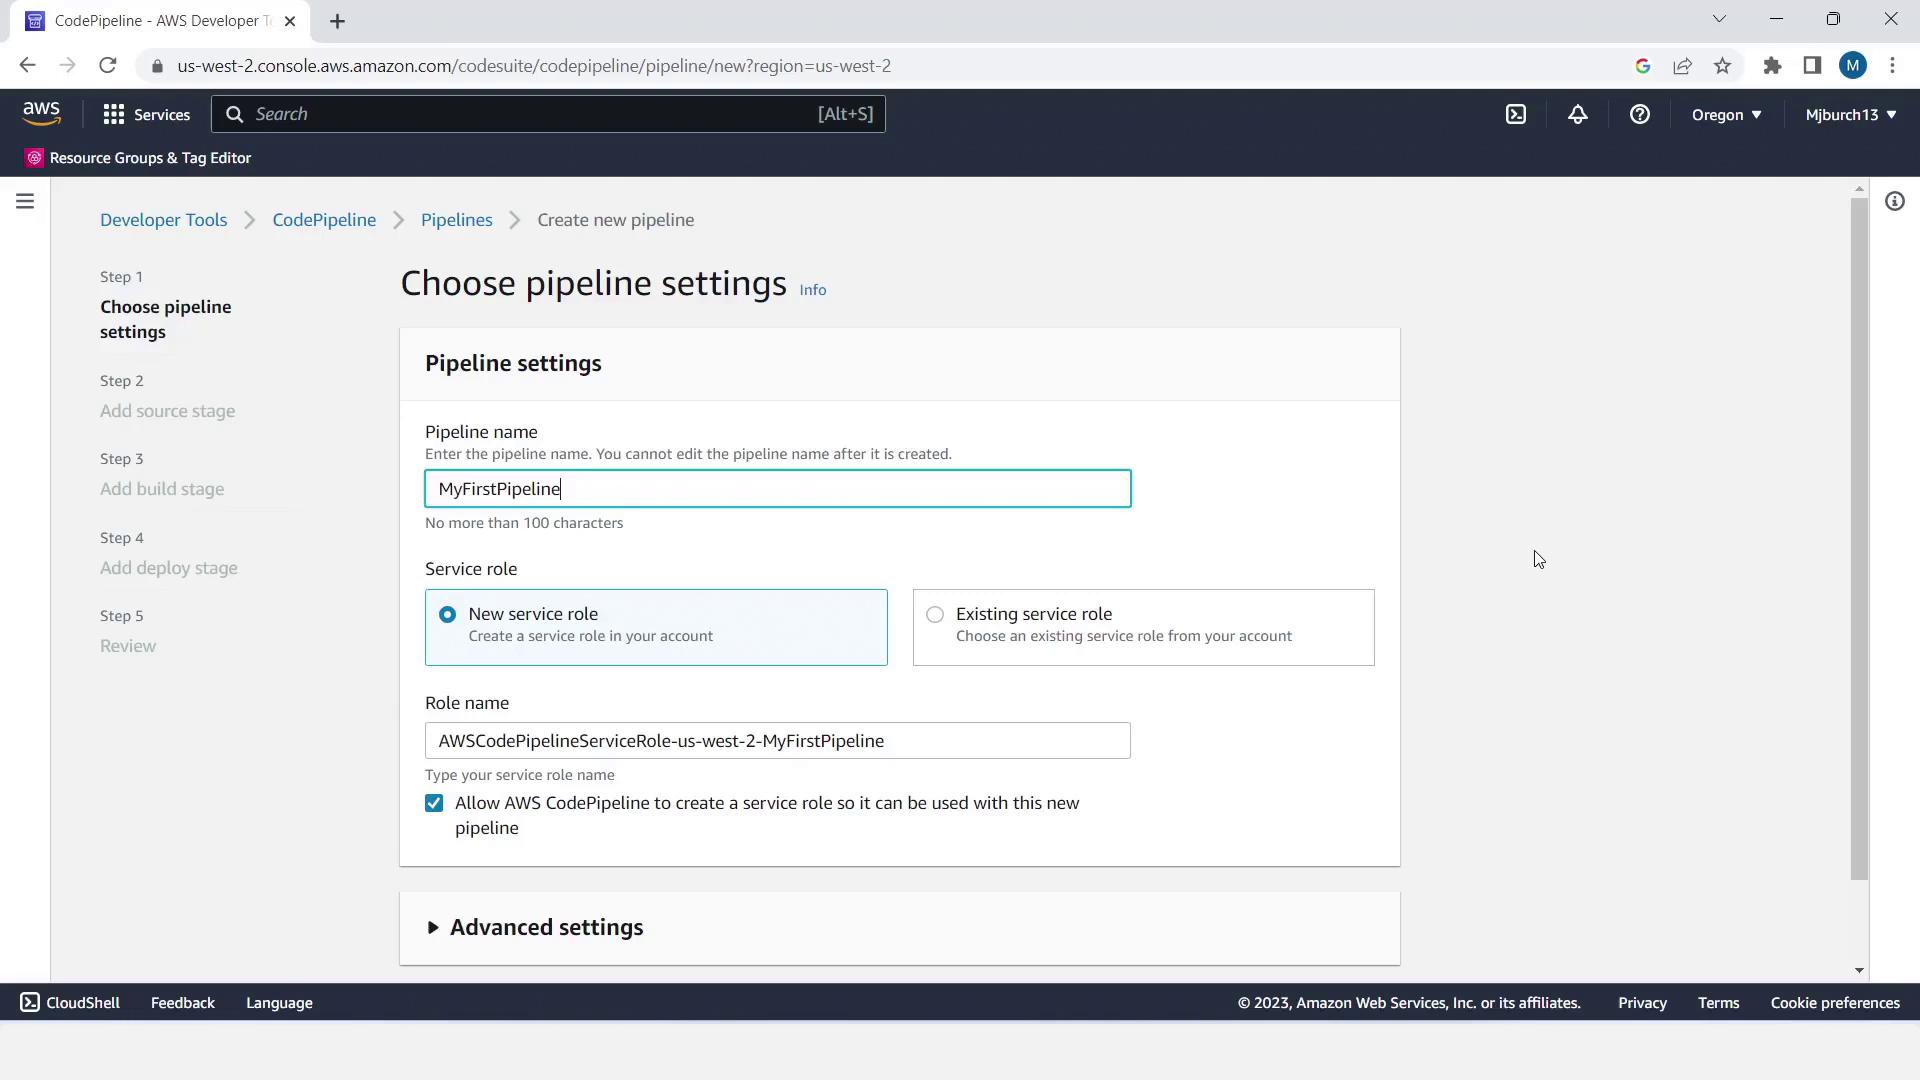
- Open Services > CodePipeline and click Create pipeline.
- Enter Pipeline name:
MyFirstPipeline. Choose New service role and Next.
- Configure the stages:
| Stage | Action | Provider |
|---|---|---|
| Source | Fetch application | Amazon S3 |
| Build | (skip for demo) | — |
| Deploy | Release to EC2 pool | AWS CodeDeploy |
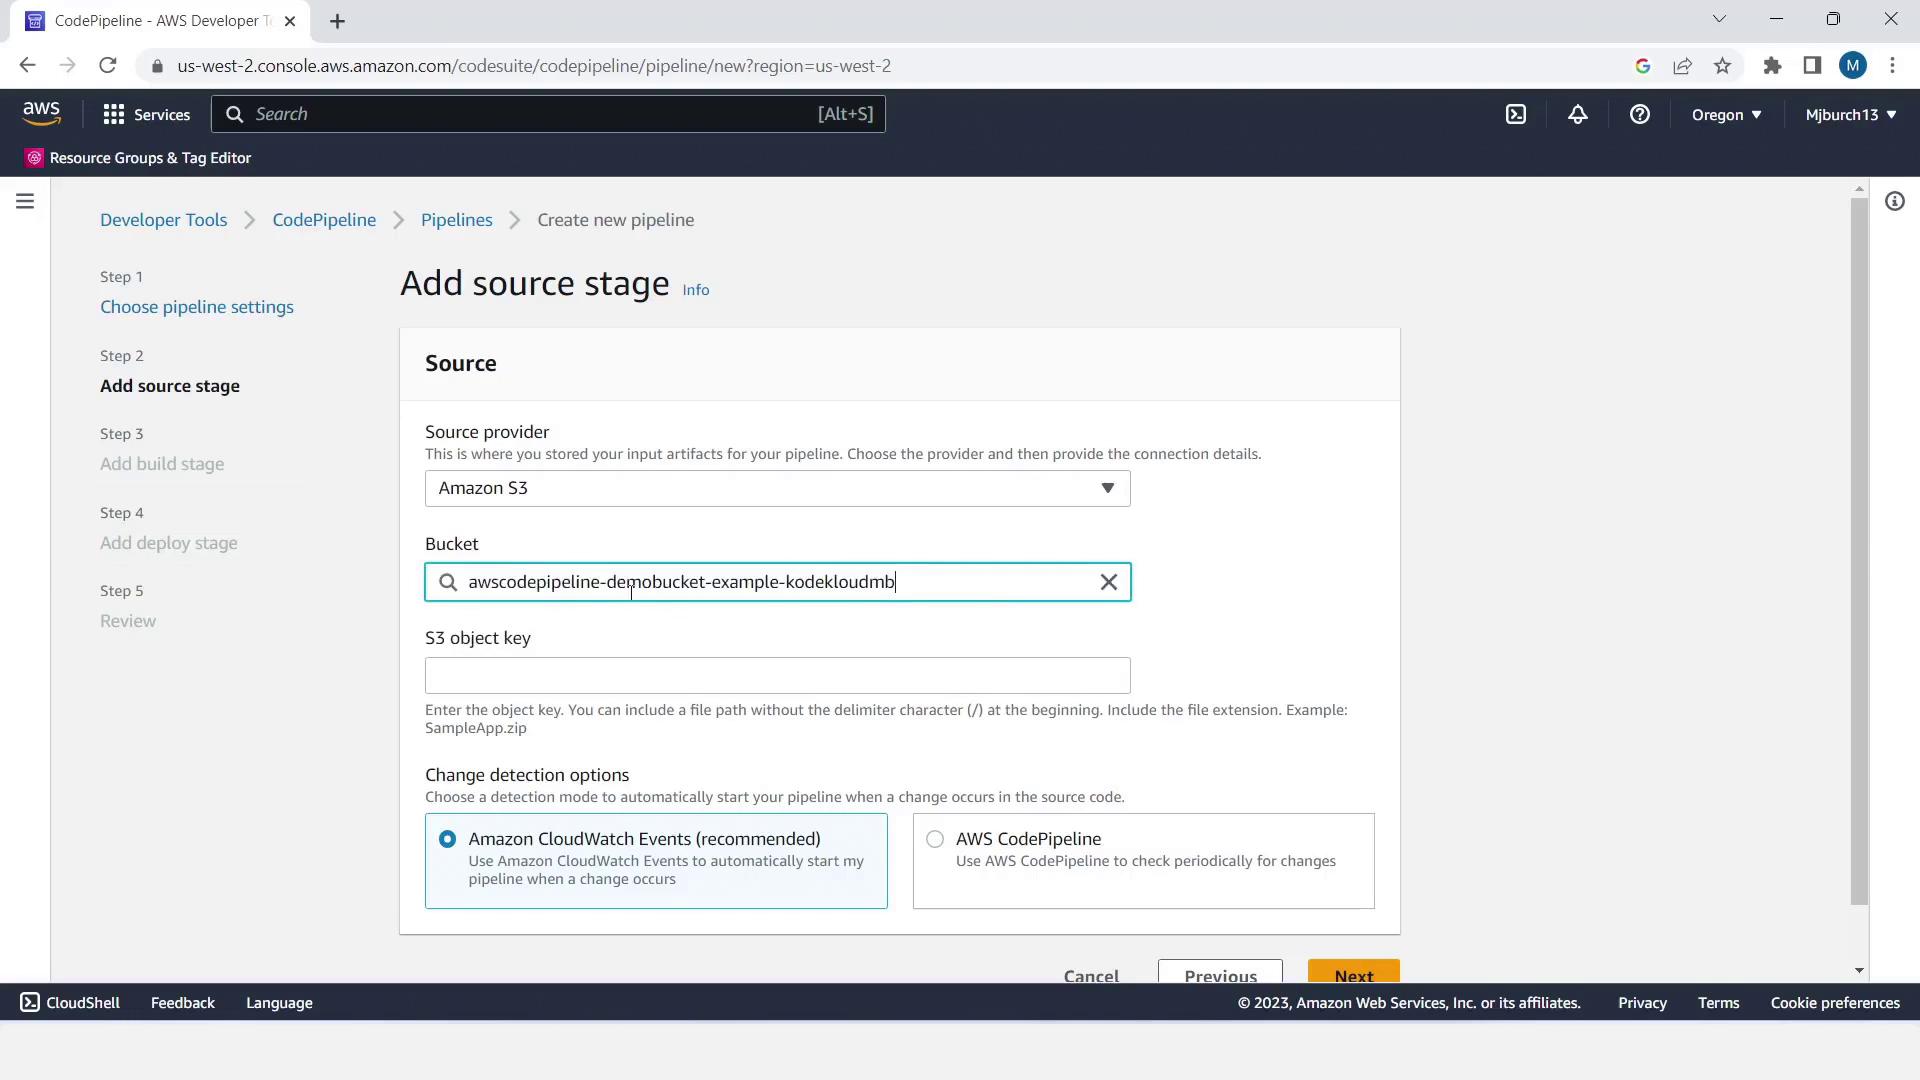
- Source stage:
- Provider: Amazon S3
- Bucket: your demo bucket
- S3 object key: your uploaded ZIP filename
- Enable change detection
- Click Next
You can add a build or test stage here later—e.g., AWS CodeBuild or Jenkins—to run unit tests before deployment.
- Build stage: click Skip stage.
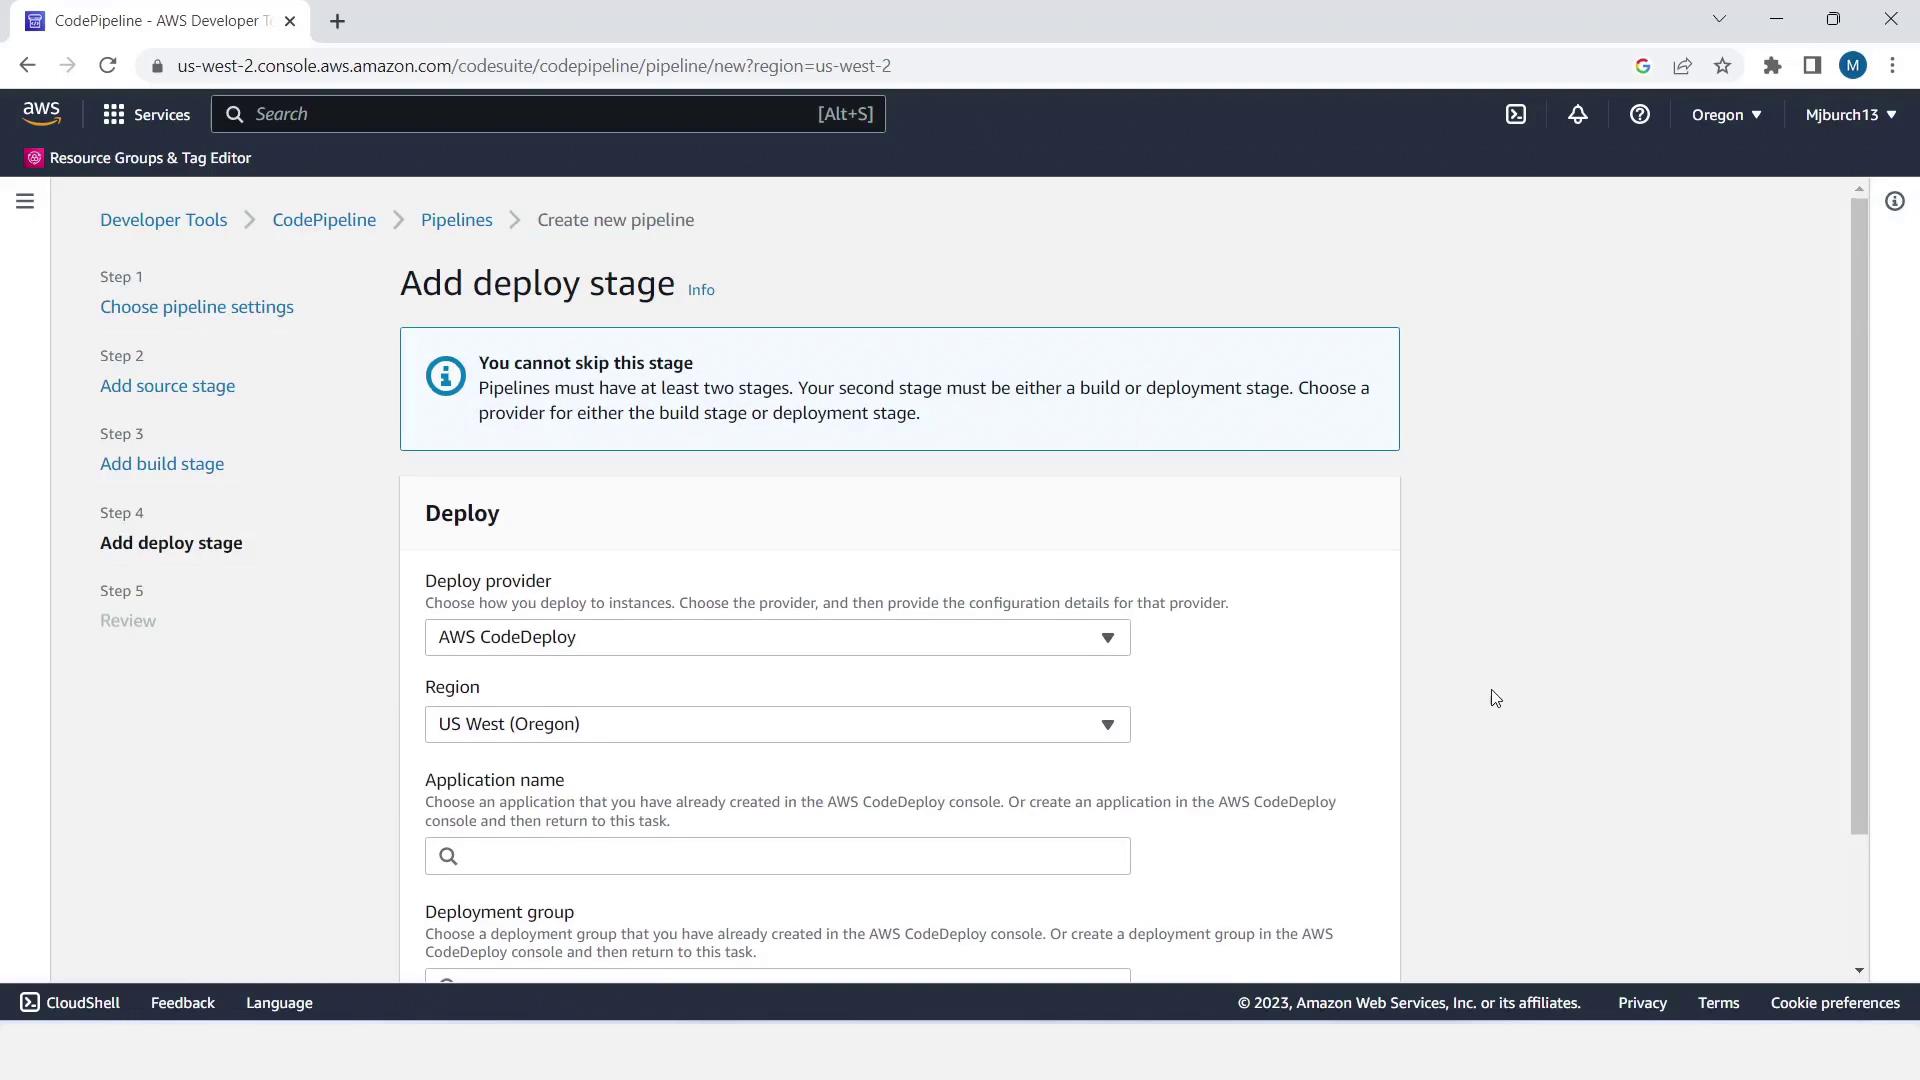
- Deploy stage:
- Provider: AWS CodeDeploy
- Region: your chosen region
- Application name:
MyDemoApplication - Deployment group:
MyDemoDeploymentGroup - Click Next, then Create pipeline
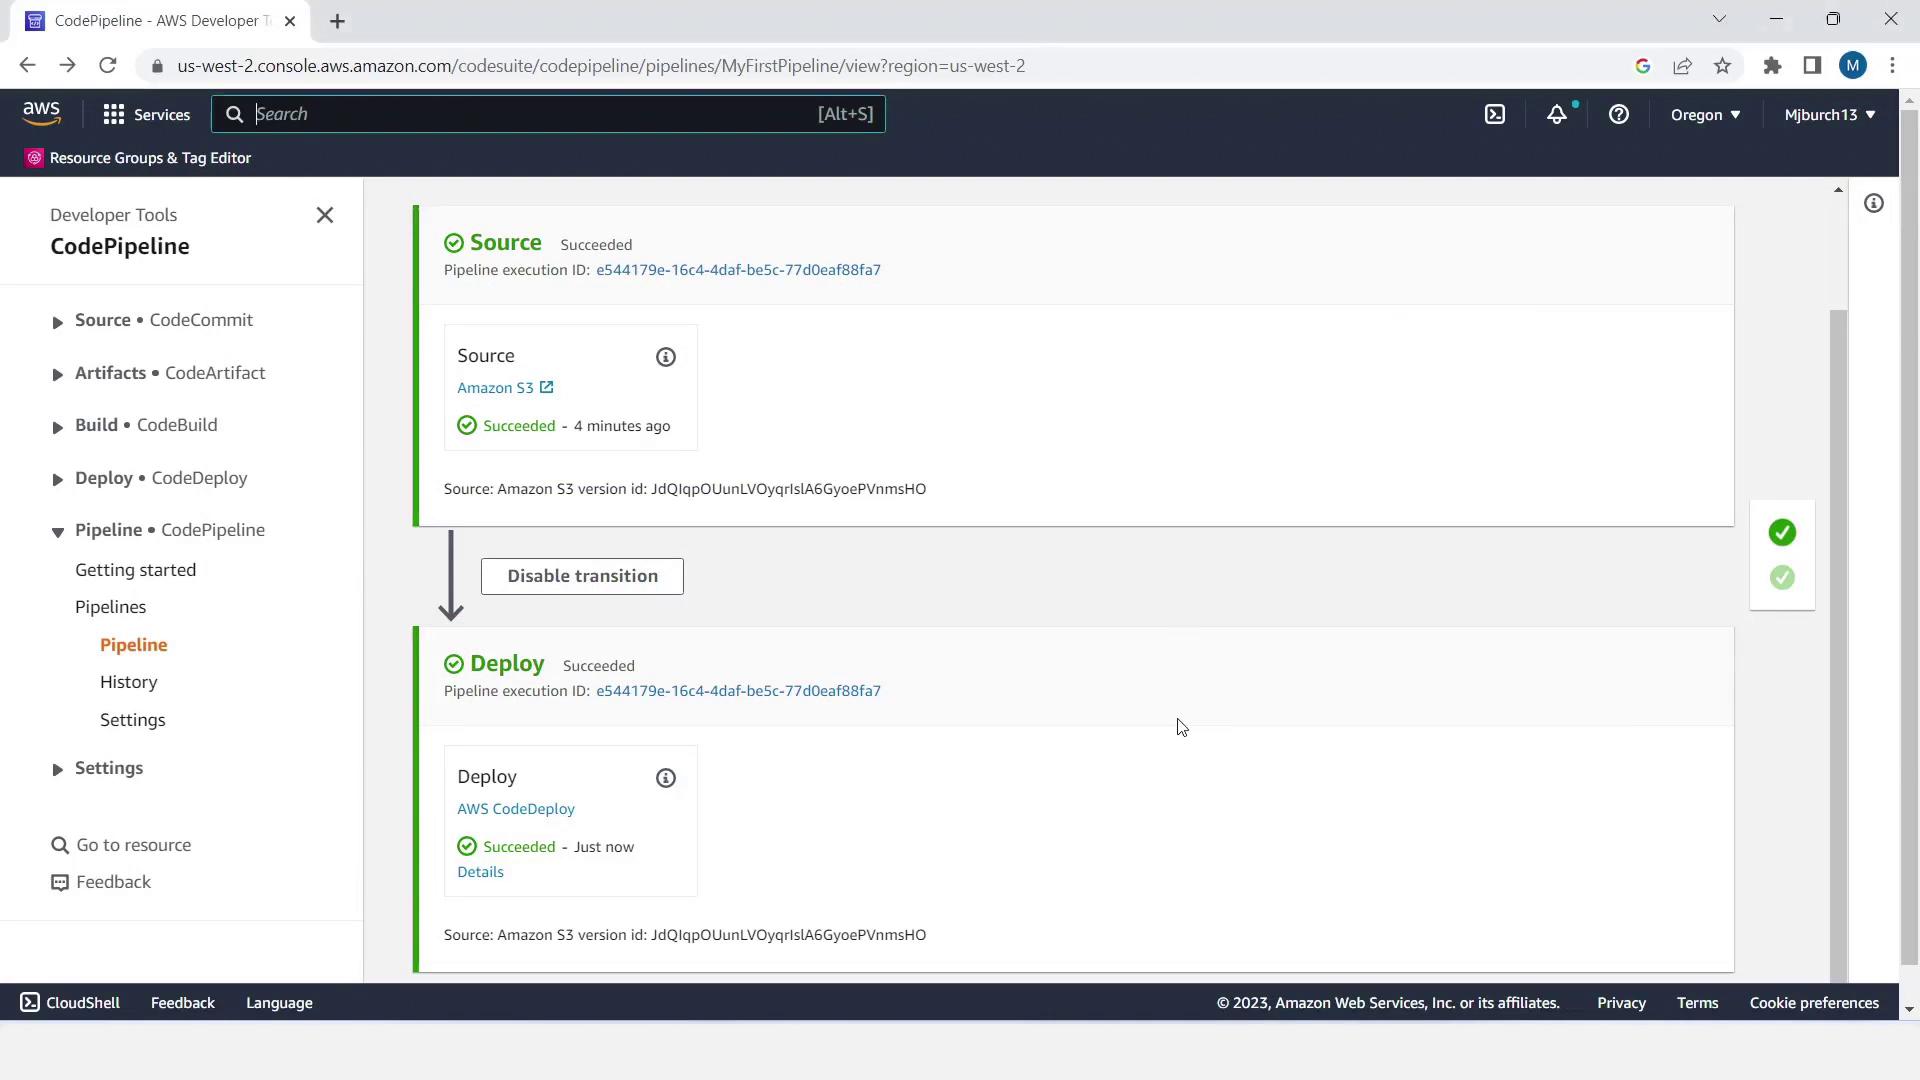
7. Validate the Deployment
- In CodePipeline, click Details to review execution logs.
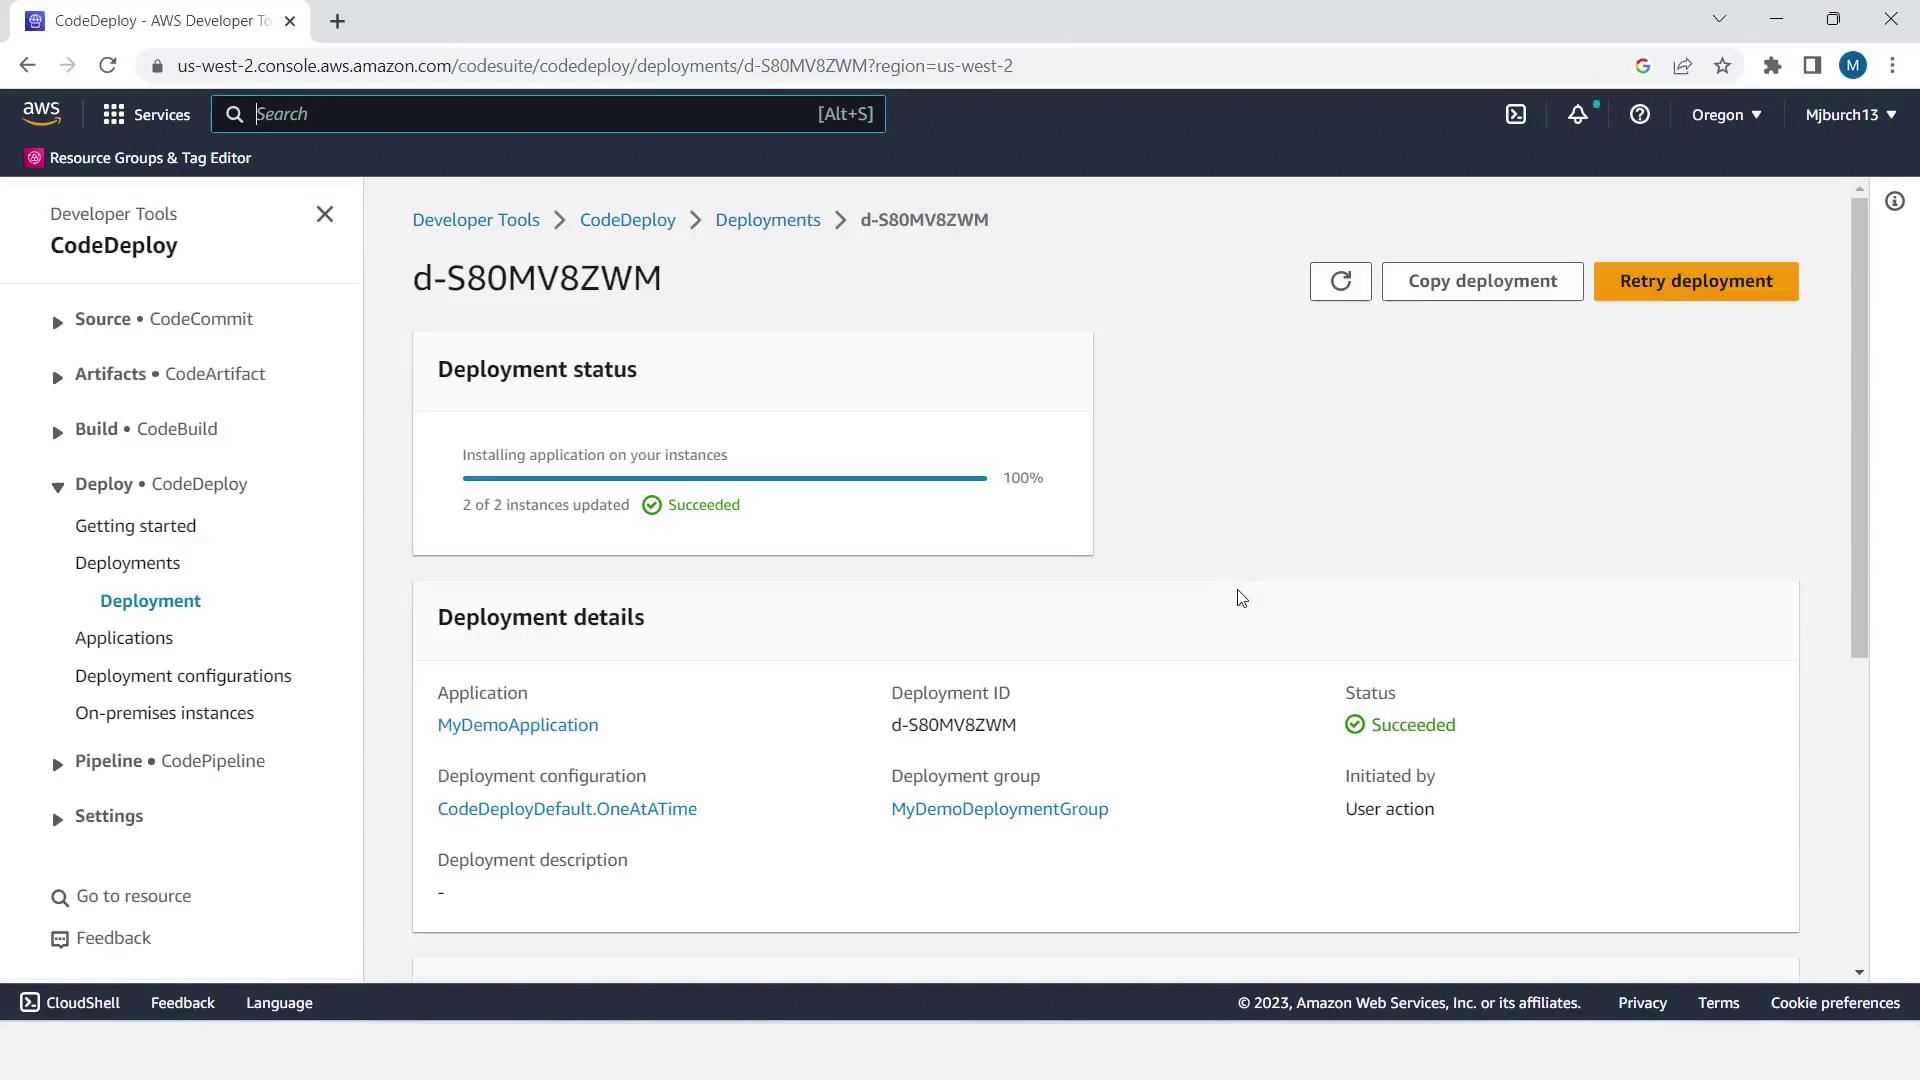
- Open the EC2 console, copy one instance’s Public IPv4 DNS, and paste it into your browser.
- Confirm you see the sample HTML page—successful deployment!
Links and References
- AWS CodePipeline tutorial: Deploying from S3 to CodeDeploy
- AWS CodePipeline Documentation
- AWS CodeDeploy Documentation
- AWS IAM Best Practices
- Amazon S3 Documentation