Table of Contents
- Pipeline Configurations Overview
- Lab 1: S3 → CodeDeploy (Two-Stage Pipeline)
- Lab 2: CodeCommit → CodeDeploy (Two-Stage with Git)
- Lab 3: Add Build & Test Stages (Four-Stage Pipeline)
- Summary of Pipeline Variants
- Next Steps & References
Pipeline Configurations Overview
AWS CodePipeline orchestrates the flow from source to deployment through automated stages. In this tutorial, we’ll cover:- Two-stage pipeline with Source and Deploy
- Git-based source using AWS CodeCommit
- Four-stage pipeline with Build and Test phases added
Lab 1: S3 → CodeDeploy (Two-Stage Pipeline)
In our first lab, we use Amazon S3 (with versioning enabled) as the source and AWS CodeDeploy to deploy artifacts to EC2 instances. This setup demonstrates the minimal viable CI/CD pipeline.Ensure your S3 bucket has versioning enabled to track every deployment artifact.
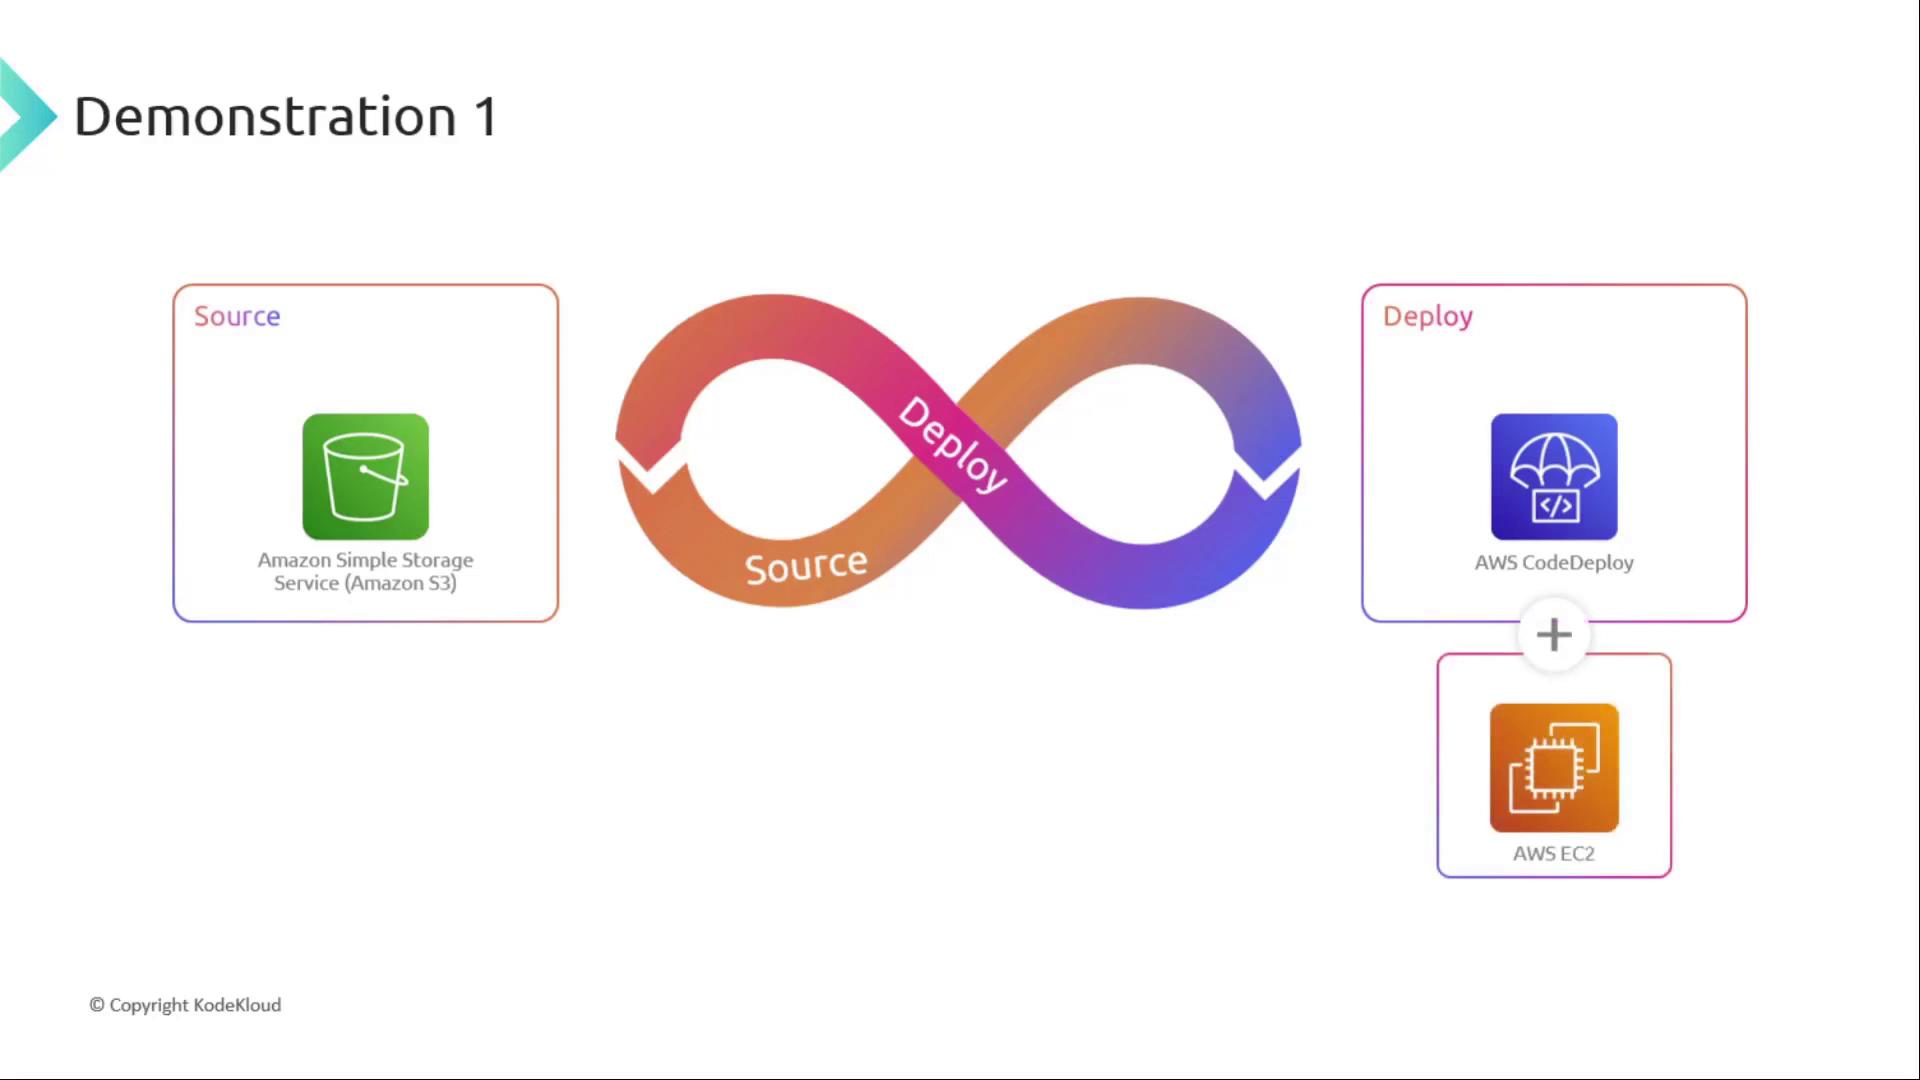
- Create an S3 bucket with versioning
- Define a CodePipeline with Source → Deploy stages
- Configure CodeDeploy application and deployment group targeting EC2
Lab 2: CodeCommit → CodeDeploy (Two-Stage with Git)
Next, we replace S3 with AWS CodeCommit, AWS’s managed Git repository, as our source. The two-stage pattern remains—CodeCommit feeds directly into CodeDeploy on EC2.Make sure your CodeCommit repository has the correct IAM permissions for CodePipeline access.
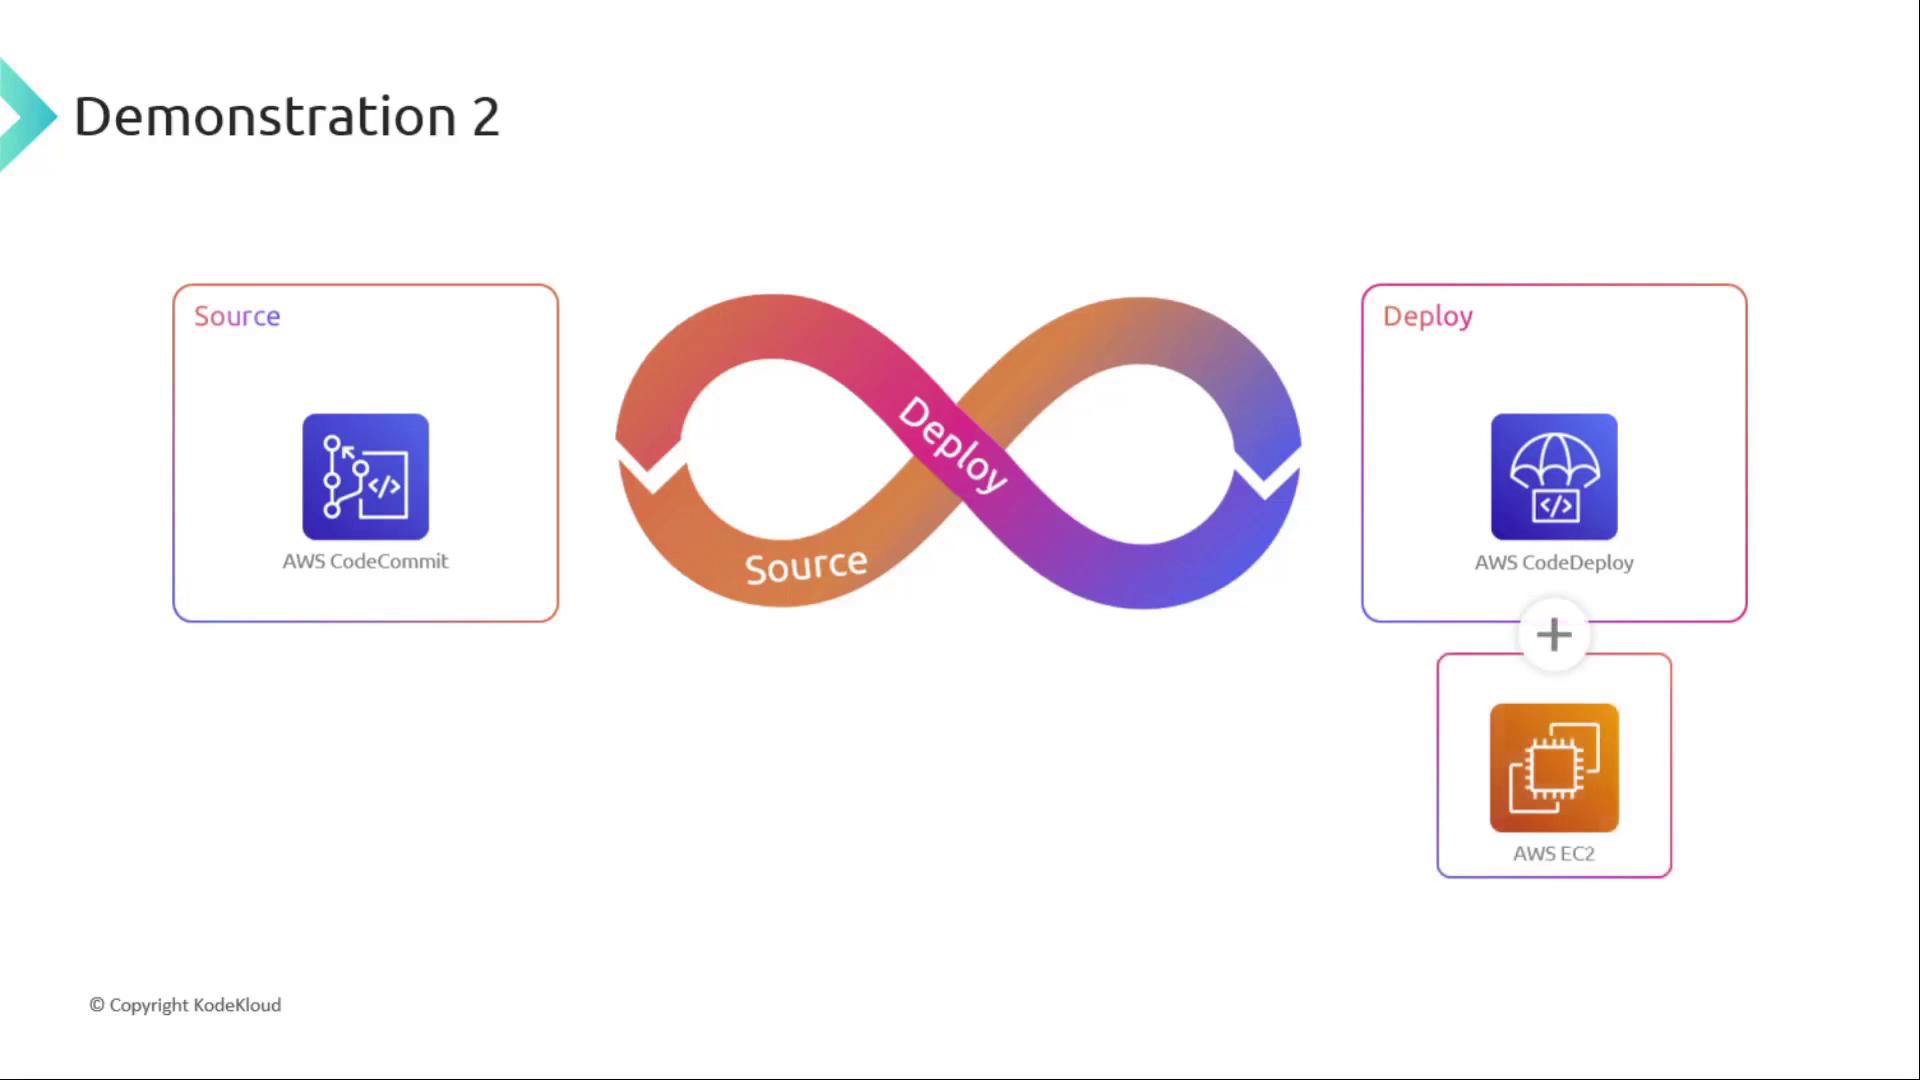
- Initialize a Git repo in CodeCommit
- Grant CodePipeline service role access to CodeCommit
- Define pipeline stages: Source (CodeCommit) → Deploy (CodeDeploy)
Lab 3: Add Build & Test Stages (Four-Stage Pipeline)
In our final demonstration, we enhance the pipeline by inserting Build and Test phases between Source and Deploy. This ensures code quality and automated testing before deployment. Stages- Source: CodeCommit
- Build: AWS CodeBuild
- Test: Custom test runner or CodeBuild project
- Deploy: AWS CodeDeploy
- Automated compilation and unit testing
- Early detection of code defects
- Streamlined continuous delivery process
Summary of Pipeline Variants
| Lab | Source | Build | Test | Deploy | Description |
|---|---|---|---|---|---|
| Lab 1 | Amazon S3 | – | – | CodeDeploy | Minimal two-stage pipeline |
| Lab 2 | AWS CodeCommit | – | – | CodeDeploy | Git-based two-stage pipeline |
| Lab 3 | AWS CodeCommit | AWS CodeBuild | Custom/Test Runner | CodeDeploy | Full four-stage pipeline with build & test |