AWS - IAM
Introduction to AWS Identity and Access Management
IAM Permission Boundaries
In this guide, you’ll learn how to enforce the principle of least privilege for new IAM users—such as interns—by using permission boundaries. This lets you assign them to existing groups (e.g., Accounting and Dev) without granting any permissions beyond what you intend.
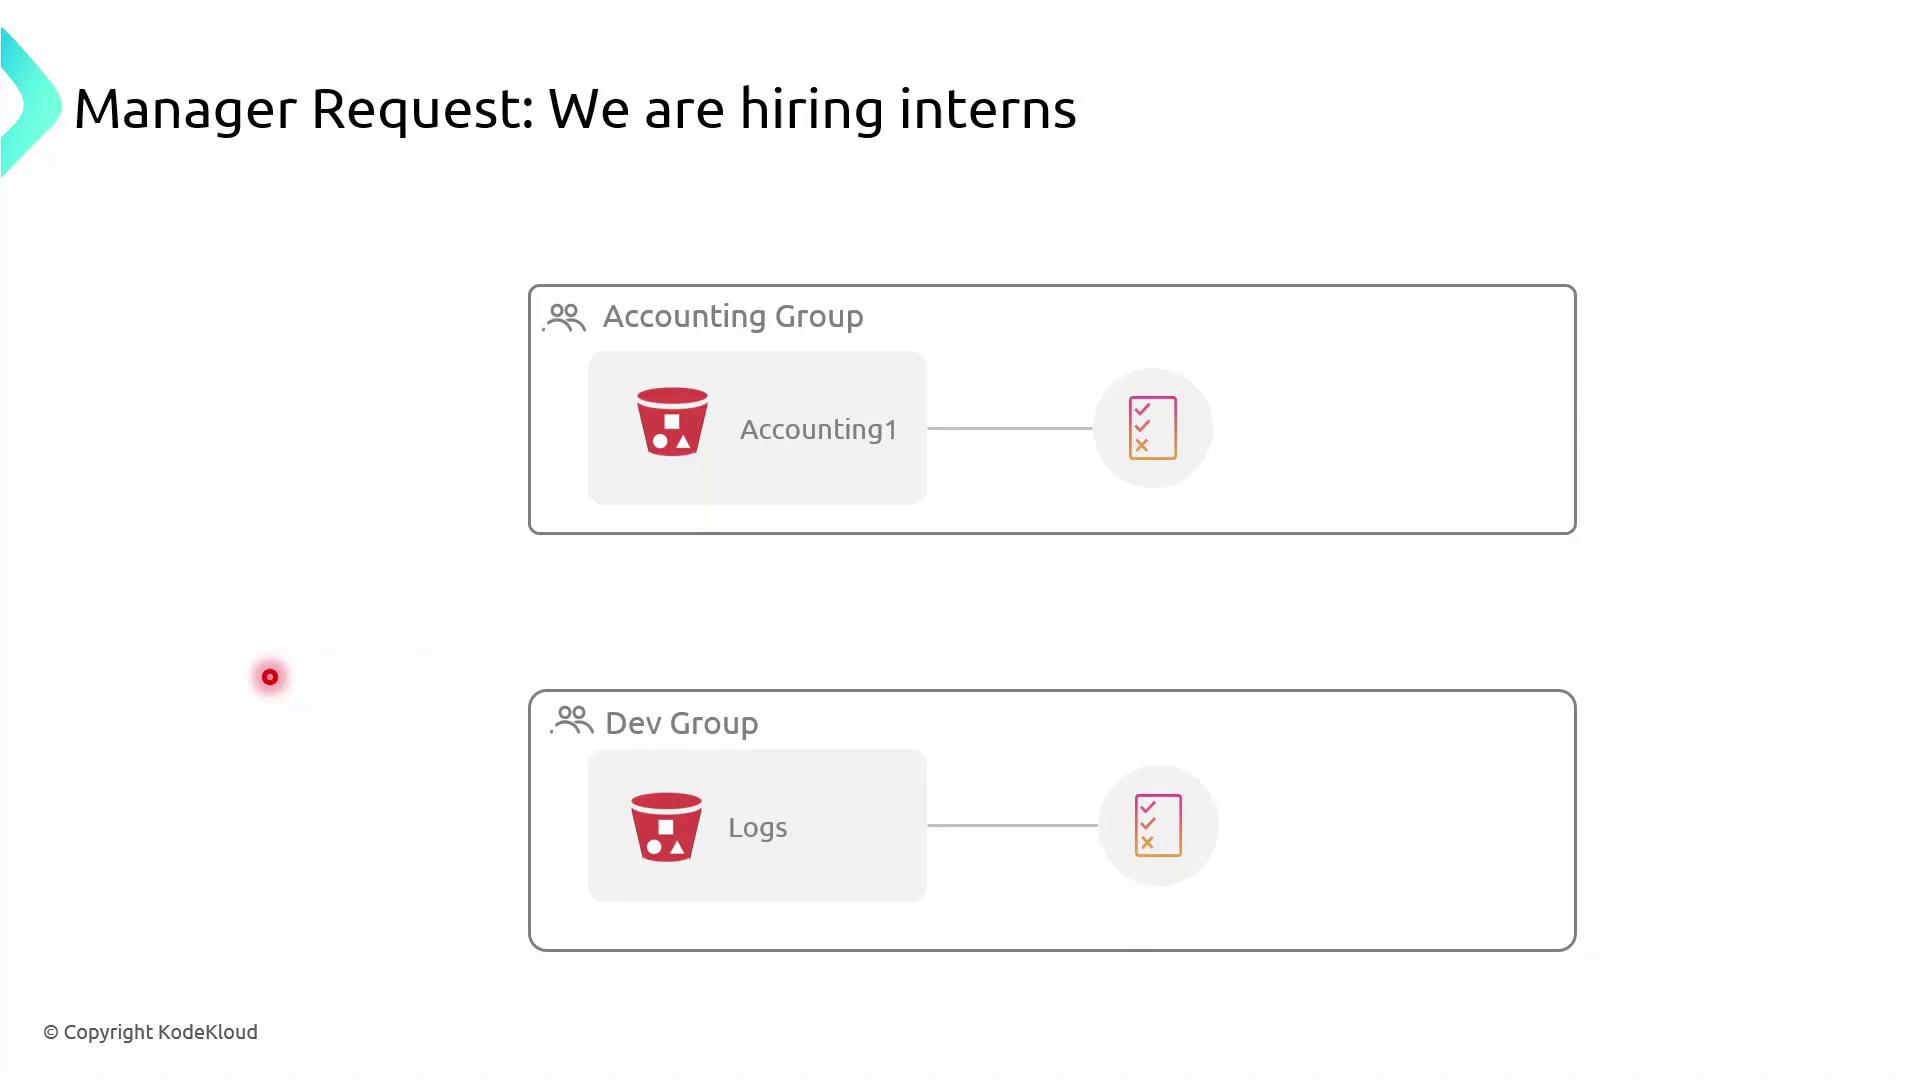
Currently, both the Accounting Group and the Dev Group have rights to specific S3 buckets. If you simply add interns to these groups:
- Accounting interns could view or modify confidential financial data.
- Dev interns could access or change log files in S3.
To prevent over-permissioning, apply a permission boundary that caps the maximum actions an intern can perform—even if their group policies allow more.
What Is a Permission Boundary?
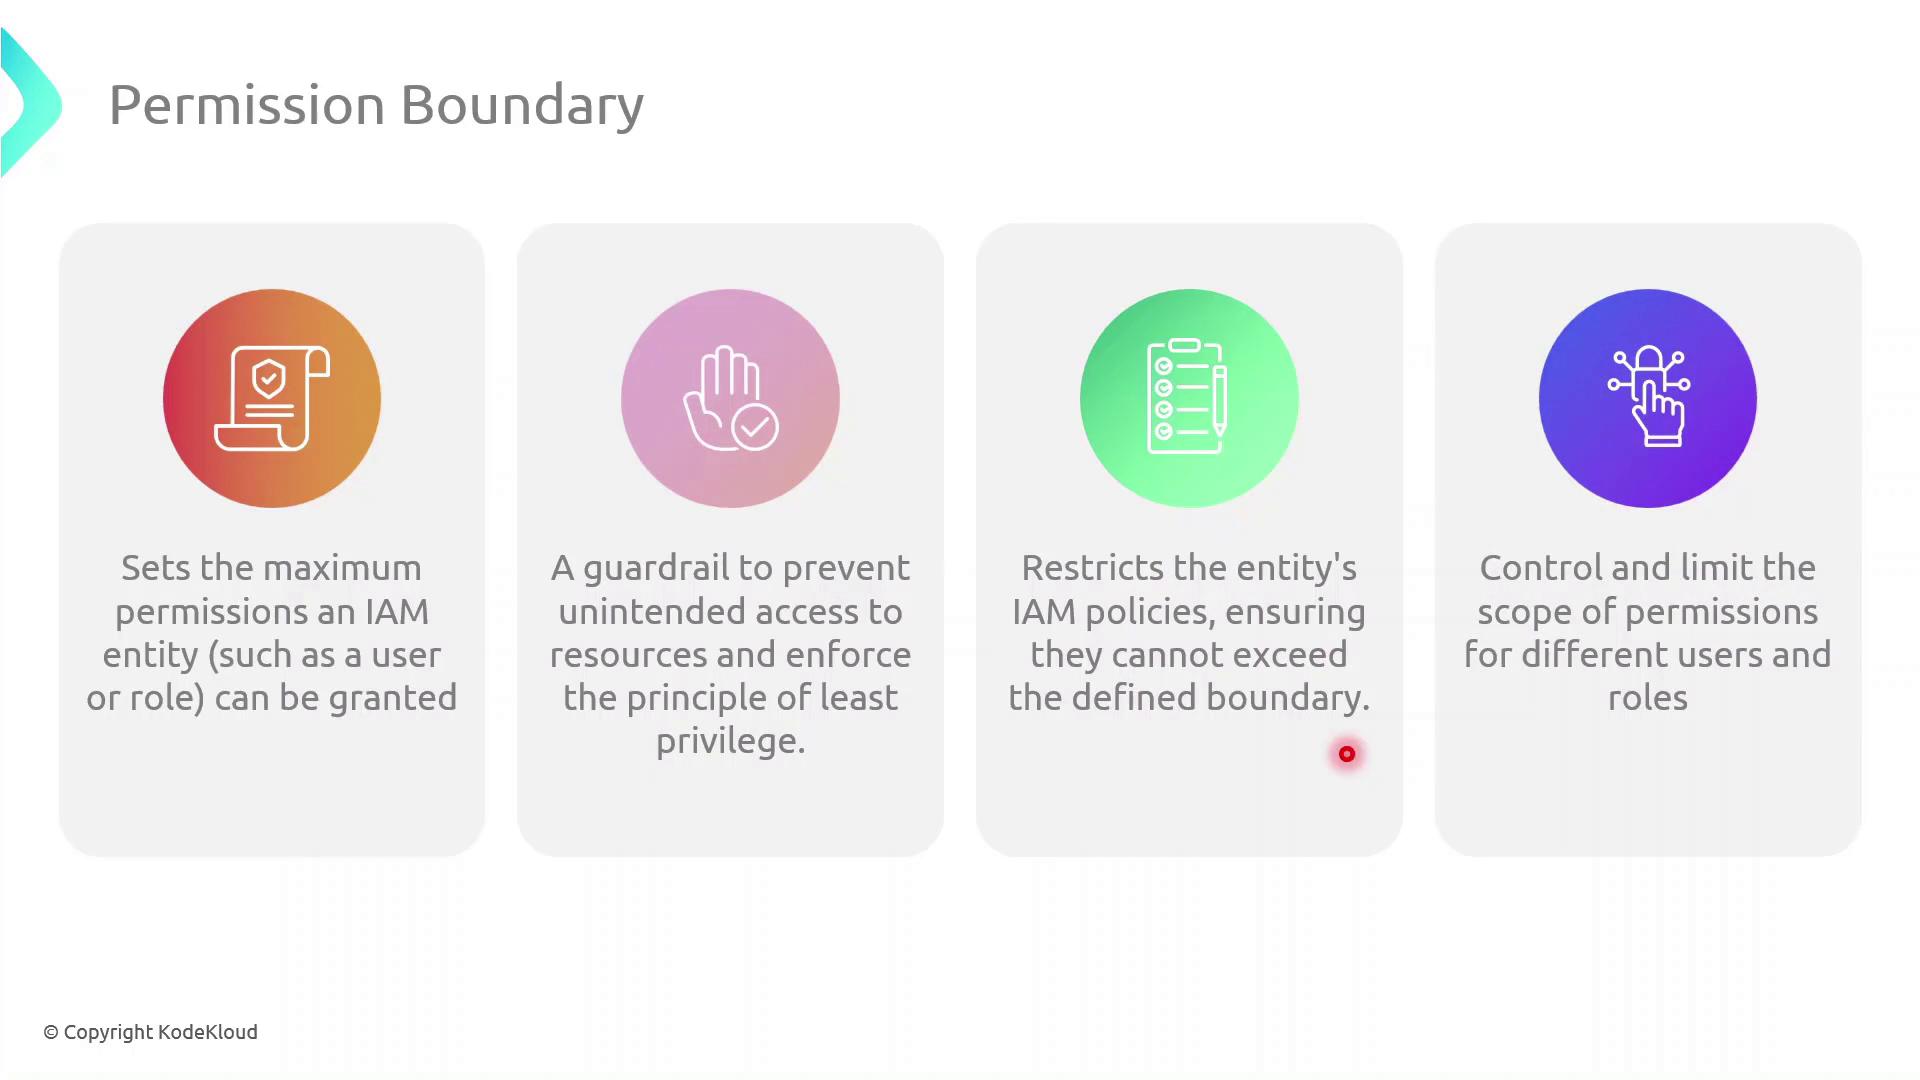
A permission boundary is an advanced IAM feature that specifies the upper limit of permissions an identity (user or role) can have. No matter how many permissions you attach via identity-based or group policies, the boundary ensures the principal cannot exceed its scope.
Note
Permission boundaries do not grant permissions by themselves. They only restrict the maximum permissions that an IAM principal can utilize.
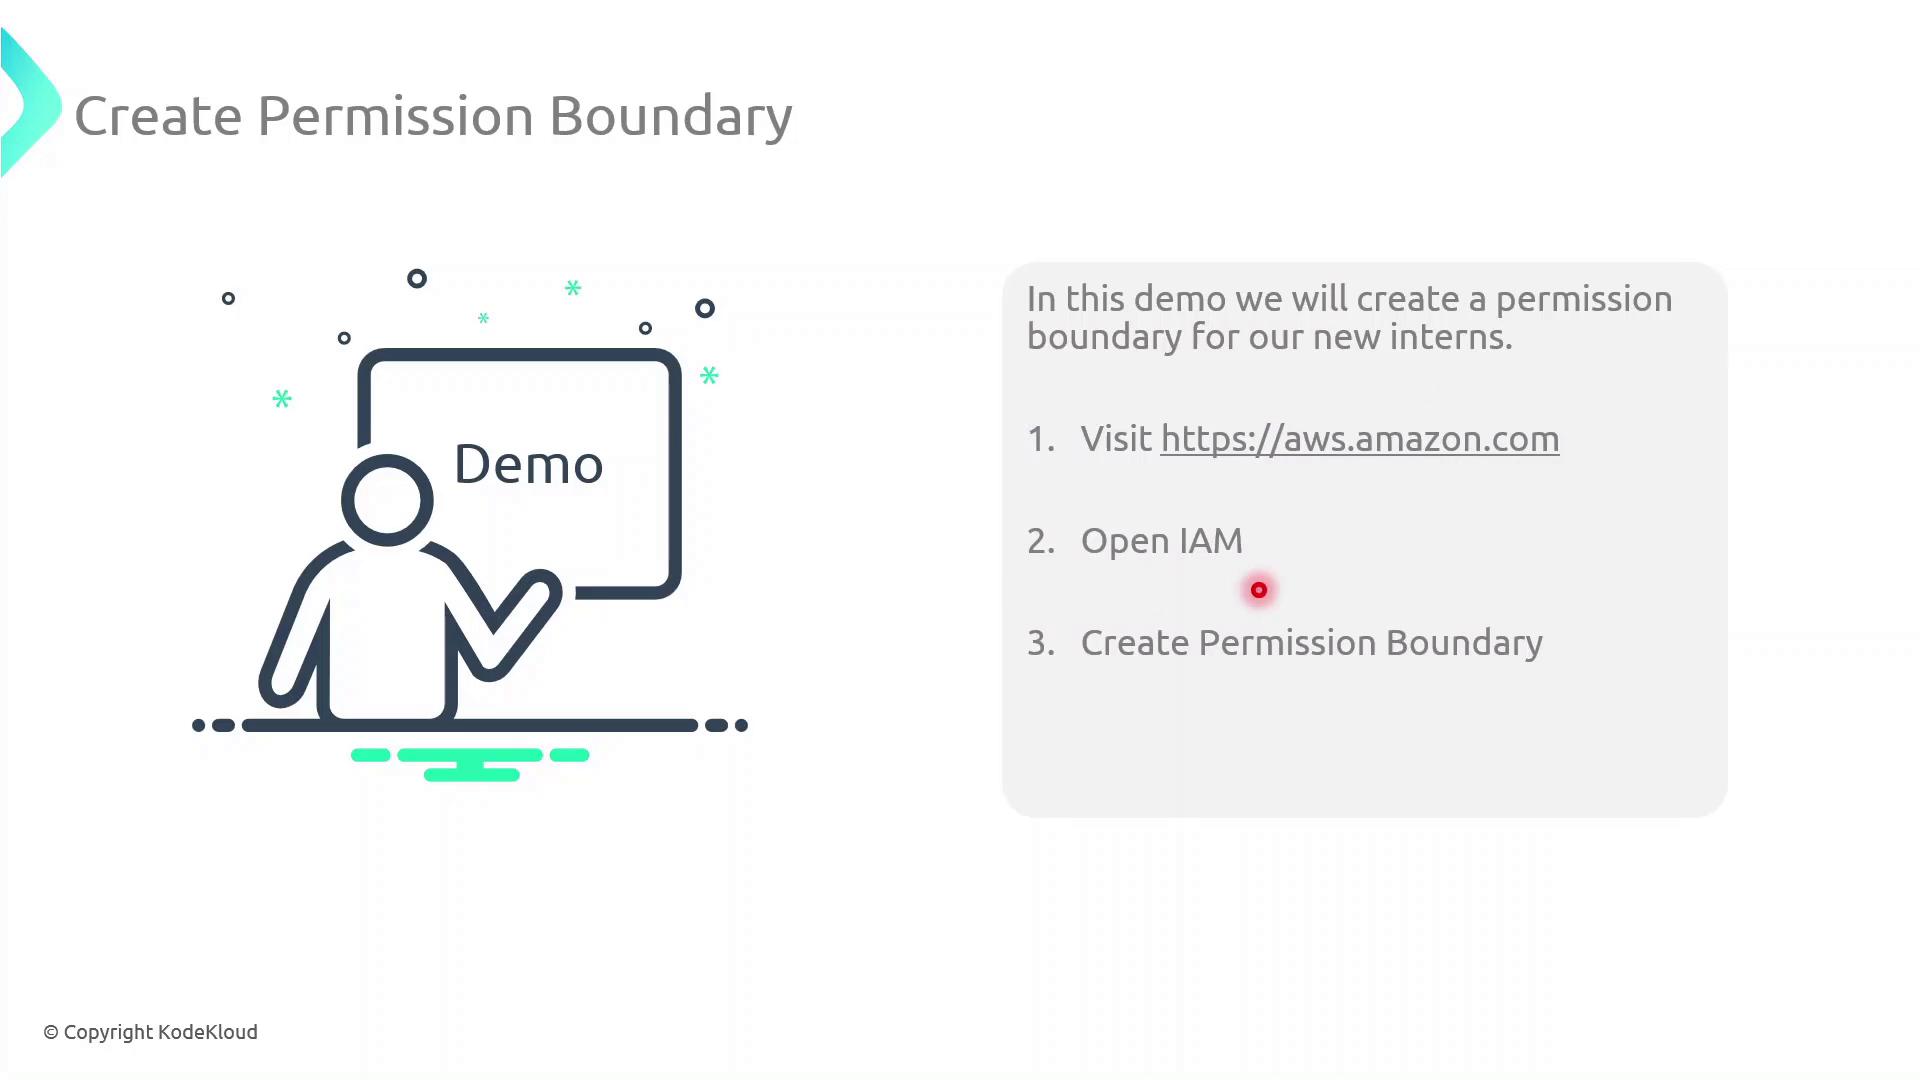
Step-by-Step: Create and Attach a Permission Boundary
Follow these steps in the AWS Management Console:
| Step | Console Navigation | Action |
|---|---|---|
| 1 | IAM Dashboard | Click Policies → Create policy |
| 2 | JSON tab | Paste the boundary policy definition (see below) |
| 3 | Review policy | Name it InternBoundaryPolicy and create |
| 4 | Users → Select User | Under Permissions pick Add permissions boundary and attach the new policy |
{
  "Version": "2012-10-17",
  "Statement": [
    {
      "Effect": "Allow",
      "Action": [
        "s3:ListBucket"
      ],
      "Resource": [
        "arn:aws:s3:::example-log-bucket"
      ]
    }
  ]
}
Warning
Even if an intern’s group policy grants broader access, they cannot exceed the actions allowed by their permission boundary.
Assigning Interns to Groups
Once the boundary is in place:
- Attach the
InternBoundaryPolicyas a permissions boundary to each intern’s IAM user. - Add the intern to the relevant group (Accounting or Dev).
- The intern inherits group permissions, but all actions are capped by the boundary.
Benefits of Using Permission Boundaries
| Benefit | Description |
|---|---|
| Enforce Least Privilege | Limits every principal to only the actions you explicitly allow |
| Granular Control | Applies max-permission caps even when multiple policies overlap |
| Risk Mitigation | Prevents accidental or malicious privilege escalation |
References
Watch Video
Watch video content