Prerequisites
Make sure you already have:
- Two t2.micro EC2 instances (web-server-1, web-server-2) with Nginx and distinct landing pages.
- A VPC configured with an Internet Gateway.
- Two public subnets in us-east-1a and us-east-1b.
| Resource | Description | Details |
|---|---|---|
| EC2 Instances | Web servers | web-server-1 (us-east-1a), web-server-2 (us-east-1b) |
| VPC | Virtual Private Cloud | Includes an Internet Gateway and public subnets |
| Public Subnets | Hosts web servers | 10.0.201.0/24 (AZ a), 10.0.202.0/24 (AZ b) |
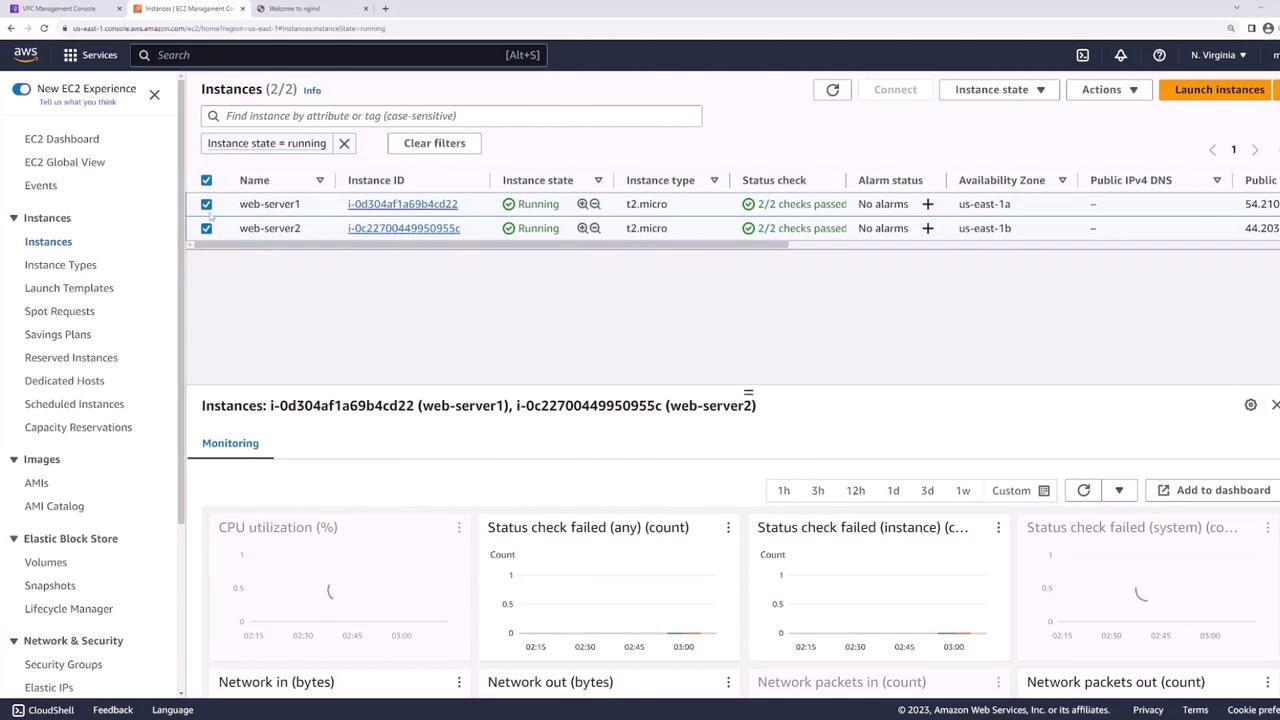
EC2 Instances
Our EC2 console shows both instances running: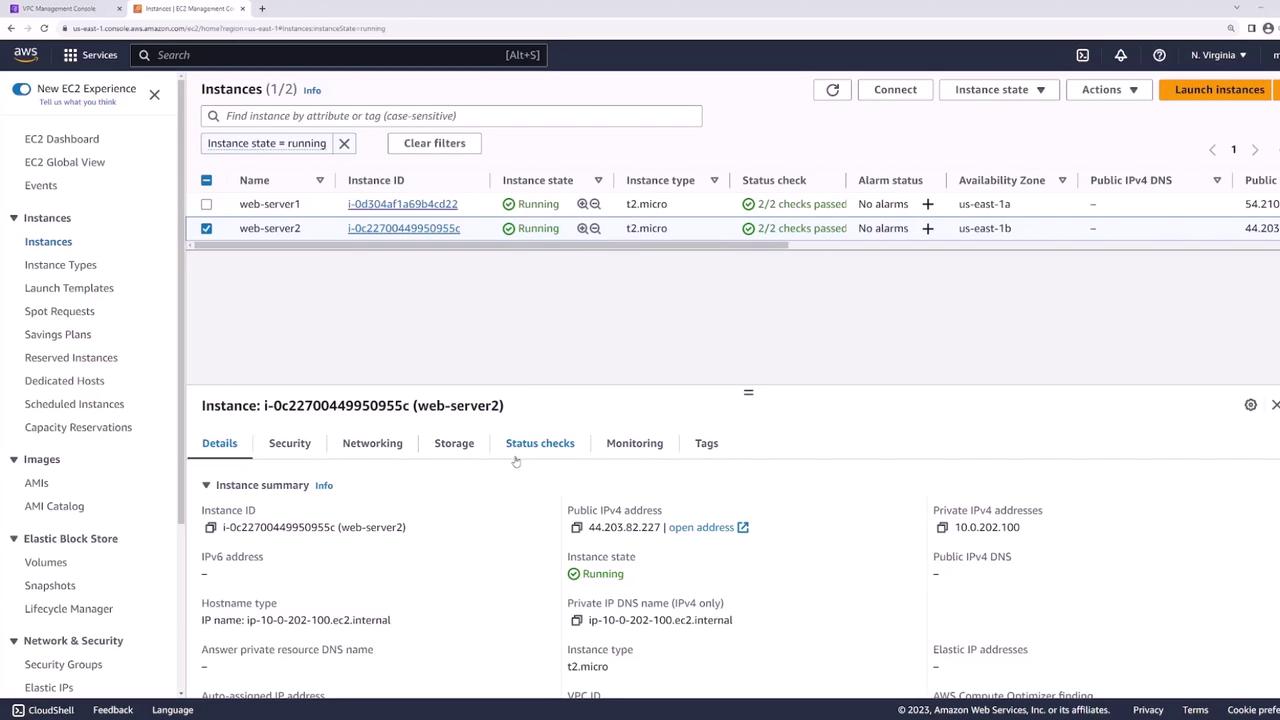

Network Layout
Your VPC’s public subnets:
- web-us-east-1a: 10.0.201.0/24
- web-us-east-1b: 10.0.202.0/24
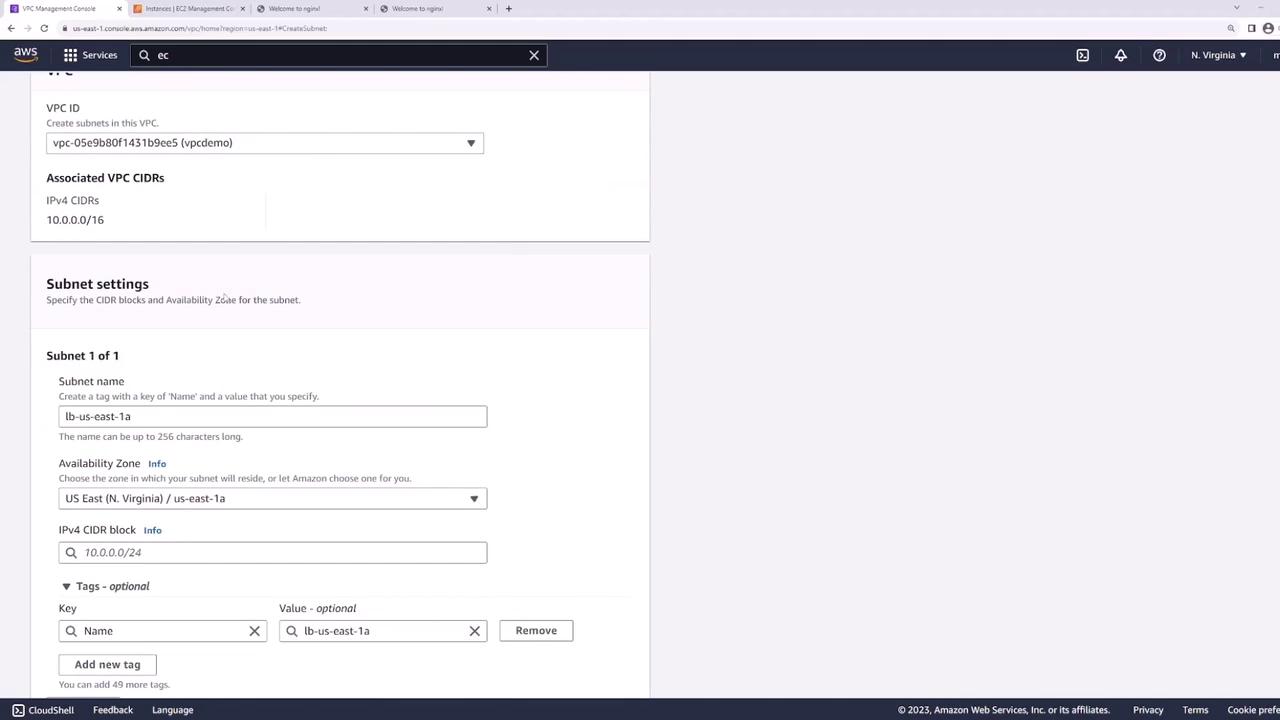
Step 1: Create Dedicated Subnets for the Load Balancer
Add two new public subnets—one in each AZ—for the ALB:- In the VPC console, click Create Subnet.
- Configure:
- LB-us-east-1a: us-east-1a, 10.0.101.0/24
- LB-us-east-1b: us-east-1b, 10.0.102.0/24
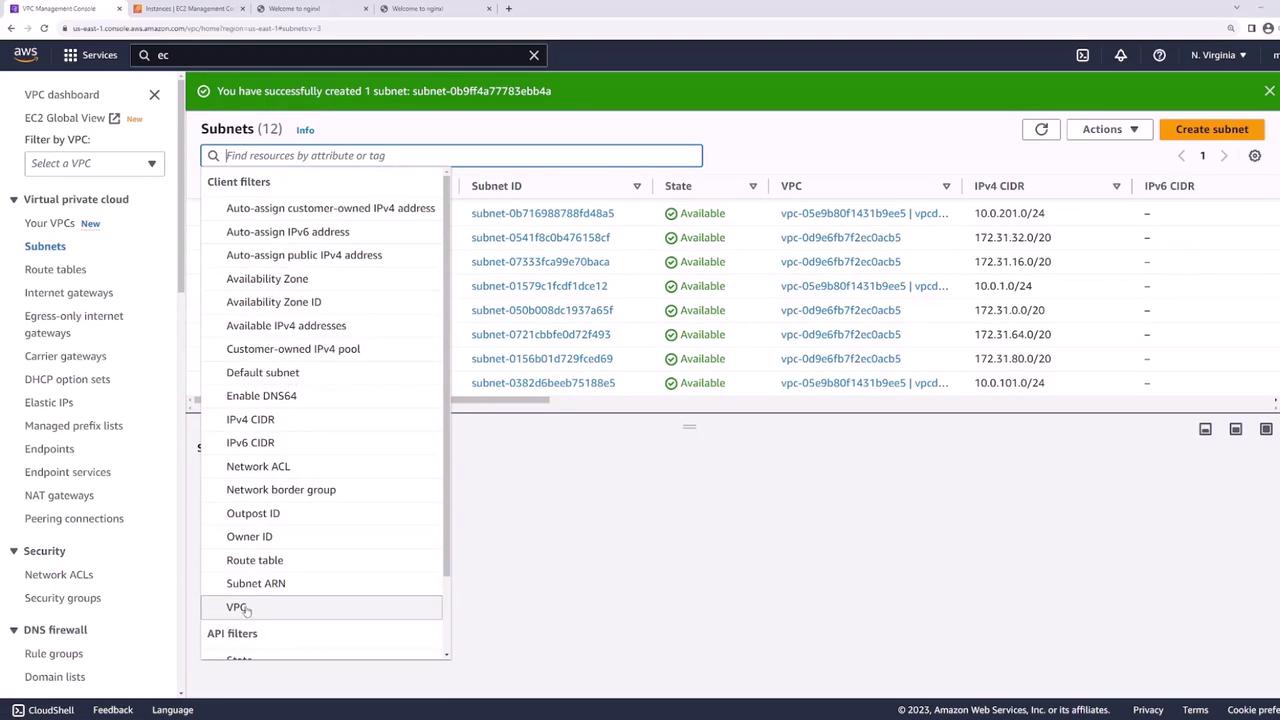
Step 2: Verify Public Subnet Configuration
Confirm each new subnet’s route table includes a default route (
0.0.0.0/0) to the Internet Gateway—this makes the ALB internet-facing.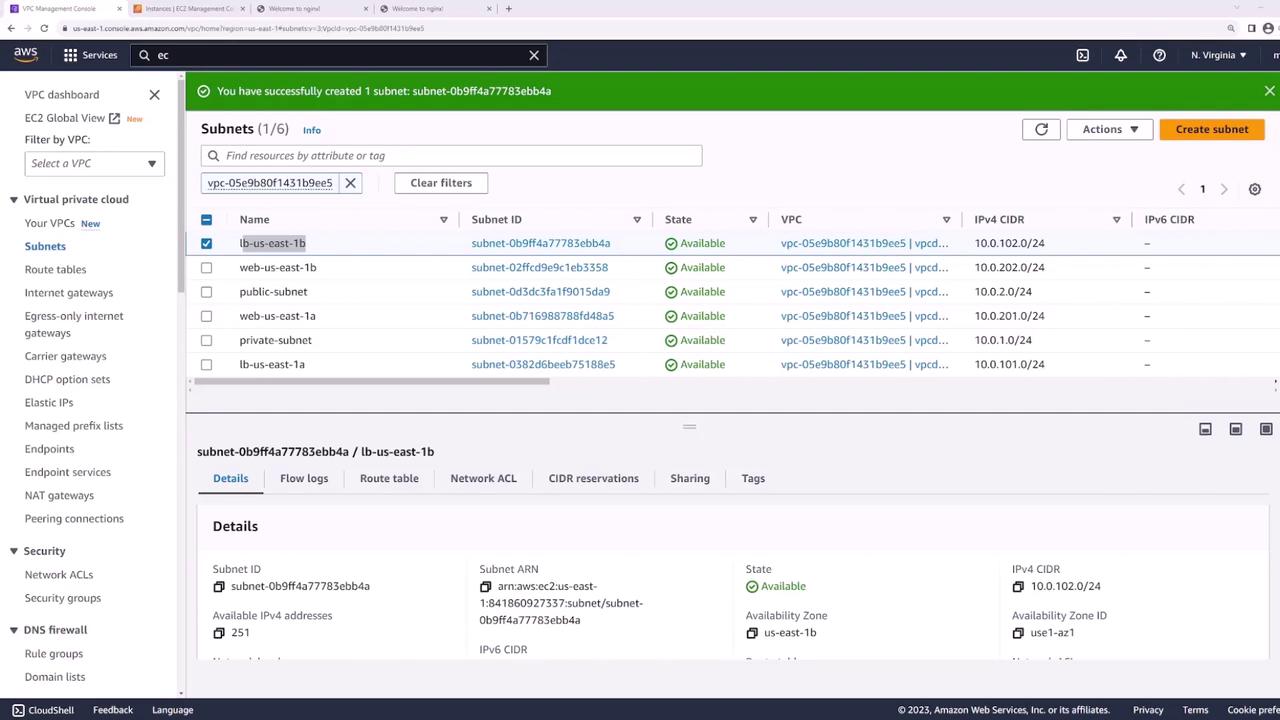
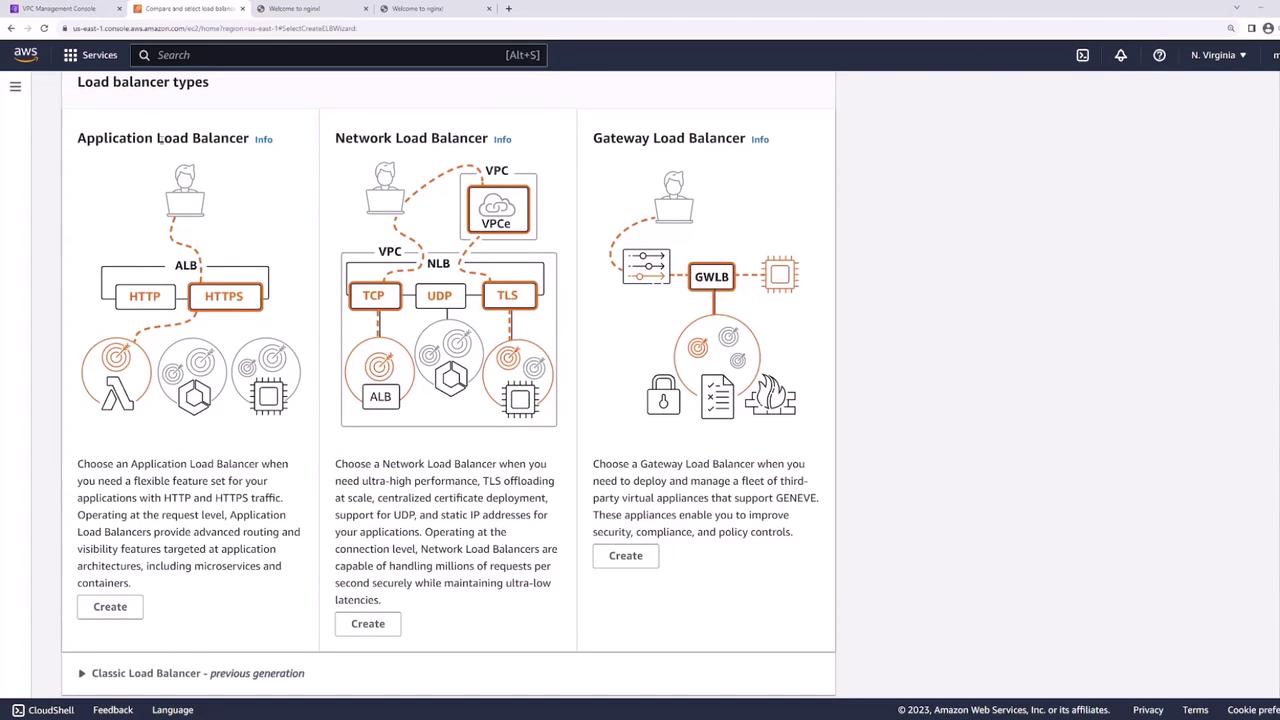
Step 3: Create the Application Load Balancer
- In the EC2 console, go to Load Balancers → Create Load Balancer → Application Load Balancer.
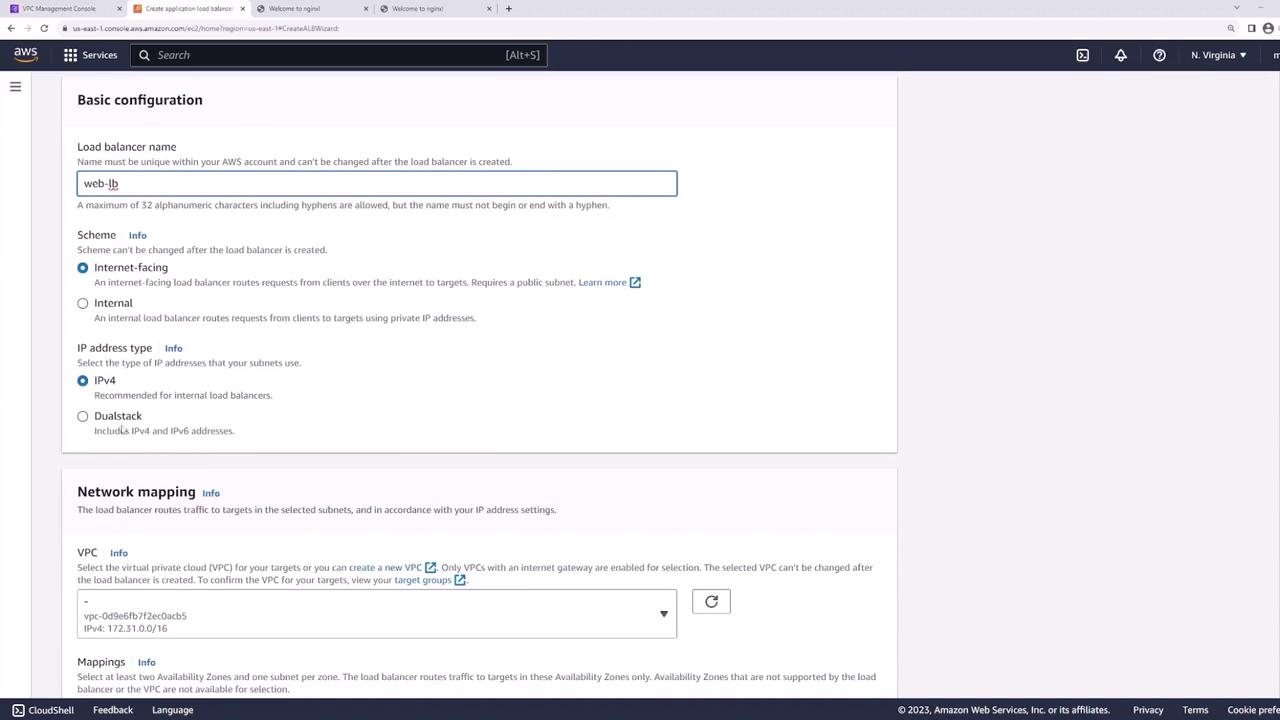
- Set:
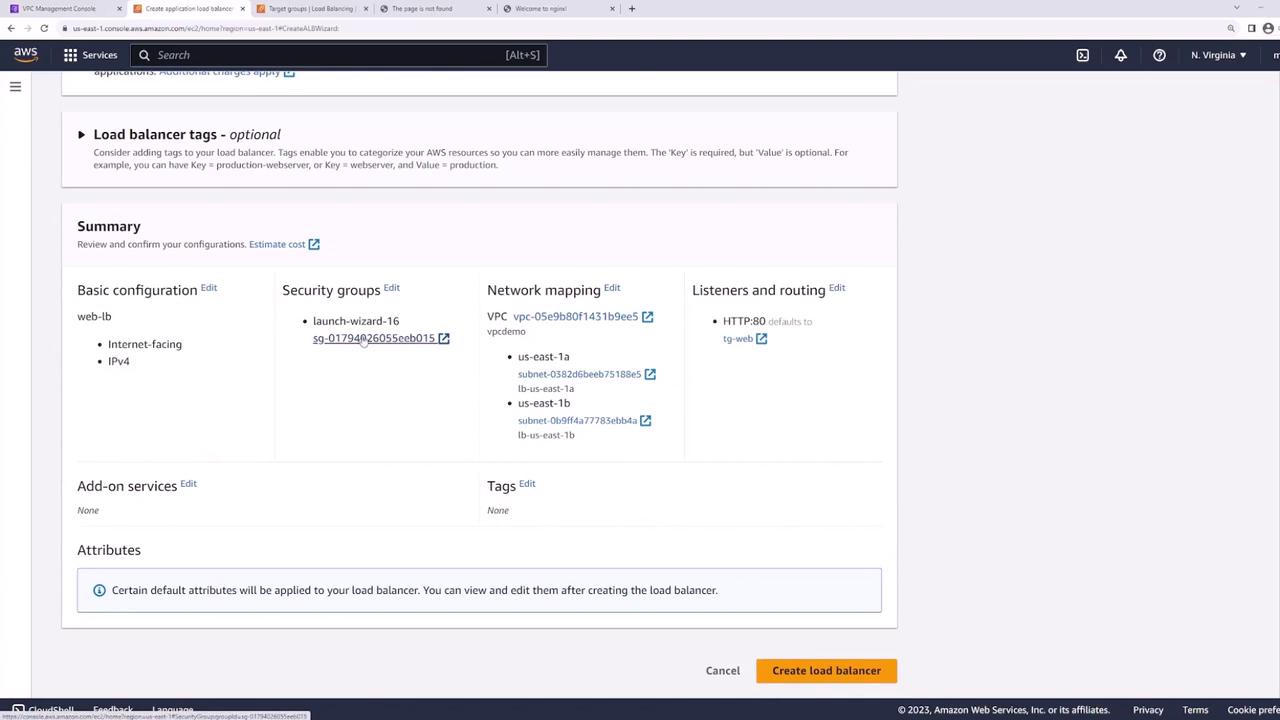
- Name: web-lb
- Scheme: Internet-facing
- IP address type: IPv4
- VPC: demo
- Select subnets LB-us-east-1a and LB-us-east-1b.

Step 4: Configure Listener and Target Group
Listener
Add an HTTP listener on port 80: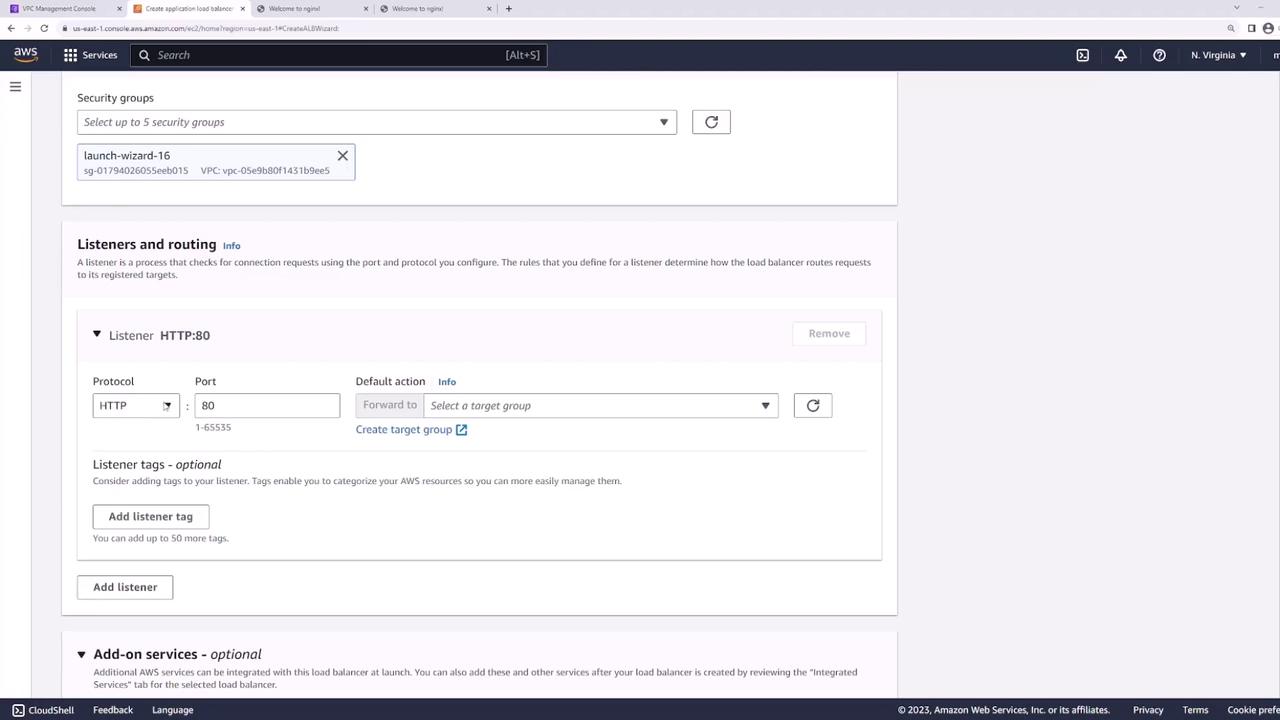
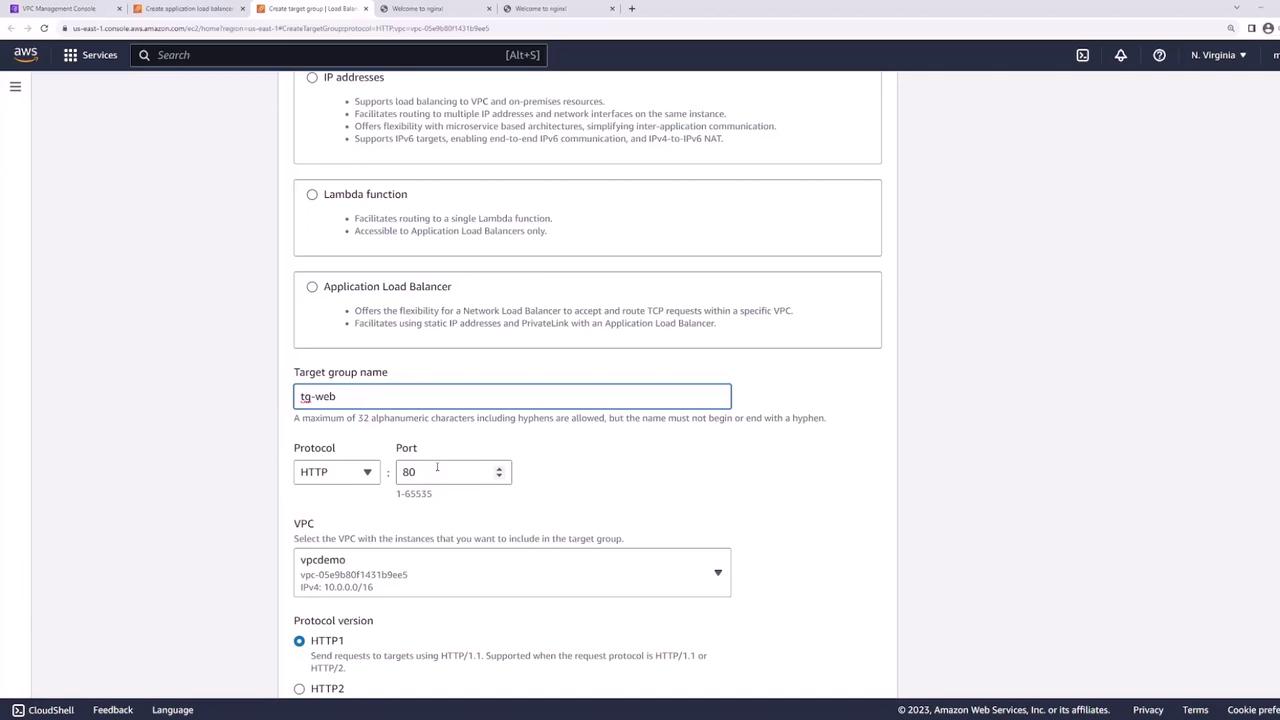
Target Group
- Create a new target group:
- Target type: Instances
- Name: web-targets
- Protocol: HTTP
- Port: 80
- VPC: demo
- Health check path:
/
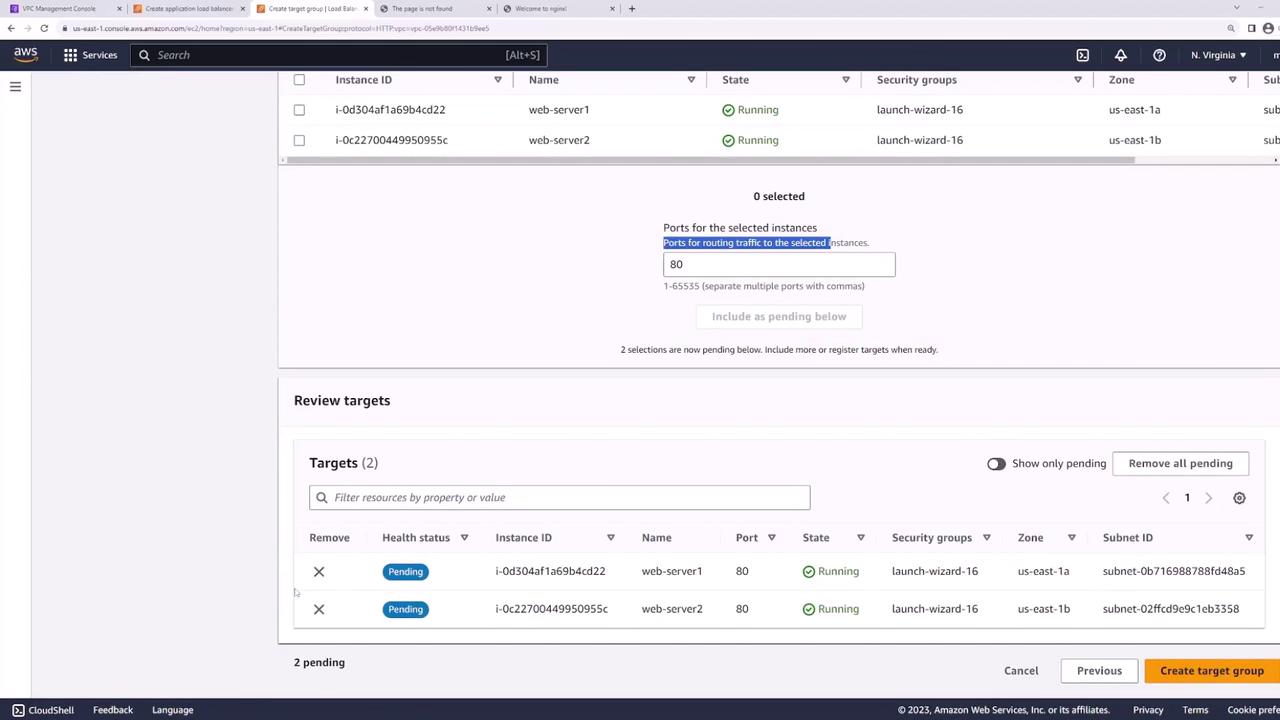
- Register web-server-1 and web-server-2 on port 80:
- Back in the ALB wizard, set web-targets as the default action for the HTTP listener:

- Review and create the ALB:
Step 5: Test the Load Balancer
Wait until the ALB status is active, then copy its DNS name:
Best Practice: Secure Your Web Servers
Currently, both web servers have public IPs: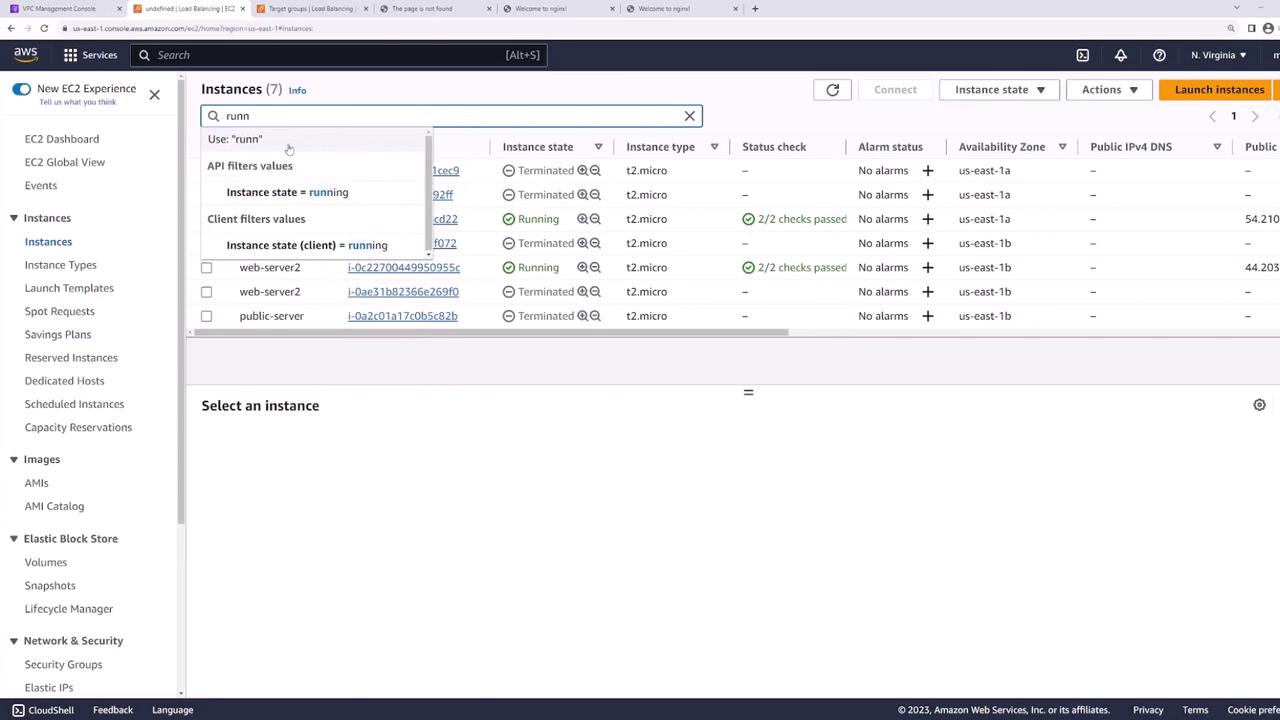 To harden your architecture:
- Move web servers into private subnets.
- Keep the ALB in public subnets.
- Configure the web servers’ security group to accept traffic only from the ALB’s security group.