AWS Networking Fundamentals
Core Networking Services
Subnets Demo
In this tutorial, you'll learn how to:
- Create a Virtual Private Cloud (VPC)
- Add multiple subnets across Availability Zones
- Launch an EC2 instance into a specific subnet
- Clean up all resources
By the end, you’ll understand how subnets control IP addressing and fault isolation within your VPC.
Prerequisites
- An AWS account with appropriate IAM permissions
- Basic familiarity with AWS Management Console
1. Create a VPC
Sign in to the AWS Management Console and search for VPC.
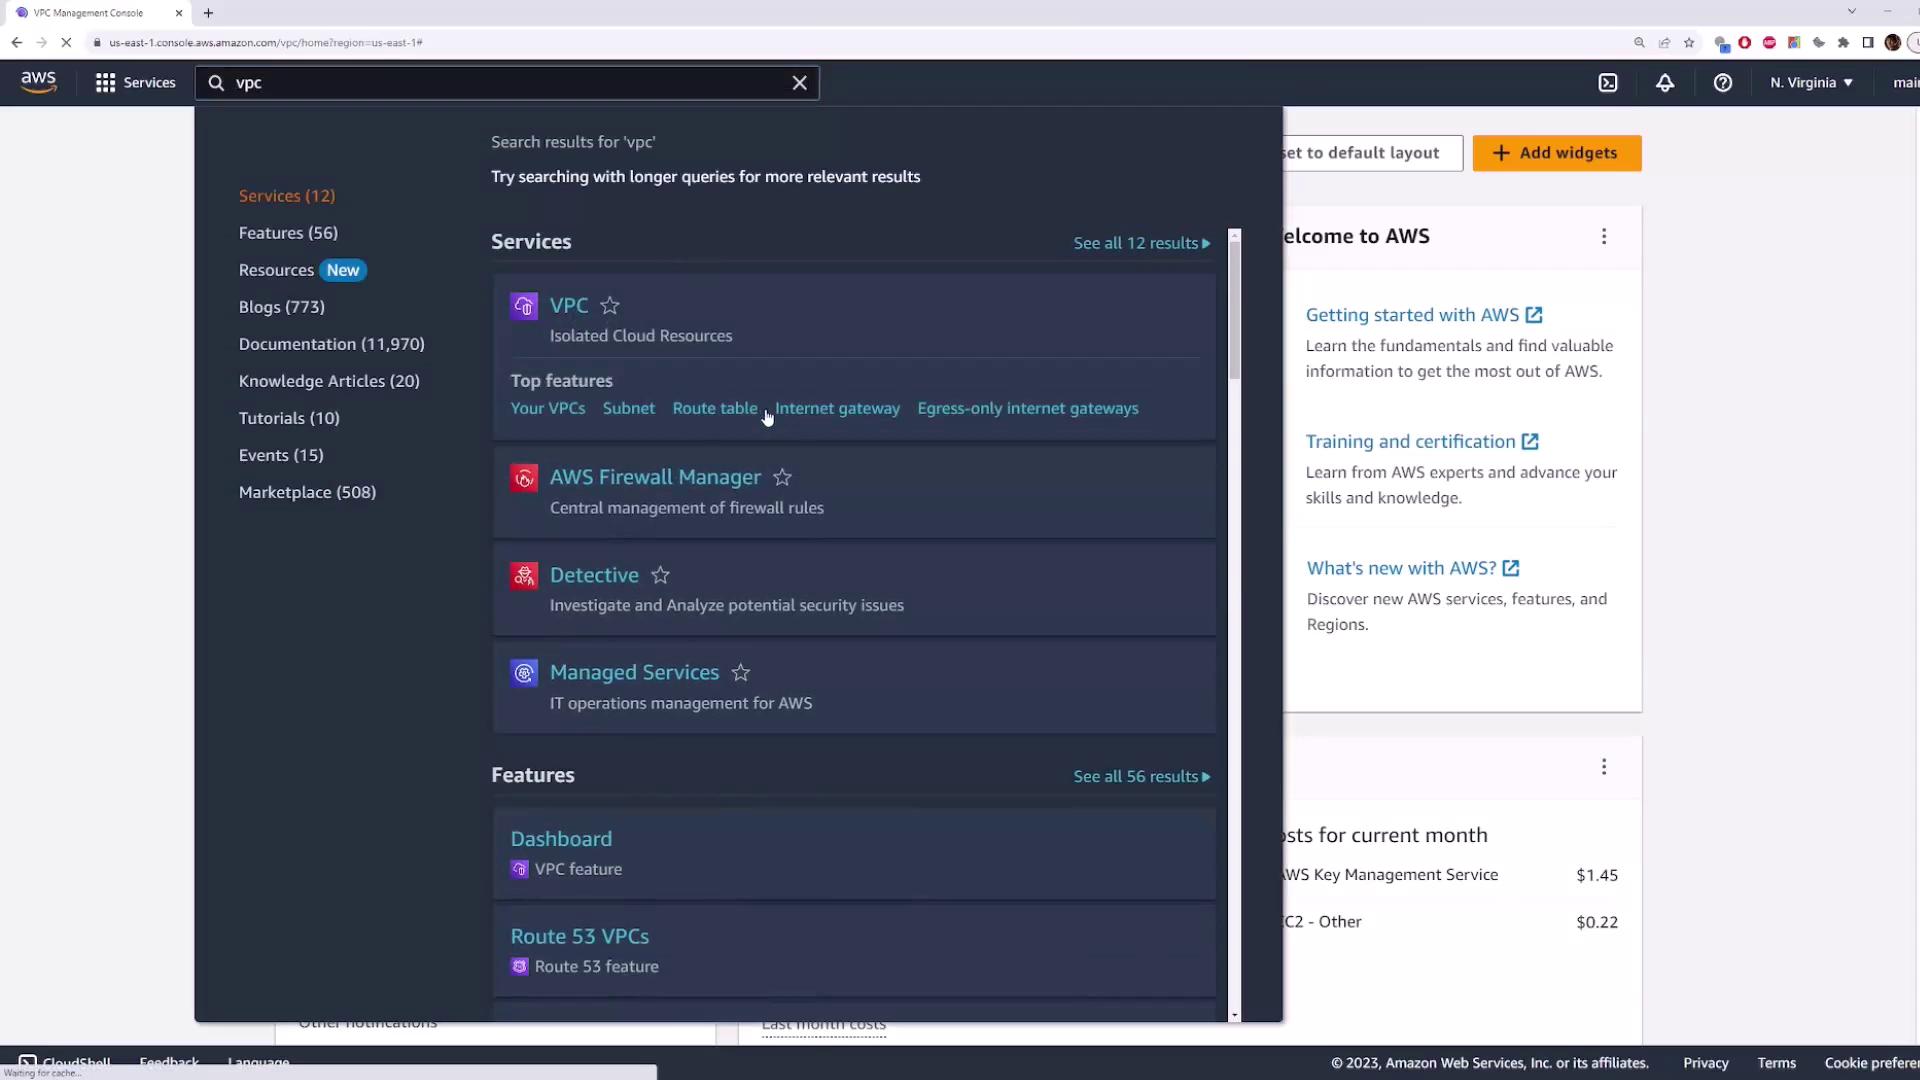
In the VPC dashboard, click VPCs → Create VPC. Select VPC only and enter:
- Name tag:
demo-vpc - IPv4 CIDR block:
10.0.0.0/16 - IPv6 CIDR block: Enabled (Amazon provided)

- Name tag:
2. Add Subnets
Navigate to Subnets in the VPC console and click Create subnet. Configure two subnets as shown:
| Subnet Name | Availability Zone | IPv4 CIDR |
|---|---|---|
| subnet-1 | us-east-1d | 10.0.1.0/24 |
| subnet-2 | us-east-1a | 10.0.5.0/24 |
Note
Each subnet’s CIDR block must reside within the VPC’s 10.0.0.0/16 range. Entering an out-of-range block (e.g., 192.168.1.0/24) will produce an error.
Create Subnet-1
- VPC:
demo-vpc - Name tag:
subnet-1 - Availability Zone:
us-east-1d - IPv4 CIDR block:
10.0.1.0/24
Optionally, assign an IPv6 block or choose IPv6-only. Click Create subnet.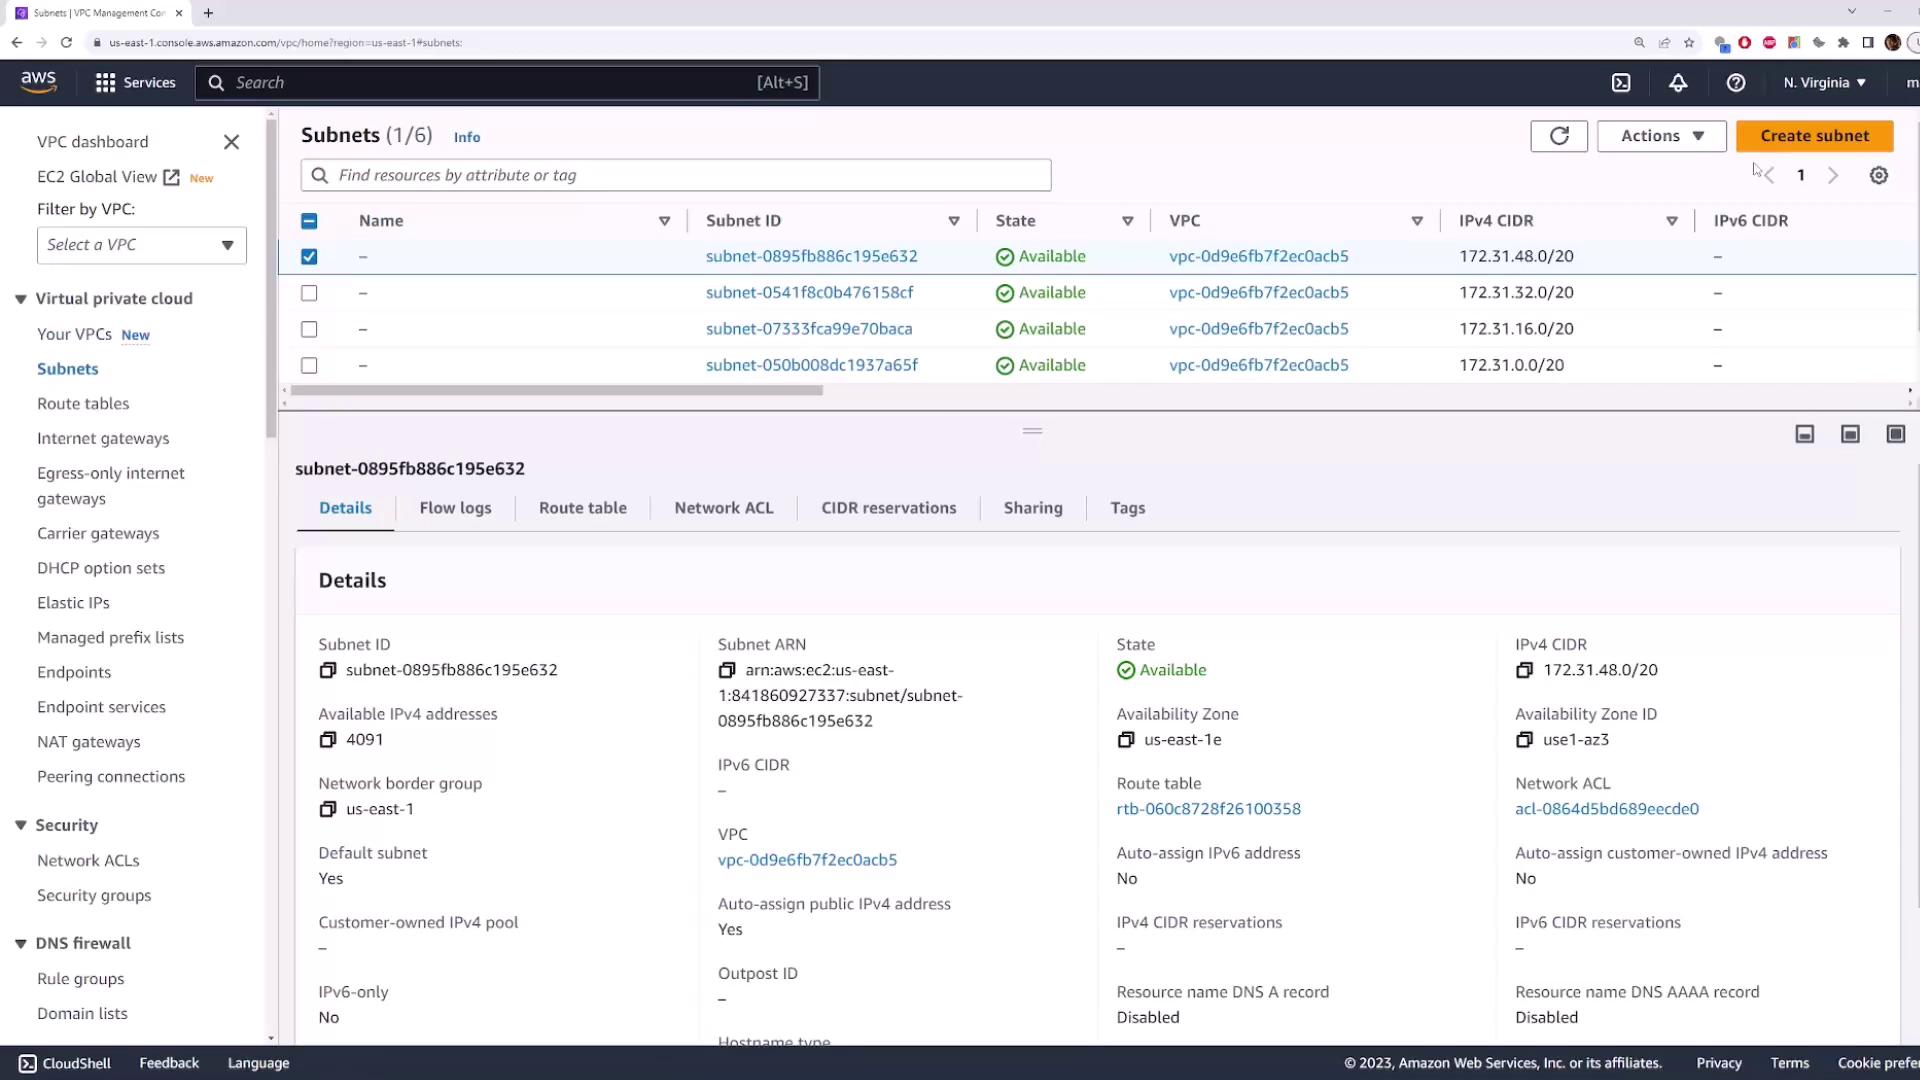
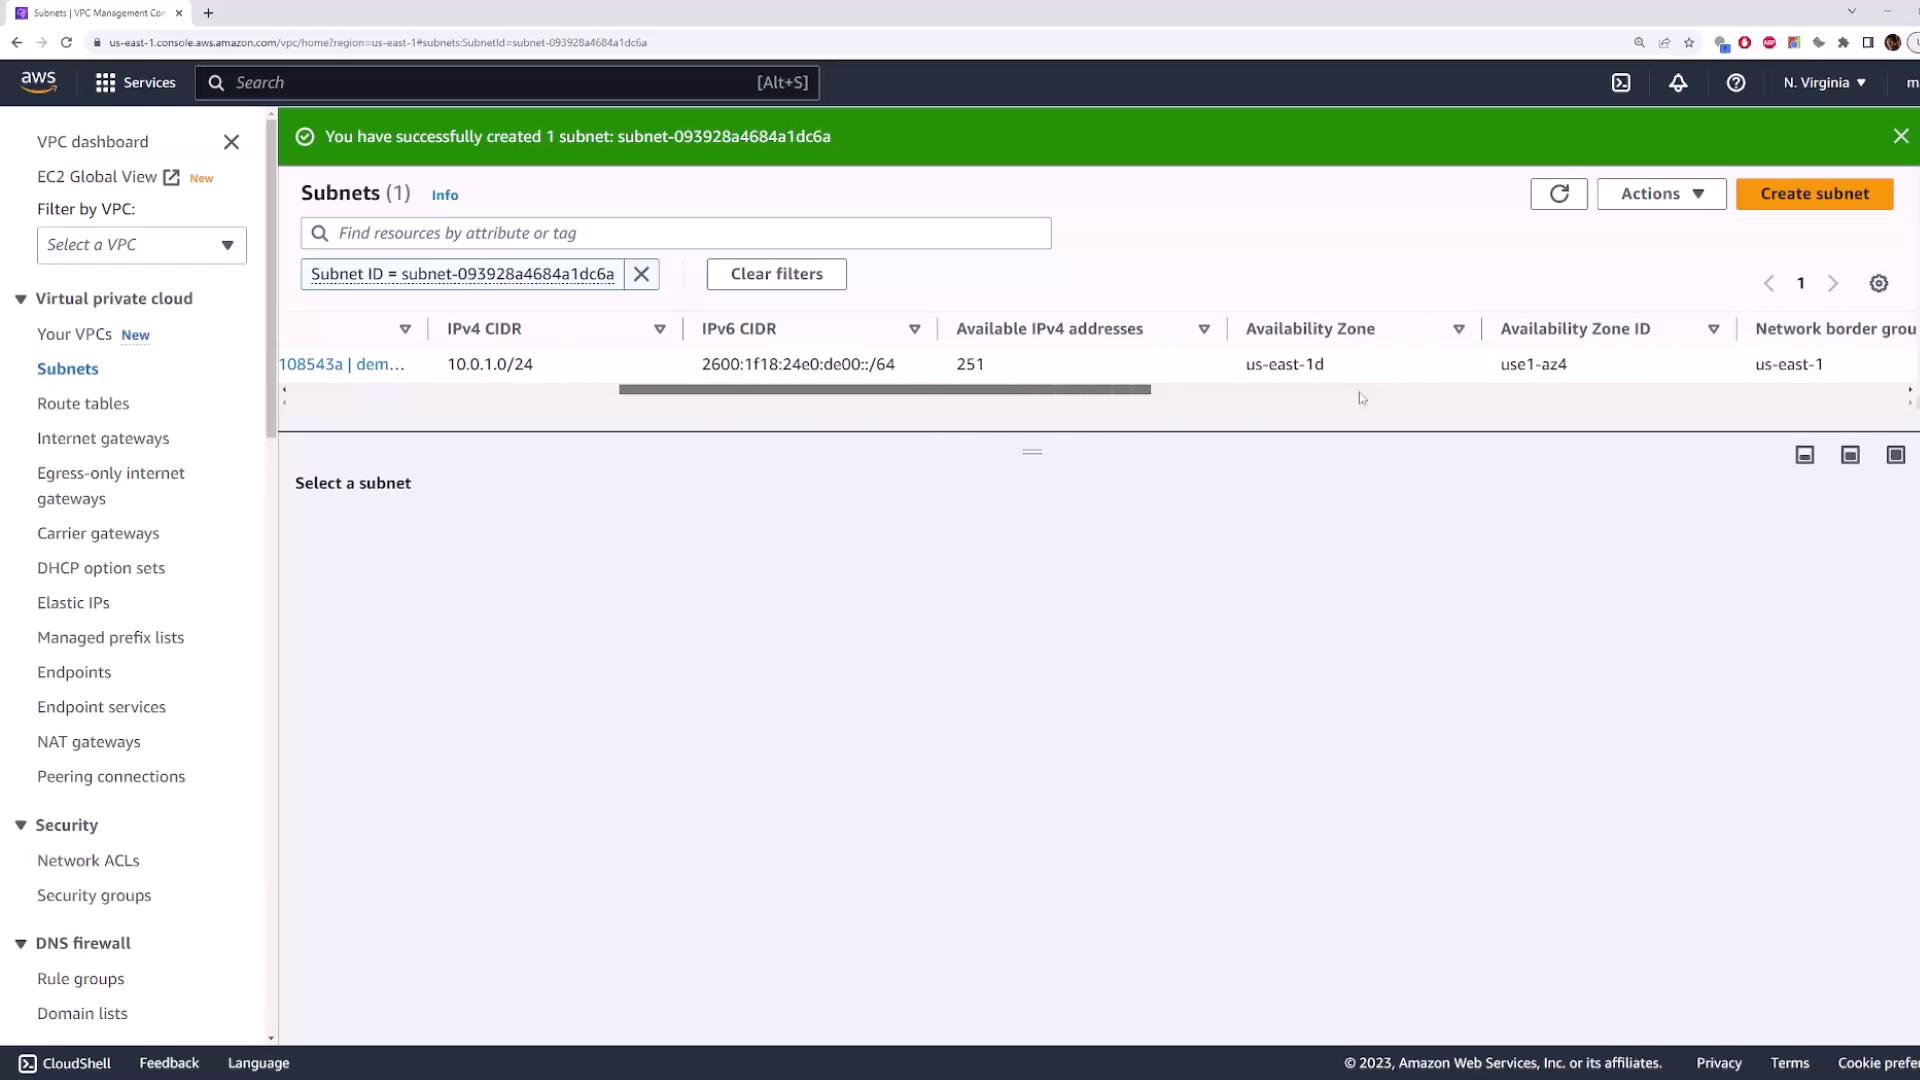
Create Subnet-2
Repeat the steps for the second subnet:
- Name tag:
subnet-2 - Availability Zone:
us-east-1a - IPv4 CIDR block:
10.0.5.0/24
Remove any filters to display both subnets in your VPC.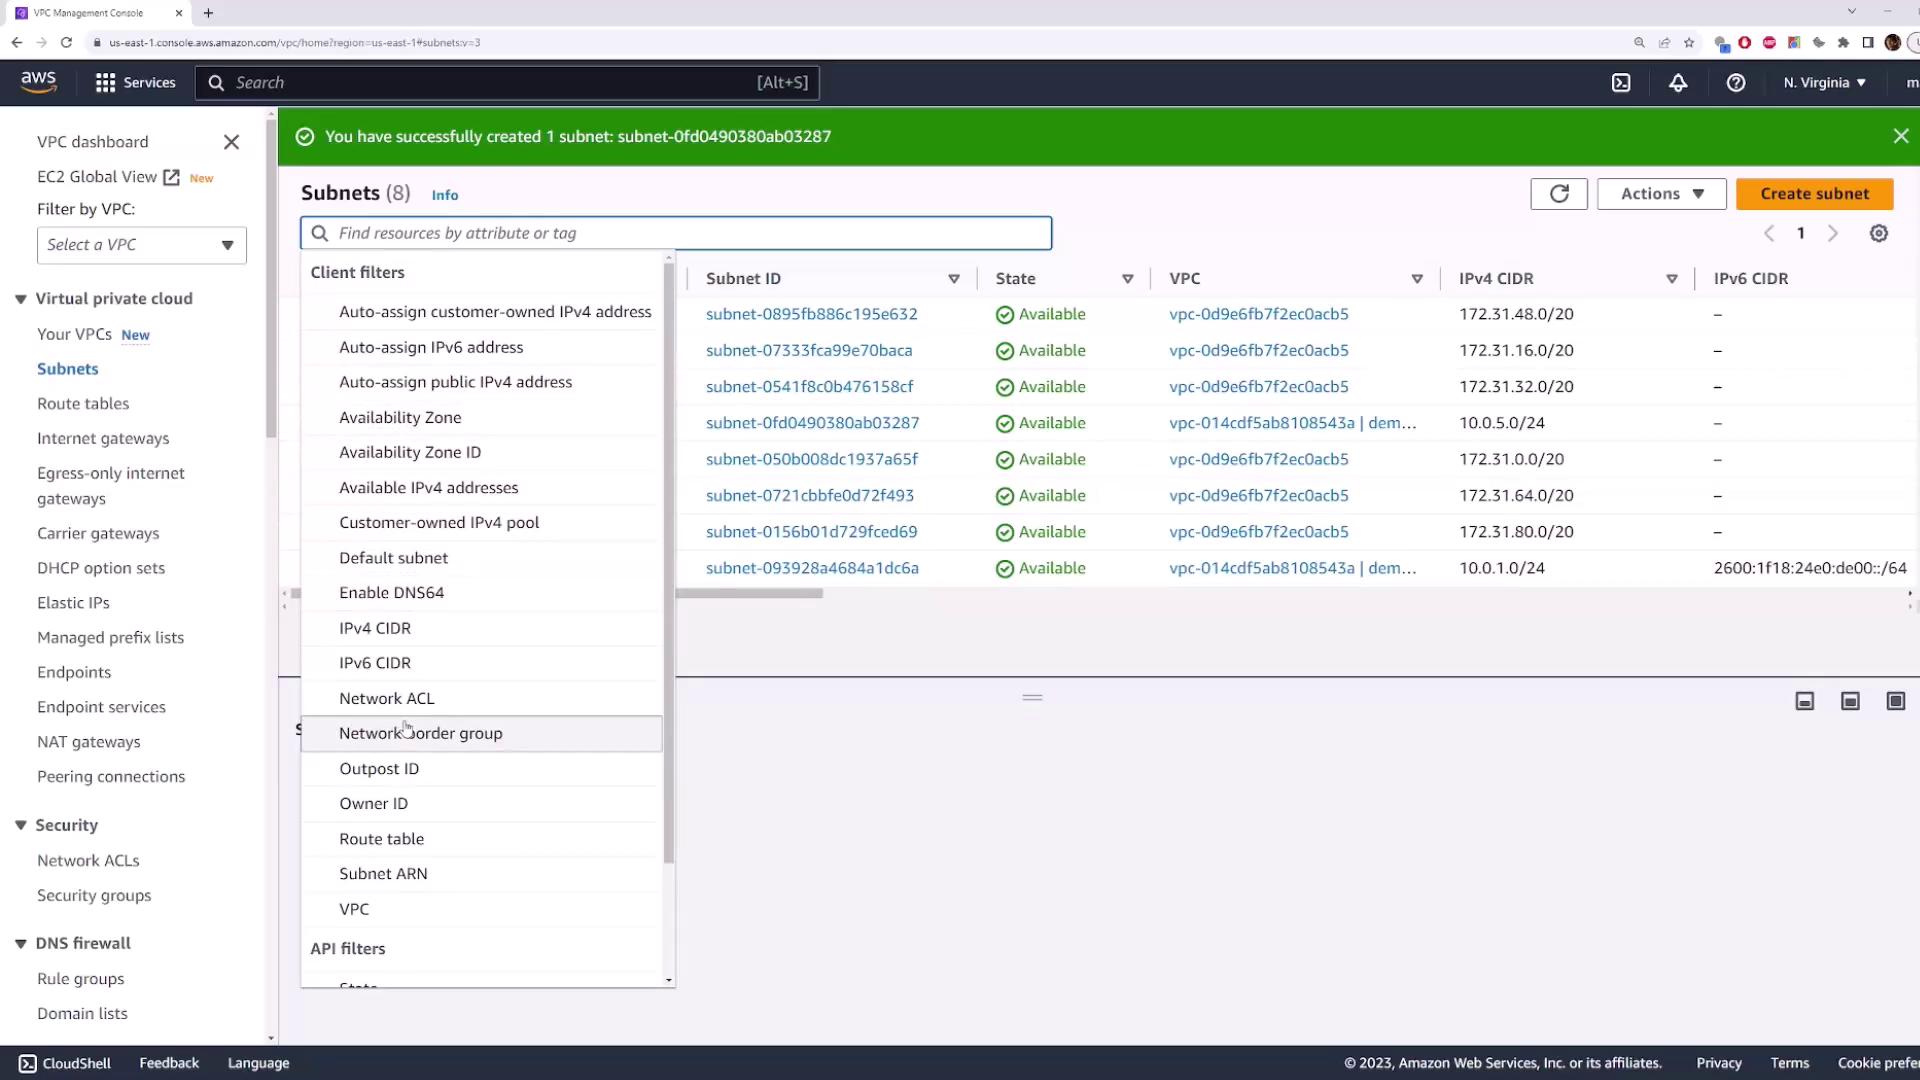
3. Launch an EC2 Instance
Go to EC2 → Instances and select Launch instance.
Configure:
- Name tag:
instance-1 - AMI: Choose any Linux/Windows image
- Instance type: e.g.,
t2.micro - Key pair: Select an existing key pair
- Name tag:
Expand Network settings:
- VPC:
demo-vpc - Subnet:
subnet-2(us-east-1a, CIDR10.0.5.0/24) - Auto-assign Public IP: Enable if needed
- VPC:
Choose a security group (default or custom) and click Launch instance.
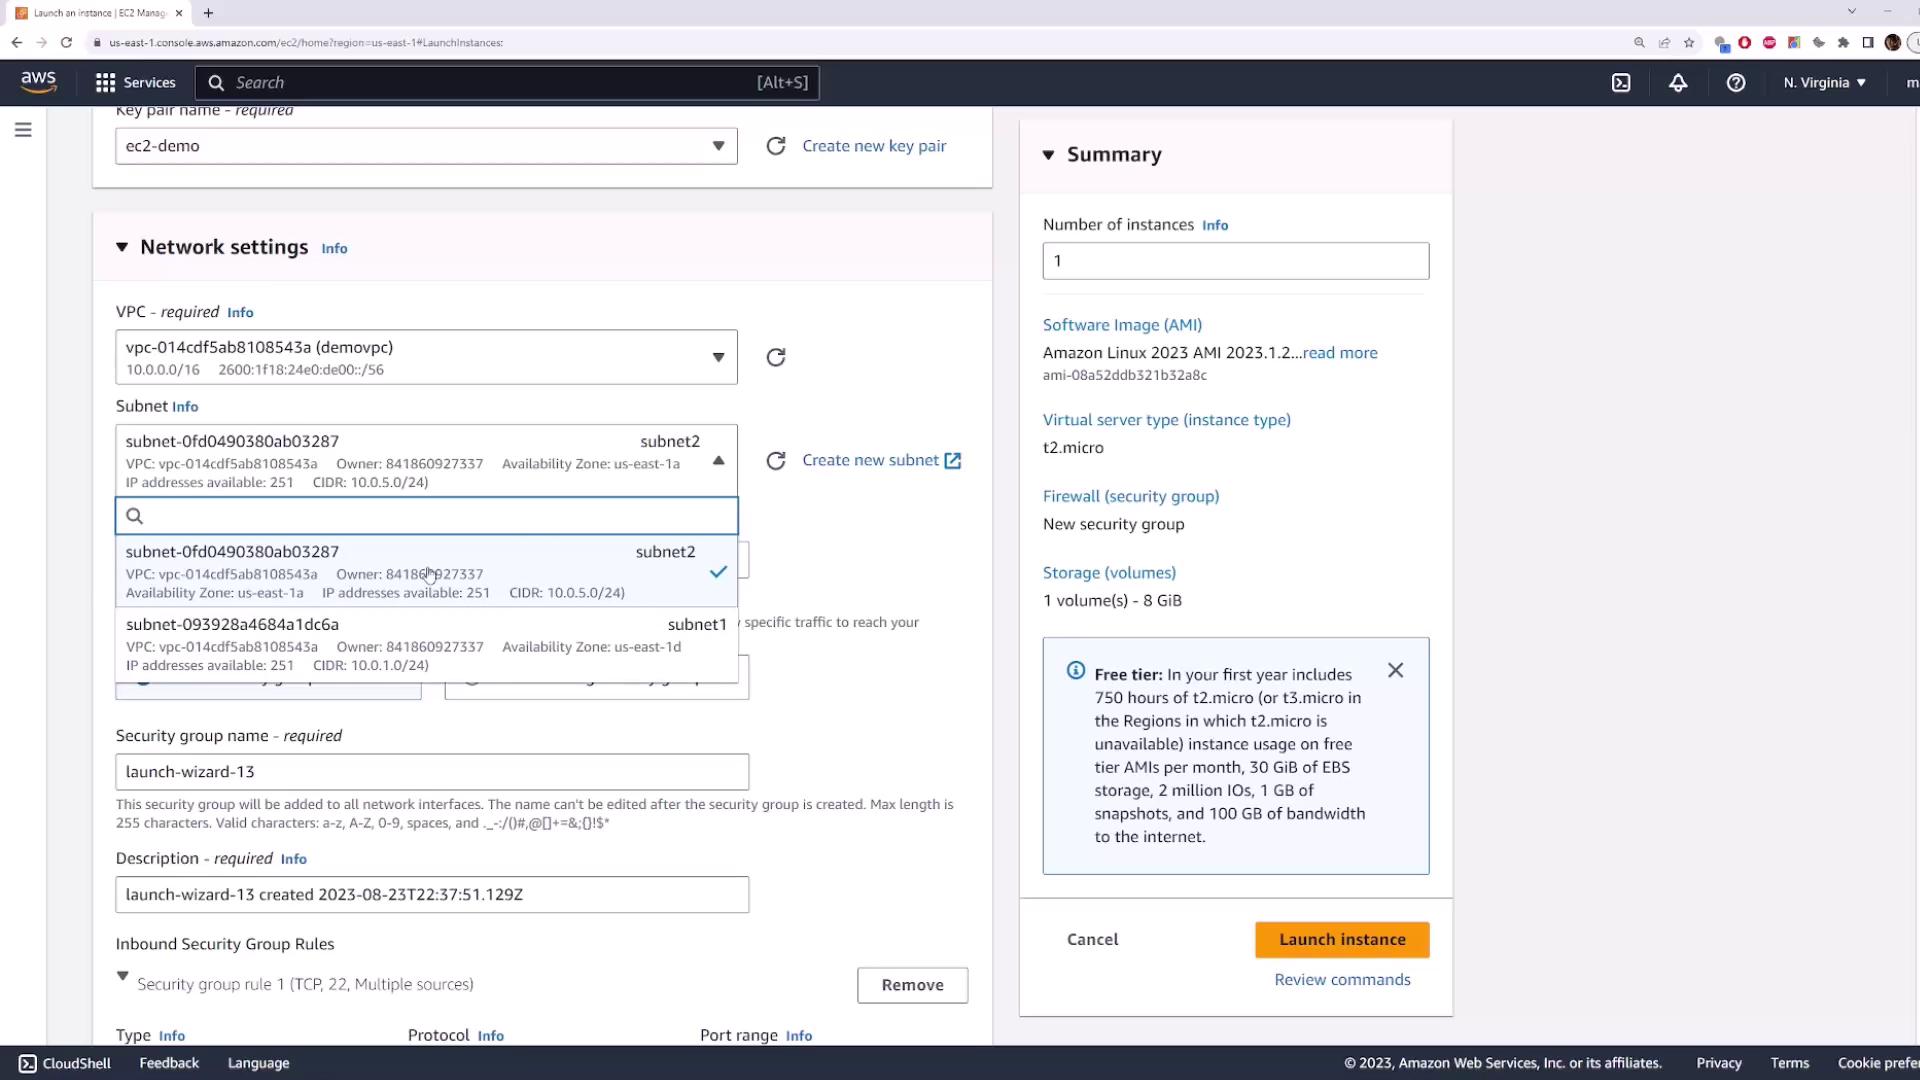
After the instance is running, check its private IP under Instance details. You should see an IP like 10.0.5.xxx, confirming it’s in subnet-2.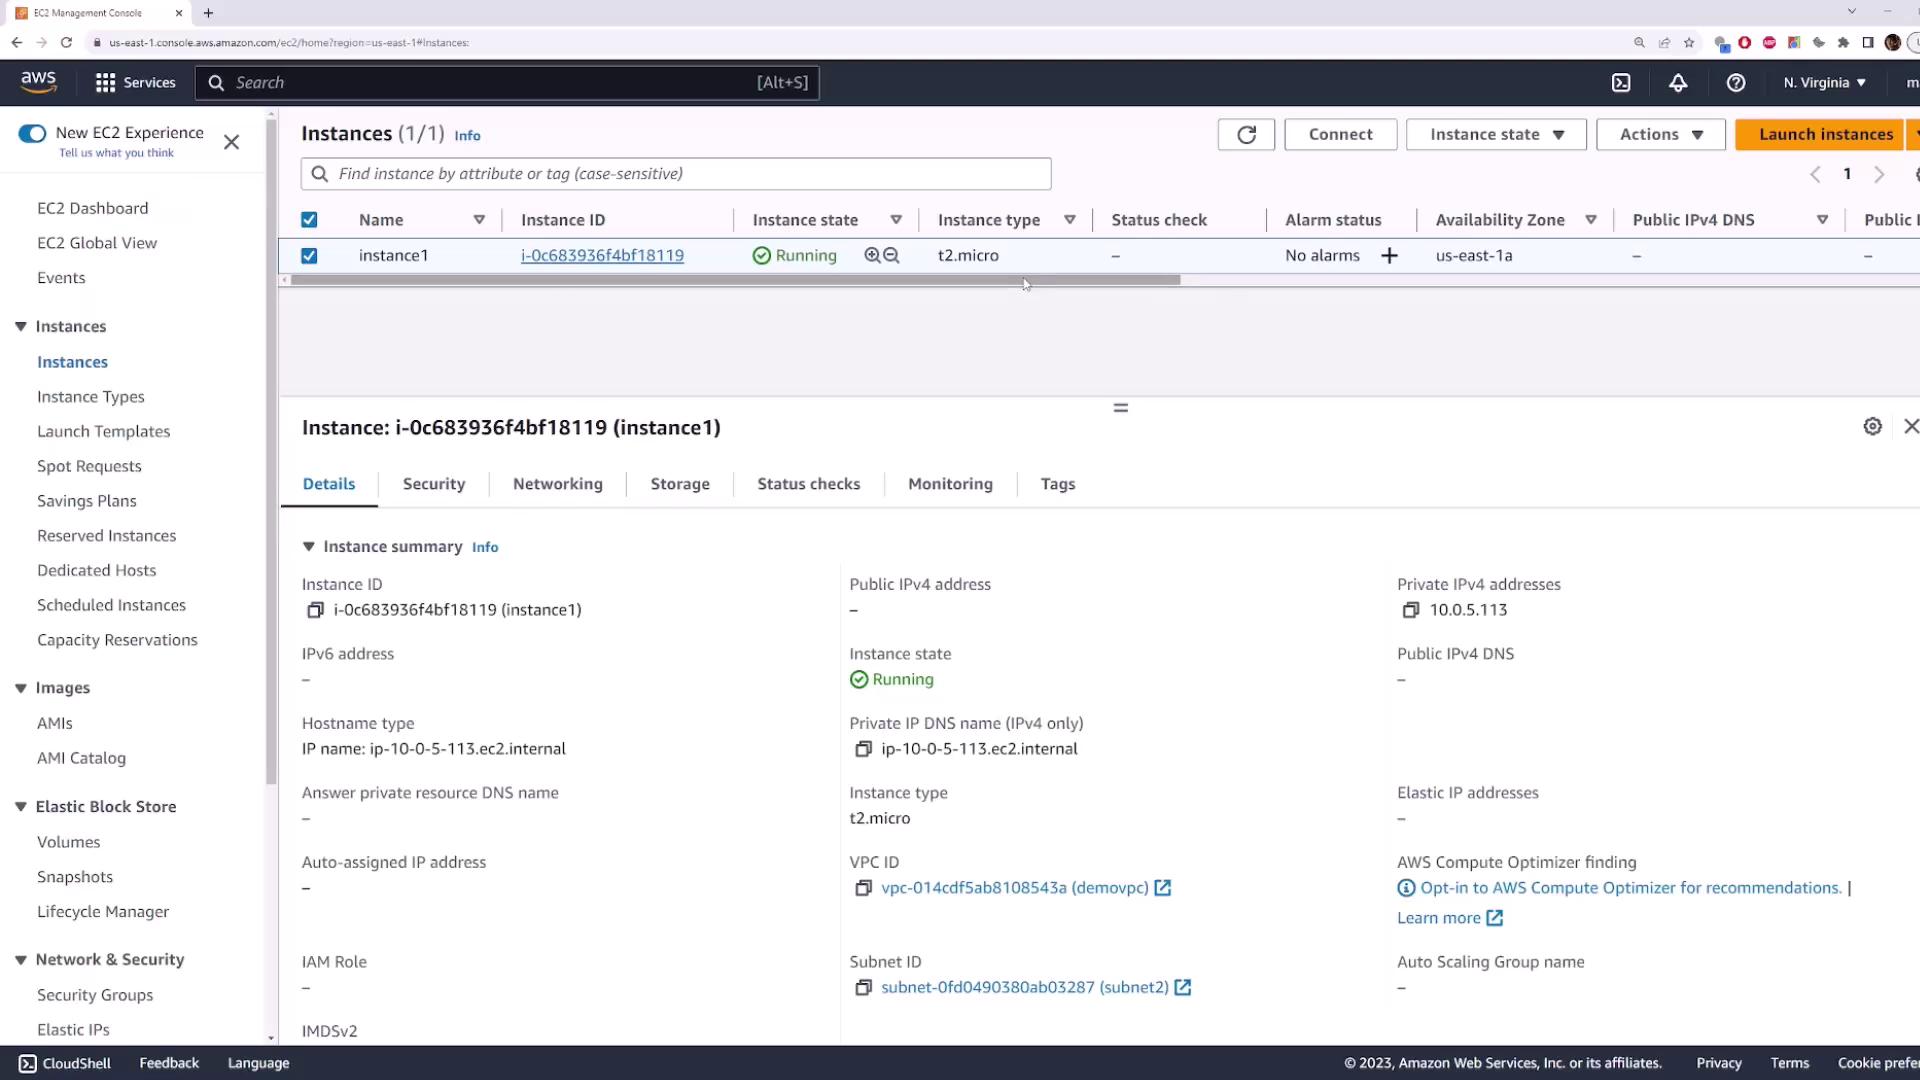
4. Cleanup Resources
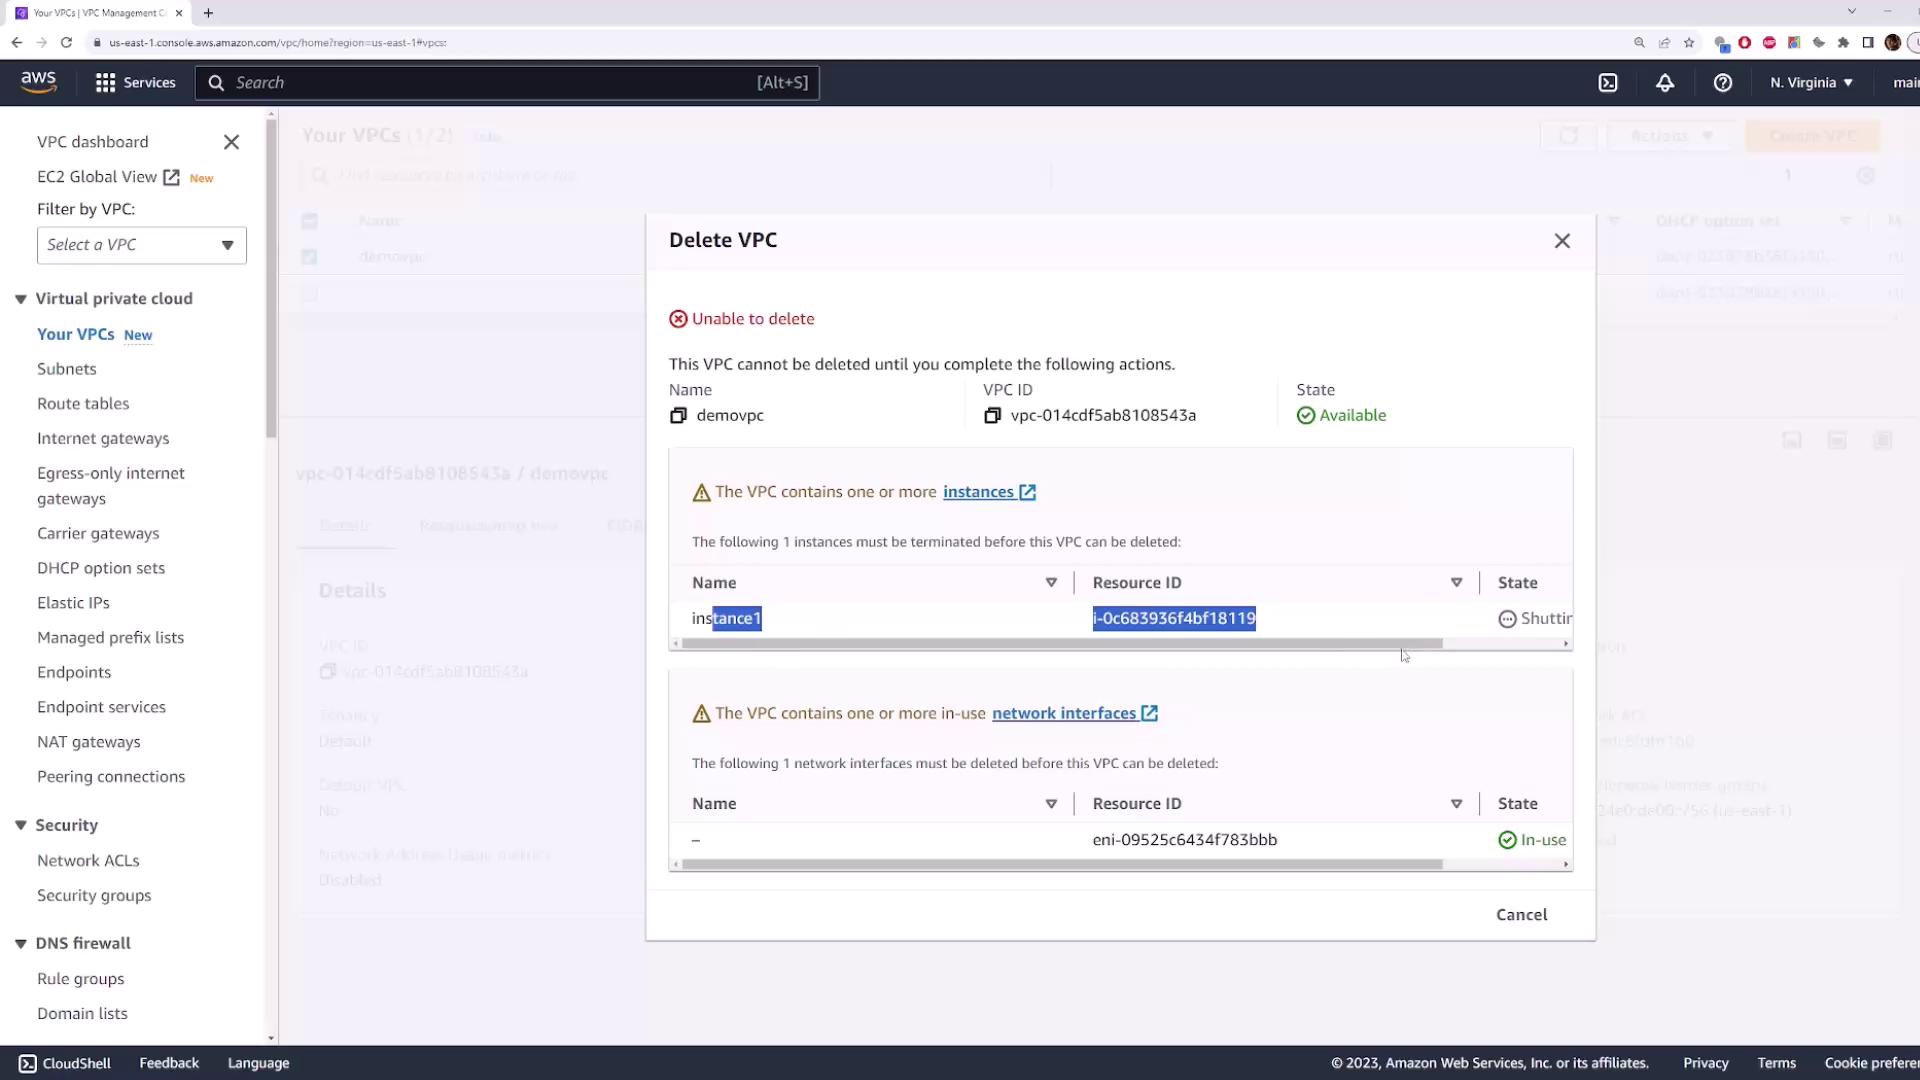
- Terminate the EC2 instance (
instance-1). - Go to VPC → Your VPCs, select
demo-vpc→ Actions → Delete VPC.
Warning
If you receive an error about existing resources (e.g., network interfaces), ensure the instance is fully terminated and retry deletion.
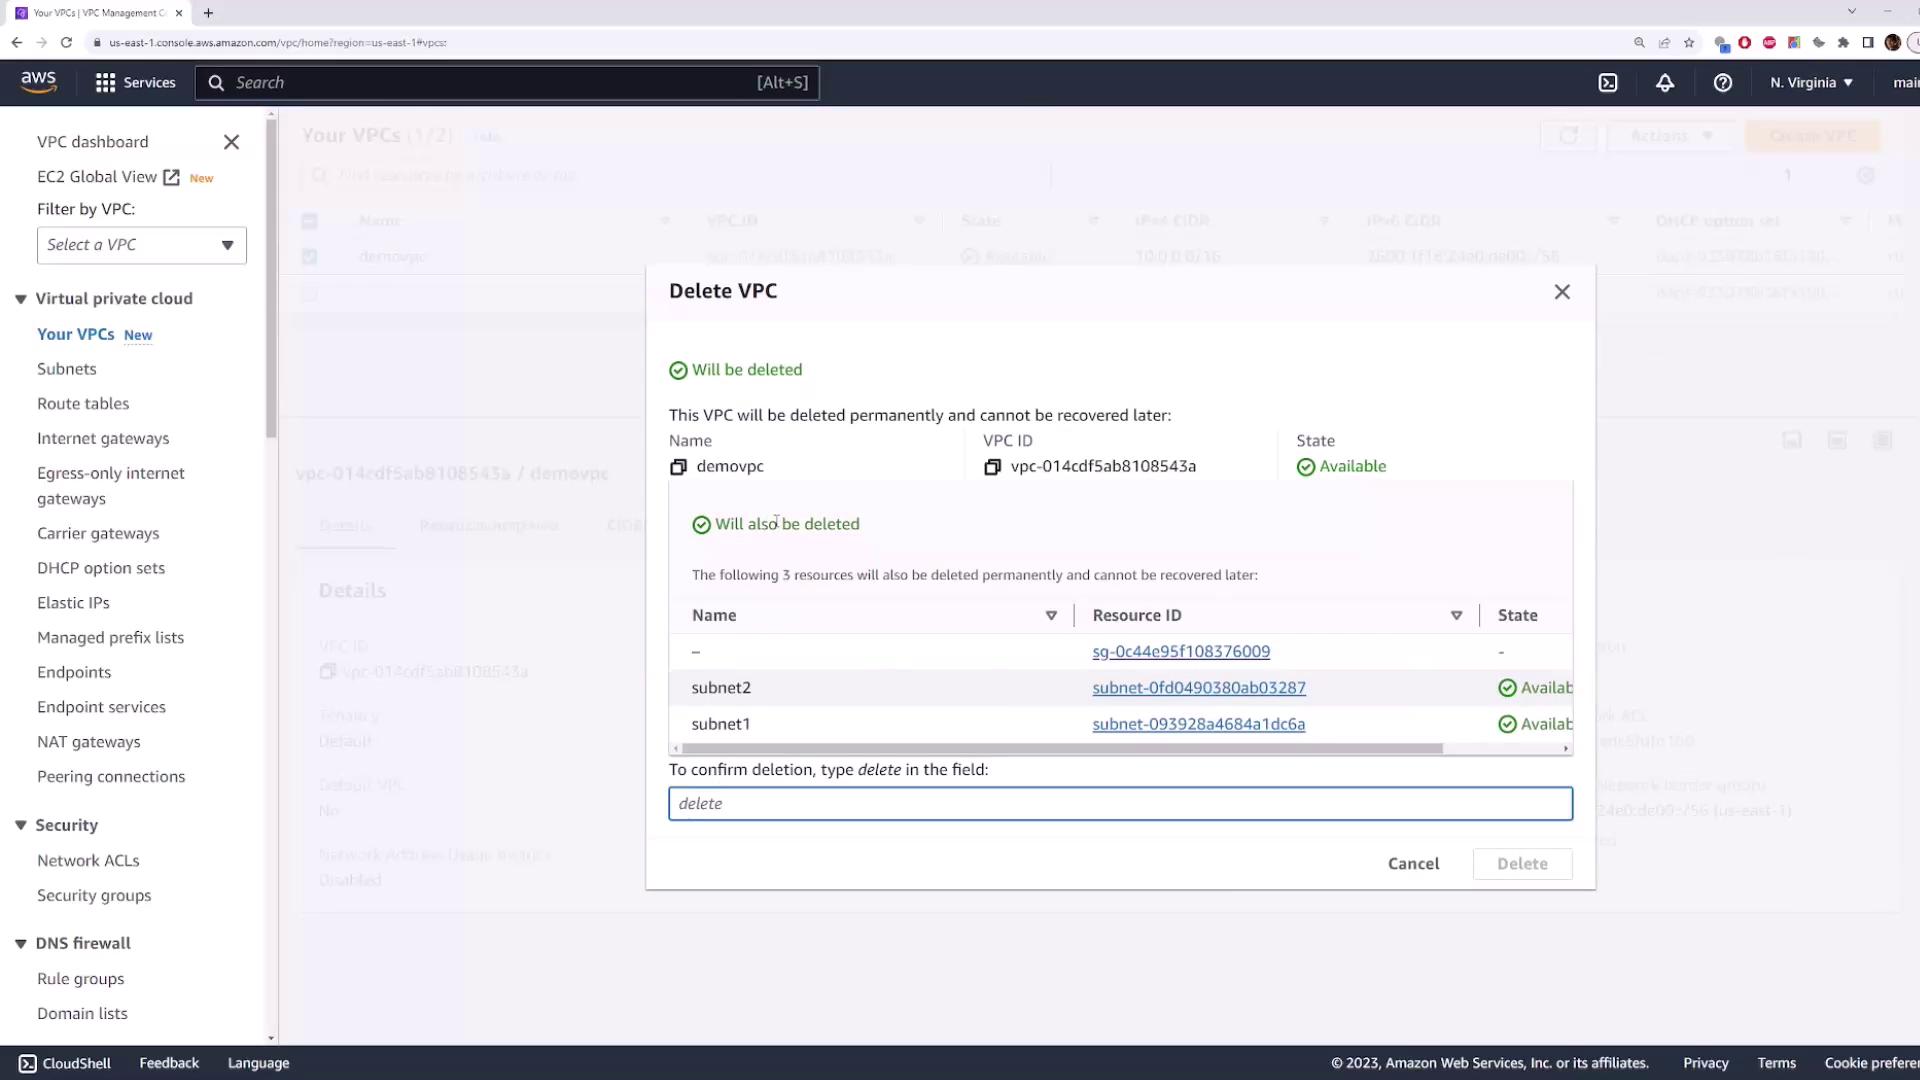
- Confirm by typing delete in the prompt. This also removes the associated subnets.
Further Reading
Watch Video
Watch video content