- Set up an S3 bucket and upload your assets
- Secure S3 with a bucket policy for CloudFront access
- Create and configure a CloudFront distribution
- Customize caching behavior and invalidate objects
Prerequisites
- An AWS account with IAM permissions for S3 and CloudFront
- A local project folder containing:
index.htmlindex.cssimages/(your asset directory)
Project Structure
Here’s our local directory layout. It contains an HTML page, a CSS stylesheet, and an images folder: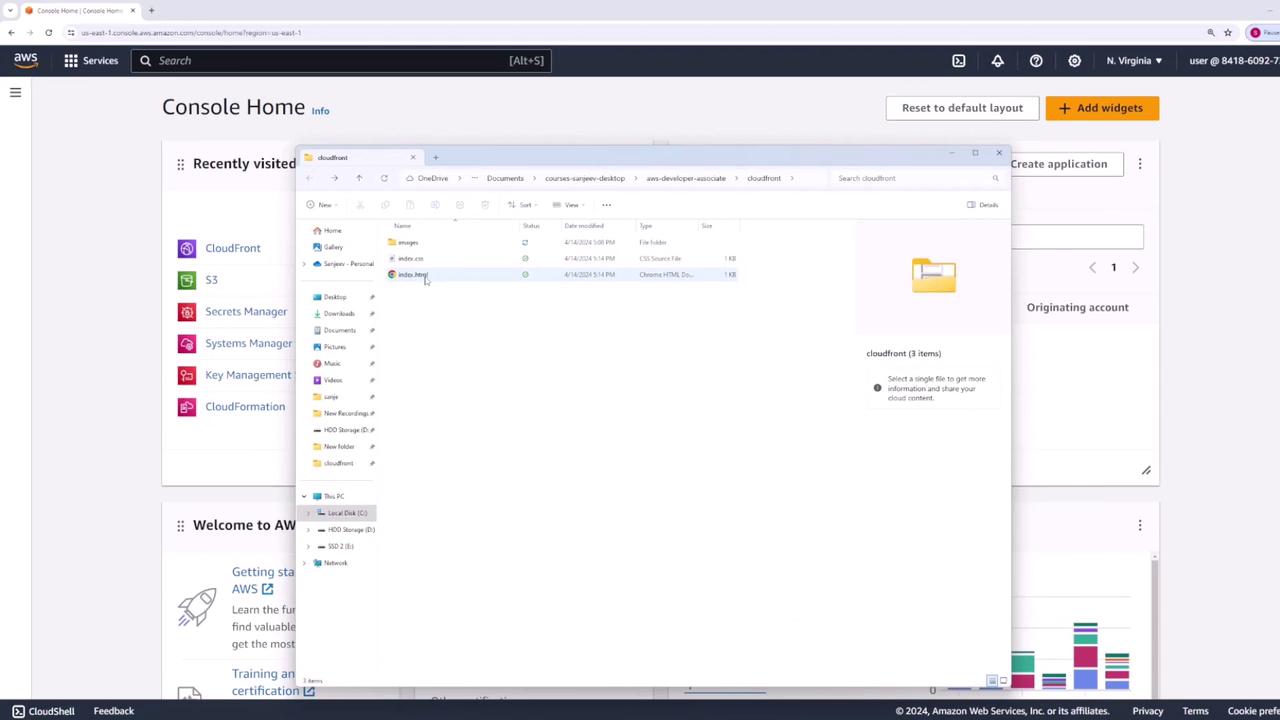
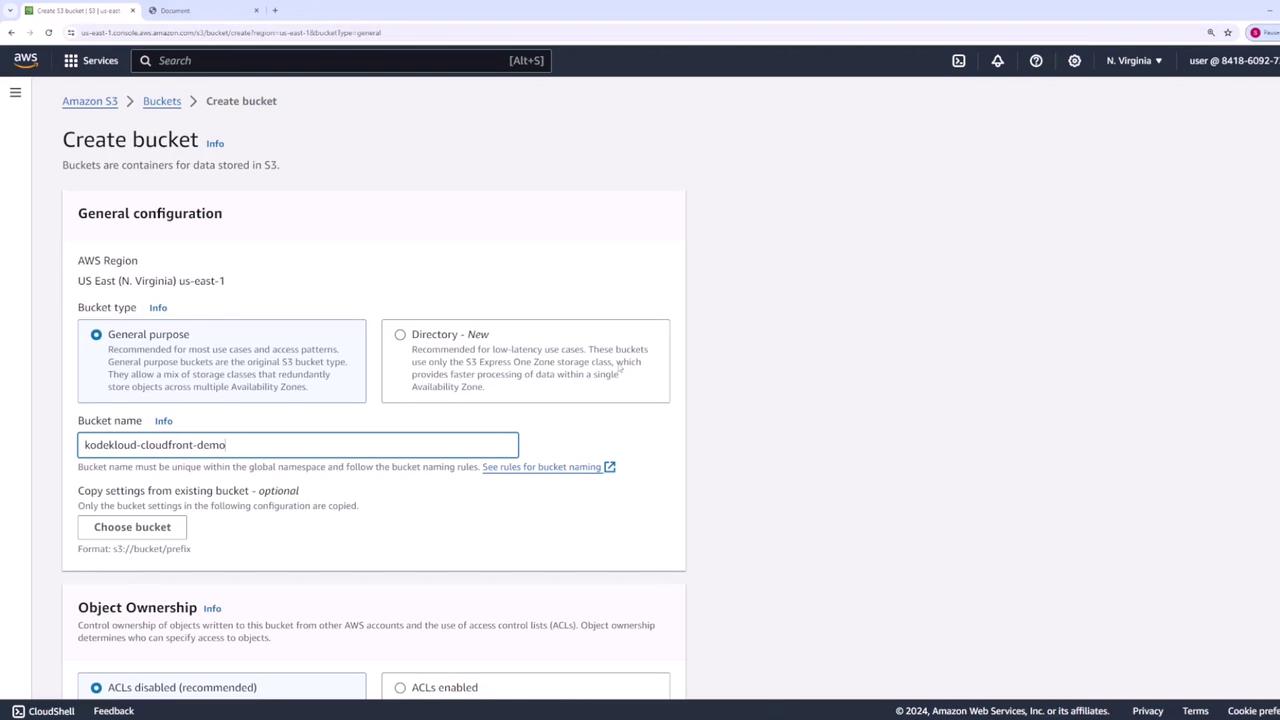
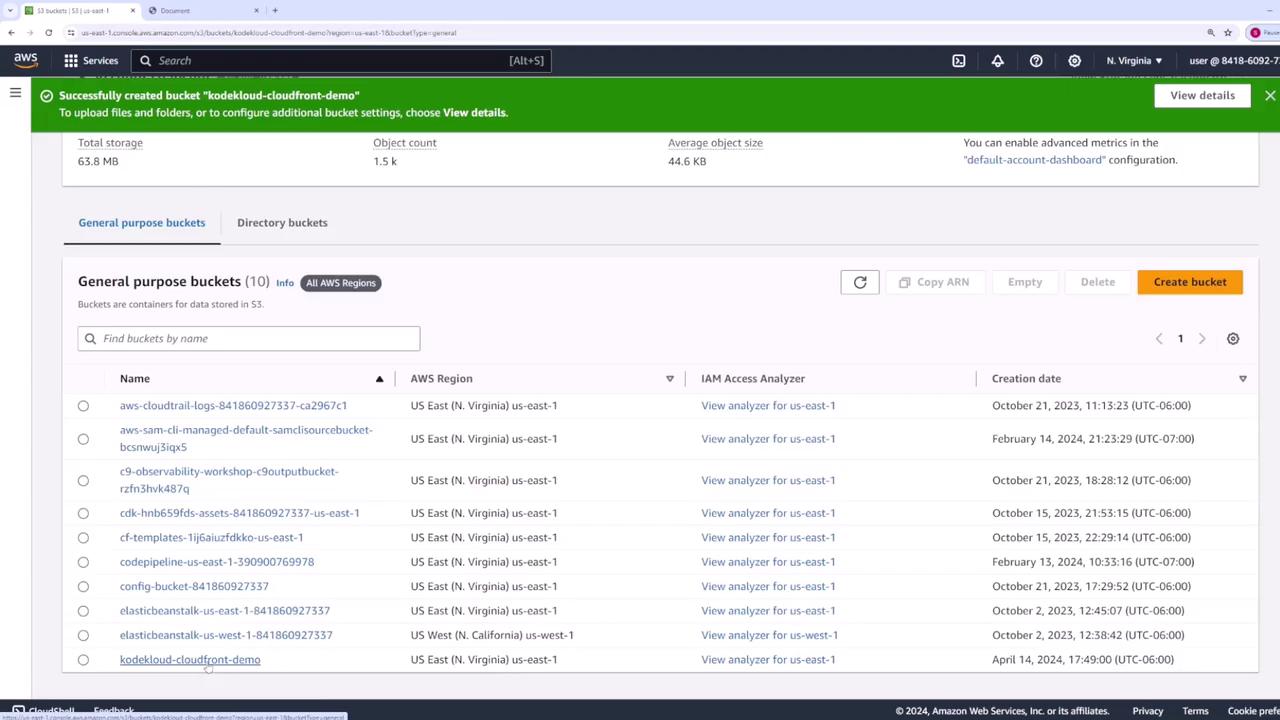
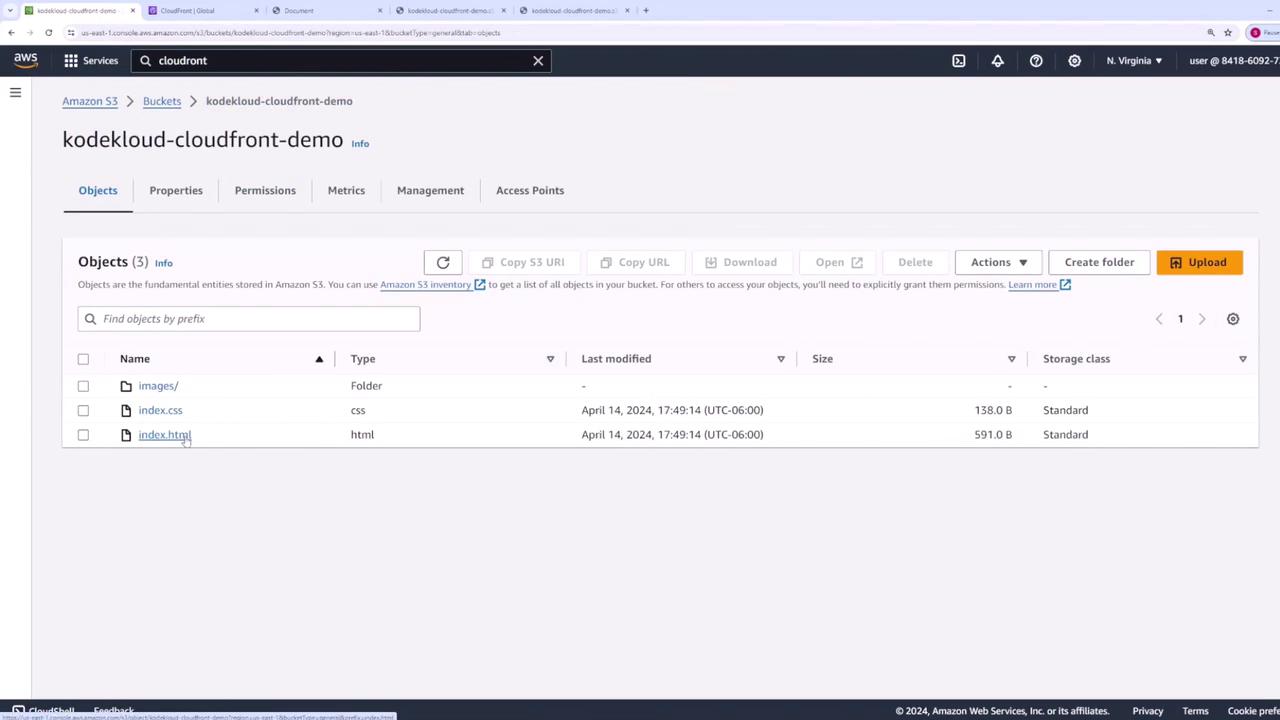
1. Create and Configure an S3 Bucket
- Open the Amazon S3 console, then click Create bucket.
- Enter a globally unique name (e.g.,
kodekloud-cloudfront-demo), leave other settings at their defaults, and click Create bucket.
- Click on your bucket name, then choose Upload. Add
index.html,index.css, and the entireimagesfolder.
2. Secure Bucket Access
By default, S3 blocks public access to buckets: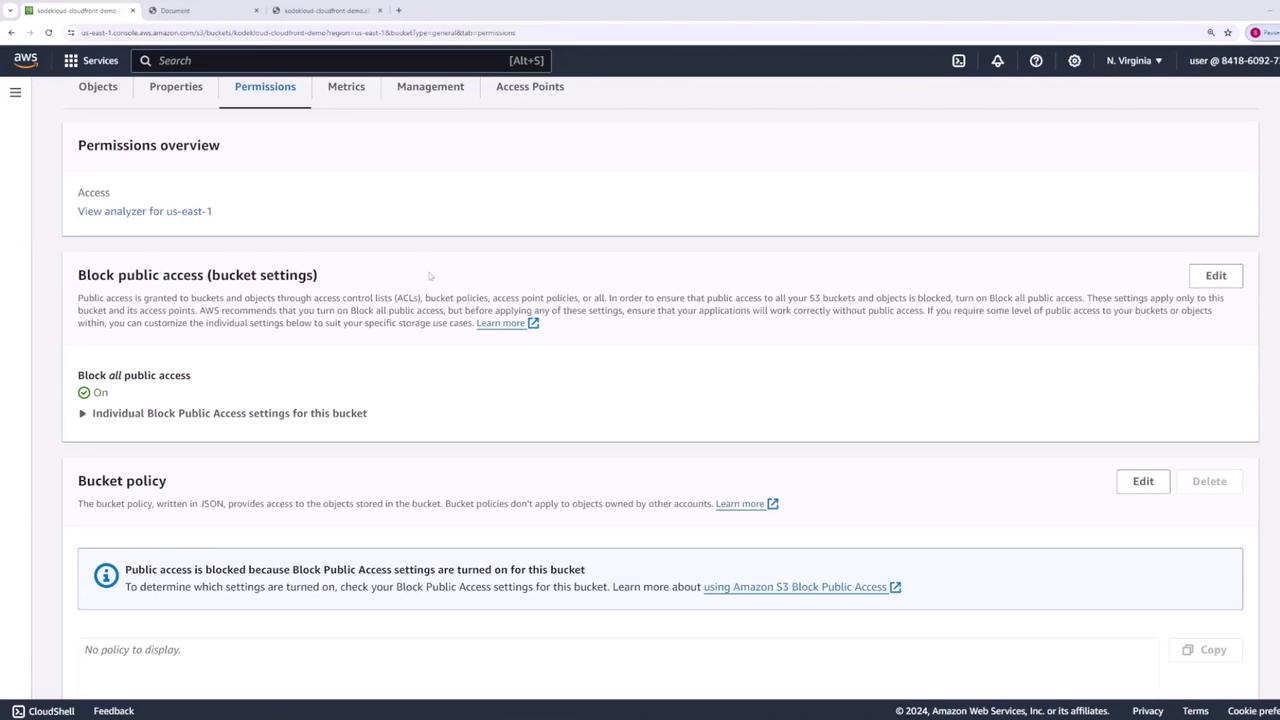
Do not disable Block Public Access. Instead, grant CloudFront permission via a bucket policy in Step 4.
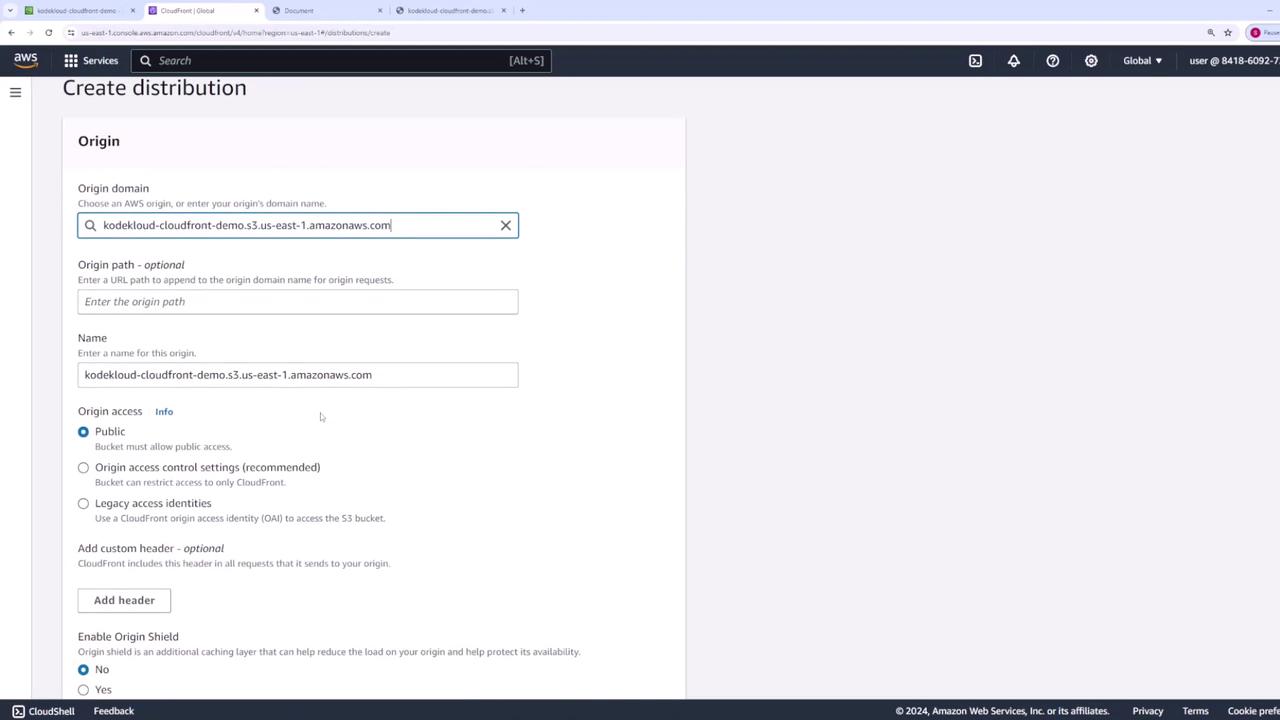
3. Create a CloudFront Distribution
- Navigate to the CloudFront console, then click Create distribution → Get started under Web.
- For Origin domain, select your S3 bucket (
kodekloud-cloudfront-demo). - Leave Origin path blank unless you want to serve a subdirectory. Use the default Origin ID or customize it.
- Web Application Firewall: Disabled
- Price Class: Use all edge locations (Best Performance)
- SSL Certificate: Default CloudFront certificate (*.cloudfront.net)
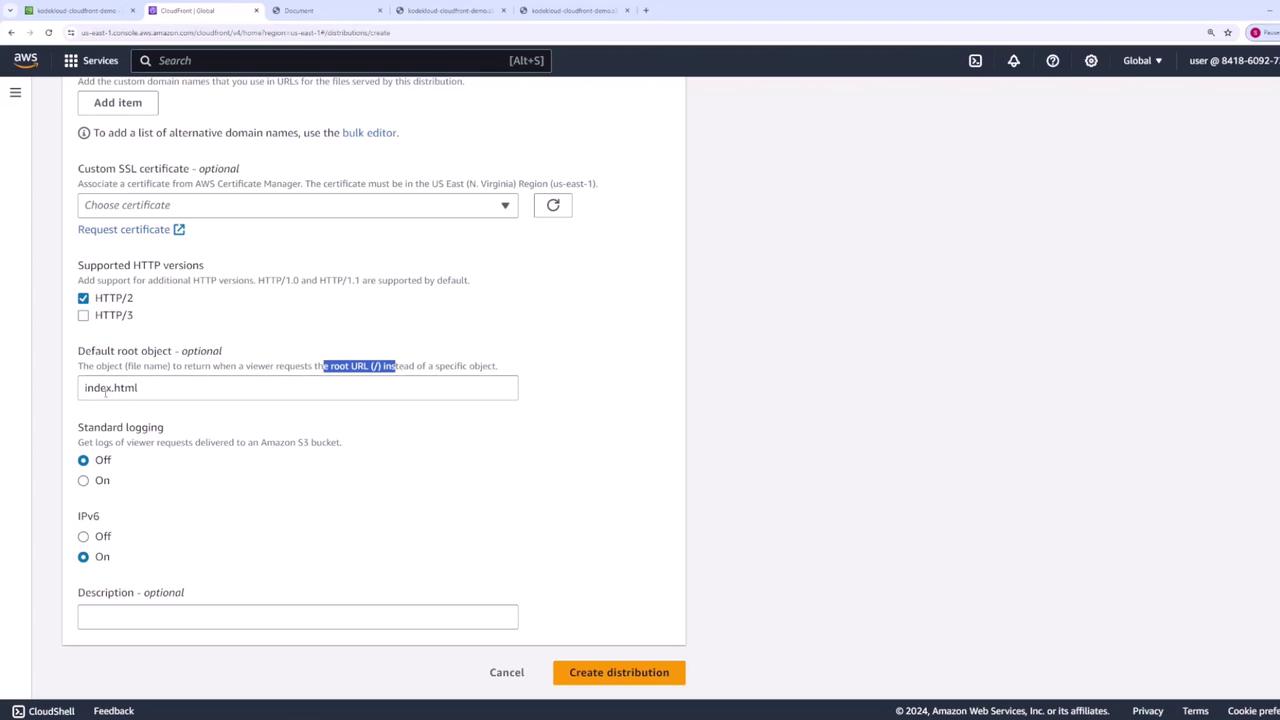
- Default Root Object: index.html

Why Set a Default Root Object?
When you request the root of a distribution (/), CloudFront needs to know which file to serve. By setting Default Root Object to index.html, you avoid typing the full filename in the URL.
index.html:
- Click Create distribution. Distribution creation can take several minutes.
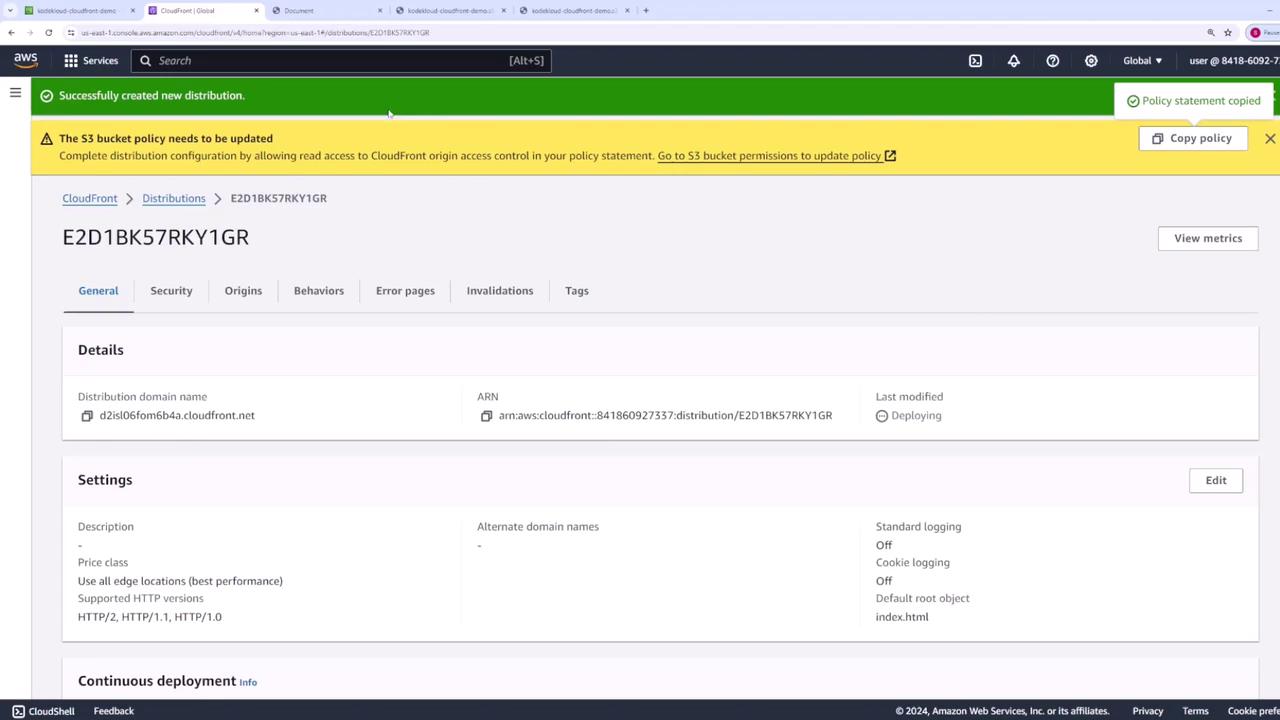
CloudFront distributions typically deploy within 10–20 minutes. You’ll know it’s ready when the status changes to Enabled.
4. Apply an S3 Bucket Policy for CloudFront
To allow CloudFront to fetch objects without making the bucket public:- In the CloudFront console, click the Copy Policy link from the warning banner.
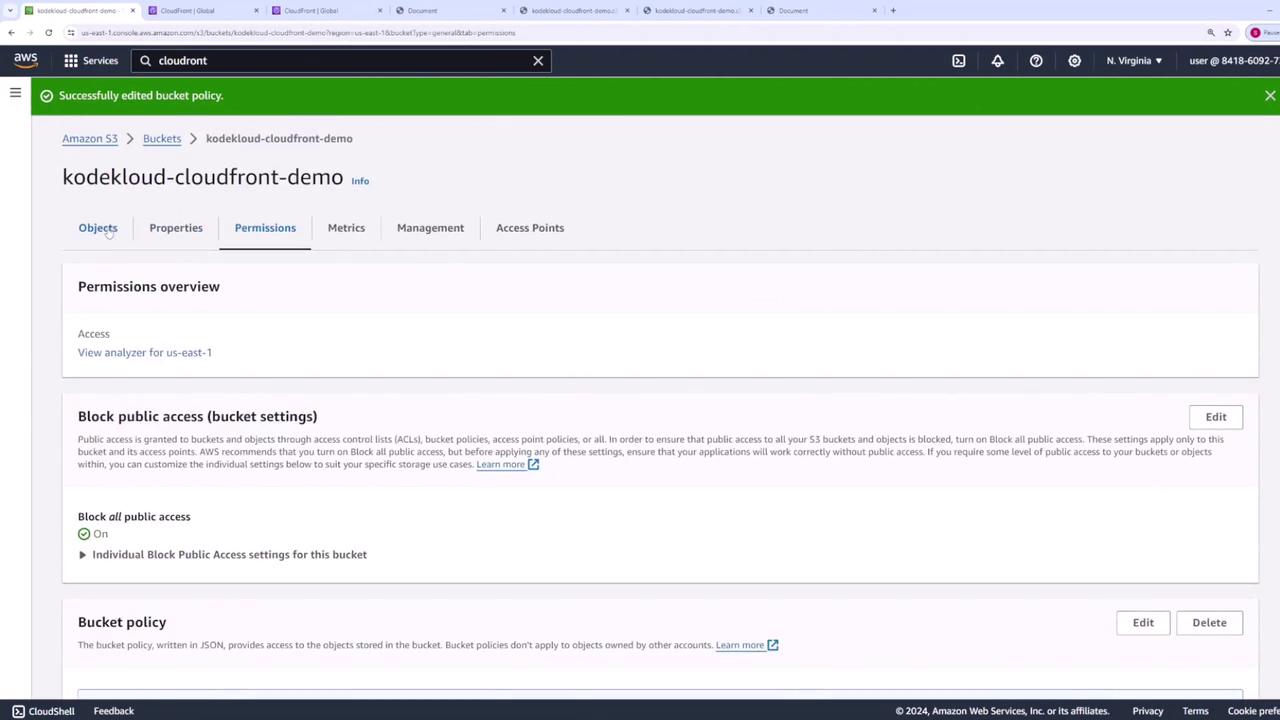
- Go back to your S3 bucket’s Permissions tab → Bucket policy → Edit.
- Paste and save the following JSON (replace
kodekloud-cloudfront-demowith your bucket name):
Condition block with your Distribution ARN:
5. Validate Your Distribution
Once the distribution status is Enabled, copy its Domain Name (e.g.,d111111abcdef8.cloudfront.net) and open it in a browser with a trailing slash:
- First request: CloudFront fetches content from S3.
- Subsequent requests: Content is served from the nearest edge location.
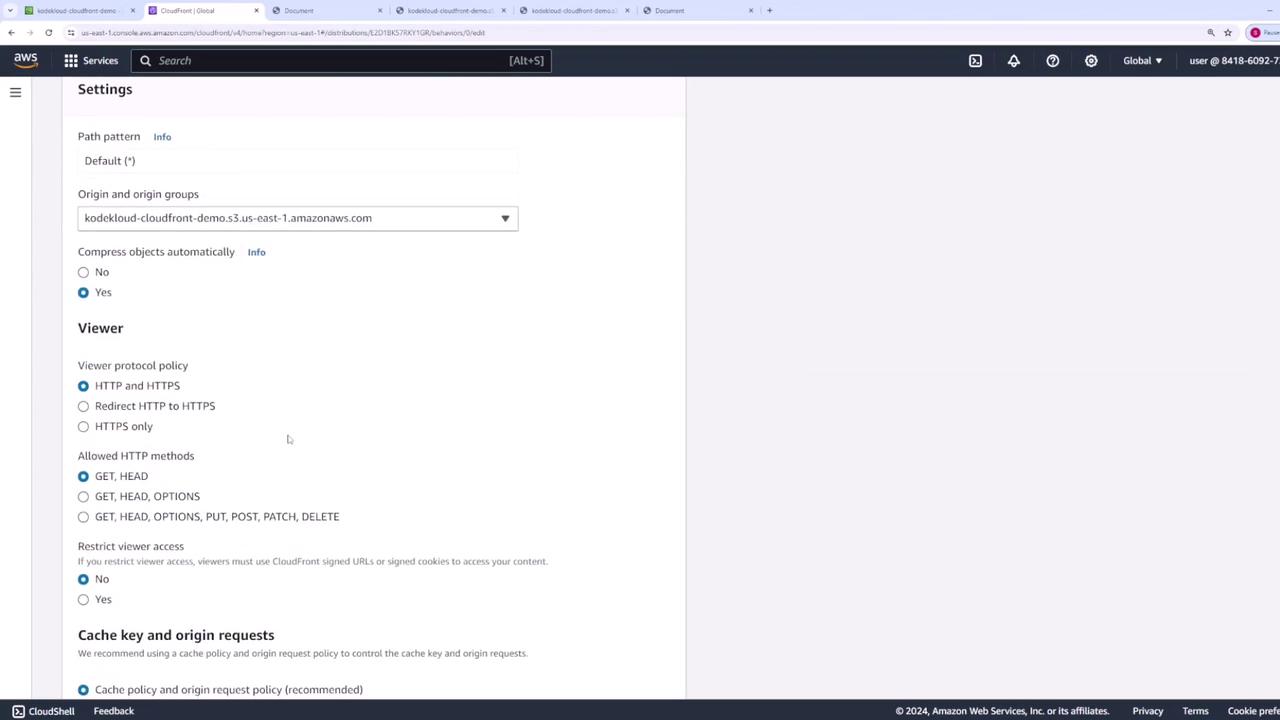
6. Review and Customize Cache Settings
By default, CloudFront applies the Managed-CachingOptimized policy with a 24 hour (86,400 s) TTL.- In your distribution, go to the Behaviors tab and click Edit on the default behavior.
- Note the Cache policy in use (e.g.,
Managed-CachingOptimized). - Click View policy to inspect TTL values:

| Setting | Default | Description |
|---|---|---|
| Price Class | All edge locations | Global performance vs. cost. |
| Default Root Object | index.html | Serves root URL without a filename. |
| Cache Policy | Managed-CachingOptimized | TTL: 86,400 s (min/max can be customized). |
| SSL Certificate | Default CloudFront cert | HTTPS support for *.cloudfront.net. |
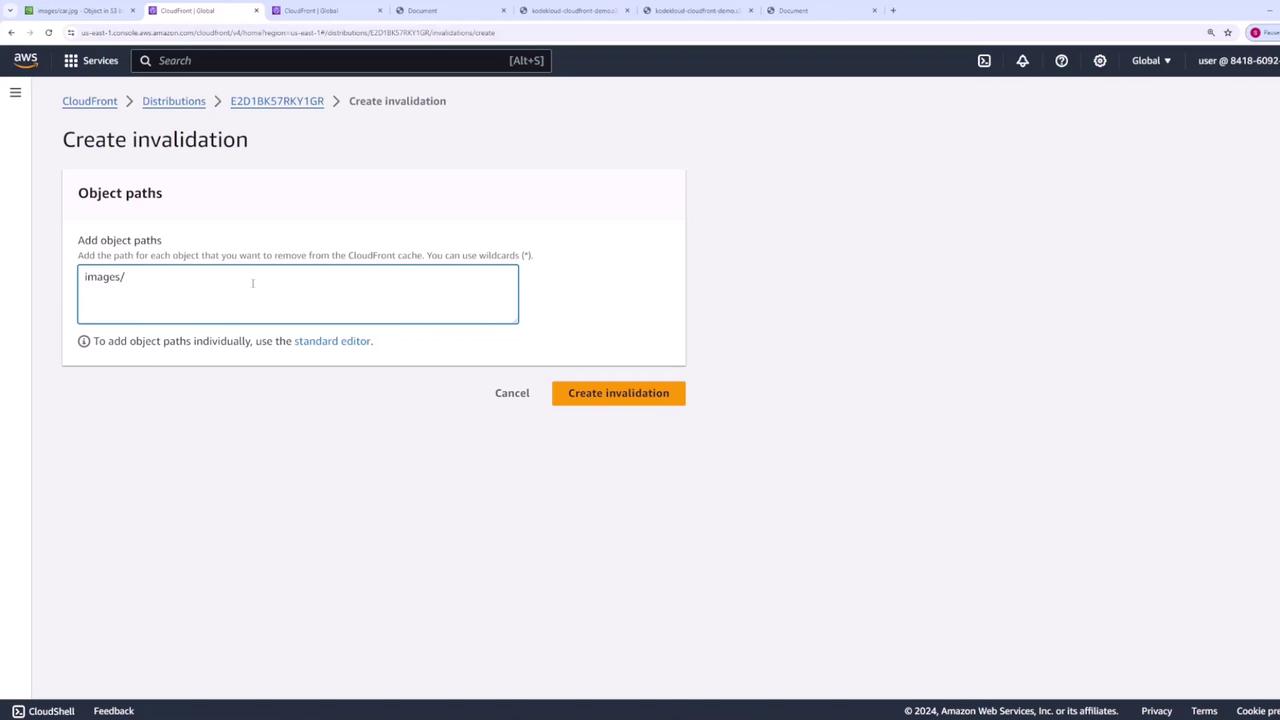
7. Invalidate Cached Objects
When you overwrite a file in S3 (e.g., updateimages/car.jpg), CloudFront may still serve the old version until its TTL expires:
- In the CloudFront console, select your distribution and open Invalidations.
-
Click Create invalidation, then specify paths:
Use wildcards to cover multiple objects.

- Click Create invalidation. Once it completes, refresh your distribution URL to see the new image.
Invalidations may incur additional charges if you exceed the free tier (1,000 paths/month).
Next Steps
You’ve successfully deployed a static website with S3 and CloudFront. In future lessons, we’ll cover:- Custom cache-key and origin-request policies
- Geographic restrictions and geo-blocking
- Using Lambda@Edge for dynamic content transformations