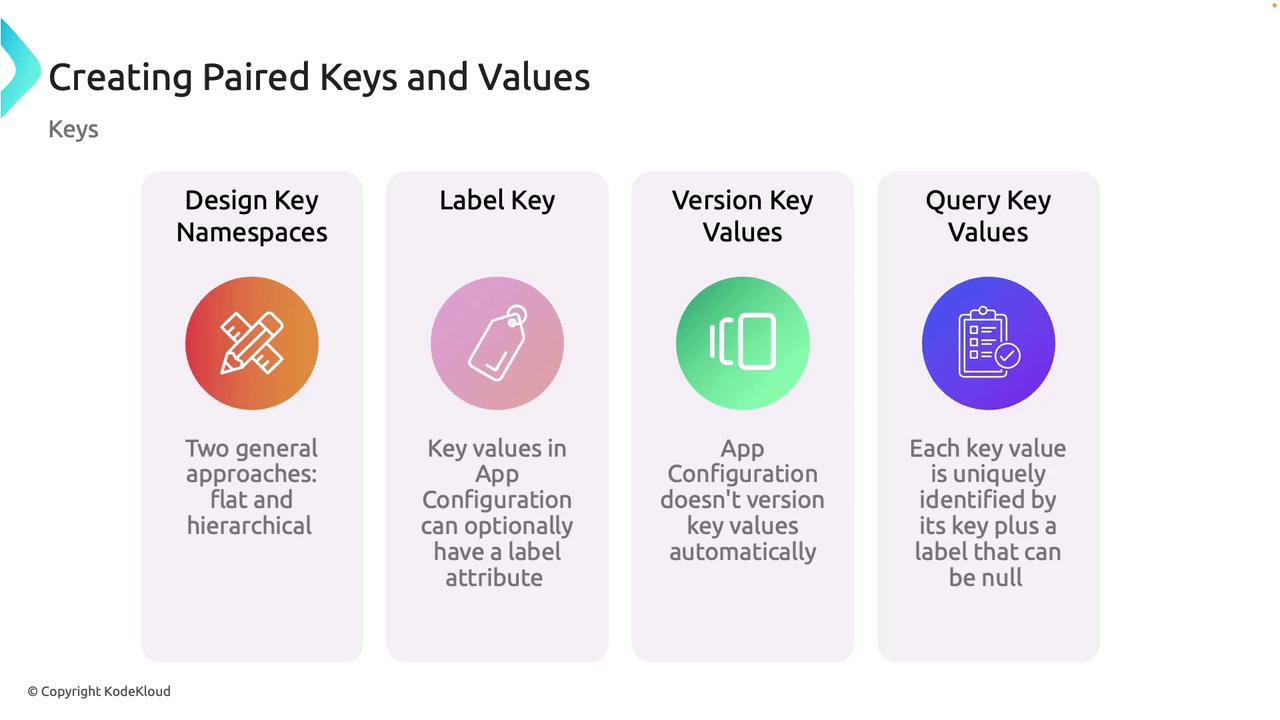
Key Naming and Structure
Azure App Configuration allows you to structure keys using one of two approaches:- Flat Namespace: A simple approach with minimal structure.
- Hierarchical Namespace: Offers an organized method, grouping related keys together.
Value Assignment and Encryption
Values in Azure App Configuration are stored as Unicode strings, which support a wide range of characters. You can also specify a content type for each value, ensuring the data is interpreted correctly by your application. All configuration data—both keys and values—is securely encrypted at rest and in transit, maintaining data integrity and confidentiality.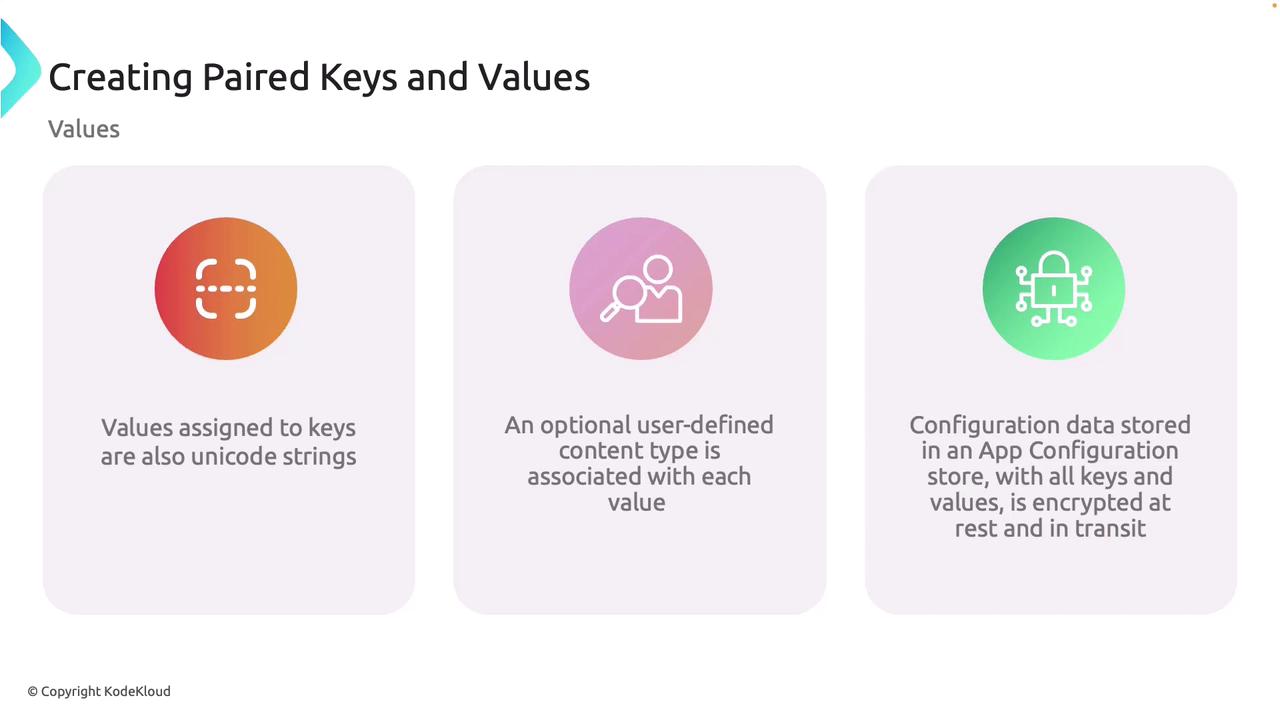
Deploying Azure App Configuration via the Azure Portal
Follow these steps to create an App Configuration resource using the Azure Portal:-
Search and Create the Resource:
In the Azure Portal, use the search bar to locate “App Configuration” and click “Create.” -
Create a New Resource Group:
Create a new resource group (e.g., “RGAZ204AppConfig”) and click “OK.” -
Specify a Unique Resource Name:
Provide a unique name for your App Configuration instance. For instance, if “AZ204AppConfig” is unavailable, try an alternative such as “AZ204AppConfig019.”
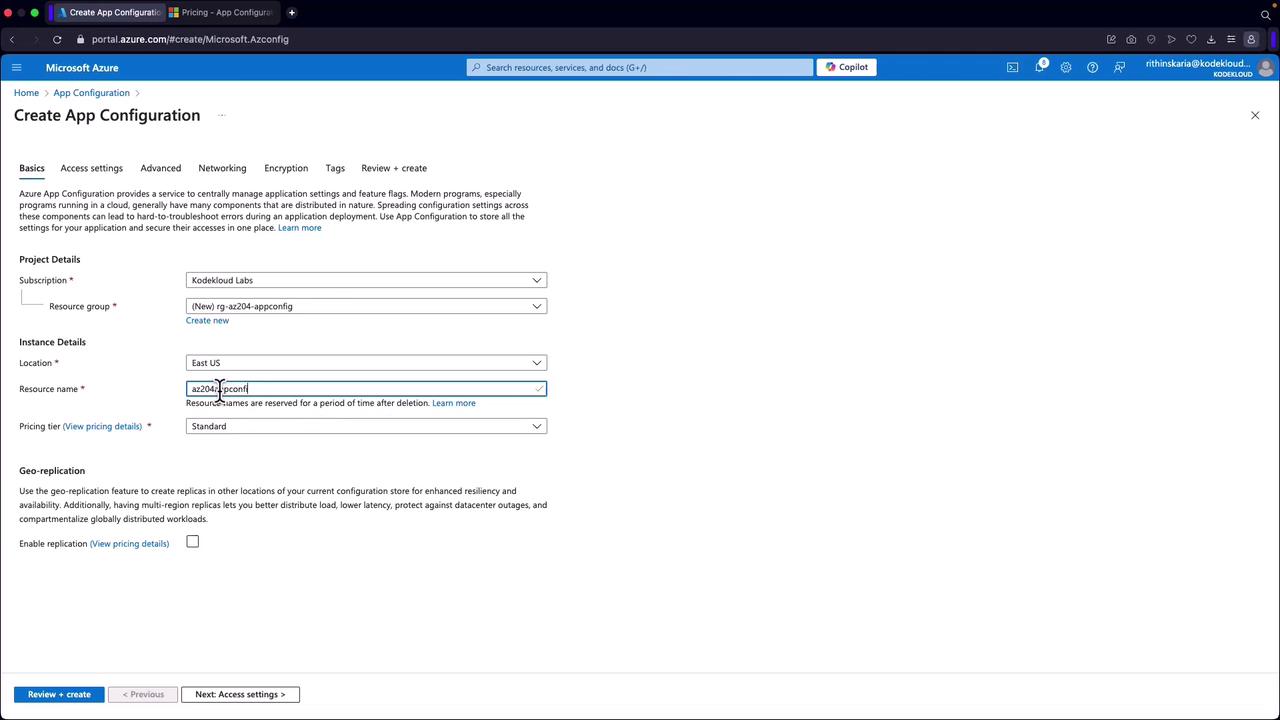
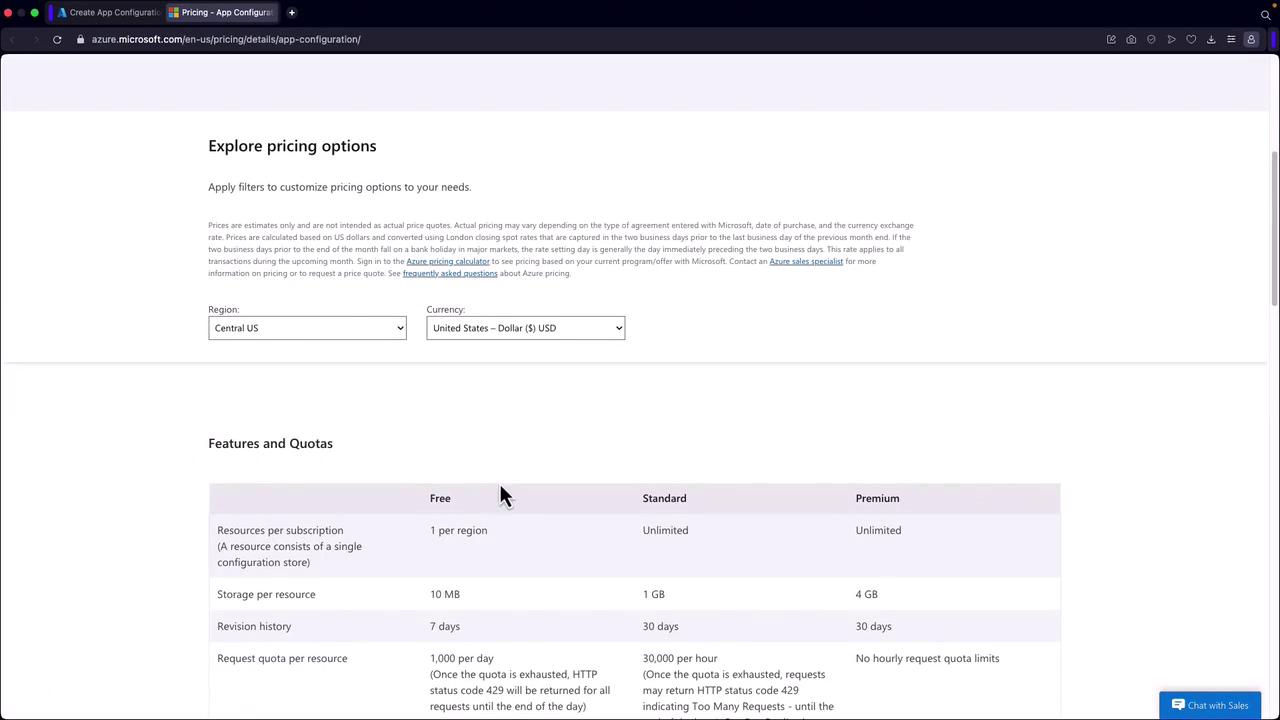
- Review Pricing Tiers:
Azure offers multiple pricing tiers. For a demo, the Free tier typically suffices. To review details, click the pricing link.
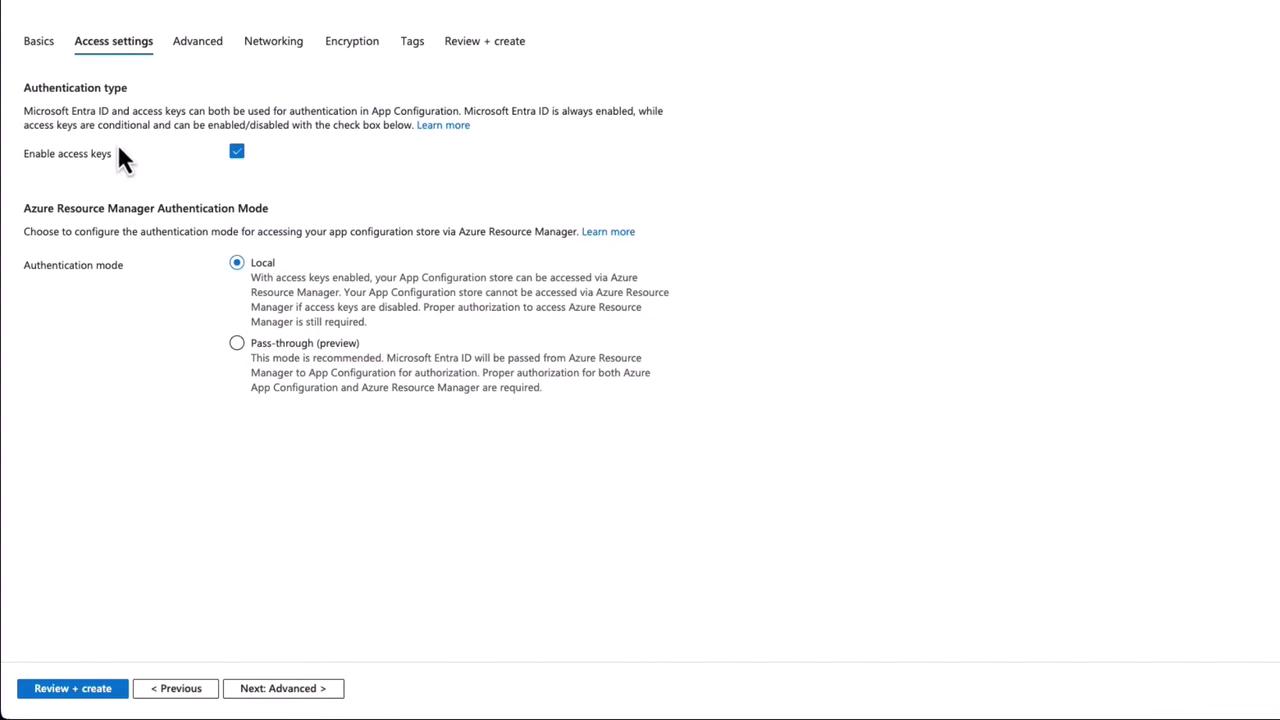
- Configure Access Settings:
Go to “Access Settings,” where keys should be enabled by default. Set the authentication mode to local.
In production, enable purge protection and soft delete for enhanced security, even though the Free tier does not support purge protection.
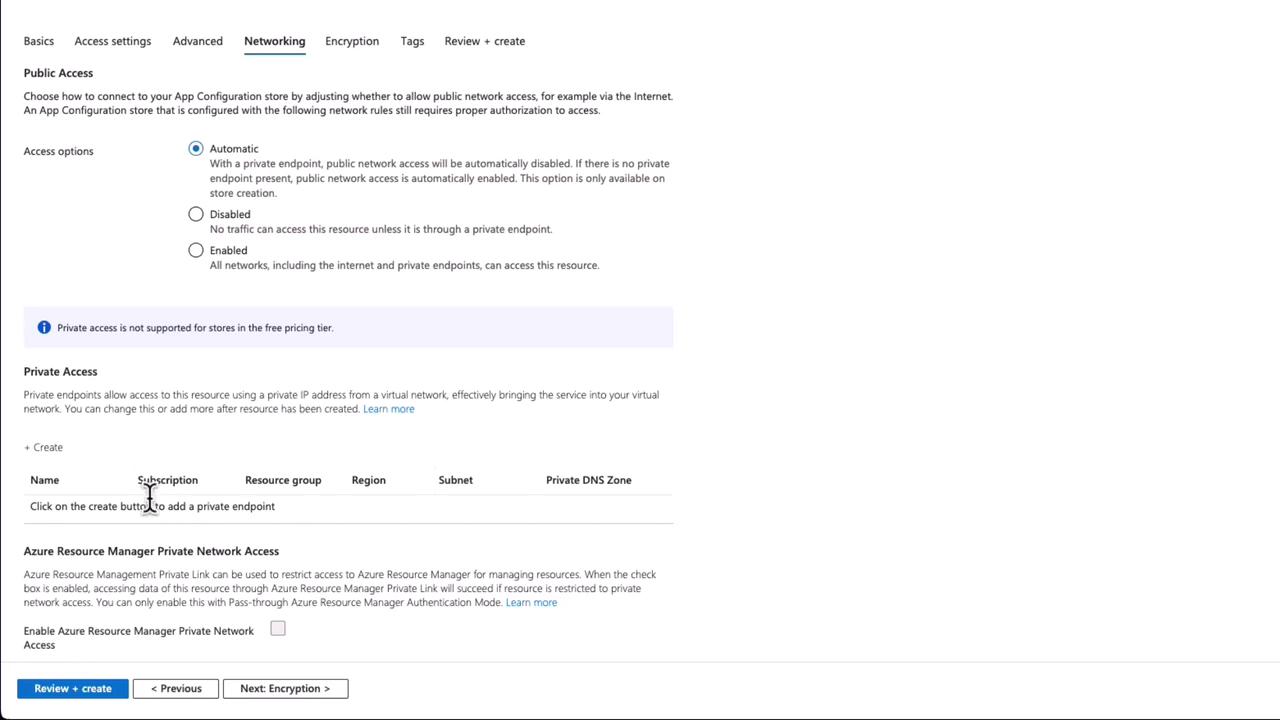
- Configure Networking:
For demonstration purposes, select automatic networking with public access. In production environments, configuring private access is recommended for better security.
-
Encryption Settings:
For production scenarios, consider using customer-managed keys stored in Azure Key Vault. Note that the Free tier does not support this option, but you can integrate it later for increased control over encryption. -
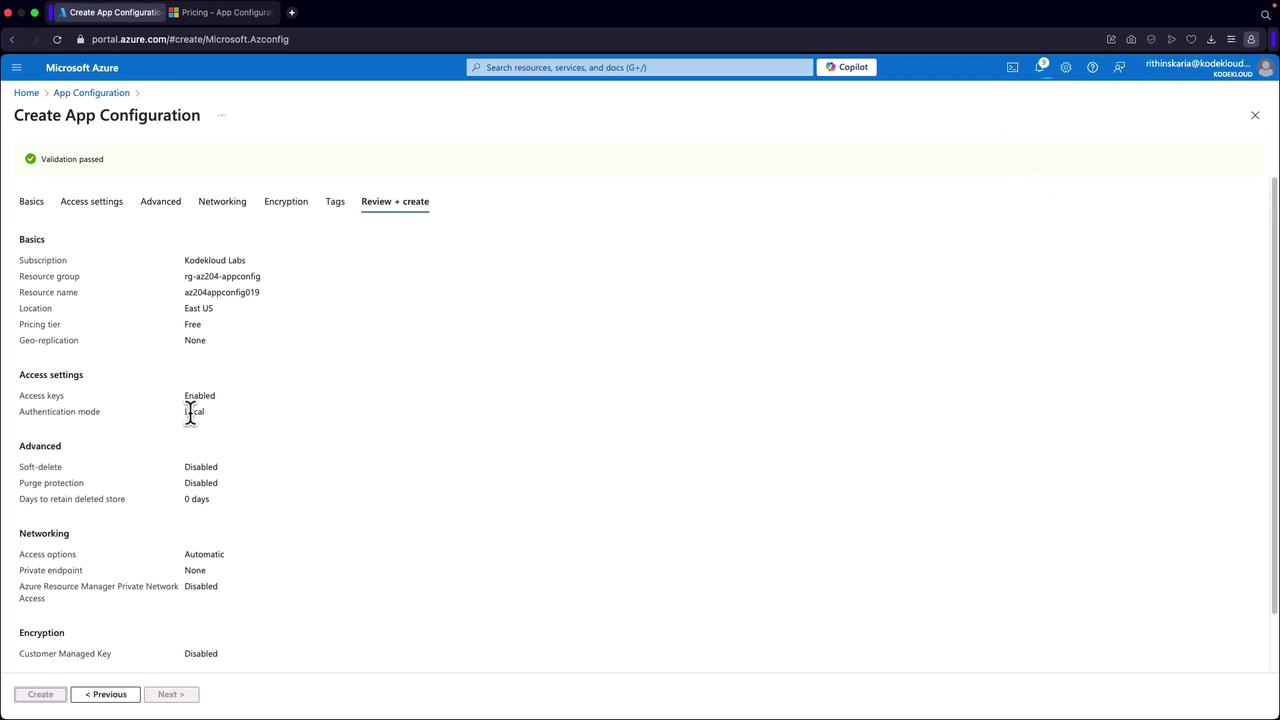
Create the Resource:
After reviewing your settings, click “Create” to deploy your App Configuration resource.
Configuring Key-Value Pairs
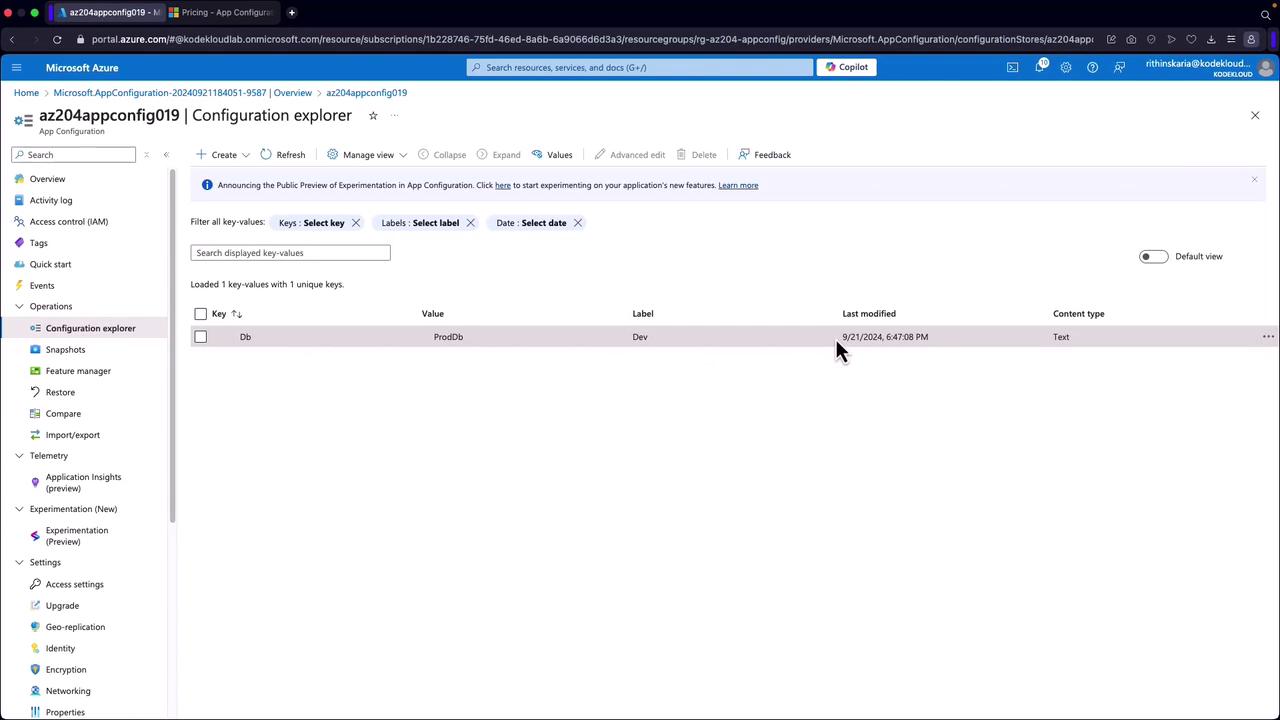
With your resource deployed, follow these steps to set up configuration data:- Click on “Go to Resource” and expand the configuration settings to access the Configuration Explorer.
- Create a new configuration by defining a key (e.g., “DB”) and assigning a corresponding value (e.g., “Azure Cosmos DB”).
- Optionally, add a label and specify a content type (for example, “text”).
- Click “Apply” to store the key-value pair for future application use.
Next Steps: Feature Flags and Integration
After configuring your key-value pairs, you can further explore advanced features such as feature flags and enhanced app configuration security. In the upcoming lessons, we will demonstrate how to integrate Azure App Configuration with your codebase for dynamic configuration management.For additional insights and best practices, be sure to explore the official Azure documentation and related guides.