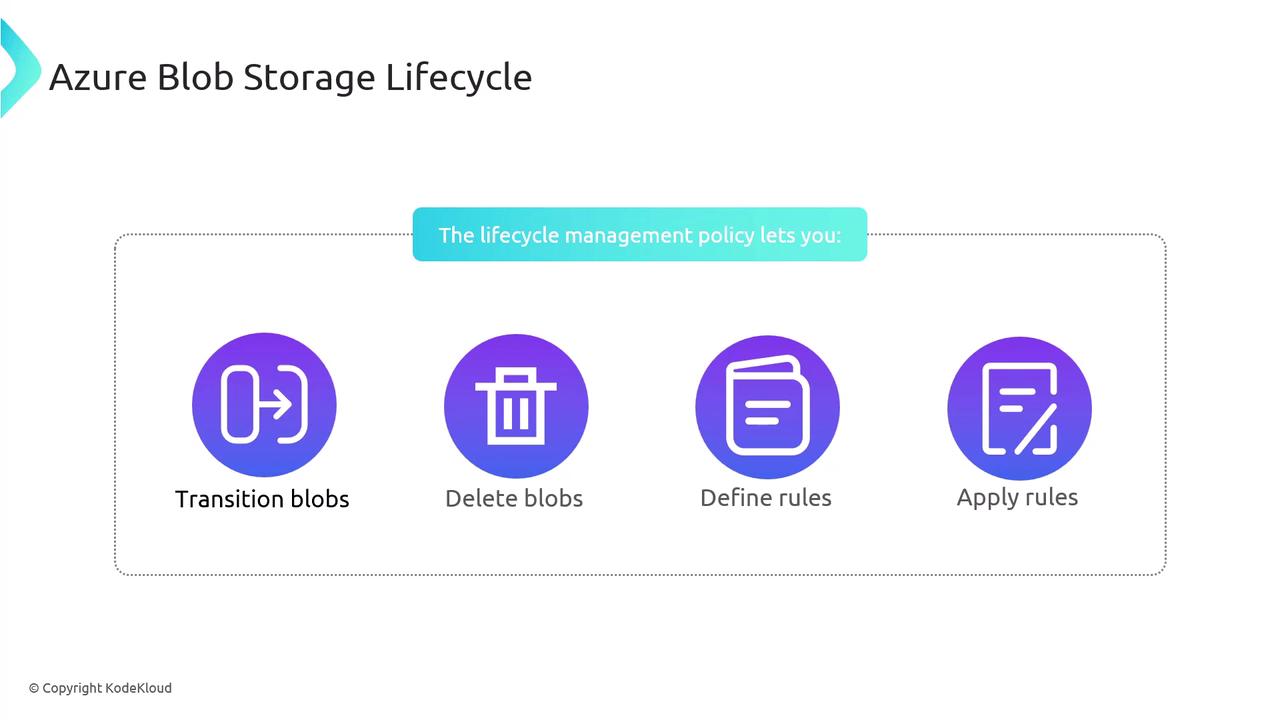
AZ-204: Developing Solutions for Microsoft Azure

Managing Azure Blob Storage Lifecycle

Azure Blob Lifecycle Management Policies

Azure Blob Storage offers robust lifecycle management tools to automate the movement and deletion of data within your storage account. This feature is essential for optimizing storage costs and performance by controlling data access through rule-based management. For example, you can configure a policy to move infrequently accessed data from the hot tier to the cool tier and later archive or delete that data. Keep in mind that these policies execute once a day at the storage account level, so changes may take at least a day to propagate.

You can apply lifecycle rules at the container level or refine them using filters (such as prefixes) so that only a specific subset of blobs is managed by a given rule. This targeted approach is ideal for large-scale, long-term data retention strategies, ensuring your storage resources remain optimized and automatically managed without manual intervention.

The image illustrates the Azure Blob Storage Lifecycle, highlighting four actions: transitioning blobs, deleting blobs, defining rules, and applying rules.

Below is an in-depth look at how these policies are structured and implemented.

Policy Structure

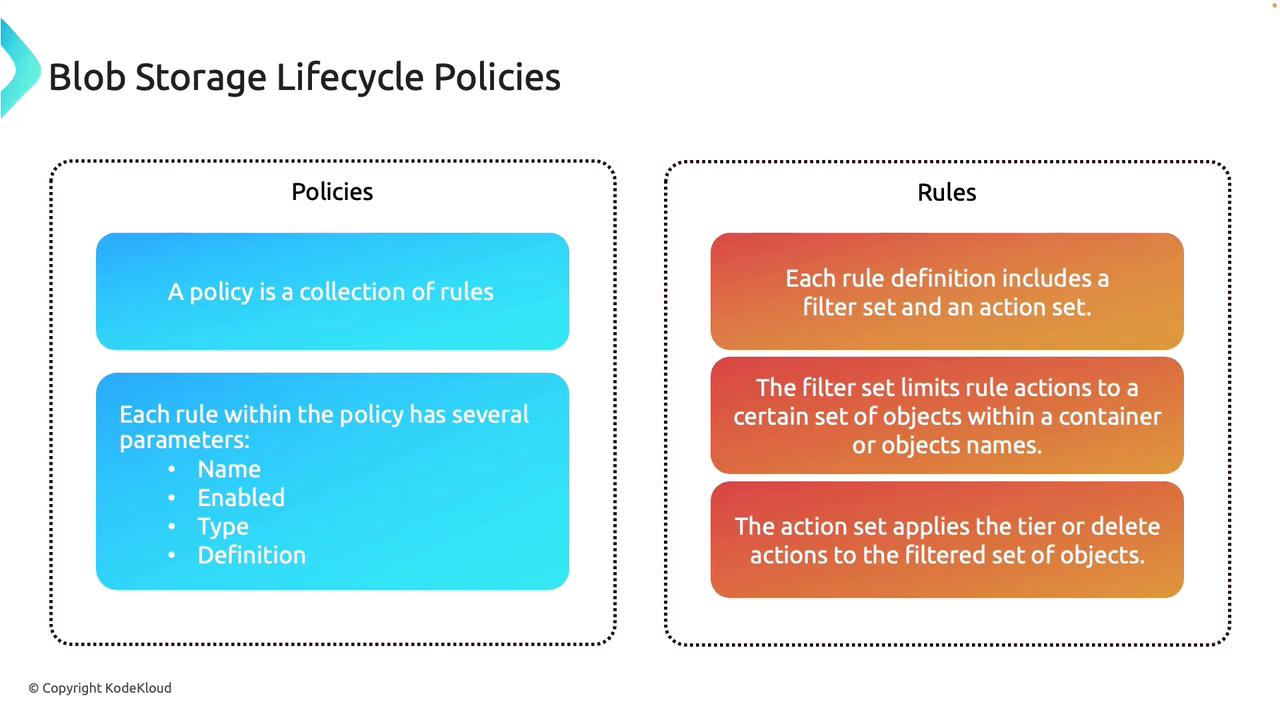
A lifecycle management policy is a collection of rules, where each rule is defined by several key parameters:

  • name: A unique identifier for the rule, useful for managing multiple rules within a single policy.
  • enabled: A boolean value that indicates whether the rule is active, allowing you to enable or disable rules for testing or maintenance.
  • type: Specifies that the rule is a "Lifecycle" rule, dictating the type of action to be performed (for example, transitioning data between tiers or deleting it).
  • definition (or actions): Details the conditions, filters, and actions applied to the data. This includes specifying which data the rule targets and what lifecycle action(s) to execute.

Typically, the policy definition is visually split into two key sections:

  • Filter Sets: Restrict the rule’s scope (e.g., by container, prefix, or specific object names).
  • Action Sets: Define the lifecycle operations, such as transitioning data to cooler tiers or deleting it.

The image explains Blob Storage Lifecycle Policies, detailing that a policy is a collection of rules with parameters, and each rule includes a filter set and an action set.

Consider the following JSON snippet that illustrates two basic lifecycle rules:

{
  "rules": [
    {
      "name": "rule1",
      "enabled": true,
      "type": "Lifecycle",
      "definition": {
        // Detailed definition for rule1
      }
    },
    {
      "name": "rule2",
      "enabled": true,
      "type": "Lifecycle",
      "definition": {
        // Detailed definition for rule2
      }
    }
  ]
}

In this example, each rule is clearly labeled and contains the necessary details in its definition block.

Creating Lifecycle Management Policies

There are several ways to create and modify lifecycle management policies in Azure Blob Storage:

1. Azure Portal

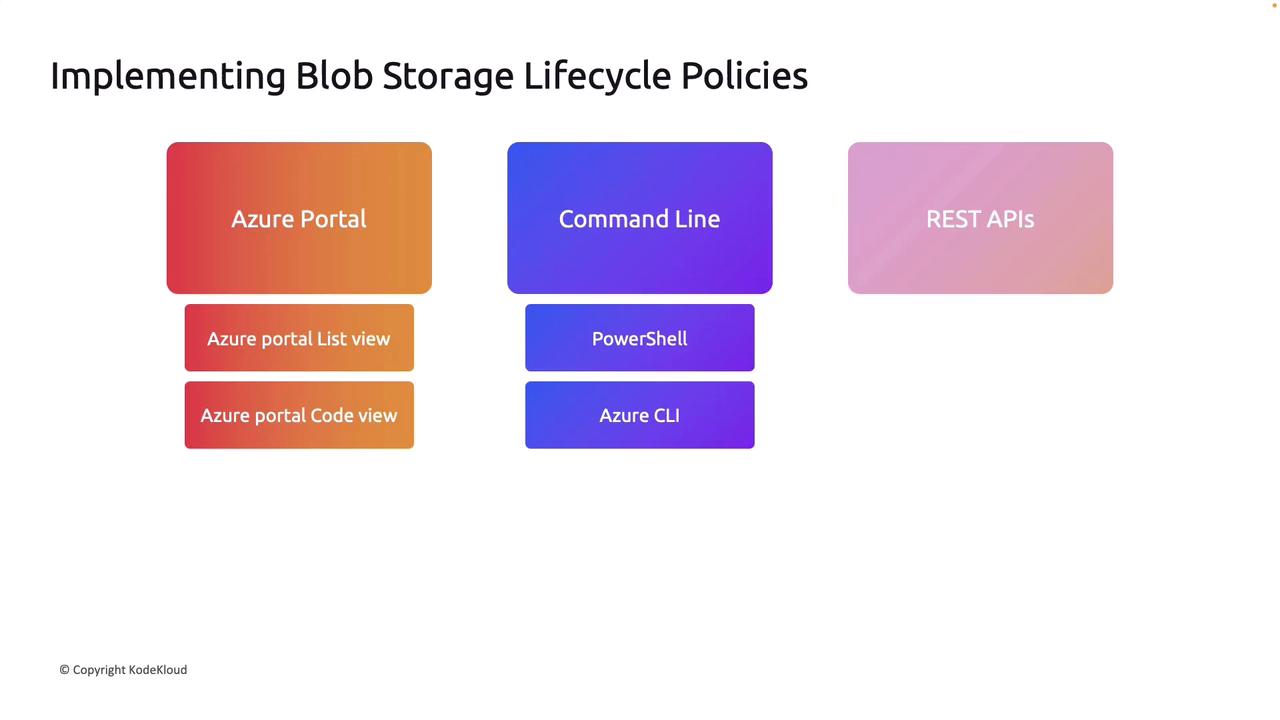
You can manage lifecycle policies through the Azure Portal using either the code view (for JSON input) or the GUI list view:

  • Open your storage account and navigate to the lifecycle management section.
  • Click on "Add a rule" (e.g., name the rule "delete files").
  • Specify the rule’s scope by choosing whether to apply it to all blobs or only those that match certain filters (such as a specific container, prefix, or metadata).
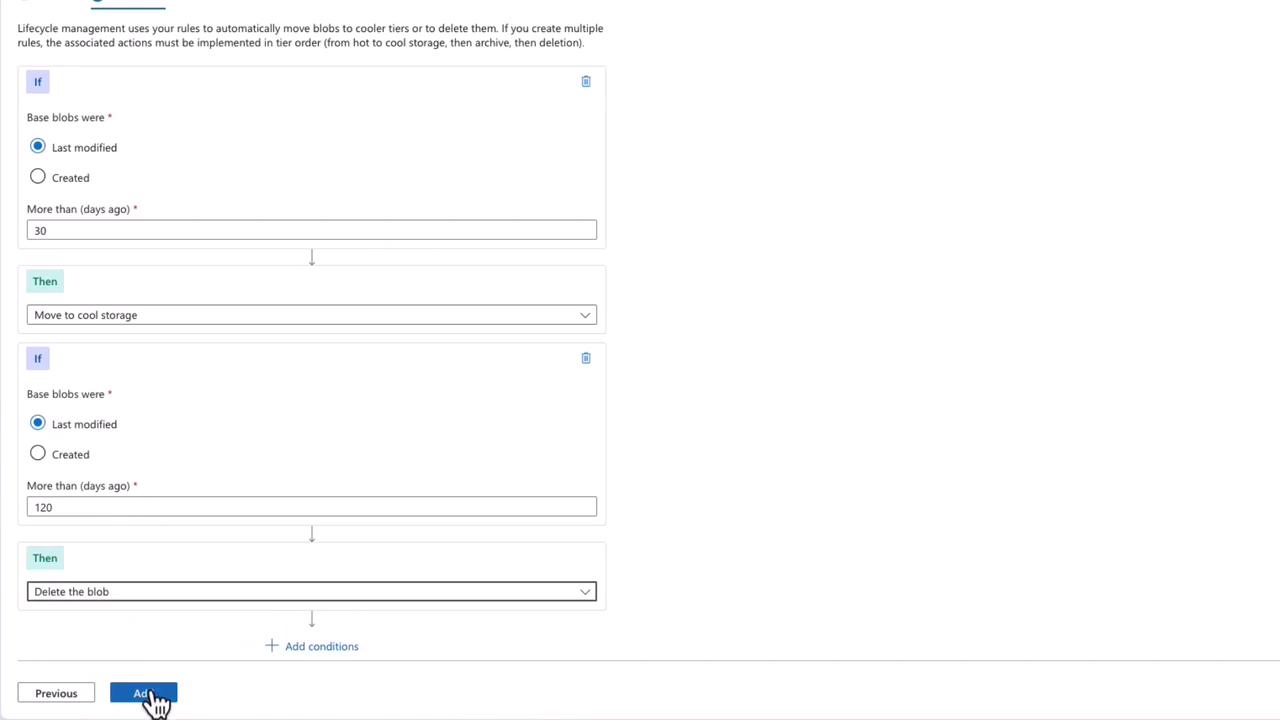
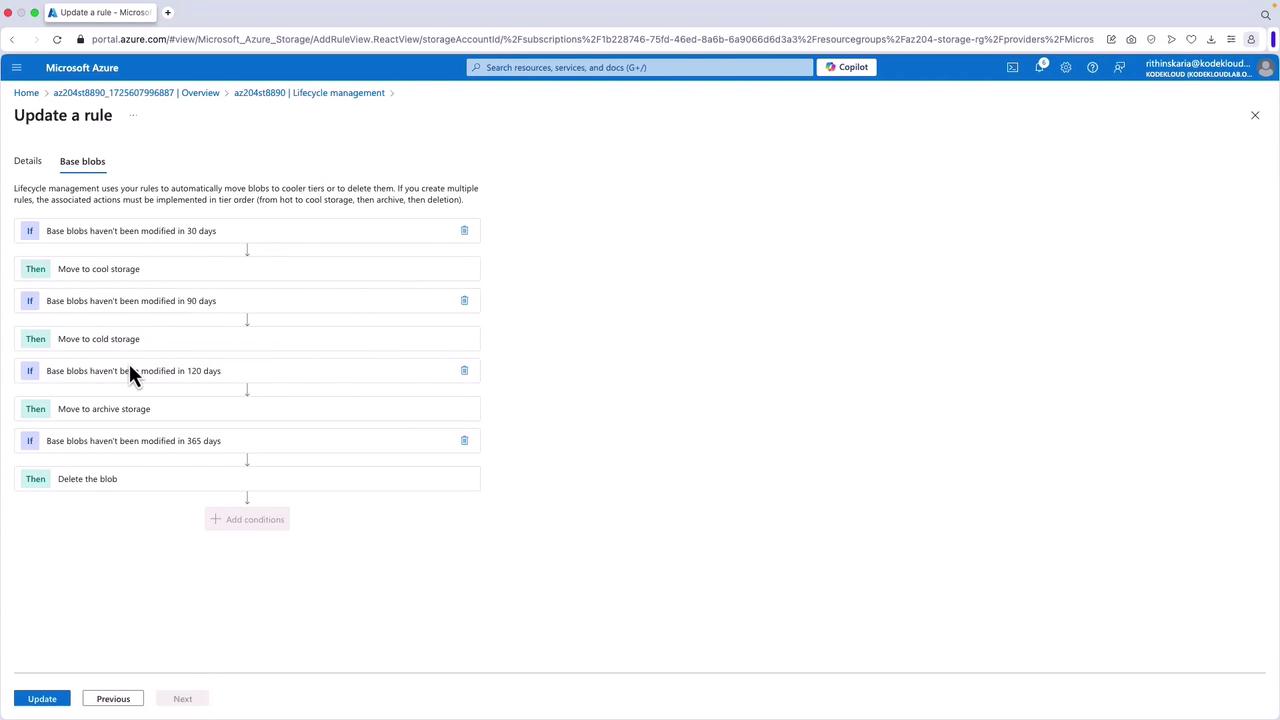
  • Select the blob type (e.g., base blobs) and configure actions:
    • Move blobs to cool storage if they were "last modified more than 30 days ago."
    • Delete blobs if they were "last modified more than 120 days ago."

The image shows a lifecycle management interface for managing blob storage, with rules set to move blobs to cool storage after 30 days and delete them after 120 days.

When switching to the code view, you will see the JSON representation of your policy. For example, the code view might display:

{
  "rules": [
    {
      "enabled": true,
      "name": "delete-files",
      "type": "Lifecycle",
      "definition": {
        "actions": {
          "baseBlob": {
            "tierToCool": {
              "daysAfterModificationGreaterThan": 30
            },
            "delete": {
              "daysAfterModificationGreaterThan": 120
            }
          }
        },
        "filters": {
          "blobTypes": [
            "blockBlob"
          ]
        }
      }
    }
  ]
}

2. Command Line (PowerShell and Azure CLI)

Using the CLI, you can define a JSON policy file and then apply it using the Azure CLI. Consider the following JSON content saved as policy.json:

{
  "rules": [
    {
      "enabled": true,
      "name": "deleteAfterYear",
      "type": "Lifecycle",
      "definition": {
        "actions": {
          "baseBlob": {
            "tierToCool": {
              "daysAfterModificationGreaterThan": 30
            },
            "tierToCold": {
              "daysAfterModificationGreaterThan": 90
            },
            "tierToArchive": {
              "daysAfterModificationGreaterThan": 120
            },
            "delete": {
              "daysAfterModificationGreaterThan": 365
            }
          }
        },
        "filters": {
          "blobTypes": [
            "blockBlob"
          ]
        }
      }
    },
    {
      "enabled": true,
      "name": "move-to-cold",
      "type": "Lifecycle",
      "definition": {
        "actions": {
          "baseBlob": {
            "tierToCold": {
              "daysAfterModificationGreaterThan": 15
            }
          }
        },
        "filters": {
          "blobTypes": [
            "blockBlob"
          ]
        }
      }
    }
  ]
}

Apply the policy using the following Azure CLI command:

az storage account management-policy create --account-name 'az204st8890' -g 'az204-storage-rg' --policy policy.json

Ensure your Azure CLI is configured correctly by verifying your account with:

az account show

Unsupported Actions

If the policy contains unsupported actions for specific blob types (for example, actions such as tierToCold or delete on append blobs), you will get an error message indicating the invalid rule. Adjust the policy to target only supported blob types, such as "blockBlob."

3. REST APIs and SDKs

You can also programmatically manage lifecycle policies using Azure REST APIs or the corresponding SDKs that wrap these APIs.

The image outlines methods for implementing Blob Storage Lifecycle Policies, including Azure Portal, Command Line (PowerShell and Azure CLI), and REST APIs.

Example Policy Workflow in Azure Portal

Follow these steps in the Azure Portal to configure a lifecycle management rule:

  1. Open your storage account and navigate to the lifecycle management section.
  2. Click on "Add a rule" (for example, name the rule "delete files").
  3. Define the rule’s scope by choosing to apply it either to all blobs or to those matching specific filters (e.g., a particular container, prefix, or metadata).
  4. Select the blob type (e.g., base blobs) and set the lifecycle actions:
    • Move blobs to cool storage if their "last modified" date is more than 30 days past.
    • Delete blobs if their "last modified" date is more than 120 days past.
  5. Verify the rule in both the list view and code view to ensure accuracy.

In the code view, the rule might look like this:

{
  "enabled": true,
  "name": "filtered-deletion",
  "type": "Lifecycle",
  "definition": {
    "filters": {
      "blobTypes": [
        "blockBlob"
      ]
    },
    "baseBlob": {
      "delete": {
        "daysAfterModificationGreaterThan": 120
      }
    }
  },
  "filters": {
    "blobTypes": [
      "blockBlob"
    ],
    "prefixMatch": [
      "files/a/"
    ]
  }
}

This JSON sample defines a rule that deletes blobs within the "files/a/" prefix after they have not been modified for 120 days.

Overwriting Policies

When you apply a new JSON file using the CLI, the entire management policy is replaced. If you need to incorporate multiple rules (for example, “delete after a year” and “move to cold”), merge them into a single JSON file before applying it via the CLI.

An example of a consolidated JSON policy is shown below:

{
  "rules": [
    {
      "enabled": true,
      "name": "deleteAfterYear",
      "type": "Lifecycle",
      "definition": {
        "actions": {
          "baseBlob": {
            "tierToCool": {
              "daysAfterModificationGreaterThan": 30
            },
            "tierToCold": {
              "daysAfterModificationGreaterThan": 90
            },
            "tierToArchive": {
              "daysAfterModificationGreaterThan": 120
            },
            "delete": {
              "daysAfterModificationGreaterThan": 365
            }
          }
        },
        "filters": {
          "blobTypes": [
            "blockBlob"
          ]
        }
      }
    },
    {
      "enabled": true,
      "name": "move-to-cold",
      "type": "Lifecycle",
      "definition": {
        "actions": {
          "baseBlob": {
            "tierToCold": {
              "daysAfterModificationGreaterThan": 15
            }
          }
        },
        "filters": {
          "blobTypes": [
            "blockBlob"
          ]
        }
      }
    }
  ]
}

Save this as policy.json and apply it with the Azure CLI. Remember to verify that the actions specified are supported by the targeted blob types.

The image shows a Microsoft Azure interface for updating a rule in lifecycle management, detailing conditions for moving base blobs to different storage types based on modification dates.

Rehydrating Data from the Archive Tier

It's important to note that rehydrating data from the archive tier is a time-consuming process that can take several hours. This process is used to restore archived blobs back to an online tier when access is required. Although rehydration operations are separate from lifecycle management policies, they play a crucial role in efficiently managing data access within your Azure Blob Storage account.

Key Reminder

Lifecycle management policies automate essential data retention and optimization tasks but always consider the time delays for policy enforcement and data rehydration when planning your storage strategy.

This article provided an overview of Azure Blob Lifecycle Management Policies and demonstrated various methods to create, update, and manage these policies using the Azure Portal, CLI, and REST APIs.

For further information, you may explore the following resources:

Happy optimizing your Azure Blob Storage!

Watch Video

Watch video content

Previous
Storage Access Tiers